
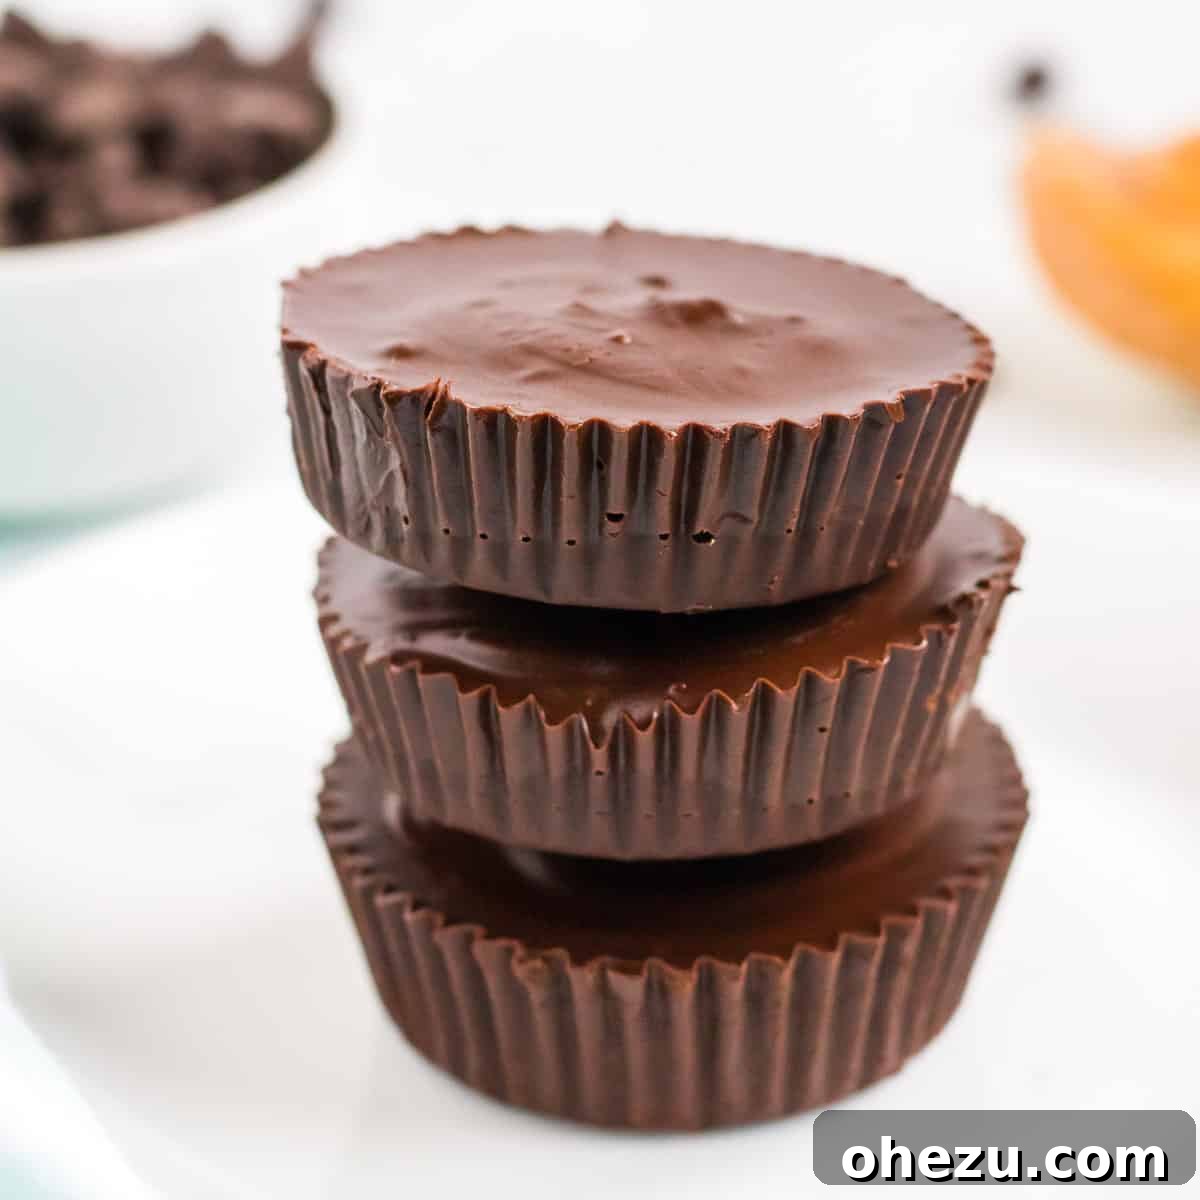
Irresistibly Delicious Vegan Peanut Butter Cups: Better Than Reese’s!
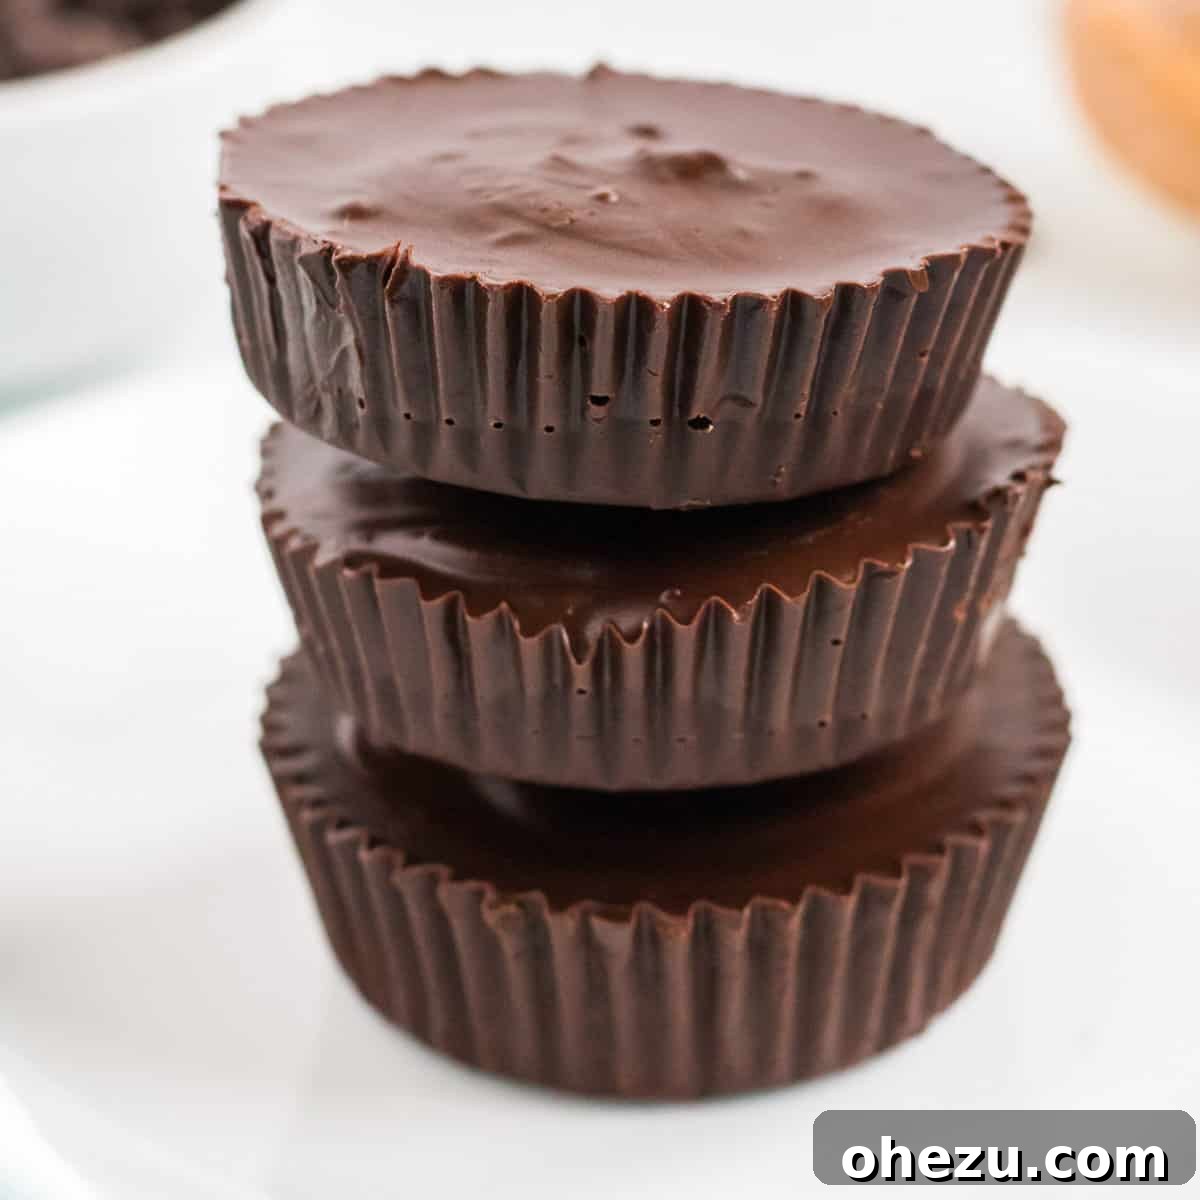
Welcome to your new favorite indulgence! These homemade vegan peanut butter cups are a game-changer, offering a sublime combination of rich chocolate and creamy peanut butter that genuinely surpasses store-bought alternatives, including the beloved Reese’s. If you’re searching for an easy, delightful, and guilt-free dessert, your quest ends here. This recipe is not only simple to follow but also naturally gluten-free and dairy-free, making it accessible for many dietary needs.
Growing up, the classic chocolate and peanut butter pairing was an undeniable favorite for many, myself included. Forget the fruity candies; there was always something magical about the harmonious blend of sweet and salty, crunchy and smooth that only a peanut butter cup could deliver. Now, you can recapture that nostalgic joy with a plant-based twist that’s even more flavorful and satisfying.
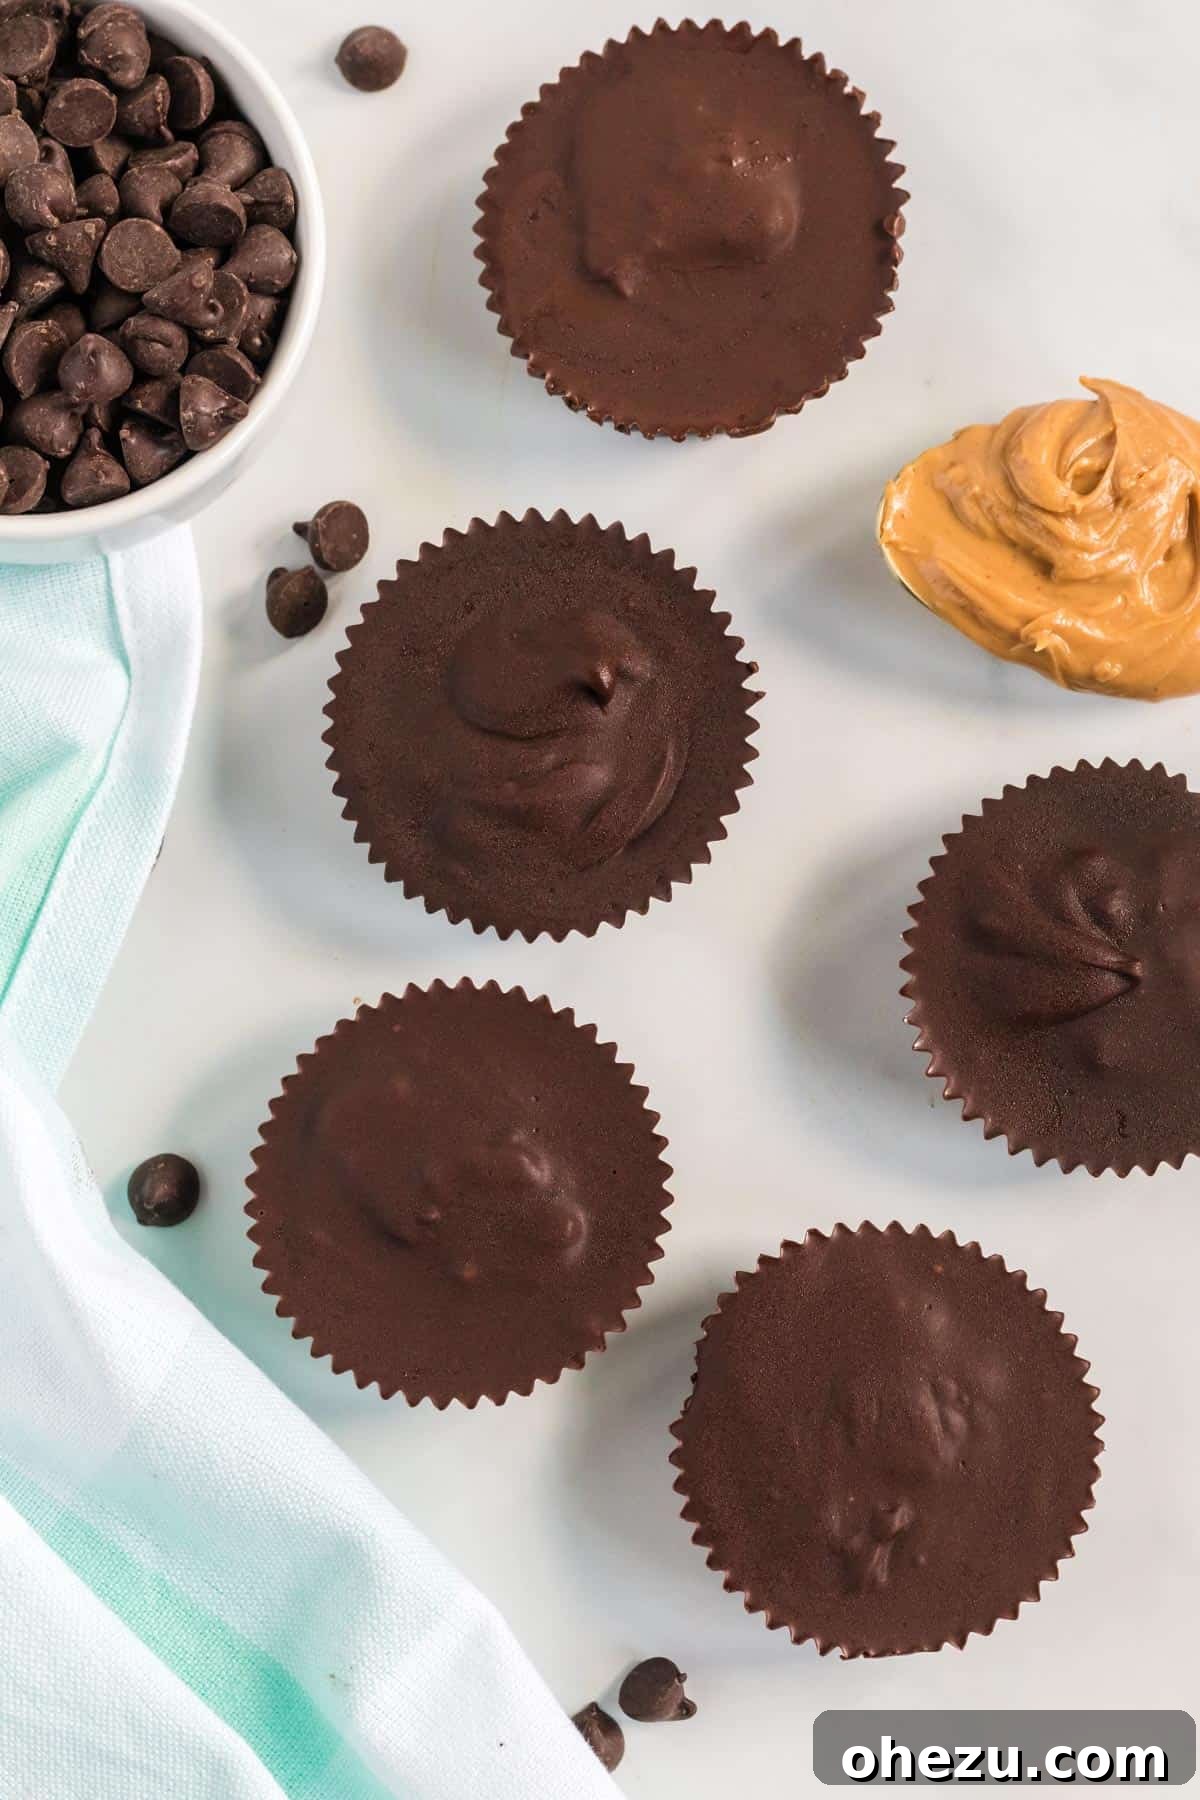
These chocolate peanut butter cups are remarkably easy to prepare, requiring no baking and coming together in minutes. They share the same delightful simplicity as my healthy no-bake peanut butter truffles, but are crafted into that iconic cup shape we all adore. The superior flavor and wholesome ingredients of these homemade treats mean you’ll never look back at the packaged versions. Each bite offers a depth of taste and freshness that simply can’t be matched by mass-produced candies.
Why Choose Homemade Vegan Peanut Butter Cups?
There are countless reasons to make these delicious peanut butter cups at home. First and foremost, you have complete control over the ingredients, ensuring that what you’re eating is fresh, high-quality, and free from unnecessary additives. Many store-bought vegan alternatives can be pricey or contain ingredients you might prefer to avoid. By making them yourself, you can tailor them precisely to your taste and dietary preferences.
Furthermore, the taste of homemade is simply unparalleled. The rich, robust flavor of real chocolate combined with pure, natural peanut butter creates a gourmet experience that far exceeds the artificial taste often found in commercial candies. They are a wonderful option for those with dairy allergies or who follow a vegan lifestyle, offering a decadent treat without compromise. Plus, the process itself is incredibly fun and rewarding, making it a great activity to do with kids!
Essential Vegan Peanut Butter Cup Ingredients
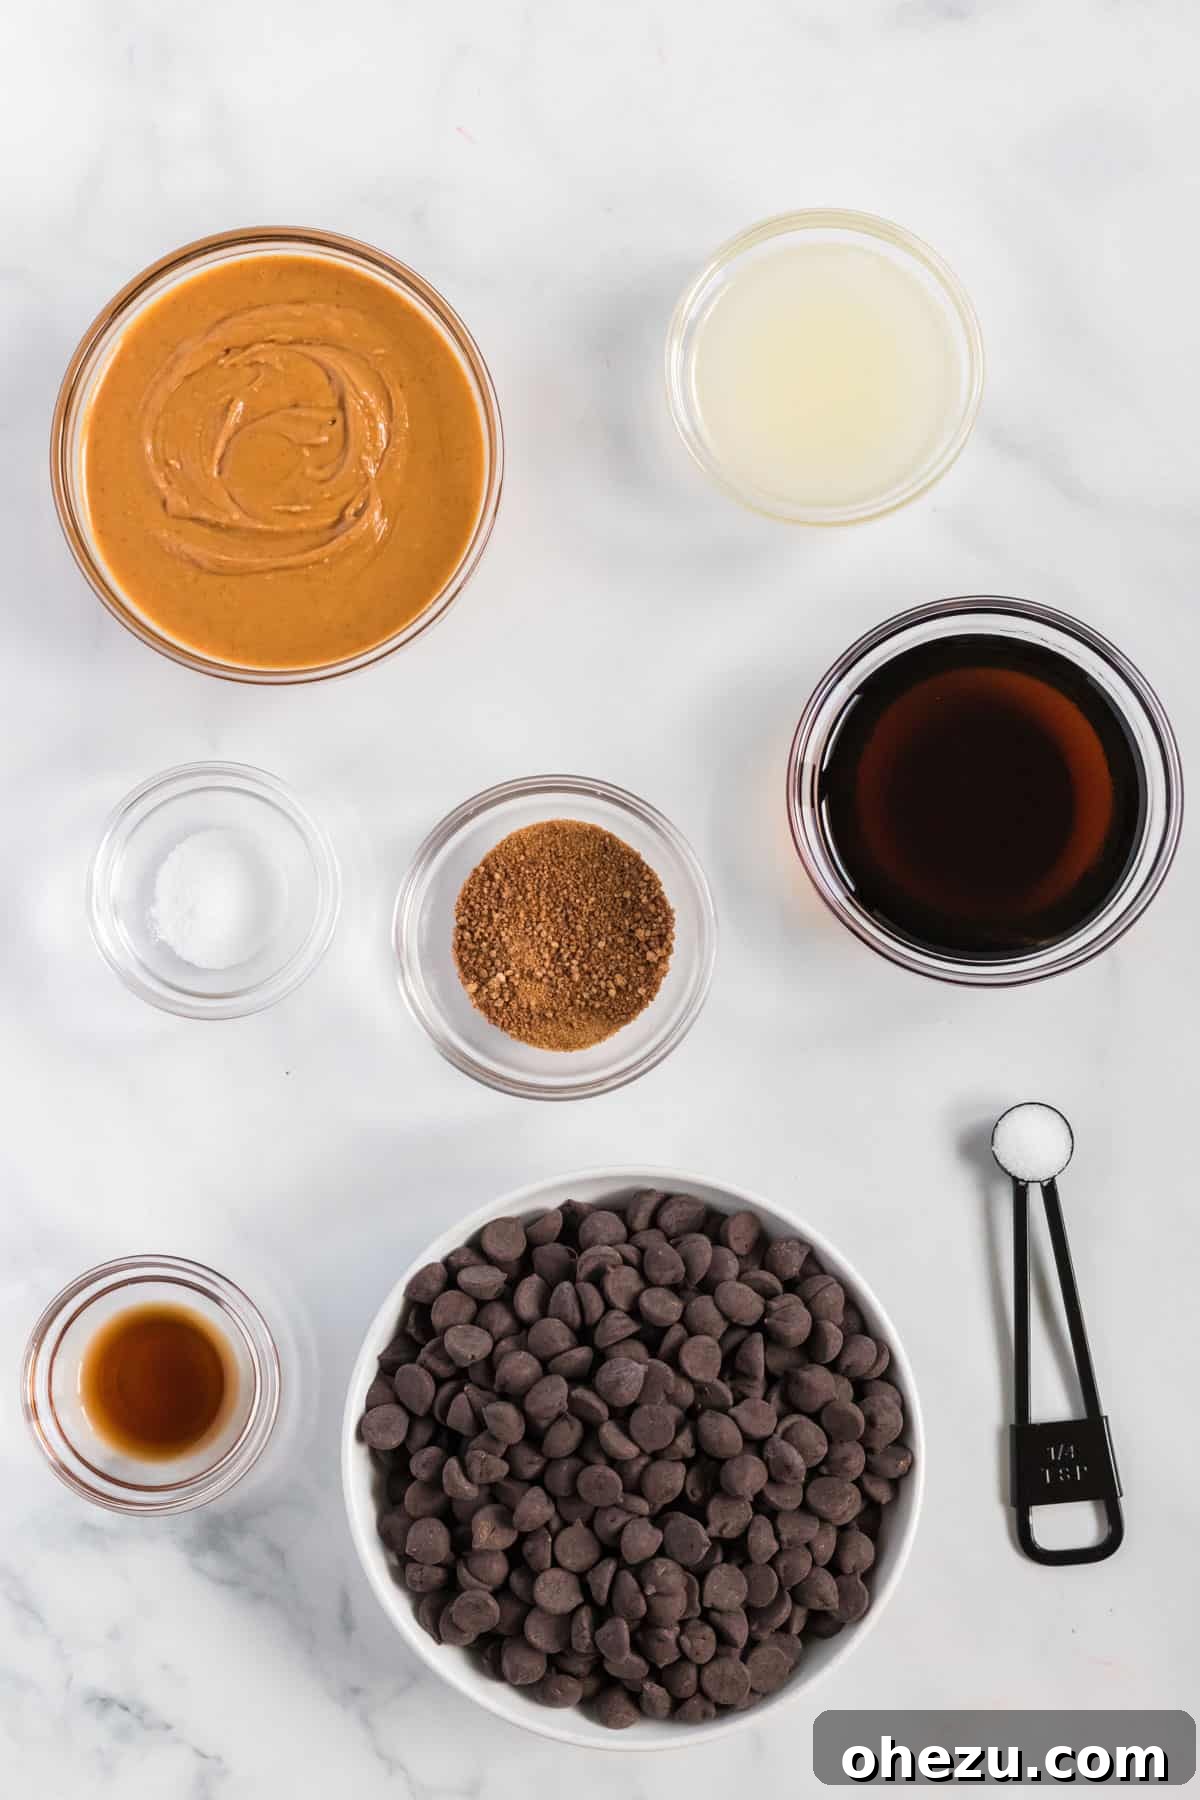
Crafting these incredible vegan peanut butter cups requires only a handful of readily available, simple ingredients. The beauty of this recipe lies in its minimalist approach, allowing the natural flavors to shine through without any complicated or hard-to-find components.
- Creamy Peanut Butter: Opt for an all-natural, creamy peanut butter where the only ingredients are peanuts and salt. This ensures the best flavor and texture for your filling, free from added sugars or oils that can alter consistency. Chilling it beforehand helps create a firmer, more manageable filling.
- Coconut Oil: This acts as a binder and helps the chocolate firm up beautifully, giving it that satisfying snap. It also adds a subtle richness to both the chocolate layer and the overall treat.
- Semi-Sweet Vegan Chocolate Chips: Make sure your chocolate chips are dairy-free to keep the recipe truly vegan. Semi-sweet provides the perfect balance, preventing the cups from being overly sweet while still offering that deep chocolatey goodness.
- Pure Maple Syrup: As a natural sweetener, maple syrup contributes a lovely, nuanced sweetness to the peanut butter filling, complementing the nutty flavor without being overpowering.
- Coconut Palm Sugar: This unrefined sugar adds another layer of gentle sweetness and a slight caramel note to the peanut butter. It blends seamlessly and helps achieve the ideal filling consistency.
- Vanilla Extract: A touch of pure vanilla extract enhances the overall flavor profile of the chocolate layer, adding warmth and complexity.
- Salt: Sea salt is crucial in both layers. In the chocolate, it brightens the flavor, and in the peanut butter, it balances the sweetness, creating that irresistible sweet and salty combination that makes peanut butter cups so addictive.
Equipment You’ll Need
You won’t need any specialized equipment to create these delightful no-bake cups. The beauty of this recipe lies in its accessibility, relying on common kitchen tools you likely already own.
- Muffin Tin: A standard 12-cup muffin tin forms the perfect mold for your peanut butter cups.
- Muffin Liners: Paper muffin liners (or silicone ones) are essential for easy removal and serving.
- Small Saucepan or Microwave-Safe Bowl: For melting the chocolate.
- Heat-Proof Spatula or Spoon: For stirring chocolate and mixing the peanut butter filling.
- Mixing Bowl: For combining the peanut butter filling ingredients.
- Measuring Cups and Spoons: For accurate ingredient proportions.
Crafting Your Vegan Peanut Butter Cups: Step-by-Step
Step 1: Preparing the Chocolate Foundation
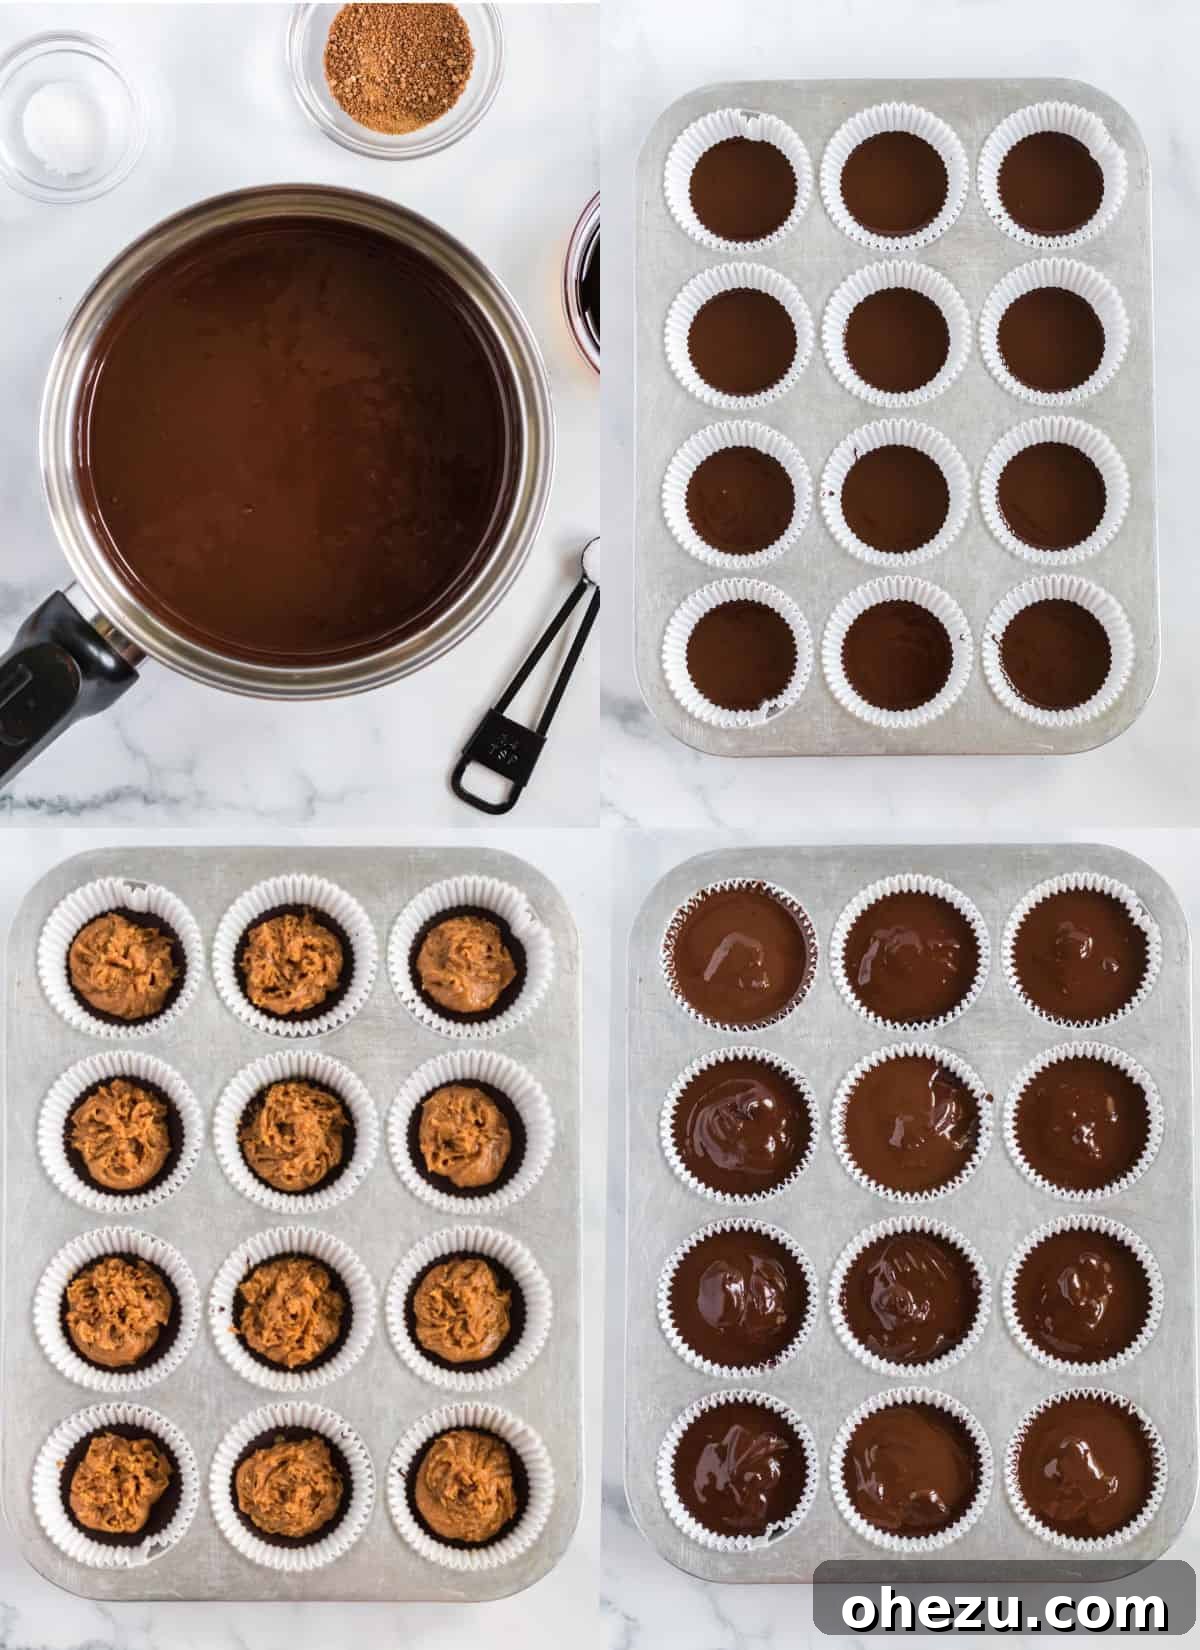
The first step involves creating the luscious chocolate shell. In a small saucepan, gently melt your vegan chocolate chips and coconut oil over very low heat. Stir continuously to prevent burning. Alternatively, you can use a microwave, heating in 20-30 second intervals and stirring well after each, until smooth and fully melted. Patience is key here to achieve a perfectly glossy chocolate. Once melted, stir in the salt and vanilla extract until well combined. This infuses the chocolate with a hint of warmth and balances its sweetness.
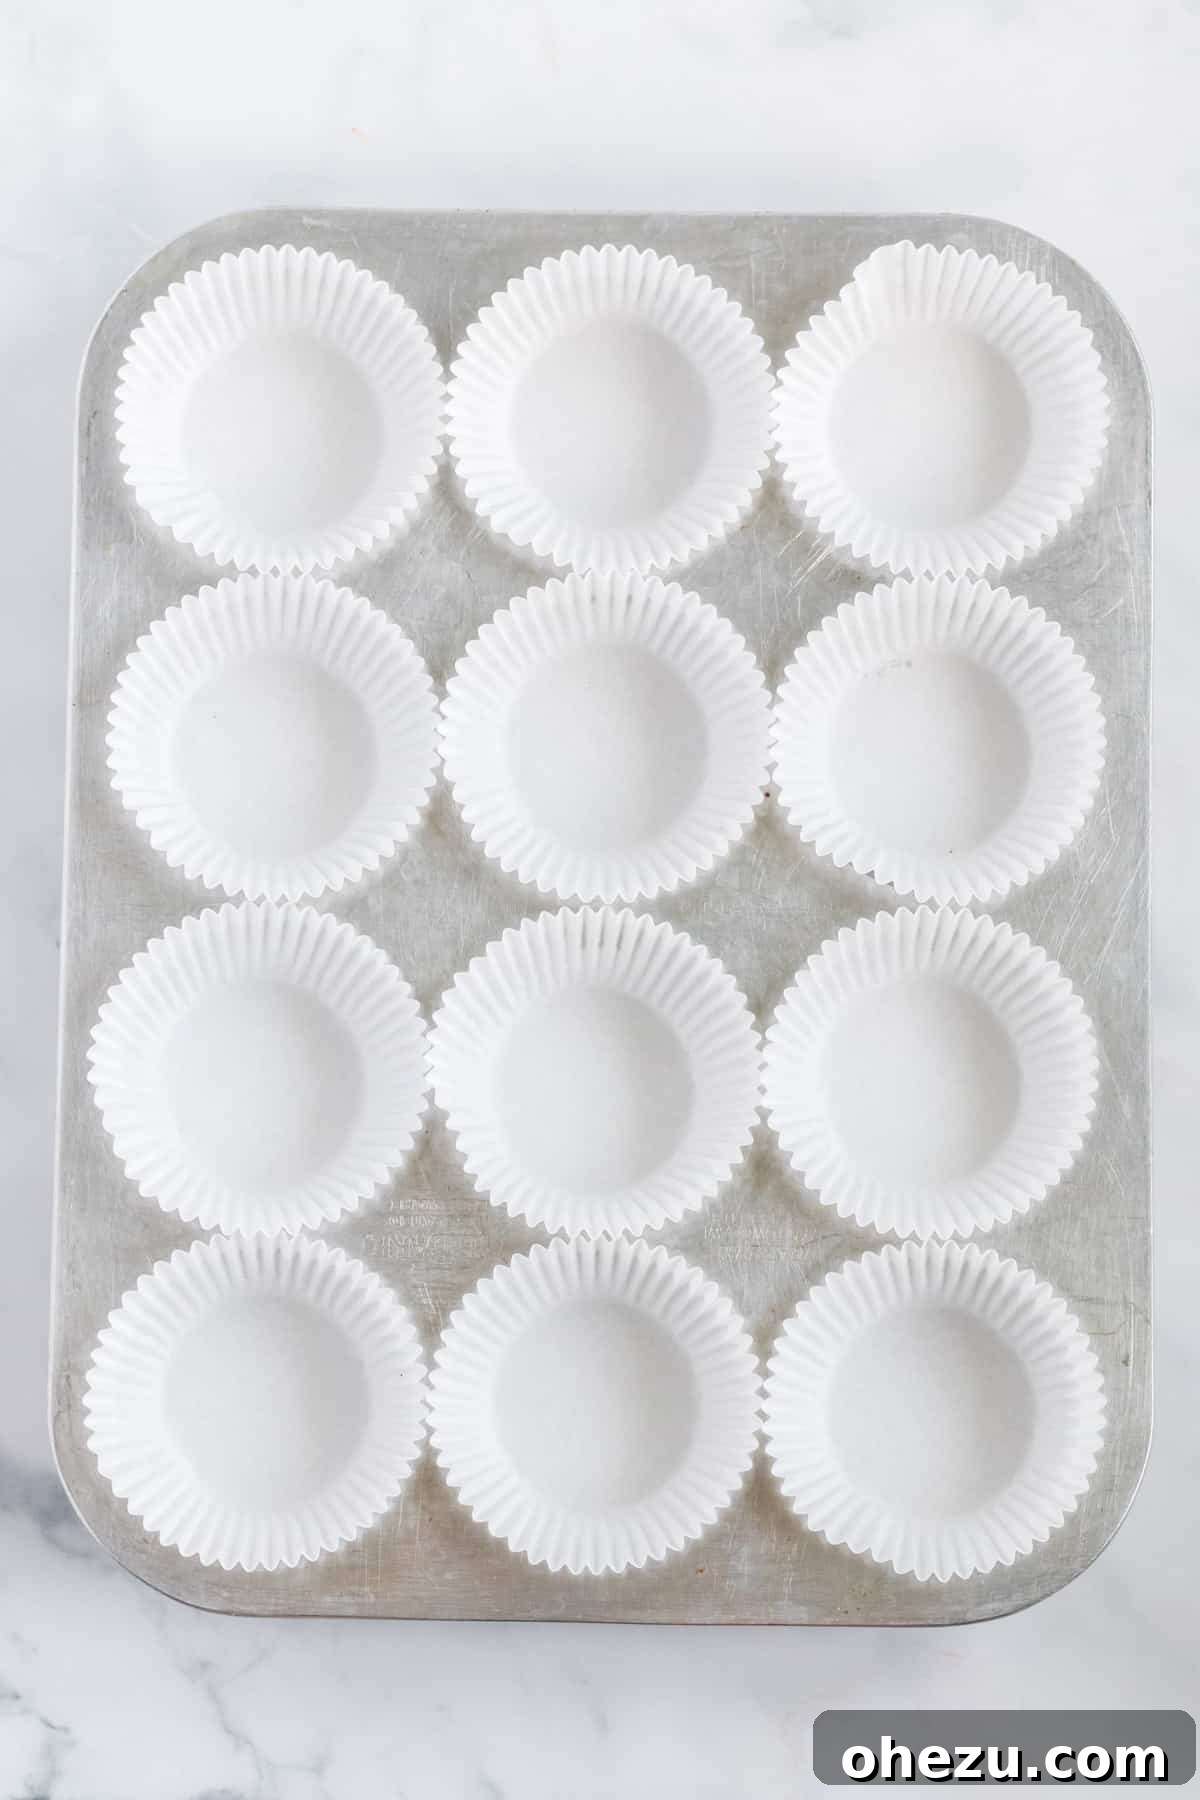
Next, line a 12-cup muffin tin with paper liners. Carefully spoon about 2 teaspoons of the melted chocolate mixture into the bottom of each liner, spreading it evenly. Gently tap the muffin tin on your counter a few times to help the chocolate settle flat and remove any air bubbles. Transfer the muffin tin to the freezer for approximately 10-15 minutes, or until the chocolate layer is firm and solid. This crucial step ensures a defined bottom layer and gives you the perfect window to prepare the creamy peanut butter filling.
Step 2: Crafting the Creamy Peanut Butter Filling
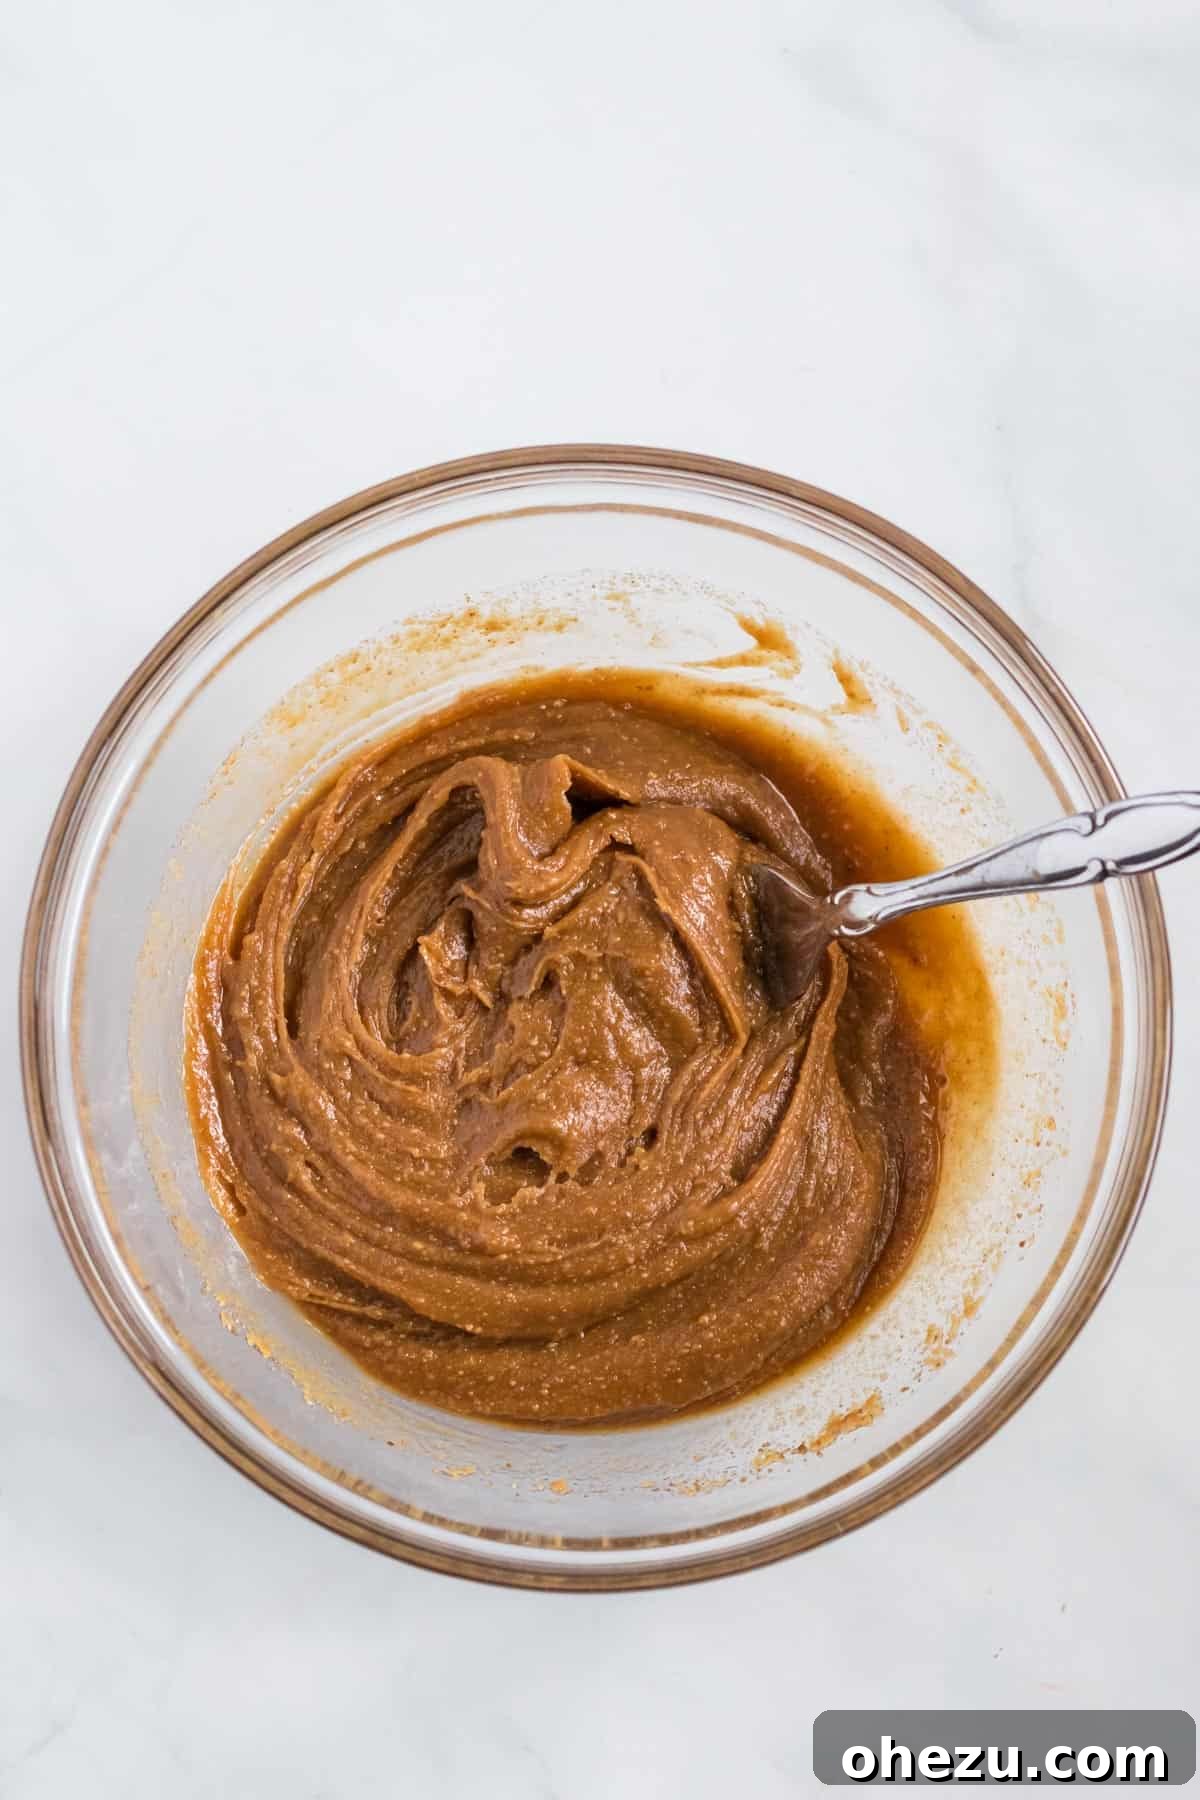
While your chocolate bases are chilling, it’s time to prepare the star of the show: the rich peanut butter filling. In a medium mixing bowl, combine the chilled all-natural creamy peanut butter (remember, you want thick, not drippy!), pure maple syrup, coconut palm sugar, and sea salt. Using a sturdy spoon or a fork, mix these ingredients thoroughly until they are well combined and form a thick, cohesive mixture. The chilled peanut butter helps achieve that desired firm, yet melt-in-your-mouth texture. Taste and adjust sweetness or saltiness if desired.
Step 3: Assembling and Chilling to Perfection
Once the first chocolate layer is set, remove the muffin tin from the freezer. Evenly distribute the peanut butter filling among the 12 muffin cups, gently pressing and flattening it down into the center of each chocolate base. You can use the back of a spoon to smooth the top.
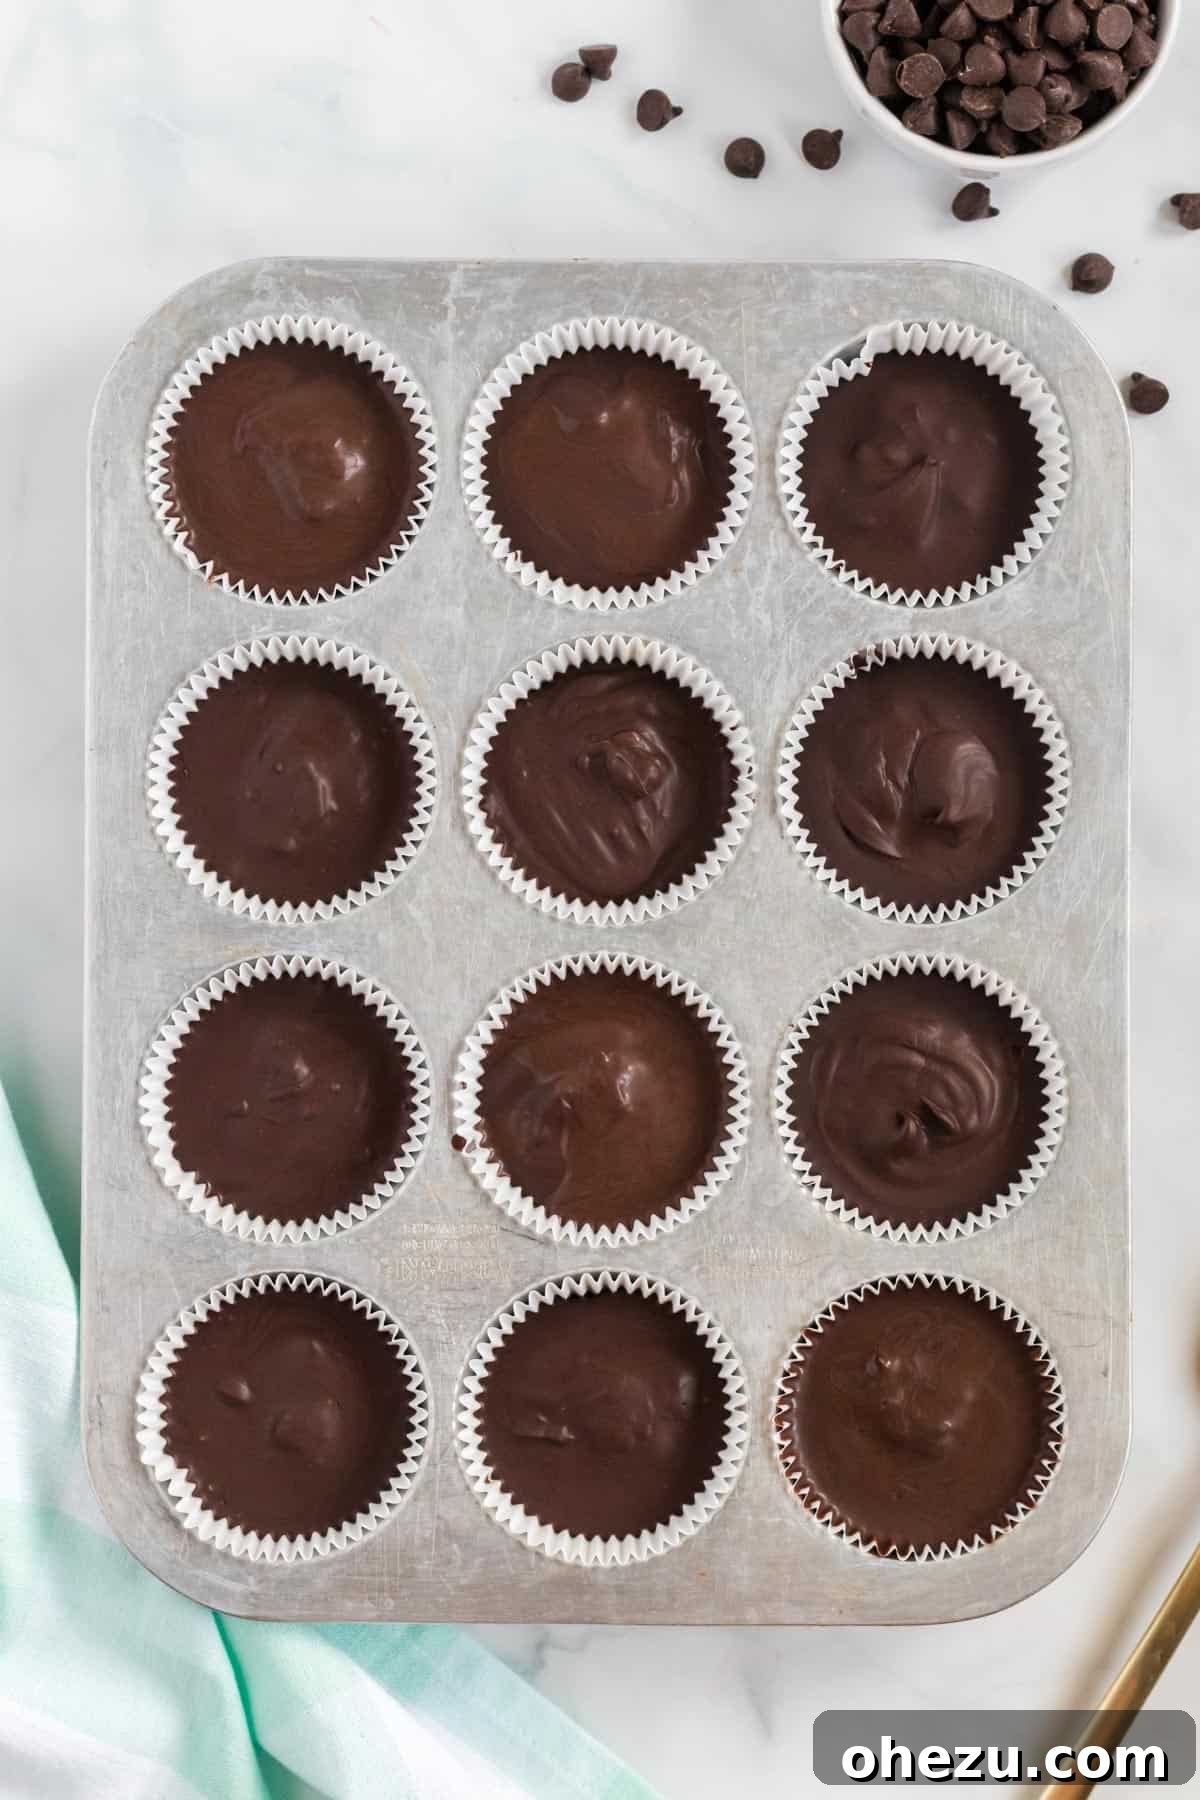
Finally, take the remaining melted chocolate mixture and drizzle or spoon it over the tops of each peanut butter-filled cup, ensuring the peanut butter layer is completely covered. This creates the satisfying top chocolate shell. Return the muffin tin to the freezer for another 15 minutes, or until both chocolate layers are fully set and the cups are firm. It’s an incredibly simple and rewarding process, perfect for involving little helpers in the kitchen!
Tips and Tricks for Perfect Vegan Peanut Butter Cups
While this recipe is straightforward, a few expert tips can ensure your vegan peanut butter cups turn out perfectly every time:
- Peanut Butter Quality is Key: Always use natural, creamy peanut butter with only peanuts and salt as ingredients. Avoid brands with added sugars or oils, as these can make the filling too runny. Chilling your peanut butter in the fridge for at least an hour before mixing will yield a thicker, more stable filling.
- Gentle Chocolate Melting: Whether using a microwave or stovetop, melt your chocolate slowly and on low heat. Chocolate can seize or burn easily if overheated. If microwaving, stir every 20-30 seconds. For a stovetop, use a double boiler method (a heatproof bowl over a pot of simmering water) for the most controlled melting.
- Even Layers: Ensure your chocolate and peanut butter layers are as even as possible. This not only looks aesthetically pleasing but also guarantees a balanced flavor in every bite. Tapping the muffin tin helps the chocolate spread evenly.
- Chill Time is Crucial: Don’t rush the freezing steps. Allowing adequate time for each layer to set ensures the cups hold their shape beautifully and makes them easy to remove from the liners.
- Storage: These peanut butter cups are best stored in an airtight container in the refrigerator or freezer. Storing them in the freezer will give you a firmer chocolate shell and a creamier, almost fudge-like peanut butter center.
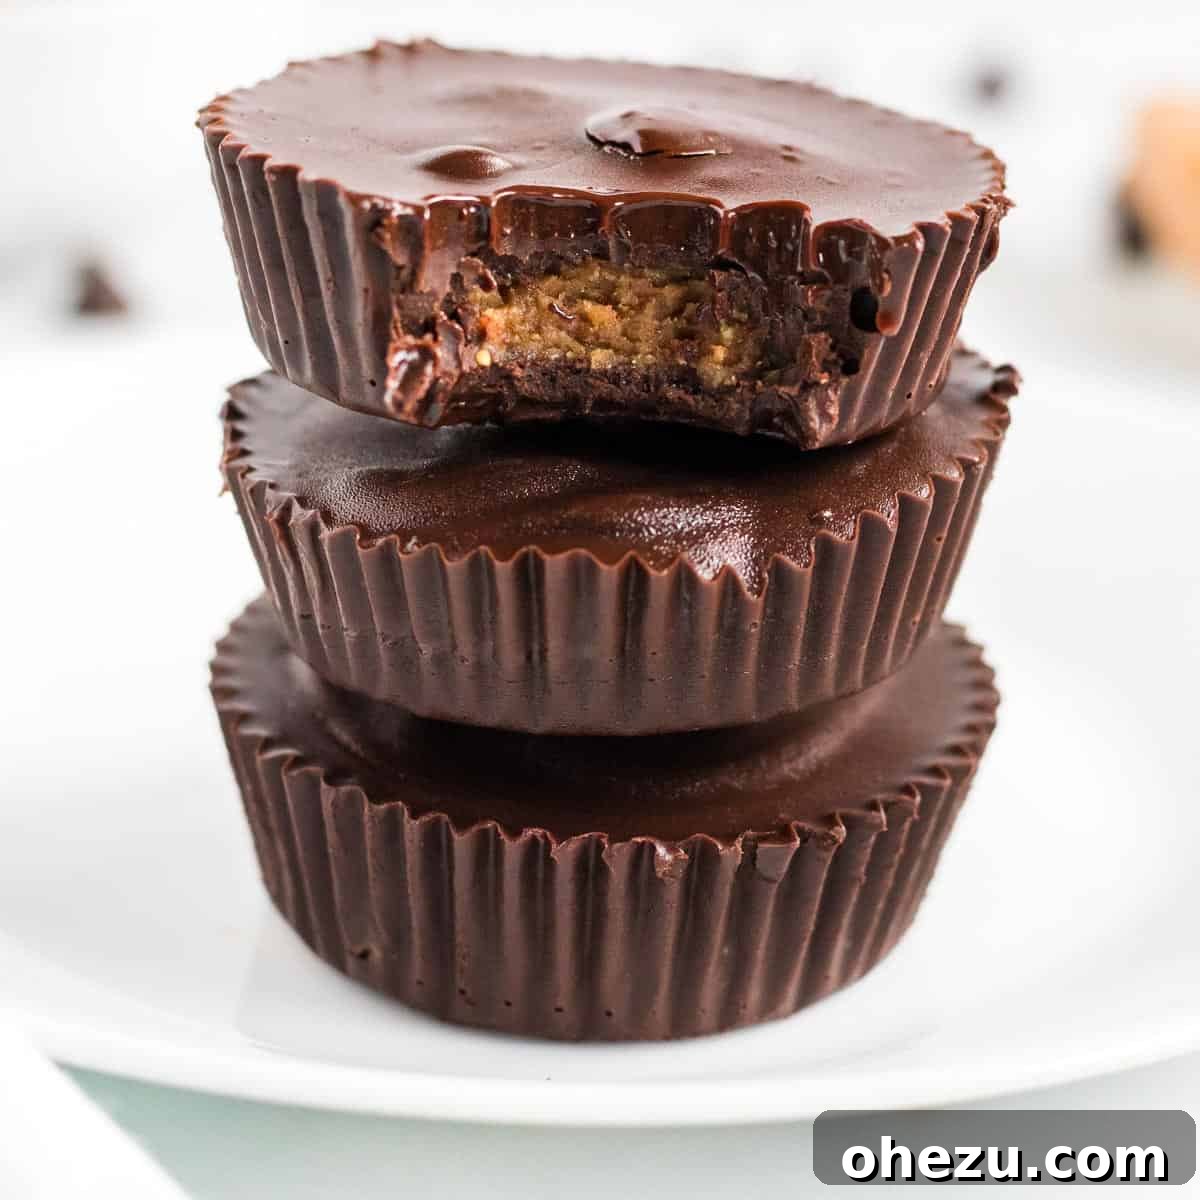
Serving and Enjoying Your Homemade Treats
These impressive treats might look like they took hours to make, but they are surprisingly quick and easy. Once set, the chocolate shell becomes delightfully firm, while the peanut butter filling remains wonderfully creamy, especially if you let them soften slightly out of the freezer.
I personally love enjoying mine straight from the freezer for a refreshing, firm bite. However, if you prefer a softer, more decadent experience, let them sit at room temperature for a few minutes before indulging. These peanut butter cups are incredibly versatile. Try them:
- As a stand-alone treat: Perfect for satisfying those afternoon sweet cravings or as a delightful after-dinner dessert.
- Crumbled over ice cream: Chop them into pieces and sprinkle over vanilla (or chocolate!) vegan ice cream for an elevated sundae experience.
- Mixed into smoothies: Add a small cup to your morning smoothie for a rich, satisfying boost.
- As a gift: Package them beautifully for a thoughtful, homemade present that anyone would adore.
Be warned: these tend to disappear quickly! I recommend making a double batch if you hope to have any leftovers, especially if you live in a household of sweet-toothed individuals. My original recipe for these has been a hit for years, and they never fail to impress. They are truly perfect every single time. Imagine having a freezer full of these for every chocolate emergency!
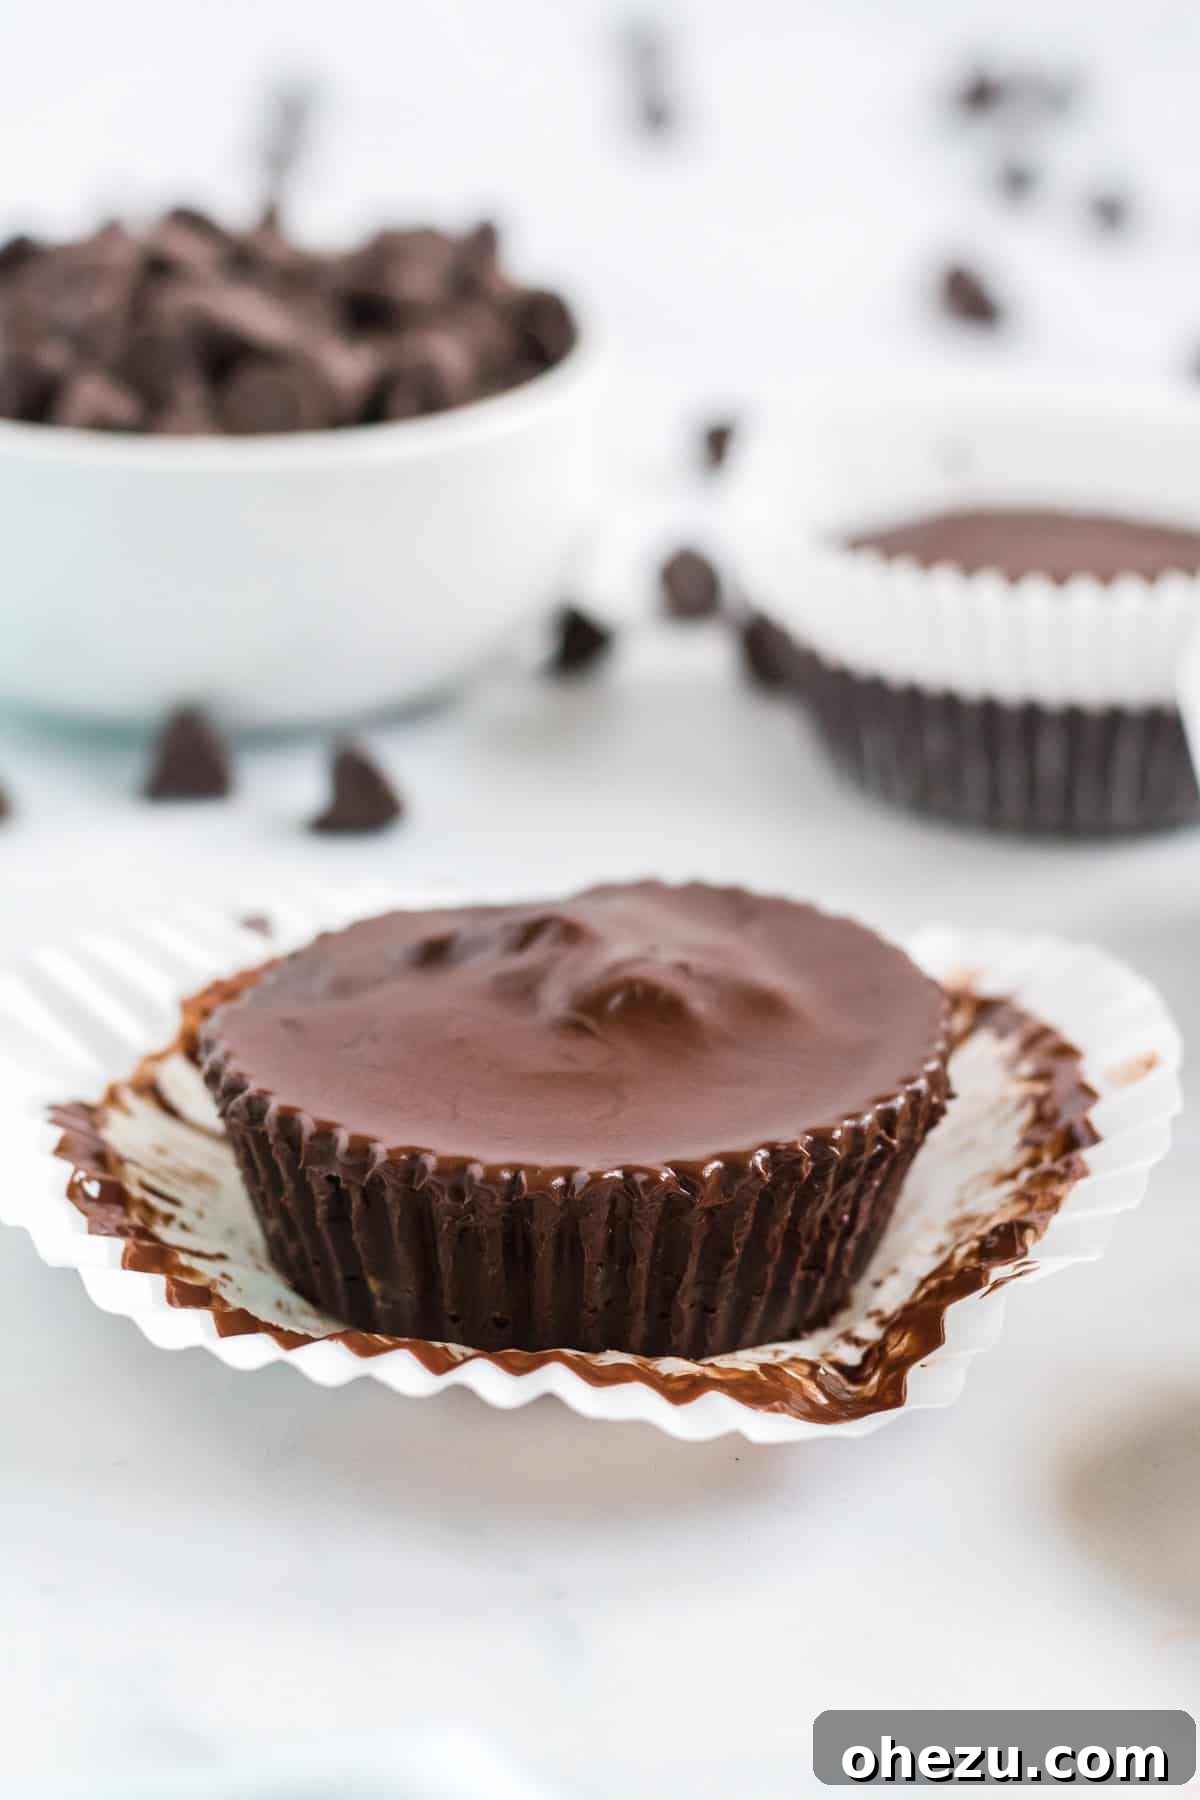
More Delightful Vegan Desserts to Explore
- Vegan Peanut Butter Fudge
- Vegan Pumpkin Chocolate Chip Cookies
- Best Vegan Apple Crisp
- Vegan Chocolate Chip Cookies
- Vegan Blueberry Peach Crisp
- Homemade Magic Shell
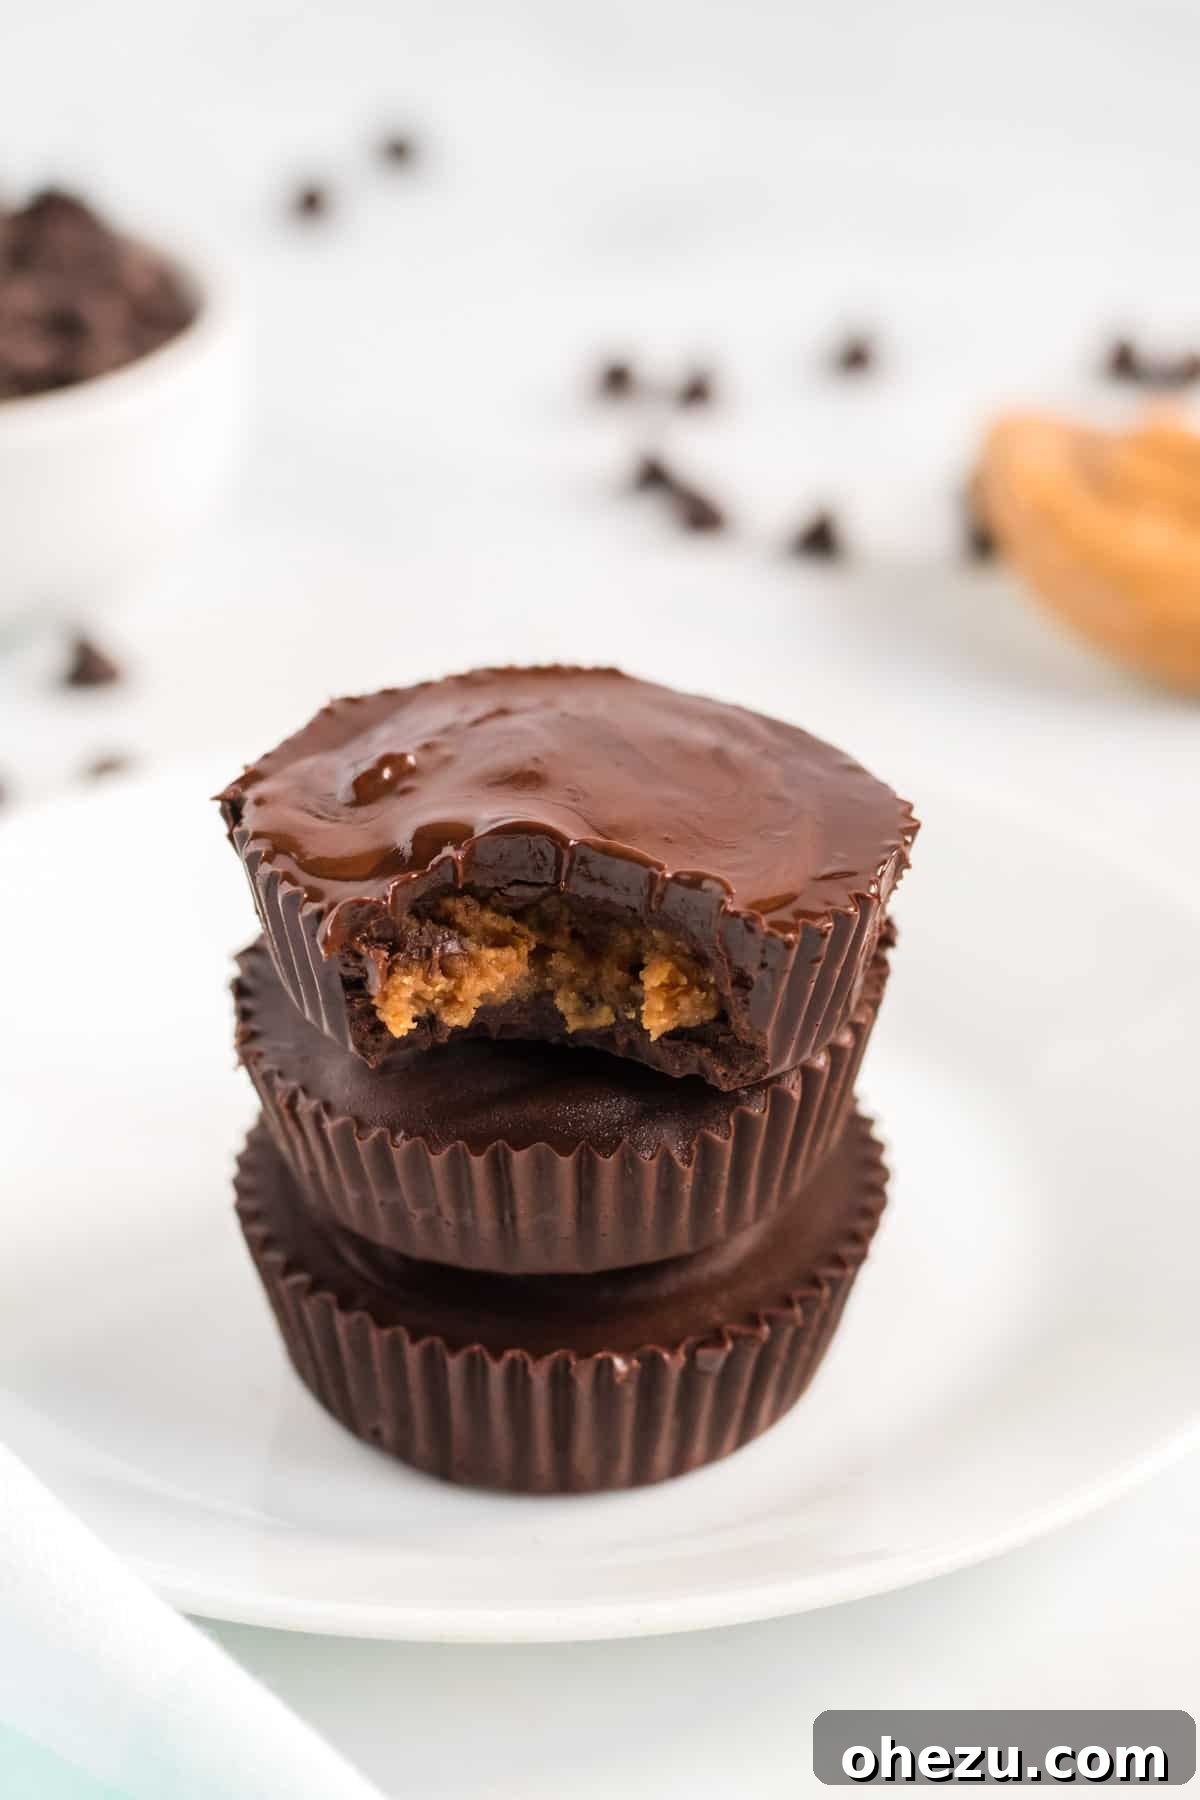
Vegan Peanut Butter Cups
Joy Shull
20 mins
15 mins
35 mins
12
Ingredients
For the Chocolate Layer
- 10 oz semi-sweet dairy-free chocolate chips
- 2 tablespoons coconut oil
- 1/4 teaspoon sea salt
- 1/4 teaspoon vanilla extract
For the Peanut Butter Filling
- 3/4 cup all-natural peanut butter, chilled in the fridge (ingredients should be just peanuts and salt)
- 1/4 cup pure maple syrup
- 1/4 teaspoon sea salt
- 1 tablespoon coconut palm sugar
Instructions
- Start by melting the chocolate layer. Add 2 tablespoons of coconut oil to a saucepan and heat on low heat until melted.
- Add 10 oz bag of chocolate chips, stirring on low heat until melted (can take 5 minutes). Be sure not to burn chocolate and only melt on low. Alternatively, you can microwave in small increments and stir until melted, but be careful not to burn the chocolate.
- Once chocolate is melted, add in 1/4 teaspoon sea salt and 1/4 teaspoon vanilla extract and stir to combine.
- Once the chocolate mixture is stirred and melted, line a 12-cup muffin tin with paper muffin liners.
- Pour 2 teaspoons of chocolate mixture in the bottom of each muffin liner. Once you are done filling each liner, tap the pan down a few times to get the chocolate to sit flat.
- Place muffin tin in freezer for 10-15 minutes, or until chocolate is set.
- While chocolate is hardening, make the peanut butter mixture.
- Add 3/4 cup of chilled peanut butter (see note above – peanut butter should be thick, not drippy) to a bowl.
- Add maple syrup, sea salt, and coconut palm sugar and stir with a fork until well combined.
- Remove muffin tin from freezer and distribute the peanut butter mixture on top of each layer of chocolate, flattening it down in the center.
- Drizzle remaining chocolate mixture over the tops of each muffin cup, making sure to cover the peanut butter completely.
- Freeze for 15 minutes, or until chocolate is set.
- Store peanut butter cups in the freezer or fridge. I like to keep mine in a Ziploc bag in the freezer.
Video
Nutrition
Carbohydrates: 23 g,
Protein: 5 g,
Fat: 18 g,
Saturated Fat: 8 g,
Polyunsaturated Fat: 2 g,
Monounsaturated Fat: 4 g,
Sodium: 169 mg,
Potassium: 106 mg,
Fiber: 2 g,
Sugar: 17 g,
Calcium: 46 mg,
Iron: 2 mg