
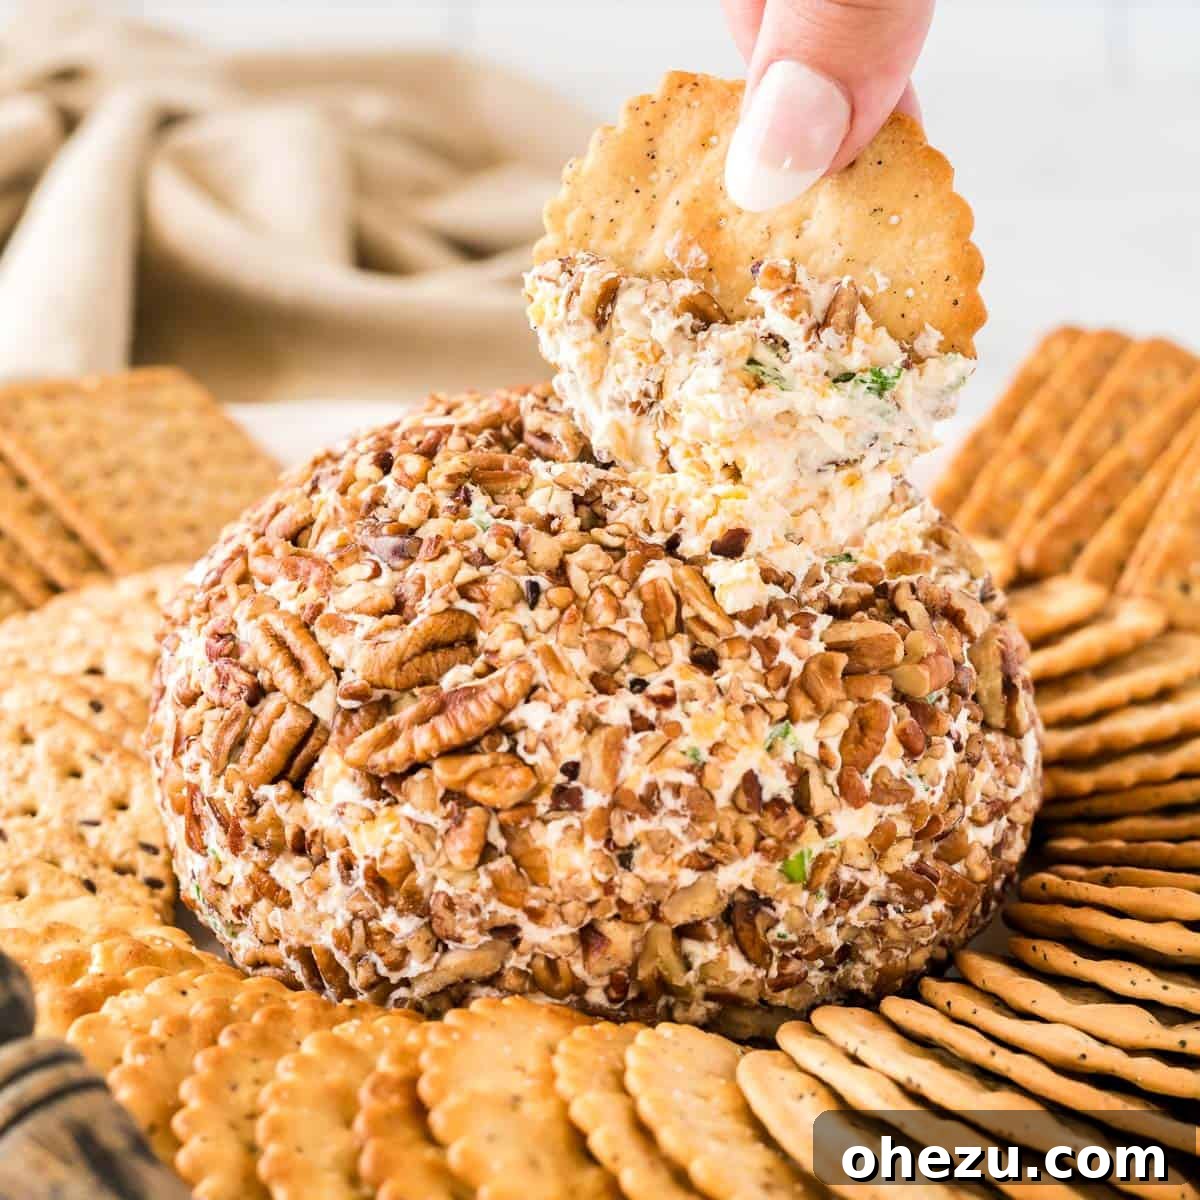
The Ultimate Easy Cheese Ball Recipe: Your Go-To Holiday Appetizer
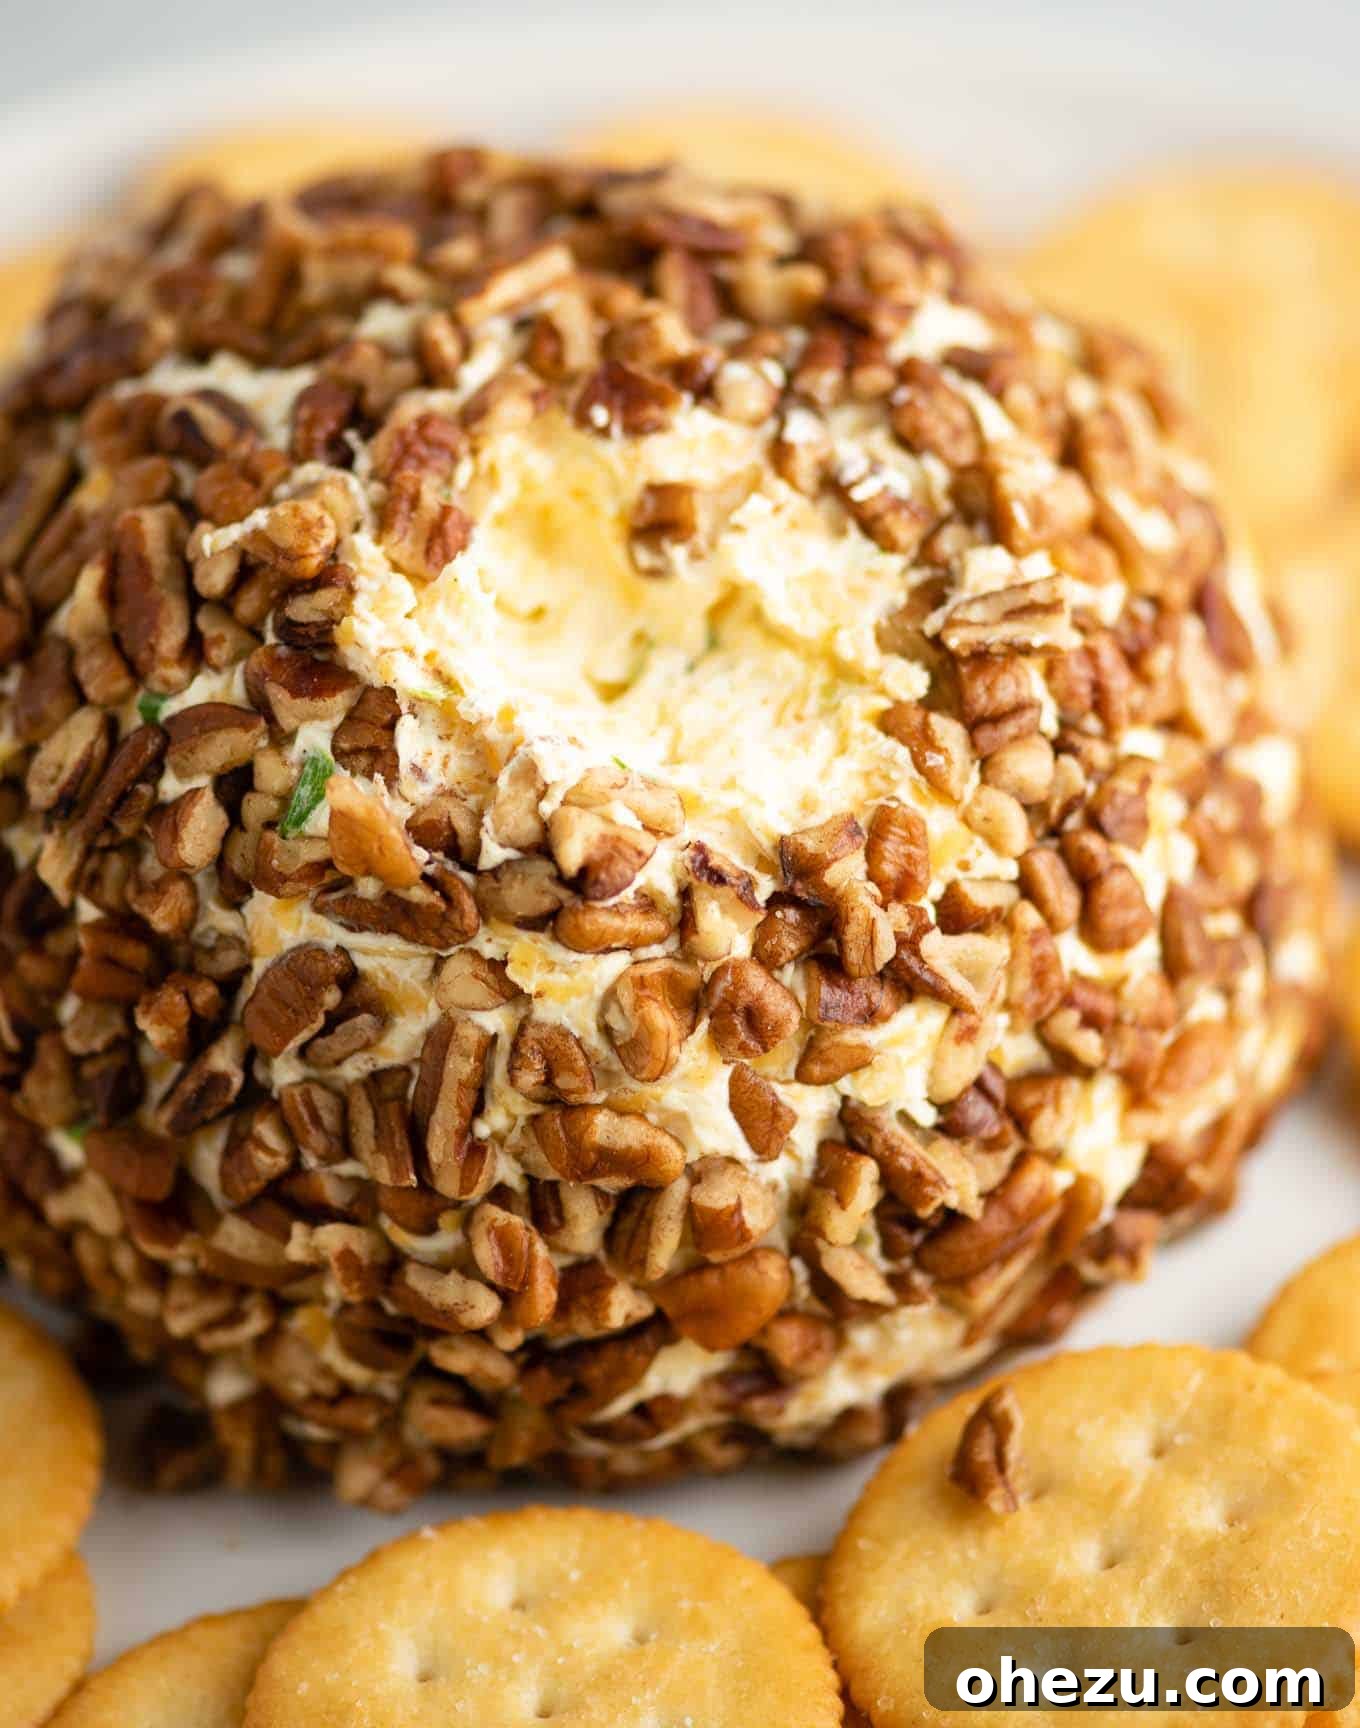
Craft the perfect appetizer for any gathering with this incredibly simple yet irresistibly delicious Cheese Ball Recipe. Featuring a harmonious blend of creamy cheese, zesty green onions, and sharp cheddar, all rolled in crunchy pecans, this classic dish is an absolute must-have for the holidays and beyond!
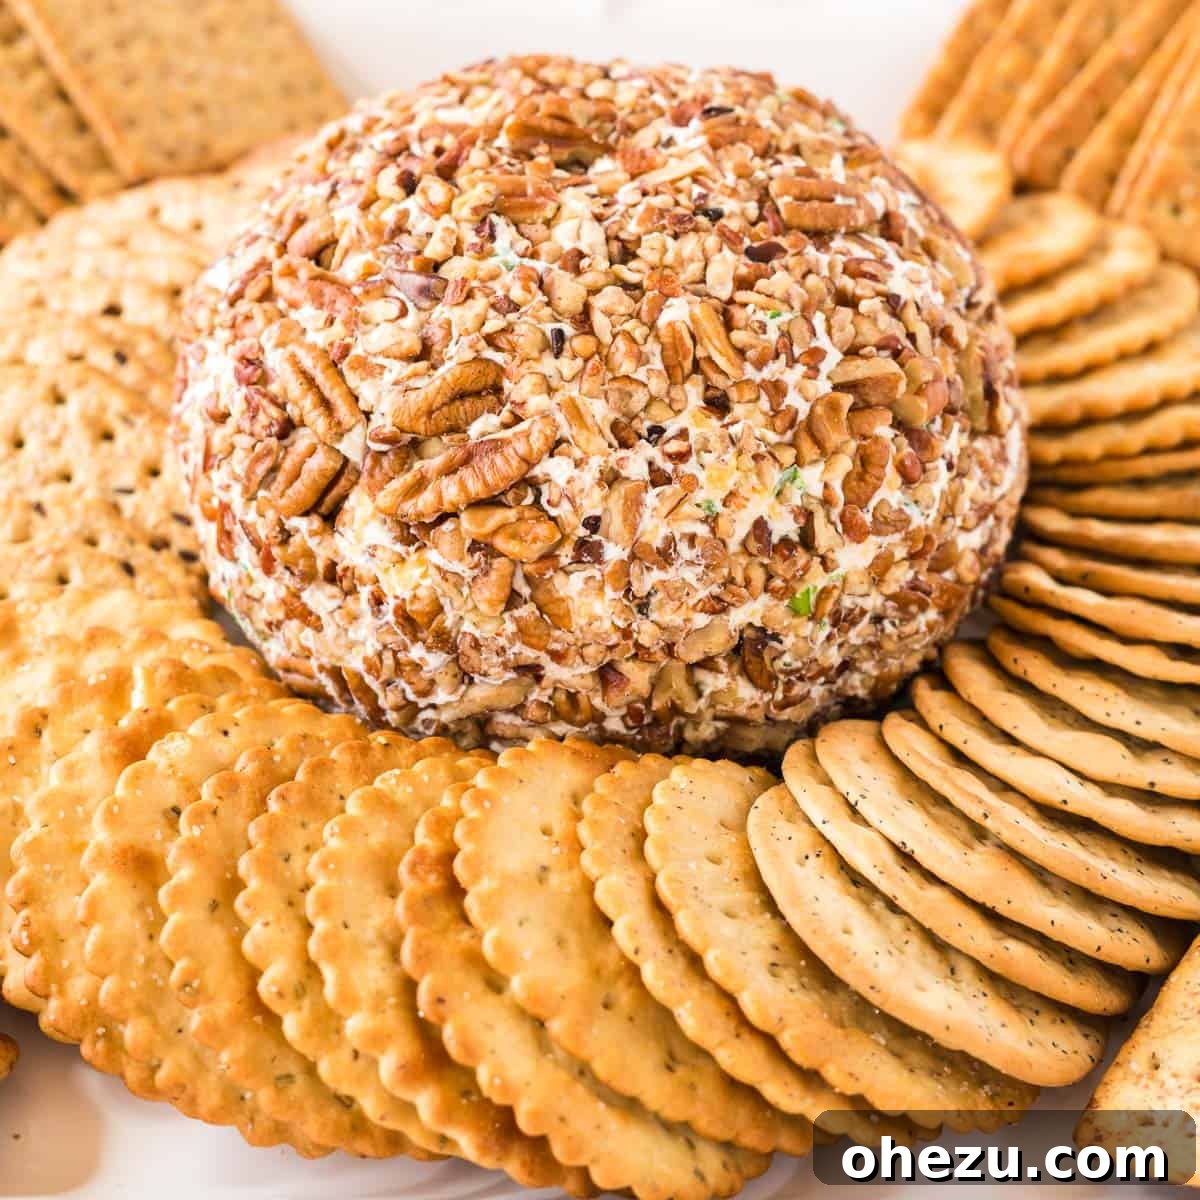
The Enduring Charm of a Classic Cheese Ball
There are some appetizers that simply define a celebration, and the cheese ball is undoubtedly one of them. For many, including myself, it’s a cherished tradition passed down through generations, evoking warm memories of holiday gatherings and festive parties. Its universal appeal lies in its delightful combination of flavors and textures – a creamy, savory core enveloped in a crunchy, nutty crust. It’s an appetizer that genuinely brings people together, sparking conversations and satisfying taste buds without fail.
This particular recipe stands out for its straightforward approach and consistently delicious results. Using only readily available, simple ingredients, you can whip up a batch in just a few minutes of active preparation, making it an ideal choice for busy hosts who want to impress without the stress. This classic favorite proves that sometimes, the simplest recipes yield the most impressive and memorable outcomes. It’s a testament to timeless taste and effortless entertaining, perfectly suited for holiday tables, game day spreads, or any special occasion.
⭐ Rave Review ⭐
“This is my simple ‘go-to’ appetizer to bring to parties. In fact, it’s always requested by those who’ve had it. Sometimes I divide it and roll one in herbs and one in nuts. It feeds a LOT of happy people. I’ve made others but this combination works very well.” -Kim
No matter your skill level in the kitchen, you can confidently make this recipe and impress your family and friends with a homemade treat. This delicious appetizer is so flavorful, boasting a perfect contrast of rich creaminess and satisfying crunch from the pecans. Fresh green onions add a vibrant, subtle pungency, while the combination of cream cheese and sharp cheddar, seasoned with a few simple spices, ensures just the right amount of flavor in every delectable bite. It’s a versatile dish that tastes complex but is surprisingly easy to execute, making it a staple in any host’s repertoire.
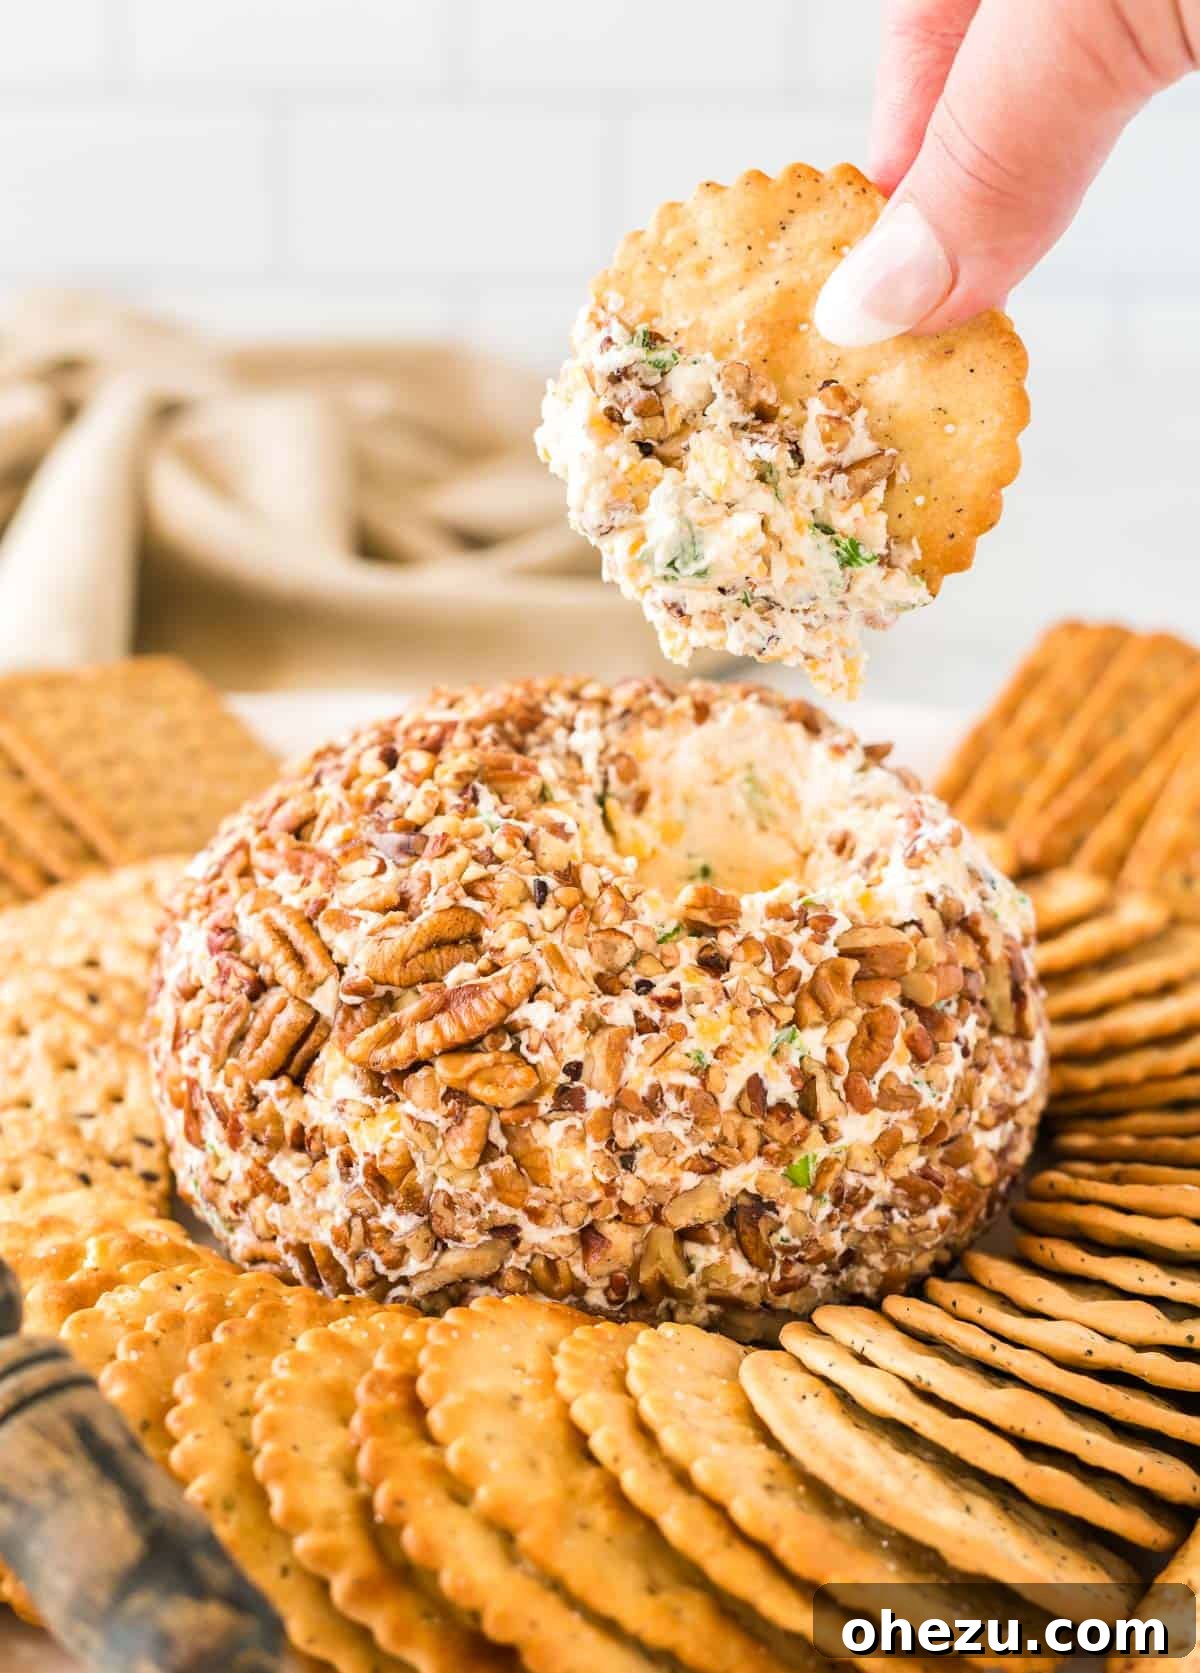
Essential Ingredients for Your Perfect Cheese Ball
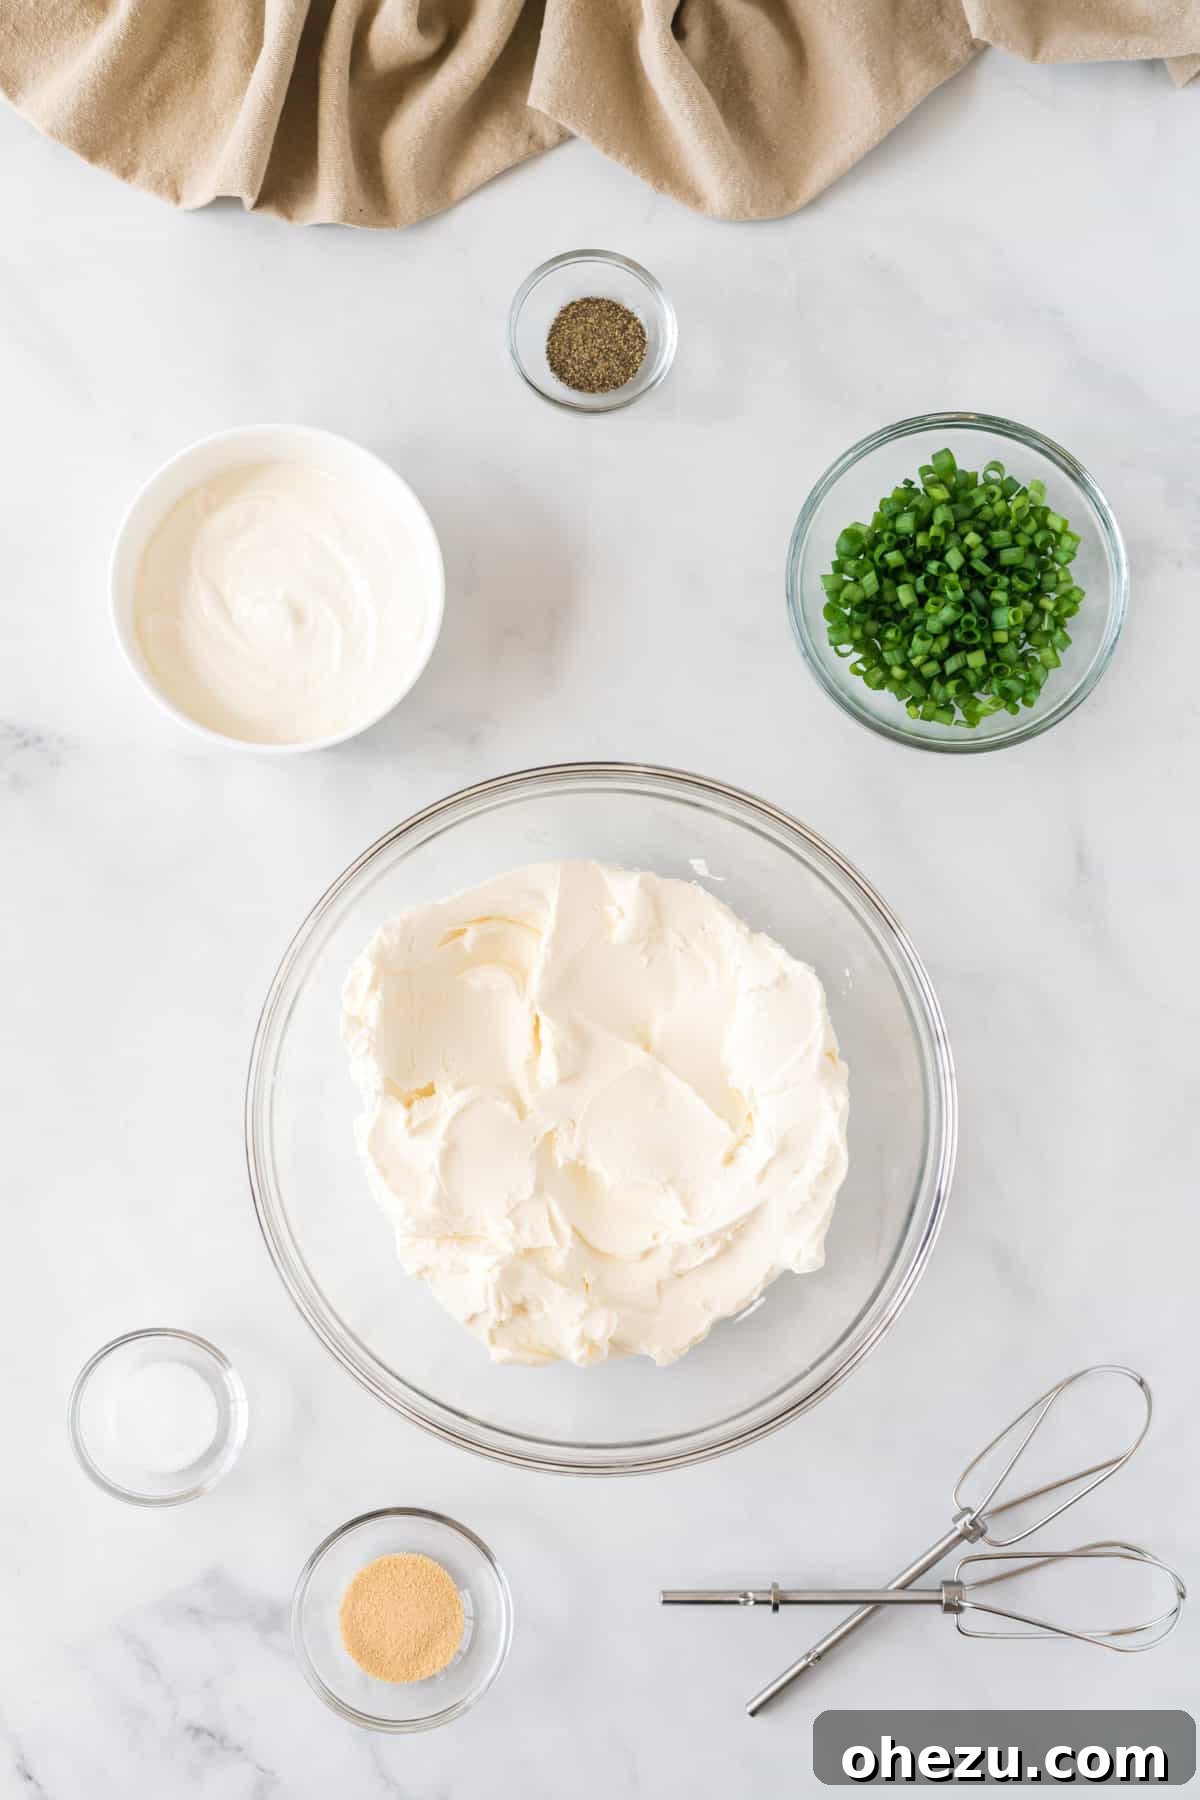
Creating an exceptional cheese ball starts with selecting the right components. While the full, detailed ingredient list with precise measurements is available in the recipe card below, here’s a quick overview of the key players you’ll need to gather. Each ingredient contributes significantly to the overall flavor and texture, so choosing fresh and quality items is always recommended.
Key Ingredients
- Cream Cheese: The foundational ingredient, providing that essential smooth, rich, and tangy creaminess. It’s crucial that it’s softened to room temperature for effortless mixing and a lump-free base.
- Sour Cream: This ingredient adds a delicate tang and helps achieve the ideal spreadable consistency, preventing the cheese ball from being too dense or stiff. It also contributes to the overall moisture.
- Sharp Cheddar Cheese: Freshly grated from a block is paramount here for superior flavor and texture. Sharp cheddar delivers a robust, savory kick that truly elevates the cheese ball, offering a depth that pre-shredded varieties simply can’t match.
- Green Onions: Also known as scallions, these provide a mild oniony bite and a beautiful, fresh green speckle throughout the mixture, adding both flavor and visual appeal.
- Chopped Pecans: The star of the outer coating, offering a delightful crunch and rich, earthy flavor. They provide a wonderful textural contrast to the creamy interior.
- Garlic Powder: A touch of garlic powder infuses the mixture with a subtle yet impactful aromatic depth, enhancing the savory profile without overpowering other flavors.
- Salt & Pepper: Essential seasonings to balance and enhance all the other flavors. They bring everything into harmony, so adjust to your taste preferences.
As you can see, the list is straightforward, emphasizing fresh ingredients for the best possible outcome. Each component plays a vital role in crafting an appetizer that is both simple to make and irresistibly delicious.
How to Master the Art of Making a Cheese Ball
Don’t be intimidated by the impressive presentation of a cheese ball; the process of making one is surprisingly simple and incredibly rewarding. Follow these easy, step-by-step instructions to create a show-stopping appetizer that will become a go-to recipe in your kitchen:
Step 1: Soften Your Cream Cheese for Optimal Blending
The first crucial step is to ensure your cream cheese is adequately softened. Cold cream cheese is notoriously difficult to mix smoothly, often leading to stubborn lumps. To achieve the perfect pliable consistency, simply leave the cream cheese blocks on your kitchen counter for approximately 30 minutes to an hour. The exact time will depend on your kitchen’s ambient temperature. You want it soft enough to easily blend but not so warm that it’s melted or greasy.
Step 2: Combine the Creamy Base with Flavorful Add-ins
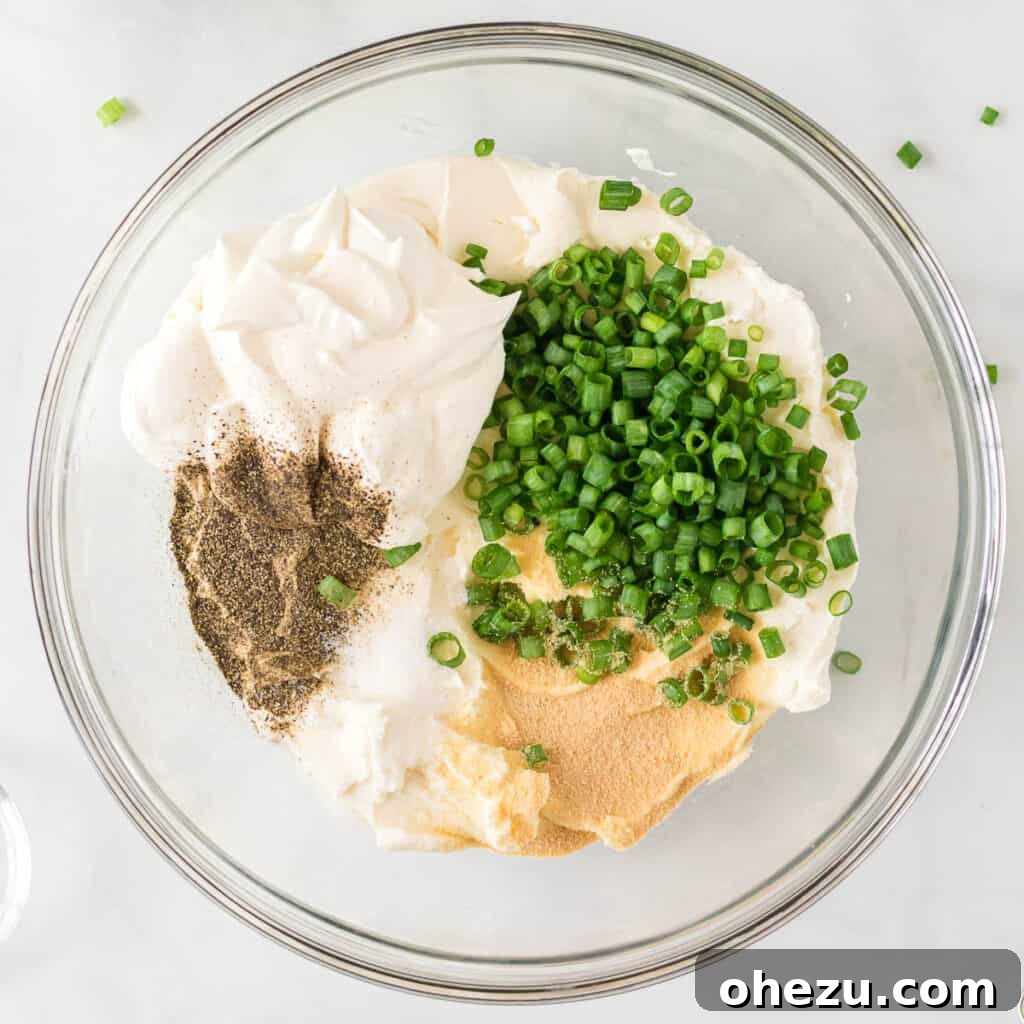
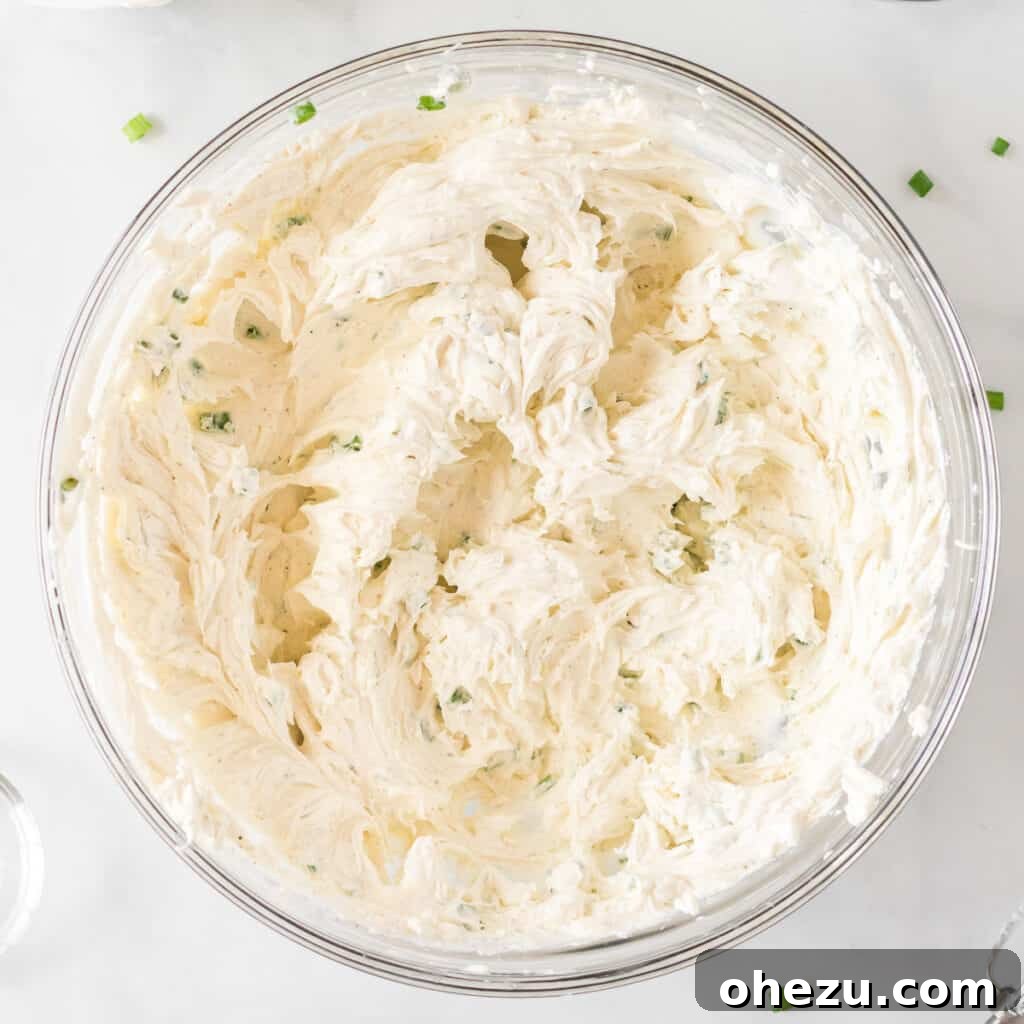
Once your cream cheese has reached the perfect softness, transfer it to a large mixing bowl. Add the sour cream, garlic powder, finely chopped fresh green onions, salt, and pepper. Using a hand mixer (or a stand mixer with the paddle attachment), beat these ingredients together until they are thoroughly combined and the mixture is wonderfully smooth and creamy. Take your time to ensure no lumps of cream cheese remain, creating a uniform and flavorful base for your cheese ball.
Step 3: Incorporate the Sharp Cheddar for Richness
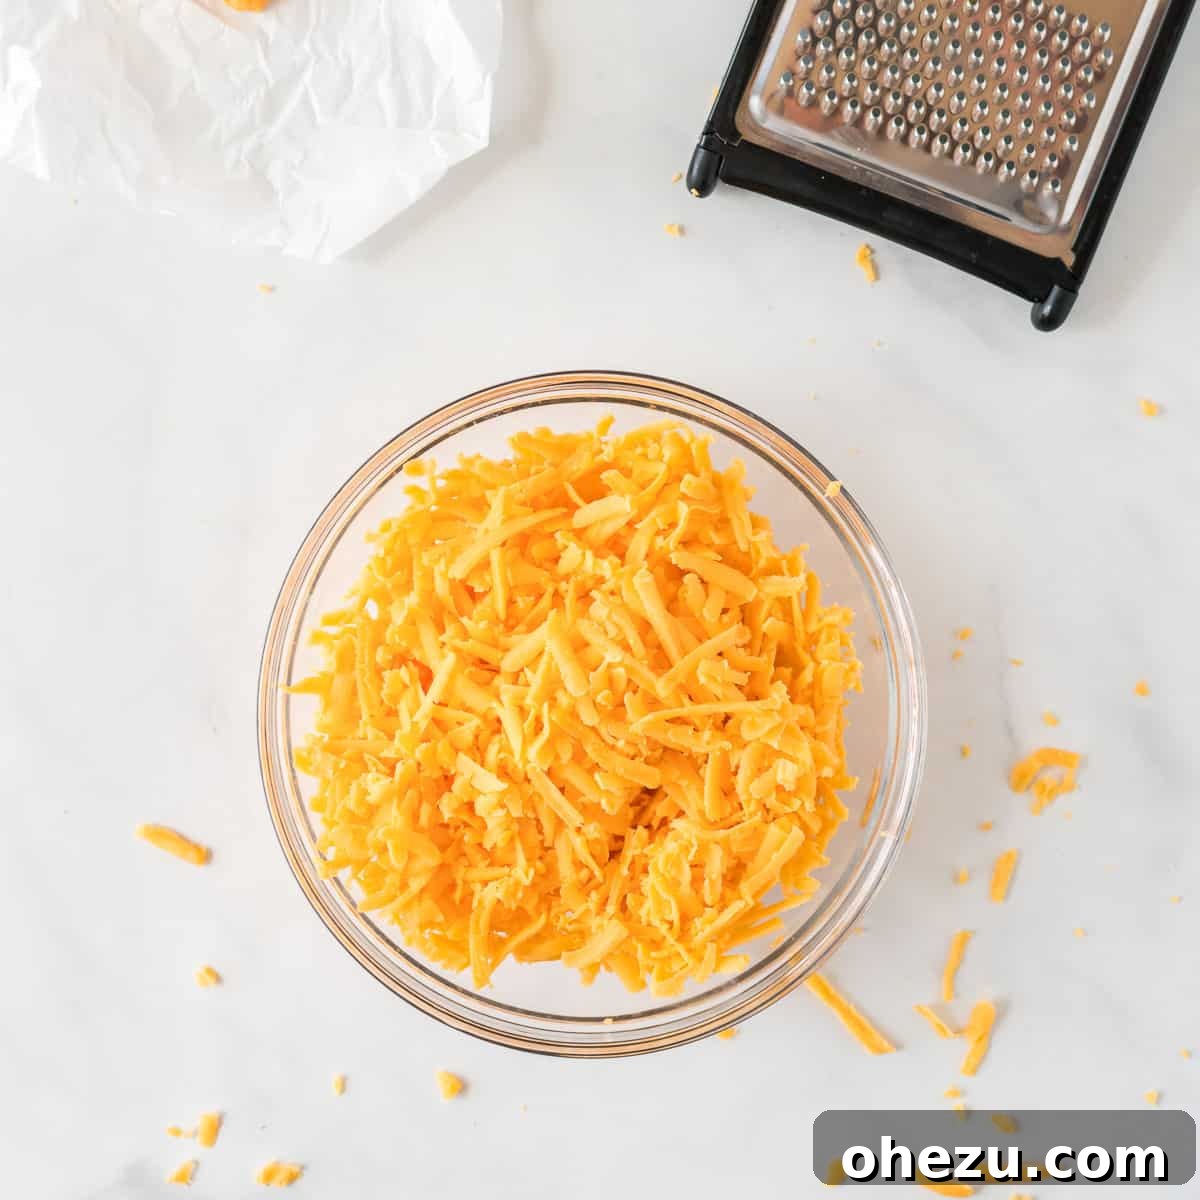
Next, it’s time to add the star of the show: the sharp cheddar cheese. Grate 8 ounces of fresh sharp cheddar cheese directly into your mixing bowl. Incorporate this into the cream cheese mixture using your hand mixer, beating until the cheddar is evenly distributed throughout. Be careful not to overmix at this stage; just combine until the cheddar is well integrated, ensuring every bite is packed with cheesy goodness.
Joy’s Pro Tip: Freshly Grated Cheese Makes All the Difference!
I always highly recommend taking those extra few minutes to grate your cheese fresh from the block. Pre-shredded cheeses often contain cellulose or other anti-caking agents that can alter the texture and flavor of your dish, preventing them from melting and blending as smoothly. Freshly grated cheese, on the other hand, provides an unmatched depth of flavor and a superior, melt-in-your-mouth texture, truly elevating your cheese ball to gourmet status. It’s a small effort with a huge impact on taste.
Step 4: Chill to Firm and Enhance Flavors
Once all your ingredients are beautifully combined into a harmonious mixture, cover the bowl tightly with plastic wrap and place the cheese ball mixture in the refrigerator. Chill for at least an hour, or until it has firmed up considerably. This chilling period is crucial for two important reasons: it allows all the delicious flavors to meld and deepen, resulting in a more complex taste, and it makes the mixture much easier to handle and shape into a perfect ball. Do not skip this essential step for the best results and easiest handling.

Make It Ahead for Effortless Entertaining
This cheese ball recipe is wonderfully suited for make-ahead planning, significantly easing your entertaining burden. You can prepare the entire cheese mixture up to 2-3 days in advance. Simply keep it covered tightly in the fridge after mixing. When you’re ready to serve, just take it out, form it into a ball, and roll it in the pecan coating. This flexibility allows you to focus on other party preparations, making busy holiday seasons or last-minute gatherings much more manageable.
Step 5: Shape Your Perfect Cheese Ball
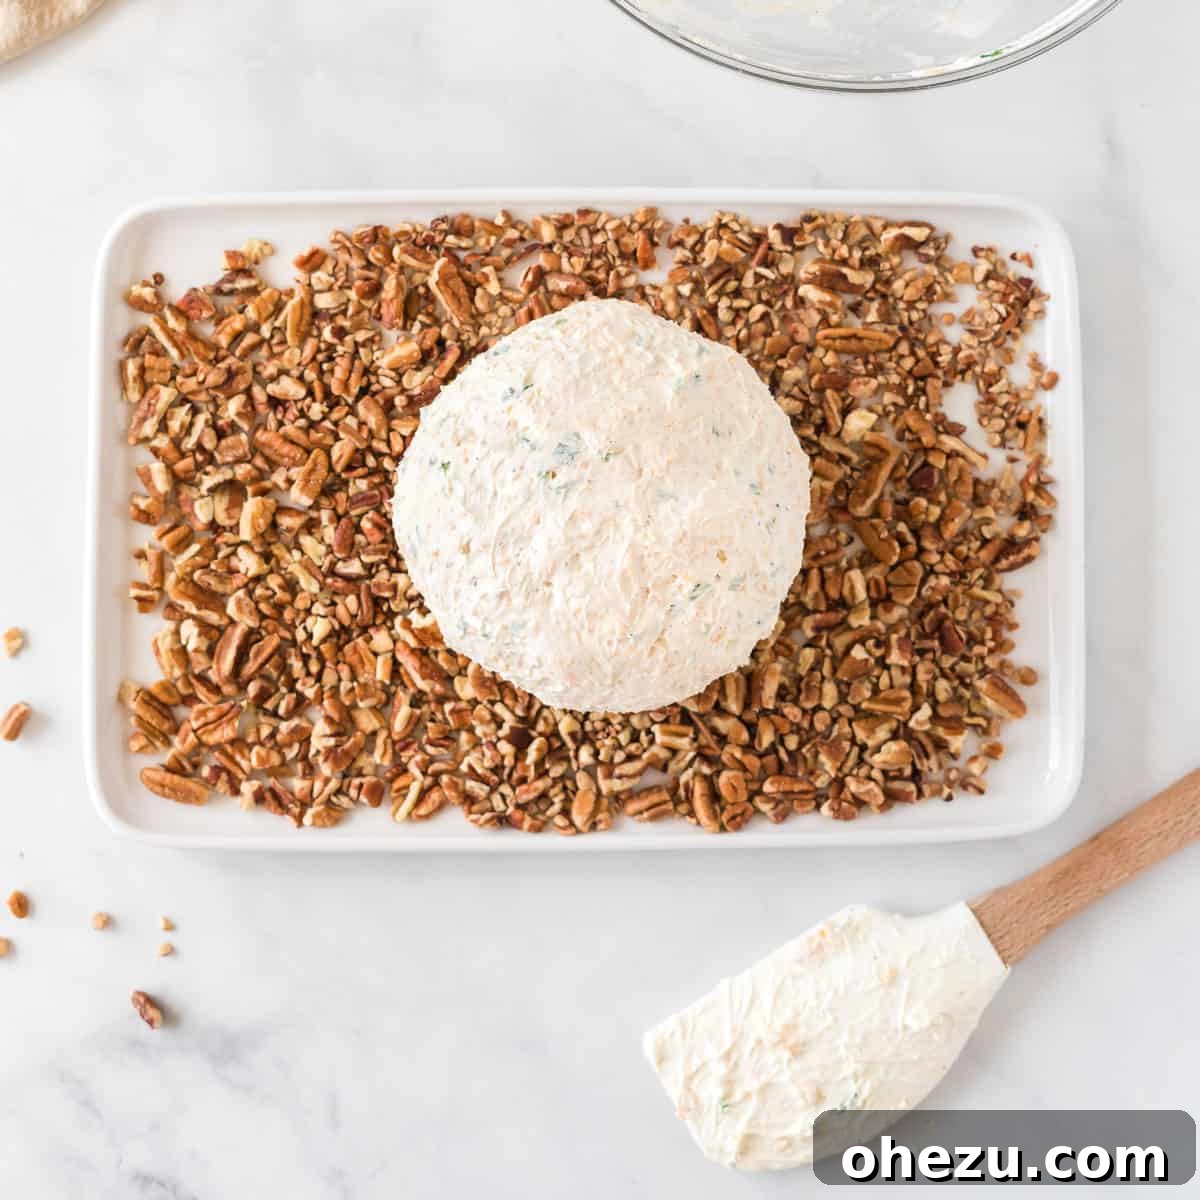
Once chilled and firm, it’s time to transform your flavorful mixture into a beautiful sphere. First, lightly grease your hands with a little olive oil spray or a neutral cooking oil. Use a spatula to scrape the mixture out of the bowl and roughly form it into a loose ball shape. Then, with your greased hands, gently but firmly shape it into a smooth, round cheese ball. The oil on your hands will create a barrier, preventing the sticky cheese mixture from adhering too much, making the shaping process much easier and cleaner, and resulting in a perfectly smooth surface.
Recipe Shaping Tip: The Greased Hands Secret
The trick to a perfectly smooth cheese ball without a sticky mess is lightly oiled hands. I personally found that a quick spray of olive oil on my palms worked wonders. It provides just enough lubrication to handle the cheese mixture effortlessly, resulting in a beautifully formed, cohesive ball ready for its coating. This simple tip will save you time and frustration.
Step 6: Coat with Crunchy Pecans for Irresistible Texture
Prepare a shallow dish or plate with about one cup of finely chopped pecan pieces. Gently place your formed cheese ball into the pecans. Begin to roll it, pressing lightly and evenly, until the entire surface of the cheese ball is thoroughly coated. Ensure every inch is covered for that satisfying, crunchy texture in every bite. If you find you’re running low on pecans before the ball is fully coated, don’t hesitate to chop a few more to achieve complete and even coverage.
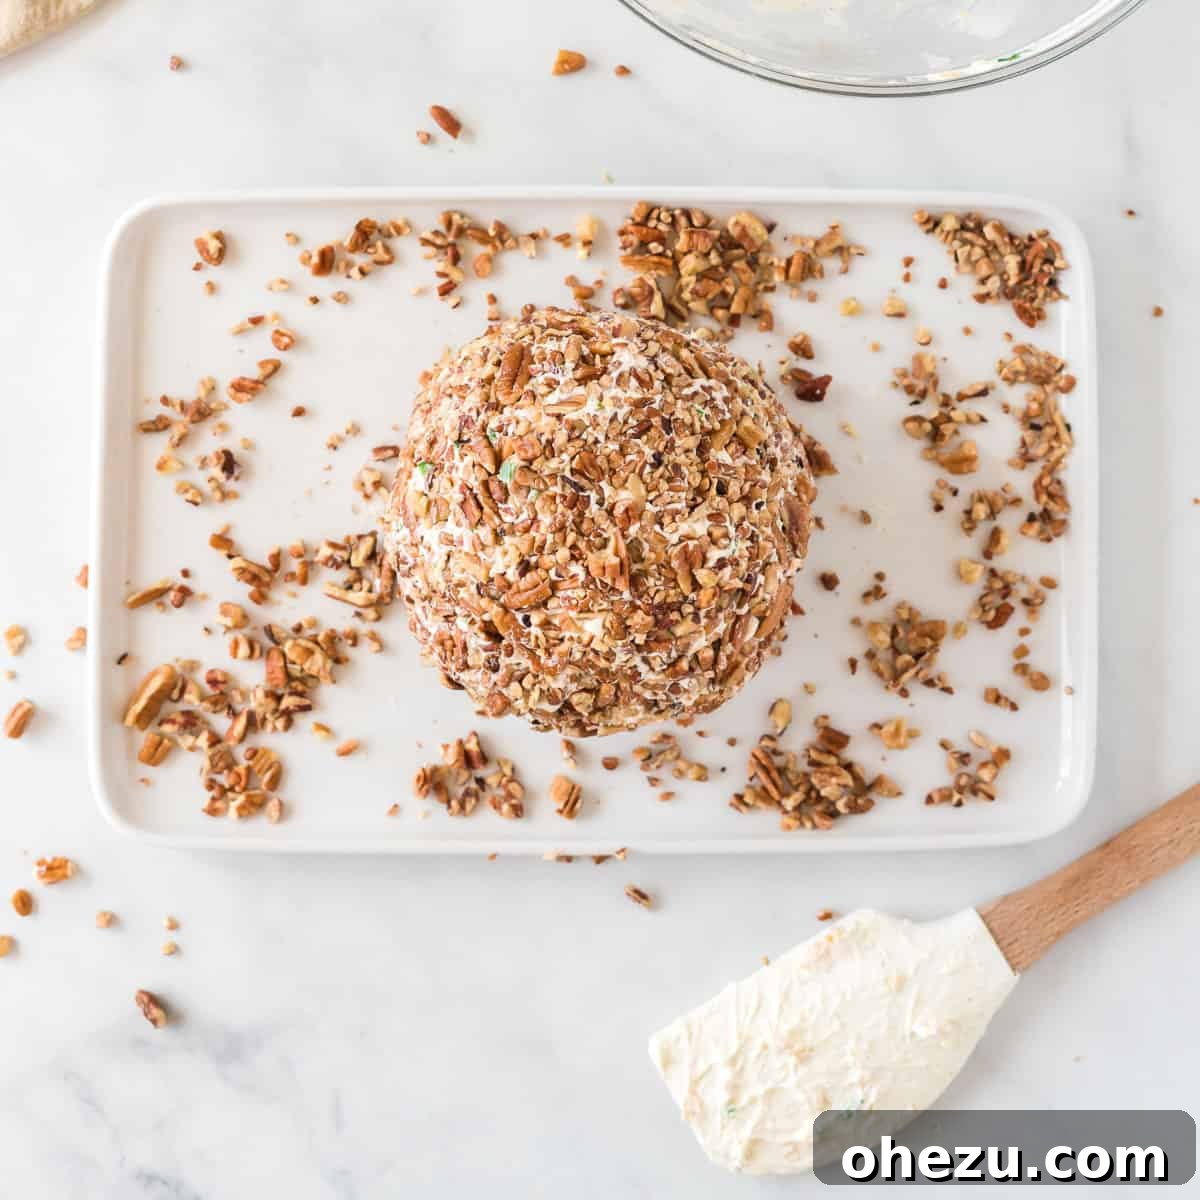
Step 7: Final Touches and Serving Readiness
Once your cheese ball is thoroughly coated in the crunchy pecans, it’s officially ready to make its grand entrance! You can serve it immediately, but for the absolute best flavor and texture, I recommend refrigerating it again for another 30 minutes to an hour. This final chill allows the pecan coating to adhere firmly, and the flavors to further meld and develop into an even more delicious harmony. This also ensures it maintains its beautiful shape throughout your event. Your homemade cheese ball is now perfectly primed to impress your guests!
Expert Tips for Cheese Ball Success
To ensure your cheese ball is nothing short of perfection every single time, keep these invaluable tips in mind. They’ll help you troubleshoot common issues and elevate your appetizer to star status:
Tips For Success
- Always Grate Your Own Cheese: This cannot be stressed enough! Freshly grated cheese melts and blends seamlessly into the mixture, yielding a creamier texture and a much richer, more authentic flavor. Pre-shredded cheeses often contain anti-caking agents that hinder this. While sharp cheddar is recommended for its robust taste, medium cheddar or even a blend with some Monterey Jack could also work beautifully if you prefer a milder flavor.
- Save Time with Pecan Pieces: For convenience without compromising quality, purchase pre-chopped pecan pieces. This saves you valuable prep time, especially when preparing for a party. If you can’t find pieces, whole pecans can be quickly chopped in a food processor (pulse until desired consistency) or by hand.
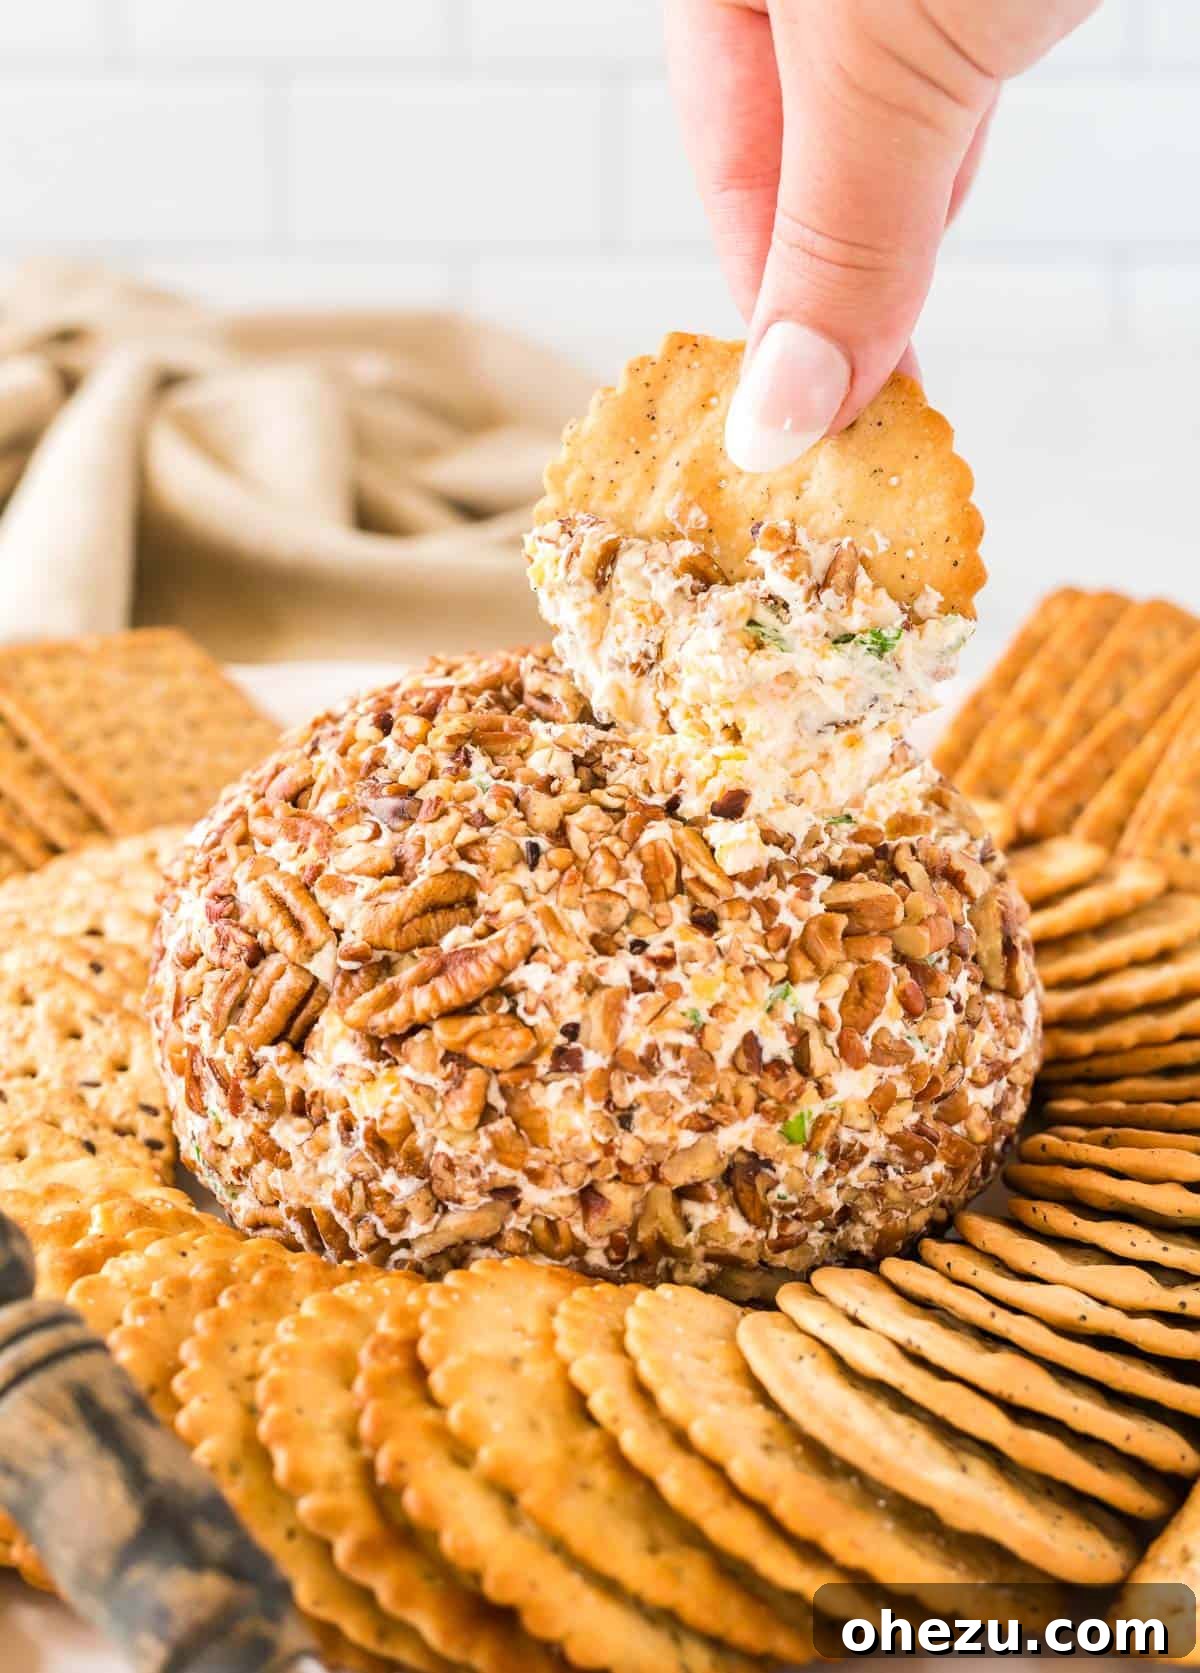
- Serving Utensil Matters: A simple butter knife or a small, sturdy spreader is the ideal utensil for serving a cheese ball. Its blunt edge glides effortlessly through the creamy mixture, allowing guests to easily scoop out perfect portions onto their crackers.
- Keep It Chilled Until Serving: For both food safety and optimal texture, always refrigerate your cheese ball until just before your guests arrive. Avoid leaving it out at room temperature for longer than two hours to maintain its freshness, prevent spoilage, and ensure it retains its firm, delightful shape.
- Consider Toasting Pecans: For an even deeper, nuttier, and more aromatic flavor, lightly toast your pecan pieces. Spread them on a baking sheet and toast in a 350°F (175°C) oven for 5-7 minutes, or in a dry skillet over medium-low heat for 3-5 minutes, stirring frequently, until fragrant. Let them cool completely before rolling the cheese ball.
- Experiment with Coatings: While pecans are a classic choice, feel free to get creative and customize! Other delicious coatings include finely chopped walnuts, crushed pretzels for a salty crunch, a mix of finely chopped fresh herbs like parsley, chives, or dill, or even a blend of everything bagel seasoning for a unique twist.
- Adjust Seasoning: Always taste your cheese mixture before chilling! Add a pinch more salt or pepper if needed, to perfectly suit your palate. Remember, flavors deepen as it chills.
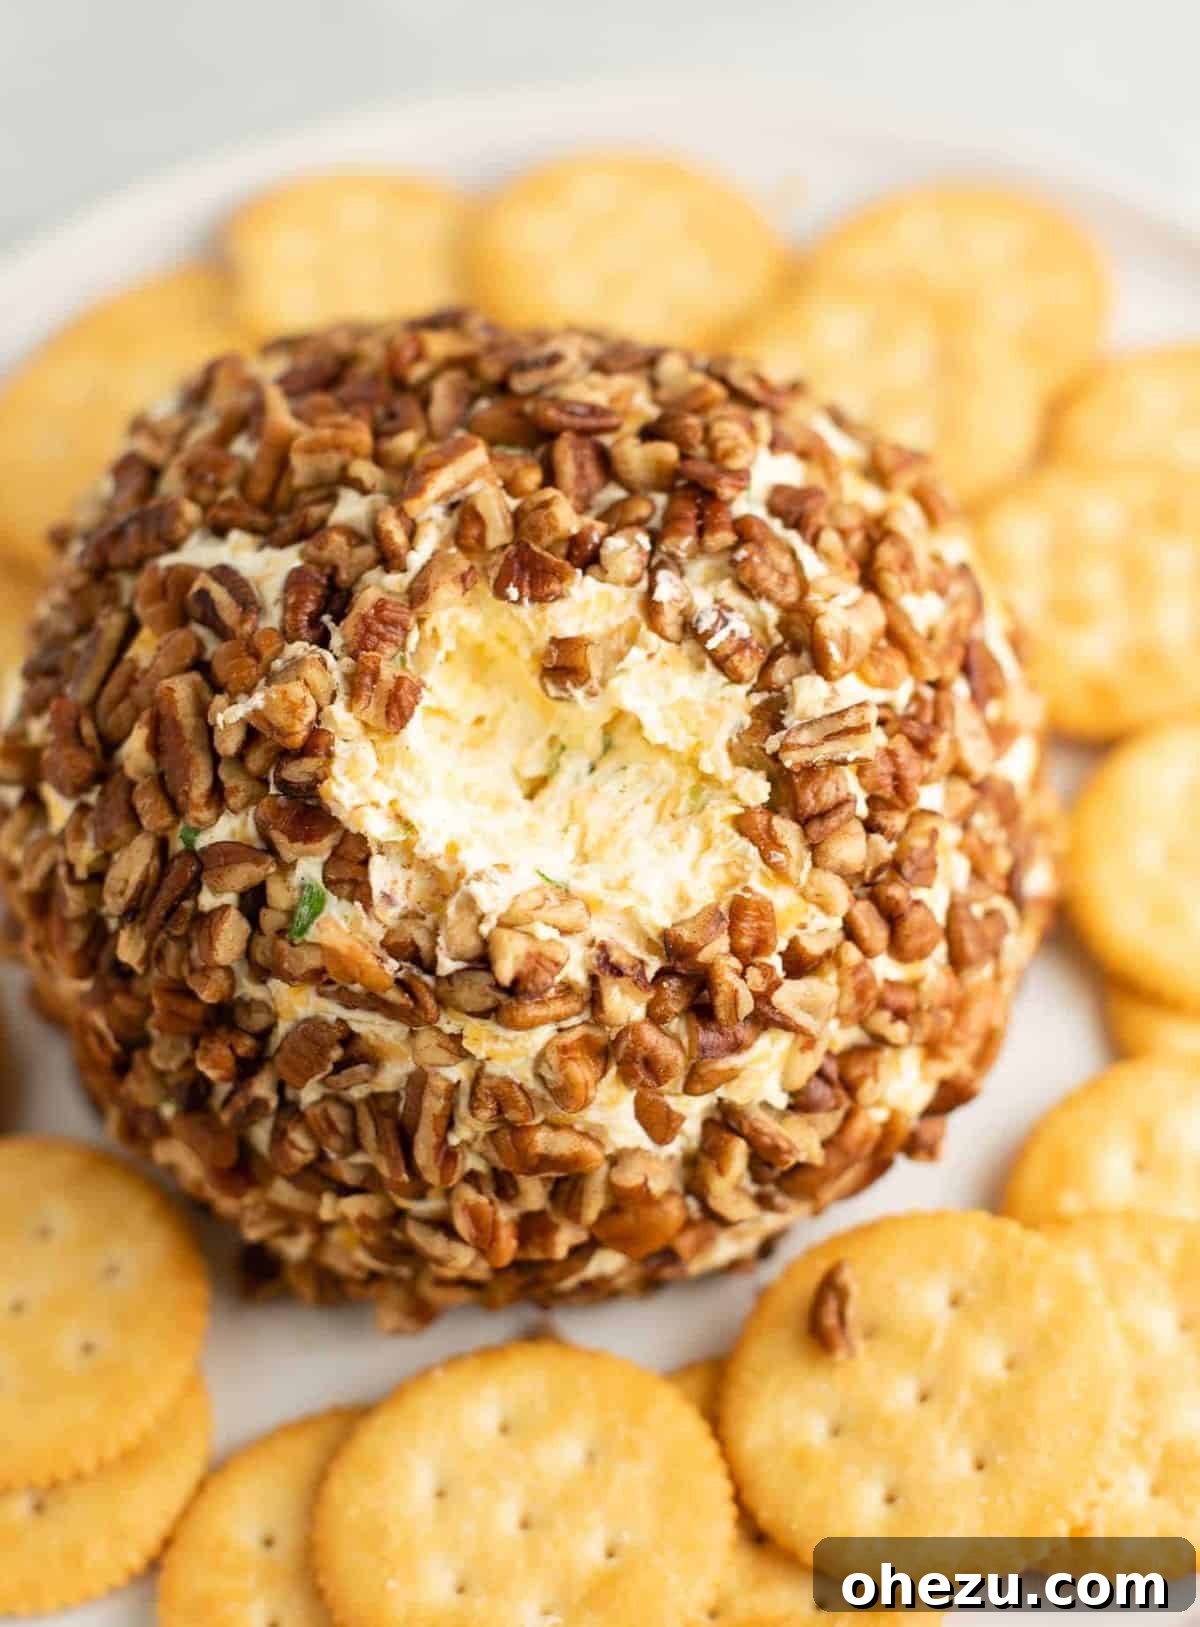
Perfect Pairings: What to Serve with Your Cheese Ball
A cheese ball is only as good as what you dip into it! The right accompaniment provides the perfect vehicle for scooping up that creamy, cheesy goodness. While personal preference plays a big role, certain crackers and dippers truly shine alongside this classic appetizer, offering a delightful contrast in texture and flavor.
Top Cracker & Dipper Suggestions
For me, nothing beats a classic Ritz cracker for its buttery crunch and slightly salty flavor, but the beauty of a cheese ball is its incredible versatility. Here are some other fantastic options that will complement your cheese ball beautifully:
- Ritz Crackers: The gold standard for a reason – their rich, buttery flavor and flaky texture are a perfect match for the creamy cheese.
- Triscuits: Offer a hearty, woven texture and a wholesome wheaty flavor that holds up exceptionally well to a generous scoop of cheese ball.
- Pita Chips: Provide a robust, slightly thicker base with a satisfying crunch, often available in various seasonings that can add another layer of flavor.
- Wheat Thins: A lighter, slightly sweet and savory option that complements the cheese without overpowering it, offering a delicate crispness.
- Pretzel Chips: For those who love a salty contrast, pretzel chips deliver a firm crunch and a delightful savory note that cuts through the richness of the cheese.
- Club Crackers: Similar to Ritz, these offer a mild, buttery flavor and a delicate crunch, making them universally appealing.
- Vegetable Sticks: Fresh cucumber slices, crisp carrot sticks, crunchy celery sticks, and vibrant bell pepper strips offer a refreshing, healthy crunch and a beautiful color contrast to the rich cheese.
- Apple Slices: Crisp, tart apple slices (like Granny Smith or Honeycrisp) provide an unexpected but incredibly delicious sweet-savory pairing that cleanses the palate.
- Melba Toast: A very thin and crispy option that serves as a subtle base, allowing the cheese ball’s flavors to truly shine.
Arrange an appealing assortment of crackers and dippers around your cheese ball on a serving platter to create an inviting spread that caters to all tastes and preferences. This not only makes your appetizer station visually appealing but also ensures everyone finds their favorite way to enjoy your delicious creation.
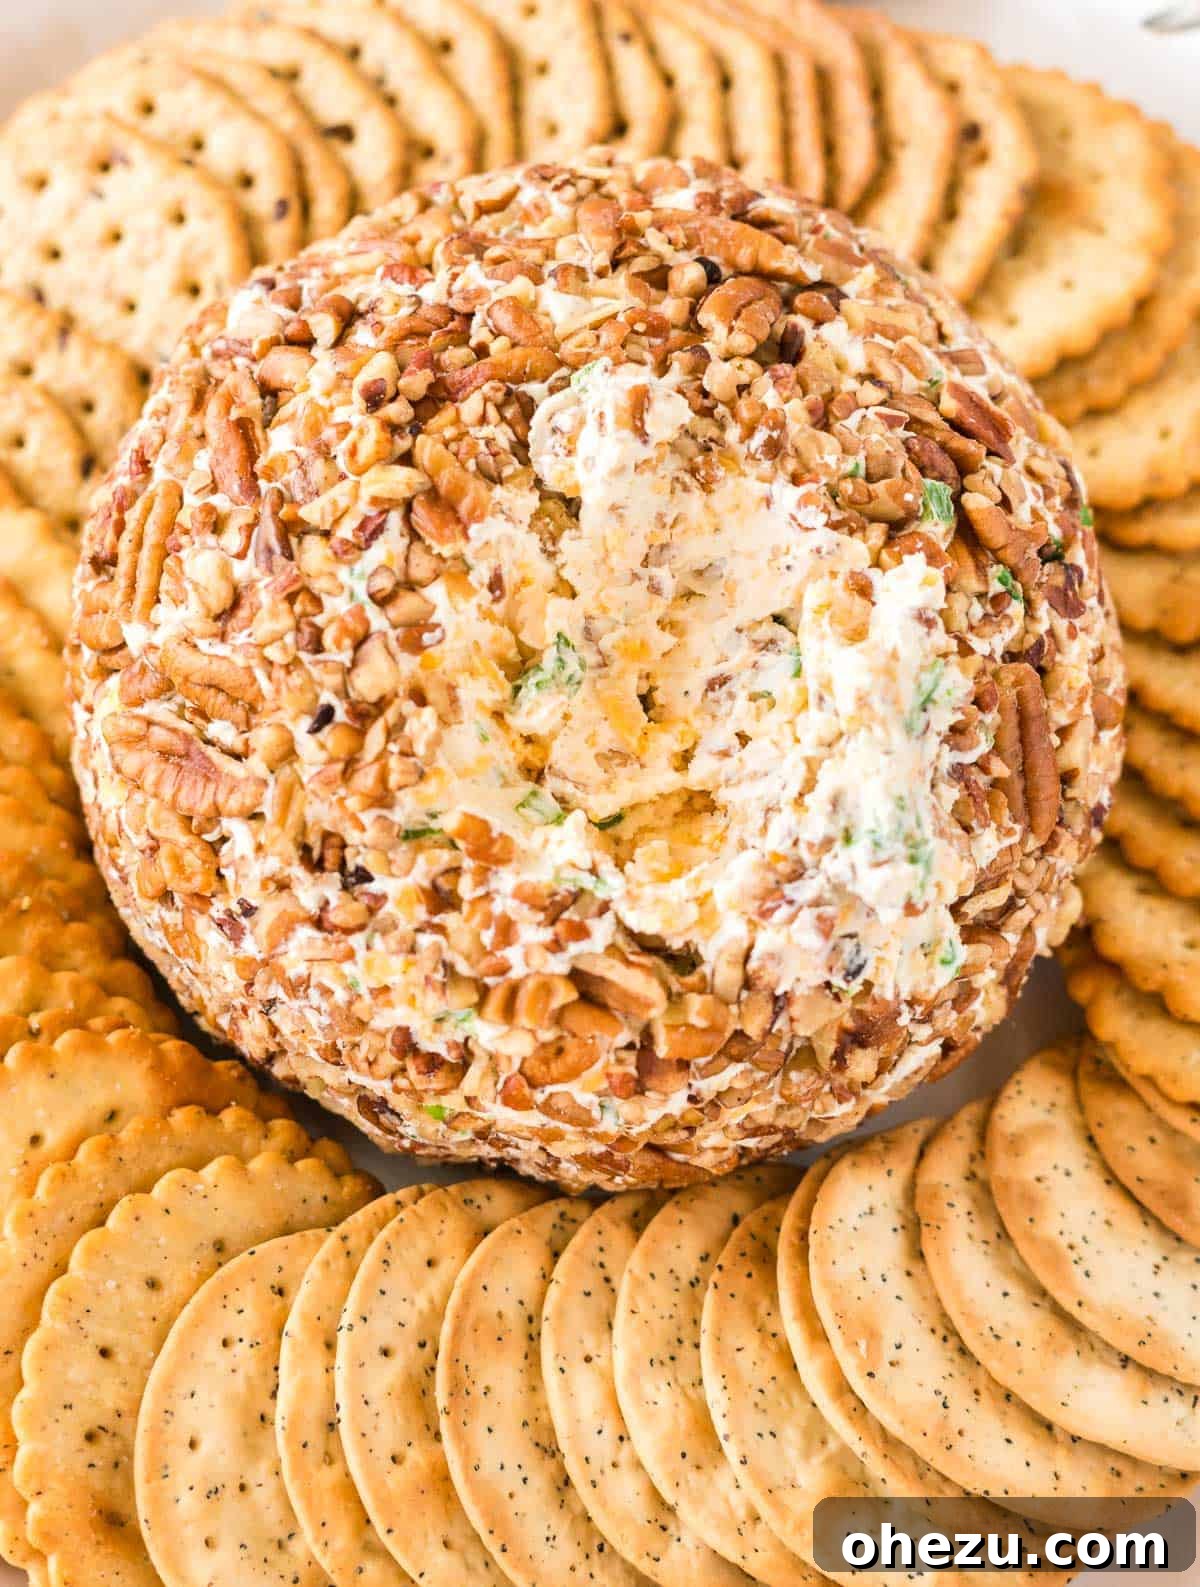
Storing and Enjoying Leftovers
One of the great advantages of preparing a cheese ball is its excellent shelf life, making it a fantastic make-ahead option and ensuring you can savor any delicious leftovers. Properly stored, your homemade cheese ball will remain fresh and flavorful, ready to be enjoyed again.
Storing Your Cheese Ball
Any leftover cheese ball should be transferred to an airtight container and refrigerated promptly after your event. It will stay fresh and delicious for 3 to 5 days. While it’s unlikely to last that long in most households (it tends to be quickly devoured in ours, too!), knowing you have a tasty snack ready for a few days is always a bonus. For the best enjoyment, allow it to sit at room temperature for about 10-15 minutes before serving leftovers to slightly soften the texture for easier spreading and enhanced flavor, as cold mutes flavors.
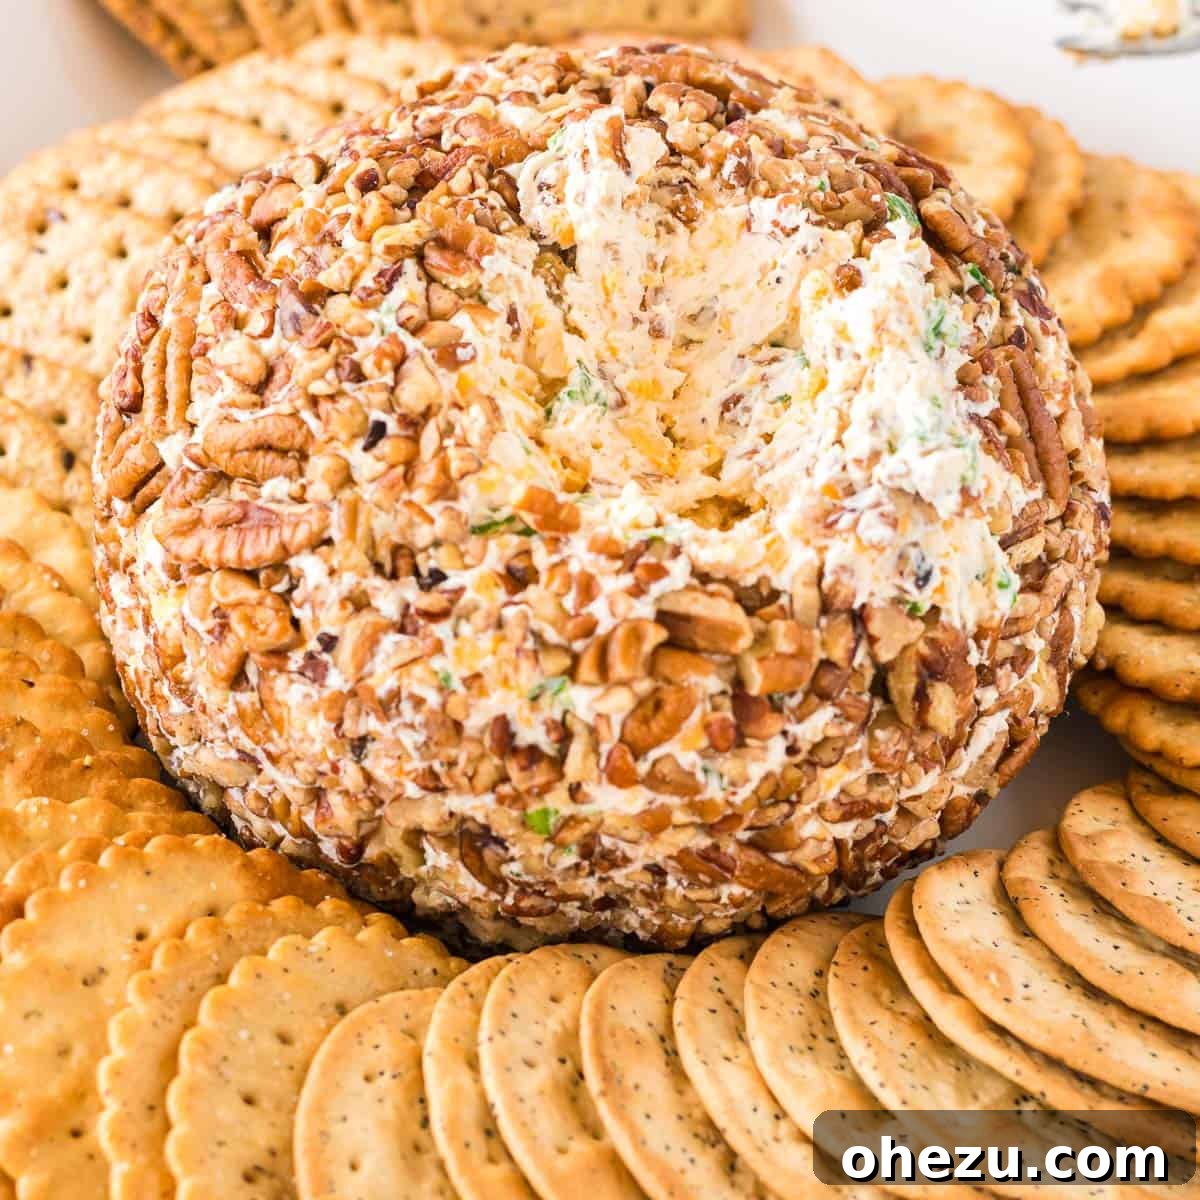
Classic Cheese Ball Recipe Card

Cheese Ball Recipe
Joy Shull
15 mins
1 hr
1 hr 15 mins
16
Leave a Comment
Print Recipe
Ingredients
- 16 oz cream cheese, softened
- 1/2 cup sour cream
- 8 oz sharp cheddar cheese, freshly grated
- 1/2 teaspoon garlic powder
- 1/4 cup fresh green onions, minced or finely diced
- 1/4 teaspoon salt
- 1/2 teaspoon pepper
- 1 cup pecan pieces (or more if needed for full coating)
Instructions
- Beat together the softened cream cheese, sour cream, garlic powder, green onions, salt, and pepper until combined and smooth. Ensure no lumps remain for a creamy base.
- Grate the cheddar cheese block fresh. This step is key for optimal flavor and texture in your cheese ball.
- Beat the freshly grated sharp cheddar cheese into the cream cheese mixture until it is evenly distributed throughout.
- Cover the cheese mixture tightly and chill it in the refrigerator for at least an hour, or until it has firmed up considerably. This makes shaping easier and allows flavors to meld.
- Once chilled, use a spatula to remove the mixture from the bowl. Lightly grease your hands (with olive oil spray, for example) and form the mixture into a cohesive ball shape.
- Place the pecan pieces in a shallow dish or plate. Roll the formed cheese ball in the pecans until it is completely coated on all sides, pressing gently to ensure adherence.
- Serve immediately with your favorite crackers and dippers, or refrigerate again briefly for a firmer coating and enhanced flavor development. Enjoy your delicious homemade appetizer!
Notes
Store any leftover cheese ball in an airtight container in the fridge for 3 – 5 days to maintain freshness and prevent drying out.
For an even richer and more fragrant pecan flavor, lightly toast the pecan pieces in a dry skillet for a few minutes before coating the cheese ball. Allow them to cool completely before use.
Nutrition Information (per serving, estimated)
Calories: 219 kcal, Carbohydrates: 3g, Protein: 6g, Fat: 21g, Saturated Fat: 10g, Polyunsaturated Fat: 2g, Monounsaturated Fat: 7g, Cholesterol: 47mg, Sodium: 221mg, Potassium: 92mg, Fiber: 1g, Sugar: 2g, Vitamin A: 587IU, Vitamin C: 0.4mg, Calcium: 141mg, Iron: 0.3mg
Loved this Easy Cheese Ball Recipe?
Share your thoughts and leave a comment or review below to help other home cooks discover this fantastic holiday favorite!
Discover More Irresistible Appetizer Recipes
If you’ve enjoyed crafting and sharing this classic cheese ball, you’ll surely love exploring other fantastic appetizer ideas. Perfect for any occasion, these recipes are designed to delight your guests and add variety to your culinary repertoire. Expand your party planning menu with these delicious suggestions:
More Appetizer Inspiration
- Pumpkin Cheese Ball: A seasonal and festive twist, perfect for fall gatherings and Thanksgiving.
- Pimento Cheese Ball: Experience classic Southern comfort transformed into a delightful appetizer.
- Creamy Spinach Dip: A beloved party staple, rich and satisfying, often served in a bread bowl.
- Cream Cheese Fruit Dip: A sweet and tangy option that beautifully complements a vibrant fresh fruit platter.
- Homemade Veggie Dip: Fresh and flavorful, this easy dip is ideal for pairing with a variety of garden-fresh vegetables.
- Pimento Cheese Spread: Versatile and delicious, it’s great served on crackers, sandwiches, or as a vibrant dip.
- Sour Cream Potato Chip Dip: The ultimate easy and addictive snack dip for movie nights or casual get-togethers.
- Slow Cooker Spinach Artichoke Dip: An effortless and crowd-pleasing warm dip, cooked to perfection with minimal fuss.
Embrace the tradition and create unforgettable memories with this delicious, easy cheese ball recipe for your next gathering!