
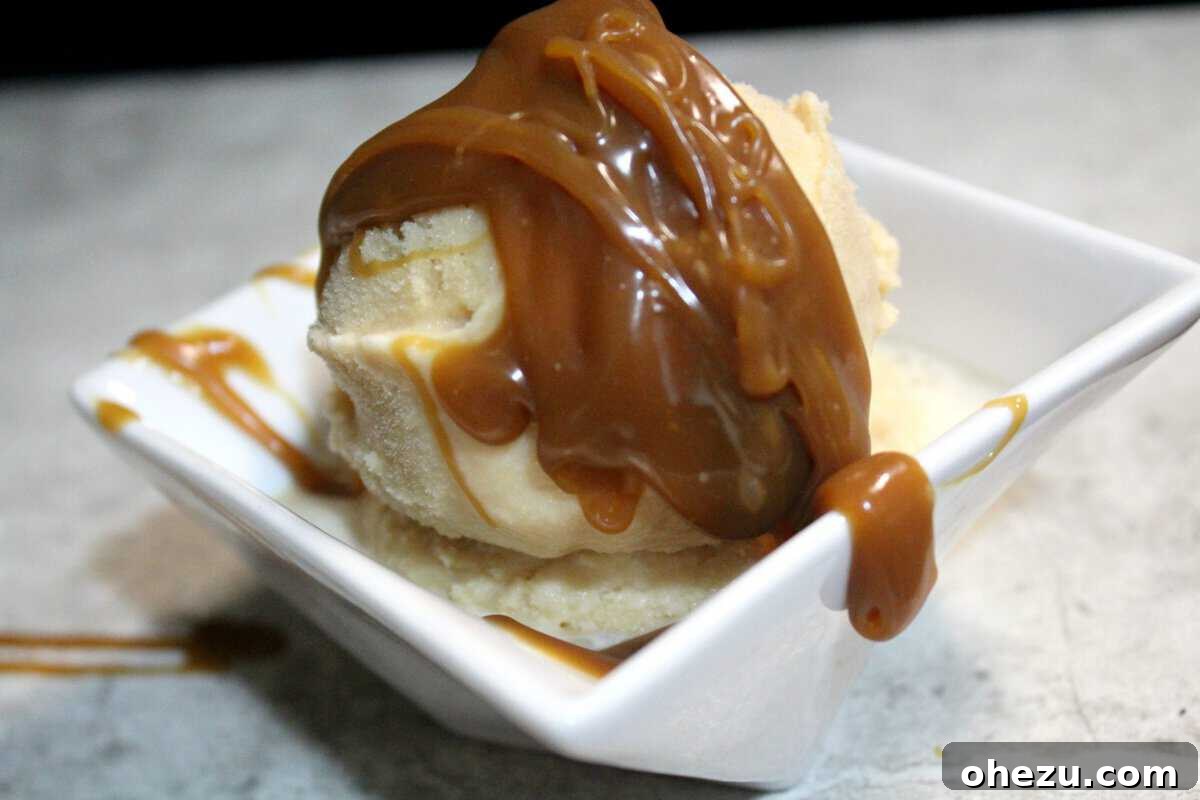
Mastering Salted Dark Caramel Sauce: Your Fail-Proof Guide to Homemade Perfection
Caramel. Just the word evokes images of gooey, sweet indulgence. Yet, for many home cooks, including myself, it has long been a culinary Everest – a notoriously tricky confection prone to crystallization, burning, or simply refusing to achieve that perfect golden hue. I still carry a small battle scar on my thigh from a past caramel-making mishap, a testament to its intimidating nature. But what if I told you there’s a recipe that takes the fear out of caramel-making, delivering a rich, dark, and utterly delicious salted caramel sauce every single time?
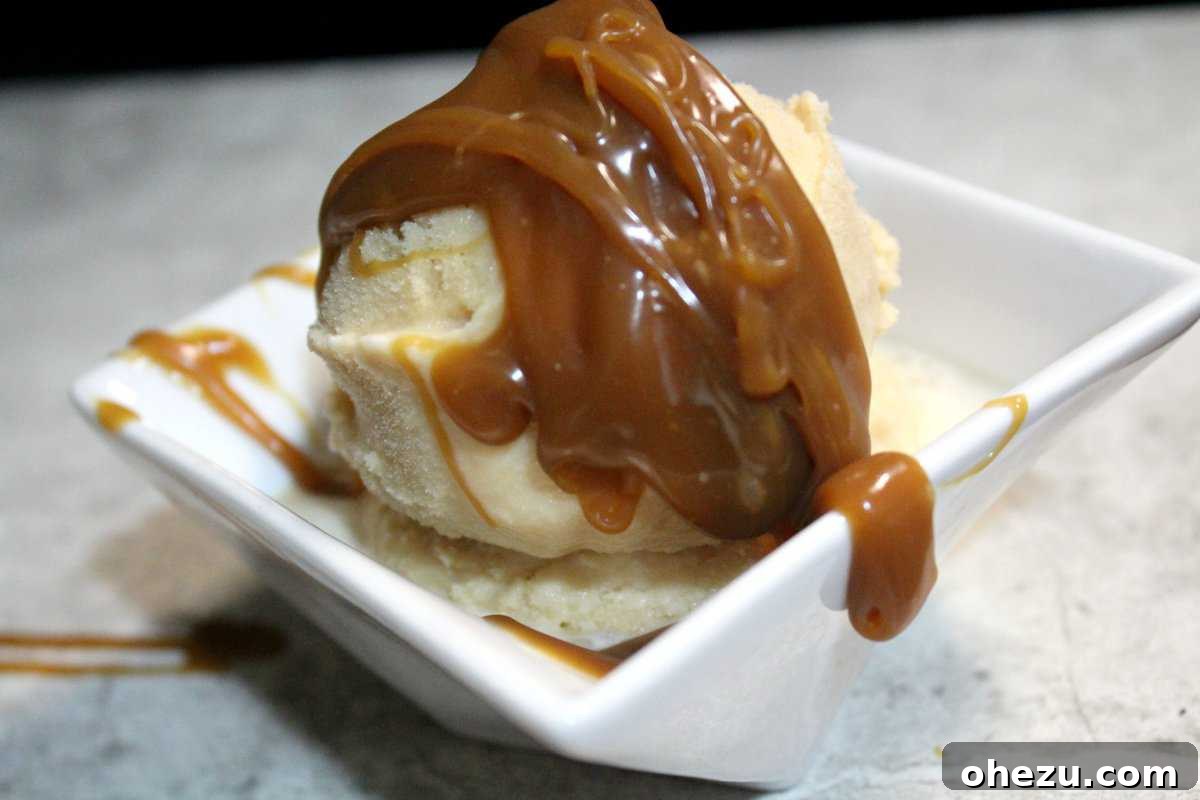
This isn’t just another caramel recipe; it’s *the* fail-proof method that simplifies the process, requiring only five common ingredients and, wonderfully, no candy thermometer. The secret to its success lies in a few crucial steps and a dash of swift action. While the process itself is straightforward, timing is of the essence. Reading through the instructions thoroughly before you begin is your best defense against any potential pitfalls, ensuring a smooth and rewarding experience.
Why Homemade Salted Caramel is a Game Changer
There’s a significant difference between store-bought caramel and a batch made fresh in your own kitchen. Homemade caramel boasts a depth of flavor, a silky-smooth texture, and an aromatic richness that pre-packaged versions simply can’t match. The subtle bitterness from a darker caramel combined with a hint of salt creates a complex profile that elevates any dessert it touches. Plus, the satisfaction of creating something so decadent from scratch is truly unparalleled.
This particular recipe also features a unique ingredient: soy sauce. Before you raise an eyebrow, trust me on this! Just a touch of soy sauce doesn’t make the caramel taste salty or savory in an off-putting way; instead, it deepens the overall flavor, adding an elusive umami note that balances the sweetness and enhances the “dark” quality of the caramel. It’s a secret ingredient that truly transforms this sauce into something extraordinary, making it intensely addictive and memorable.
Endless Culinary Possibilities with Your Homemade Sauce
Once you’ve mastered this incredible salted dark caramel sauce, your culinary world will open up to a myriad of delicious possibilities. Its versatility is truly astounding. Imagine drizzling it generously over warm apple pie, swirling it into your morning coffee, or creating gourmet popcorn. Here are just a few ways this luscious sauce can elevate your desserts:
- Decadent Cupcake Topping: A dollop of this caramel sauce on vanilla or chocolate cupcakes, perhaps with a sprinkle of sea salt, takes them from simple to sensational.
- Ice Cream’s Best Friend: Use it as an irresistible ice cream topping. For the ultimate treat, blend it directly into your homemade ice cream base using an ice cream maker to create a truly divine salted caramel ice cream.
- Elevate Your Brownies: Incorporate it into your brownie batter or drizzle it over freshly baked brownies for a gooey, caramel-infused masterpiece. It adds moisture and an incredible depth of flavor.
- Beyond the Usual: Think caramel lattes, layered cakes, cheesecake drizzles, or even as a dip for fresh fruit slices. The options are genuinely limitless, especially for a caramel enthusiast like me!
Salted Dark Caramel Sauce
Ingredients
- 2 cups granulated sugar
- 1 tablespoon filtered water
- 12 tablespoons salted butter, cold and cut into small pieces
- 2 teaspoons vanilla extract
- 1 cup heavy cream, room temperature
- 2 teaspoons soy sauce (TRUST ME, this is the secret ingredient!)
Directions
|
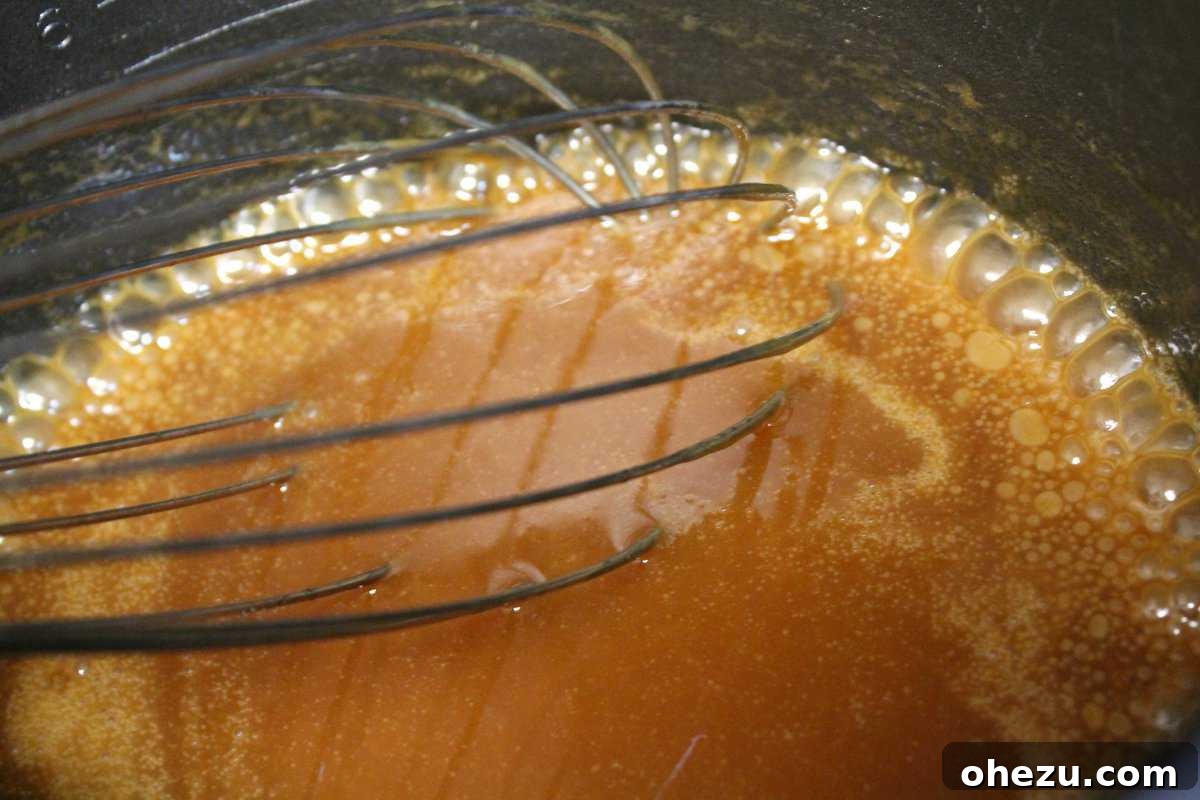
Preparation is Key: In a separate bowl, combine the heavy cream and the soy sauce. Stir well and set this mixture aside. This step is critical as you’ll need to add it quickly later. Ensure all other ingredients (sugar, water, butter, vanilla) are measured out and within arm’s reach before you begin the cooking process. Having everything prepped is the number one rule for successful caramel. To start, pour the granulated sugar and the filtered water into a large, heavy-bottomed saucepan. Heat the saucepan over medium-high heat. Begin stirring constantly with a wooden spoon or heat-resistant spatula until the sugar completely liquefies and transforms into a clear syrup. Continue to stir constantly to prevent burning and ensure even caramelization. Watch carefully as the color begins to change, aiming for a deep amber or dark golden brown hue. This stage requires your full attention. |
|
|
Incorporating Butter and Vanilla: Once the sugar has reached that beautiful dark amber color (be careful not to let it get too dark, or it will taste burnt), immediately remove the saucepan from the heat. Carefully add the cold, small pieces of salted butter and the vanilla extract. Stir vigorously and thoroughly with your wooden spoon. The mixture will bubble up intensely and might seize slightly, but keep stirring. The butter needs to melt completely and fully incorporate with the caramelized sugar, creating a smooth, rich base. |
|
|
Adding the Cream Mixture: This is the moment for speed and caution. Immediately pour in the room temperature heavy cream and soy sauce mixture that you prepared earlier. Again, the mixture will bubble up dramatically and release a lot of steam, so stand back slightly and be very careful. Continue to stir constantly until all the ingredients are fully combined, and you achieve a gorgeous, uniform golden brown caramel color and a smooth consistency. The heat from the sugar will help melt any remaining butter and integrate the cream. |
|
|
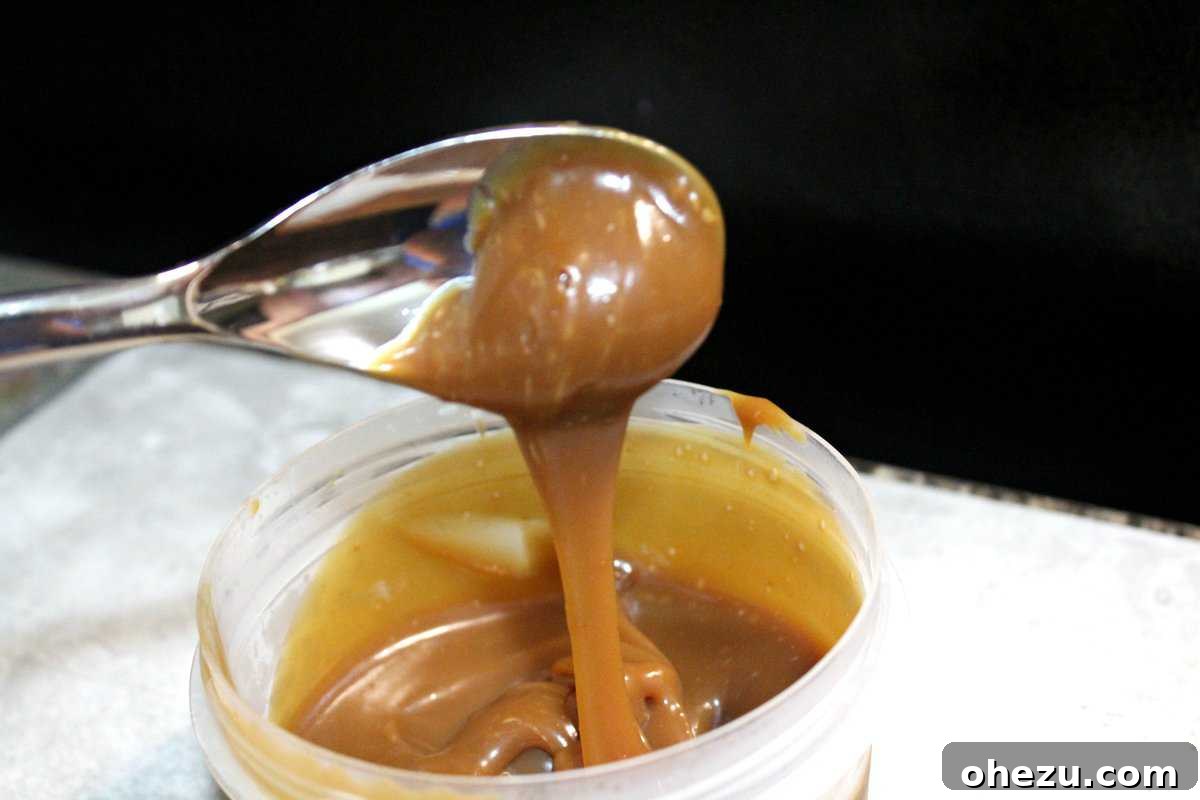
Cooling and Storage: Once your caramel is smooth and uniformly colored, set the saucepan aside and allow the sauce to cool and thicken for at least 5 minutes at room temperature. It will continue to thicken significantly as it cools. For immediate use on things like cupcakes or if you desire a very thick sauce, you can place it in the freezer for 20 minutes (or longer, until desired consistency is reached). Store any leftover caramel in an airtight container in the refrigerator for up to 3 months. When ready to use, gently reheat on the stovetop over low heat or in the microwave in short bursts, stirring frequently, until pourable. |
Important Note for Success
Before you even think about turning on the stove, take a moment to read these instructions thoroughly, from beginning to end. Caramel making is a process where time is truly of the essence, and you need to be prepared for each step before it happens. Have all your ingredients measured and within arm’s reach – this is known as “mise en place” and it’s your best friend in caramel making. A large, heavy-bottomed saucepan is also crucial to prevent scorching. By knowing what comes next, you can react quickly and confidently, ensuring your salted dark caramel sauce turns out perfectly every single time.
Tips for a Perfect Batch Every Time
- Use a Heavy-Bottomed Pan: This distributes heat evenly and prevents scorching the sugar, which can happen quickly in thinner pans.
- Don’t Be Afraid of the Dark: For “dark” caramel, you need to let the sugar cook longer until it’s a deep amber, almost mahogany color. However, be vigilant! The line between perfectly dark and burnt is thin.
- Safety First: Hot sugar is extremely dangerous. Be very careful when stirring and adding cold ingredients, as the mixture will bubble and steam intensely. Keep kids and pets away from the cooking area.
- Room Temperature Cream: Adding cold cream to hot sugar can cause the mixture to seize up more dramatically. Room temperature cream helps in achieving a smoother, more manageable consistency.
- Chill for Thickness: If your caramel seems too thin after cooling, a brief stint in the freezer will quickly thicken it to your desired consistency.
Troubleshooting Common Caramel Issues
Even with a fail-proof recipe, sometimes things can go slightly awry. Here’s how to address common caramel challenges:
- Caramel Crystallized or Became Grainy:
- This often happens if sugar crystals cling to the sides of the pan and fall back into the syrup, initiating crystallization. To prevent this, avoid stirring aggressively once the sugar starts boiling (only stir when adding ingredients). If it crystallizes, sometimes adding a tablespoon or two of hot water and reheating gently while stirring can help re-dissolve the crystals. For this particular recipe, the constant stirring with water initially helps prevent crystallization.
- Caramel Tastes Burnt:
- This means the sugar was cooked too long or over too high heat. Unfortunately, there’s no saving burnt caramel. It’s best to discard it and start fresh. Pay close attention to the color changes!
- Caramel Separated or Looks Oily:
- This can happen if the butter doesn’t fully emulsify with the sugar and cream. Ensure you stir vigorously when adding the butter and then the cream. If it separates, try placing it back on very low heat and whisking vigorously until it comes together. Sometimes a little extra hot cream can help rescue it.
- Caramel is Too Hard/Thick:
- This usually means it was cooked too long, evaporating too much water. To thin it out, reheat it gently on the stovetop with a tablespoon or two of heavy cream or water, stirring until it reaches your desired consistency.
- Caramel is Too Thin:
- It might just need more cooling time, especially if it was used while still warm. If after significant cooling it’s still too thin, you can try reheating it very gently and simmering for another minute or two, stirring constantly, to reduce it further. Be careful not to burn it.
Frequently Asked Questions About Homemade Caramel Sauce
- Can I make this recipe with unsalted butter?
- Yes, you can! If using unsalted butter, I recommend adding a generous pinch of sea salt (about 1/2 to 1 teaspoon) along with the butter or cream to ensure you still get that delicious salted caramel flavor.
- Is the soy sauce really necessary? What does it do?
- While not strictly necessary for caramel to form, the soy sauce is what truly makes this a “dark” caramel sauce with an incredible depth of flavor. It adds a subtle umami note that balances the sweetness and enhances the overall complexity, making it truly unique and moreish. If you absolutely cannot use soy sauce, you can omit it, but the caramel won’t have the same signature depth.
- Can I substitute the heavy cream?
- Heavy cream (or whipping cream) is essential for the rich texture and stability of this caramel sauce. Lighter creams or milk may result in a thinner, less luxurious sauce and are not recommended for this specific recipe.
- How do I store homemade caramel sauce?
- Store the cooled caramel sauce in an airtight container or jar in the refrigerator for up to 3 months. It will thicken significantly when cold.
- How do I reheat caramel sauce?
- To reheat, simply scoop out the desired amount and warm it gently in a saucepan over low heat, stirring until it reaches a pourable consistency. Alternatively, microwave in 15-second bursts, stirring well after each burst, until smooth.
Conclusion: Embrace Your Inner Caramel Artist!
Gone are the days of caramel intimidation! With this fail-proof salted dark caramel sauce recipe, you have all the tools and knowledge to create a truly spectacular treat. The rich, complex flavor, the silky texture, and the endless possibilities for its use make this a recipe you’ll revisit again and again. So, gather your ingredients, take a deep breath, and get ready to impress yourself and everyone around you with your newfound caramel-making prowess. Happy cooking!