
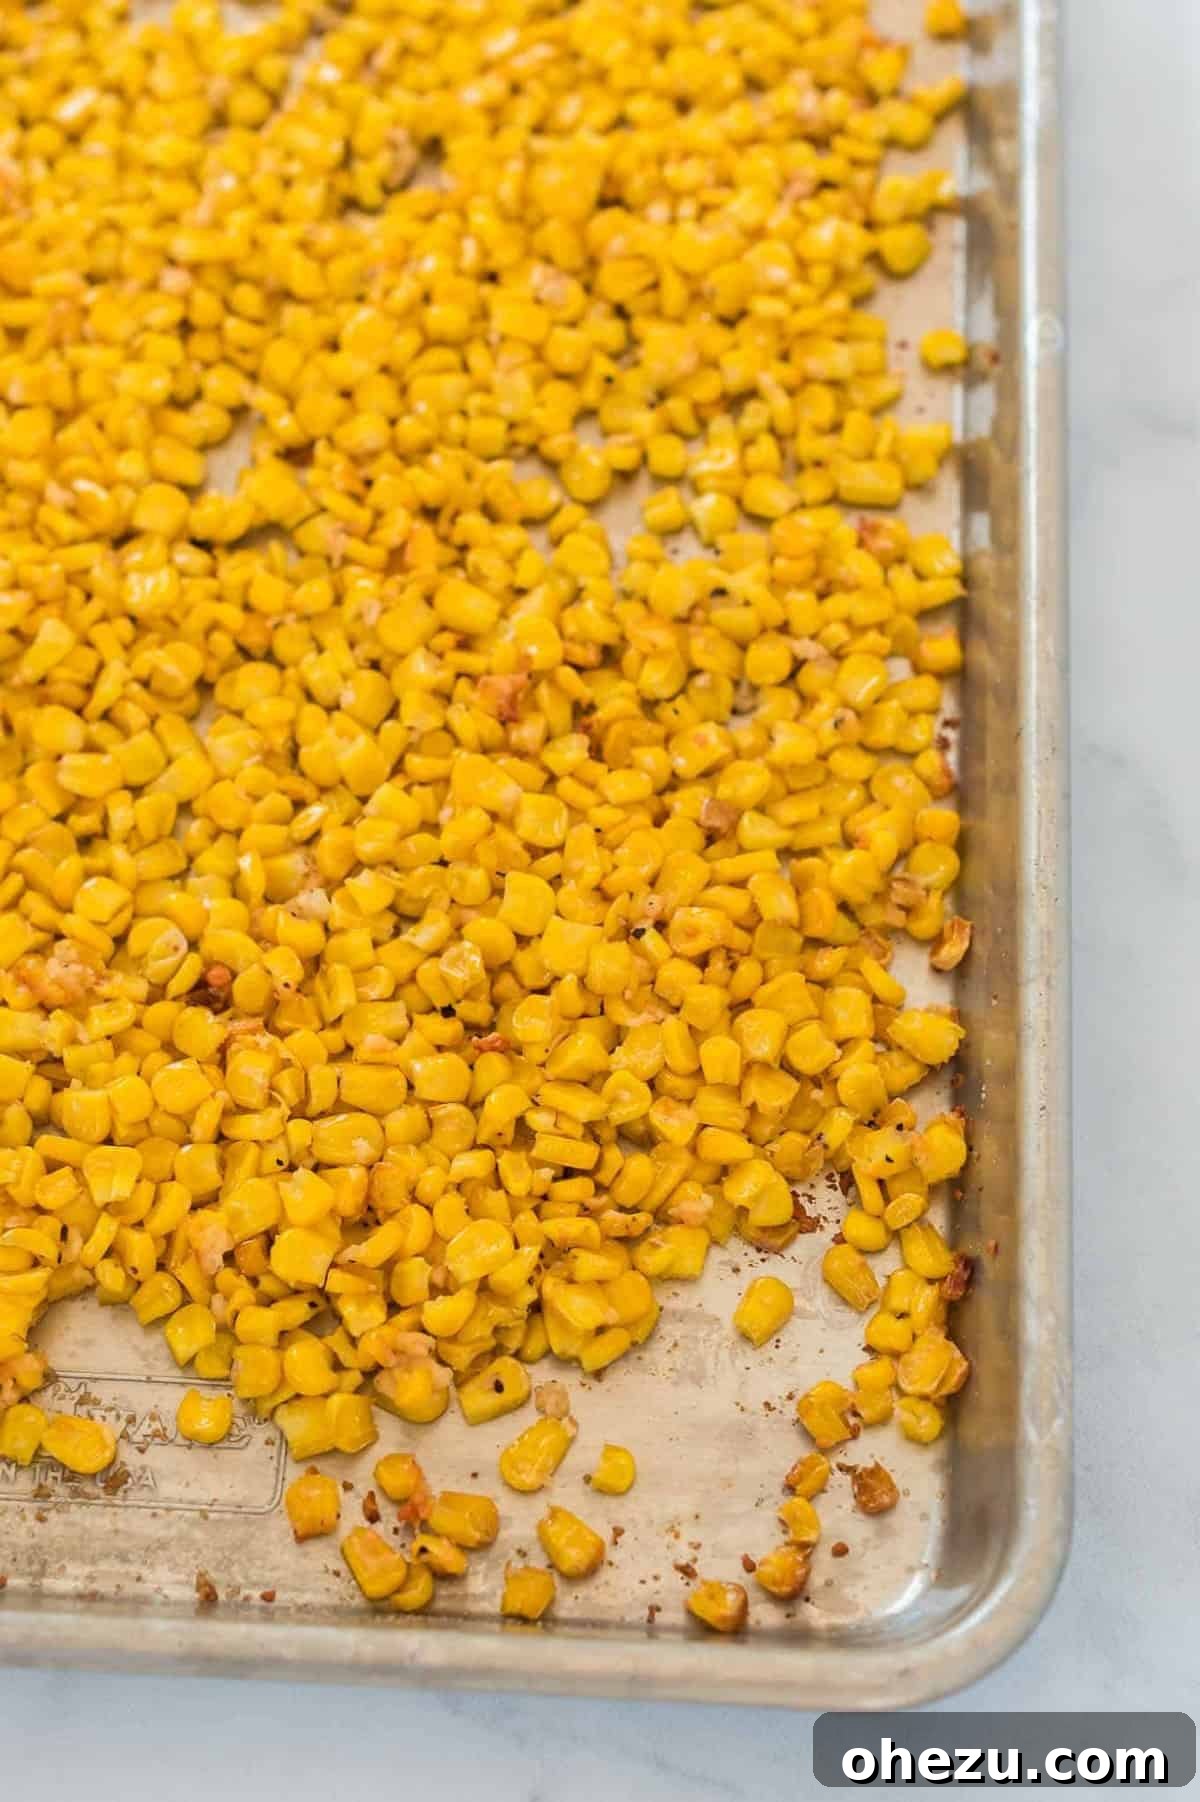
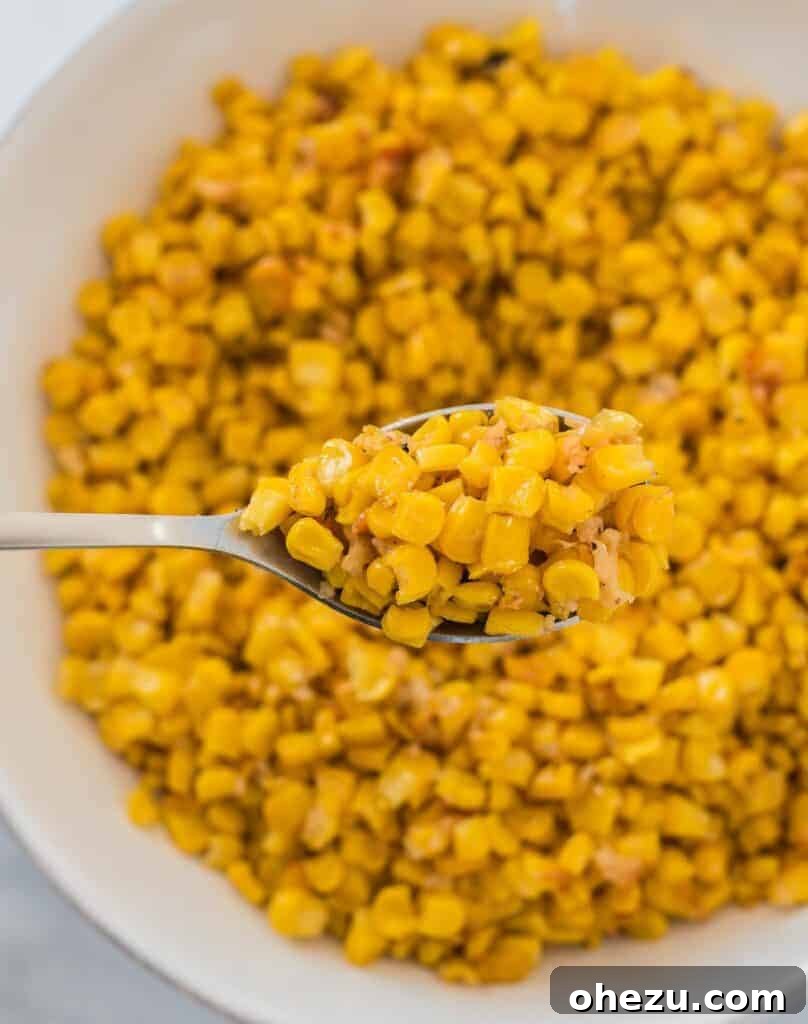
Transforming a simple bag of frozen corn into a flavorful, golden-brown side dish is easier than you think. This roasted frozen corn recipe, enhanced with simple spices and grated Parmesan cheese, promises a delightful texture and taste that will quickly become a family favorite. It’s the ultimate quick and easy side that brings vibrant flavor to any meal!
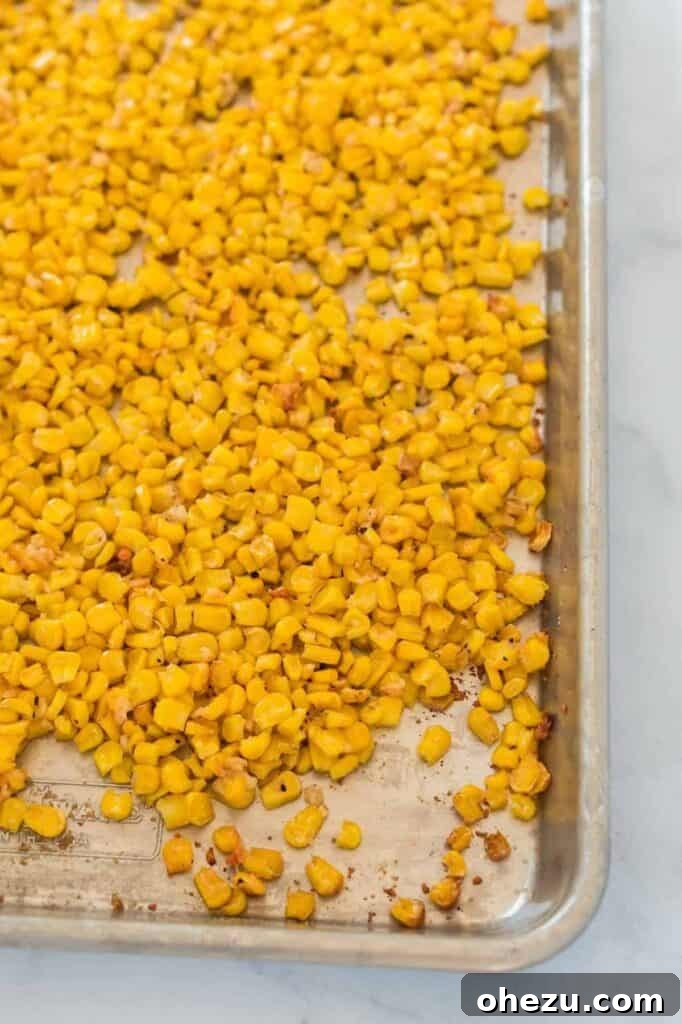
Do you ever find yourself staring into the freezer, wondering what magic you can conjure from those humble bags of frozen vegetables? If a bag of frozen corn is among your stash, you’re just a few simple pantry ingredients away from creating a truly delicious and surprisingly sophisticated side dish: perfectly roasted frozen corn.
The Unsung Hero: Roasted Frozen Vegetables
Frozen roasted vegetables have long been one of my secret weapons in the kitchen. They offer unparalleled convenience without sacrificing flavor or nutrition. When time is a luxury, the ability to simply open a bag of vegetables and have them oven-ready in under five minutes is a game-changer for busy weeknights.
My freezer is a testament to this philosophy, consistently stocked with a variety of frozen produce. This not only ensures I always have healthy options on hand but also eliminates the stress of fresh produce spoiling before I can use it. While fresh ingredients are wonderful, the practicality and consistent quality of frozen vegetables often make them the superior choice for quick and easy meals.
This method isn’t just for corn! I’ve perfected the art of roasting a variety of frozen veggies, including roasted frozen cauliflower, roasted frozen carrots, how to cook frozen green beans, roasted frozen brussel sprouts, and frozen roasted broccoli. Each recipe yields fantastic results, transforming basic frozen bags into restaurant-quality sides. And for something completely different, frozen corn is also excellent in creamy dishes like this slow cooker creamed corn.
Why Roast Frozen Corn?
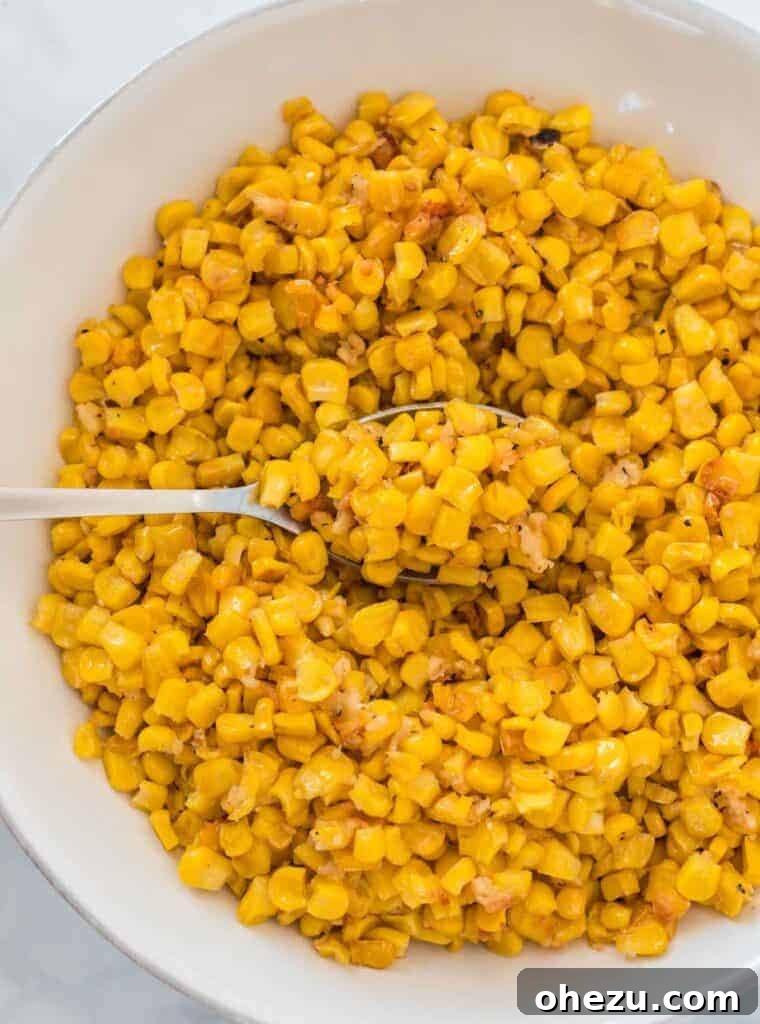
Roasting frozen corn unlocks a depth of flavor and texture that other cooking methods simply can’t achieve. When subjected to high oven heat, the natural sugars in the corn caramelize, creating irresistible browned, chewy edges and a slightly sweet, smoky taste. This transformation elevates ordinary corn kernels into a gourmet experience. It’s a fantastic way to enjoy corn year-round, regardless of the growing season.
How to Roast Frozen Corn: A Simple Guide
Achieving perfectly roasted frozen corn requires just a few basic ingredients and a high-temperature oven. The key to success lies in proper seasoning and strategic roasting. Here’s a detailed look at the process:
Gather Your Simple Ingredients
You’ll only need a handful of pantry staples to create this delicious dish:
- **Frozen Corn Kernels:** The star of our show! No need to thaw them beforehand.
- **Olive Oil Spray:** This is my secret weapon for even coating and crispiness without excessive oil. It adheres beautifully to the frozen kernels.
- **Salt:** Essential for enhancing natural flavors.
- **Black Pepper:** Adds a subtle kick.
- **Garlic Powder:** Infuses the corn with a wonderful aromatic depth.
- **Grated Parmesan Cheese:** Introduced mid-roasting, it melts into a savory, slightly crispy coating that takes this corn to the next level.
Step-by-Step Roasting Process
Roasting at a high temperature is crucial for achieving that delightful texture. Follow these simple steps for perfectly roasted corn:
- Preheat Your Oven: Start by preheating your oven to a blazing 425 degrees Fahrenheit (220°C). High heat is essential for rapid cooking and caramelization, preventing the corn from becoming soggy.
- Prepare the Baking Sheet: Lightly spray a large baking sheet with olive oil spray. Ensure the entire surface is covered to prevent sticking and promote even browning. Using a larger baking sheet is important; you want to spread the corn in a single layer to allow moisture to escape and the kernels to roast rather than steam.
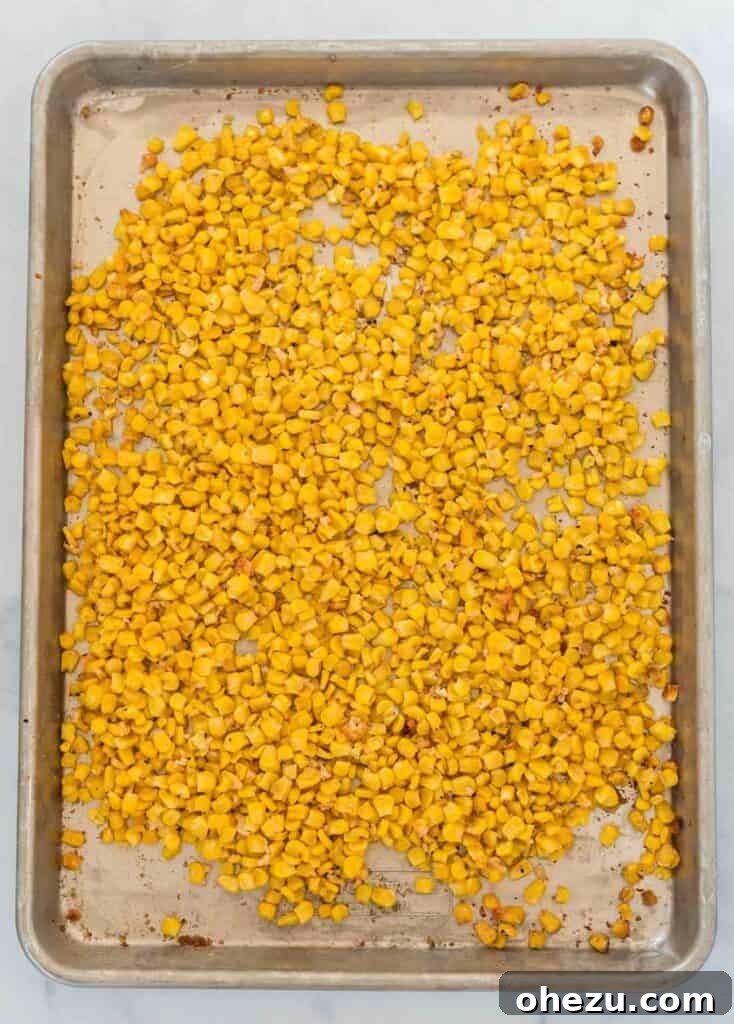
- Arrange the Corn: Pour the frozen corn kernels directly onto the oiled baking sheet. Do not thaw them! Spread them out into a single, even layer. Overcrowding the pan will lead to steaming instead of roasting, resulting in less crispy corn. If you’re making a large batch, use two baking sheets.
- Initial Oil & Seasoning: Once the corn is spread, generously spray the top with more olive oil spray. This creates a thin, even coating that helps the spices adhere and promotes excellent browning. Then, sprinkle evenly with salt, pepper, and garlic powder. Start with a good amount, remembering you can always add more to taste after cooking. For a 24 oz bag, I typically use about 1 teaspoon of salt and 1/2 teaspoon of black pepper, adjusting to personal preference.
- First Roast: Place the baking sheet in the preheated oven and roast for 10 minutes. This initial burst of heat helps to evaporate surface moisture from the frozen kernels and begins the roasting process.
- Add the Parmesan: After 10 minutes, remove the baking sheet from the oven and carefully stir the corn kernels around. This ensures even cooking and prevents scorching. Now, sprinkle the grated Parmesan cheese over the stirred corn. The cheese will melt beautifully, coating the kernels and adding an incredible savory, umami flavor.
- Second Roast for Golden Perfection: Return the baking sheet to the oven and continue roasting for another 15 minutes. Stir once or twice during this phase to ensure all sides get exposed to the heat.
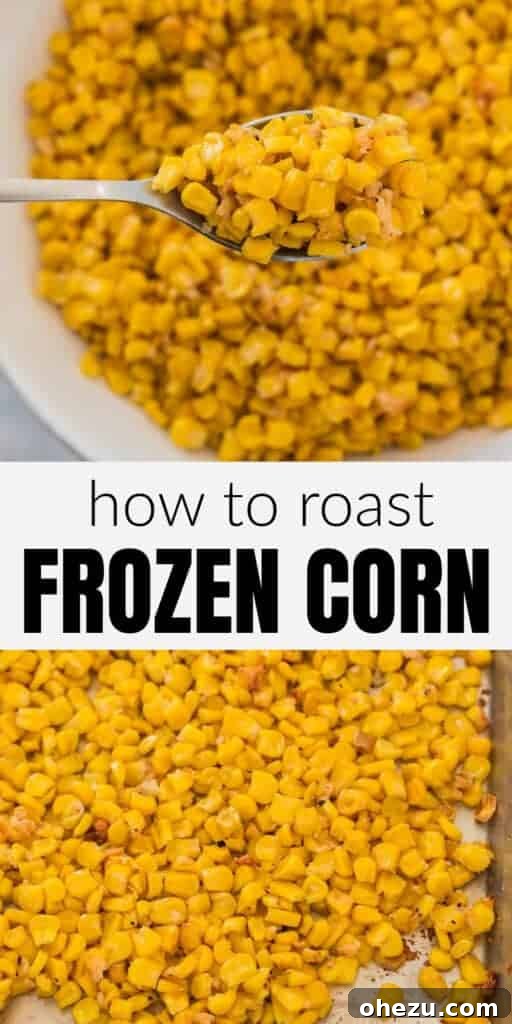
- Achieve Desired Crispiness: Finally, roast for an additional 5-15 minutes, or until the corn is golden brown and caramelized on the edges. The total baking time can vary slightly depending on your oven and the type of baking sheet you use (darker sheets tend to cook faster). Keep a close eye on it during these last minutes to prevent burning. Personally, I love my corn well-roasted with those delightfully chewy, crispy, and caramelized edges – they are packed with flavor!
Tips for Perfect Roasted Frozen Corn
- Don’t Thaw: Roasting frozen corn directly is key. Thawing can make it watery and prevent proper caramelization.
- Single Layer is a Must: Always spread the corn in a single layer on your baking sheet. Use multiple sheets if necessary. This ensures the corn roasts rather than steams, resulting in crispy edges.
- High Heat is Your Friend: A hot oven (425°F/220°C) is crucial for quickly evaporating moisture and achieving that desirable golden-brown crispness.
- Olive Oil Spray for Evenness: Olive oil spray allows for a very thin, even coating that is hard to achieve with poured oil, especially on frozen vegetables. It helps spices stick and promotes uniform browning.
- Season Generously: Don’t be shy with salt, pepper, and garlic powder. Taste and adjust after cooking if needed.
- Watch for Browning: The exact cooking time can vary. Look for those delicious browned, slightly charred edges as your indicator that the corn is done.
Flavorful Variations & Customizations
While this recipe is fantastic as written, don’t hesitate to experiment with different flavor profiles:
- Spicy Kick: Add a pinch of chili powder, smoked paprika, or a dash of cayenne pepper along with the other spices.
- Herbaceous Twist: Fresh or dried herbs like parsley, cilantro (added after roasting), or a touch of dried oregano or basil can elevate the flavor.
- Cheesy Alternatives: Experiment with other hard cheeses like Pecorino Romano or even a sprinkle of nutritional yeast for a dairy-free cheesy flavor.
- Citrus Brightness: A squeeze of fresh lime or lemon juice after roasting adds a zesty finish.
- Sweet & Savory: A tiny drizzle of maple syrup or honey during the last few minutes of roasting can create an interesting sweet and savory contrast.
- Mexican-Inspired: After roasting, toss with a little chopped cilantro, a squeeze of lime, and a sprinkle of cotija cheese for a street-corn vibe.
Serving Suggestions
This versatile roasted frozen corn makes an excellent side dish for almost any meal. It pairs beautifully with:
- Grilled chicken or fish
- Steak or pork chops
- Taco nights or burrito bowls
- As a vibrant addition to salads
- Alongside a comforting chili or stew
Frequently Asked Questions About Cooking Frozen Corn
How do you cook frozen corn?
Frozen corn is incredibly versatile! You can roast it in the oven (as detailed in this recipe), sauté it on the stovetop, boil it, steam it, or even microwave it. Roasting and sautéing are excellent for achieving a lovely caramelized flavor and texture, while boiling or steaming are quicker methods for a softer corn.
How long should you cook frozen corn?
The cooking time for frozen corn depends entirely on your chosen method and desired texture. On the stovetop, it can cook in about 10-15 minutes until heated through and slightly tender. For oven-roasted corn, as in this recipe, expect a longer cooking time of around 30-40 minutes at 425°F (220°C) to achieve those desirable browned and chewy edges.
Do I need to thaw frozen corn before roasting?
Absolutely not! For this recipe, it’s best to use the corn directly from the freezer. Thawing it beforehand can introduce excess moisture, which can lead to steaming rather than roasting, preventing it from getting those delicious crispy, caramelized edges we’re aiming for.
Can I use fresh corn instead of frozen?
Yes, you can certainly roast fresh corn kernels! If using fresh, you might need slightly less oil and a shorter roasting time, as fresh corn contains more moisture. The steps for seasoning and high heat roasting would remain similar.
How do I store and reheat leftover roasted corn?
Store any leftover roasted corn in an airtight container in the refrigerator for up to 3-4 days. To reheat, spread it on a baking sheet and warm in a preheated oven (around 350°F/175°C) for 5-10 minutes, or until heated through and crisp again. You can also quickly reheat it in a skillet on the stovetop for a few minutes.
Looking for more yummy corn recipes? Our favorite stovetop corn recipes include this creamed corn and this best crispy skillet corn.

Roasted Frozen Corn
Joy Shull
5 mins
35 mins
40 mins
6
Rate Recipe
Print Recipe
Ingredients
- 24 oz frozen corn
- 1 teaspoon garlic powder
- 1/4 cup grated parmesan cheese
- salt
- pepper
- olive oil spray
Instructions
- Preheat oven to 425 degrees F (220°C).
- Spray a large baking sheet with olive oil spray. Ensure the entire surface is covered.
- Place frozen corn kernels on the oiled baking sheet, spreading them into a single, even layer. Do not thaw the corn.
- Spray the top of the corn with additional olive oil spray for even coating.
- Sprinkle even amounts of salt, pepper, and garlic powder over the corn. For reference, start with about 1 teaspoon of salt and 1/2 teaspoon of pepper, adjusting to taste later.
- Roast at 425 degrees F for 10 minutes.
- Remove corn and stir it around on the baking sheet, then sprinkle evenly with the grated Parmesan cheese.
- Roast for an additional 15 minutes, stirring once more during this period.
- Continue to roast for a final 5 – 15 minutes, or until the corn achieves a desirable golden brown color and crispy, caramelized edges. Watch closely to prevent burning.
Notes
Nutrition
Calories:
130kcal
,
Carbohydrates:
28g
,
Protein:
5g
,
Fat:
2g
,
Saturated Fat:
1g
,
Polyunsaturated Fat:
0.5g
,
Monounsaturated Fat:
1g
,
Cholesterol:
4mg
,
Sodium:
79mg
,
Potassium:
347mg
,
Fiber:
3g
,
Sugar:
0.02g
,
Vitamin A:
41IU
,
Vitamin C:
8mg
,
Calcium:
42mg
,
Iron:
1mg
Like this recipe? Rate and comment below!