
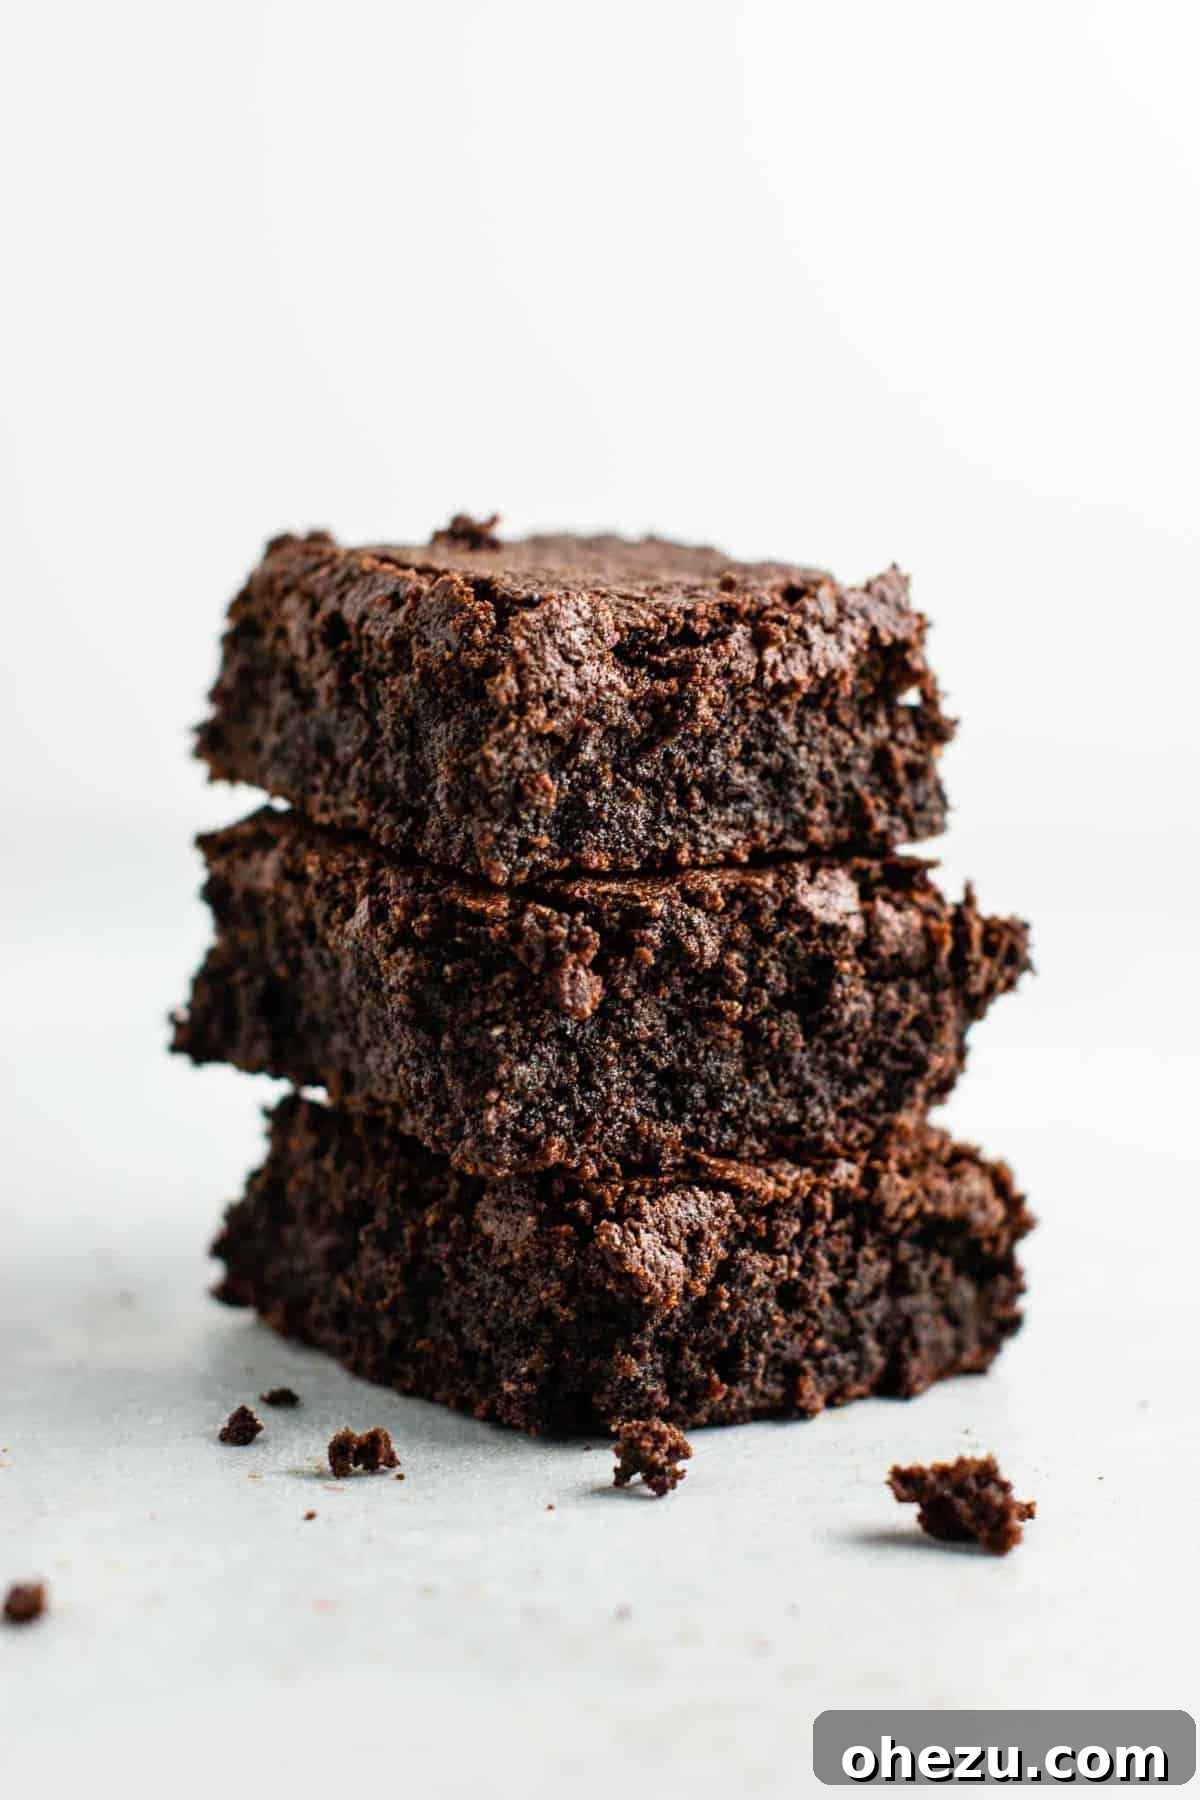
Prepare to indulge in the ultimate gluten-free brownie experience! These sensational brownies are everything you crave: irresistibly fudgy, wonderfully thick, and bursting with a rich, decadent chocolate flavor that tastes absolutely luxurious. What’s even better? This easy recipe is also completely dairy-free, making it a perfect treat for a wide range of dietary needs without sacrificing an ounce of deliciousness.
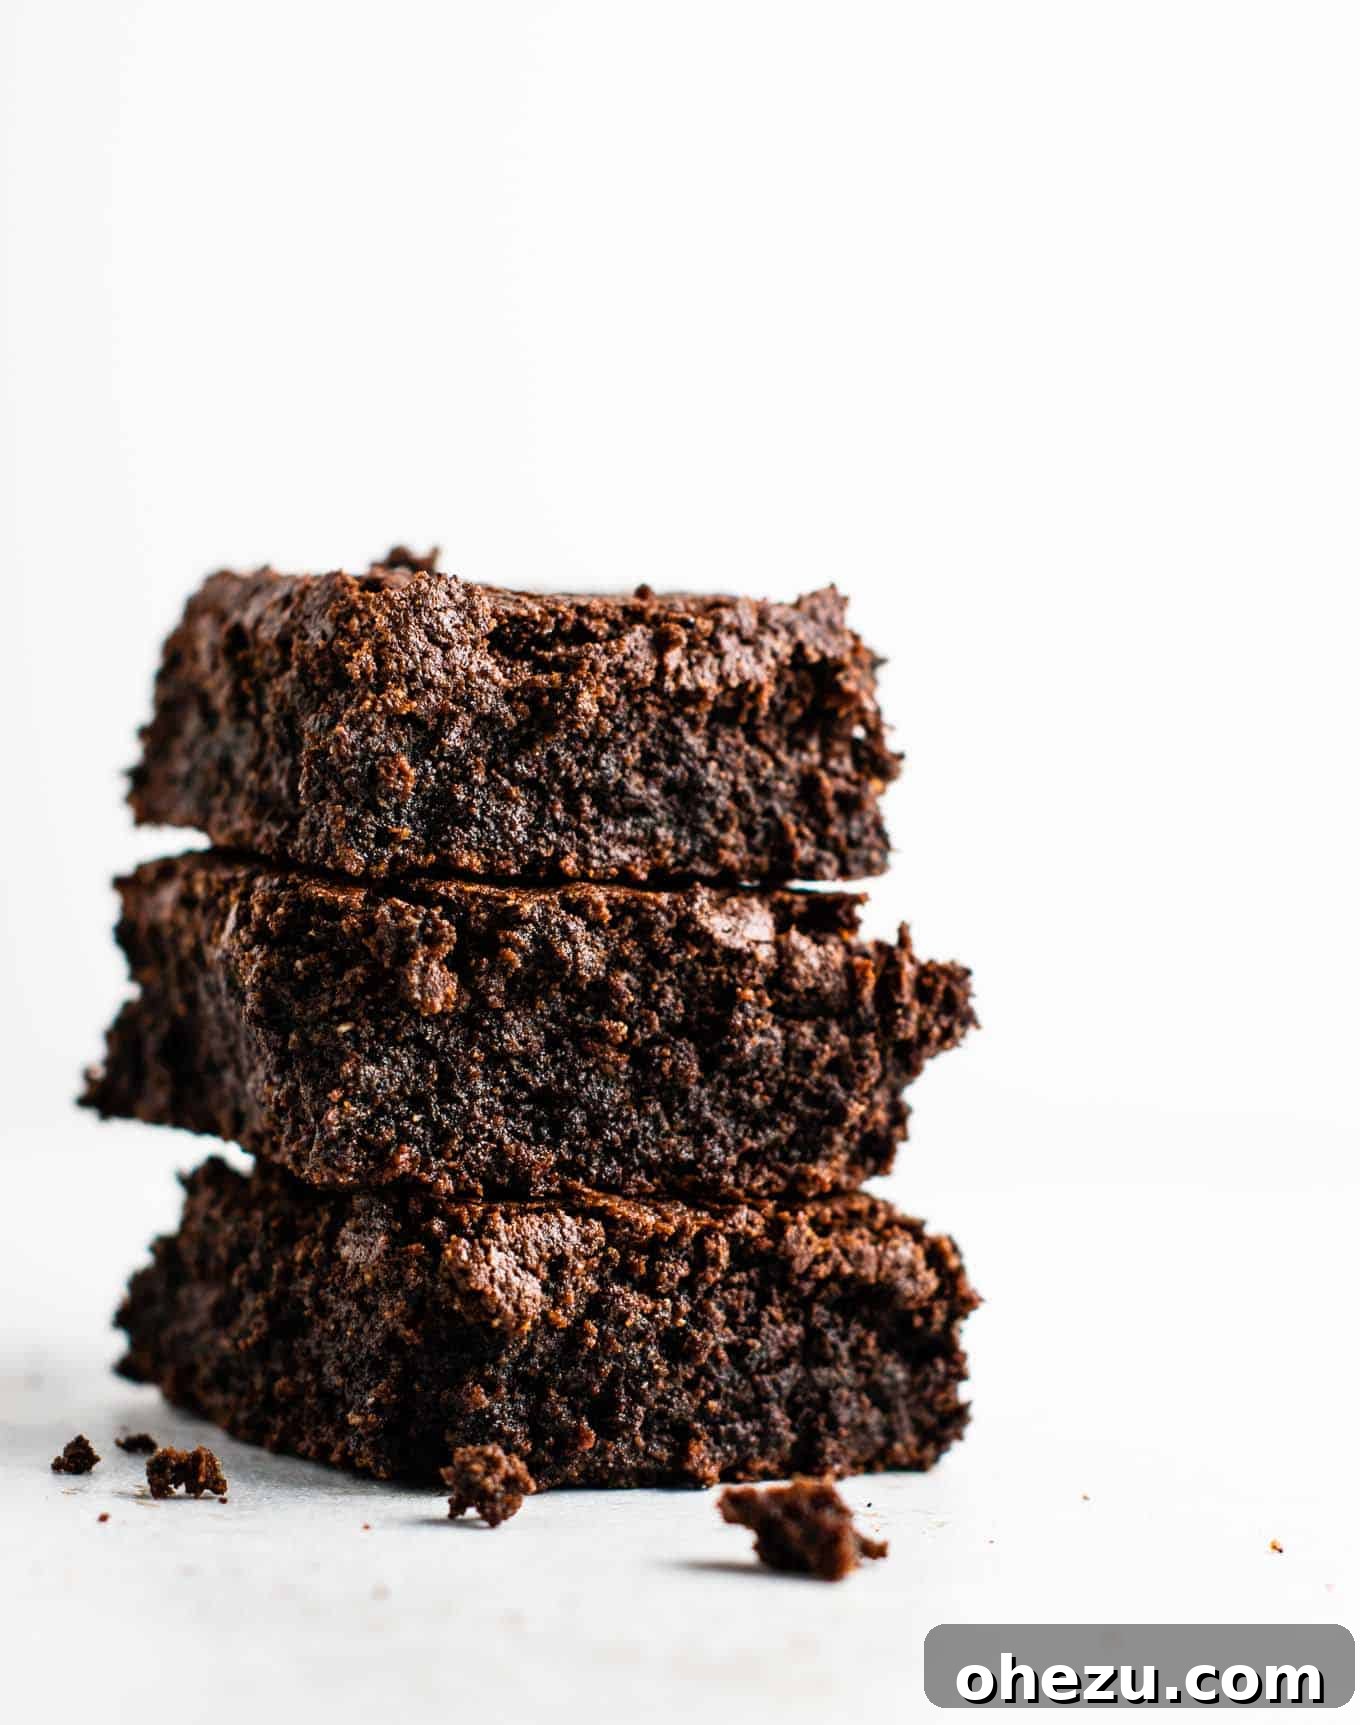
Crafting exceptional gluten-free desserts has become a passion, and these brownies represent the pinnacle of my latest culinary experiments. While I personally don’t follow a gluten-free diet, my blog is dedicated to sharing a plethora of gluten-free dessert recipes that meet a very specific set of criteria.
My philosophy for any gluten-free recipe is simple: it must be effortless to prepare and rely on readily available, affordable ingredients. No fancy, obscure flours or specialized equipment required here! Years of baking and testing have led me to discover a truly magical combination of oat flour and coconut flour that consistently delivers perfect results in gluten-free baking.
This dynamic duo isn’t just easy to find in most grocery stores; it’s also incredibly cost-effective and remarkably versatile. I’ve successfully incorporated this winning blend into a variety of beloved recipes, from my highly acclaimed gluten-free carrot cake recipe to my quick and satisfying gluten-free chocolate mug cake. Today, this powerhouse flour combination is the secret behind these intensely fudgy and utterly delicious gluten-free brownies!
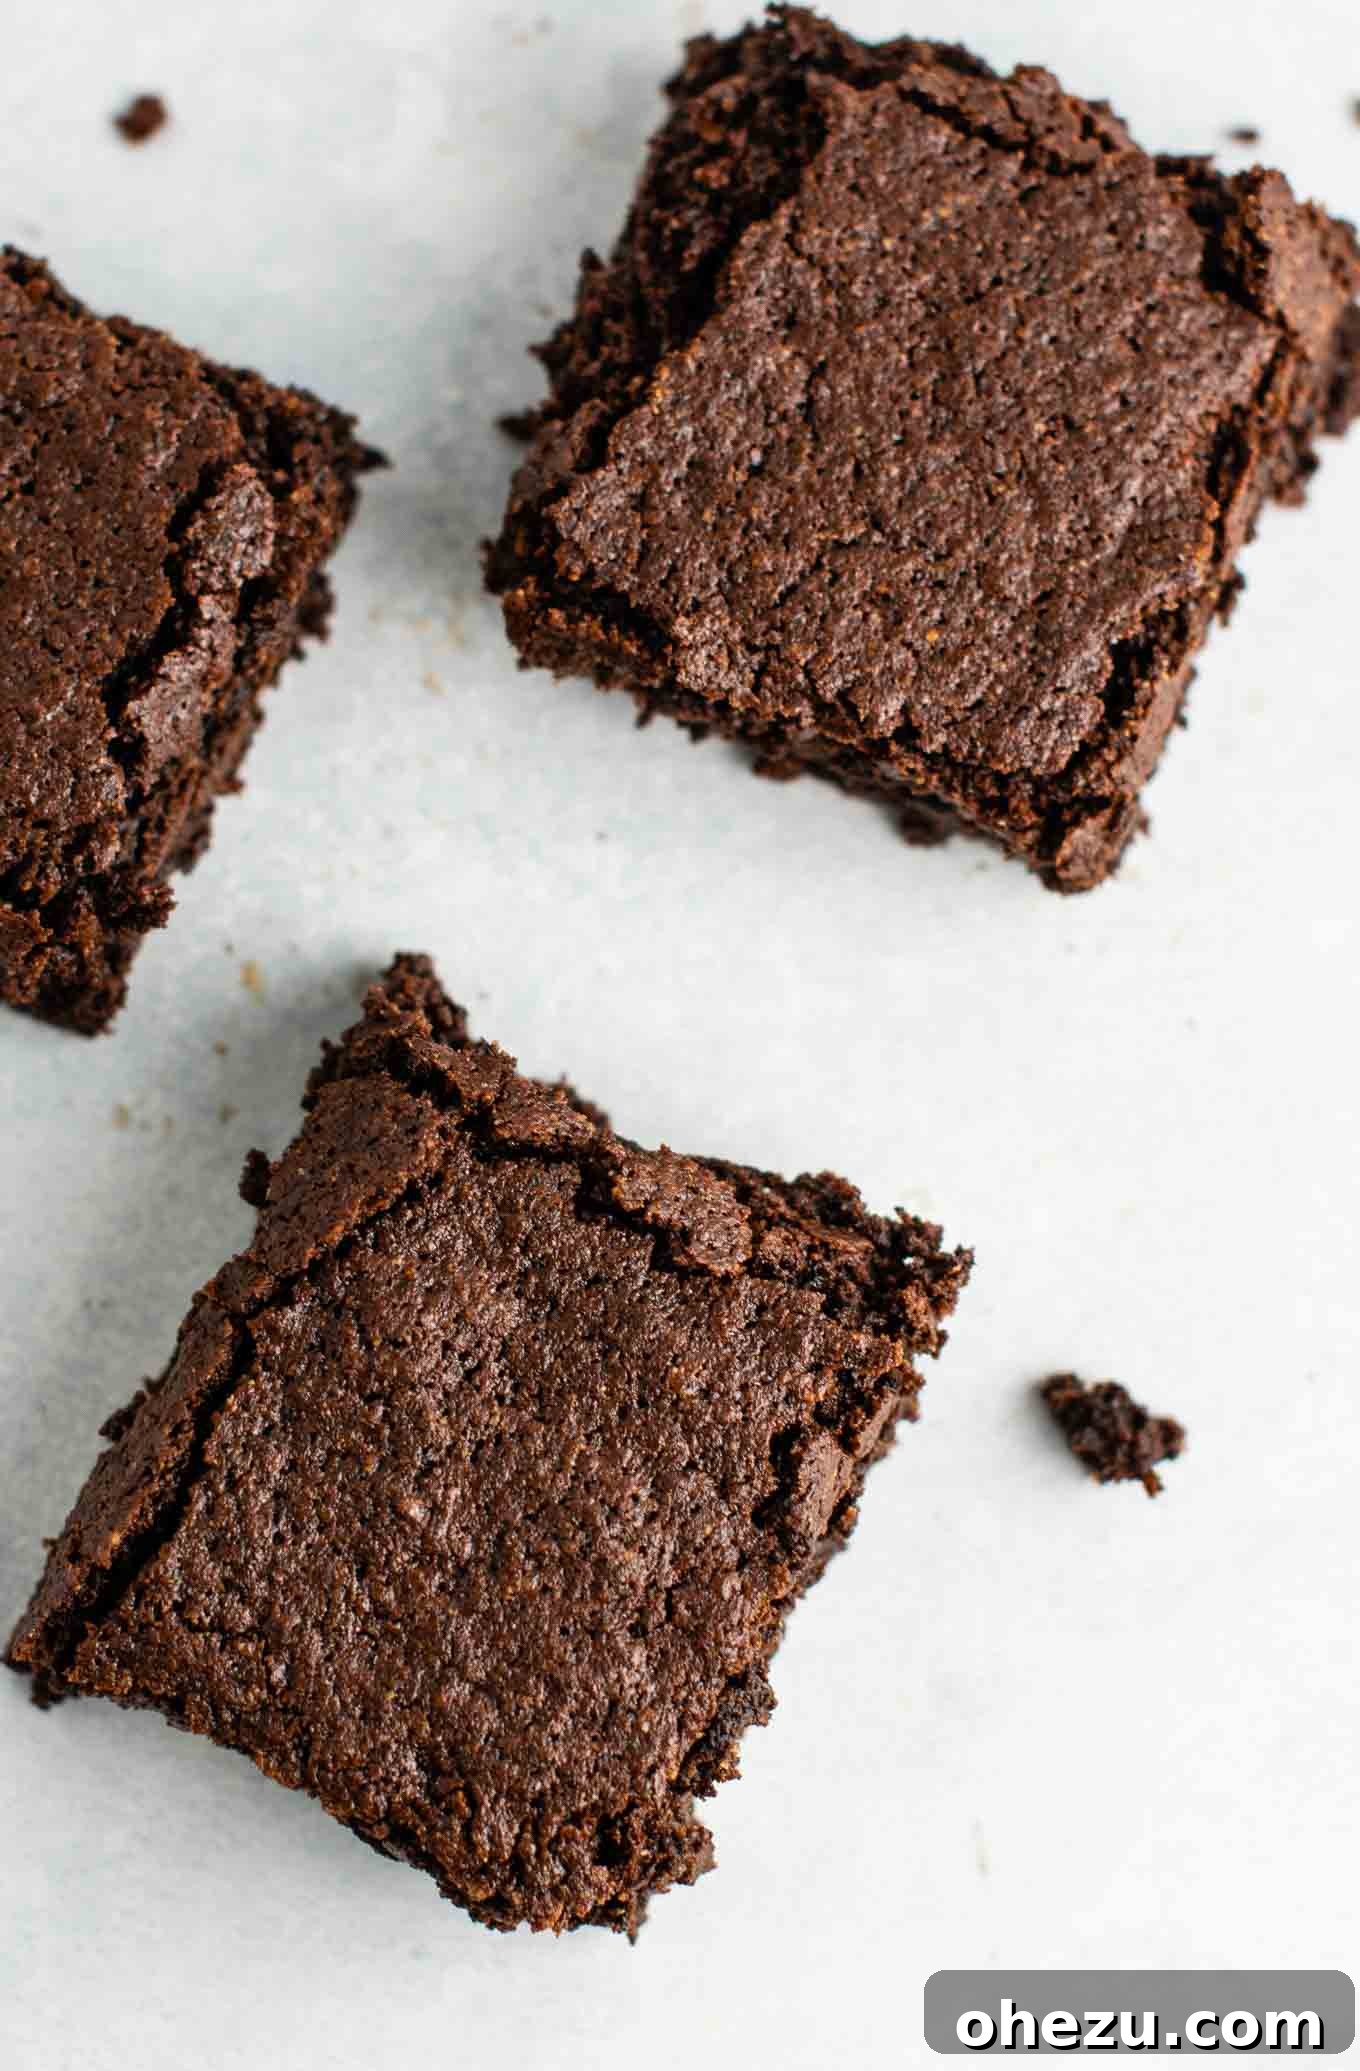
The Secret to Perfectly Fudgy Gluten-Free Brownies
What makes these gluten-free brownies stand out is not just the blend of flours, but a special technique for achieving that coveted, ultra-fudgy texture. Beyond the classic cocoa powder, this recipe incorporates melted chocolate directly into the batter. This dual chocolate approach deepens the flavor and creates an incomparably moist and dense crumb that truly defines a perfect brownie. This method ensures every bite is a rich, chocolatey dream, a texture often challenging to achieve with gluten-free alternatives.
The process begins by gently melting coconut oil and dairy-free chocolate chips together until they form a smooth, glossy mixture. This step is crucial for the brownie’s richness and helps create the fudgy interior. To this luxurious base, you’ll then whisk in olive oil, pure vanilla extract, granulated sugar, and brown sugar. The sugars contribute to both sweetness and moisture, while the vanilla enhances the overall chocolate profile. Ensure everything is thoroughly combined with a whisk, aiming for a smooth consistency.
Next, incorporate three large eggs, adding them one at a time and whisking well after each addition. This ensures proper emulsification of the fats and sugars, contributing to the brownies’ structure, chewiness, and overall stability without relying on gluten.
In a separate, medium-sized bowl, whisk together all your dry ingredients: the gluten-free oat flour, coconut flour, rich unsweetened cocoa powder, baking soda (for a slight lift and tender crumb), and a pinch of salt (to balance the sweetness and deepen the chocolate flavor). The salt is particularly important in chocolate desserts as it really brings out the nuances of the cocoa, making the chocolate taste even more intense.
Finally, gently add the dry mixture to the wet ingredients. Using a rubber spatula, mix until just combined. The key here is to avoid overmixing. Overmixing can lead to a tougher, less fudgy brownie by incorporating too much air or unnecessarily developing starches. Mix just until no streaks of dry flour remain, ensuring a uniform batter.
Prepare an 8×8 inch baking dish by lining it with parchment paper. This simple trick is a game-changer for easy cleanup and hassle-free removal of your baked brownies. Alternatively, you can generously spray the dish with cooking spray, but parchment paper offers superior results. I highly recommend parchment paper as it allows you to effortlessly lift the entire slab of brownies out of the pan once cooled, making cutting into perfect squares a breeze.
Carefully pour the rich brownie batter into the prepared dish and spread it evenly to ensure uniform thickness across the pan. This promotes even baking. Bake the brownies in a preheated oven at 350°F (175°C) for approximately 30-35 minutes, or until the center is set and no longer jiggly when gently shaken. Keep an eye on them; a slightly underbaked brownie will be gloriously fudgier, while an overbaked one can become dry and crumbly, losing its desired texture.
Once baked, resist the temptation to cut immediately. Allow the brownies to cool in the pan for at least 10 minutes. This initial cooling period helps them set and firm up slightly. After 10 minutes, use the parchment paper overhang to gently lift the entire slab of brownies out of the pan and transfer them to a wire rack or cool surface to continue cooling. This step is vital for achieving the perfect texture and preventing crumbling when sliced.
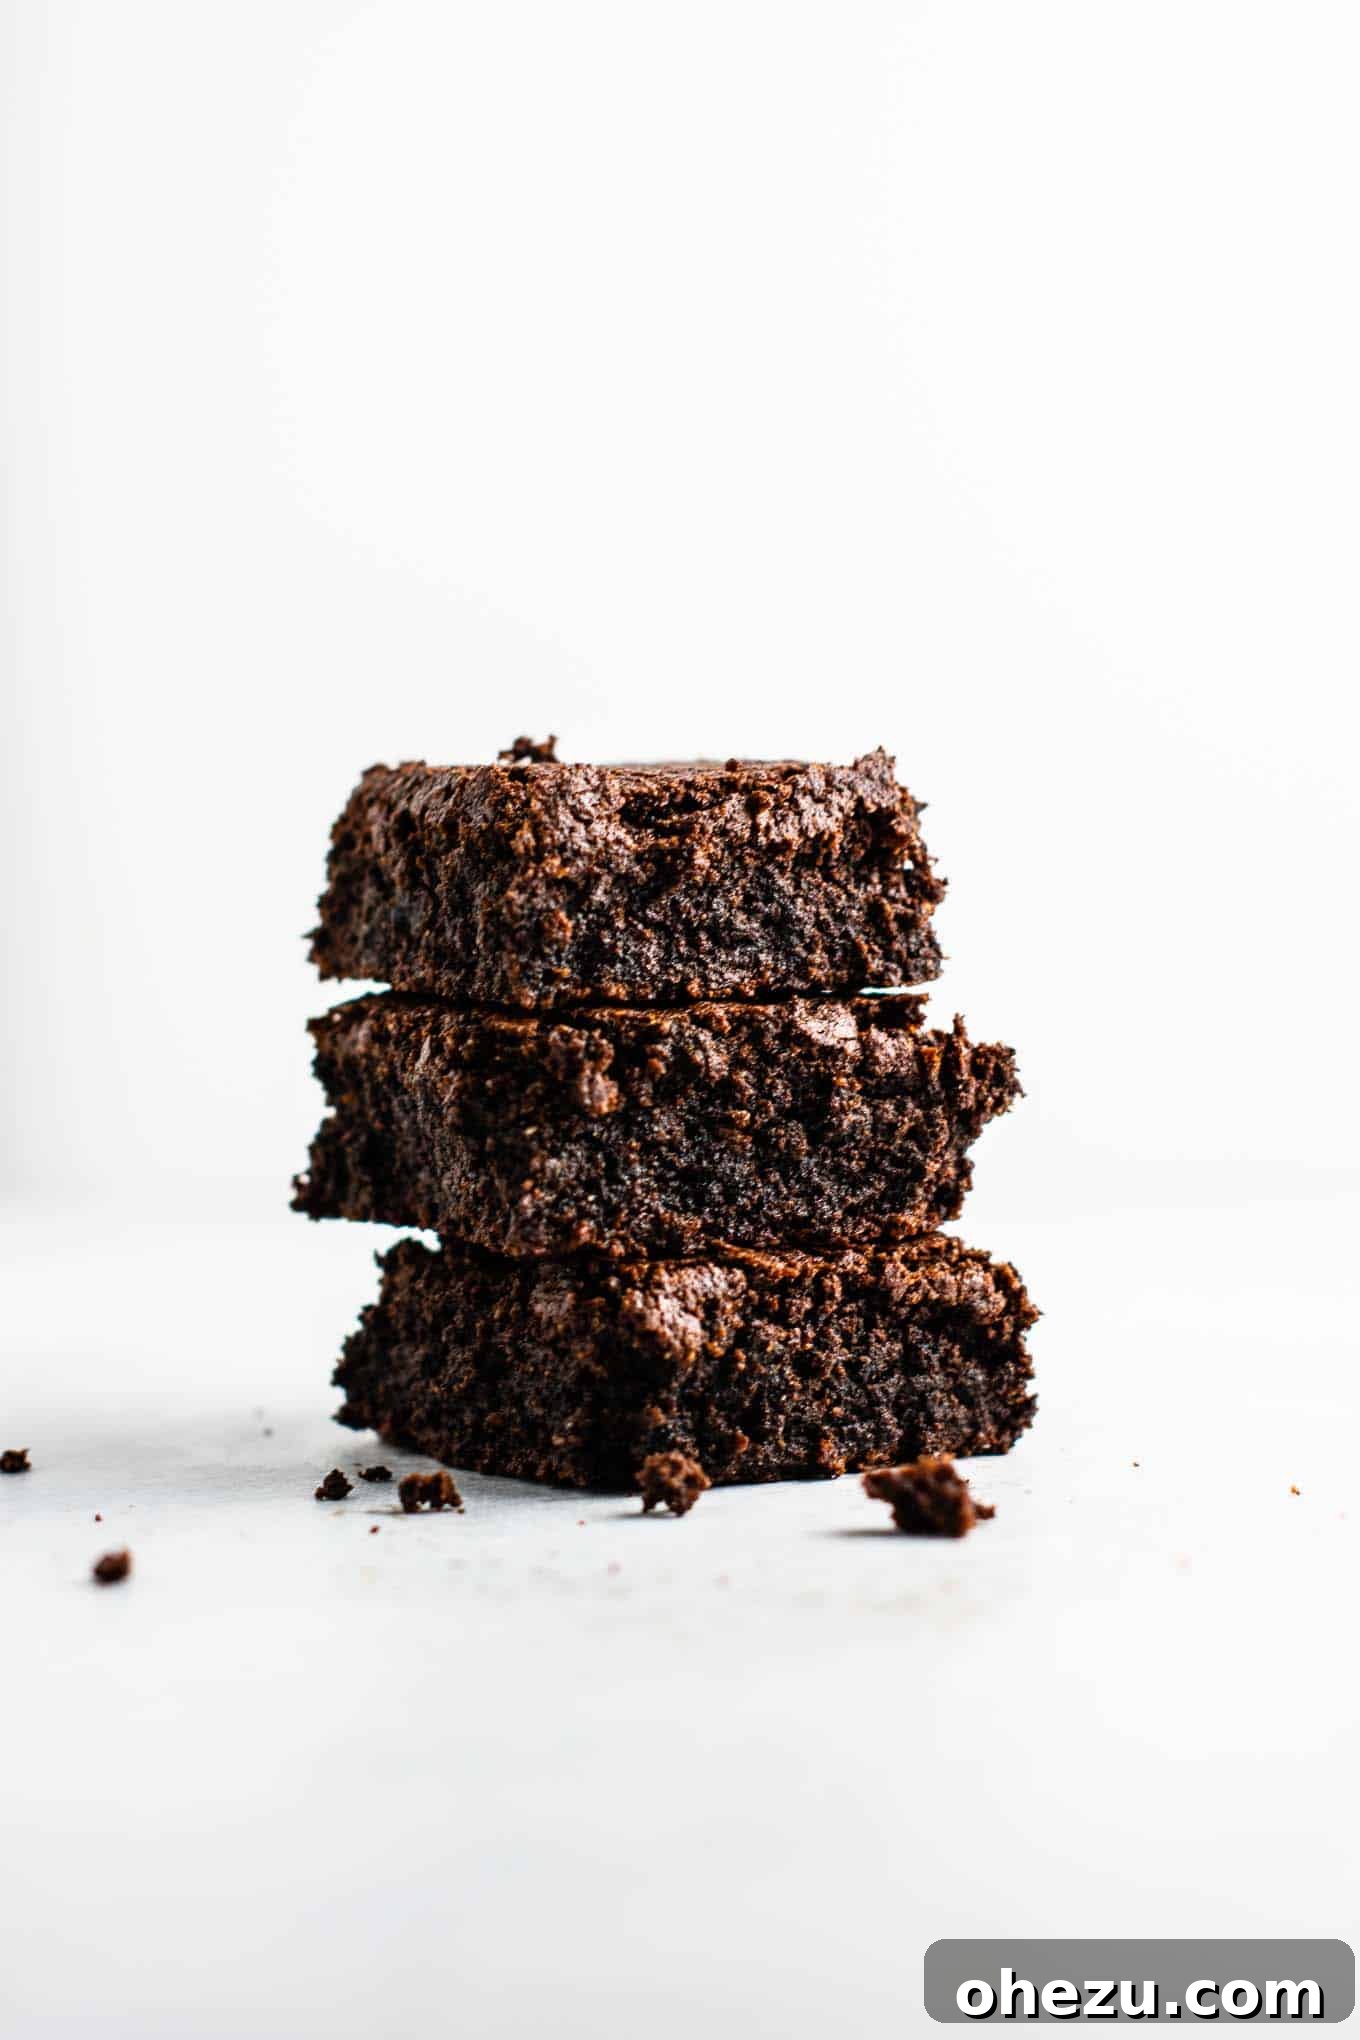
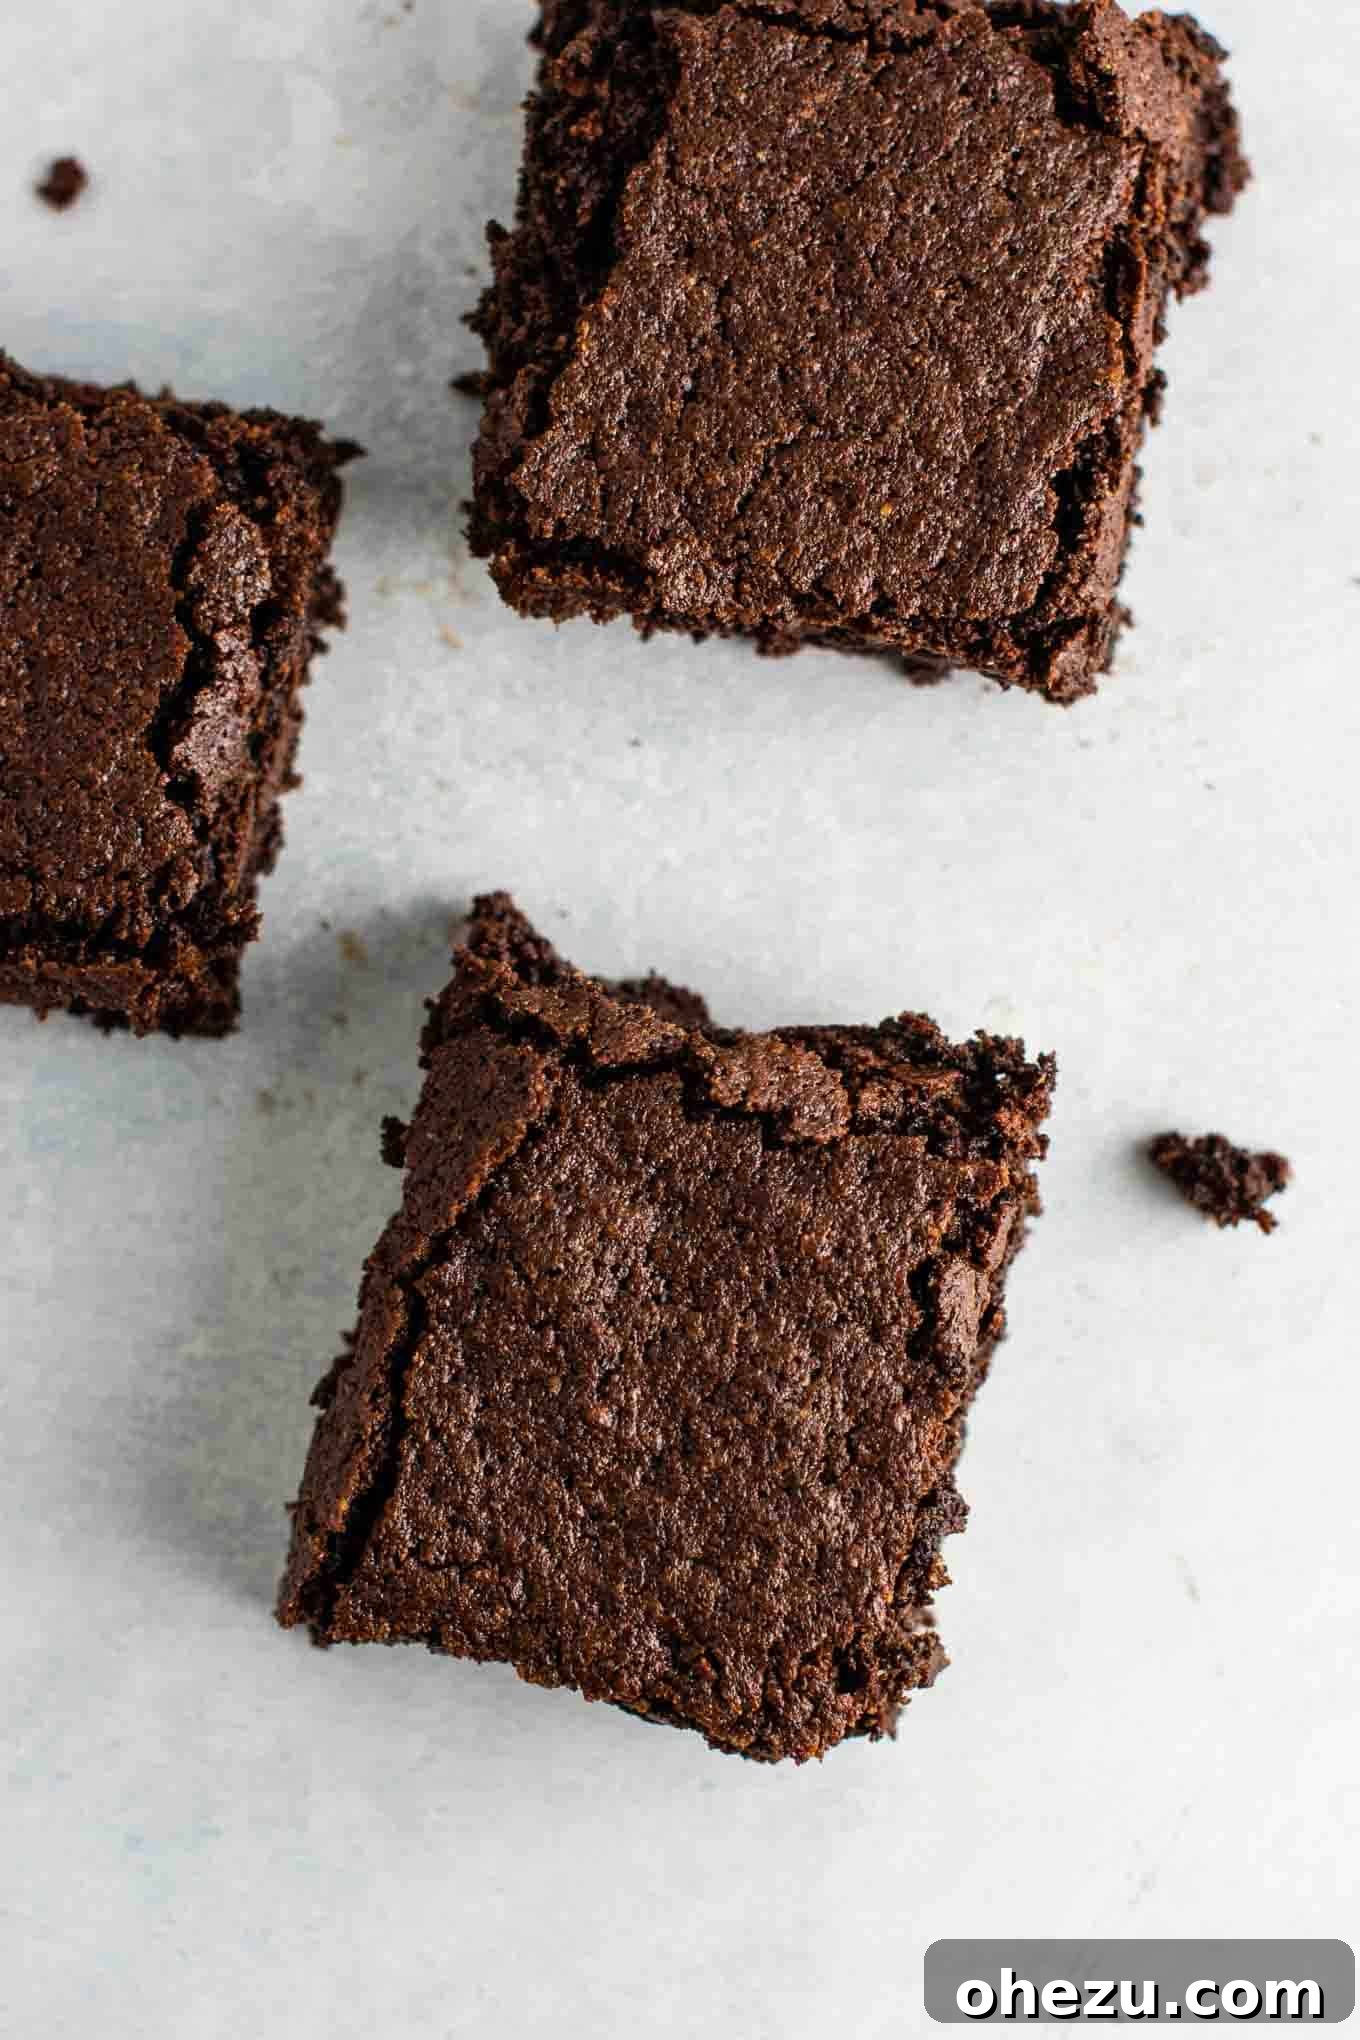
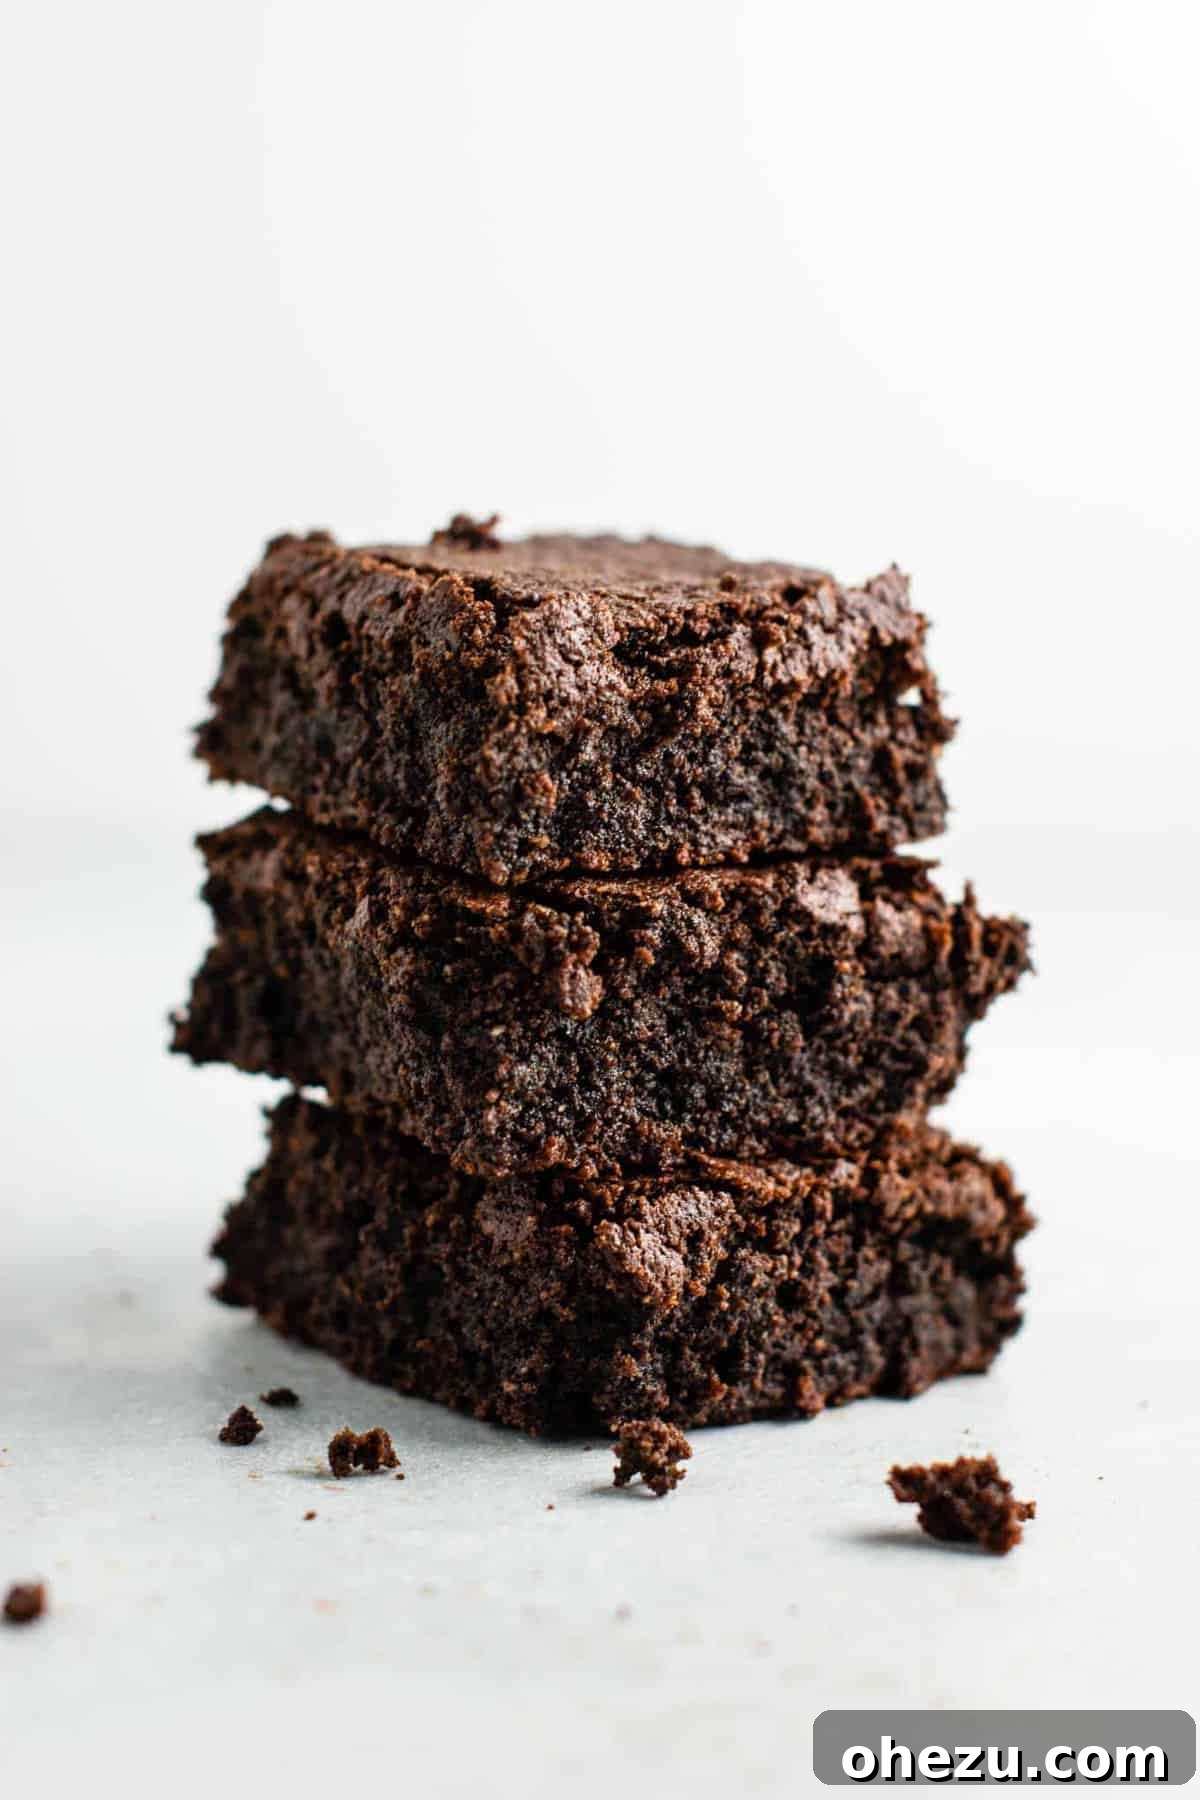
For the cleanest cuts and to maintain that desirable fudgy consistency, it is absolutely crucial to slice them only when they are mostly or completely cool. I confess, I’ve made this mistake myself many times, cutting into them too soon in my eagerness, only to have them fall apart. Cutting warm brownies often results in them falling apart or having a crumbly texture. While they might still taste amazing, they won’t hold their shape beautifully. Once completely cooled, use a plastic knife (which glides through brownies without sticking) or a sharp, warm knife (wiped clean between cuts) to slice them into perfect squares. The patience required for cooling is truly rewarded with immaculate, delicious brownies that hold together like a dream. Despite being gluten-free, these brownies boast a texture and flavor so incredible, you’d never guess they were made without traditional flour. They are truly an unforgettable treat!
Brownie Baking: Tips, Tricks & Delicious Variations
Achieving the Perfect Fudgy Texture:
- Don’t Overmix: As emphasized, gentle mixing is key. Overmixing can overdevelop the starches in gluten-free flours and lead to a tougher, cake-like texture rather than the desired fudginess.
- The Right Fat Ratio: The generous combination of coconut oil, olive oil, and melted chocolate chips creates an incredibly rich, moist base that ensures ultimate fudginess and a luxurious mouthfeel.
- Resist Overbaking: Brownies are often best when slightly underbaked. The center should be set but might still have a very slight jiggle when gently nudged. The edges should be firm, but the middle should still feel soft.
- Cool Completely: This is arguably the most important step for fudgy brownies that hold their shape. Patience is key! As they cool, the fats and sugars solidify, creating that dense, chewy texture.
Customizing Your Gluten-Free Brownies:
These brownies are fantastic on their own, but they also serve as a wonderful base for creative additions. Feel free to make them your own!
- Add-ins: Fold in a handful of your favorite nuts (chopped walnuts, pecans, or almonds work wonderfully), more chocolate chips (white chocolate, dark chocolate chunks, or even a mix), or some shredded coconut into the batter just before baking.
- Flavor Boosts: A pinch of instant espresso powder (about 1 teaspoon) can dramatically enhance the chocolate flavor without making the brownies taste like coffee. A swirl of smooth peanut butter, almond butter, or a dash of peppermint extract can also add interesting and delightful flavor notes.
- Frosting Fun: While these brownies are incredible unfrosted, feel free to top them with a dairy-free chocolate ganache, a simple dusting of powdered sugar, or even a luscious dairy-free cream cheese frosting for an extra special, celebratory treat.
Storage and Make-Ahead Tips:
These delightful gluten-free brownies are surprisingly robust and store very well, making them excellent for meal prep or entertaining. They can be stored at room temperature in an airtight container for up to 3-4 days, maintaining their fudgy texture. For longer storage, you can refrigerate them for up to a week; chilling often enhances their dense, chewy quality. They also freeze exceptionally well! Wrap individual brownies tightly in plastic wrap, then place them in a freezer-safe bag or container. Thaw at room temperature for a quick and delicious treat whenever a craving strikes, or gently warm them in the microwave for a few seconds for a freshly baked feel.
More Irresistible Gluten-Free Desserts to Explore
If you loved these fudgy brownies and are looking for more delectable gluten-free options that are both easy and delicious, you’re in for a treat with my other tried-and-true recipes:
- This gluten-free carrot cake consistently earns rave reviews from everyone who tries it and remains one of my absolute favorite cake recipes – it’s incredibly moist, perfectly spiced, and utterly delightful, proving that gluten-free can be just as good, if not better!
- My flourless peanut butter oatmeal chocolate chip cookies are always a huge hit at gatherings. They’re unbelievably simple to make, require minimal ingredients, and are packed with wholesome flavor and chewy goodness.
- For a delightful snack or a quick dessert, these gluten-free cookie bars are soft, chewy, and incredibly satisfying, making them perfect for lunchboxes or an afternoon pick-me-up.
- Craving something quick and decadent without turning on the oven? These no-bake peanut butter truffles taste just like a classic buckeye candy. They come together in mere minutes and are a perfect solution for a last-minute sweet craving.
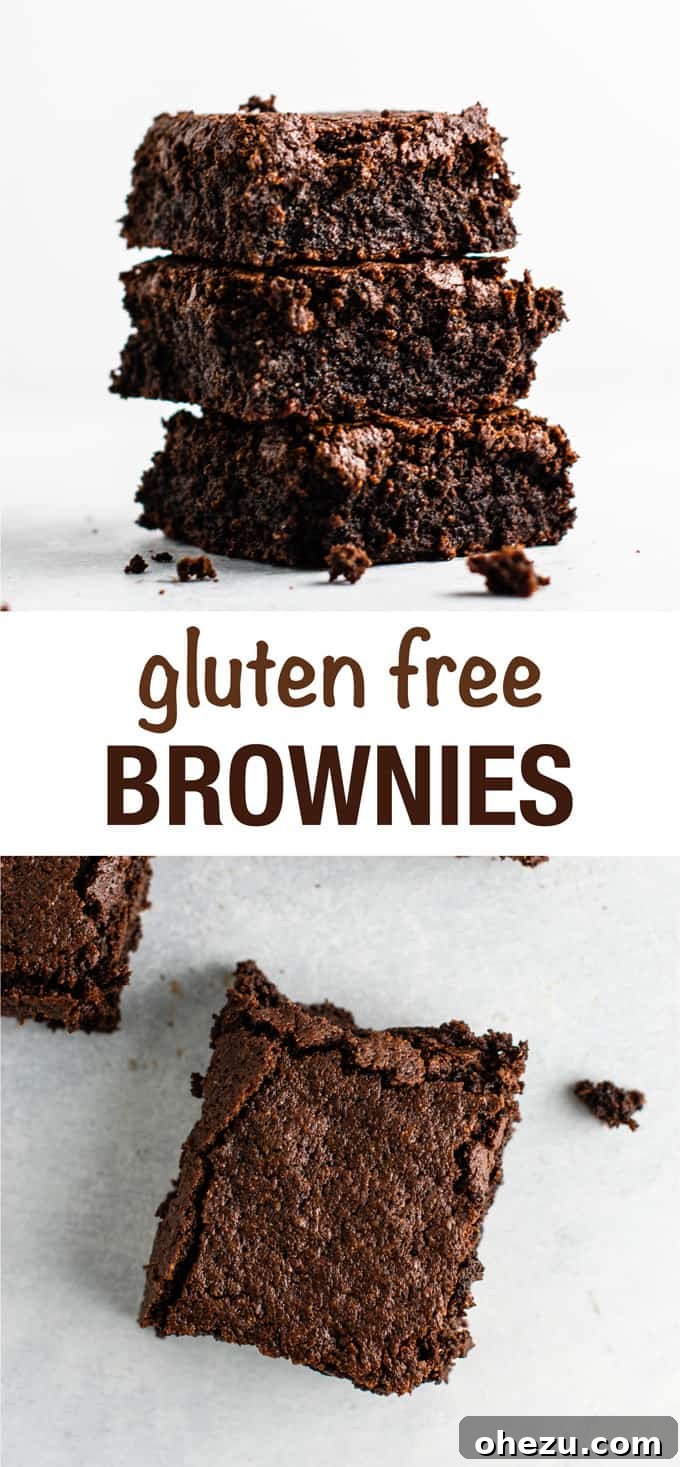
Don’t forget to pin this recipe so you can easily find it later when that irresistible brownie craving hits!
Have you tried this recipe? I would love to hear your thoughts! Please consider leaving a star rating and comment below to share your experience with these amazing gluten-free brownies!
Fudgy Gluten-Free Brownies: The Full Recipe
Gluten-Free Brownies
Pin Recipe
Rate Recipe
Print Recipe
Ingredients
- 1/2 cup coconut oil, measured solid
- 1/4 cup olive oil
- 10 oz dairy-free semi-sweet chocolate chips
- 3 large eggs
- 1 tablespoon vanilla extract
- 3/4 cup gluten-free oat flour
- 1/4 cup coconut flour
- 1/3 cup unsweetened cocoa powder
- 1/2 cup granulated sugar
- 1/2 cup brown sugar
- 3/4 teaspoon baking soda
- 1/4 teaspoon salt
Instructions
- In a microwave-safe mixing bowl, gently melt dairy-free chocolate chips and coconut oil together until smooth. Be careful not to burn; check and stir every 30 seconds (this usually takes around 90 seconds in total).
- Once the coconut oil and chocolate are melted and fully combined, add in the olive oil, vanilla extract, granulated sugar, and brown sugar.
- Use a whisk to thoroughly combine all the wet ingredients until the mixture is smooth and uniform.
- Whisk in the 3 large eggs, adding them one at a time, ensuring each is fully incorporated into the batter before adding the next.
- In a separate, medium-sized bowl, whisk together all the dry ingredients: gluten-free oat flour, coconut flour, unsweetened cocoa powder, baking soda, and salt.
- Add the combined dry ingredients mixture to the wet ingredients. Using a rubber spatula, mix gently until just combined. Be careful not to overmix the batter; stop as soon as no dry streaks remain.
- Line an 8×8 inch baking dish with parchment paper, leaving an overhang on all sides for easy removal of the baked brownies.
- Pour the brownie batter into the prepared dish and spread it out evenly to the edges with your spatula.
- Bake in a preheated oven at 350°F (175°C) for 28-33 minutes, or until the center is set and no longer jiggly when gently nudged. A toothpick inserted into the center should come out with moist crumbs, not wet batter.
- Allow the brownies to cool in the pan for 10 minutes. This initial cooling helps them to firm up slightly.
- Carefully lift the edges of the parchment paper to remove the brownies from the pan and transfer them to a wire rack.
- Crucially, allow the brownies to cool completely on the wire rack before attempting to cut them. This prevents crumbling and ensures perfectly fudgy squares that hold their shape.
Nutrition Information
Calories: 274kcal,
Carbohydrates: 28g,
Protein: 3g,
Fat: 18g,
Saturated Fat: 10g,
Polyunsaturated Fat: 6g,
Cholesterol: 35mg,
Sodium: 111mg,
Fiber: 2g,
Sugar: 22g
Enjoyed this recipe? Your feedback is valuable!
Please take a moment to rate and comment below!