
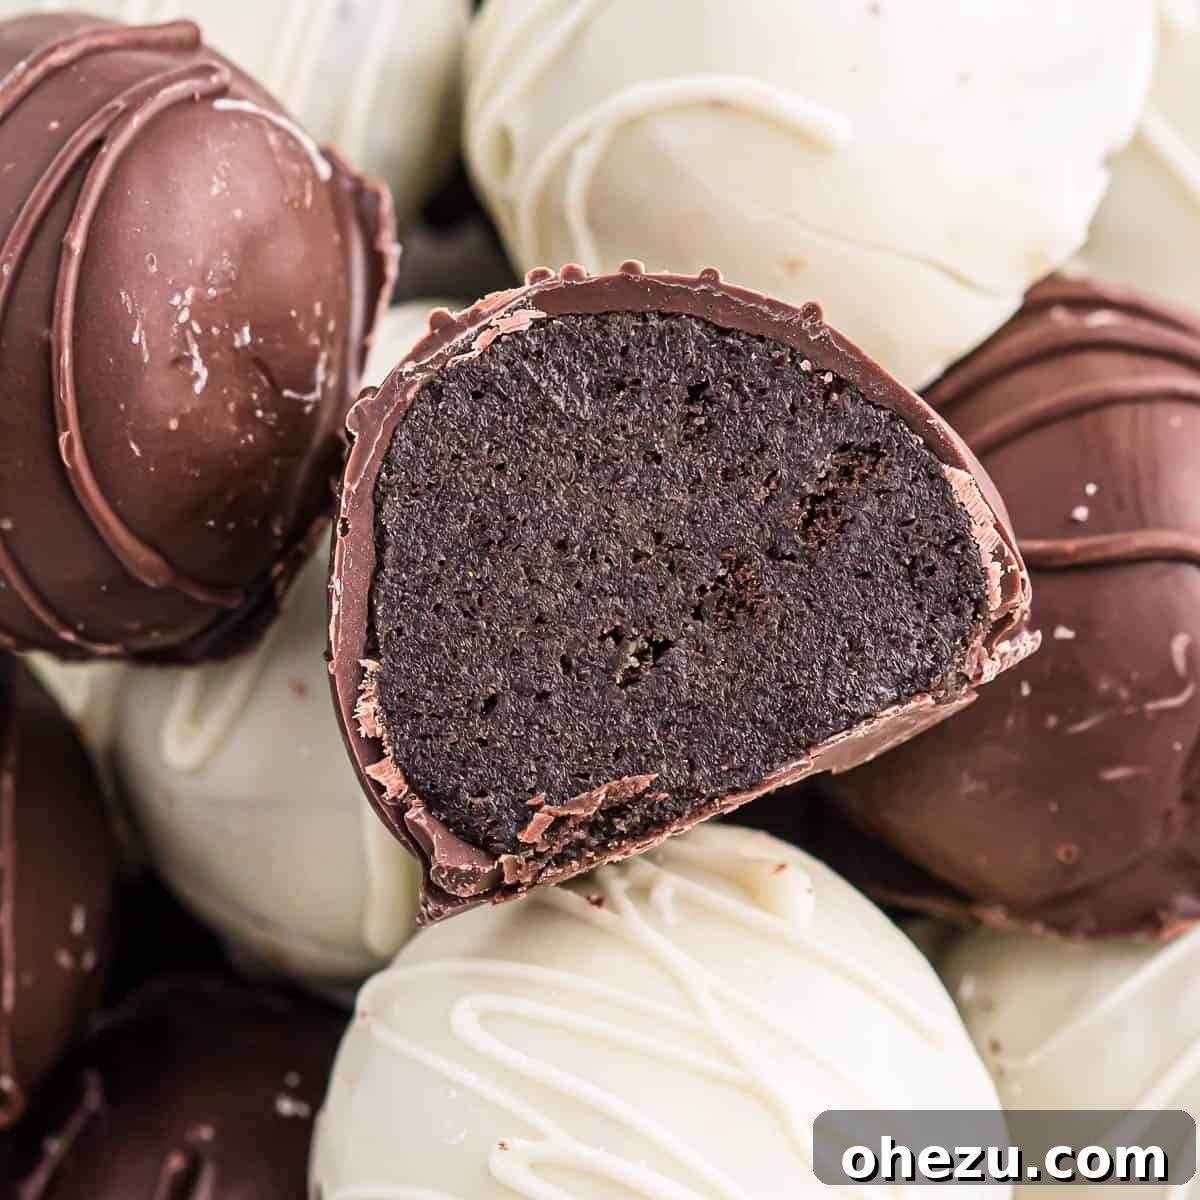
Indulge in the simple pleasure of these incredibly easy and utterly delicious Mint Oreo Truffles. This no-bake dessert combines the refreshing flavor of mint with rich chocolate, all held together by creamy cheese. With just four basic ingredients, you can whip up a batch of these decadent treats that are perfect for any occasion. Prepare to impress your friends and family with these melt-in-your-mouth chocolate mint Oreo balls!
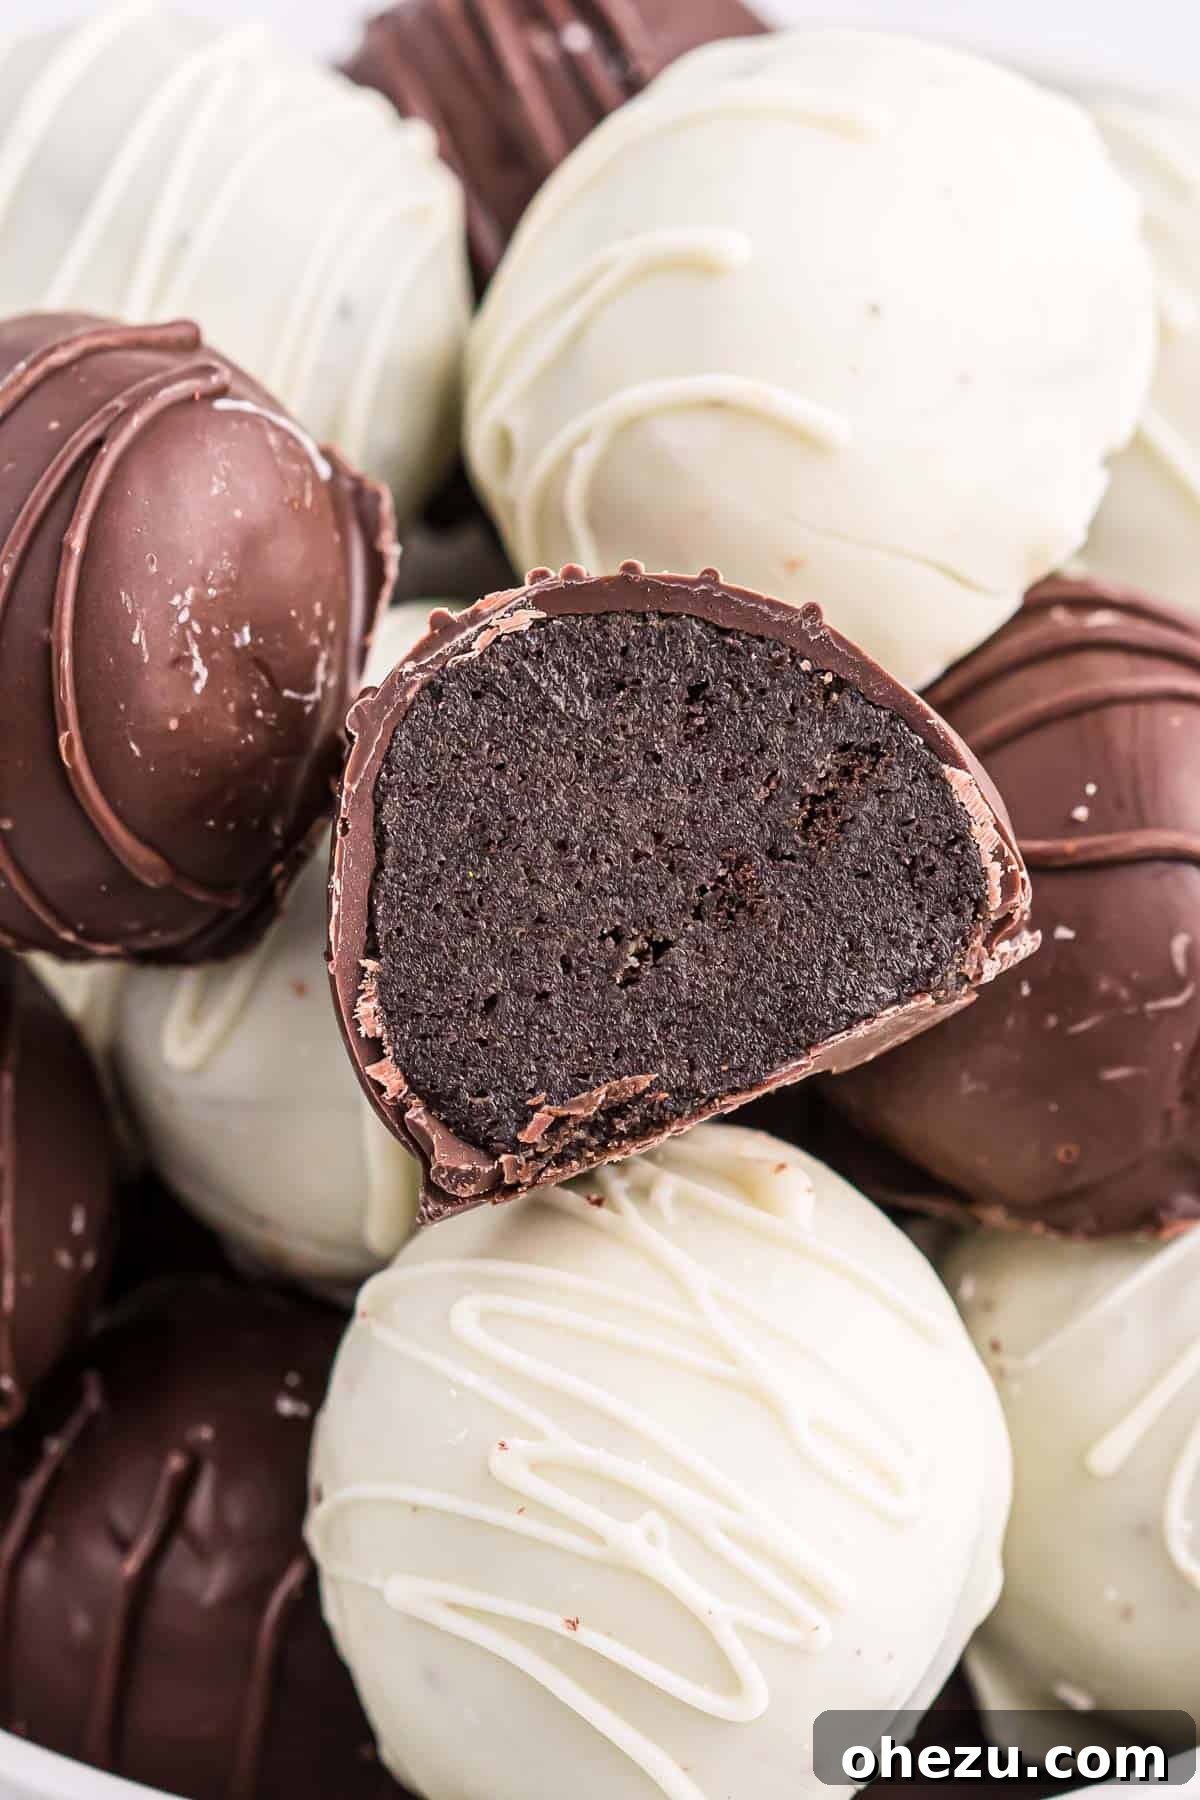
Why You’ll Adore These Easy Mint Oreo Truffles!
Oreo balls are more than just a dessert; they’re a timeless classic that brings joy and sweetness to any gathering. Our special twist with mint Oreos elevates this beloved treat, making it a standout. Here’s why these mint Oreo truffles will quickly become your new favorite:
- Effortlessly Simple to Create: Forget complicated baking techniques or extensive ingredient lists. These truffles not only boast a beautiful, professional appearance but are also remarkably easy to make, even if you’re a complete novice in the kitchen. No oven is required, and the steps are straightforward, ensuring a stress-free dessert-making experience that yields impressive results every time.
- Unforgettably Decadent Flavor Profile: Prepare for a flavor explosion! These Mint Oreo truffles masterfully blend the crisp, cool notes of mint with the deep, satisfying richness of chocolate. The creamy, slightly tangy cream cheese interior perfectly balances the sweetness of the Oreos and the smooth chocolate coating, creating an irresistible sweet treat that will have everyone reaching for more. It’s a harmonious combination that truly delights the palate.
- Remarkably Freezer-Friendly and Convenient: Have you ever wished you could enjoy a gourmet dessert whenever a craving strikes? With these Oreo truffles, you can! They store exceptionally well in the freezer for up to a few months. Simply grab one out, let it thaw for a few minutes, and indulge in a perfectly chilled, sweet escape. This makes them ideal for meal prepping desserts, last-minute guests, or simply keeping a stash for your own sweet tooth.
- The Ultimate Crowd-Pleaser for Any Celebration: Whether it’s the festive sparkle of Christmas, the fresh start of New Year’s, the loving gestures of Valentine’s Day, or any special occasion throughout the year, these cream cheese Oreo truffles are perfectly suited. Their vibrant colors (especially with contrasting chocolate coatings) and delightful flavor make them a festive addition to any dessert platter, guaranteeing smiles and compliments. They’re also fantastic for gifting!
Essential Ingredients for Your Mint Oreo Truffles
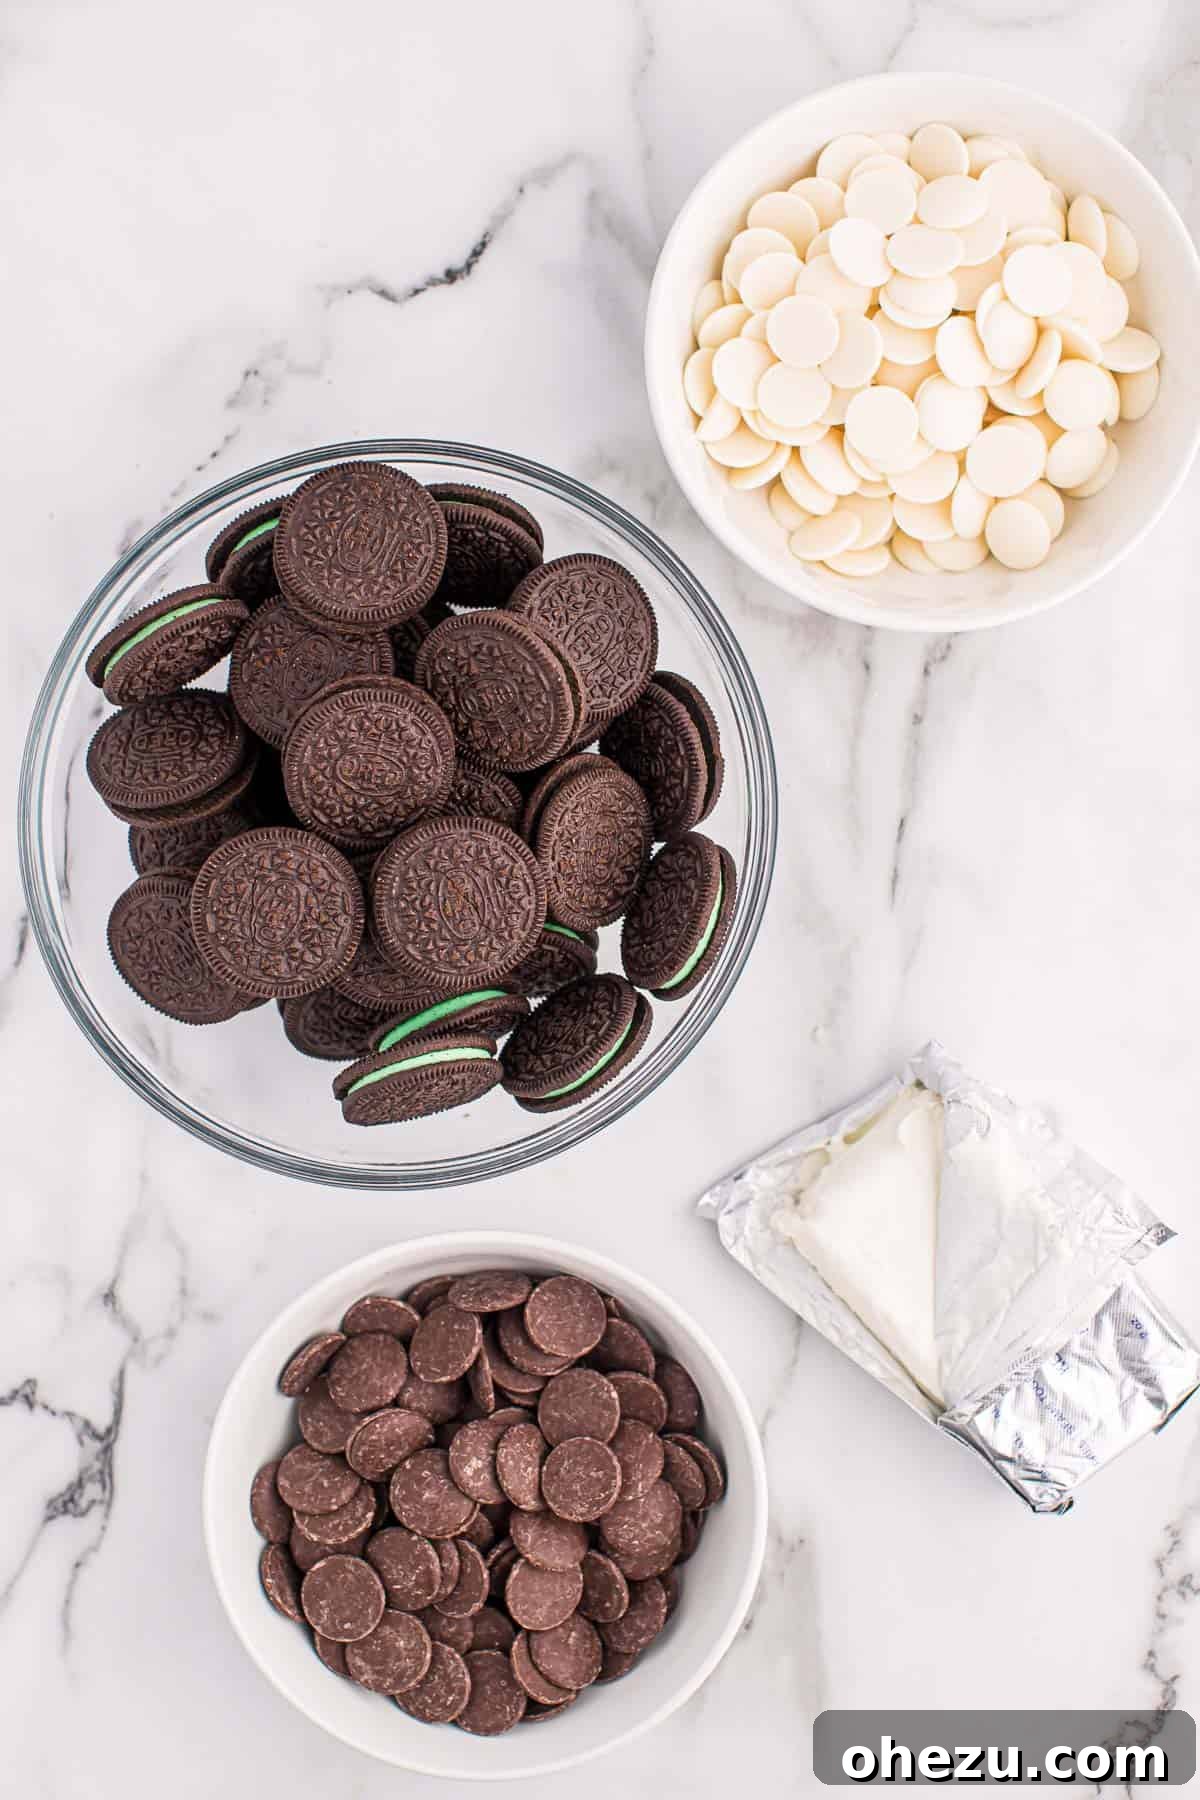
Creating these delightful Mint Oreo Truffles requires just a handful of readily available ingredients. The magic lies in the simplicity and quality of each component, which come together to form an unforgettable dessert. Here’s what you’ll need to get started on your truffle-making journey:
- Mint Oreos: The star of our show, providing that signature chocolate-mint flavor and satisfying crunch.
- Cream Cheese: Acts as the binding agent, adding a rich, tangy creaminess that balances the sweetness and gives the truffles their smooth texture. Ensure it’s softened for easy mixing.
- White Vanilla Melting Wafers: For a beautiful, contrasting coating and an extra touch of vanilla sweetness. These melt smoothly, making dipping a breeze.
- Dark Chocolate Melting Wafers: Provides a rich, intense chocolate coating that complements the mint perfectly. Like the white wafers, they’re designed for easy melting and a glossy finish.
These four ingredients are all it takes to create a batch of gourmet-tasting truffles that look as impressive as they taste!
Creative Customizations: Substitutions and Additions
While these Mint Oreo Truffles are undeniably delicious as is, one of their greatest strengths is their versatility. Don’t be afraid to get creative and tailor them to your personal taste or the occasion. Here are some fantastic ideas for substitutions and additions that can transform your truffles:
- Oreo Flavor Explorations: This recipe spotlights the refreshing mint Oreos, but the world of Oreo flavors is vast and exciting! You can use any variety to create unique truffle experiences. Imagine rich Peanut Butter Oreos for a nutty twist, festive Red Velvet Oreos for a holiday treat, classic Golden Oreos for a vanilla base, or even seasonal flavors like Pumpkin Spice or Birthday Cake Oreos. Each choice opens up a new realm of flavor possibilities, ensuring these truffles never get boring!
- Chocolate Coating Alternatives: Our recipe calls for convenient melting wafers, which provide a smooth, easy-to-work-with coating. However, you have plenty of other delicious options. You can substitute them with high-quality melted chocolate chips (milk, semi-sweet, or white) – just add a teaspoon of coconut oil or shortening per cup of chocolate to ensure a smooth, dippable consistency. Almond bark is another excellent choice for easy melting and setting. For an extra boost of minty goodness, consider melting down Andes mint chocolates for an incredibly flavorful and vibrant green coating.
- Dazzling Topping Ideas: Want to elevate the visual appeal and add extra texture? Toppings are your best friend!
- Sprinkles: Colorful sprinkles are perfect for matching holiday themes (red and green for Christmas, pastels for Easter, or primary colors for birthdays).
- Crushed Oreo Crumbs: Reserve some crushed Oreo crumbs from your base mixture and sprinkle them over the wet chocolate for an extra textural crunch and a visual cue to the truffle’s core flavor.
- Finely Chopped Nuts: Pecans, walnuts, almonds, or even pistachios can add a sophisticated crunch and a complementary flavor profile.
- Mini Chocolate Chips: Both semi-sweet and white chocolate mini chips make an easy and appealing topping.
- Sea Salt Flakes: A delicate sprinkle of flaky sea salt on top of the chocolate coating enhances the flavors and adds a gourmet touch.
- Candy Cane Pieces: For a truly festive winter treat, crush up some candy canes and sprinkle them over the mint-flavored truffles.
- Edible Glitter or Dust: For a touch of elegance and sparkle, especially for special occasions.
The possibilities are truly endless, allowing you to personalize each batch to perfection!

Step-by-Step Guide: How to Make Mint Oreo Truffles
Making these delicious Mint Oreo Truffles is a straightforward and fun process, yielding professional-looking results with minimal effort. Follow these simple steps to create your own batch of irresistible no-bake treats:
Step 1: Transform Oreos into Fine Crumbs
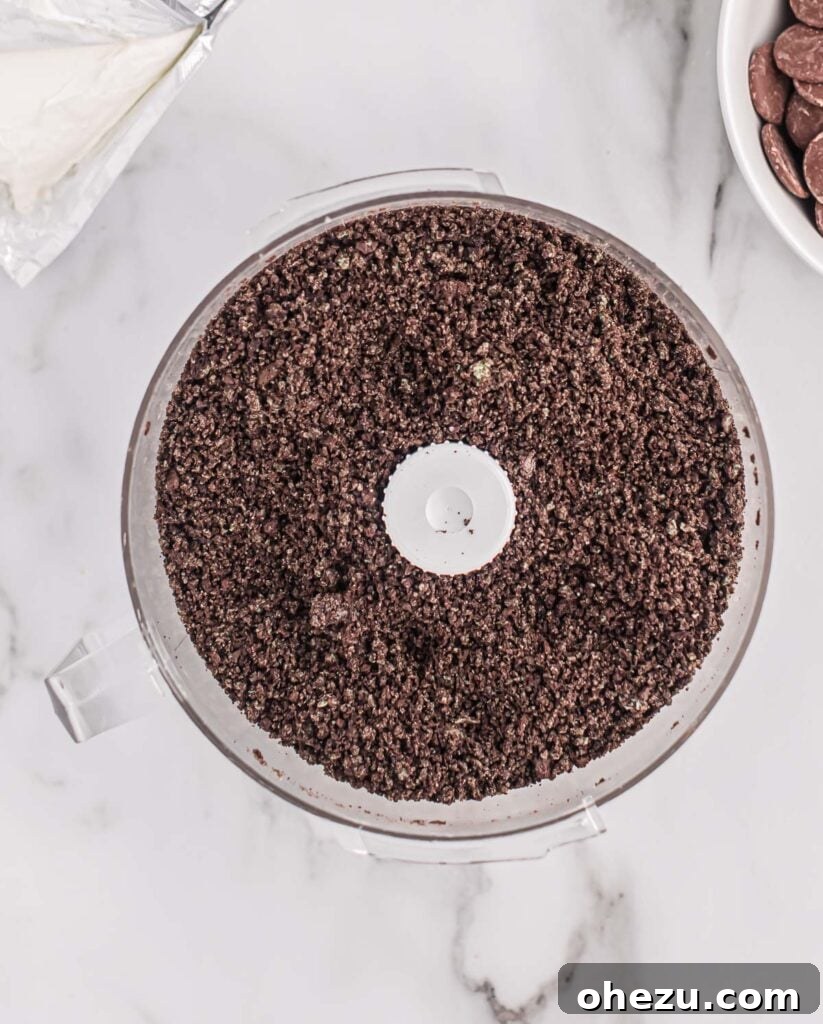
Begin by placing your entire package of Mint Oreos into a food processor. Pulse them until they are finely ground into uniform crumbs, resembling coarse sand. This fine texture is crucial for achieving a smooth, consistent truffle filling. If you don’t have a food processor, don’t worry! You can easily achieve the same result by placing the Oreos in a sturdy Ziploc bag, sealing it tightly (removing excess air), and crushing them with a rolling pin or the bottom of a heavy pot until they are finely crushed. Ensure there are no large chunks left, as this will affect the texture of your truffles.
Step 2: Combine Oreos with Cream Cheese to Form the Core Mixture
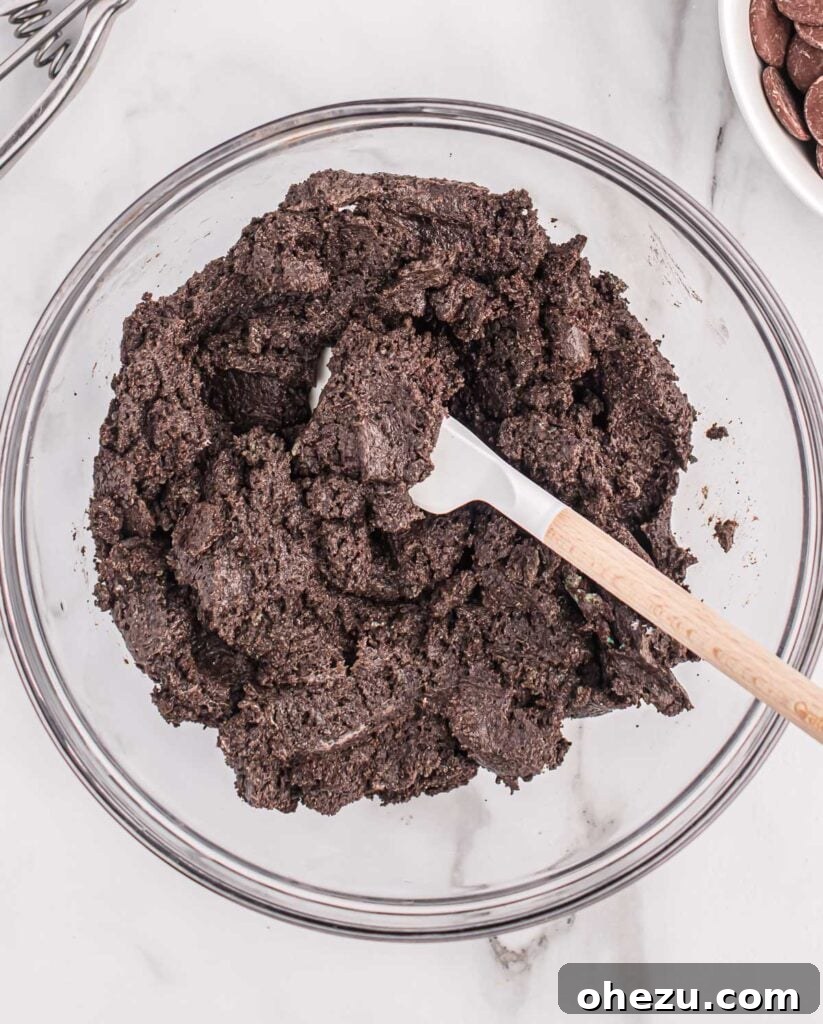
Once your Mint Oreos are perfectly crumbed, add the softened cream cheese directly to the food processor with the Oreo crumbs. The cream cheese should be at room temperature, making it much easier to incorporate smoothly. Pulse the food processor again, allowing the cream cheese to begin mixing with the Oreo crumbs. The mixture will start to come together, forming a thick, dough-like consistency. Remove the mixture into a medium-sized bowl and use a rubber spatula to finish mixing it by hand. This ensures that the cream cheese is completely blended into the Oreo filling, with no streaks or unmixed portions, resulting in a perfectly uniform truffle base.
Step 3: Scoop and Roll Your Truffle Balls
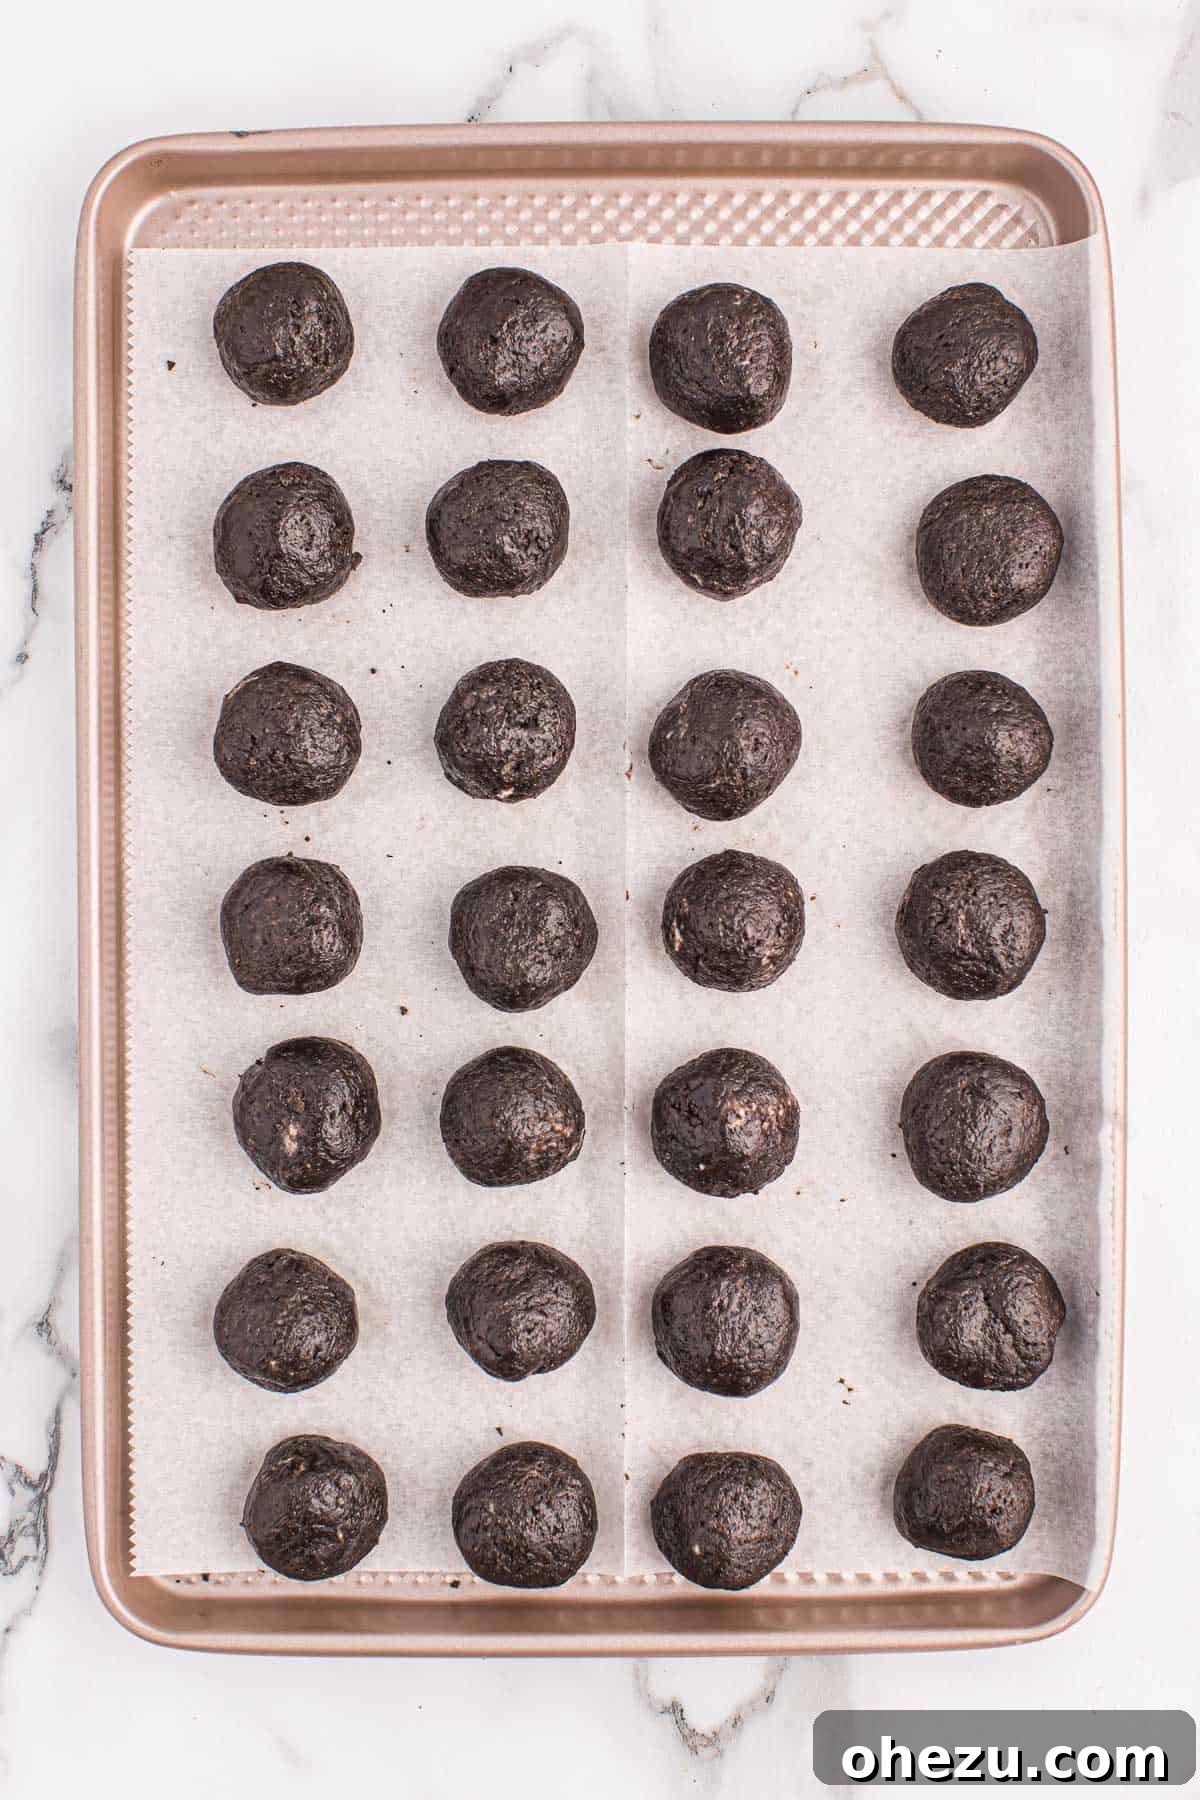
Line a large baking sheet with parchment paper; this will prevent the truffles from sticking. Using a mini cookie scoop is highly recommended for creating uniformly sized truffles, typically yielding around 24 delicious Mint Oreo truffles from this recipe. Once scooped, gently roll each portion between your palms to smooth out the edges and create a perfectly round ball. If the mixture is a bit sticky, lightly dusting your hands with powdered sugar or chilling the mixture briefly can help. Consistency in size ensures even chilling and dipping, leading to a professional finish.
Step 4: Chill Thoroughly for Best Results
This is a critical step for perfect truffles! Place the formed Oreo balls in the refrigerator or freezer to chill for at least one hour. Adequate chilling is essential for several reasons: it firms up the cream cheese mixture, making the truffles easier to handle and preventing them from becoming too sticky when you try to dip them. If the truffles are not chilled sufficiently, they will likely fall apart or create a messy, uneven chocolate coating. Don’t rush this step – patience here guarantees a much smoother dipping process and beautifully coated truffles.
Step 5: Dip Half the Truffles in Dark Chocolate
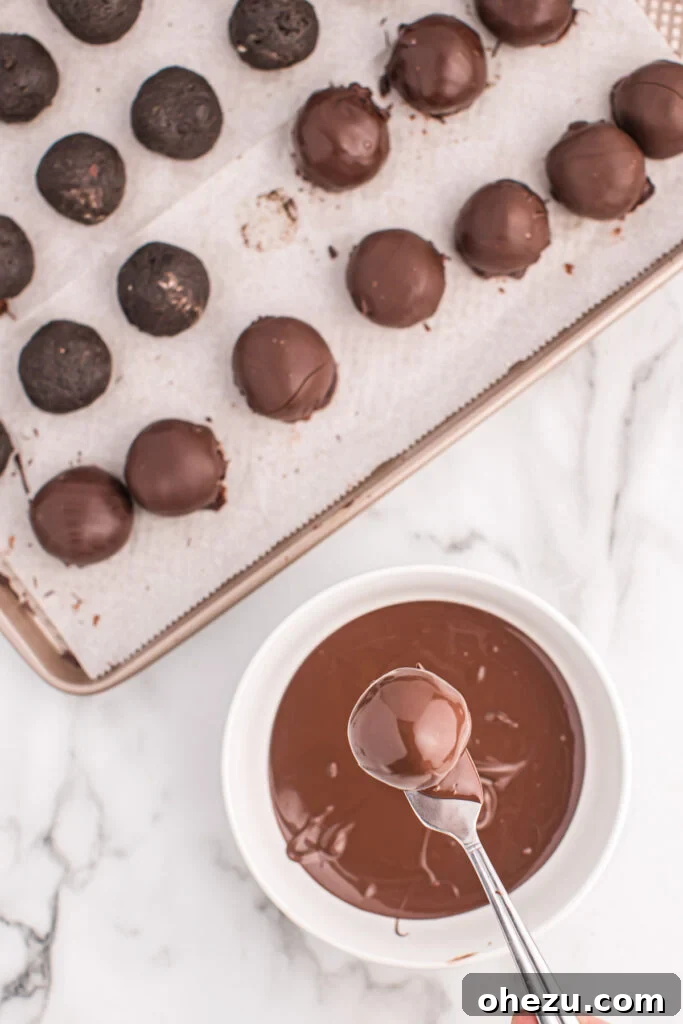
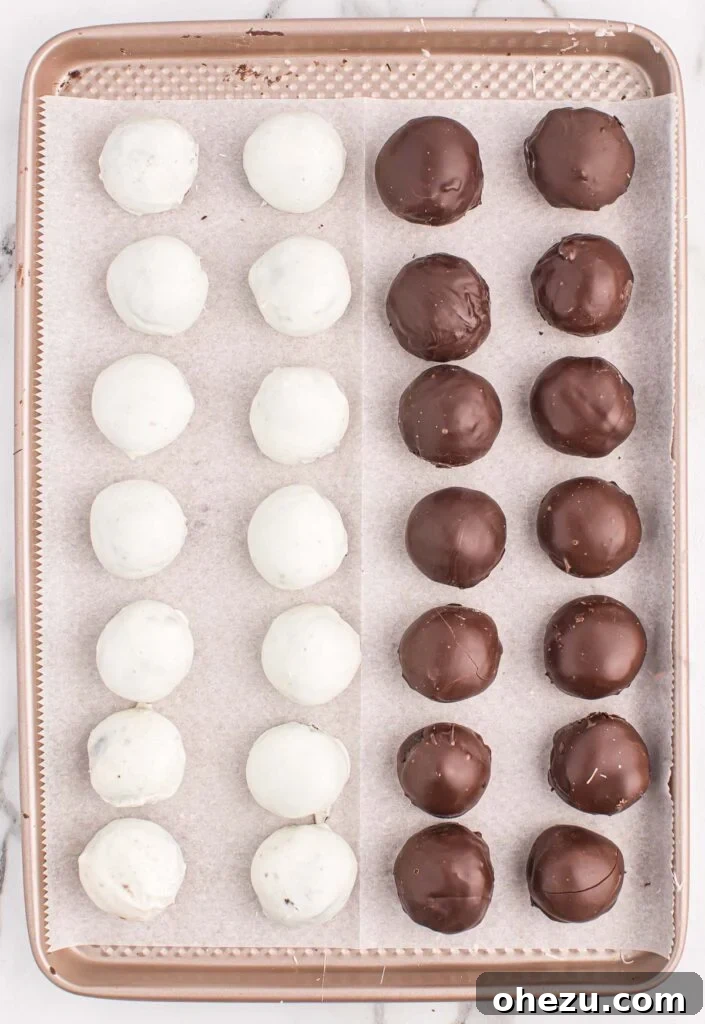
Once your truffles are thoroughly chilled, it’s time for the chocolate coating! Melt the dark chocolate melting wafers according to package instructions until completely smooth and fluid. You can use a microwave (heating in 30-second intervals, stirring between each, to prevent scorching) or a double boiler. Using a fork or a dipping tool, carefully dip approximately half of your Mint Oreo balls into the melted dark chocolate, ensuring they are fully coated. Gently tap off any excess chocolate before placing each dipped truffle back onto your parchment-lined baking sheet. The cold truffles will help the chocolate set relatively quickly.
Step 6: Dip the Remaining Truffles in White Vanilla Chocolate
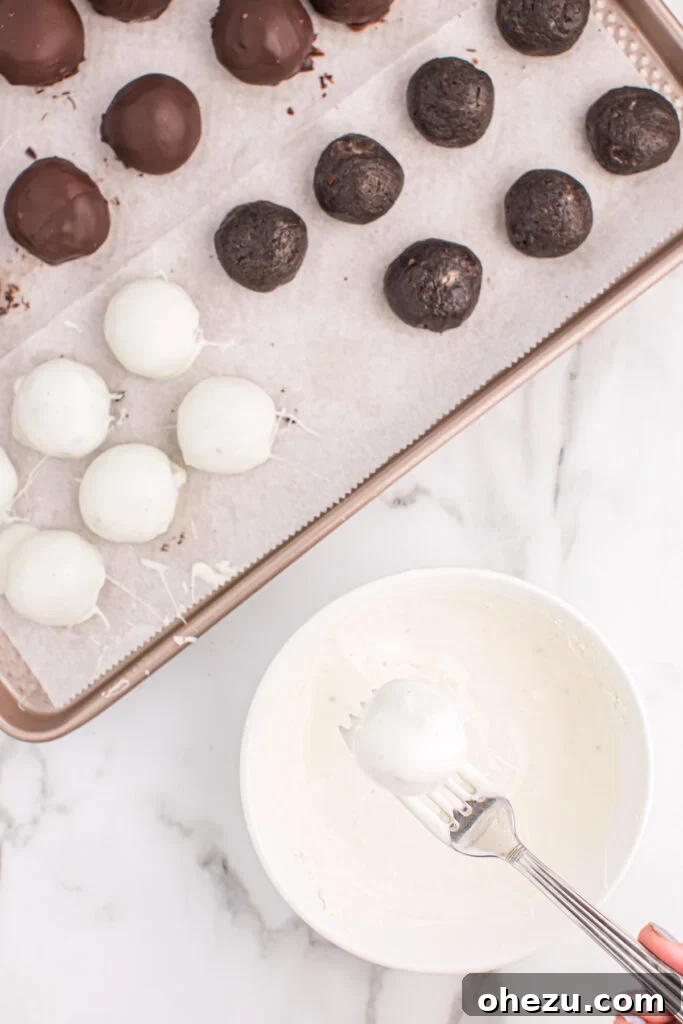
Next, melt the white vanilla melting wafers, following the same instructions as for the dark chocolate. Once smooth, dip the remaining half of your Oreo balls into the white chocolate, one by one. Again, gently tap to remove any excess chocolate and place them back onto the lined baking sheet. Immediately after dipping, place all the truffles back into the refrigerator. This brief chill will allow both the dark and white chocolate coatings to set quickly and firmly, usually taking just a few minutes, ensuring a smooth, non-sticky exterior.
Step 7: Add a Decorative Drizzle and Final Set
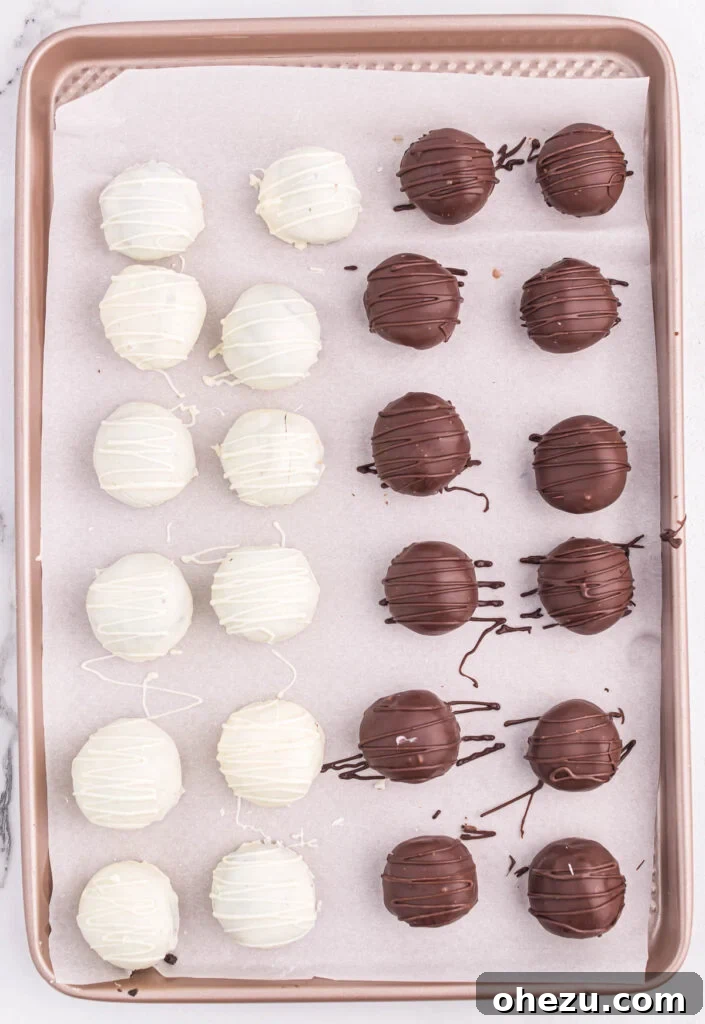
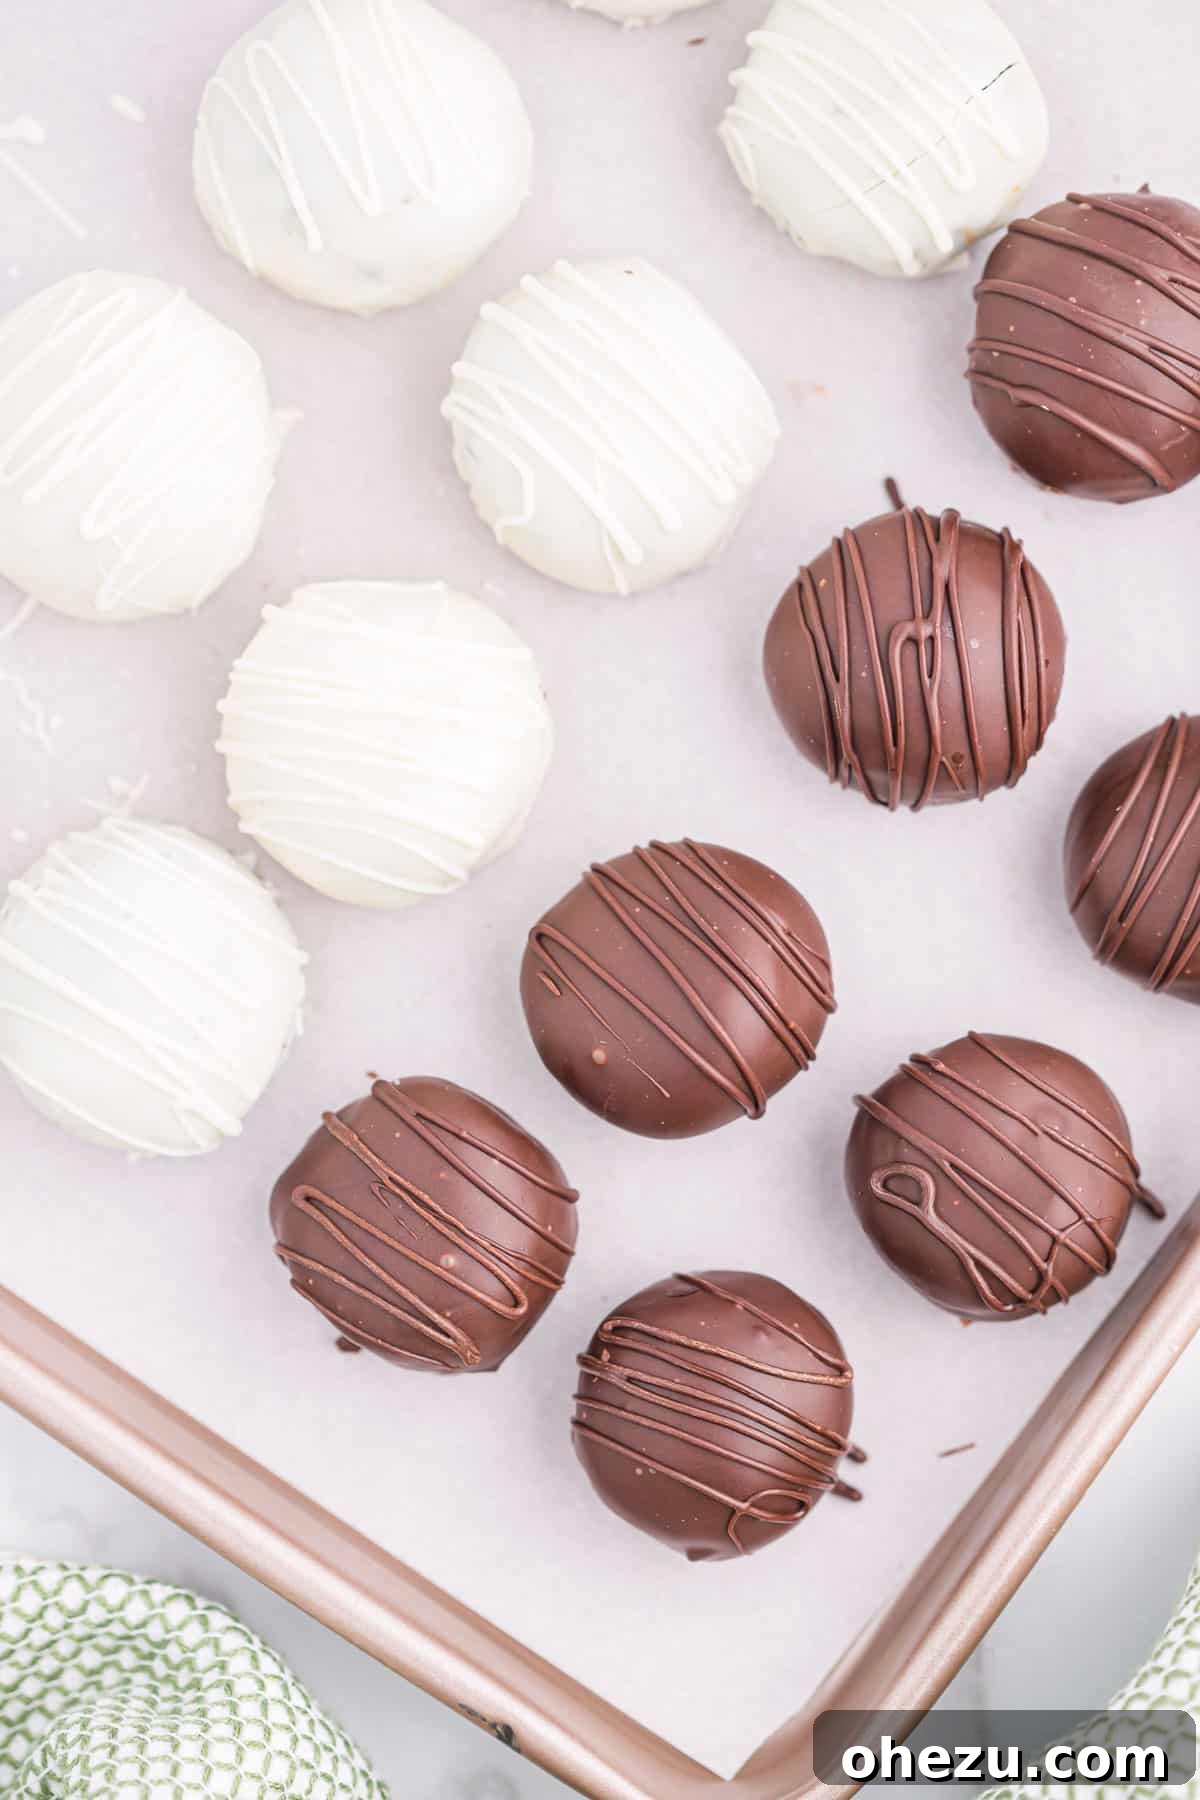
Once the initial chocolate coatings have set, it’s time for the final artistic touch! Take any leftover melted white chocolate and drizzle it decoratively over the dark chocolate-covered truffles. For the white chocolate-covered truffles, use the leftover melted dark chocolate for a striking contrast. You can use a fork, a piping bag with a tiny snip off the corner, or even a squeeze bottle for this step. The drizzle adds visual appeal and an extra layer of chocolatey goodness. After drizzling, place all the Oreo balls back into the refrigerator for a final chill until the chocolate coating is completely firm and set. This ensures they are perfectly ready for serving, handling, and storage.

Expert Tips for Storing Your Mint Oreo Truffles
Proper storage is key to maintaining the delicious flavor and perfect texture of your Mint Oreo Truffles, especially due to the cream cheese in the filling. Follow these guidelines to keep your truffles fresh and delightful for as long as possible:
- At Room Temperature: Due to the perishable nature of cream cheese, these truffles should only be left out at room temperature for a maximum of two hours. If you are serving them at a party or event, it’s best to keep them chilled until just before serving and return any leftovers to the refrigerator promptly.
- In the Refrigerator: For daily enjoyment, store your Mint Oreo Truffles in an airtight container in the refrigerator. They will remain fresh and delicious for up to 5 days. Placing parchment paper between layers can prevent sticking and preserve their pristine appearance. The cool temperature also maintains their firm, satisfying bite.
- In the Freezer: For longer-term storage, these truffles are excellent freezer candidates! Place them in a single layer on a baking sheet to freeze solid, then transfer them to an airtight, freezer-safe container or a heavy-duty freezer bag. They will keep well for up to 2 months. To enjoy, simply remove a truffle from the freezer and allow it to thaw at room temperature for a few minutes until softened enough to eat, or enjoy them directly from the freezer for a firmer, almost ice cream-like treat!

Explore More Irresistible No-Bake Desserts
If you loved these easy Mint Oreo Truffles, you’re in for a treat! Our collection of simple, delicious desserts offers even more no-bake wonders and festive delights perfect for any occasion. Expand your dessert repertoire with these fantastic recipes:
- Pecan Pie Balls: A classic holiday flavor transformed into a bite-sized treat.
- Peanut Butter Balls with Graham Crackers: A sweet and crunchy favorite, irresistible to all peanut butter lovers.
- Halloween Oreo Balls: Spooky and fun variations perfect for your Halloween party spread.
- Chocolate Christmas Cookies: Dive into festive chocolatey goodness for the holiday season.
- Christmas Crack: The addictive sweet and salty treat that lives up to its name.
- Chocolate Covered Oreos: A simple yet elegant classic, perfect for customization.
- White Chocolate Oreos: A sweeter, creamier take on the beloved chocolate-covered cookie.
- Peanut Butter Balls with Rice Krispies: Crispy, chewy, and bursting with peanut butter flavor.
- Oreo Balls for Christmas: Festive and fun variations specifically designed for the holiday season.
- Chocolate Covered Almonds: A sophisticated crunchy snack that’s easy to make.
- Chocolate Covered Pretzels: The ultimate sweet and salty combination for a quick treat.

Mint Oreo Truffles
Joy Shull
30 minutes
24
Rate Recipe
Print Recipe
Ingredients
-
36
mint Oreos -
8
oz
cream cheese,
softened to room temperature -
10
oz
dark chocolate melting wafers -
10
oz
white vanilla melting wafers
Instructions
-
Add the entire package of mint Oreos to a food processor and process them into fine crumbs. Alternatively, crush them in a sealed Ziploc bag using a rolling pin until uniformly fine.
-
Add the softened cream cheese to the food processor with the Oreo crumbs and pulse until a thick, dough-like mixture forms.
-
Transfer the Oreo ball mixture to a bowl and use a rubber spatula to ensure the cream cheese is completely incorporated into the Oreos, creating a smooth truffle filling.
-
Line a baking sheet with parchment paper to prepare for the truffle balls.
-
Use a mini cookie scoop (or two spoons) to portion the Oreo mixture onto the baking sheet. This recipe typically yields around 24 truffle balls.
-
Roll each scooped portion between your palms to smooth out the edges and form perfect spheres.
-
Chill the formed Oreo balls for a minimum of one hour in the refrigerator or freezer. This crucial step firms them up, preventing stickiness during the dipping process.
-
Melt the dark chocolate melting wafers according to package directions until completely smooth and free of lumps.
-
Dip half of the chilled Oreo balls into the melted dark chocolate, one at a time. Allow excess chocolate to drip off, then place them back onto the lined baking sheet.
-
Melt the vanilla melting wafers until smooth. Dip the remaining half of the Oreo balls into the white chocolate, one at a time, removing excess, and placing them back on the lined baking sheet.
-
Return the dipped Oreo balls to the fridge for a quick chill until the chocolate coating has fully set, which should take only a few minutes.
-
For an elegant finish, drizzle any leftover melted white chocolate over the dark chocolate-covered truffles.
-
Similarly, drizzle leftover melted dark chocolate over the white chocolate-covered truffles for a striking contrast.
-
Place the truffles back into the fridge one last time to harden completely until all chocolate drizzles are fully set. Serve chilled and enjoy!
Nutrition
Carbohydrates: 20g,
Protein: 2g,
Fat: 10g,
Saturated Fat: 6g,
Polyunsaturated Fat: 1g,
Monounsaturated Fat: 3g,
Trans Fat: 0.01g,
Cholesterol: 10mg,
Sodium: 110mg,
Potassium: 55mg,
Fiber: 1g,
Sugar: 14g,
Vitamin A: 127IU,
Calcium: 13mg,
Iron: 2mg
Like this recipe? Rate and comment below!
Your feedback helps us create more delicious content!