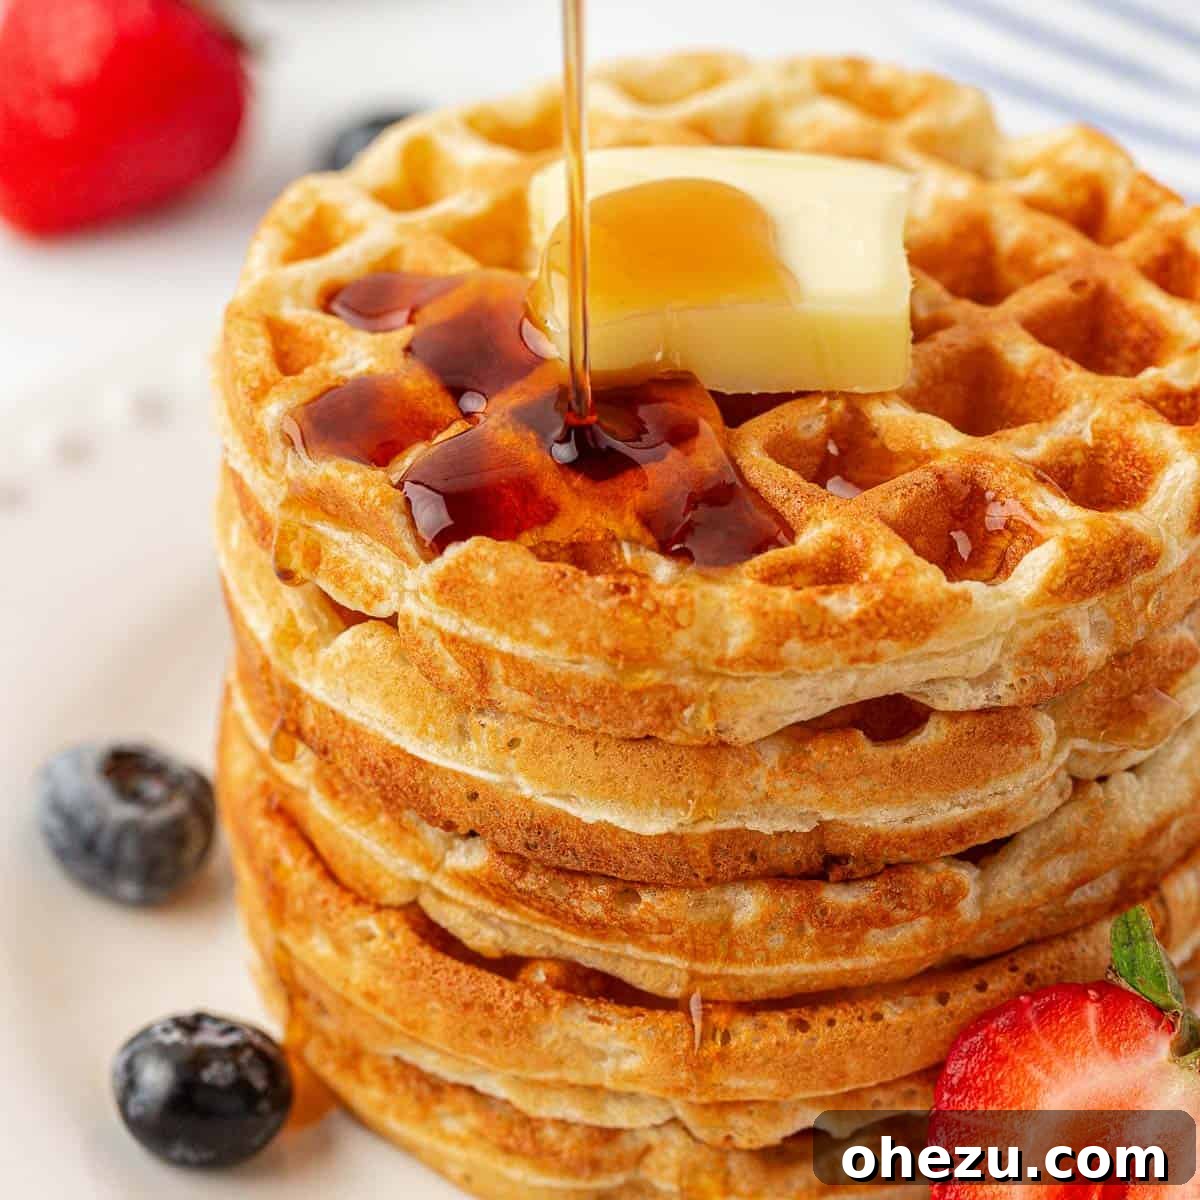
Unlock the secret to incredibly **light and fluffy Greek Yogurt Waffles** that are surprisingly easy to make! Prepare a batch of these wholesome homemade waffles to stock your freezer, ensuring delicious and nutritious breakfasts even on the busiest mornings.

Indulge in the Irresistible Fluffiness of Our Greek Yogurt Waffles!
As a parent, finding quick and nutritious breakfast options that the whole family loves can be a challenge. Like many households, store-bought frozen waffles are a regular rotation in our kitchen for those hectic mornings when time is a luxury we don’t always have. However, I always strive for options that are a little more wholesome and packed with better ingredients.
Inspired by the incredible texture of my popular Greek yogurt chocolate chip muffins, I embarked on a mission to adapt that same magic into a waffle recipe. My goal was to create a waffle that not only tasted amazing but also offered a healthier twist, harnessing the power of Greek yogurt for a light, airy, and protein-rich start to the day.
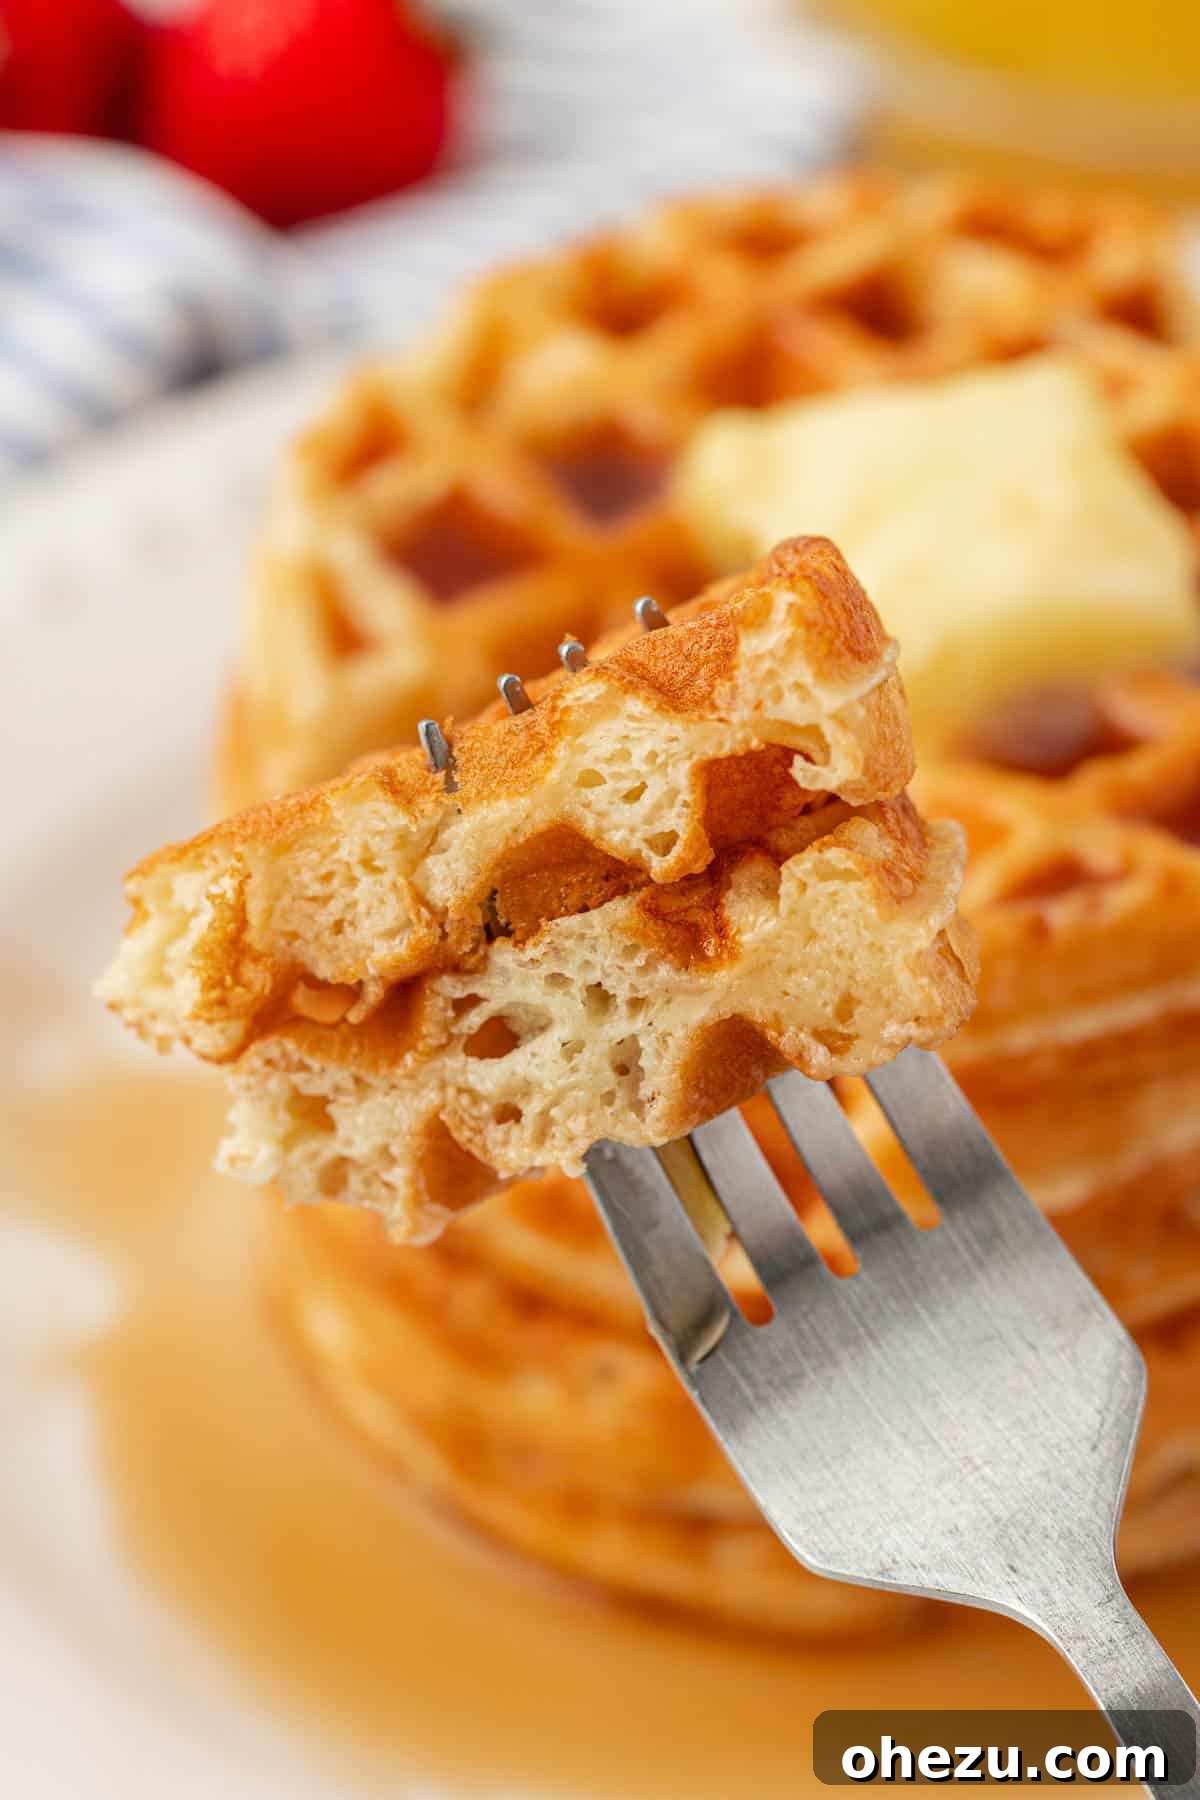
I am thrilled to announce that the mission was a resounding success! These Greek yogurt waffles boast the dreamiest, most tender fluffiness in every single bite. They are thoughtfully crafted to be low in sugar and each waffle delivers a satisfying 4 grams of protein, making them a fantastic and filling breakfast choice for both kids and adults.
Beyond their delightful taste and texture, these waffles are incredibly practical. They freeze beautifully, making them an ideal candidate for meal prepping. I love the convenience of having a stash in my freezer, ready to be popped into the toaster for a quick, homemade breakfast on demand. This recipe has quickly become a beloved family favorite, simplifying our mornings without compromising on quality or flavor.

Perfectly Portioned: Mini or Full-Sized Waffles for Every Preference
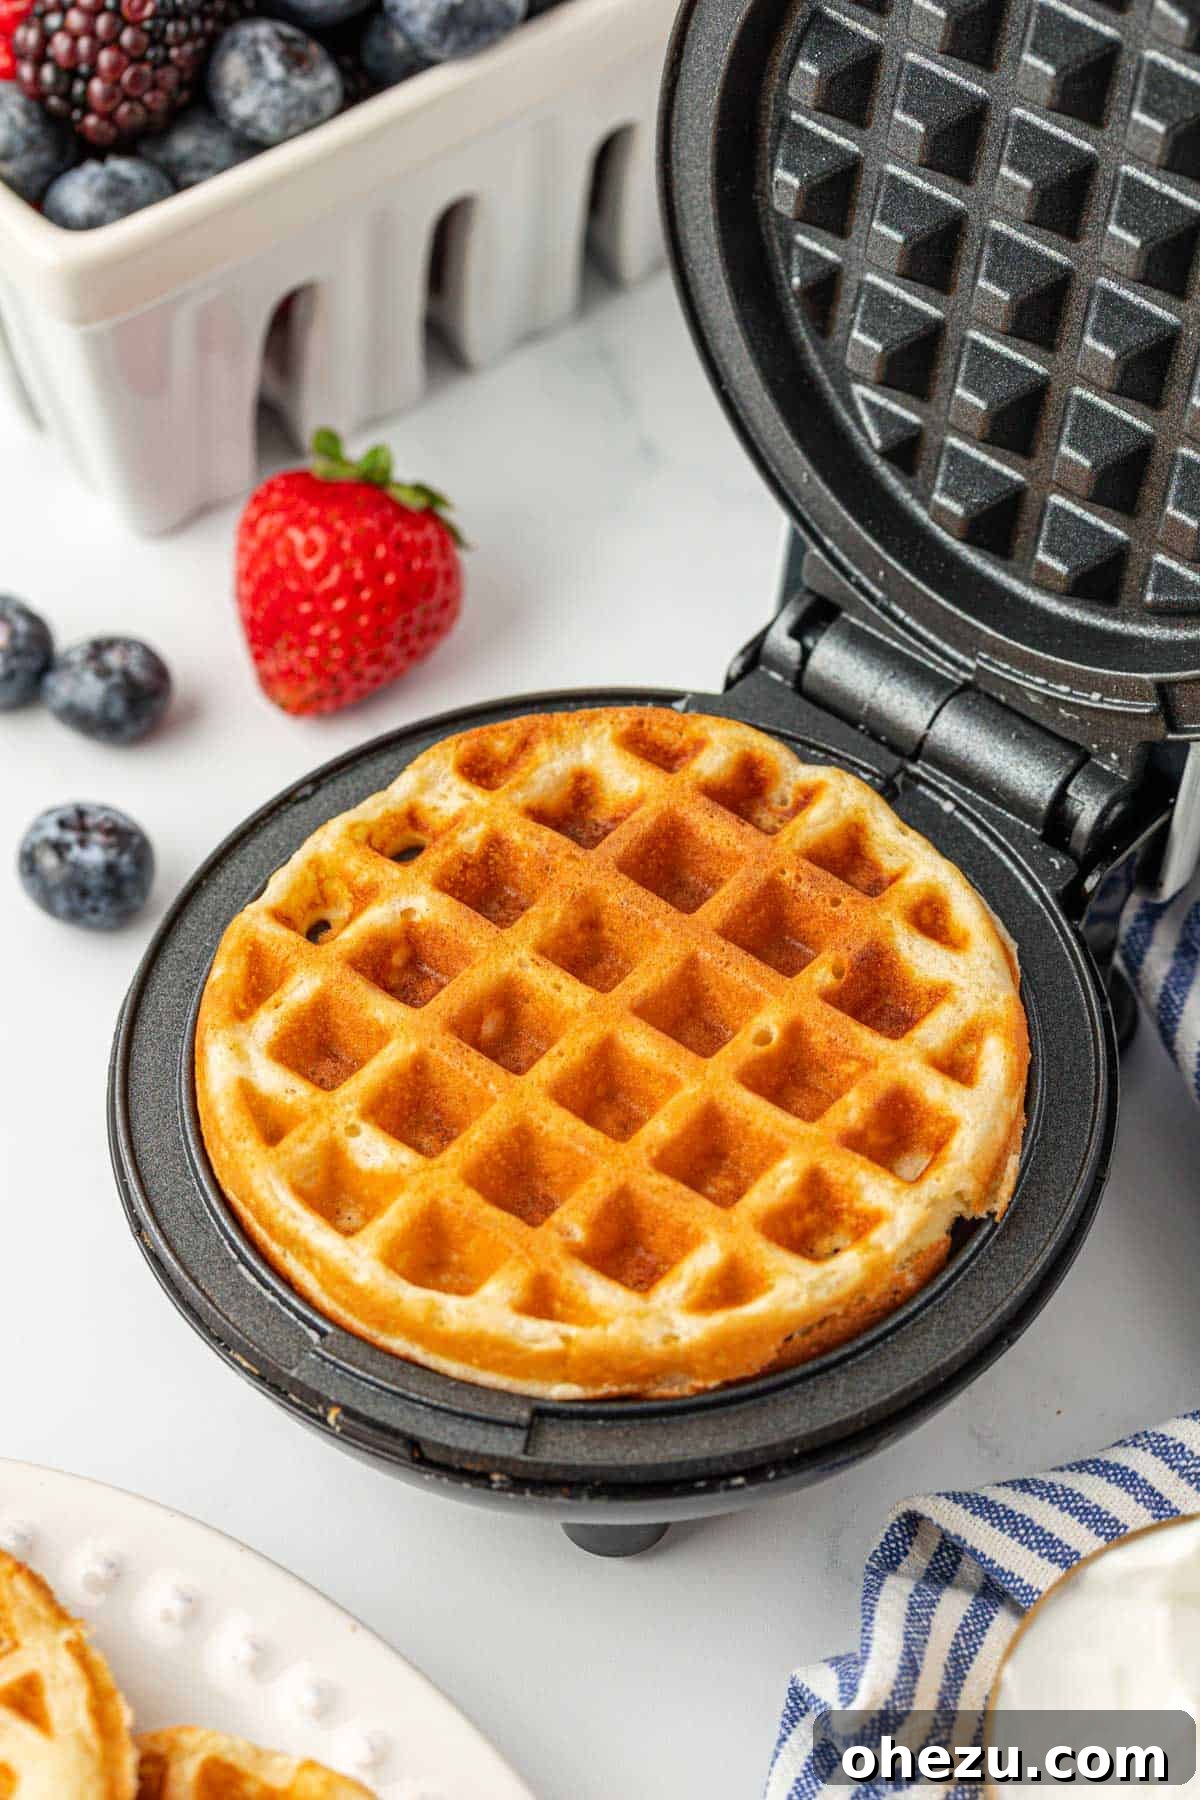
My kids have a particular fondness for mini waffles, which is why I often prepare this recipe using a Dash mini waffle maker. The smaller size makes them fun for little hands and ideal for portion control, plus they cook up incredibly fast!
However, if you’re a fan of classic, full-sized waffles, rest assured that this batter performs beautifully in any standard waffle iron. Simply adjust the amount of batter per waffle as per your machine’s instructions – typically about ½ to ¾ cup for a regular waffle. Whether you prefer a stack of cute mini waffles or a hearty, larger one, this versatile recipe has you covered!
Key Ingredients for Unforgettable Greek Yogurt Waffles
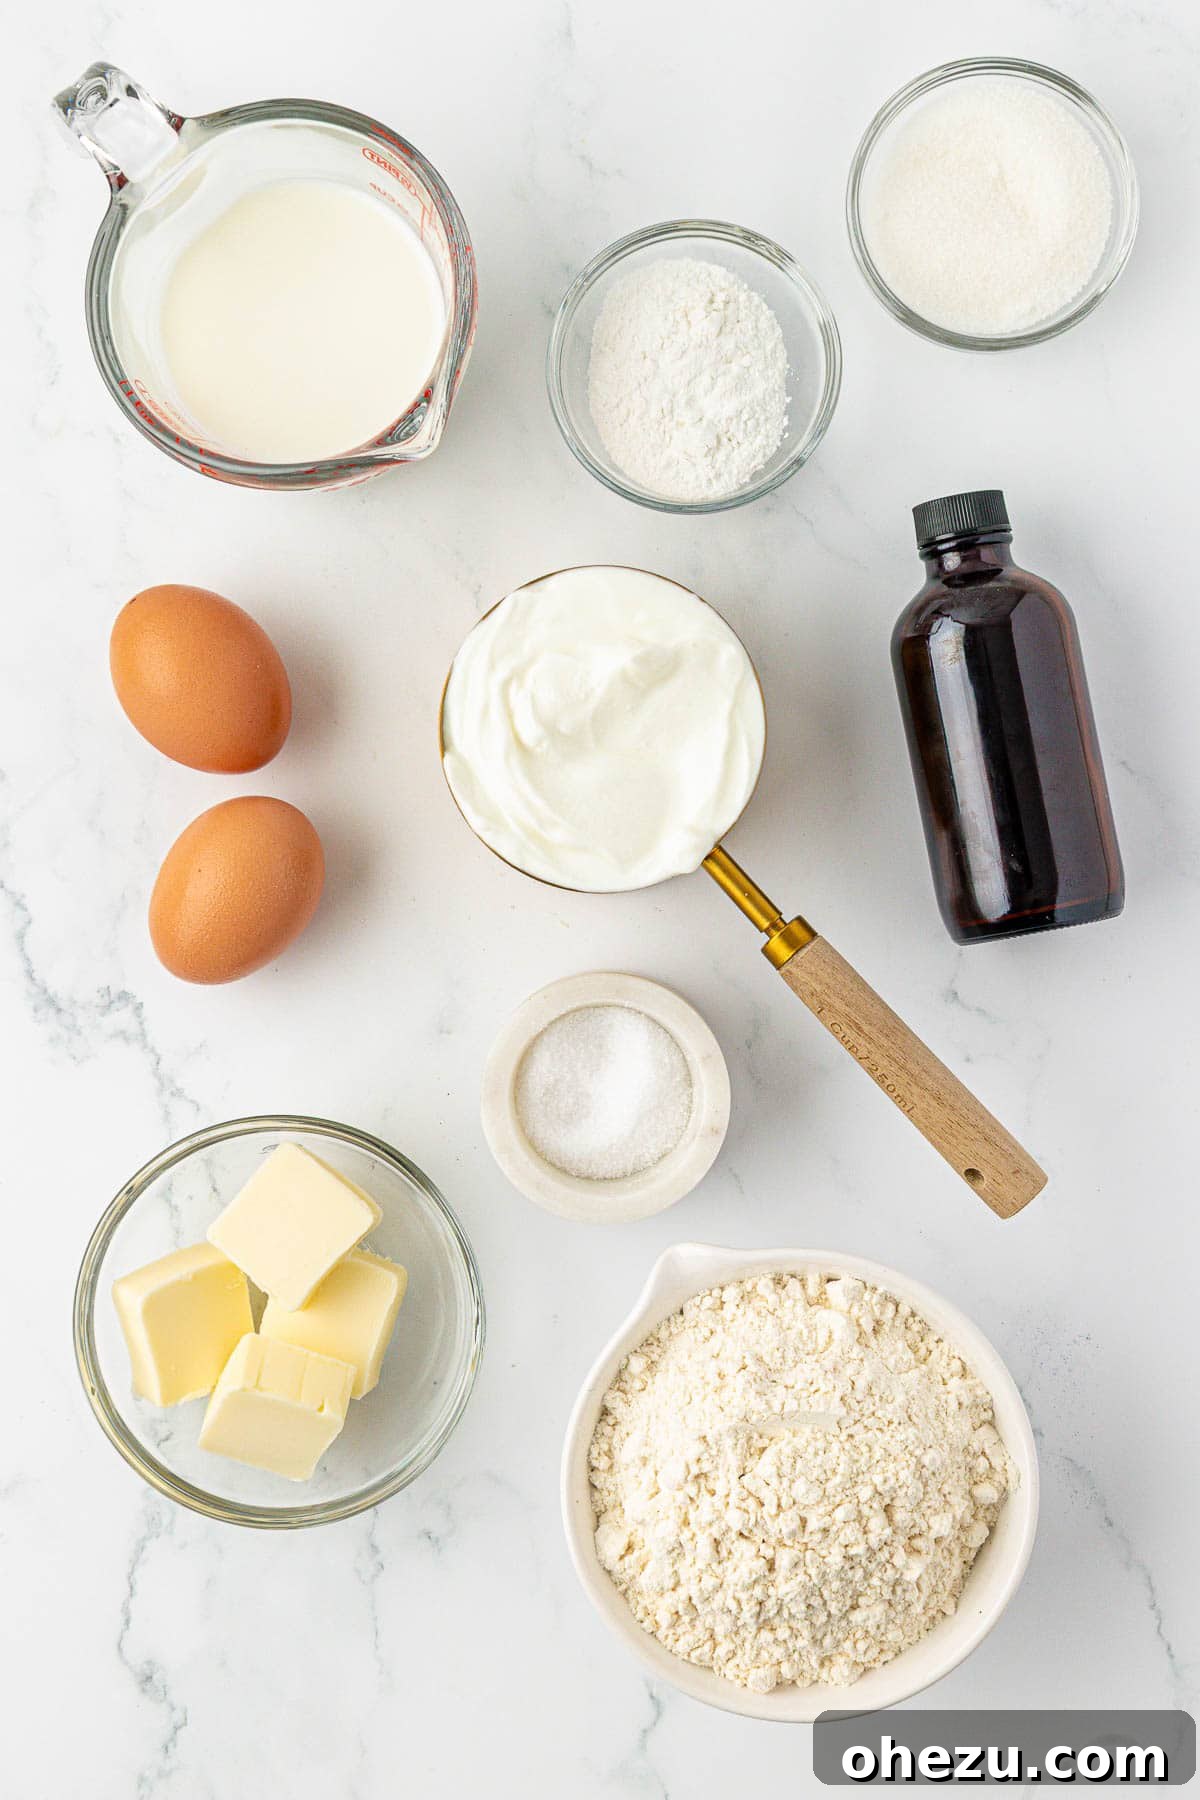
Crafting these exceptional Greek yogurt waffles requires a handful of simple, readily available ingredients. Each component plays a crucial role in achieving that coveted light, fluffy texture and balanced flavor. Below, you’ll find a detailed breakdown of what you’ll need, along with helpful notes to ensure your waffles turn out perfectly every time. The full recipe with precise measurements and instructions is available further down this page.
- All-purpose flour: This forms the base of our waffle batter, providing structure. While I haven’t personally experimented with gluten-free flours for this particular recipe, many readers have reported success with a 1:1 gluten-free baking blend. If you try a substitution, please share your results in the comments!
- Baking powder: Essential for leavening, baking powder is what gives these waffles their incredible rise and airy texture. Ensure yours is fresh for optimal fluffiness.
- Granulated sugar: Just a touch of sugar is added to enhance the overall flavor and contribute to a beautiful golden-brown exterior. This recipe keeps the sugar content intentionally low, allowing you to control the sweetness with your choice of toppings.
- Plain unsweetened Greek yogurt: This is the star ingredient! Greek yogurt is key to the waffles’ tender crumb, moisture, and a subtle tang that elevates the flavor profile. It also significantly boosts the protein content. Make sure to use plain and unsweetened yogurt to avoid altering the sugar balance and flavor. Full-fat Greek yogurt will yield the richest results, but lower-fat options can also work.
- Whole milk: Milk adds necessary liquid to the batter, contributing to its consistency and overall texture. Whole milk provides the best richness, but 2% milk can also be used.
- Unsalted butter, melted and slightly cooled: Butter adds richness and a lovely buttery flavor to the waffles. Melting it ensures it incorporates smoothly into the batter. Allowing it to cool slightly prevents it from cooking the eggs when mixed in.
- Large eggs: Eggs act as a binder, provide structure, and contribute to the batter’s richness and color.
- Vanilla extract: A splash of vanilla extract enhances all the other flavors, adding a warm, aromatic note that is characteristic of classic homemade waffles.
- Salt: A small amount of salt balances the sweetness and brings out the full depth of flavor in the waffles.
Step-by-Step Guide to Crafting Perfect Greek Yogurt Waffles
Making these delightful Greek yogurt waffles is a straightforward process that yields impressive results. Follow these simple steps for a breakfast that’s both delicious and satisfying.
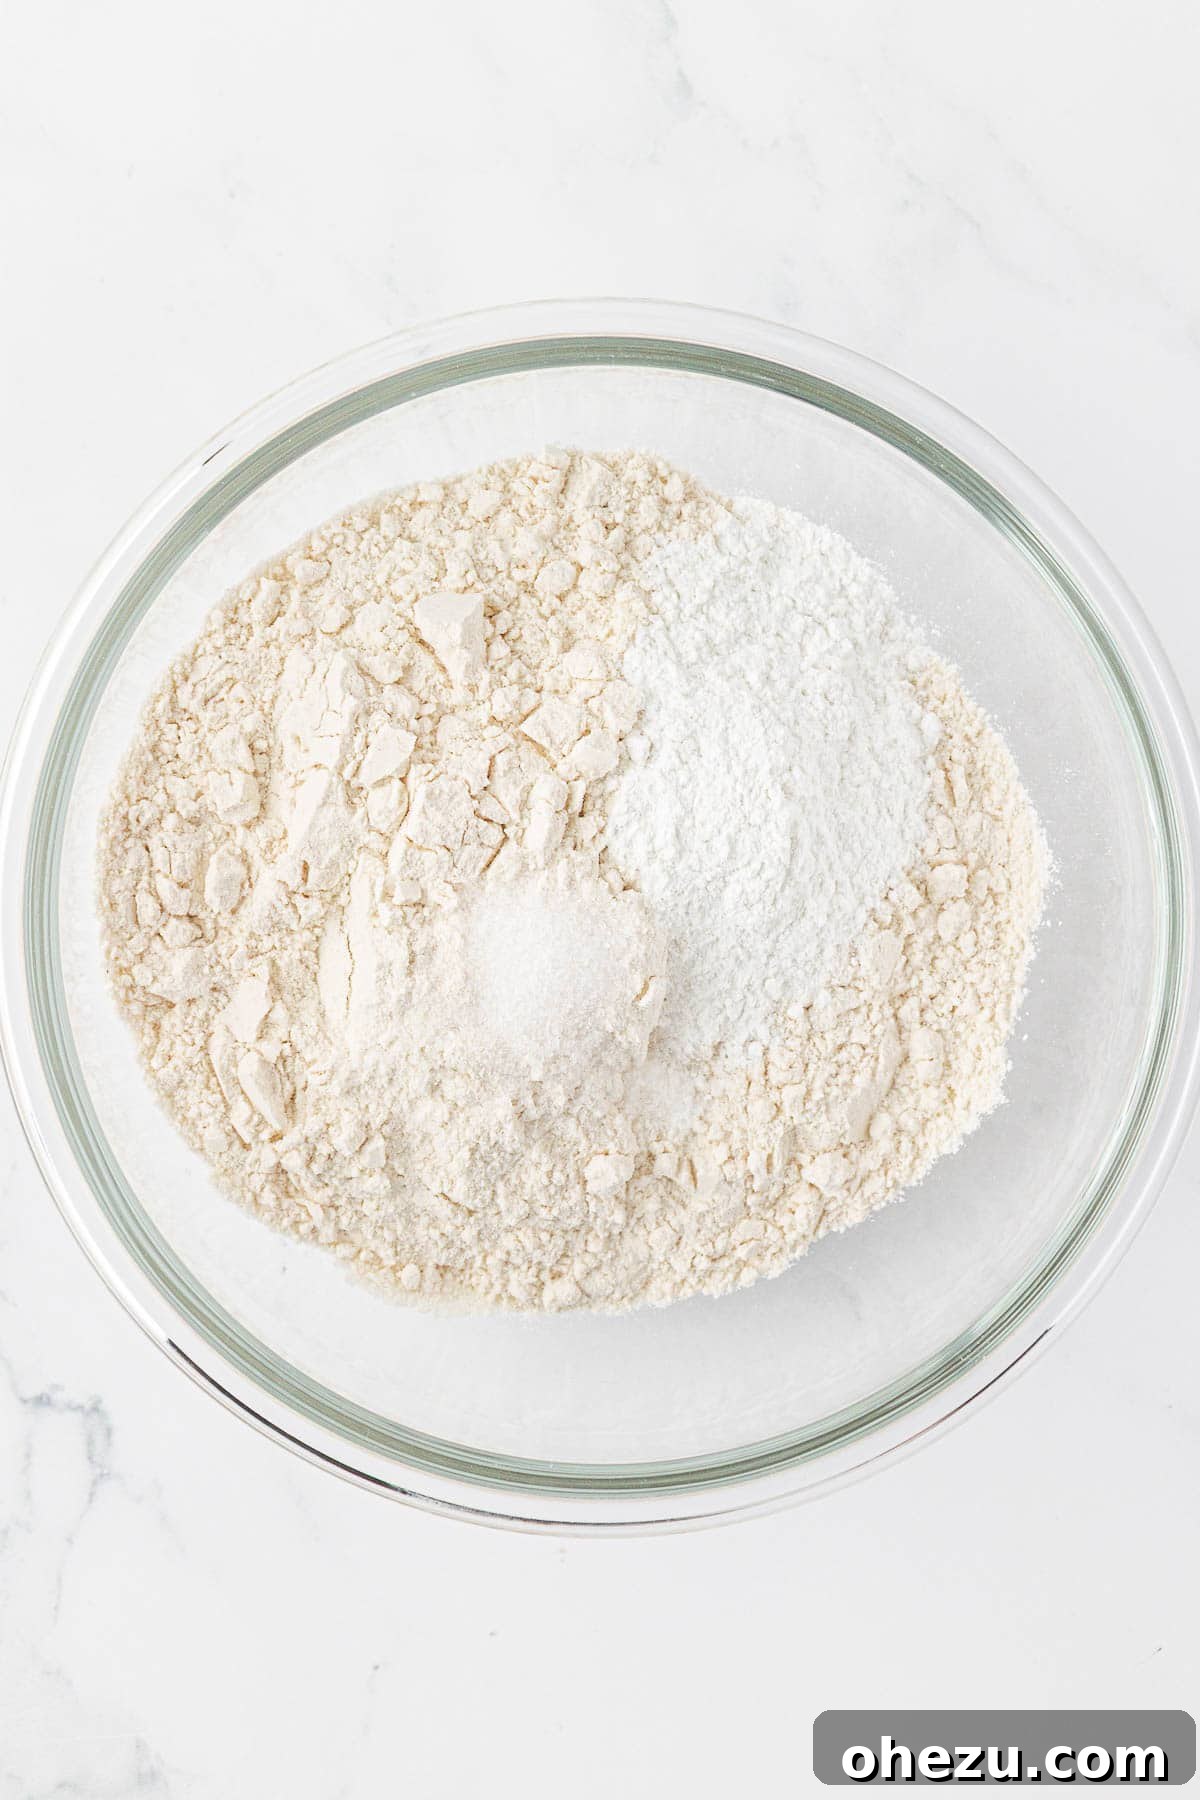
Step 1: Combine the Dry Ingredients
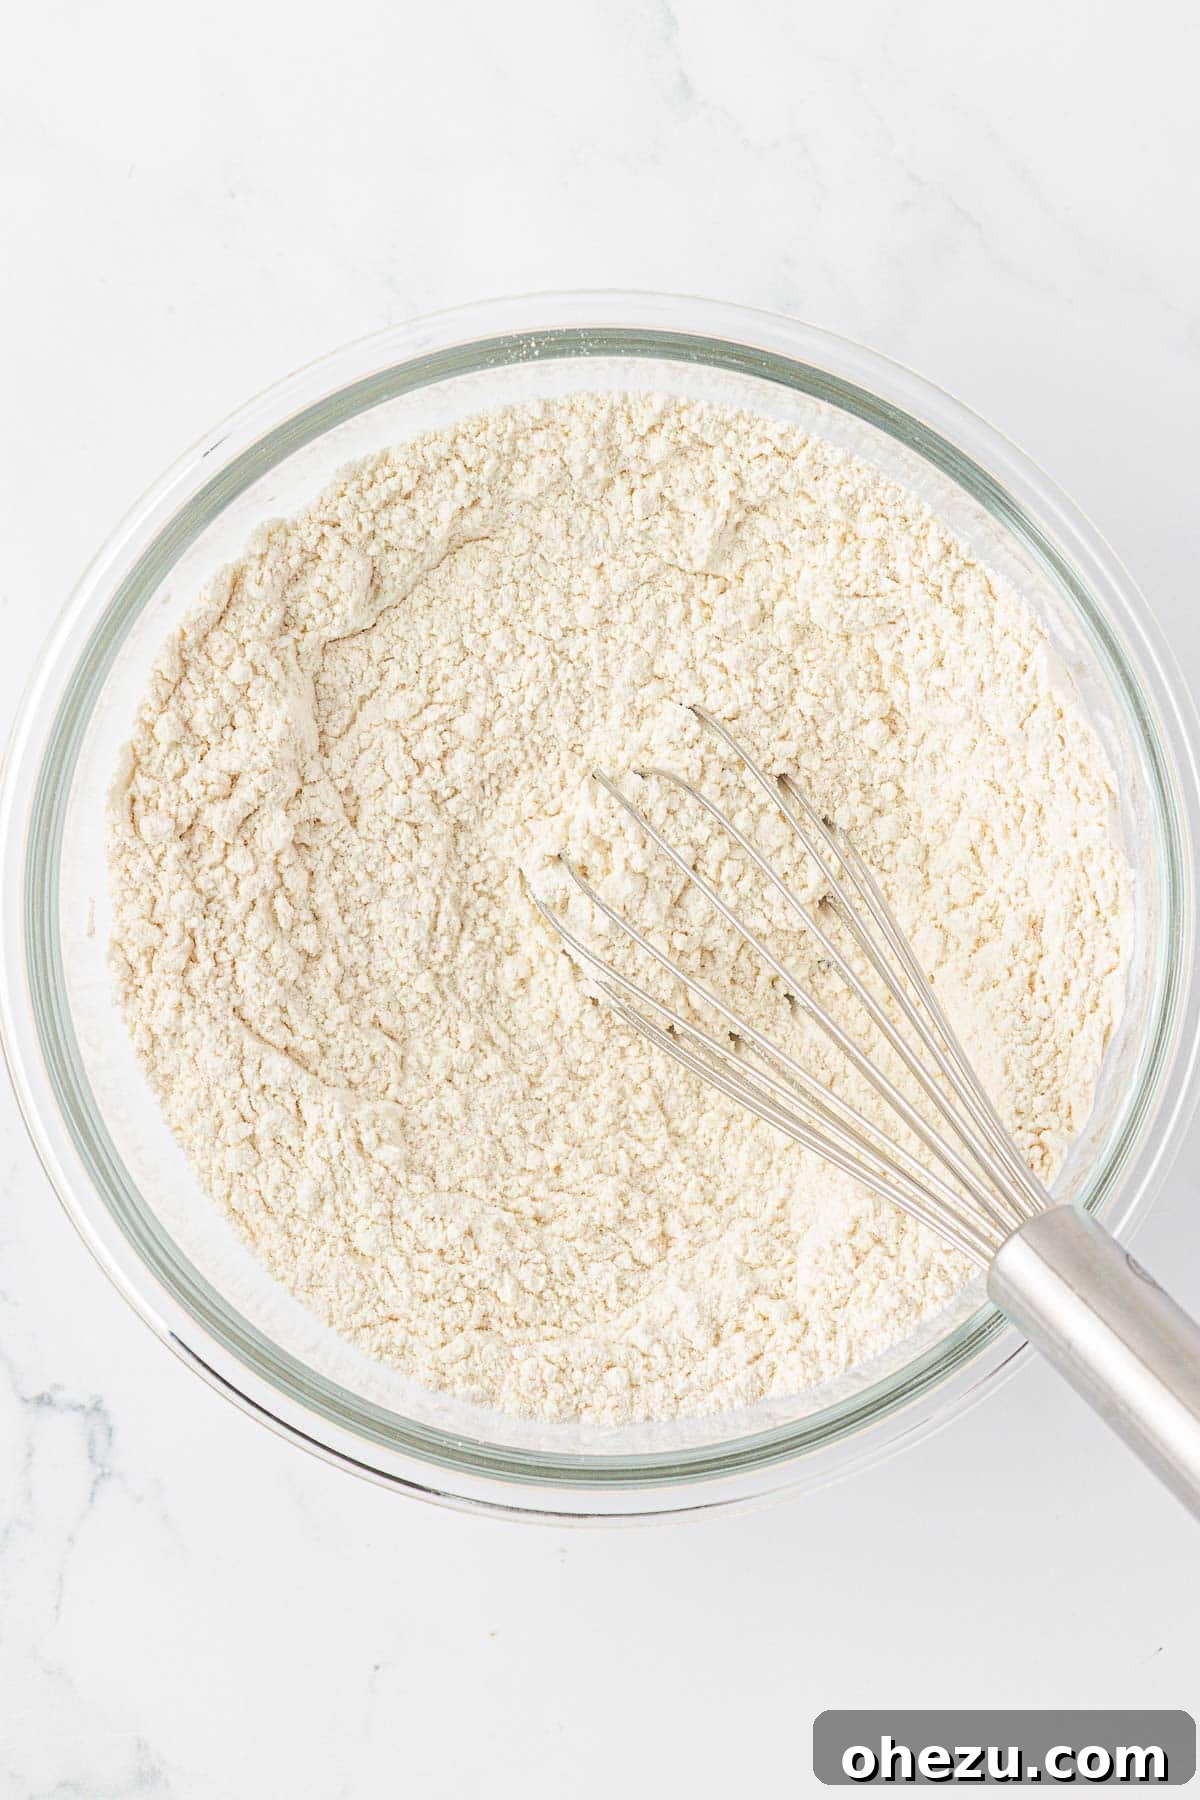
In a large mixing bowl, measure out your all-purpose flour, baking powder, and salt. Whisk these dry ingredients together thoroughly. This crucial step ensures that the leavening agents and salt are evenly distributed throughout the flour, preventing pockets of unmixed ingredients and guaranteeing a consistent rise and flavor in every waffle.
Step 2: Prepare the Wet Ingredients
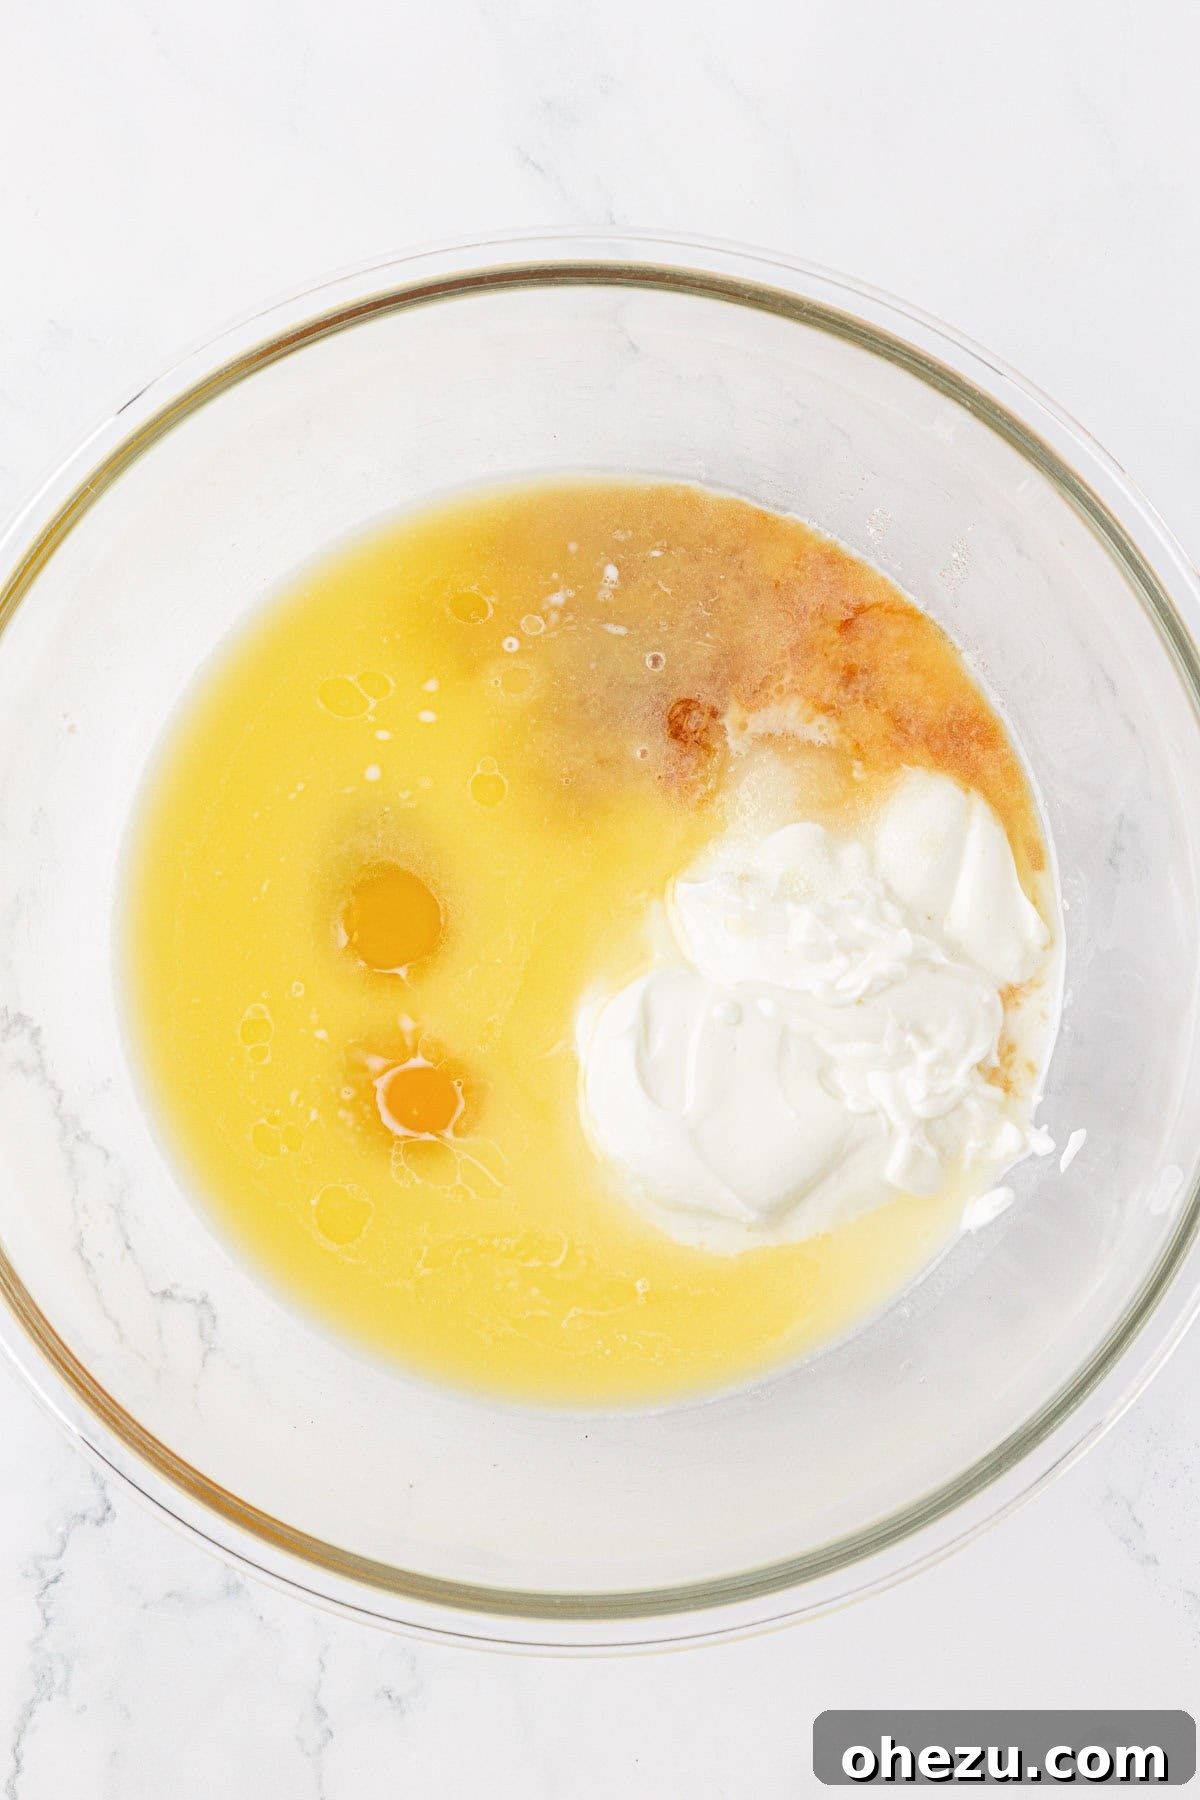
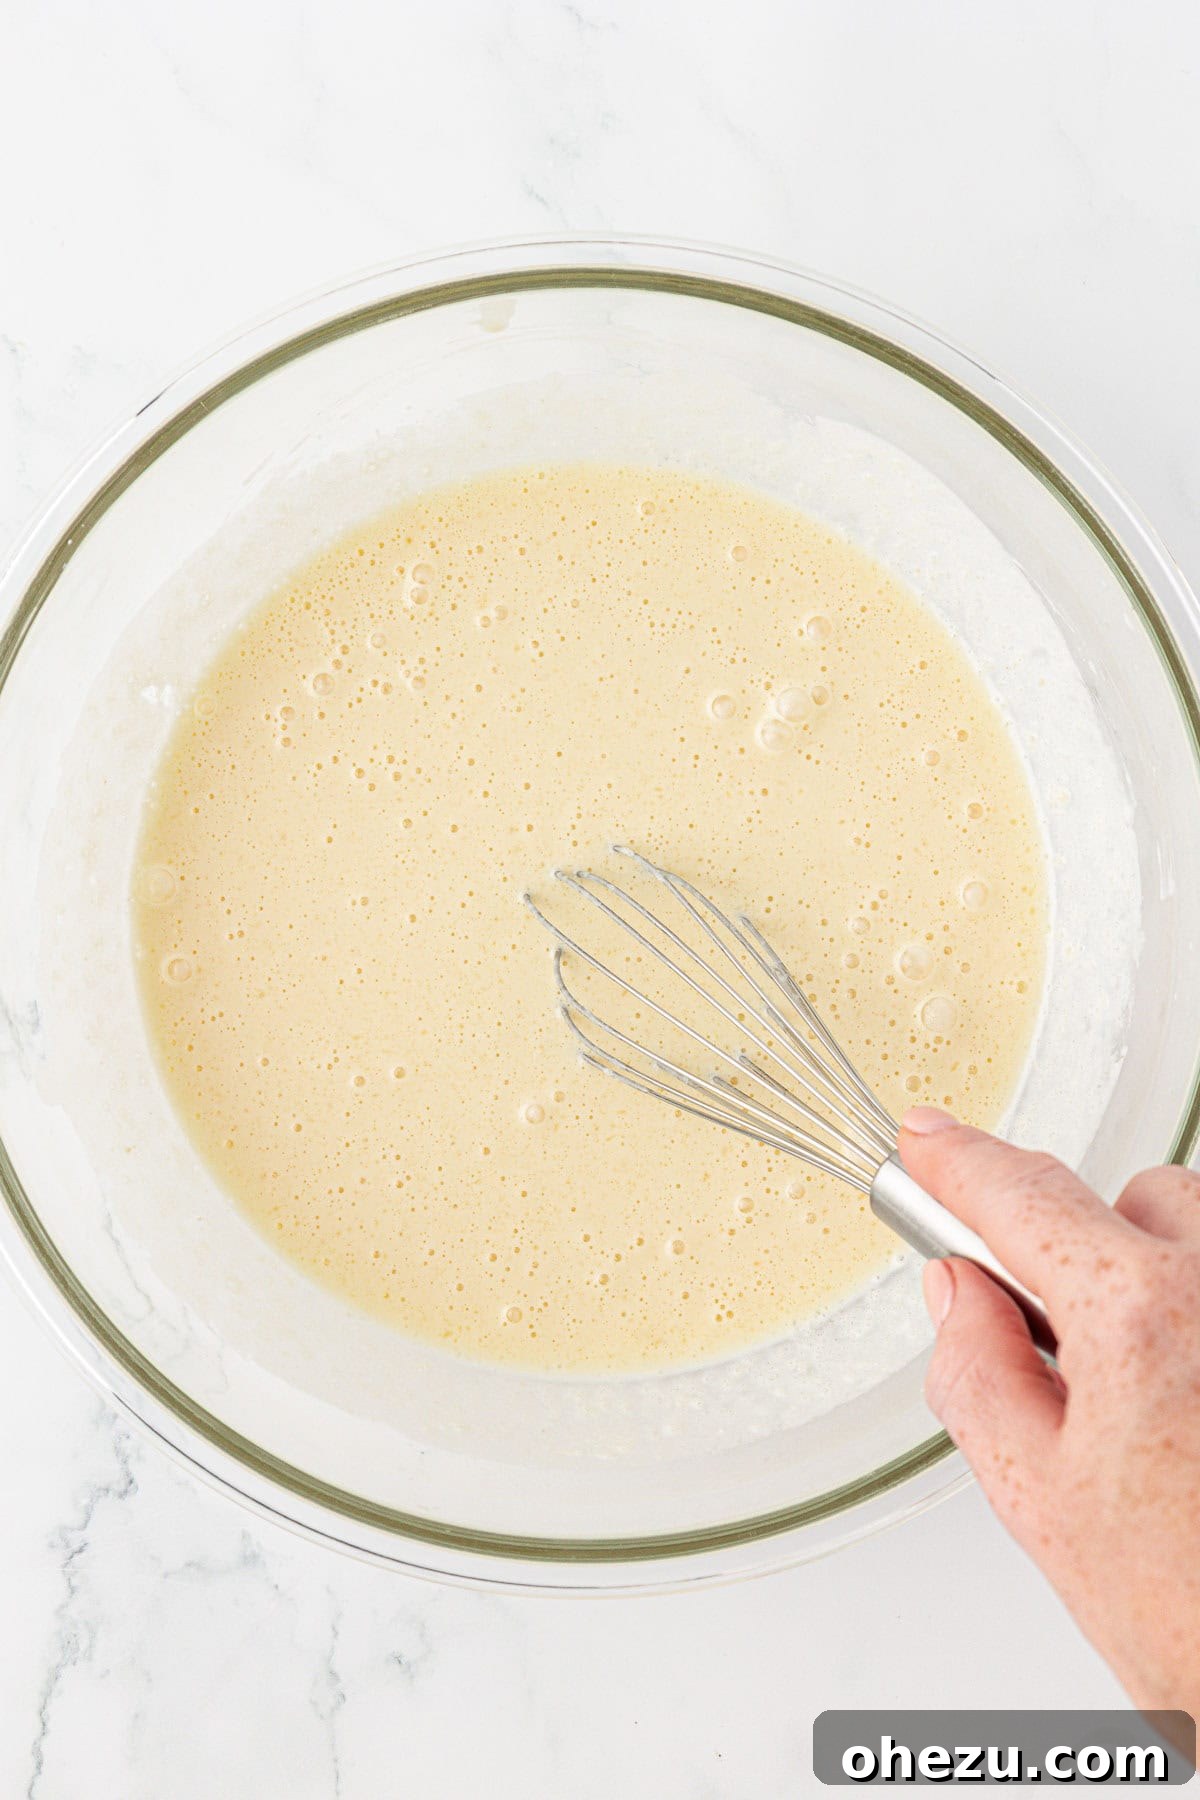
In a separate, medium-sized bowl, add the granulated sugar, plain Greek yogurt, whole milk, melted and slightly cooled unsalted butter, eggs, and vanilla extract. Whisk these wet ingredients together vigorously until they are completely smooth and well combined. This ensures all the liquids and flavorings are fully incorporated before being introduced to the dry mix.
Step 3: Combine Wet and Dry Mixtures
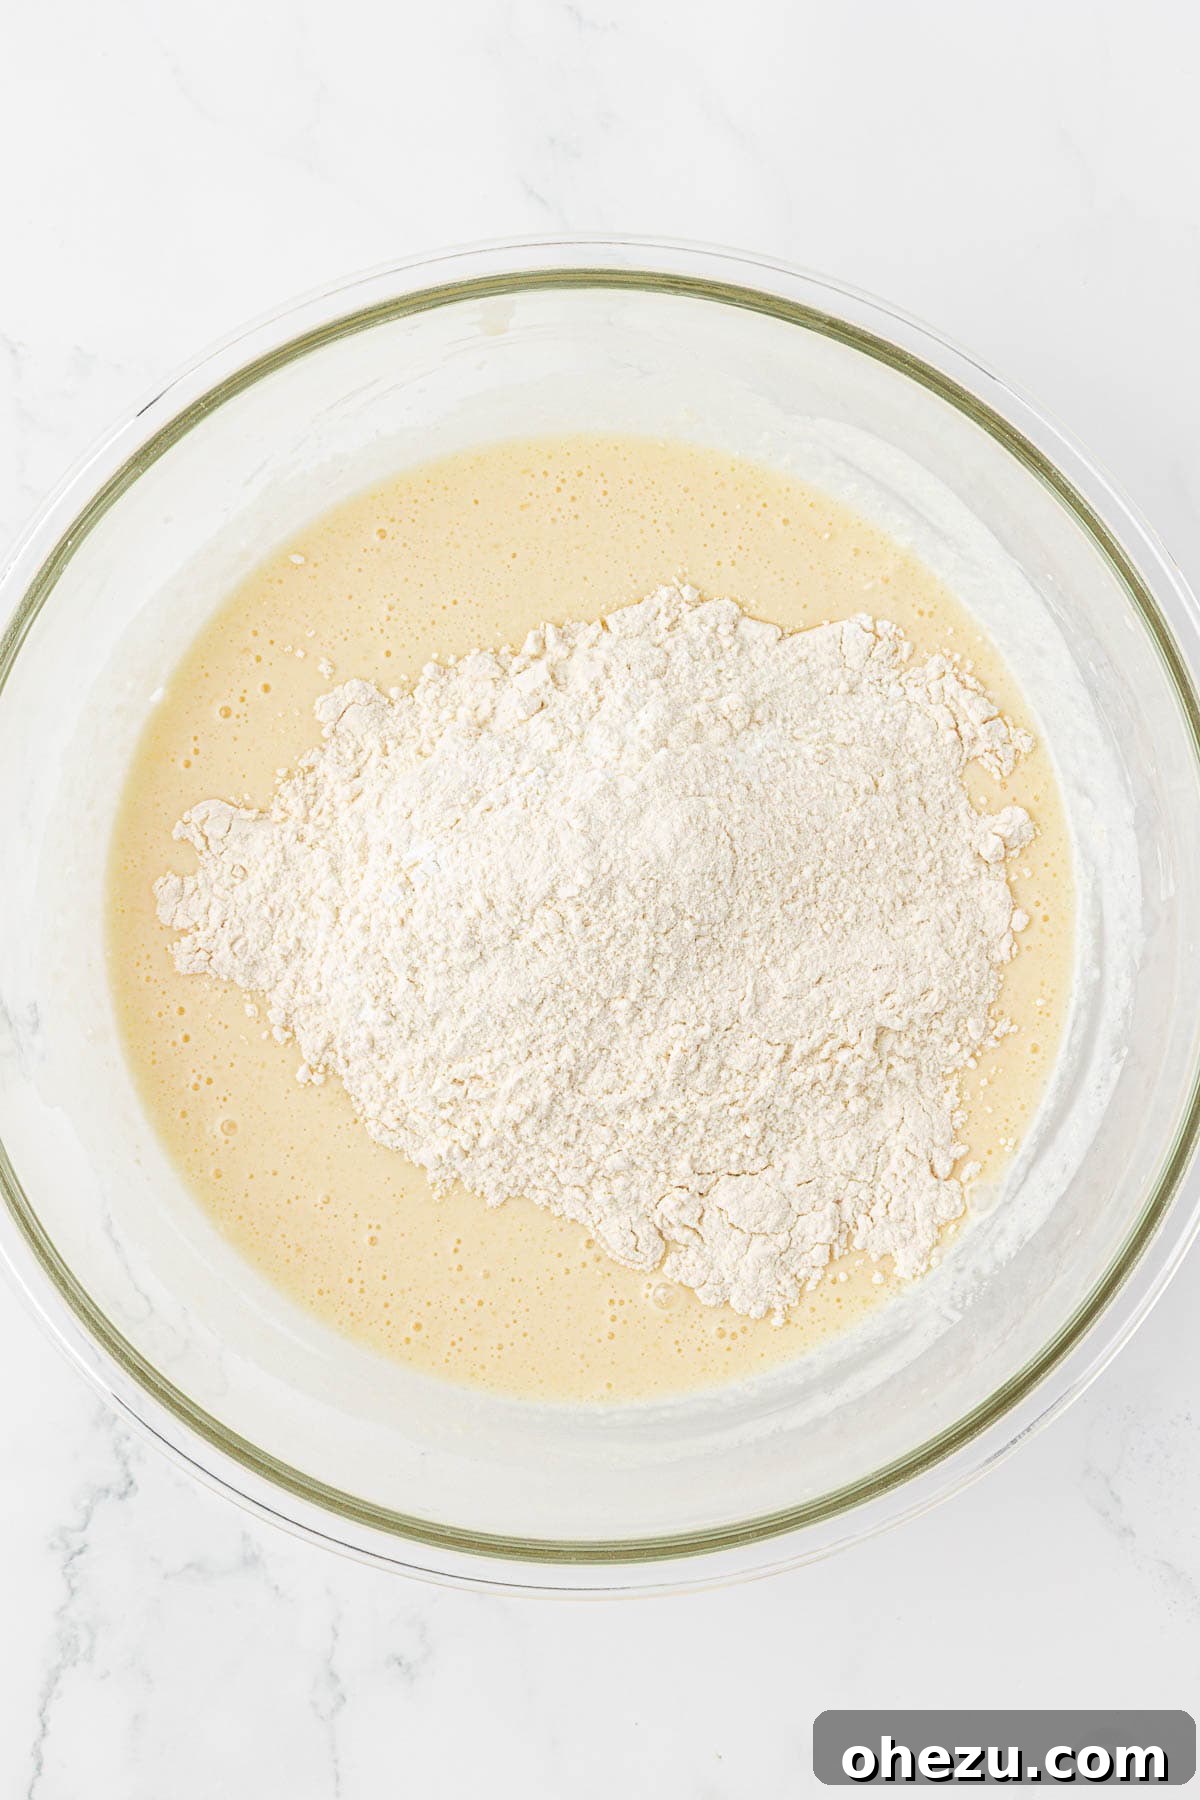
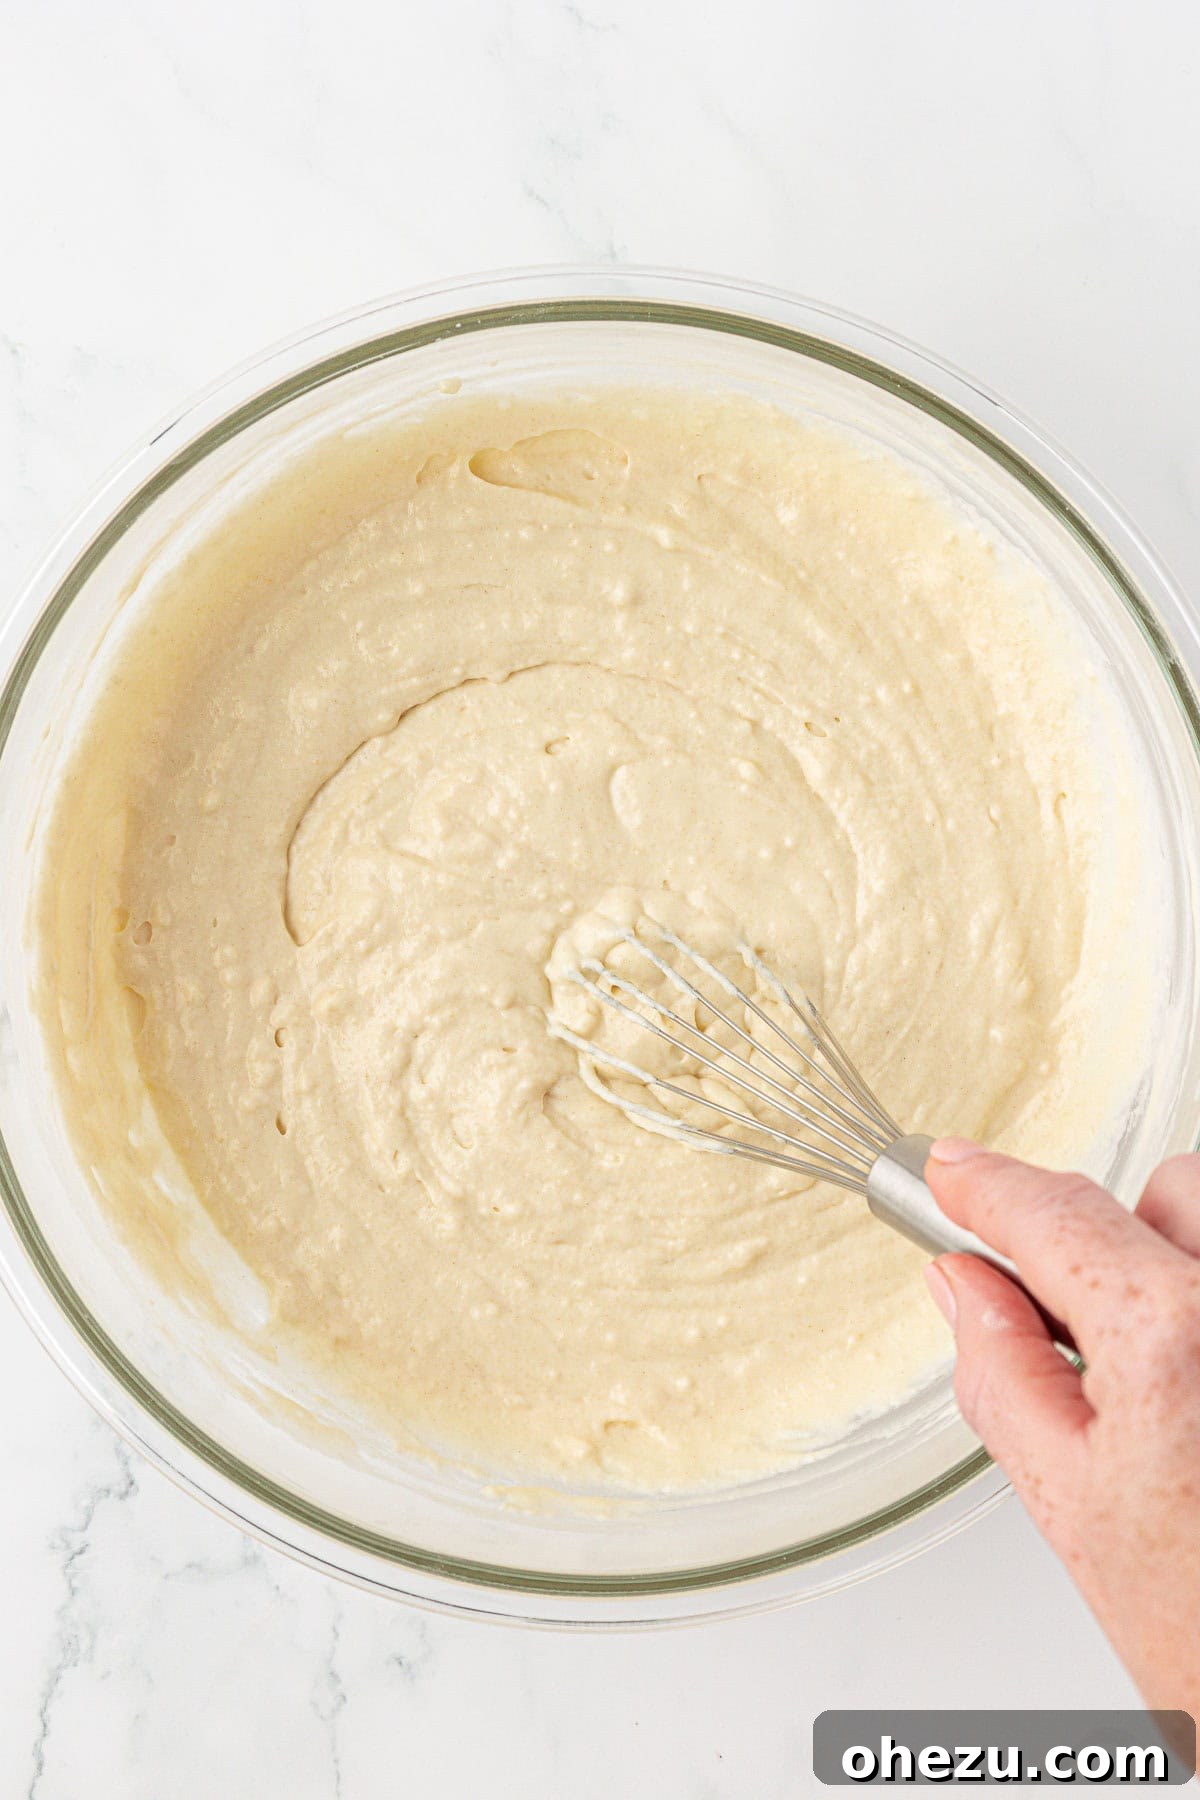
Pour the wet ingredients into the bowl containing the dry ingredients. Using a rubber spatula, gently fold and mix the two mixtures until they are *just* combined. It’s perfectly fine if there are a few small lumps; overmixing can develop the gluten in the flour, resulting in tough waffles. The goal is a batter that is smooth enough but still light and airy.
Step 4: Prepare and Heat Your Waffle Maker
Preheat your waffle maker (whether it’s a mini or full-sized one) according to the manufacturer’s instructions. Once heated, lightly spray or brush the grids with olive oil. This ensures a non-stick surface and helps achieve that desirable crispy exterior.
Pro Tip for Waffle Making
For the best results and to preserve the non-stick coating of your waffle iron, opt for a hand-pump olive oil spray or use a pastry brush to apply a thin layer of oil. Aerosol cooking sprays often contain propellants and additives that can build up on non-stick surfaces over time, leading to sticky residue and making your waffle maker harder to clean.

Step 5: Cook Your Waffles to Golden Perfection
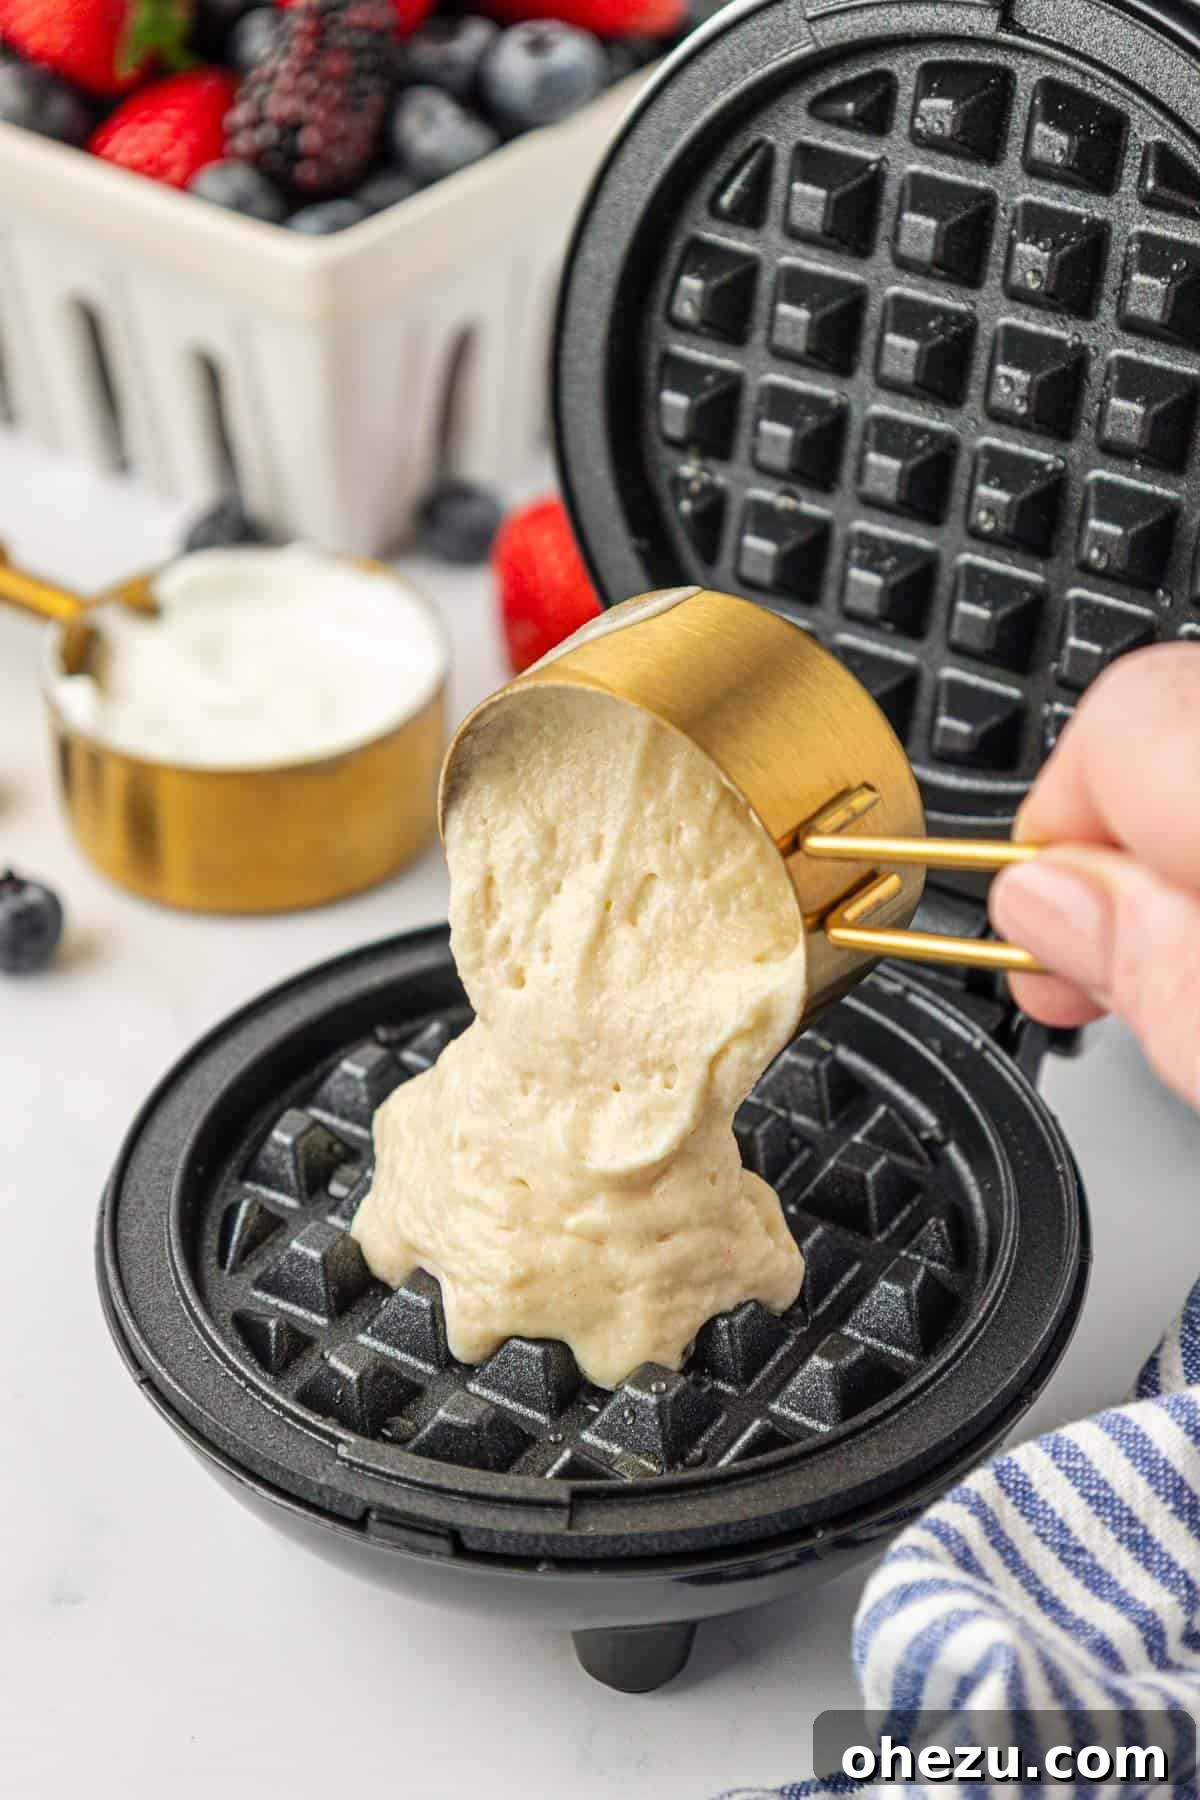
Pour approximately ¼ cup of batter into the center of your preheated mini waffle maker. If using a full-sized waffle iron, adjust the quantity to cover the grids without overflowing, typically ½ to ¾ cup. Close the lid and cook until the waffle is golden brown and steam is no longer heavily escaping from the sides, indicating it’s done. Cooking times will vary depending on your waffle maker, so keep an eye on them. Repeat this process for the remaining batter, re-spraying the waffle iron as needed between each waffle to prevent sticking and ensure a perfectly crisp finish.

Why These Greek Yogurt Waffles Are a Game Changer
These waffles truly come together so quickly, making them an ideal choice for busy households. Beyond the speed, I feel so much better about feeding these to my kids compared to many store-bought alternatives. The inclusion of Greek yogurt not only boosts the protein content but also adds a significant amount of beneficial probiotics, contributing to a healthier gut.
If you’re constantly craving waffles that offer that beloved light and fluffy texture but are also made with more wholesome, nutritious ingredients, then this recipe is your perfect solution. It strikes a wonderful balance between indulgence and health, proving that you don’t have to sacrifice flavor for better-for-you options.

Tips for Waffle Perfection
Achieving the best Greek yogurt waffles consistently is easy with a few extra tips:
- Don’t Overmix the Batter: As mentioned in Step 3, overmixing develops gluten, leading to tougher waffles. Mix until just combined; a few lumps are fine.
- Rest the Batter (Optional but Recommended): If you have 10-15 minutes, let the batter rest after mixing. This allows the flour to fully hydrate and the baking powder to start working, leading to even fluffier results.
- Preheat Your Waffle Maker Properly: A well-heated waffle iron is crucial for a crisp exterior and even cooking. Don’t rush this step.
- Use Enough Batter (But Not Too Much): Experiment with your specific waffle maker to find the perfect amount of batter. Too little will result in incomplete waffles, too much will cause overflow. A ¼ cup for mini and ½-¾ cup for standard is a good starting point.
- Don’t Peek Too Early: Resist the urge to open your waffle maker too soon. This can disrupt the cooking process and cause waffles to stick or tear. Wait for the steam to significantly reduce or for your waffle maker’s indicator light to signal readiness.
- Serve Immediately or Keep Warm: Waffles are best fresh off the iron. If serving a crowd, you can keep cooked waffles warm in a single layer on a baking sheet in a preheated oven at 200°F (95°C) while you finish the batch.
Storing and Reheating Your Greek Yogurt Waffles
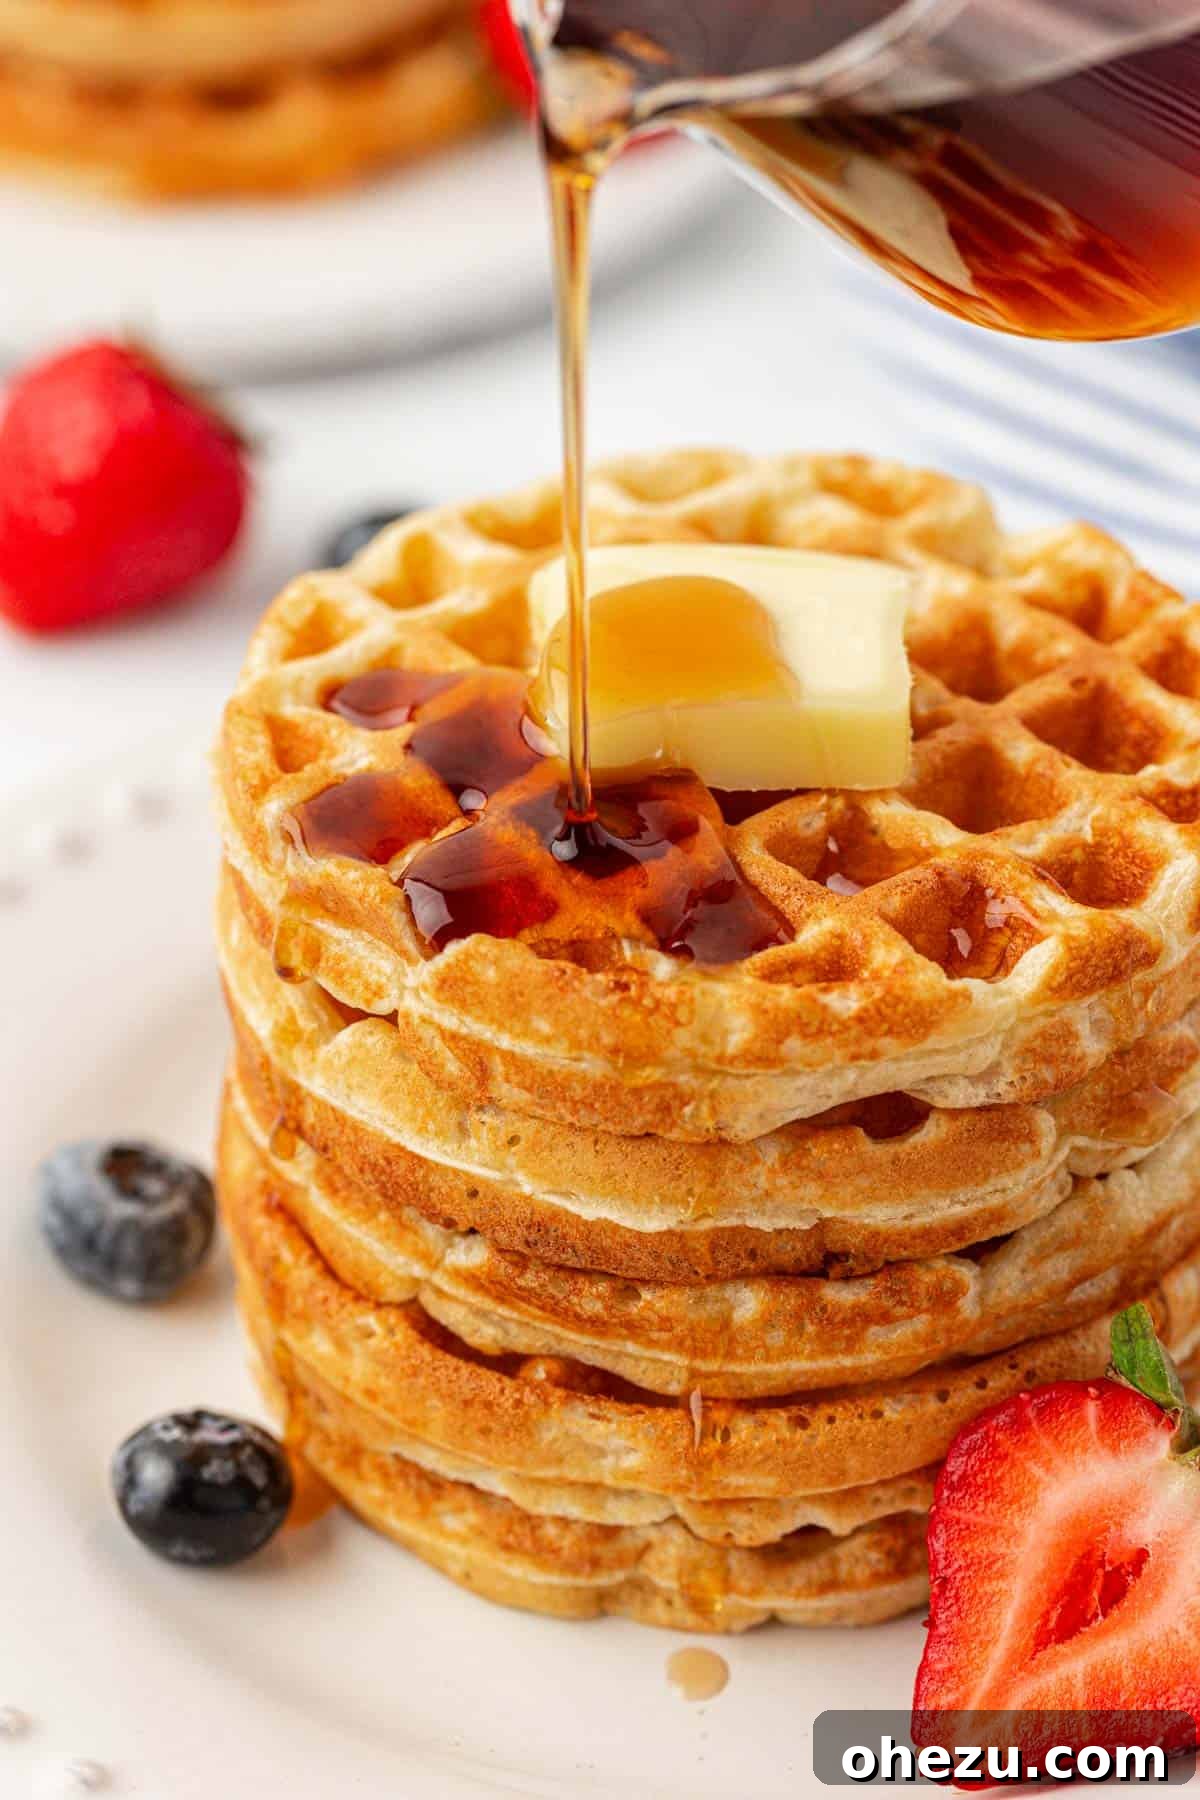
One of the greatest advantages of these Greek yogurt waffles is their excellent freezer-friendly nature, making them perfect for meal prep. Having a stash of homemade waffles in your freezer means you’re always just minutes away from a wholesome breakfast.
- Refrigerator Storage: Leftover Greek yogurt waffles can be stored in an airtight container in the refrigerator for up to 4-5 days. For best results, place a paper towel between layers to absorb any excess moisture and prevent sogginess.
- Freezer Storage: To freeze, first allow the cooked waffles to cool completely on a wire rack. Once cooled, place them in a single layer on a baking sheet and freeze for about 30 minutes until solid. This prevents them from sticking together. Then, transfer the frozen waffles to a freezer-safe airtight container or a large freezer bag, separating layers with parchment paper if desired. They will stay fresh for up to 3 months.
- Reheating from Refrigerator: Reheat refrigerated waffles in a toaster, toaster oven, or even a regular oven (at 350°F / 175°C for 5-7 minutes) until warmed through and crispy.
- Reheating from Freezer: For frozen waffles, reheat directly from the freezer in a toaster or toaster oven until golden brown and heated through, typically 2-4 minutes depending on your appliance. You can also warm them in a regular oven at 375°F (190°C) for 10-15 minutes, flipping halfway. Avoid microwaving, as it can make waffles soft and chewy rather than crisp.
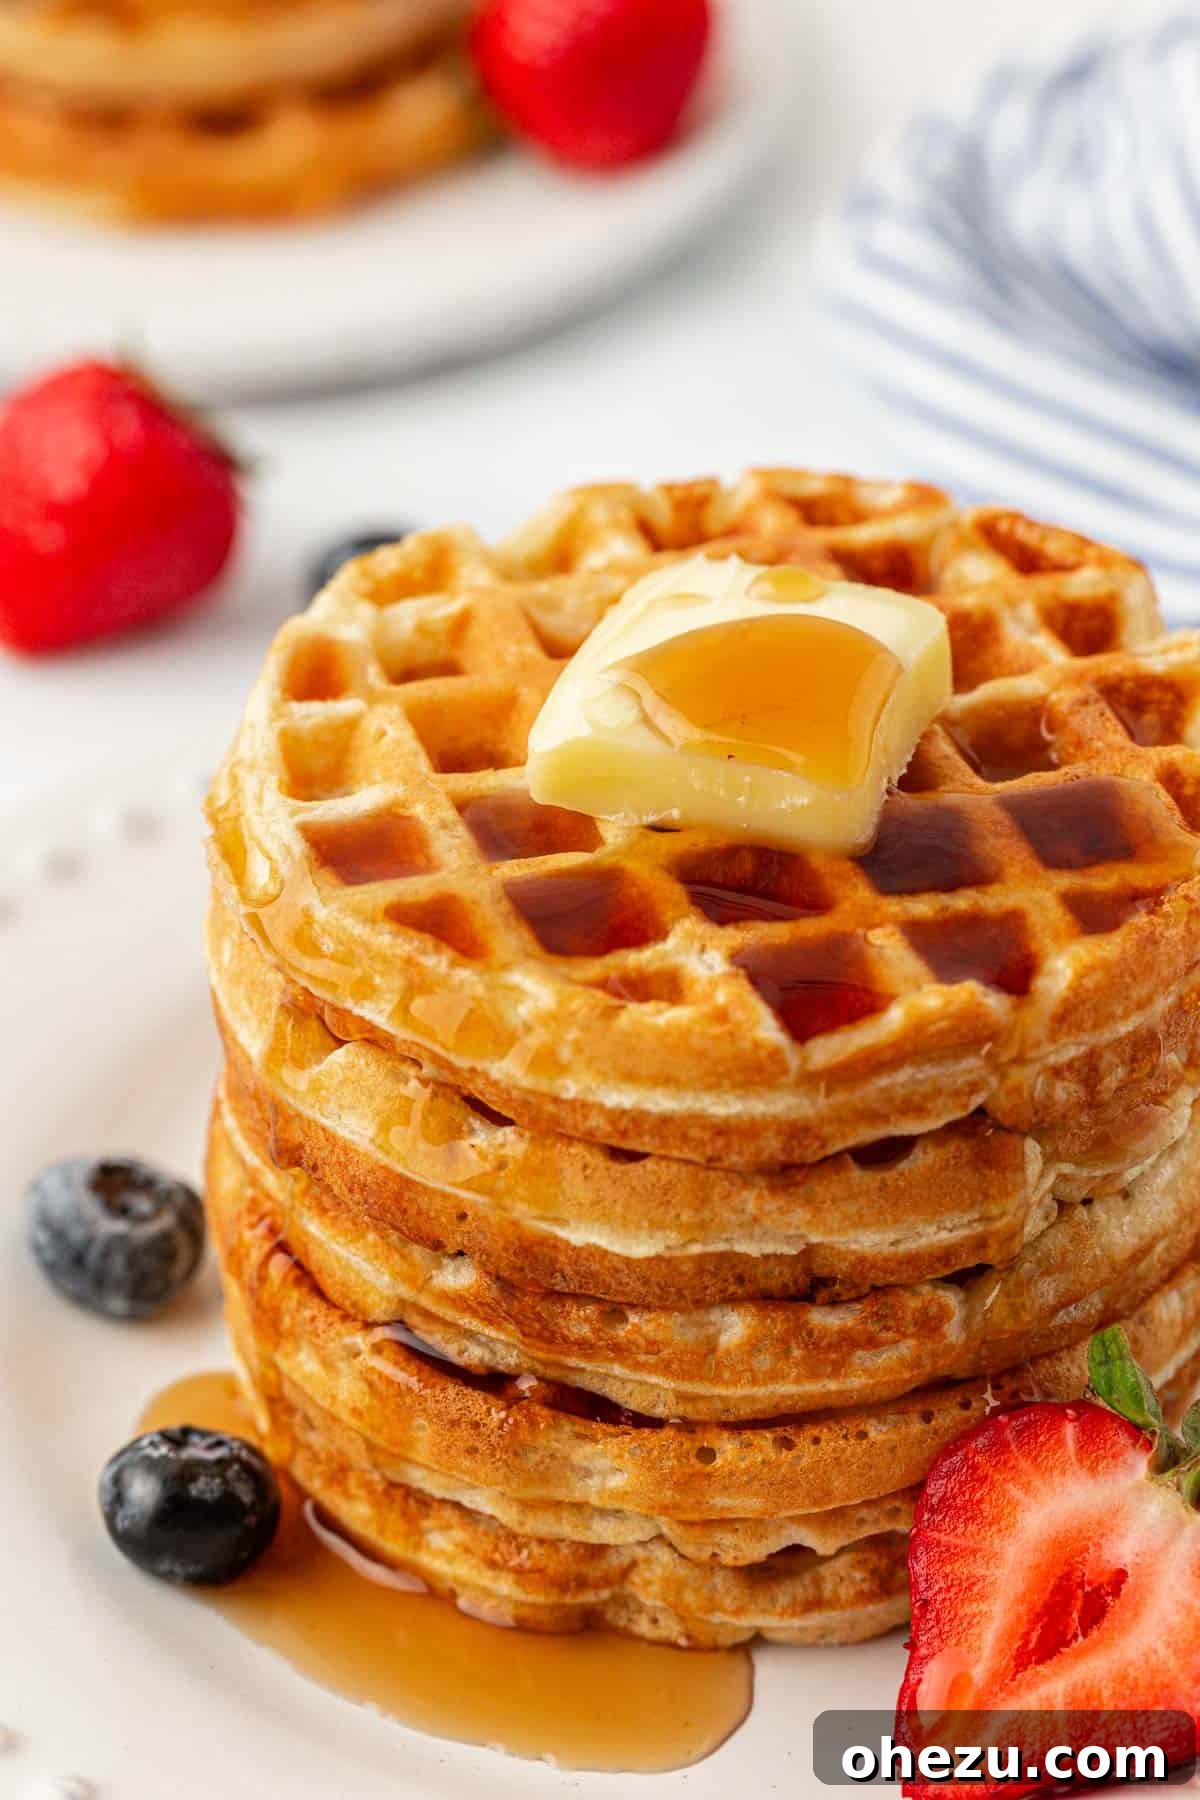
Whether you’re planning a leisurely Saturday morning breakfast, a fun “breakfast for dinner” night, or simply need a quick and nourishing option on a regular weekday, these Greek yogurt waffles are always a family favorite. Their versatility and appealing taste ensure they’ll be requested again and again.

The unique texture of these waffles is truly something special. The Greek yogurt in this recipe is not just a healthy addition; it’s a secret ingredient that contributes to an amazing light, airy, and fluffy texture. It’s distinct from the denser, often chewier waffles you might find at the grocery store, offering a homemade quality that stands out.
Serving Suggestions and Customizations
While delicious on their own, Greek yogurt waffles are incredibly versatile and can be customized to suit any preference:
- Classic Toppings: A drizzle of pure maple syrup, a dollop of butter, or a sprinkle of powdered sugar are timeless choices.
- Fresh Fruit: Berries (strawberries, blueberries, raspberries), sliced bananas, peaches, or even sautéed apples add natural sweetness and vitamins.
- Creamy Delights: A spoonful of extra Greek yogurt, whipped cream, or a drizzle of fruit compote can elevate the experience.
- Nutty Crunch: Chopped nuts (pecans, walnuts), a sprinkle of granola, or a smear of nut butter add texture and healthy fats.
- Chocolate Lover’s Dream: Mini chocolate chips (stirred into the batter or sprinkled on top), chocolate syrup, or a dusting of cocoa powder for a decadent treat.
- Savory Twist: For a unique meal, serve with fried chicken, bacon, or a poached egg. The subtle tang of the Greek yogurt pairs surprisingly well with savory elements.
Frequently Asked Questions (FAQs)
Here are answers to some common questions you might have about making these Greek yogurt waffles:
- Can I use regular yogurt instead of Greek yogurt? While you can, it will impact the texture and nutritional profile. Regular yogurt has a higher water content and lower protein. If you must use it, you might need to reduce the amount of milk slightly to maintain batter consistency, and the waffles won’t be as fluffy or protein-rich.
- Can I make these waffles gluten-free? I haven’t tested this specific recipe with gluten-free flour, but a 1:1 gluten-free baking blend designed for baked goods should work. Results may vary slightly in texture.
- Can I make these waffles dairy-free? To make them dairy-free, you would need to use a dairy-free Greek-style yogurt (like coconut or almond-based) and a plant-based milk (almond, soy, oat). You would also need to substitute the butter with a dairy-free butter alternative or oil.
- What if my waffles aren’t fluffy? Ensure your baking powder is fresh. Overmixing the batter can also lead to dense waffles, so mix until just combined. Make sure your waffle iron is adequately preheated.
- Can I add mix-ins to the batter? Absolutely! Mini chocolate chips, fresh blueberries, finely chopped nuts, or a pinch of cinnamon can be gently folded into the batter just before cooking.
Make sure to leave a comment and review when you try these! I can’t wait to hear how much you and your family enjoy them. Your feedback is always appreciated!
Explore More Delicious Greek Yogurt Recipes
If you love the healthy benefits and versatility of Greek yogurt, you’ll be thrilled to discover these other fantastic recipes that incorporate this wholesome ingredient:
- Oatmeal Cookie Mini Muffins
- Mini Blueberry Muffins
- Greek Yogurt Chocolate Chip Bread
- Greek Yogurt Pumpkin Bread
- Greek Yogurt Mac and Cheese
- Carrot Cake Snack Bars
- Mini Chocolate Chip Muffins
- Greek Yogurt Banana Bread
- Greek Yogurt Snack Cake
- Greek Yogurt Blueberry Muffins
- Greek Yogurt Banana Mini Muffins


Greek Yogurt Waffles
Joy Shull
These easy Greek yogurt waffles are light and fluffy and a hit with the whole family! Make them ahead and store them in the freezer for busy mornings.
15 mini waffles
Print Recipe
Ingredients
- 1 ½ cups all-purpose flour
- 3 teaspoons baking powder
- 2 tablespoons granulated sugar
- 1 cup plain unsweetened Greek yogurt
- ½ cup whole milk
- ¼ cup unsalted butter, melted and slightly cooled
- 2 large eggs
- 1 teaspoon vanilla extract
- ¼ teaspoon salt
Instructions
- Whisk together the flour, baking powder, and salt in a mixing bowl.
- In a separate bowl, whisk together the sugar, Greek yogurt, milk, melted butter, eggs, and vanilla extract.
- Add the dry ingredients to the wet and mix until just combined using a rubber spatula.
- Heat a mini waffle maker and spray or brush it with olive oil.
- Add ¼ cup of batter to the waffle maker and cook the waffle until done. Repeat for the remaining waffles, re-spraying the waffle maker as needed.
Nutrition (per mini waffle, approx.)
- Calories: 101 kcal
- Carbohydrates: 12g
- Protein: 4g
- Fat: 4g
- Saturated Fat: 2g
- Polyunsaturated Fat: 0.3g
- Monounsaturated Fat: 1g
- Trans Fat: 0.1g
- Cholesterol: 32mg
- Sodium: 140mg
- Potassium: 54mg
- Fiber: 0.3g
- Sugar: 3g
- Vitamin A: 140 IU
- Calcium: 78mg
- Iron: 1mg
Enjoyed this recipe? Share your thoughts and leave a comment below!