

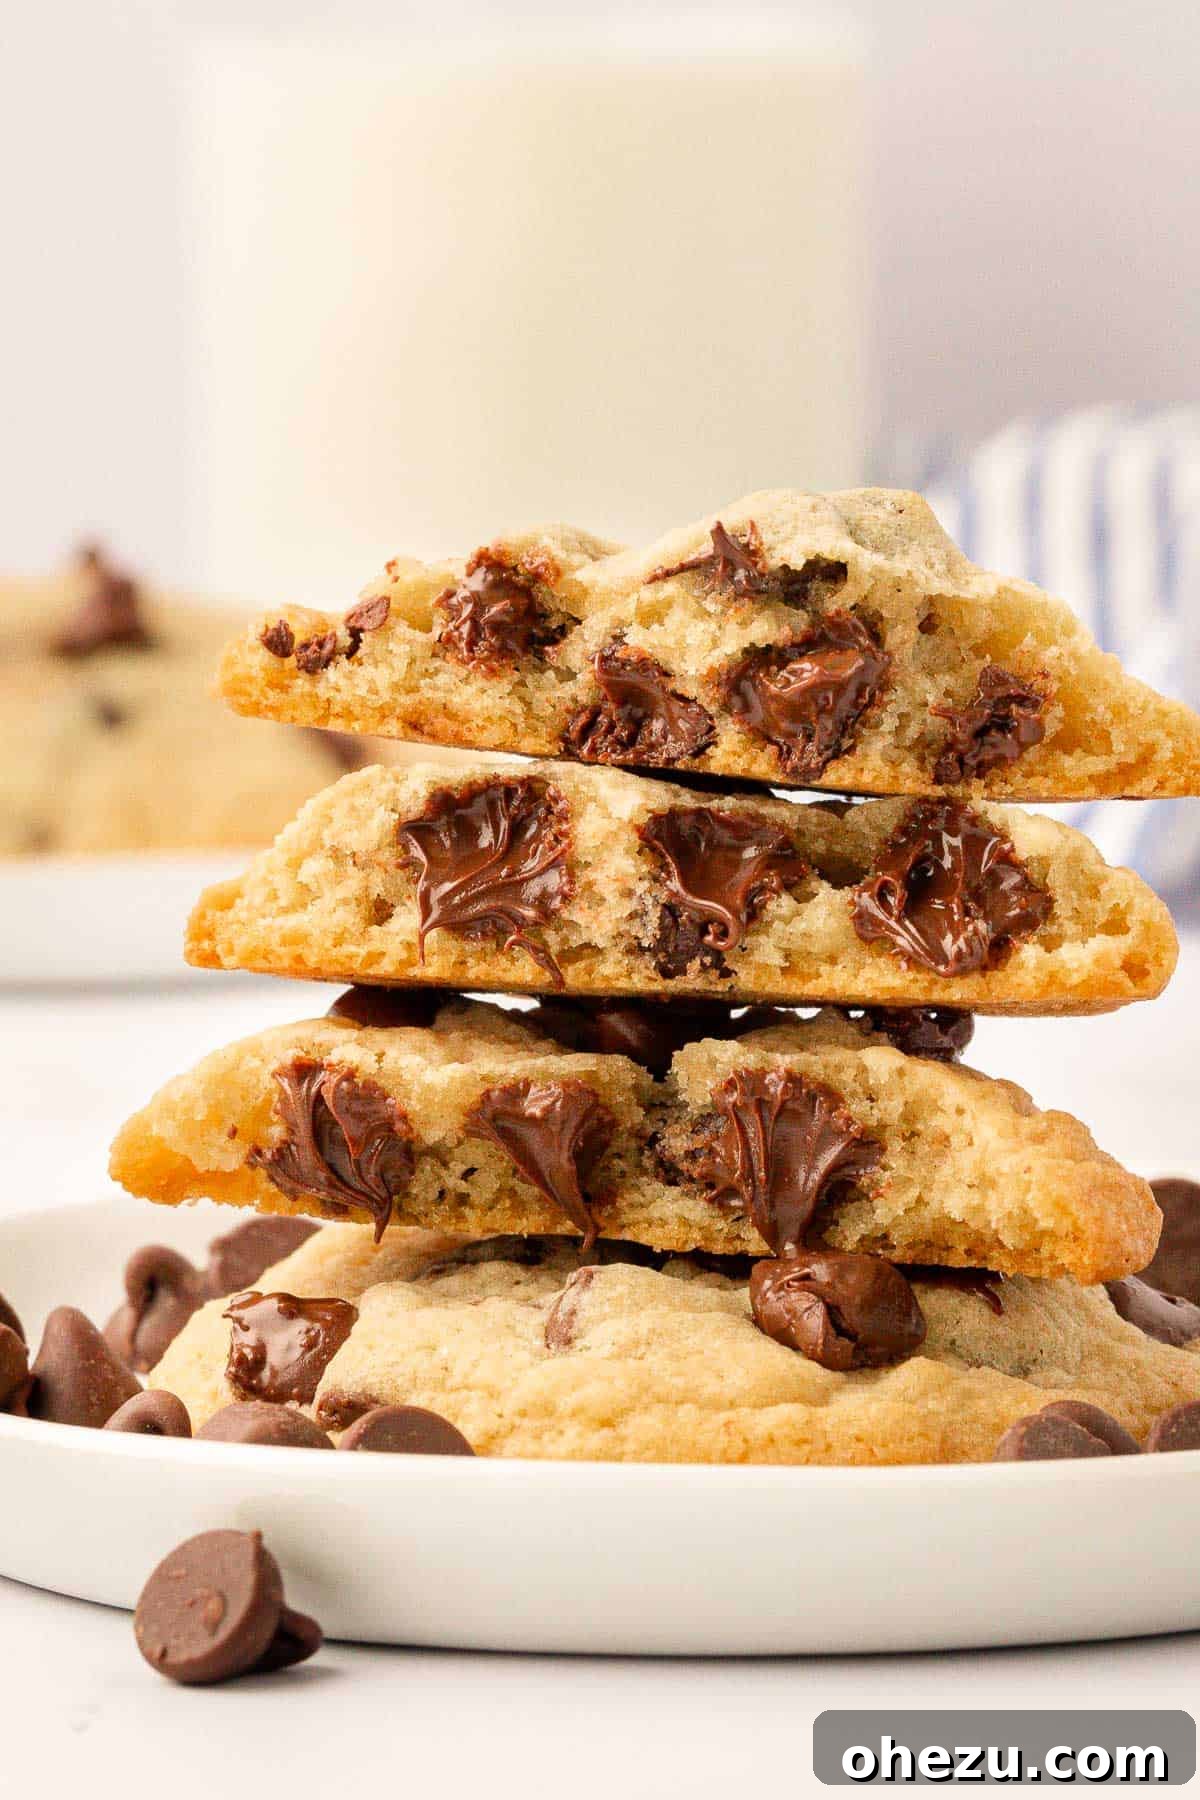
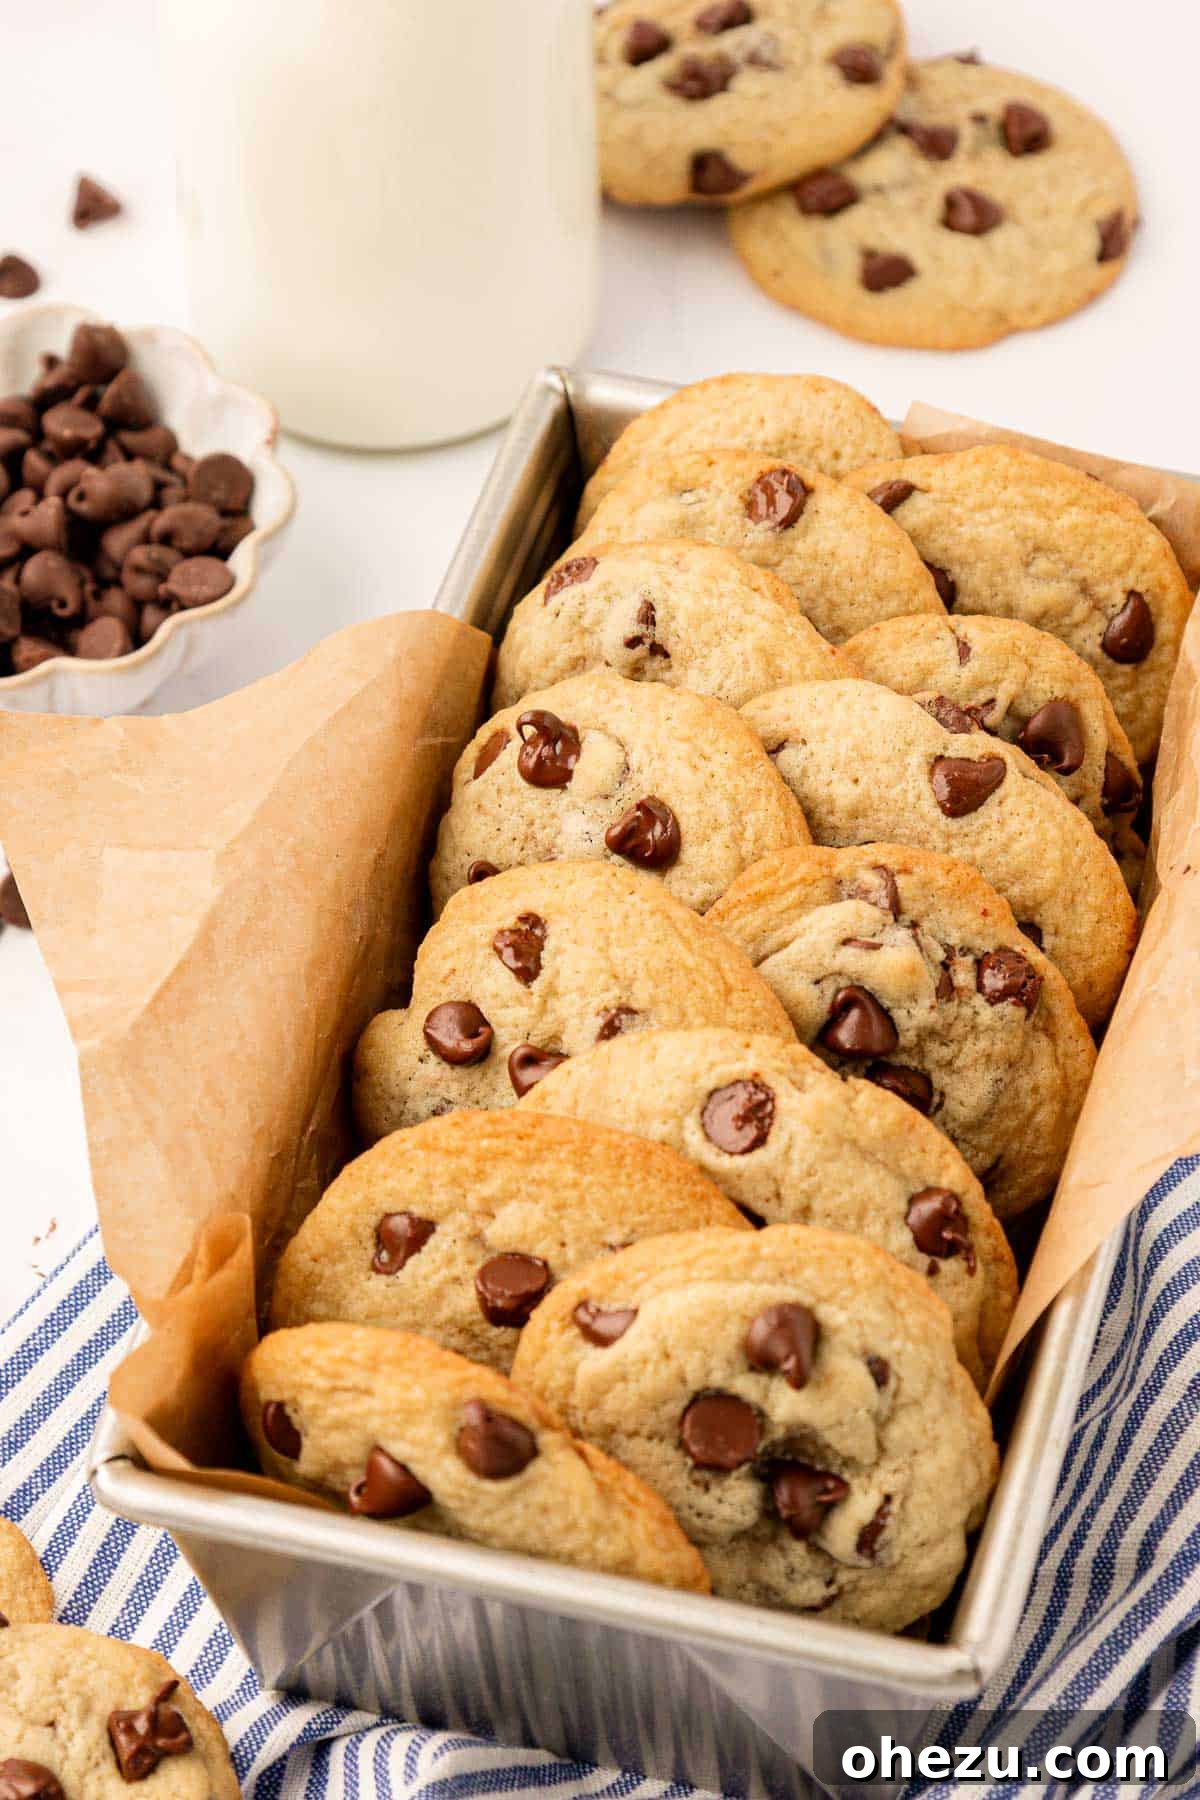
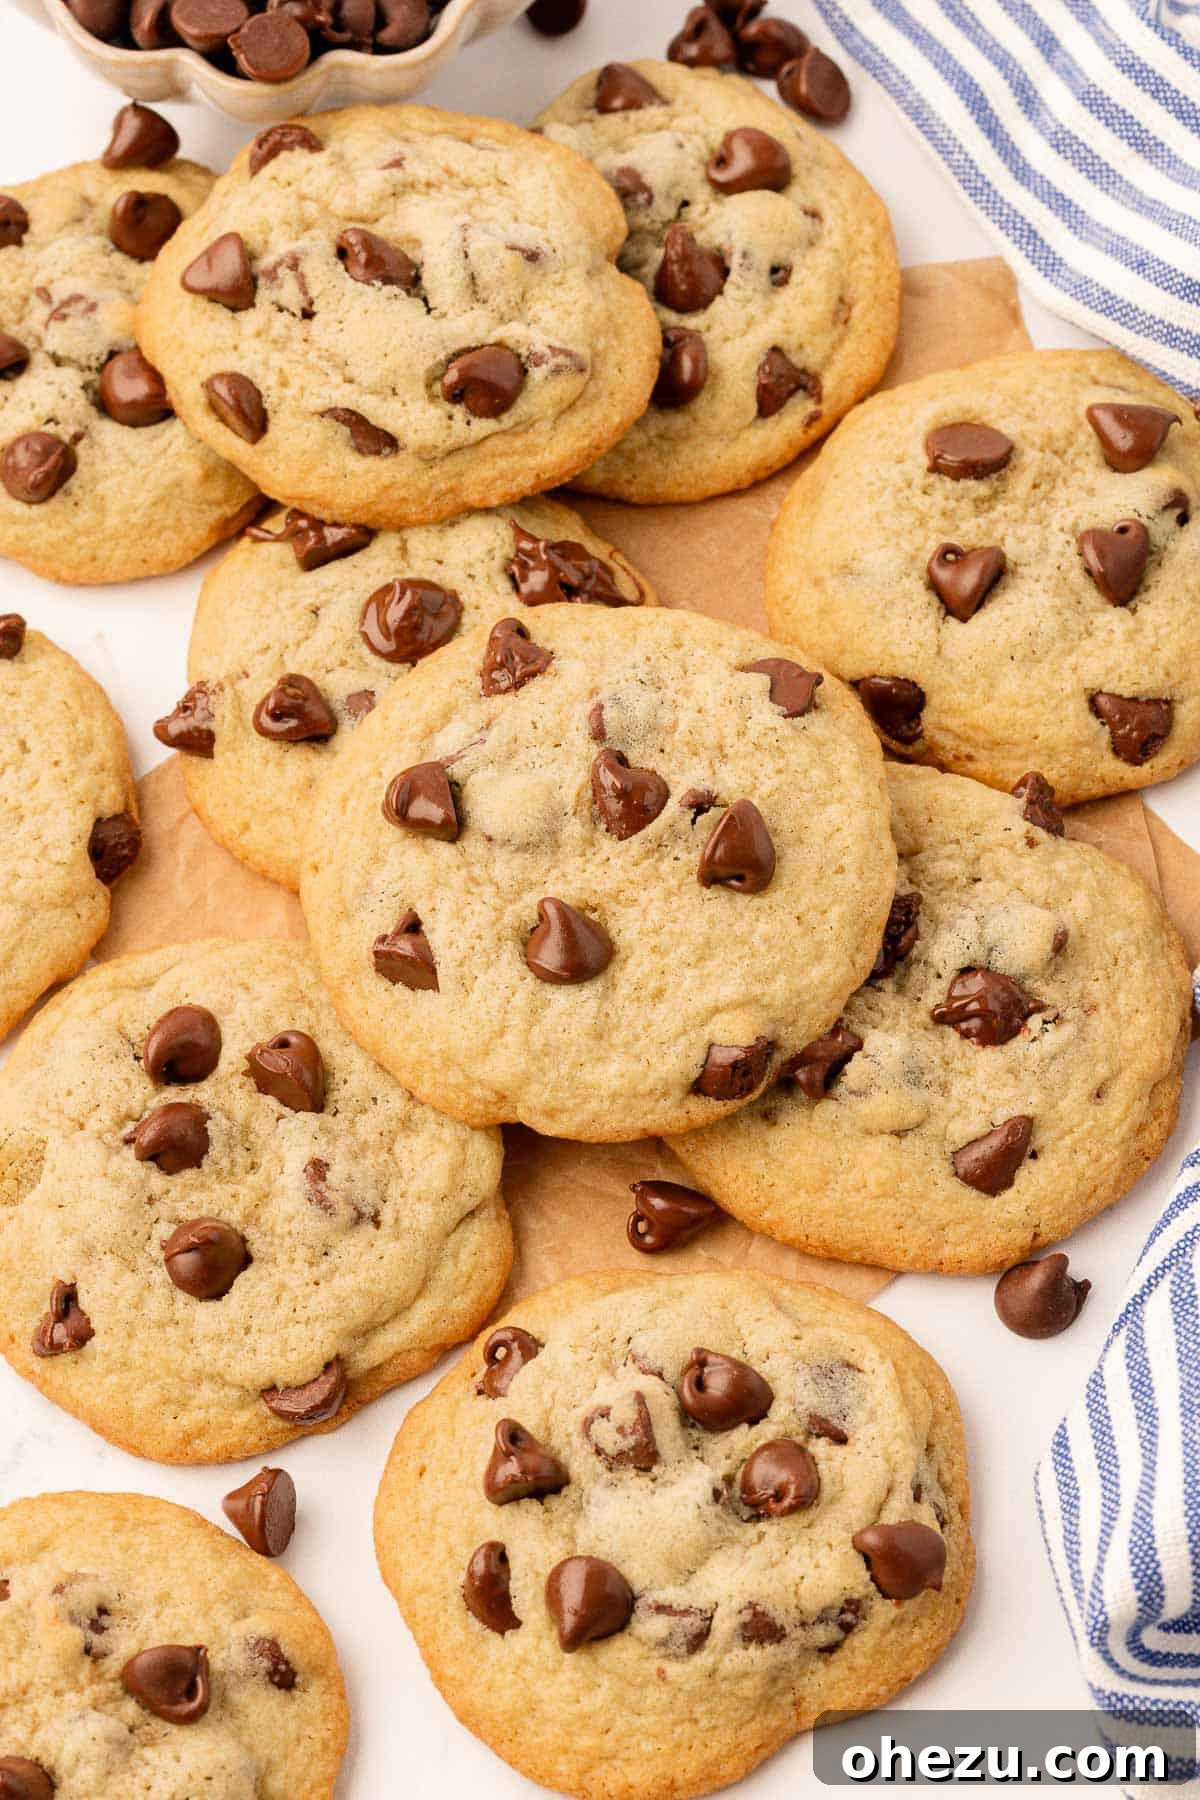
These easy homemade Chocolate Chip Cookies are made without any brown sugar!

Irresistible Chocolate Chip Cookies Without Brown Sugar: Your New Go-To Recipe!
Have you ever found yourself in the midst of a serious cookie craving, only to discover your pantry is missing that one key ingredient: brown sugar? It’s a common dilemma that often halts our baking plans in their tracks. But what if I told you that you don’t need brown sugar to create truly exceptional chocolate chip cookies?
Prepare to be amazed! This recipe delivers gloriously soft, delightfully chewy, and wonderfully gooey chocolate chip cookies, all made with just white granulated sugar. With a few smart ingredient swaps and simple techniques, these cookies achieve the quintessential texture and rich flavor you adore, often surpassing what you’d expect from a traditional recipe.
Forget the frustration of missing ingredients. This easy-to-follow guide will ensure you can whip up a batch of these delectable treats anytime the craving strikes. You’ll be delighted by how simple it is to get that perfect melt-in-your-mouth center and perfectly set edges. Get ready to fall in love with your new favorite chocolate chip cookie recipe!
Why Choose Chocolate Chip Cookies Made Without Brown Sugar?
While brown sugar is a beloved ingredient in classic cookie recipes for its moisture and molasses content, which contributes to chewiness, opting for white sugar only has its own fantastic advantages:
- Pantry Staple Friendly: This recipe relies solely on ingredients you likely always have on hand, eliminating the need for a special trip to the grocery store. Perfect for impromptu baking sessions!
- Distinctive Texture: Cookies made with white sugar tend to have a slightly crisper edge, which beautifully contrasts with their tender, chewy, and gooey centers. Our secret ingredient, cornstarch, plays a vital role in maintaining this desired softness and thickness.
- Pure Flavor Profile: Without the underlying notes of molasses from brown sugar, the pure, sweet vanilla and rich chocolate flavors in these cookies truly shine. Each bite is an unadulterated celebration of classic cookie taste.
- Simplicity and Adaptability: This straightforward recipe is incredibly forgiving and easy to master. It’s also simple to adapt for dietary needs, such as making them dairy-free with appropriate substitutions.
Embrace the simplicity and delicious results of these no-brown-sugar chocolate chip cookies. You’ll be pleasantly surprised by their depth of flavor and satisfying texture!
Essential Ingredients & Smart Notes for Perfect Cookies
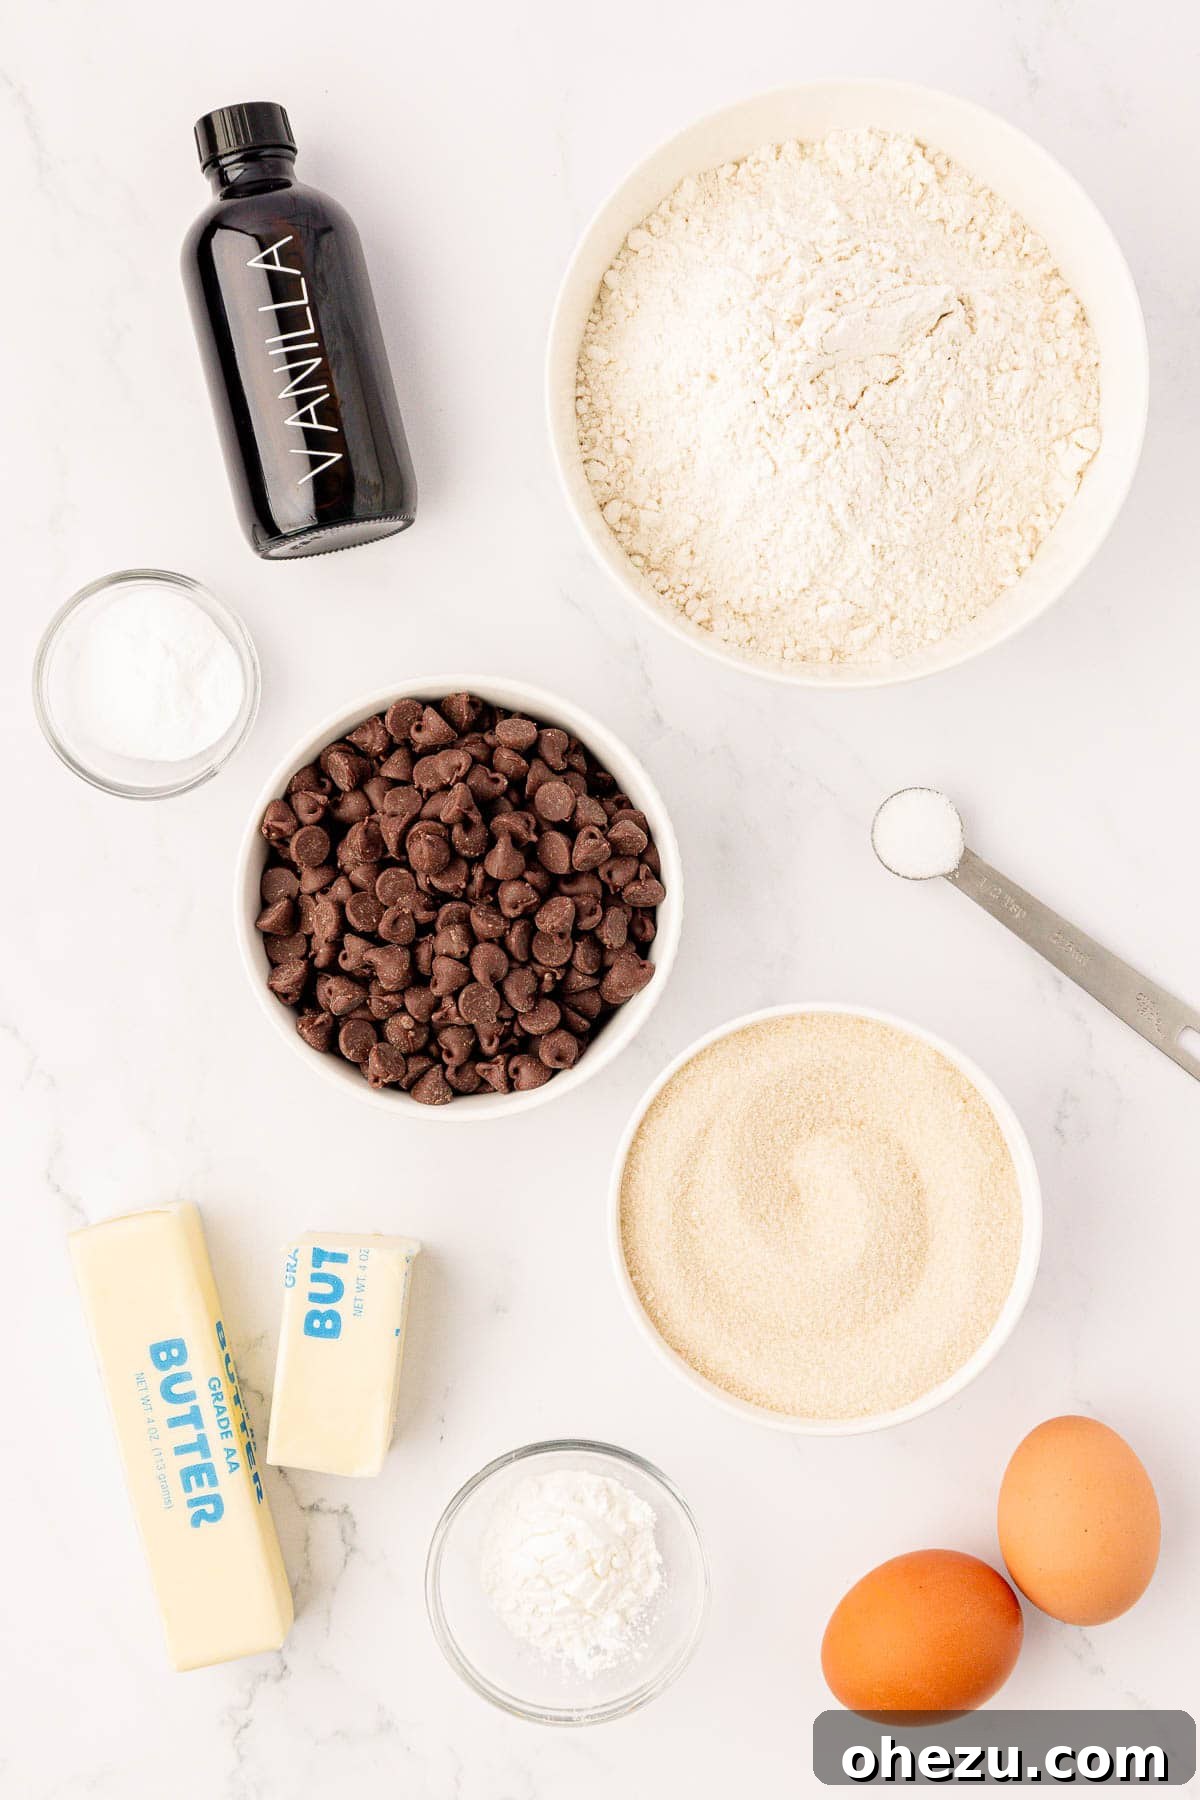
Crafting these extraordinary cookies requires just a few basic ingredients, each playing a crucial role in achieving that perfect balance of flavor and texture. Here’s a detailed look at what you’ll need:
- All-Purpose Flour: The structural backbone of our cookies. For best results, measure your flour accurately by weight (approximately 240-250 grams for 2 cups) or by spooning it into a measuring cup and leveling off. This prevents over-measuring, which can lead to dense, dry cookies.
- Unsalted Butter (Softened): Butter at room temperature is non-negotiable for this recipe! Softened butter creams beautifully with sugar, incorporating air that yields a light, tender crumb. If your butter is cold, cut it into smaller pieces and let it sit for about 15-20 minutes, or gently microwave for a few seconds until pliable, but not melted. If using salted butter, reduce the added salt in the recipe by ¼ teaspoon.
Dairy-Free Alternative: To make these cookies dairy-free, simply substitute the unsalted butter with your favorite plant-based butter sticks (ensure it’s a stick formulation, not a tub spread, for best results in baking). - Granulated Sugar (White Sugar): This recipe champions the use of only white sugar. While brown sugar provides moisture, white sugar contributes to the desired crispness around the edges and aids in cookie spread, while keeping the overall flavor profile clean and sweet.
- Eggs: Large eggs, preferably at room temperature. Eggs act as a vital binder, provide moisture, and add richness to the cookie dough. Room temperature eggs emulsify better with the butter and sugar, creating a smoother, more uniform dough.
- Vanilla Extract: A non-negotiable flavor enhancer that elevates the taste of chocolate. Opt for pure vanilla extract for the most authentic and delicious flavor.
- Baking Soda: This leavening agent is essential for giving our cookies their lift and creating a tender texture. It reacts during baking to produce carbon dioxide, ensuring a light and airy structure.
- Salt: A small but mighty ingredient! Salt doesn’t just add flavor; it balances the sweetness of the sugar and chocolate, making all the other ingredients taste even better.
- Cornstarch: Our secret ingredient and the hero of this no-brown-sugar recipe! Cornstarch works wonders by tenderizing the dough, preventing the cookies from spreading too much, and ensuring they remain incredibly soft, thick, and wonderfully chewy—a perfect mimic for the qualities often attributed to brown sugar.
- Semi-Sweet Chocolate Chips: The heart of any chocolate chip cookie. Semi-sweet chips offer a balanced sweetness that pairs perfectly with the dough.
Customization Options: Feel free to experiment! You can use dark chocolate chips for a richer, less sweet cookie, milk chocolate chips for a milder, sweeter treat, or even dairy-free chocolate chips to accommodate dietary restrictions. Chocolate chunks are also an excellent choice for bigger pockets of melted chocolate.
Step-by-Step Guide: Crafting Your Perfect White Sugar Chocolate Chip Cookies
Follow these detailed instructions carefully to ensure your no-brown-sugar chocolate chip cookies turn out soft, chewy, and absolutely delightful every single time!
Step 1: Combine Dry Ingredients
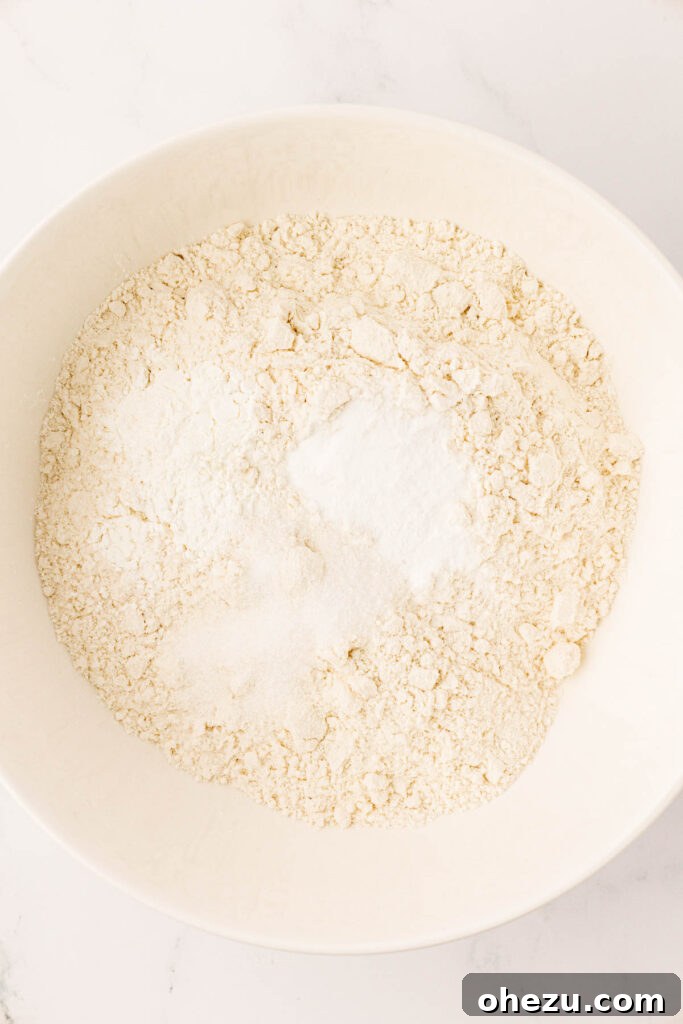
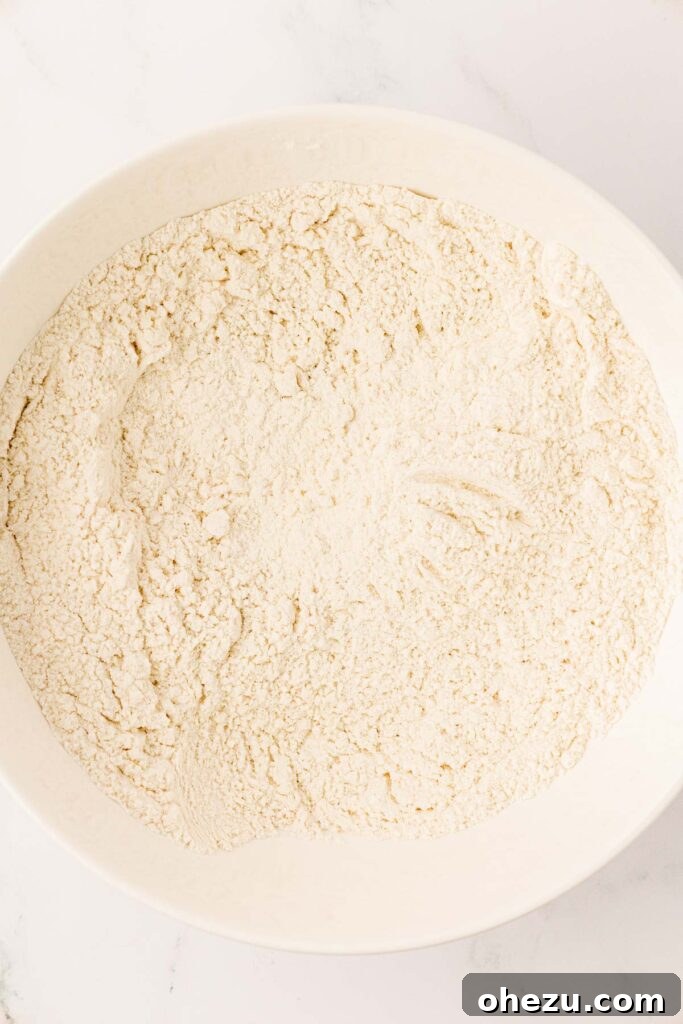
In a medium-sized bowl, thoroughly whisk together the all-purpose flour, baking soda, salt, and cornstarch. This step is crucial for even distribution of the leavening agents and cornstarch, ensuring a consistent texture and rise throughout all your cookies. Once thoroughly combined, set this bowl aside.
Step 2: Cream Wet Ingredients to Perfection
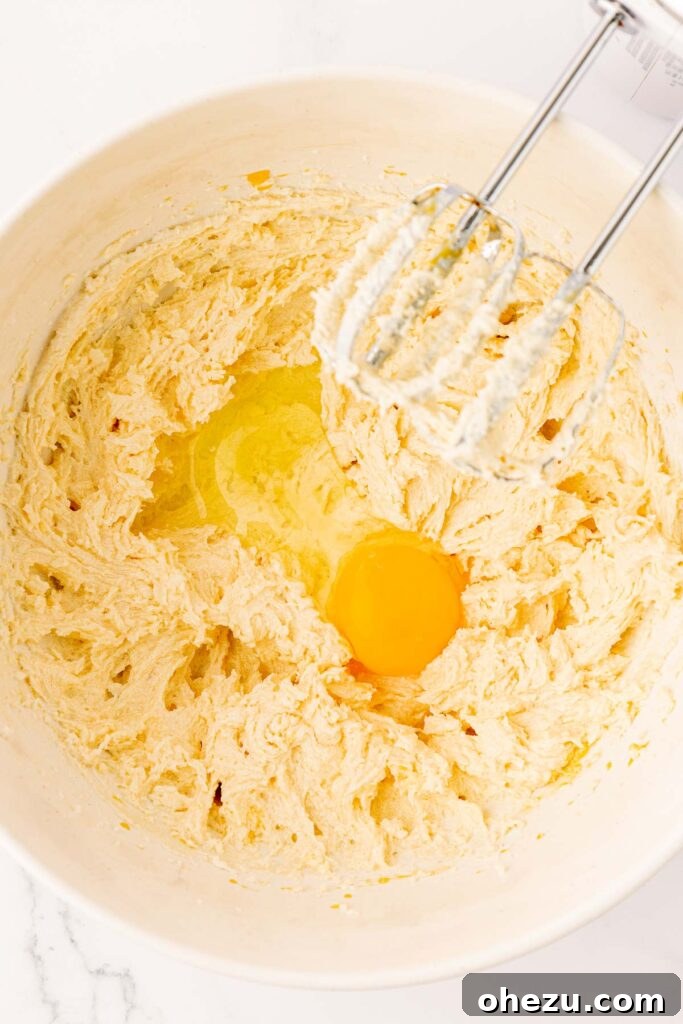
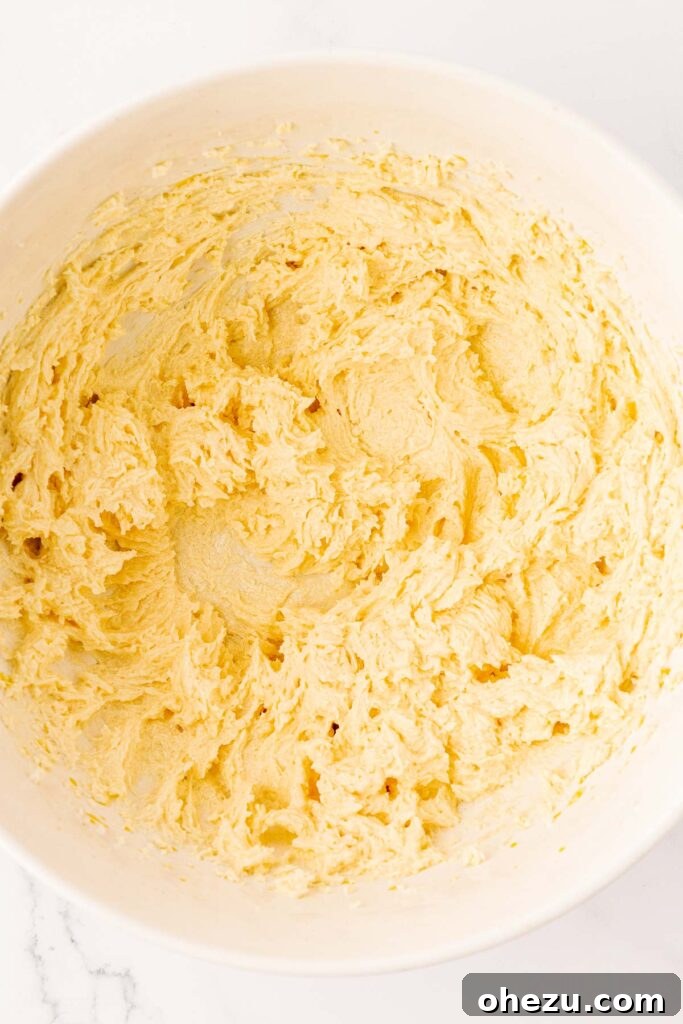
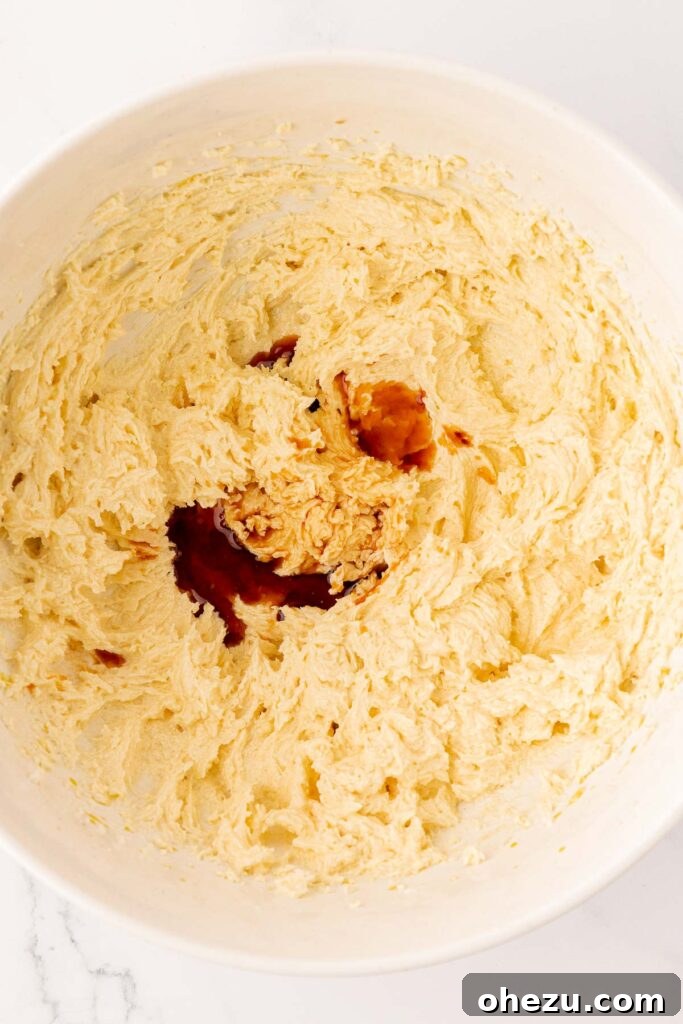
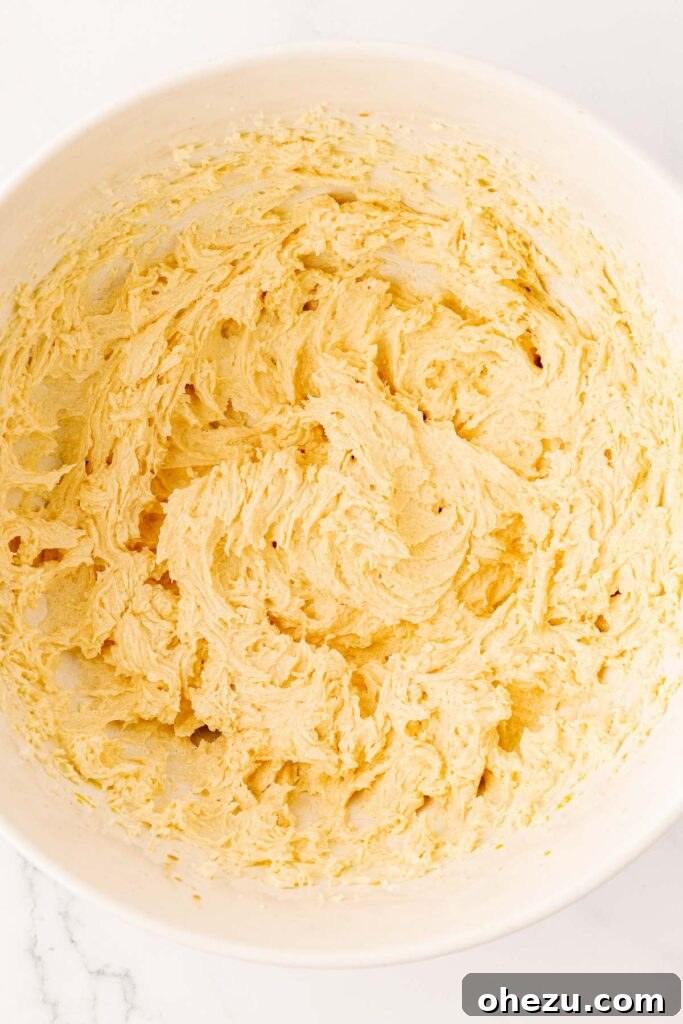
In a large mixing bowl (or the bowl of a stand mixer fitted with a paddle attachment), combine the softened unsalted butter and granulated sugar. Beat on medium speed for 2-3 minutes until the mixture becomes visibly lighter in color, fluffy, and well-creamed. This process incorporates air, which is essential for a tender cookie texture. Next, add the eggs one at a time, beating just until each egg is combined before adding the next. This ensures proper emulsification. Finally, stir in the vanilla extract until fully incorporated. Remember to scrape down the sides of the bowl with a spatula occasionally to ensure all ingredients are evenly mixed.
Step 3: Combine Mixtures & Fold in Chocolate Chips
Gradually add the whisked dry ingredients to the wet ingredients in the mixer bowl. Mix on low speed until the flour is just combined and no dry streaks remain. It’s crucial not to overmix at this stage, as over-developing the gluten can lead to tough cookies. Once the dough is formed, remove the bowl from the mixer. With a rubber spatula, gently fold in 1 cup of the semi-sweet chocolate chips until they are evenly distributed throughout the dough. We’ll reserve the remaining ¼ cup of chocolate chips for topping, which will give our cookies a beautiful, bakery-quality finish.
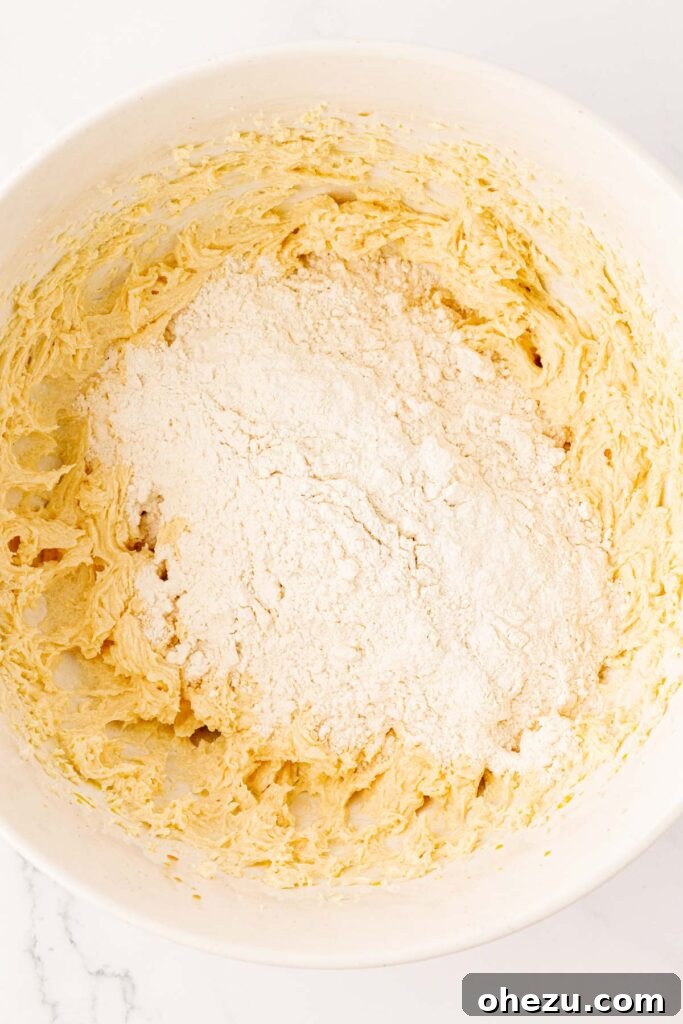
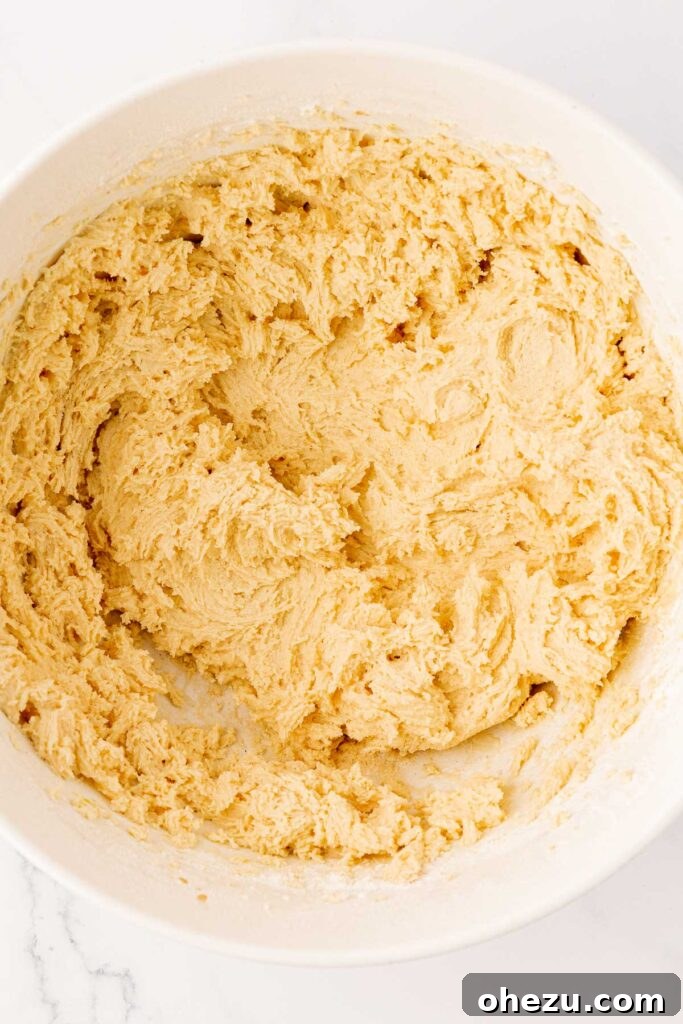
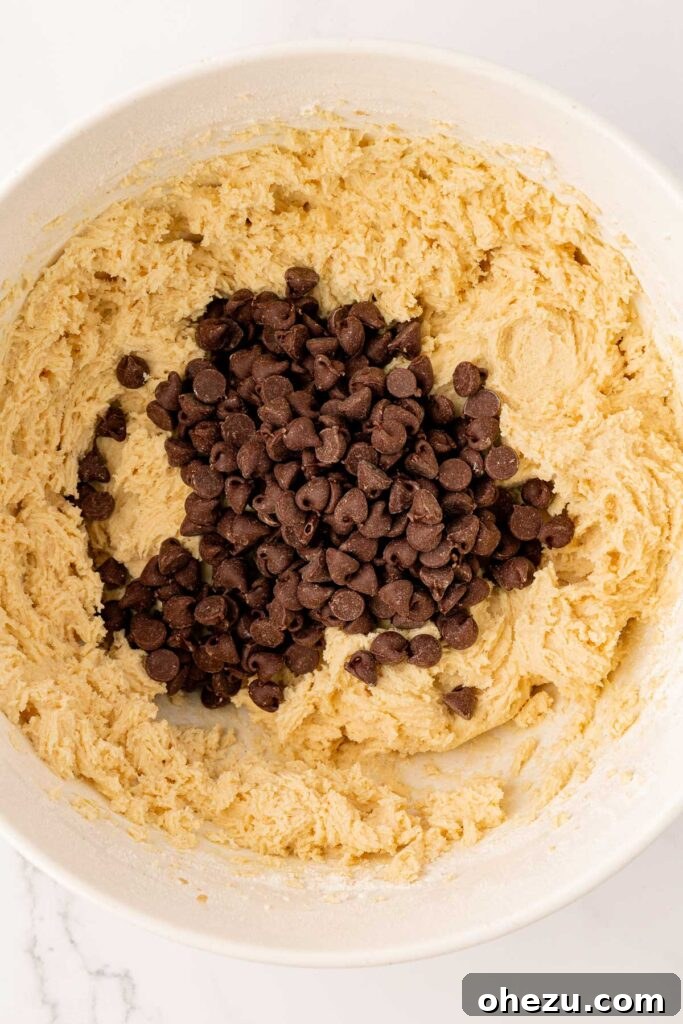
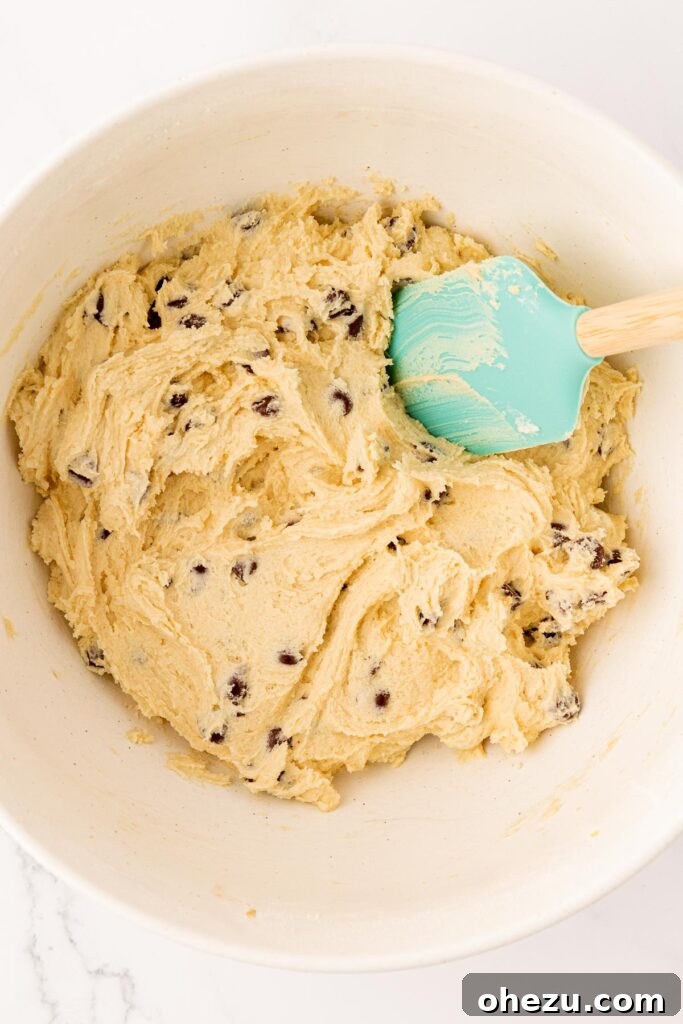
Step 4: Scoop, Shape, and Top the Dough
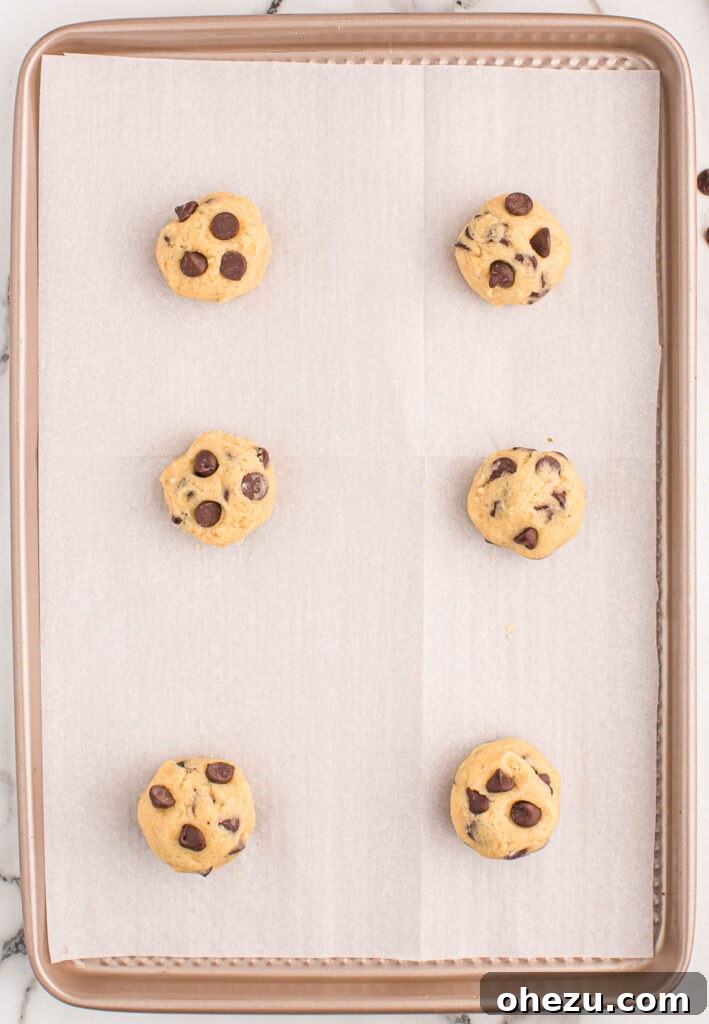
Line your baking sheets with parchment paper or silicone baking mats. This prevents sticking and ensures easy removal. Use a mini cookie scoop for smaller cookies, or approximately 2 tablespoons of dough for a standard-sized cookie. Roll each portion of dough gently between your hands to form a neat, circular ball. This helps them bake into a uniform shape. For an extra enticing appearance, press a few of the reserved chocolate chips onto the tops of each cookie dough ball. This ensures beautiful pockets of melted chocolate are visible on the surface of your baked cookies.

Top the balls of cookie dough with the remaining chocolate chips before baking.
Step 5: Bake to Golden Perfection (But Don’t Overdo It!)
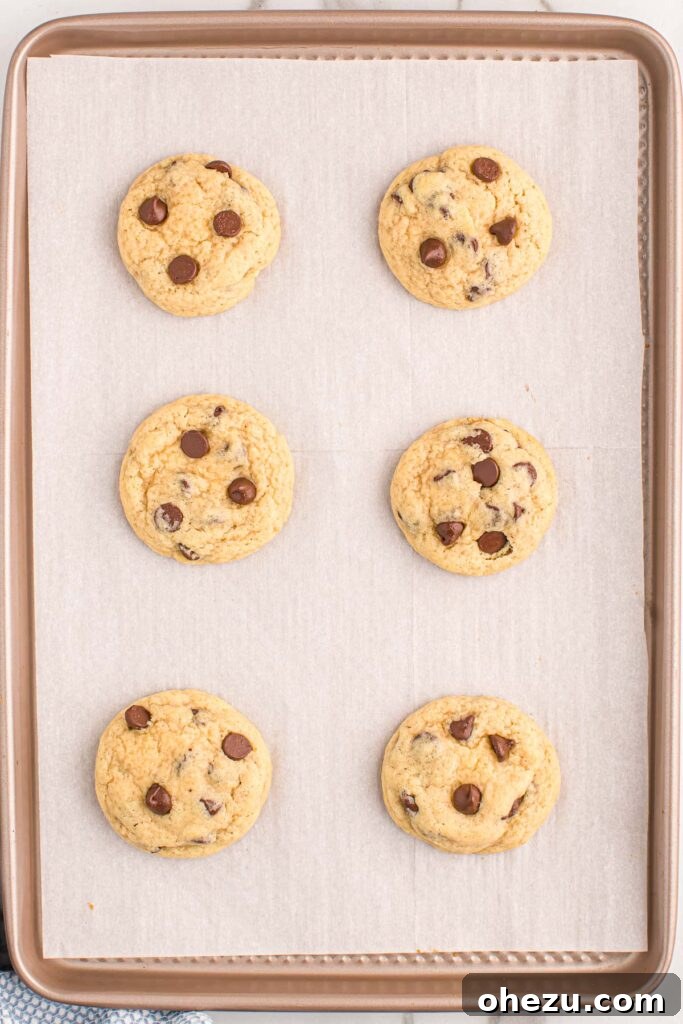
Preheat your oven to 350°F (175°C). Place the baking sheets in the preheated oven and bake for 8-11 minutes. Baking times can vary based on your oven’s calibration and the size of your cookies. The key is to watch for the edges to be set and lightly golden, while the centers still appear slightly soft, even a little underbaked. This is the secret to achieving that irresistible gooey, chewy center! Overbaking will result in dry, crumbly cookies, so resist the urge to leave them in for too long.
Essential Baking Tip for Gooey Cookies
Never Overbake! This is the golden rule for perfectly soft and gooey chocolate chip cookies. Cookies continue to cook on the hot baking sheet after being removed from the oven. Aim for edges that are set and barely golden, with centers that still look slightly soft or underdone. This residual heat will finish the baking process beautifully.
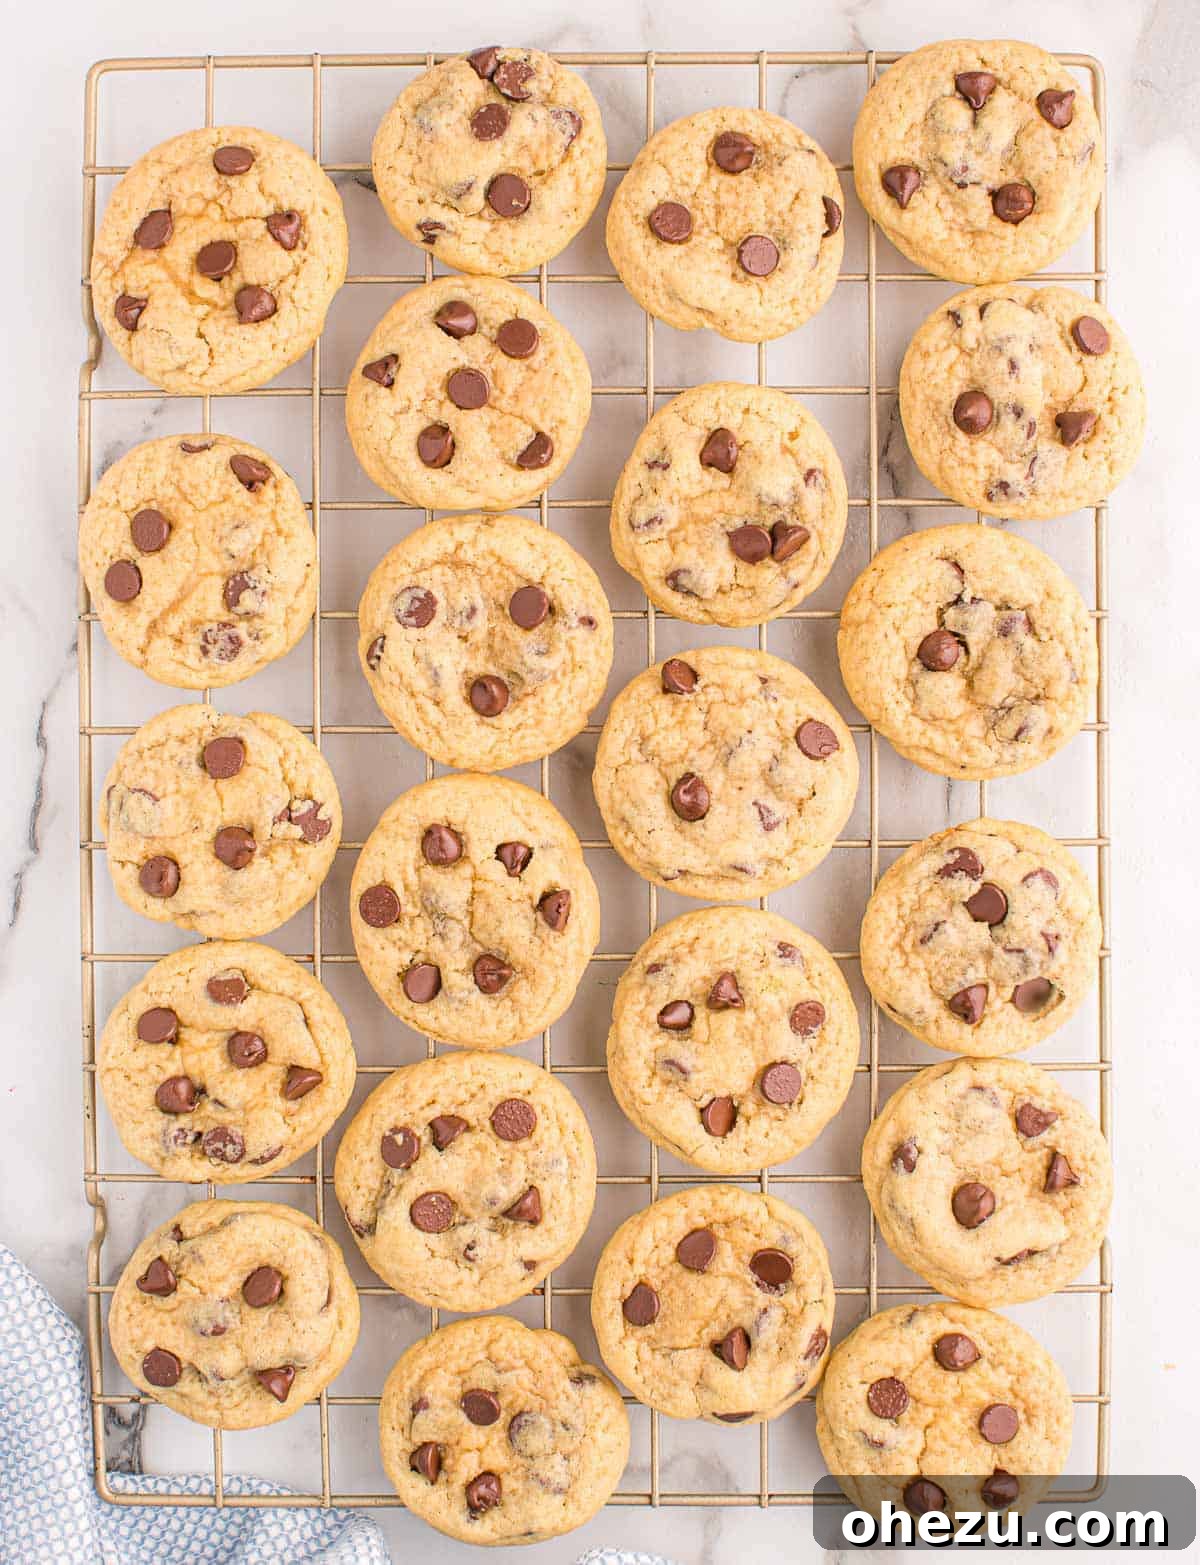
Once baked, remove the cookies from the oven and allow them to rest on the hot baking sheet for 5 minutes. This crucial step allows them to firm up slightly without losing their tender interior. After 5 minutes, carefully transfer the cookies to a wire cooling rack to cool completely. Enjoy them warm, if you can resist long enough!
Storing Your Homemade Chocolate Chip Cookies for Lasting Freshness
To keep your delicious chocolate chip cookies fresh and enjoyable for as long as possible, proper storage is key. Here are the best ways to store them:
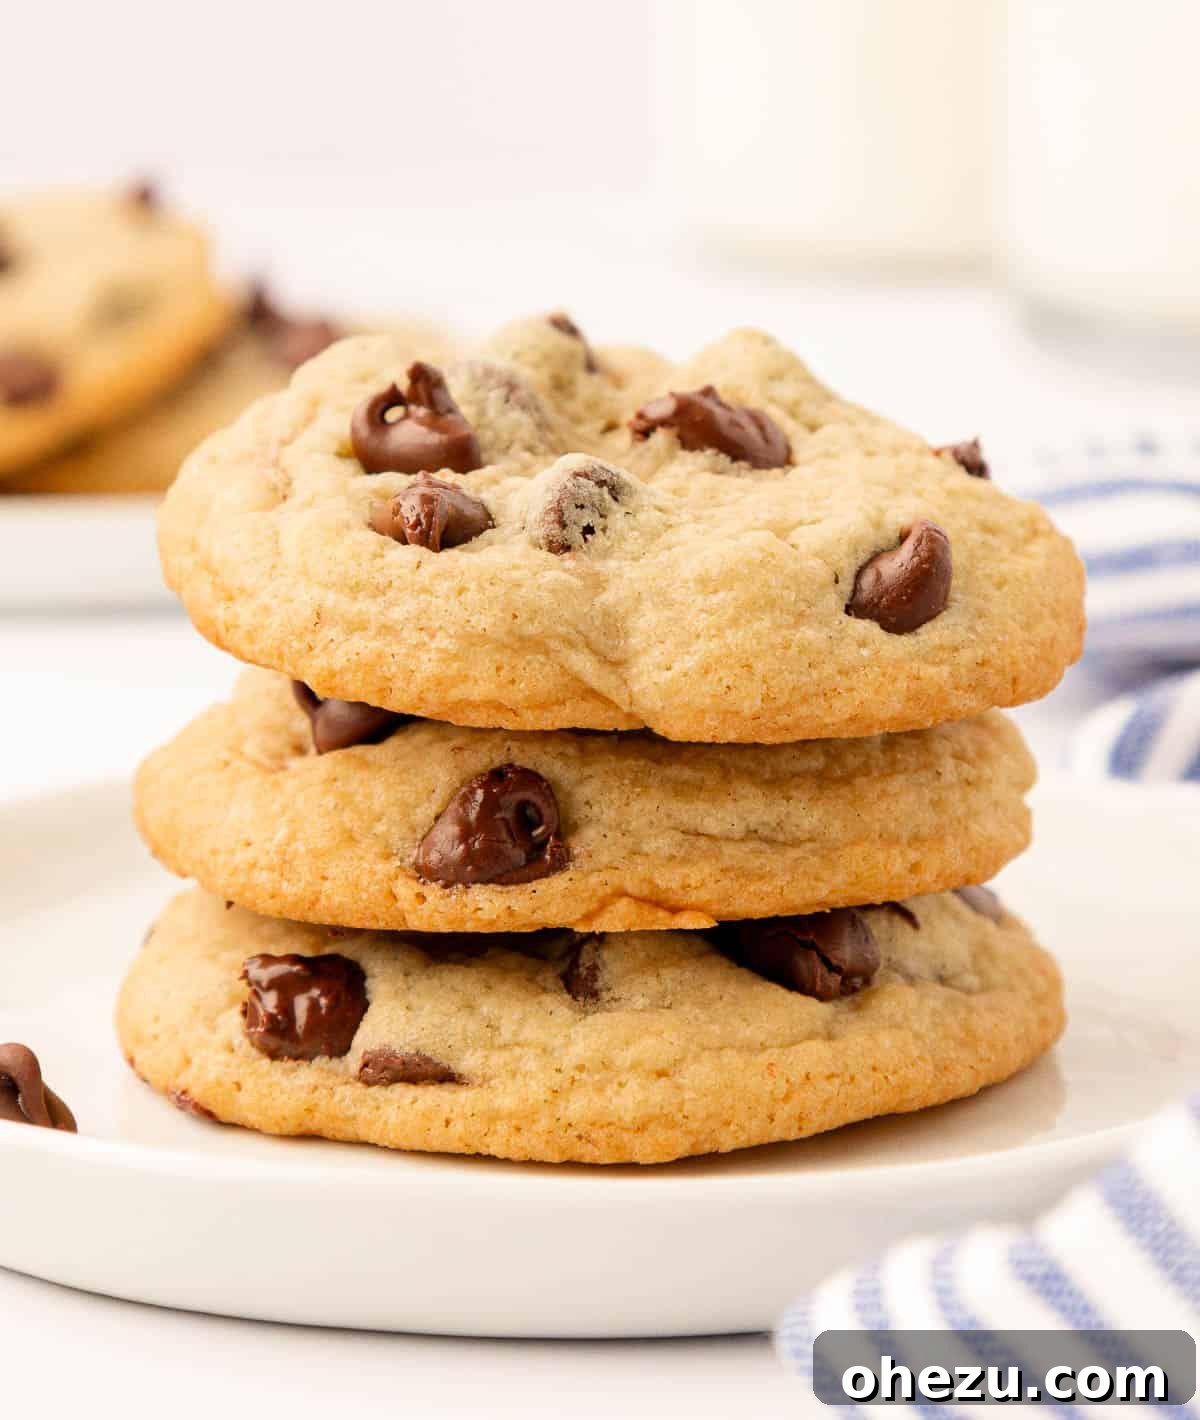
- At Room Temperature: Once your cookies have completely cooled, place them in an airtight container or a high-quality resealable plastic bag. Stored this way, they will remain fresh, soft, and delicious for 4-5 days. For the absolute best texture and flavor, I recommend enjoying them within the first 3 days after baking.
- In the Freezer (Baked Cookies): Extend the life of your baked cookies by freezing them! Ensure they are entirely cooled before placing them in a single layer on a baking sheet to freeze until solid (this usually takes 1-2 hours). Once frozen, transfer the solid cookies to an airtight freezer-safe bag or container, placing sheets of parchment paper between layers to prevent sticking. They will maintain their quality for up to 2 months. To enjoy, simply thaw them at room temperature or warm gently in the microwave for a few seconds.
- Freezing the Cookie Dough: For the ultimate convenience of fresh-baked cookies anytime, freeze the raw dough! Scoop individual cookie dough balls using your preferred cookie scoop and arrange them on a parchment-lined baking sheet. Freeze until the dough balls are solid. Then, transfer the frozen dough balls to an airtight, freezer-safe bag or container. Frozen cookie dough can be stored for up to 2 months, ready to be baked on demand!
Baking Frozen Cookie Dough: A Simple Method
Baking frozen cookie dough is incredibly convenient and yields warm, fresh cookies with minimal effort. Simply preheat your oven to 350°F (175°C) as you would for fresh dough. Place the frozen cookie dough balls directly onto a parchment-lined baking sheet. You will likely need to increase the baking time by an additional 2-3 minutes (totaling 10-14 minutes), as the dough starts at a much colder temperature. Keep a close eye on them; bake until the edges are set and lightly golden, and the centers still appear slightly soft. Enjoy the aroma and taste of freshly baked cookies anytime!
Troubleshooting: Mastering Your Chocolate Chip Cookies
Even the most experienced bakers sometimes encounter issues. Here’s a guide to common cookie problems and how to solve them, ensuring your cookies are perfect every time:
- Cookies Spreading Too Much:
- Butter Temperature: The most common culprit is butter that is too warm or melted. Ensure your butter is softened to room temperature, not greasy or liquid.
- Oven Temperature: An oven that isn’t fully preheated or runs too cool can cause cookies to spread excessively before they set. Use an oven thermometer to verify accuracy.
- Flour Measurement: Too little flour can make dough too wet. Always measure flour accurately, ideally by weight.
- Dough Temperature: If your kitchen is warm, your dough might be too soft. Try chilling the dough for 30-60 minutes before scooping and baking.
- Cookies Are Dry or Cakey:
- Overbaking: This is the primary reason for dry cookies. Remove them from the oven when the edges are just set and the centers still look slightly soft.
- Overmixing the Dough: Once flour is added, overmixing develops gluten, which leads to a tougher, more cake-like texture rather than chewy. Mix only until just combined.
- Too Much Flour: Excess flour will absorb too much moisture, resulting in a dry cookie.
- Cookies Aren’t Chewy Enough:
- Overbaking: Again, overbaking robs cookies of moisture, making them firm rather than chewy.
- Insufficient Cornstarch: Double-check your cornstarch measurement. This ingredient is key to their chewiness in this recipe.
Frequently Asked Questions About No-Brown Sugar Cookies
Curious about more details? Here are answers to common questions about making chocolate chip cookies without brown sugar:
- Why use only white sugar instead of brown sugar?
White sugar contributes to a crispier edge and helps the cookies achieve a desirable spread, creating a lovely contrast with the soft, chewy center. By omitting brown sugar, the pure, sweet flavors of vanilla and chocolate take center stage, resulting in a cleaner flavor profile. The cornstarch helps compensate for the lack of brown sugar’s moisture, ensuring ultimate softness. - What is the role of cornstarch in this recipe?
Cornstarch is our secret ingredient! It acts as a tenderizer, helping to create an incredibly soft and chewy texture while also preventing the cookies from spreading too thinly. It essentially helps to mimic some of the moisture-retaining and thickening properties that brown sugar typically provides, making these cookies wonderfully robust. - Can I use cold butter directly from the fridge?
No, it is highly recommended to use softened, room temperature butter. Cold butter will not cream properly with the sugar, leading to a denser, less airy dough and a tougher cookie texture. If you’re short on time, you can cut cold butter into small cubes and let it sit for about 15-20 minutes, or use a quick microwave trick (being very careful not to melt it). - Can I make these cookies gluten-free?
Yes, you can! Replace the all-purpose flour with a 1:1 gluten-free all-purpose baking flour blend that contains xanthan gum. The texture might be slightly different, but the results should still be delicious. - Is it possible to make these dairy-free?
Absolutely! To make this recipe dairy-free, simply swap the unsalted butter for an equal amount of your preferred brand of dairy-free butter sticks (avoid spreads in tubs, as their water content can vary). Also, ensure you use dairy-free chocolate chips. - Do I need to chill the cookie dough?
While this recipe is formulated to work without chilling, doing so can enhance the flavor and create a slightly thicker cookie. If your dough feels particularly soft or sticky, or if you prefer a thicker cookie, chilling the dough for at least 30 minutes in the refrigerator can be beneficial.
More Delightful Dessert Recipes to Explore
If you’ve enjoyed making these easy and delicious chocolate chip cookies, you’ll love these other fantastic dessert recipes:
- Easy Cake Mix Cookies
- Decadent Oreo Pie
- Irresistible Oreo Truffles
- Sweet Pecan Pie Balls
- Dairy-Free Chocolate Chip Cookies
- Fun Monster Cookie Bars
- Addictive Ritz Cracker Cookies
- Simple Chocolate Chip Cookie Bars

Chocolate Chip Cookies without Brown Sugar
Joy Shull
10 mins
10 mins
20 mins
21 cookies
Ingredients
- 2 cups all-purpose flour
- ¾ cup unsalted butter, softened to room temperature
- 2 teaspoons vanilla extract
- 2 large eggs
- 1 cup granulated sugar
- 1 teaspoon baking soda
- ½ teaspoon salt
- 1 ½ teaspoons cornstarch
- 1 ¼ cups semi-sweet chocolate chips (divided)
Instructions
- Whisk together the flour, baking soda, salt, and cornstarch in a medium bowl. Set aside.
- In a separate large bowl, using a stand mixer or hand-held mixer, cream together the softened butter and granulated sugar until light and fluffy (about 2-3 minutes).
- Add the eggs one at a time, mixing well after each addition until just combined. Stir in the vanilla extract.
- Gradually add the dry ingredients to the wet ingredients, mixing on low speed until just combined. Do not overmix.
- Gently fold in 1 cup of the semi-sweet chocolate chips into the cookie batter with a rubber spatula. Reserve the remaining ¼ cup for topping.
- Line baking sheets with parchment paper. Scoop about 2 tablespoons of cookie dough per cookie (or use a mini cookie scoop for smaller cookies). Roll with your hands to form a circular shape.
- Press some of the reserved chocolate chips onto the tops of the cookie dough balls for a bakery-style finish.
- Bake the chocolate chip cookies at 350°F (175°C) for 8-11 minutes, or until the edges are set and lightly golden, but the centers still look slightly soft and underbaked.
- Remove the cookies from the oven and let them cool on the baking sheet for 5 minutes. Then, transfer them to a wire cooling rack to cool completely.
Notes
Nutrition (per cookie)