
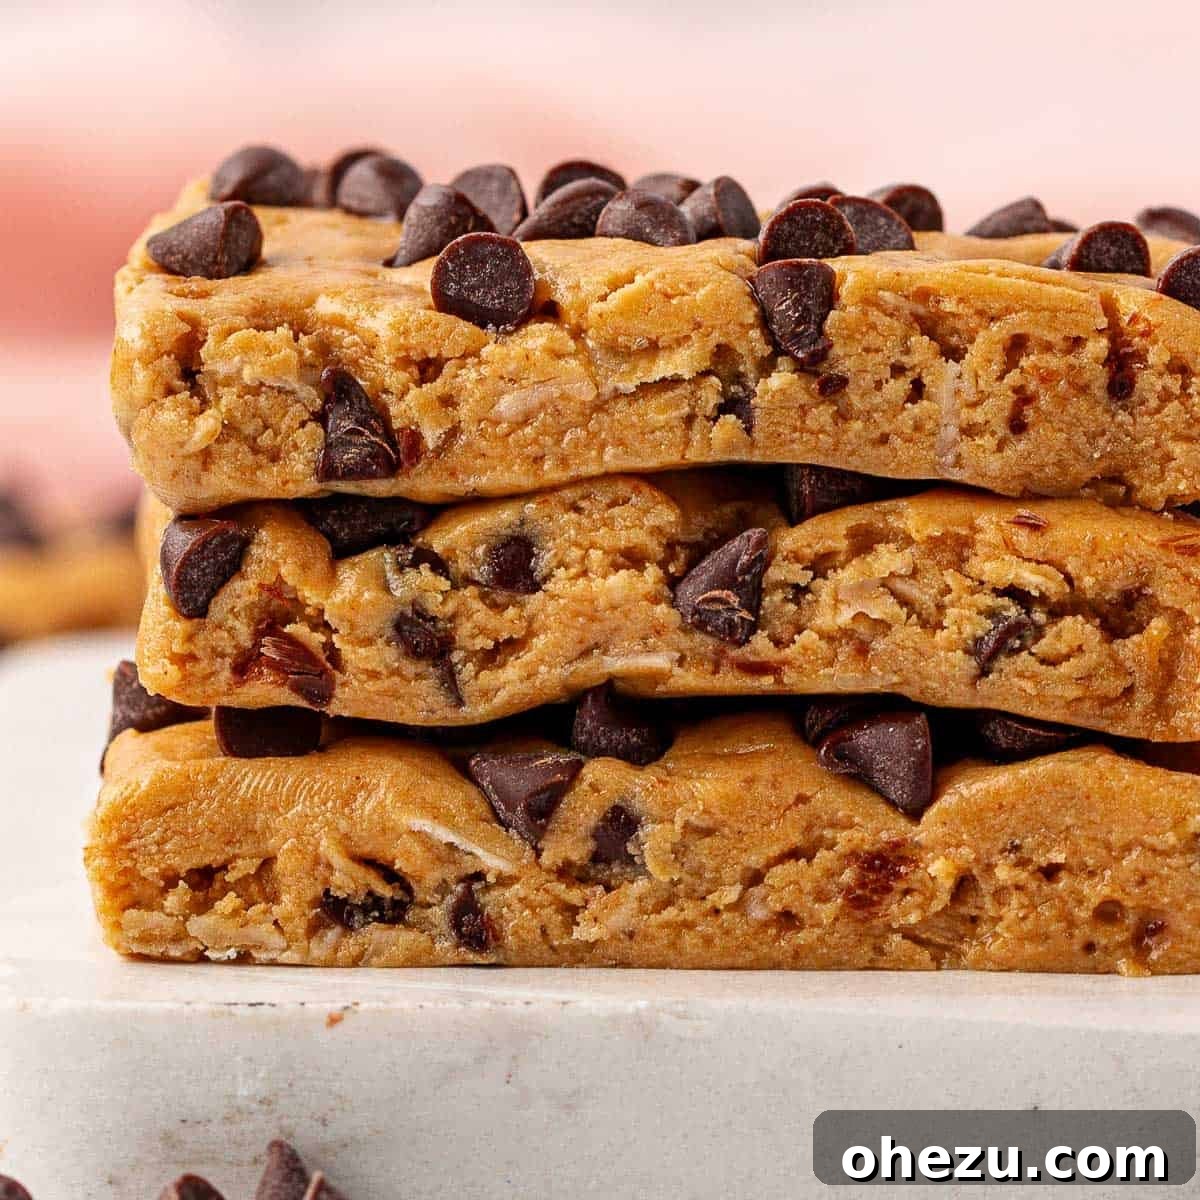
Our no-bake Peanut Butter Chocolate Chip Protein Bars are incredibly simple to prepare, coming together in just minutes. These easy homemade protein bars aren’t just a delicious treat, they’re also a perfect, wholesome snack to fuel your day!
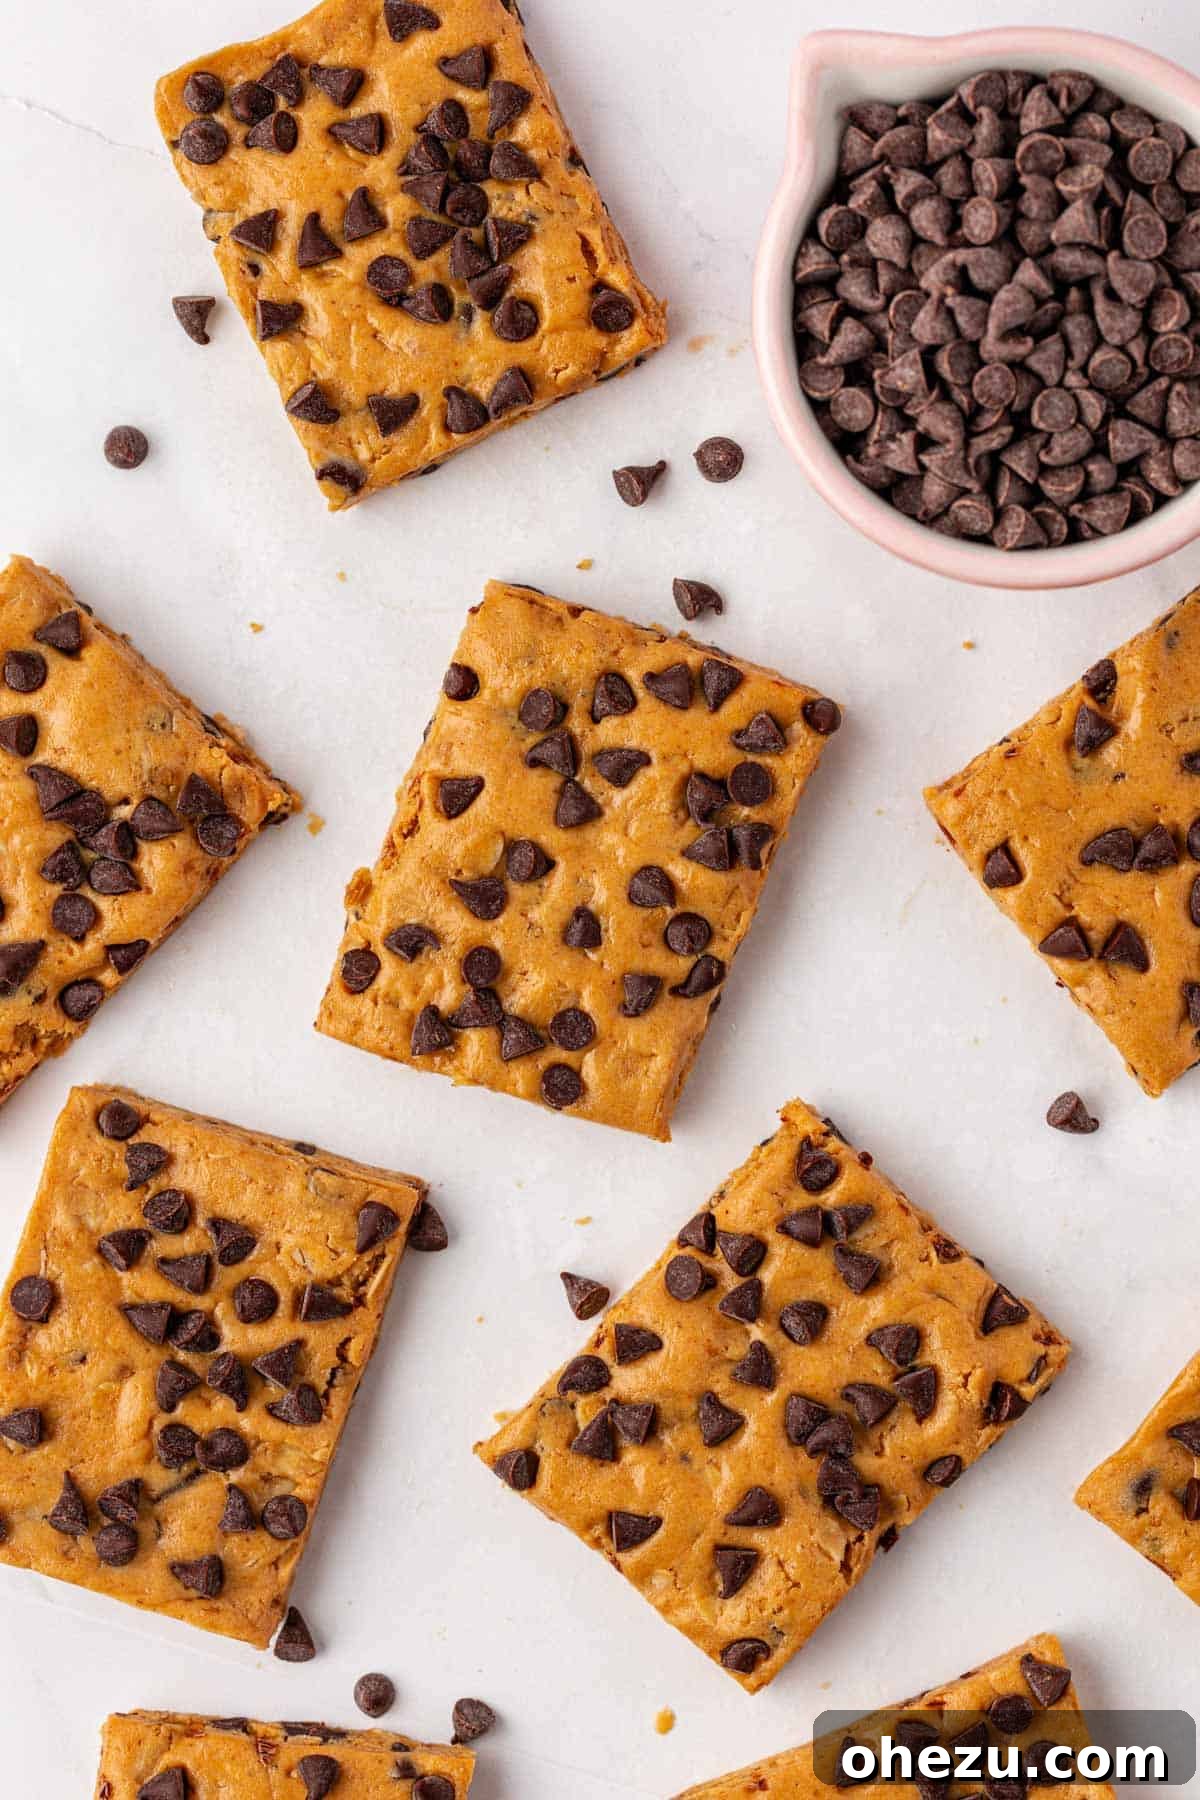
Elevate Your Snacking: Delicious Homemade Protein Bars
Are you tired of expensive, store-bought protein bars filled with questionable ingredients and artificial flavors? It’s time to take control of your snacks! If you’ve never ventured into making your own protein bars at home, prepare to be wonderfully surprised by how incredibly easy and rewarding it is. Many people, myself included, have found that crafting homemade protein bars is not only significantly cheaper than their commercial counterparts but also yields a far superior taste and texture.
Unlike many processed options that boast lengthy and often confusing ingredient lists, this recipe for no-bake peanut butter chocolate chip protein bars champions simplicity without compromising on flavor or nutritional value. We focus on a handful of wholesome ingredients that come together to create a classic, universally loved flavor profile. With just six core ingredients, plus a pinch of salt to enhance those sweet and savory notes, you can whip up a batch of these satisfying bars in no time. They are the perfect solution for busy individuals looking for a convenient, healthy, and absolutely delicious snack or post-workout fuel.
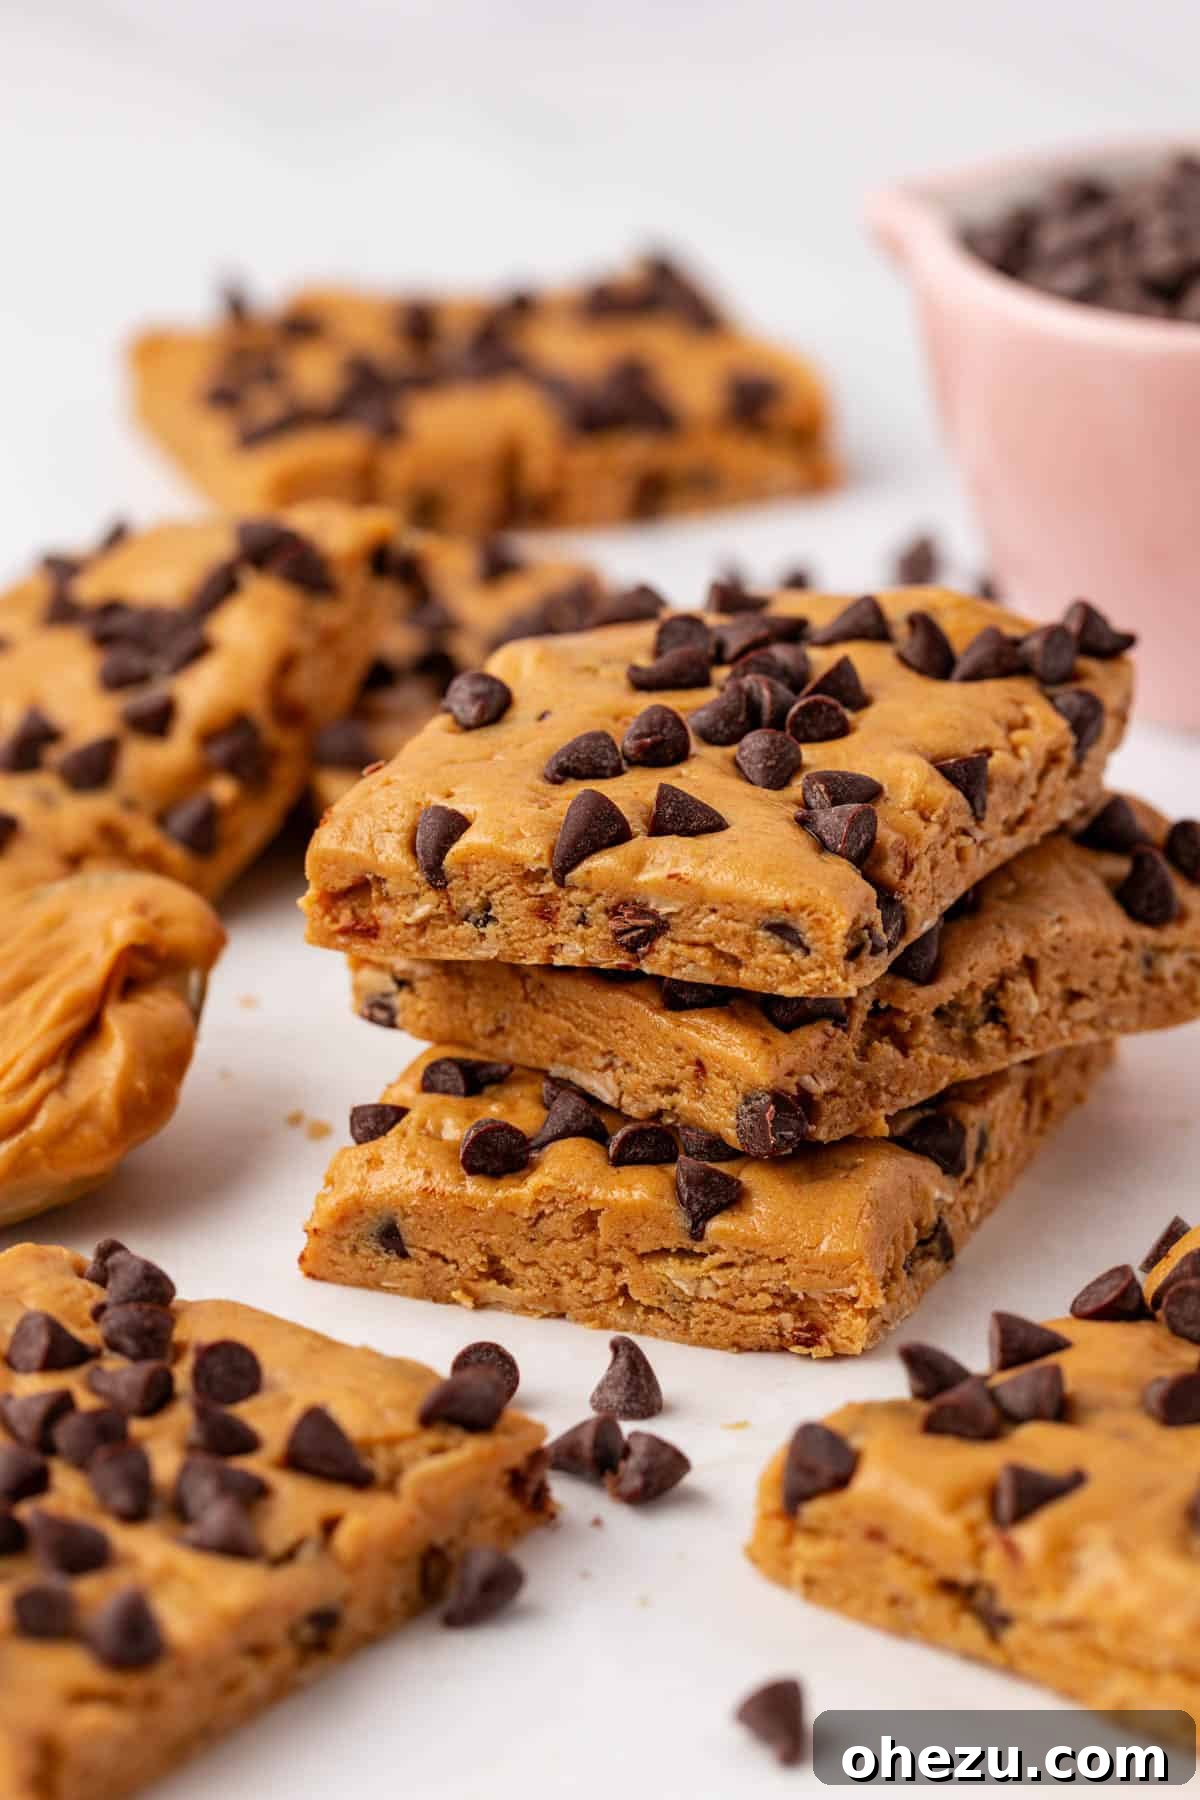
Why Choose Homemade Protein Bars Over Store-Bought?
The market is flooded with protein bars, each promising convenience and nutritional benefits. However, a closer look often reveals a different story. Many commercial bars contain added sugars, artificial sweeteners, preservatives, and fillers that can undermine your health goals. Making your own protein bars puts you in complete control of what goes into your body.
- Ingredient Transparency: You select every ingredient, ensuring quality and avoiding allergens or unwanted additives.
- Cost-Effectiveness: Per serving, homemade bars are almost always more affordable than their store-bought equivalents, saving you money in the long run.
- Superior Taste and Freshness: Nothing beats the taste of freshly made food. These bars offer a delightful, rich flavor that can’t be matched by products sitting on a shelf for months.
- Customization: Tailor the recipe to your dietary needs, taste preferences, or available ingredients.
- No-Bake Convenience: This recipe eliminates the need for an oven, making preparation quick, easy, and mess-free.
- Perfect for Meal Prep: A batch can last you an entire week, providing readily available healthy snacks for busy schedules, commutes, or post-gym recovery.
Essential Ingredients for Your No-Bake Protein Bars
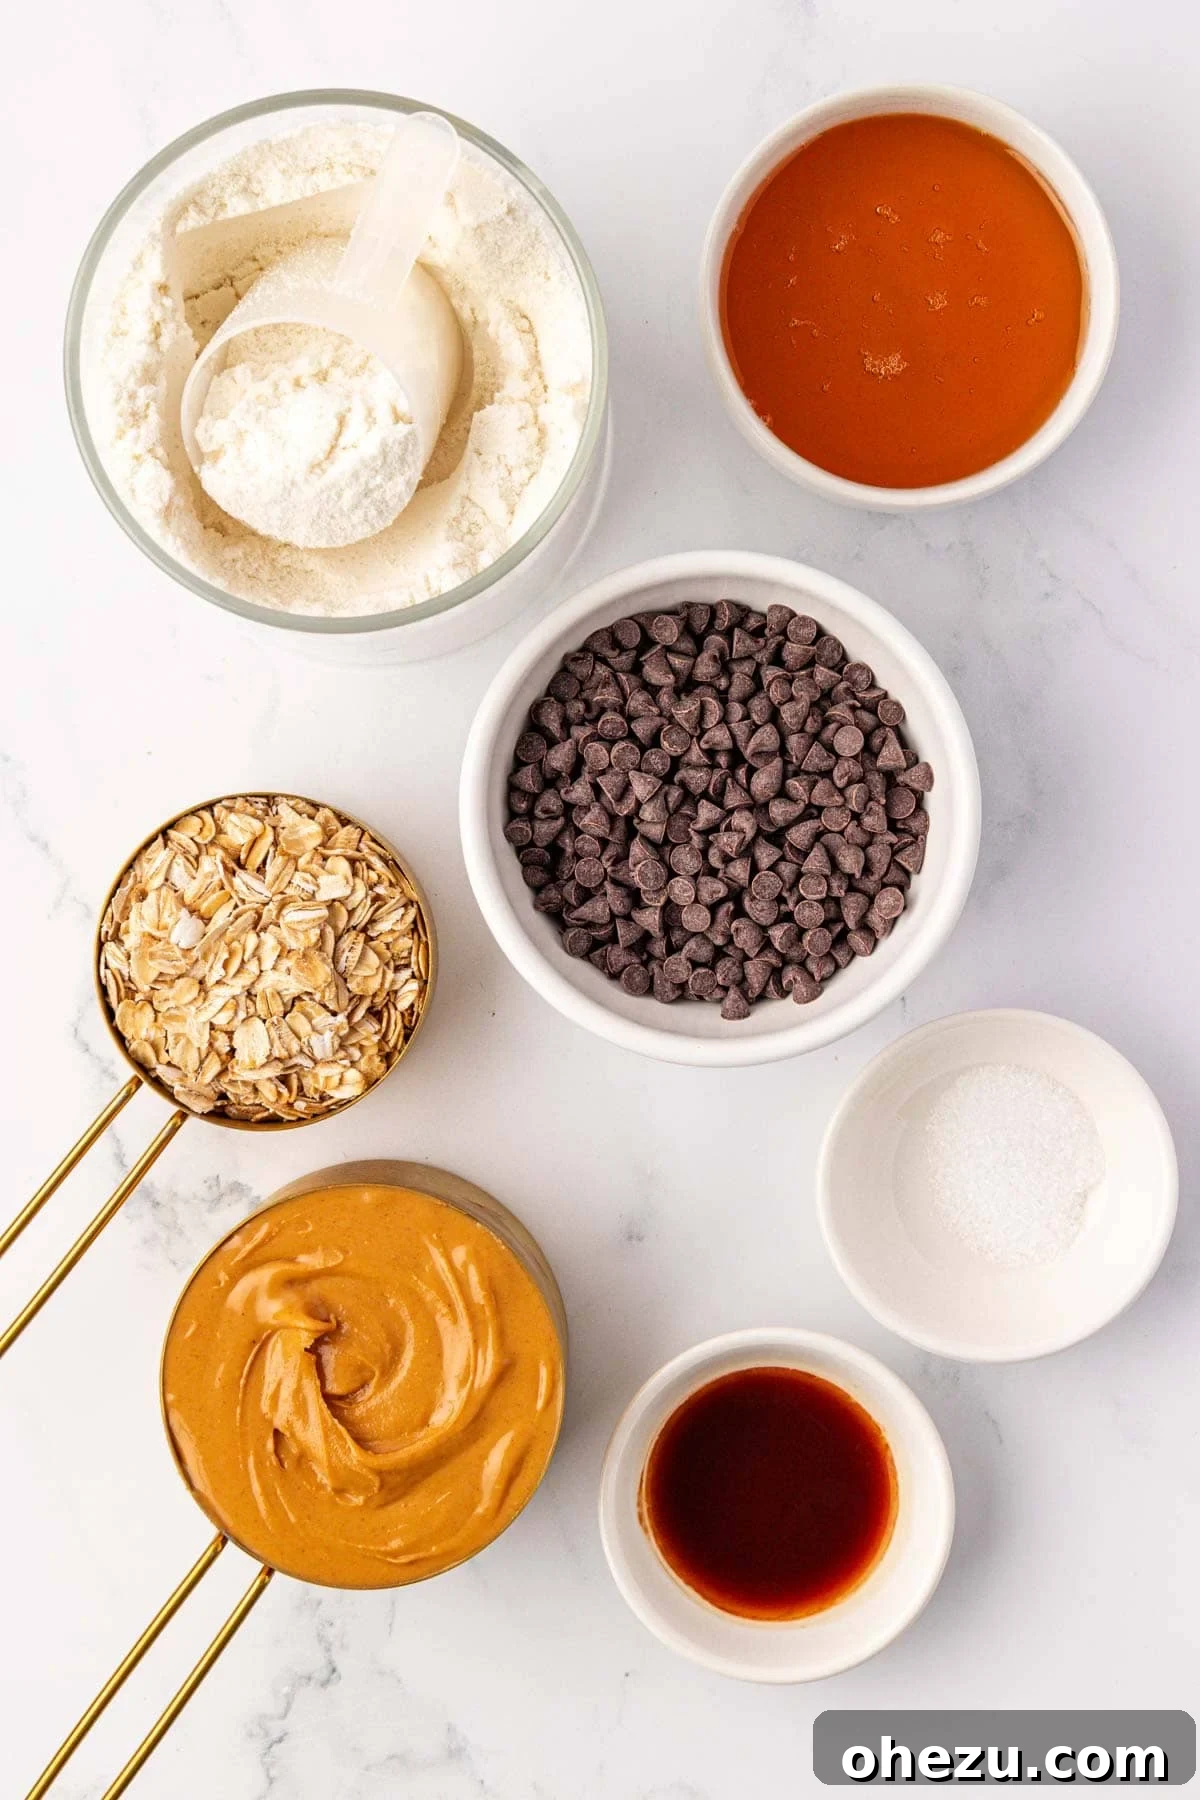
Crafting these delectable protein bars requires a straightforward list of ingredients, each playing a crucial role in achieving the perfect balance of flavor, texture, and nutrition. The complete recipe with precise measurements and instructions is available further down this page.
- No-Stir Creamy Peanut Butter: This is the heart of our bars, providing rich flavor and essential healthy fats. Opt for a brand that contains peanuts, oil, a touch of sugar, and salt in its ingredient list, as this type offers the best consistency for binding the bars without being overly oily or dry. Natural peanut butter can also work, but you might need to adjust other liquid ingredients slightly due to its varying oil content. Almond butter or cashew butter are also fantastic alternatives for different flavor profiles.
- Honey: Beyond its natural sweetness, honey acts as the primary sticky binder, holding all the components together beautifully. It’s my preferred natural sweetener for protein bars, adding a unique depth of flavor. Maple syrup or agave nectar can be used as vegan substitutes, though they may alter the final texture slightly.
- Rolled Oats (Old Fashioned Oats): These oats contribute a wonderful chewy texture and a healthy dose of fiber, making the bars more filling and satisfying. Ensure you use rolled oats, not instant or steel-cut oats, as their cooking and binding properties differ significantly in a no-bake recipe. For a gluten-free option, make sure to choose certified gluten-free rolled oats.
- Vanilla Protein Powder: This is where the “protein” in protein bars comes from! Vanilla whey protein powder is a classic choice, blending seamlessly with peanut butter and chocolate. However, feel free to experiment with other flavors like chocolate protein powder for a double chocolate experience, or even an unflavored protein powder if you want the peanut butter to shine brightest. Plant-based protein powders (pea, rice, soy) can also be used, but be aware that they sometimes absorb liquids differently, so you might need minor adjustments to achieve the right consistency.
- Vanilla Extract: A splash of vanilla extract elevates all the other flavors, adding a warm, aromatic note that makes these bars irresistible. Don’t skip it!
- Salt: Just a pinch of salt is essential. It balances the sweetness from the honey and chocolate, making the peanut butter flavor truly pop and adding complexity to each bite.
- Mini Chocolate Chips: These tiny morsels are a must for that classic peanut butter chocolate chip experience. Mini chips disperse more evenly throughout the mixture and provide a delightful crunch and burst of sweetness in every bite. Dark chocolate chips can be used for a less sweet, richer flavor, or you could even use white chocolate chips for a different twist.
Step-by-Step Guide: Crafting Your No-Bake Peanut Butter Chocolate Chip Protein Bars
Making these protein bars is incredibly straightforward and doesn’t require any special culinary skills. Follow these simple steps for perfect results every time:
Step 1: Combine the Wet and Dry Ingredients
In a large mixing bowl, combine your creamy peanut butter, liquid honey, rolled oats, vanilla protein powder, vanilla extract, and a quarter teaspoon of salt. Crucially, at this stage, add only half of your mini chocolate chips (¼ cup). The remaining chocolate chips will be reserved for topping the bars later.
Using a sturdy rubber spatula or a wooden spoon, stir all the ingredients together vigorously. Continue mixing until everything is thoroughly combined and a thick, uniform batter forms. This might require a bit of arm strength, as the mixture will be quite dense and sticky. Ensure there are no pockets of dry protein powder or oats left unmixed.
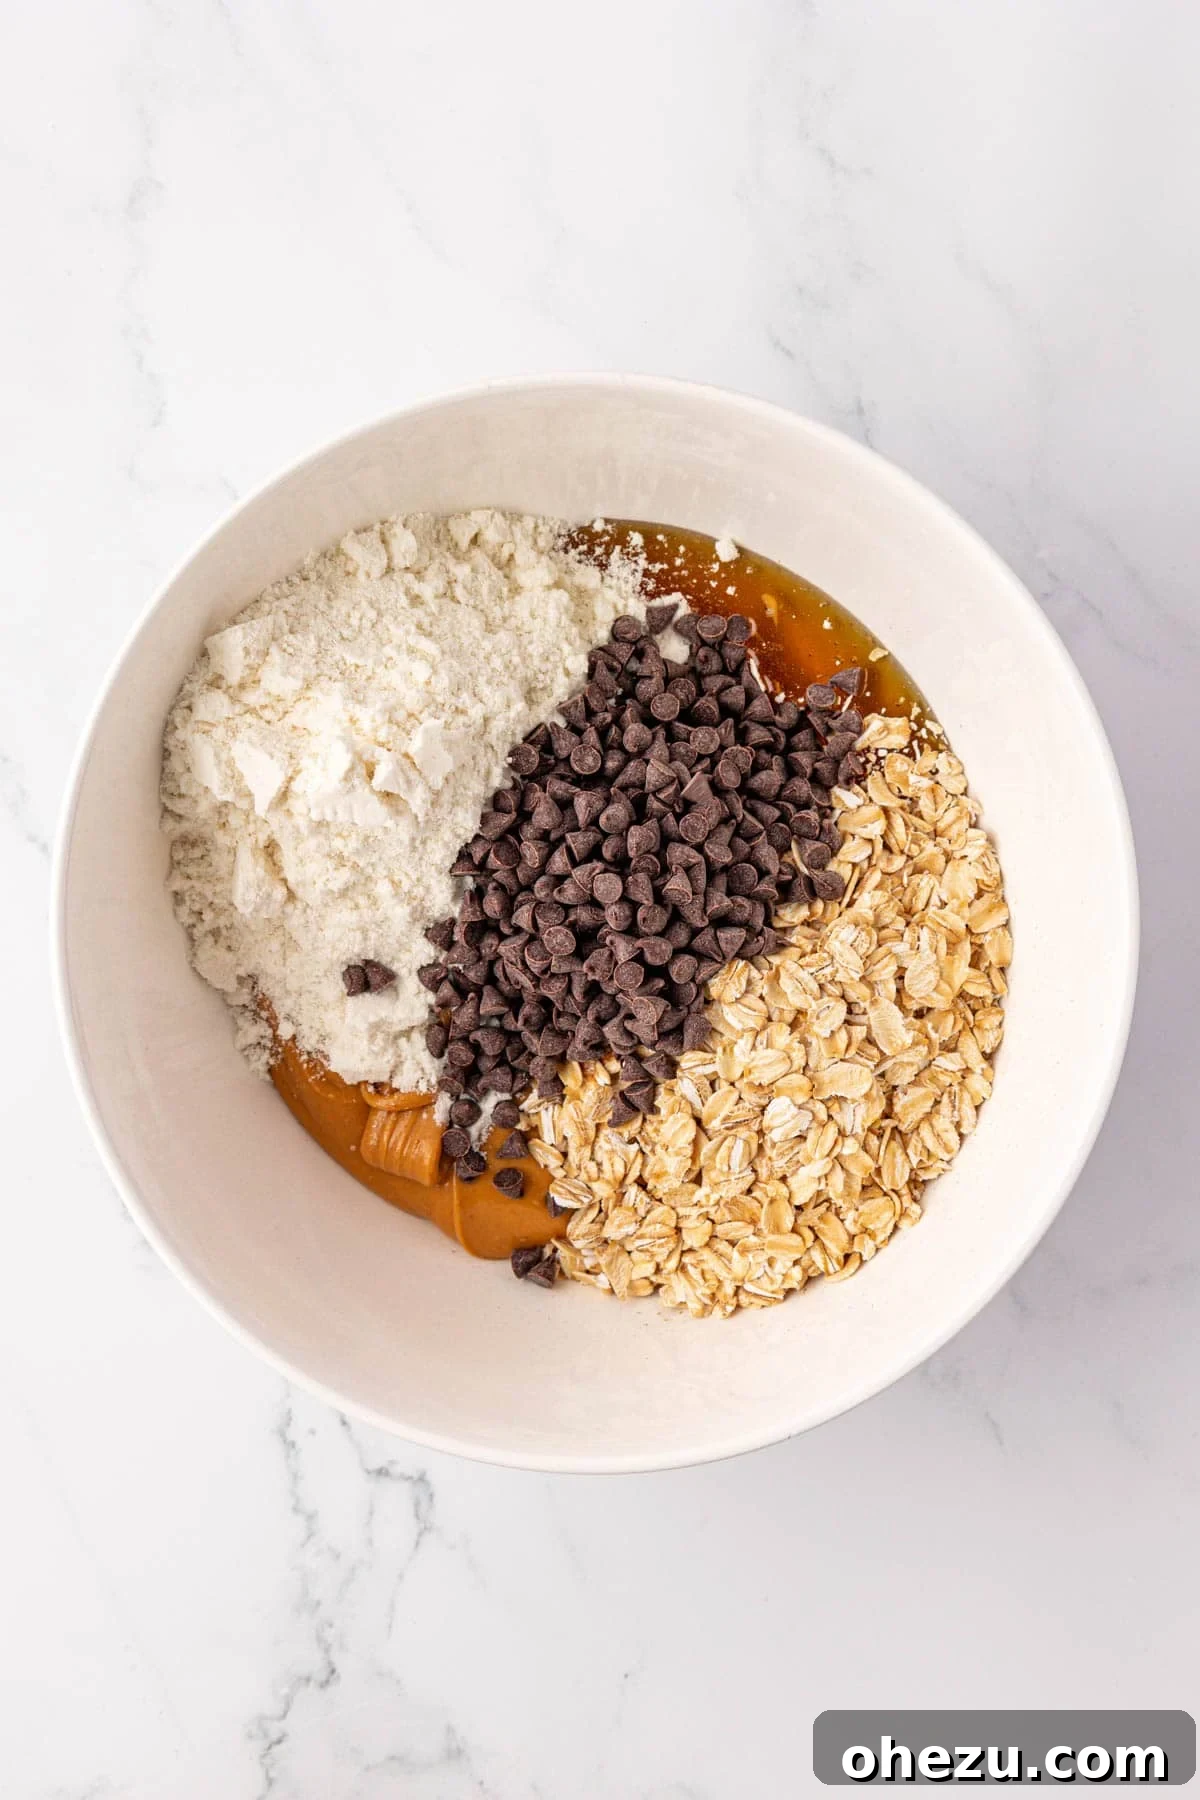
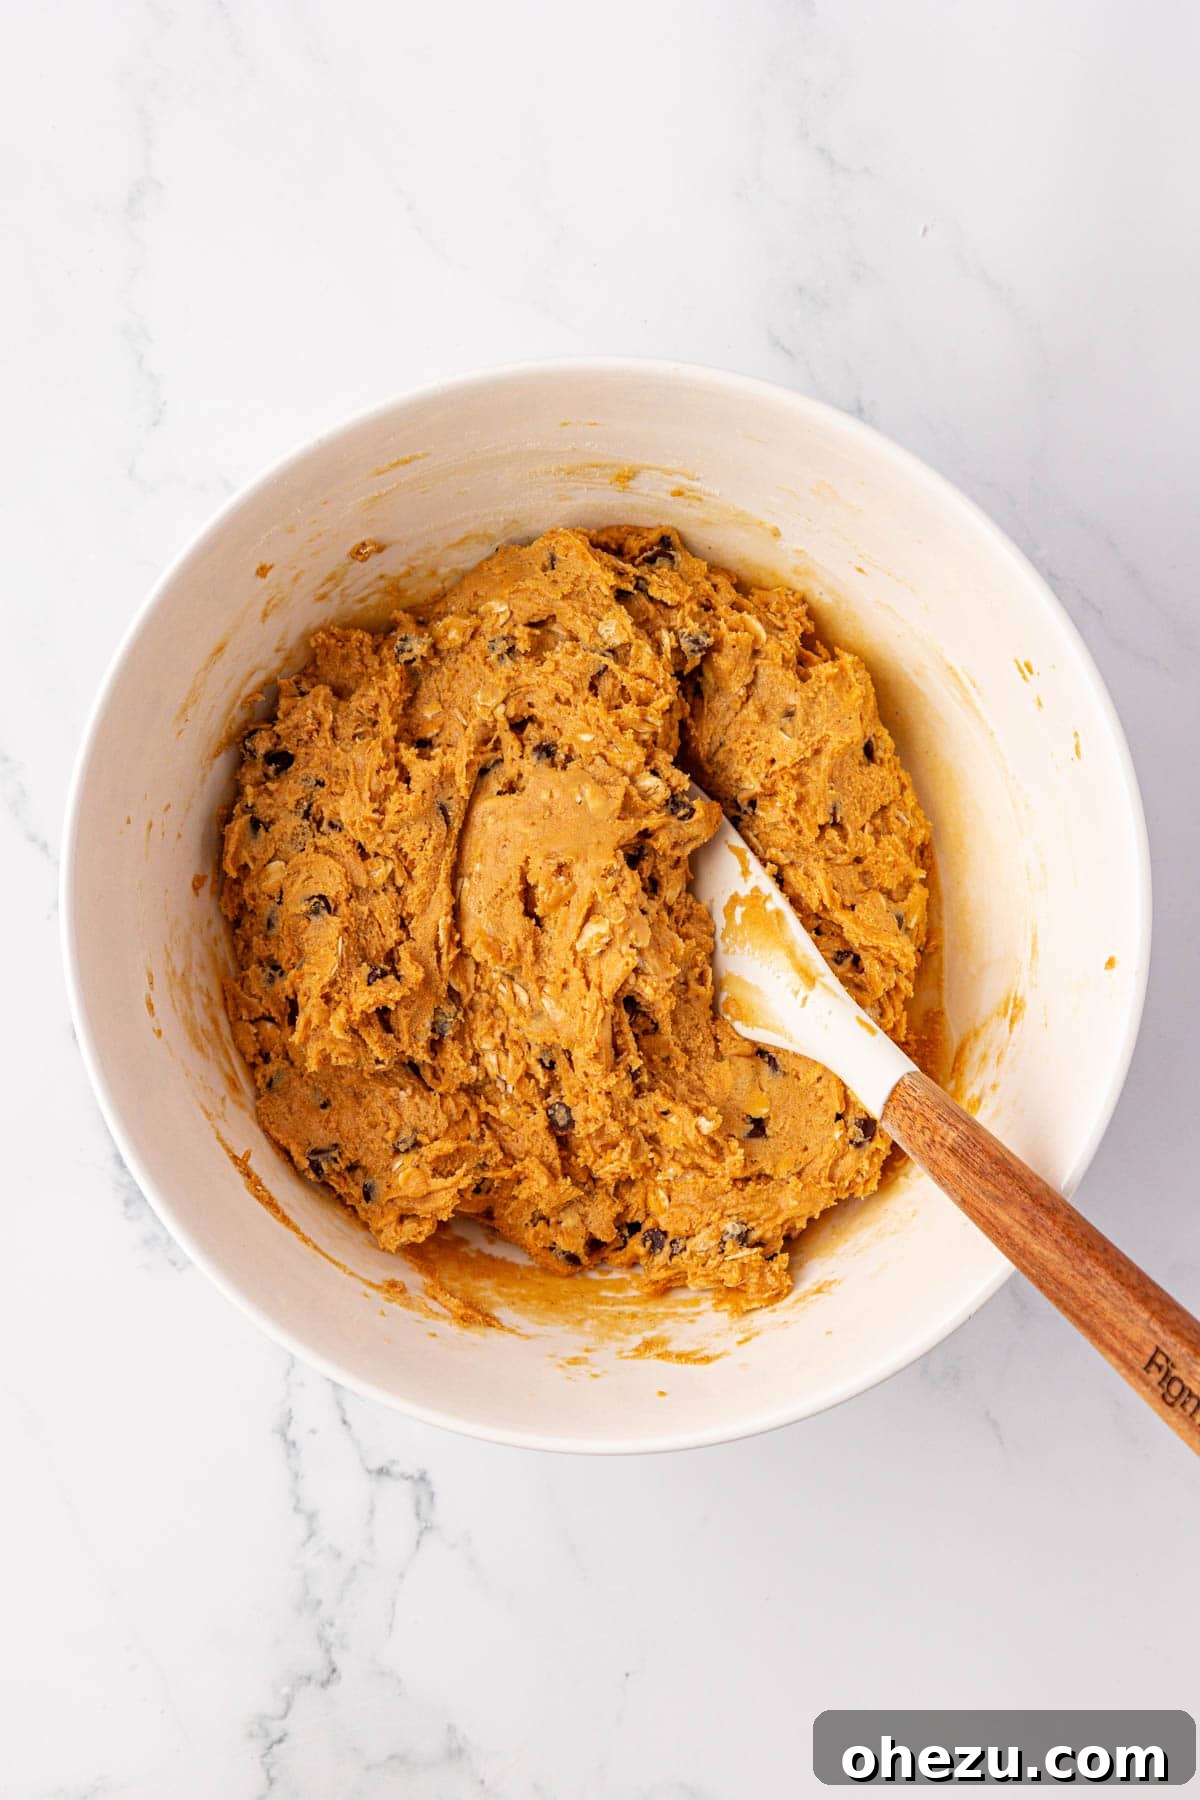
Step 2: Prepare the Pan and Press the Mixture
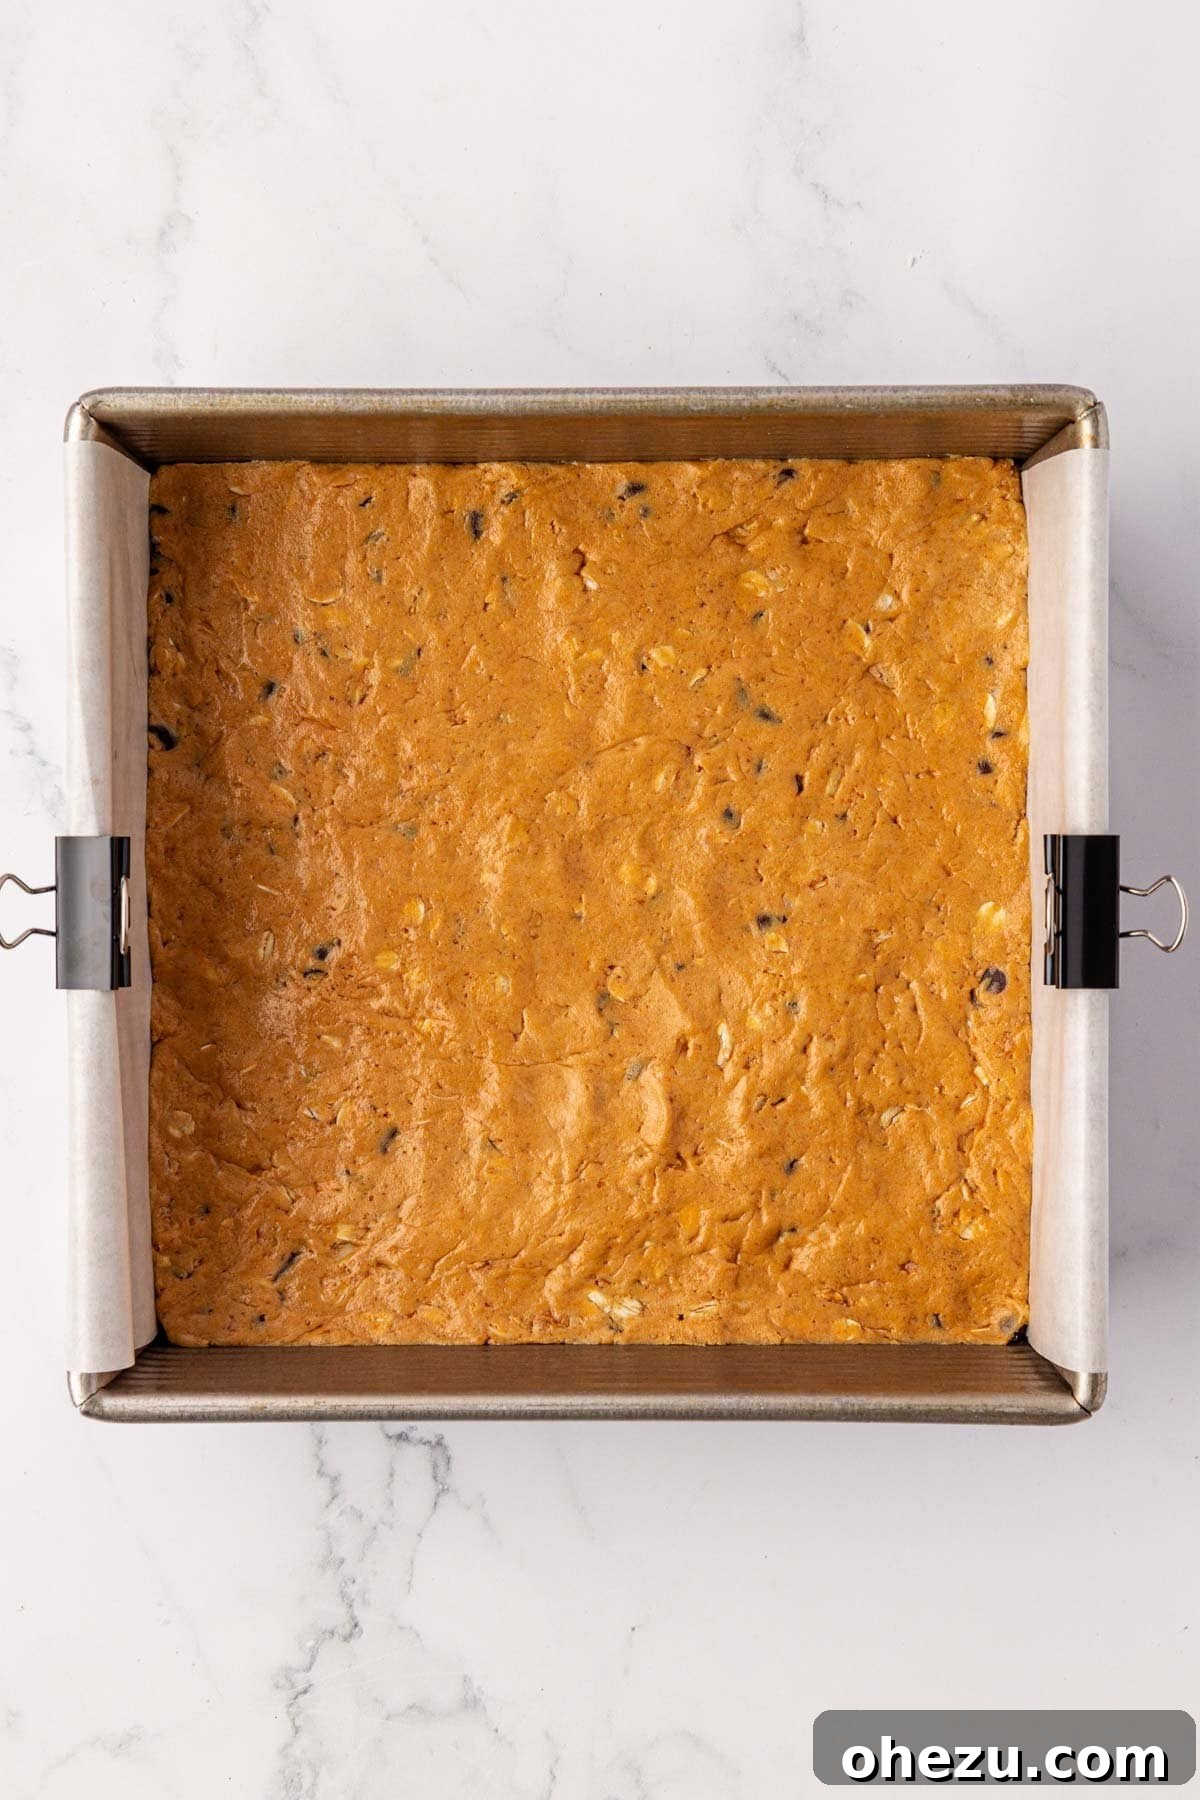
Line an 8×8 inch square baking dish (or a similar sized container) with parchment paper. It’s important to leave a generous overhang of parchment paper on all sides. This overhang will serve as “handles” later, making it incredibly easy to lift the firm bars out of the pan without any sticking or mess.
Transfer the thick protein bar batter into the prepared pan. Using the back of your spatula, or even your hands (lightly dampened to prevent sticking), press the batter down firmly and evenly into the parchment-lined pan. The goal is to create a compact, smooth layer of consistent thickness across the entire base of the pan. This ensures that each bar will have a uniform size and texture.
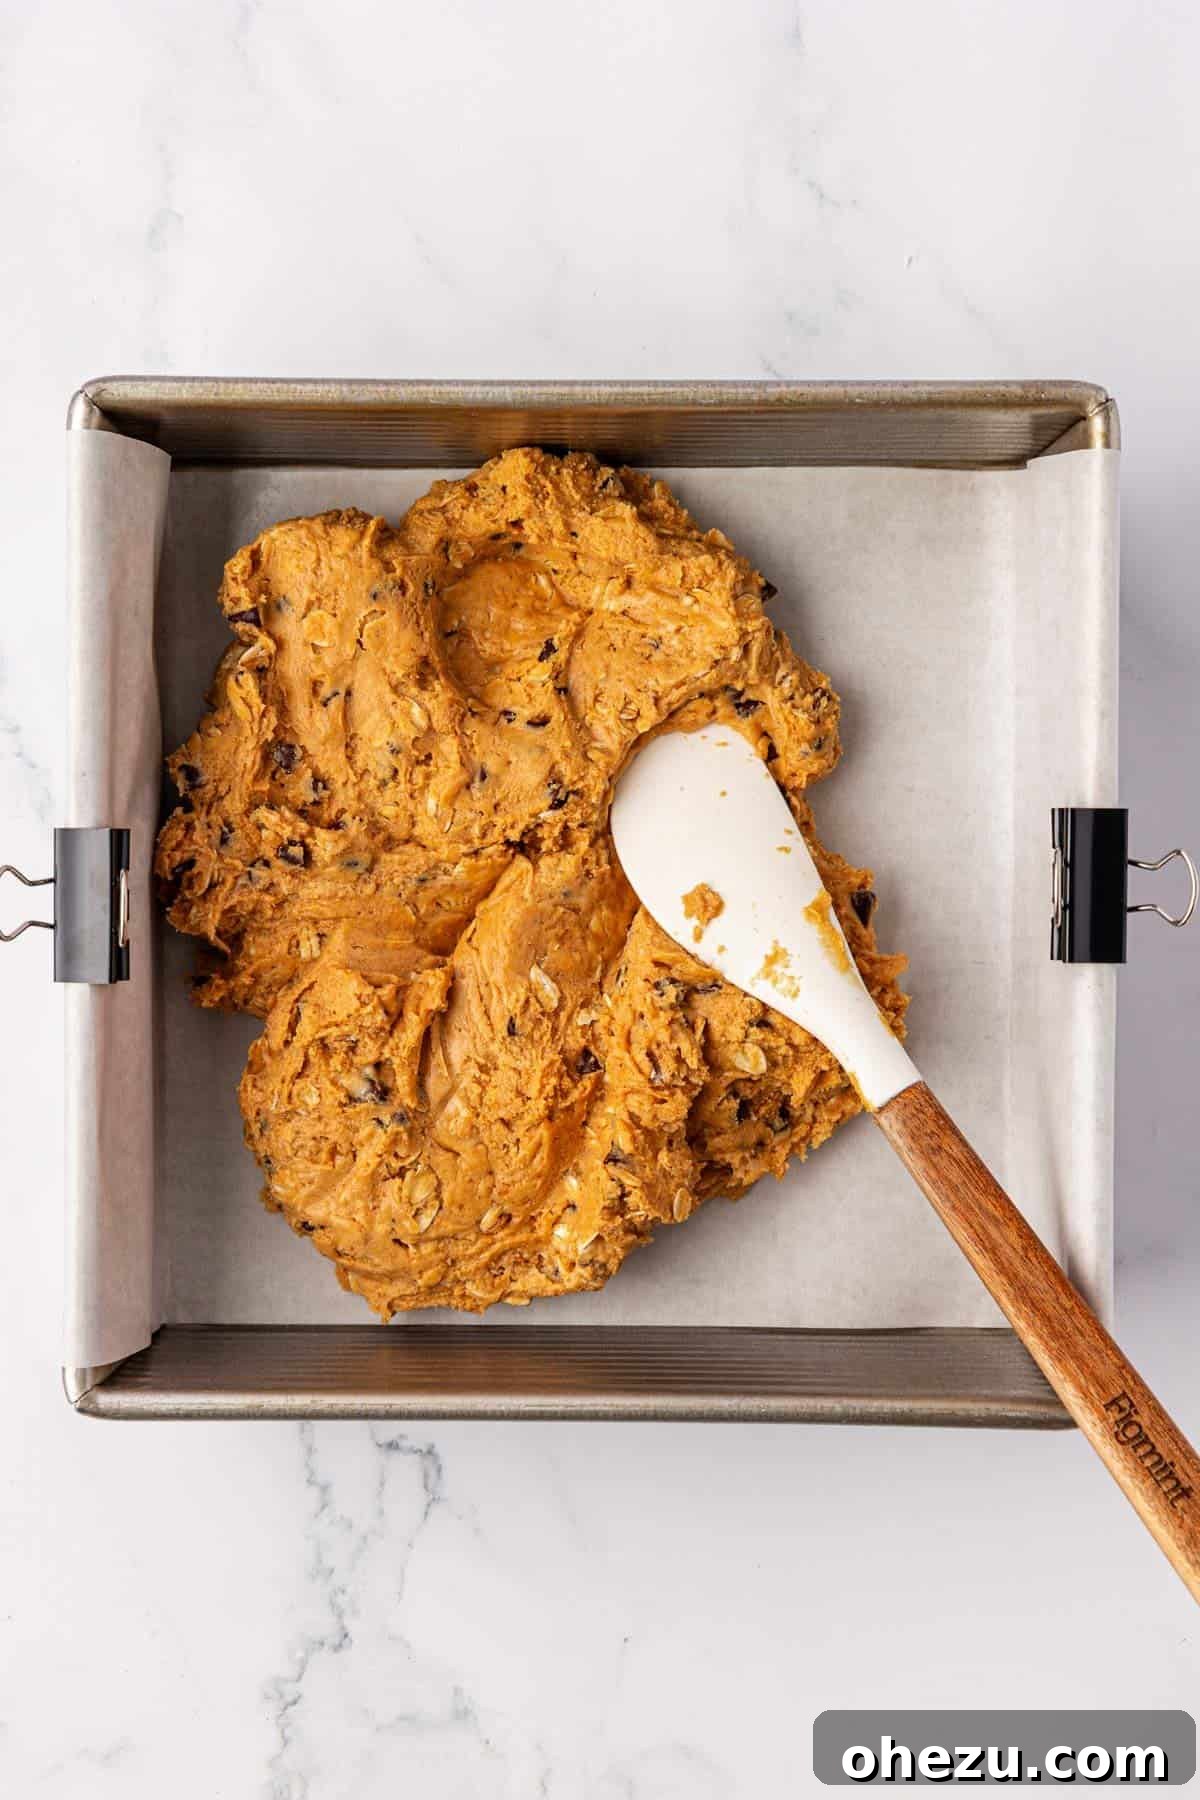
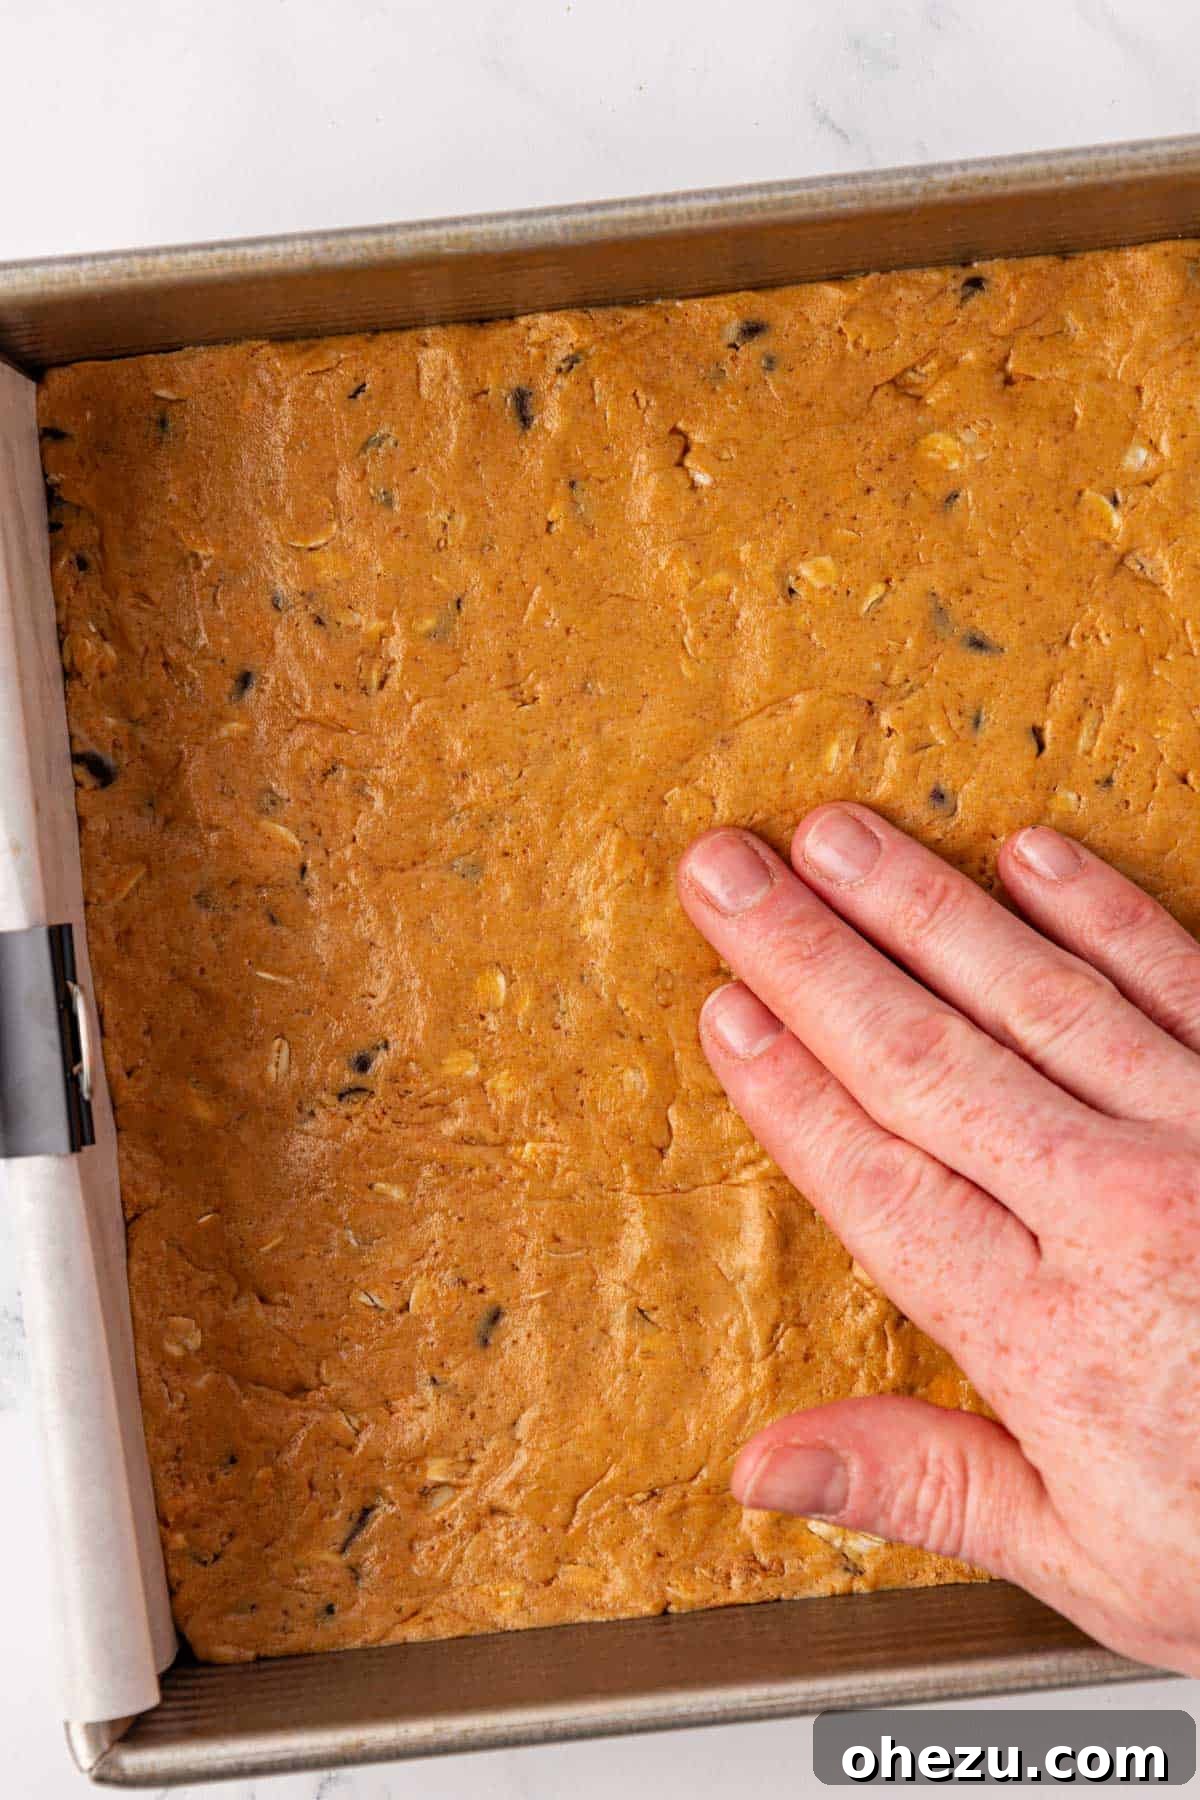
Step 3: Add the Final Chocolate Topping
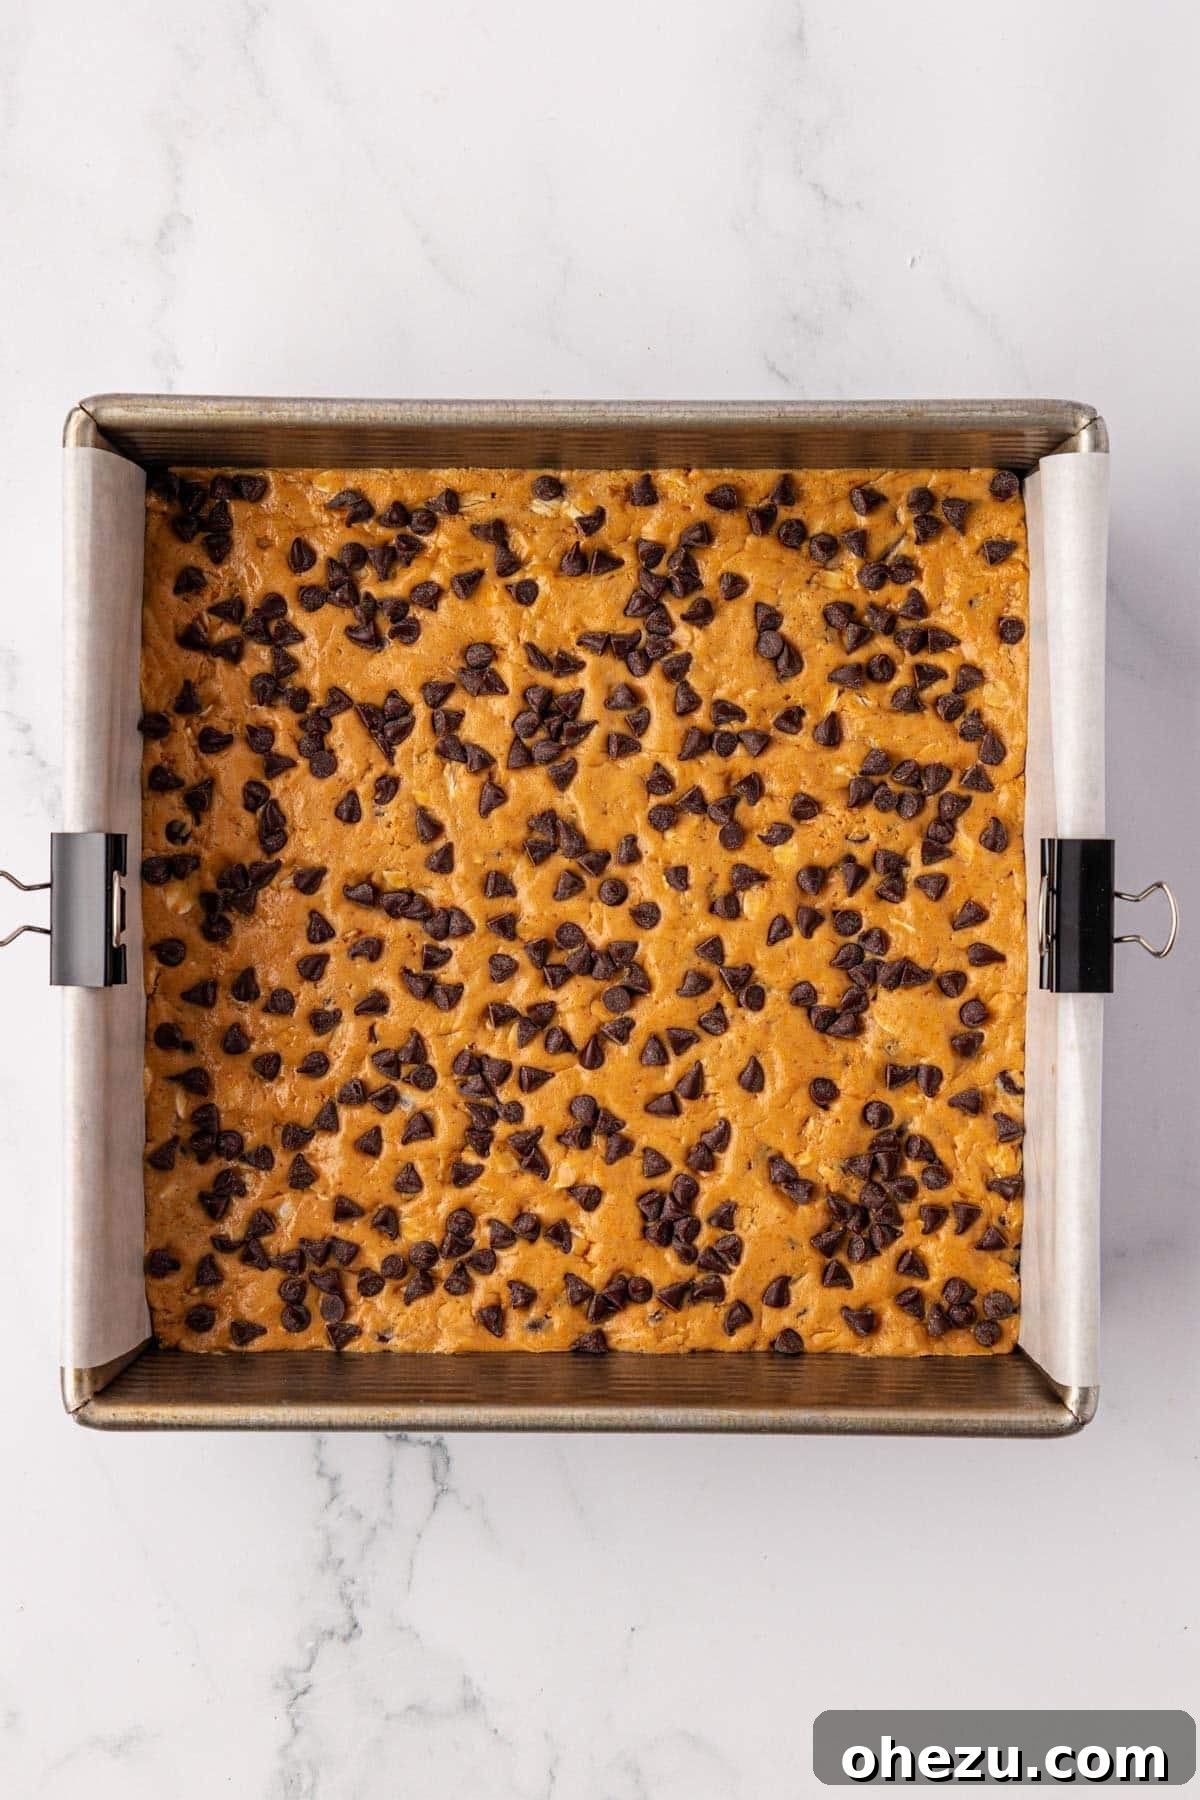
Once the batter is smoothly pressed into the pan, take the remaining ¼ cup of mini chocolate chips. Sprinkle these evenly over the entire surface of the pressed batter. Then, gently press the chocolate chips into the top of the bars using your fingers or the back of a spoon. This ensures they adhere well and don’t fall off once the bars are cut, adding a beautiful visual appeal and extra chocolatey goodness to every bite.
Step 4: Chill Until Firm
Place the entire pan of protein bars into the refrigerator. Allow them to chill for a minimum of 1-2 hours, or until they are completely firm. Chilling is a crucial step for no-bake bars, as it allows the ingredients to set and solidify, making the bars easy to cut and handle. For an even quicker set, you can place them in the freezer for about 30-45 minutes, but be careful not to freeze them completely if you want to avoid thawing time before cutting.
Step 5: Slice and Serve!
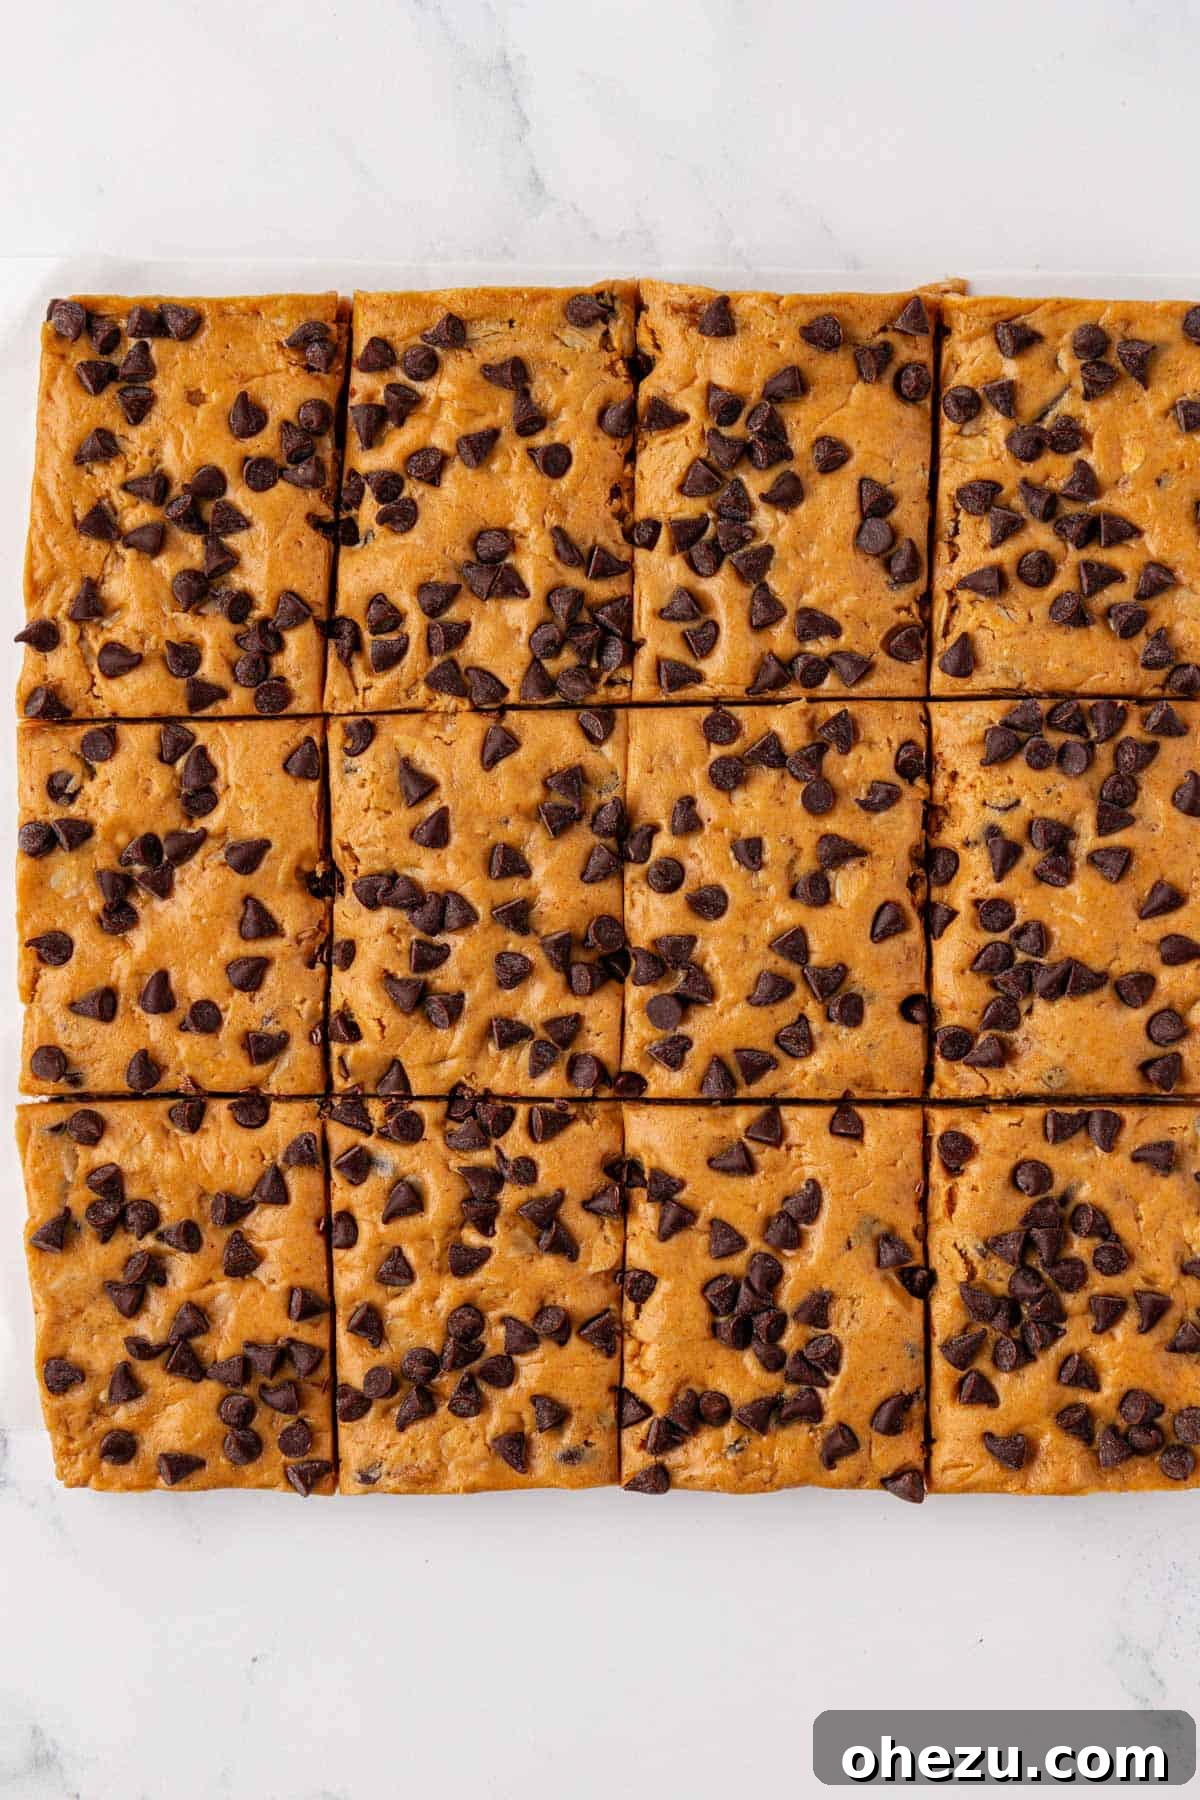
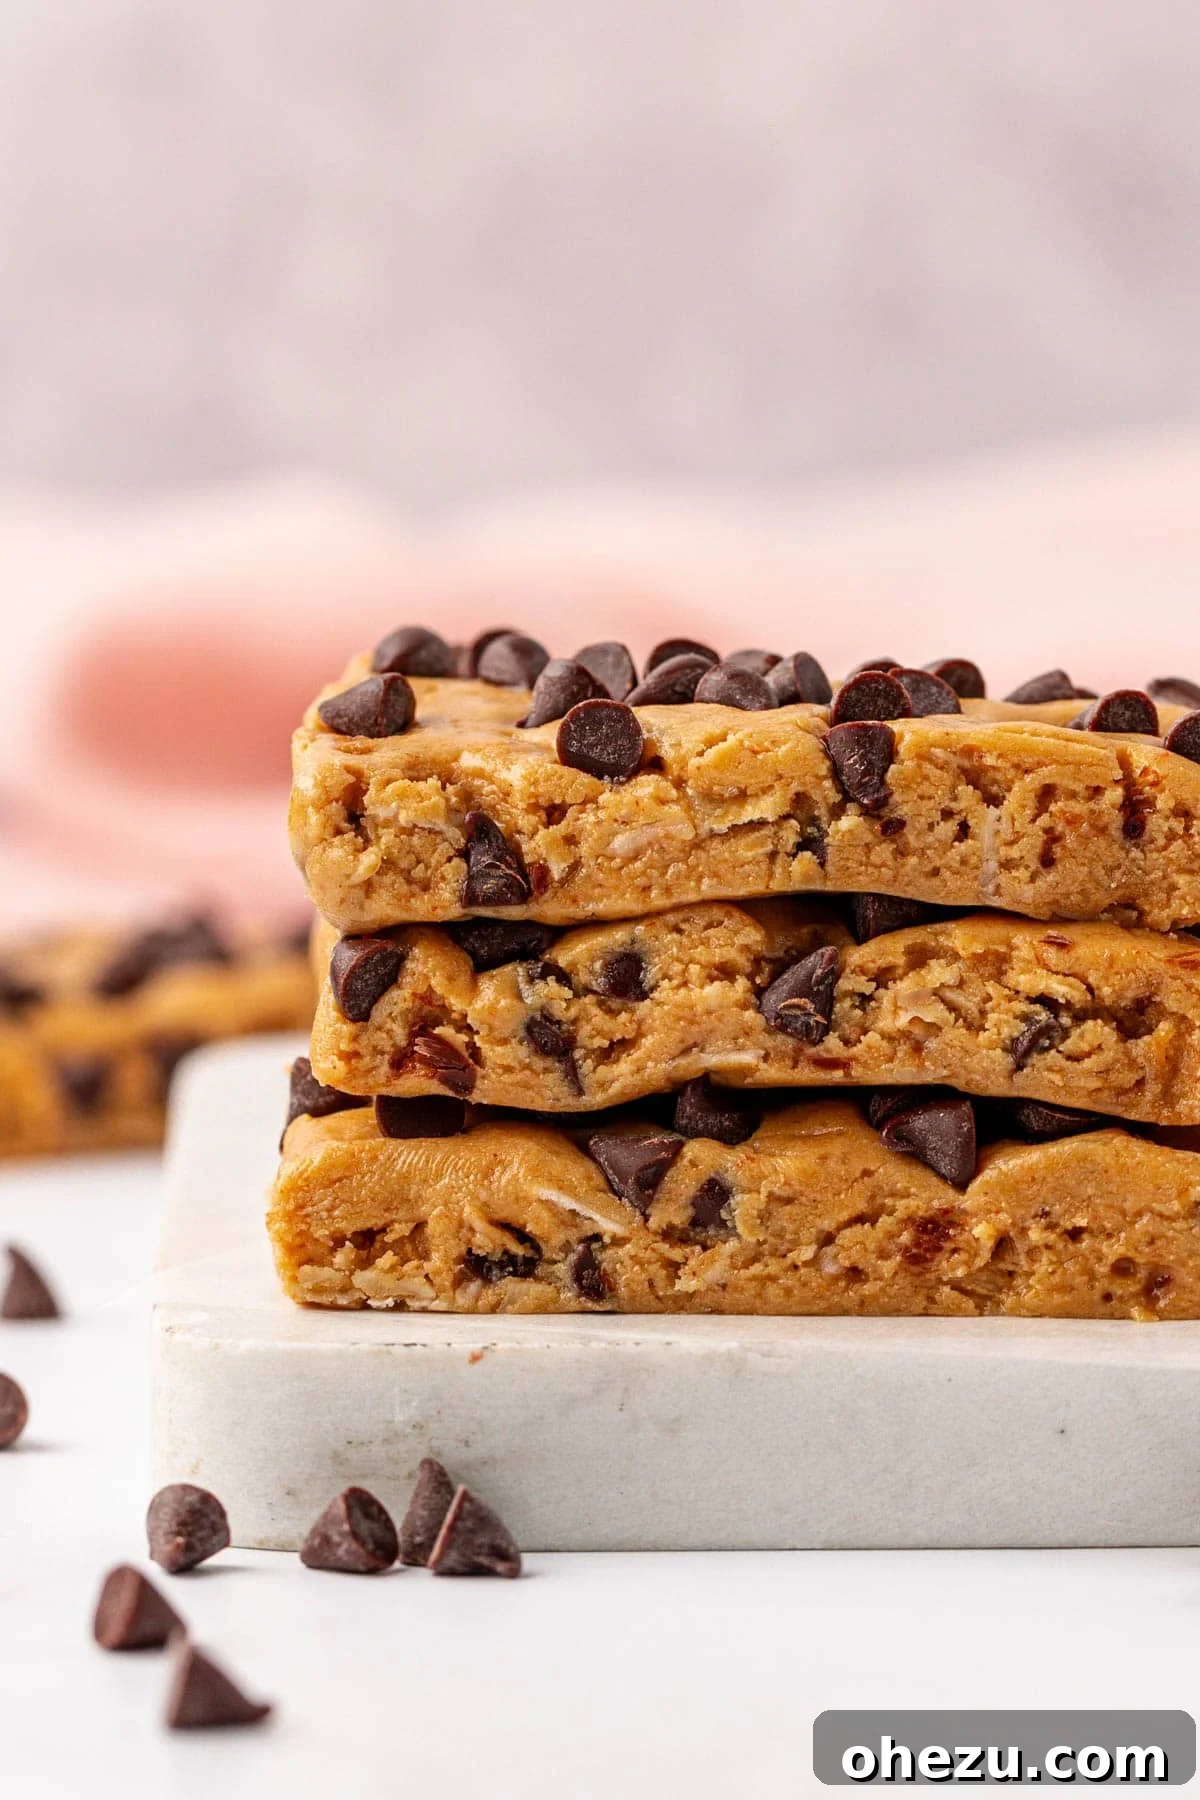
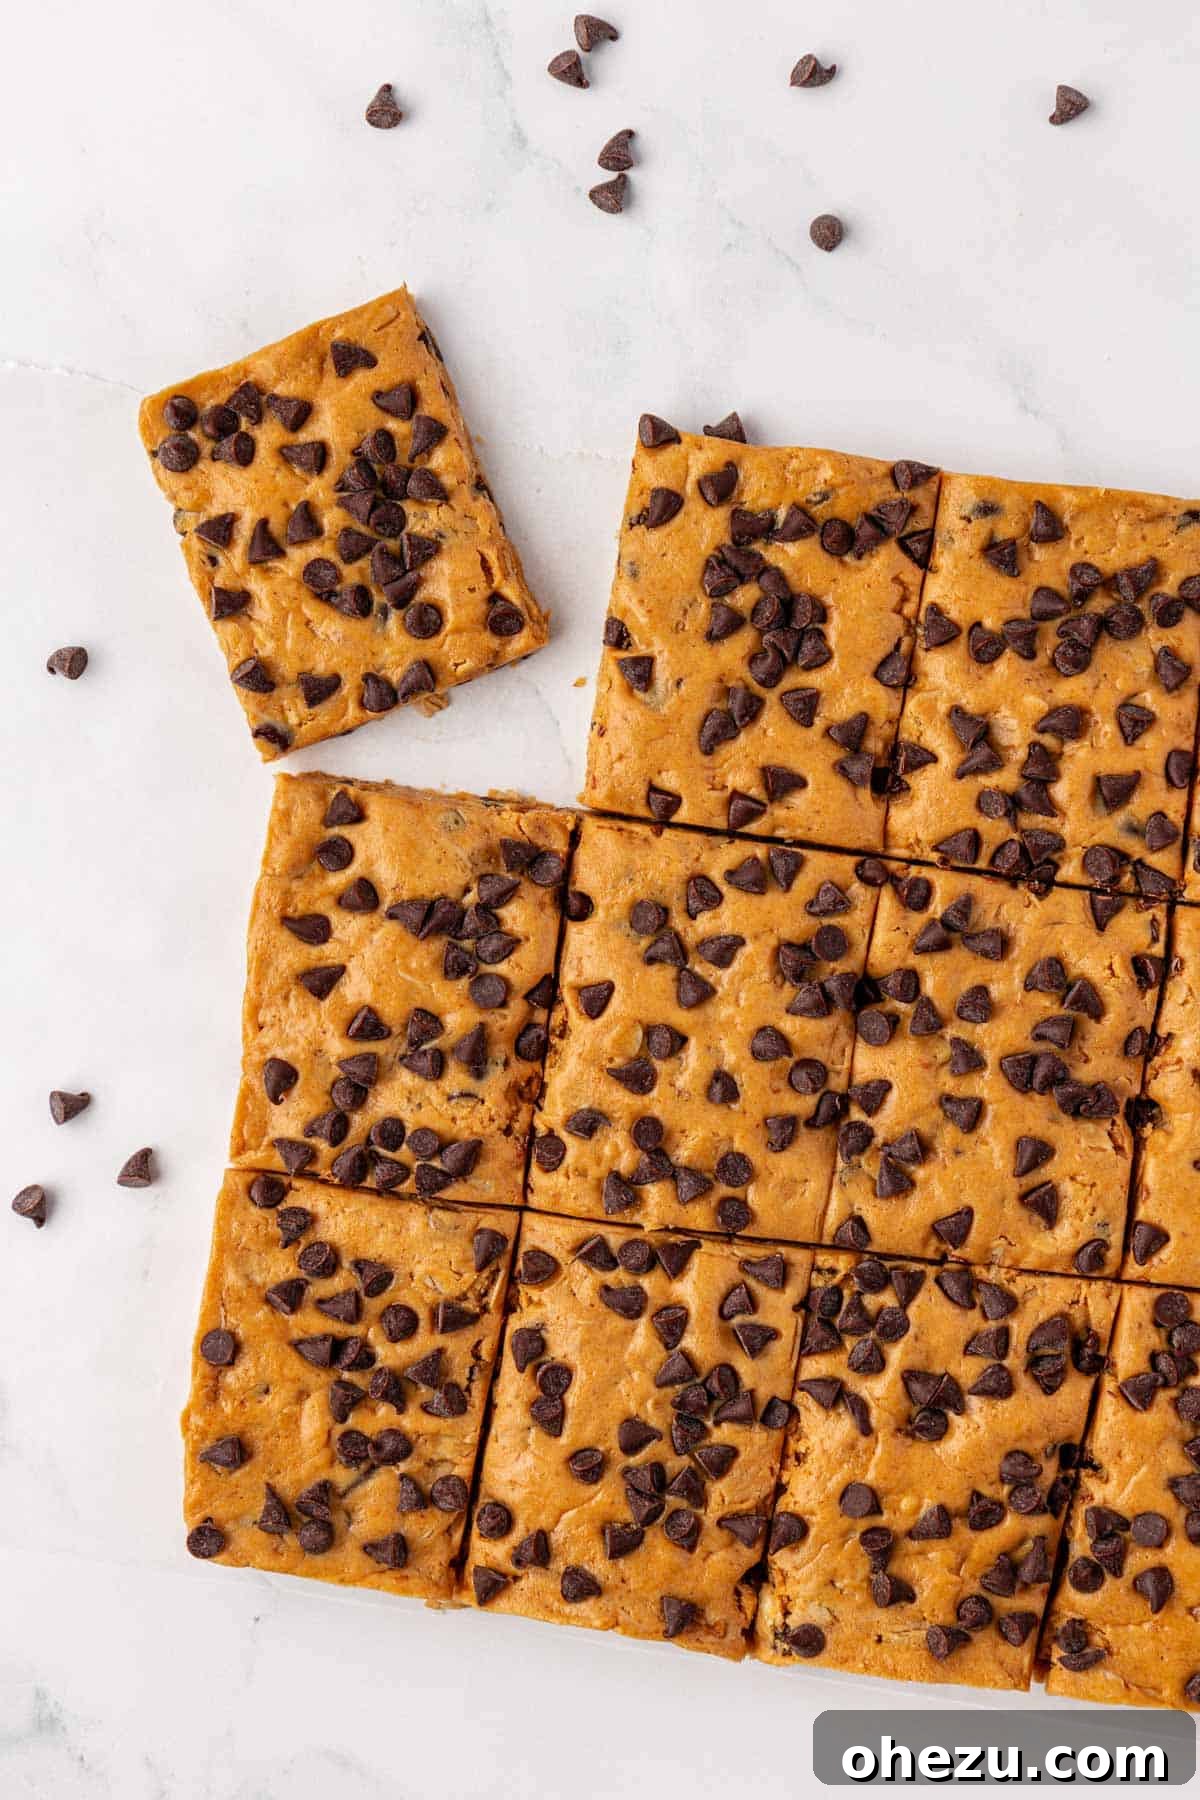
Once the bars are thoroughly chilled and firm, use the parchment paper overhang to gently lift the entire block of batter out of the pan. Place it onto a clean cutting board. Using a sharp knife, cut the block into 12 equally sized protein bars. For smaller portions, such as kid-friendly snacks or mini-bites, you can easily cut them into 18 or even 24 pieces. The nutritional information provided in the recipe is based on 12 bars, so adjust your calculations accordingly if you choose a different serving size.
Recipe Tip: Customizing Your Bar Sizes
While the recipe standard yields 12 generous bars, you have the flexibility to cut them into any size you prefer! For smaller, bite-sized energy boosts, or for younger snackers, I often cut mine into 18 or even 24 pieces. This variation allows for better portion control and ensures everyone gets just the right amount of wholesome goodness. Don’t hesitate to experiment with different cutting methods to suit your specific needs and preferences.
Customizing Your Homemade Protein Bars
One of the greatest advantages of making your own protein bars is the endless potential for customization. While the peanut butter chocolate chip flavor is a timeless classic, feel free to unleash your creativity and tailor these bars to your liking!
- Flavor Variations:
- Nut Butter Swaps: Replace peanut butter with almond butter, cashew butter, or sunflower seed butter for different tastes and allergy-friendly options.
- Protein Powder Flavors: Try chocolate protein powder for a richer, double-chocolate experience, or even a salted caramel or cookies and cream flavor if available.
- Extract Alternatives: Almond extract can provide a delightful twist, especially when paired with almond butter. Peppermint extract makes for a festive, mint chocolate chip bar.
- Exciting Add-ins:
- Nuts and Seeds: Incorporate chopped walnuts, pecans, almonds, chia seeds, flax seeds, or hemp seeds for added texture, healthy fats, and nutrients.
- Dried Fruits: Mix in chopped dried cranberries, raisins, apricots, or cherries for a burst of fruitiness and extra chewiness.
- Coconut Flakes: Toasted or untoasted coconut flakes can add a tropical dimension and delightful texture.
- Spices: A pinch of cinnamon or a dash of nutmeg can warm up the flavor profile, especially in cooler months.
- Dietary Adaptations:
- Vegan Option: Ensure your protein powder is plant-based and swap honey for maple syrup or agave nectar.
- Gluten-Free: Always use certified gluten-free rolled oats to ensure your bars are suitable for those with gluten sensitivities.
I’ve found that texture is paramount when it comes to truly satisfying homemade protein bars and energy balls. That delightful combination of chewiness from the oats and a slight crunch from the chocolate chips or added nuts is, in my opinion, an absolute must! Don’t be afraid to experiment with different combinations to discover your perfect protein bar.
Storage Instructions for Freshness
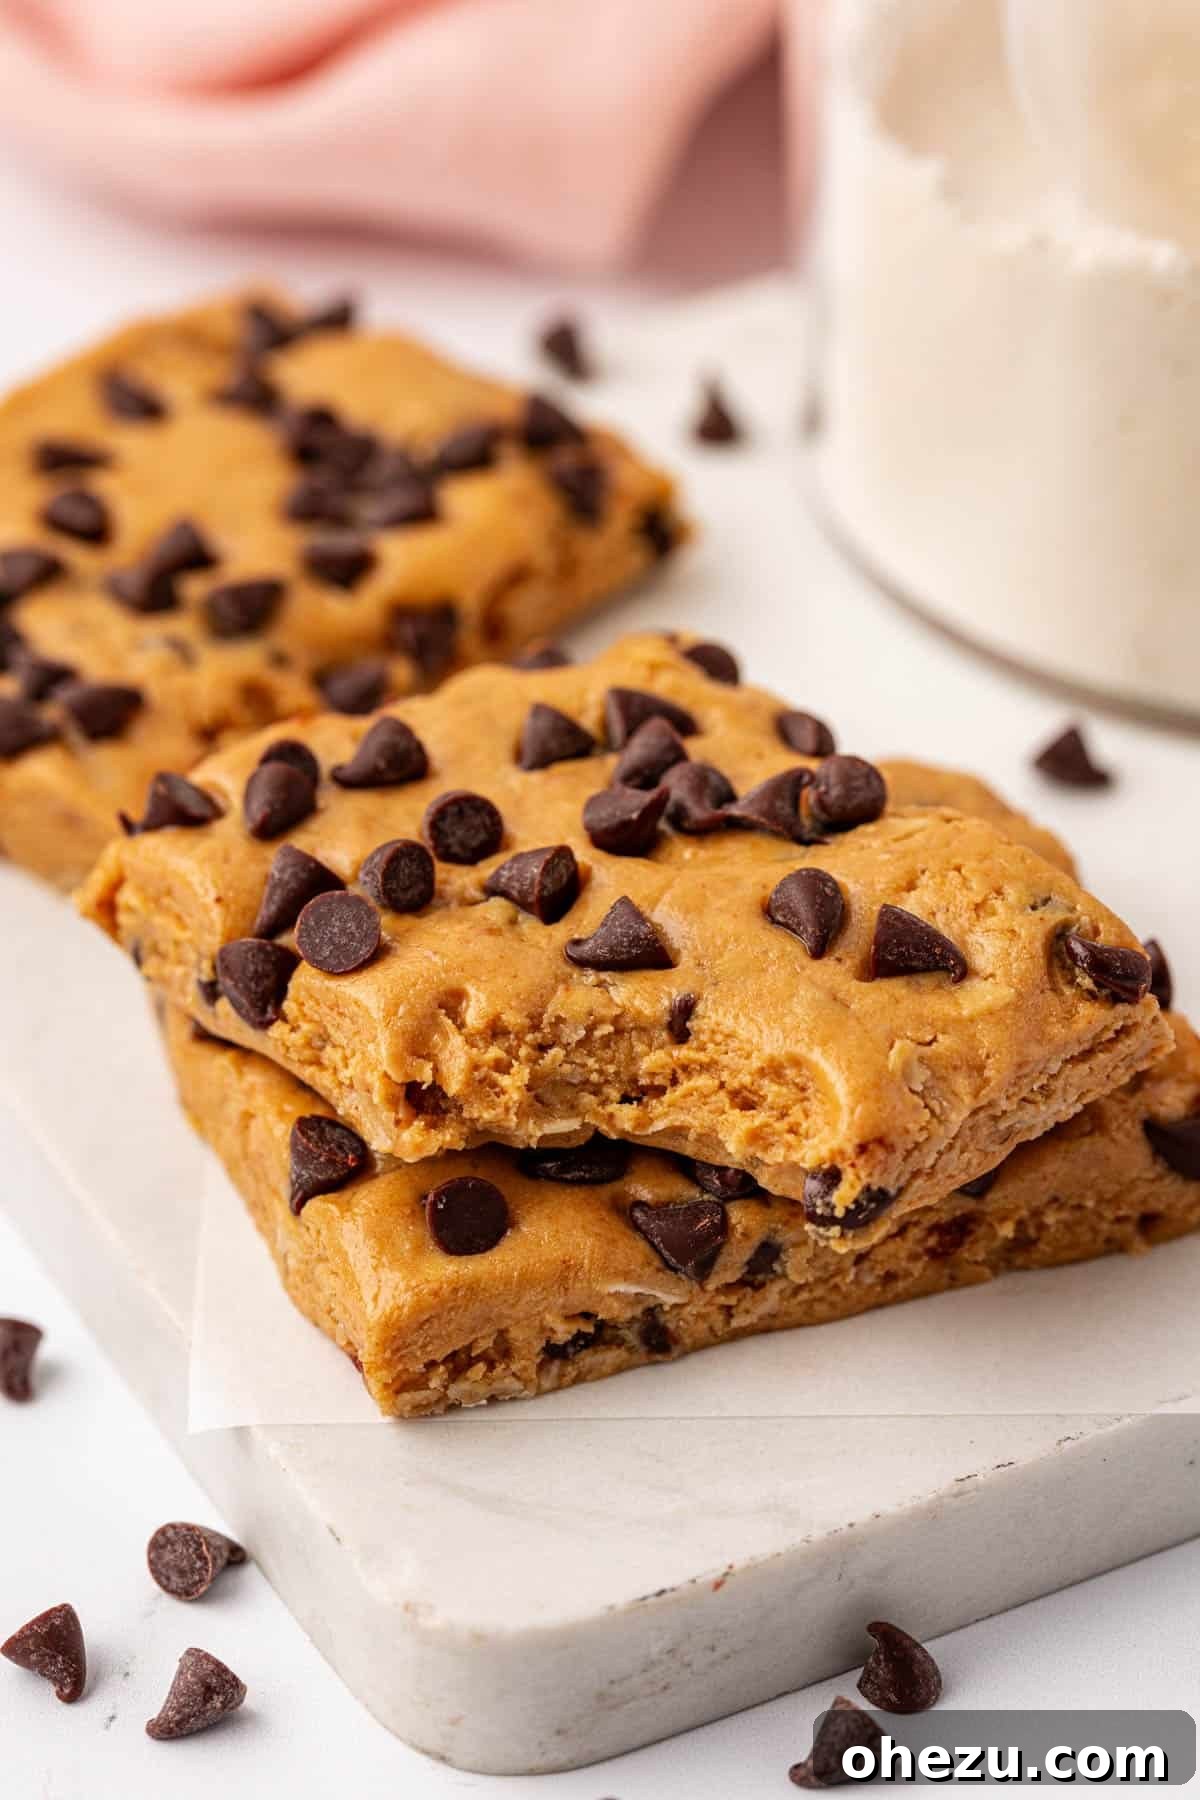
Proper storage is key to extending the life and maintaining the quality of your homemade protein bars. Store any leftover bars in an airtight container to keep them fresh. They will remain delicious for 5-7 days when stored in the refrigerator. For longer-term storage, you can freeze them for 2-3 months. To enjoy from frozen, simply let them thaw at room temperature for a few minutes or overnight in the refrigerator.
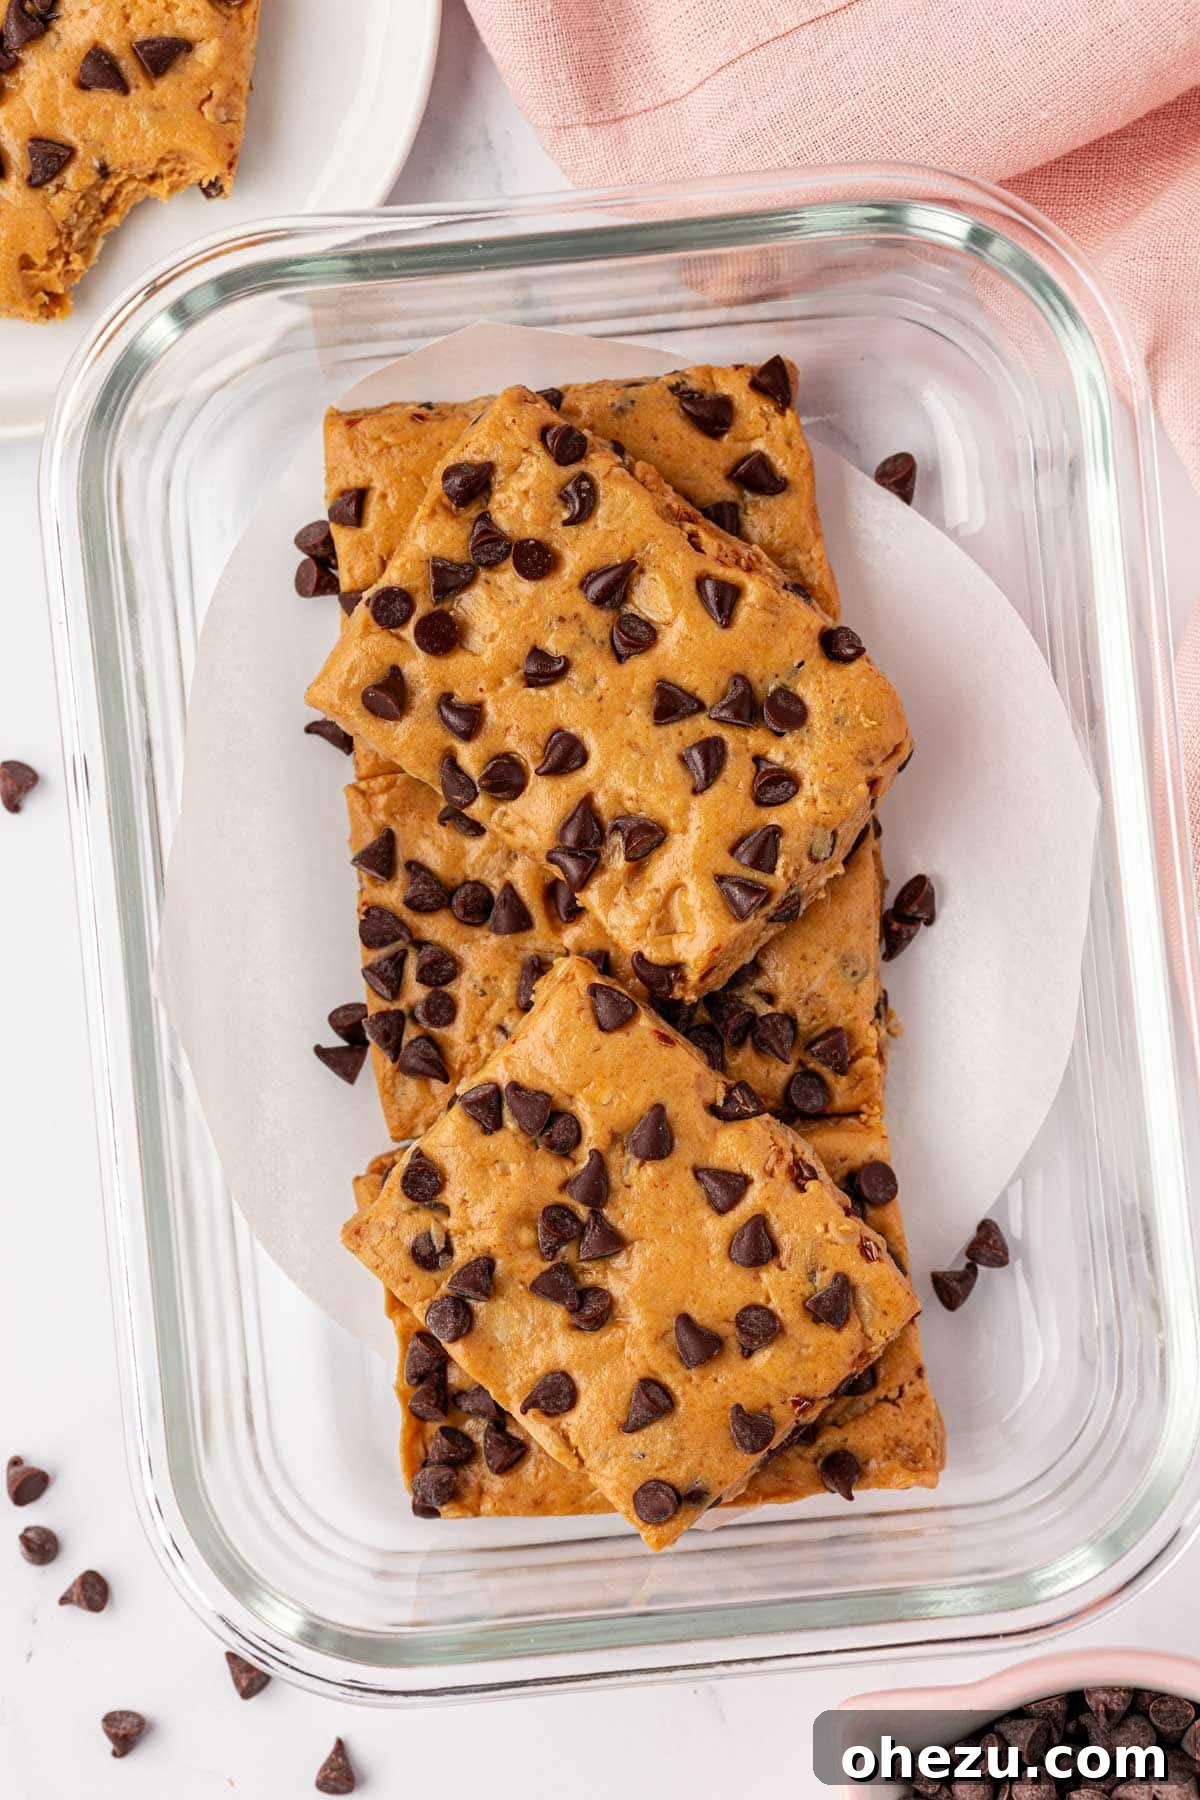
I genuinely encourage you to give these incredibly easy and satisfying protein bars a try. You’ll likely find yourself reaching for these over even the most popular commercial brands any day of the week, especially considering how much more affordable they are. In our house, a batch rarely lasts more than a couple of days – they’re simply too good to resist!
More Delicious and Healthy Protein Snacks to Try
If you loved these Peanut Butter Chocolate Chip Protein Bars, you’ll be thrilled to discover more easy and protein-packed snack recipes. Expand your repertoire of wholesome treats with these fantastic ideas:
- Rich Chocolate Protein Bars
- Fun Monster Cookie Protein Bars
- Classic Energy Bites for a Quick Boost
- Indulgent Pecan Pie Energy Bites
- Crunchy Protein Granola Bars
- Variety of No-Bake Protein Bars
- Sweet & Salty Peanut Butter Pretzel Energy Bites
- Delicious Chocolate Cashew Protein Bars
- Comforting Cinnamon Roll Energy Bites
- Classic Peanut Butter Crunch Energy Bites
- Guilt-Free Protein Peanut Butter Cups
- Wholesome Chocolate Cashew Energy Bites
- Chewy Monster Cookie Energy Balls
- Delightful Strawberries & Cream Energy Bites
- Irresistible Cookies & Cream Protein Balls
- Quick & Easy Protein Mug Cake
Peanut Butter Chocolate Chip Protein Bars
Joy Shull
15 mins
20 mins
35 mins
12 bars
Rate Recipe
Print Recipe
Ingredients
- 1 cup no-stir creamy peanut butter
- 1/3 cup honey (or maple syrup for vegan)
- 1/2 cup old fashioned rolled oats (use certified GF for gluten-free)
- 2/3 cup vanilla protein powder
- 1 teaspoon vanilla extract
- 1/4 teaspoon salt
- 1/2 cup mini chocolate chips, divided (1/4 cup for mixing, 1/4 cup for topping)
Instructions
- In a large mixing bowl, combine the peanut butter, honey, rolled oats, protein powder, vanilla extract, salt, and 1/4 cup of the mini chocolate chips. Stir thoroughly with a rubber spatula until a thick, uniform batter forms.
- Line an 8×8 inch square dish with parchment paper, ensuring enough overhang on the edges to easily remove the bars later.
- Press the batter down evenly into the parchment-lined pan, creating a smooth and compact layer.
- Sprinkle the remaining 1/4 cup of mini chocolate chips over the top of the pressed batter and gently press them in to secure.
- Chill the protein bars in the refrigerator for 1-2 hours, or until completely firm.
- Using the parchment paper overhang, lift the firm block of bars from the pan. Place on a cutting board and cut into 12 equal-sized protein bars.
Nutrition (per serving, 1 of 12 bars)
Calories:
231kcal
,
Carbohydrates:
21g
,
Protein:
10g
,
Fat:
13g
,
Saturated Fat:
3g
,
Polyunsaturated Fat:
3g
,
Monounsaturated Fat:
6g
,
Trans Fat:
0.01g
,
Cholesterol:
13mg
,
Sodium:
162mg
,
Potassium:
164mg
,
Fiber:
2g
,
Sugar:
15g
,
Vitamin A:
17IU
,
Vitamin C:
0.1mg
,
Calcium:
52mg
,
Iron:
1mg
Did you love this recipe? Share your thoughts and rate it below!