
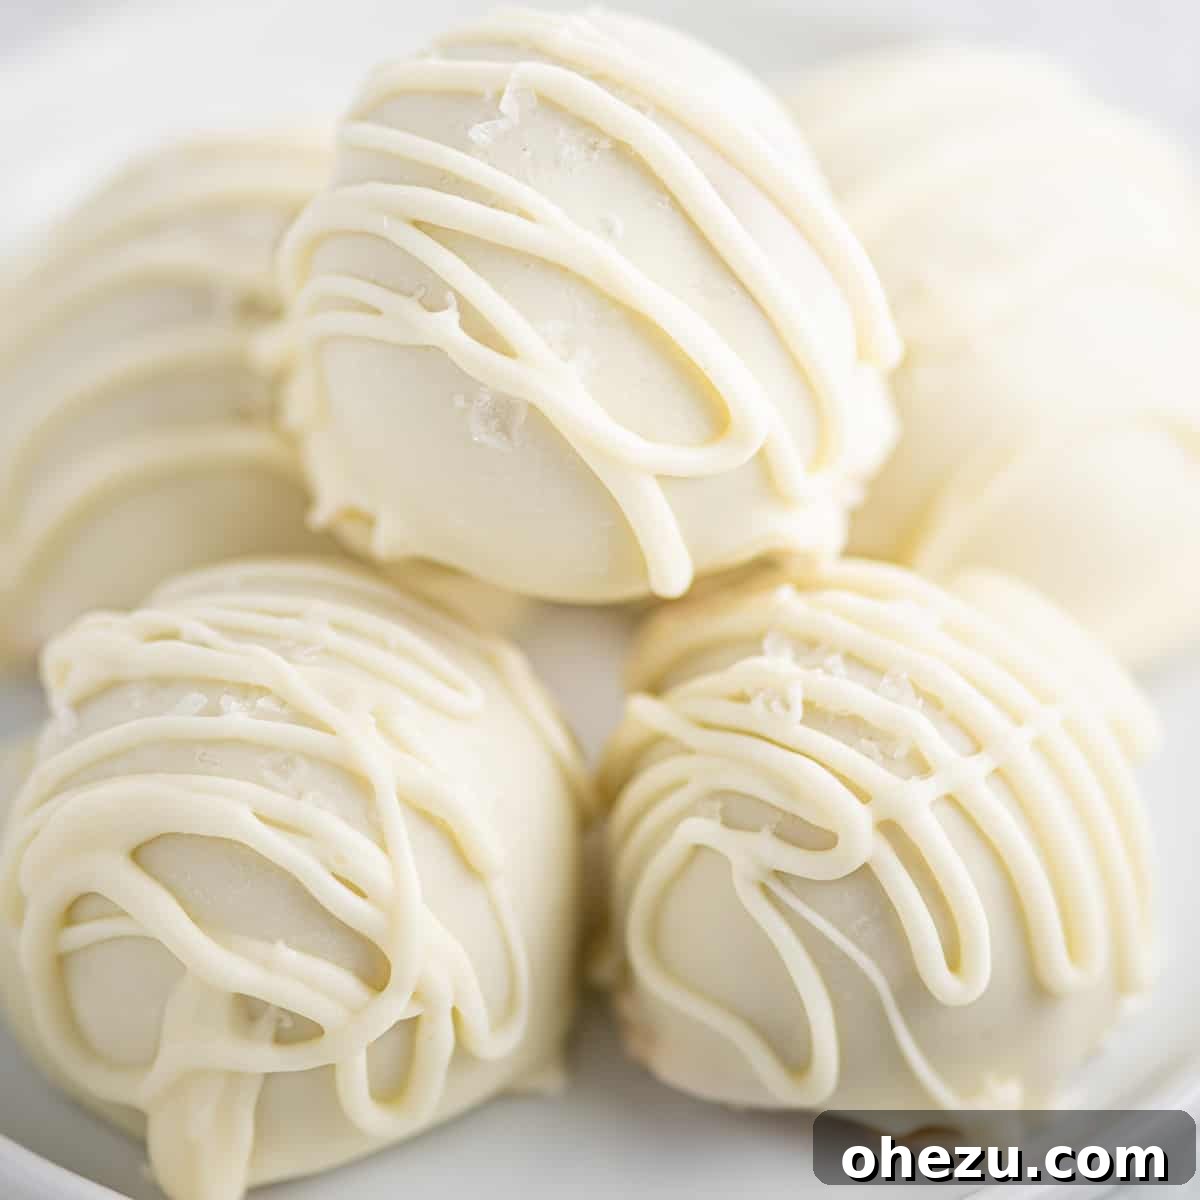
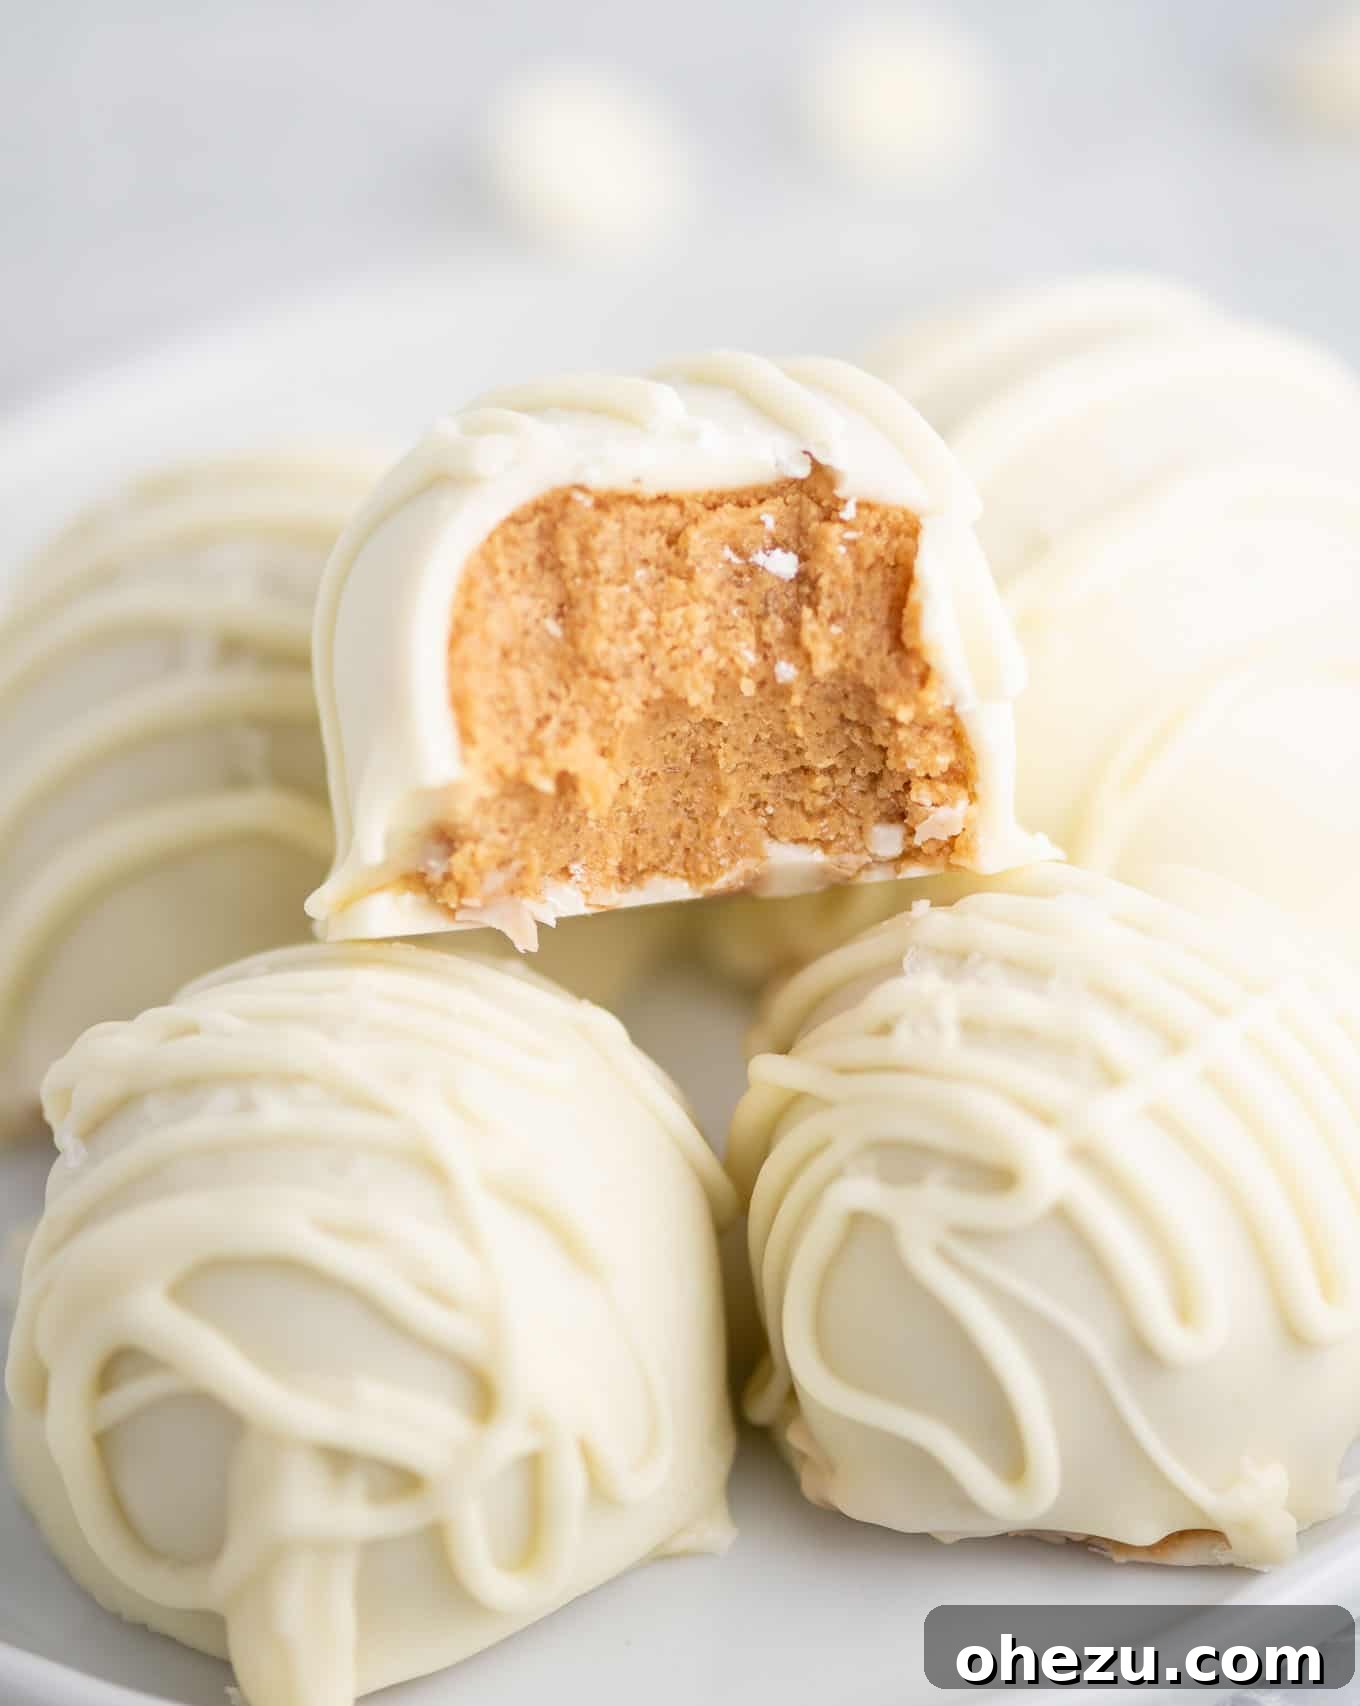
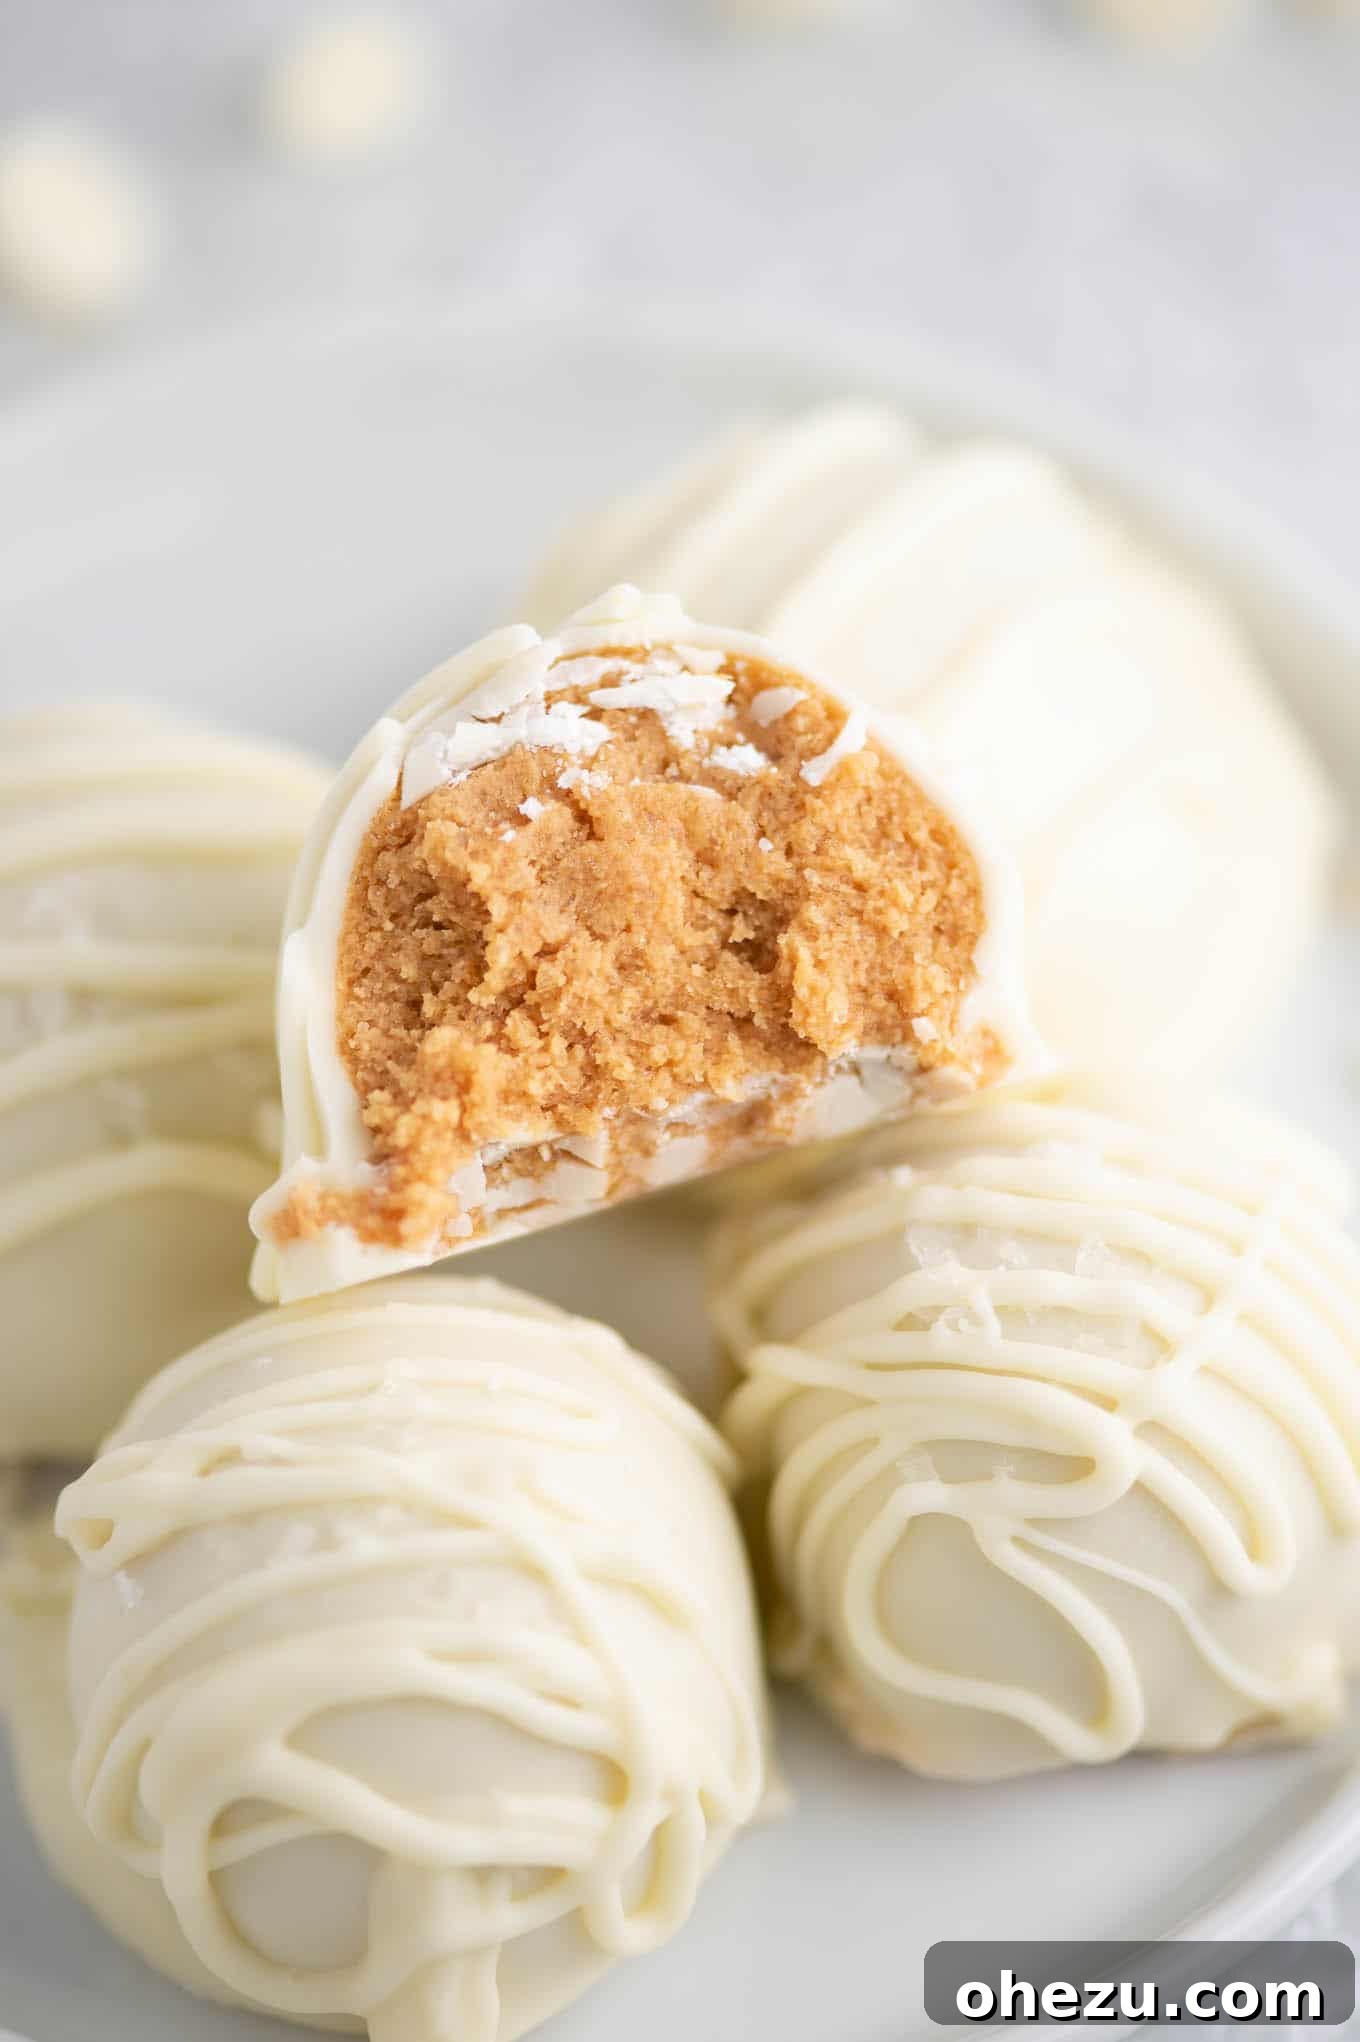
Indulge in the irresistible pleasure of **Decadent White Chocolate Peanut Butter Balls**, a holiday treat so simple yet profoundly delicious, it’s destined to become a perennial favorite in your kitchen. These delightful little bites of heaven require minimal effort and just a handful of ingredients, making them the perfect confection for busy seasons or spontaneous cravings.
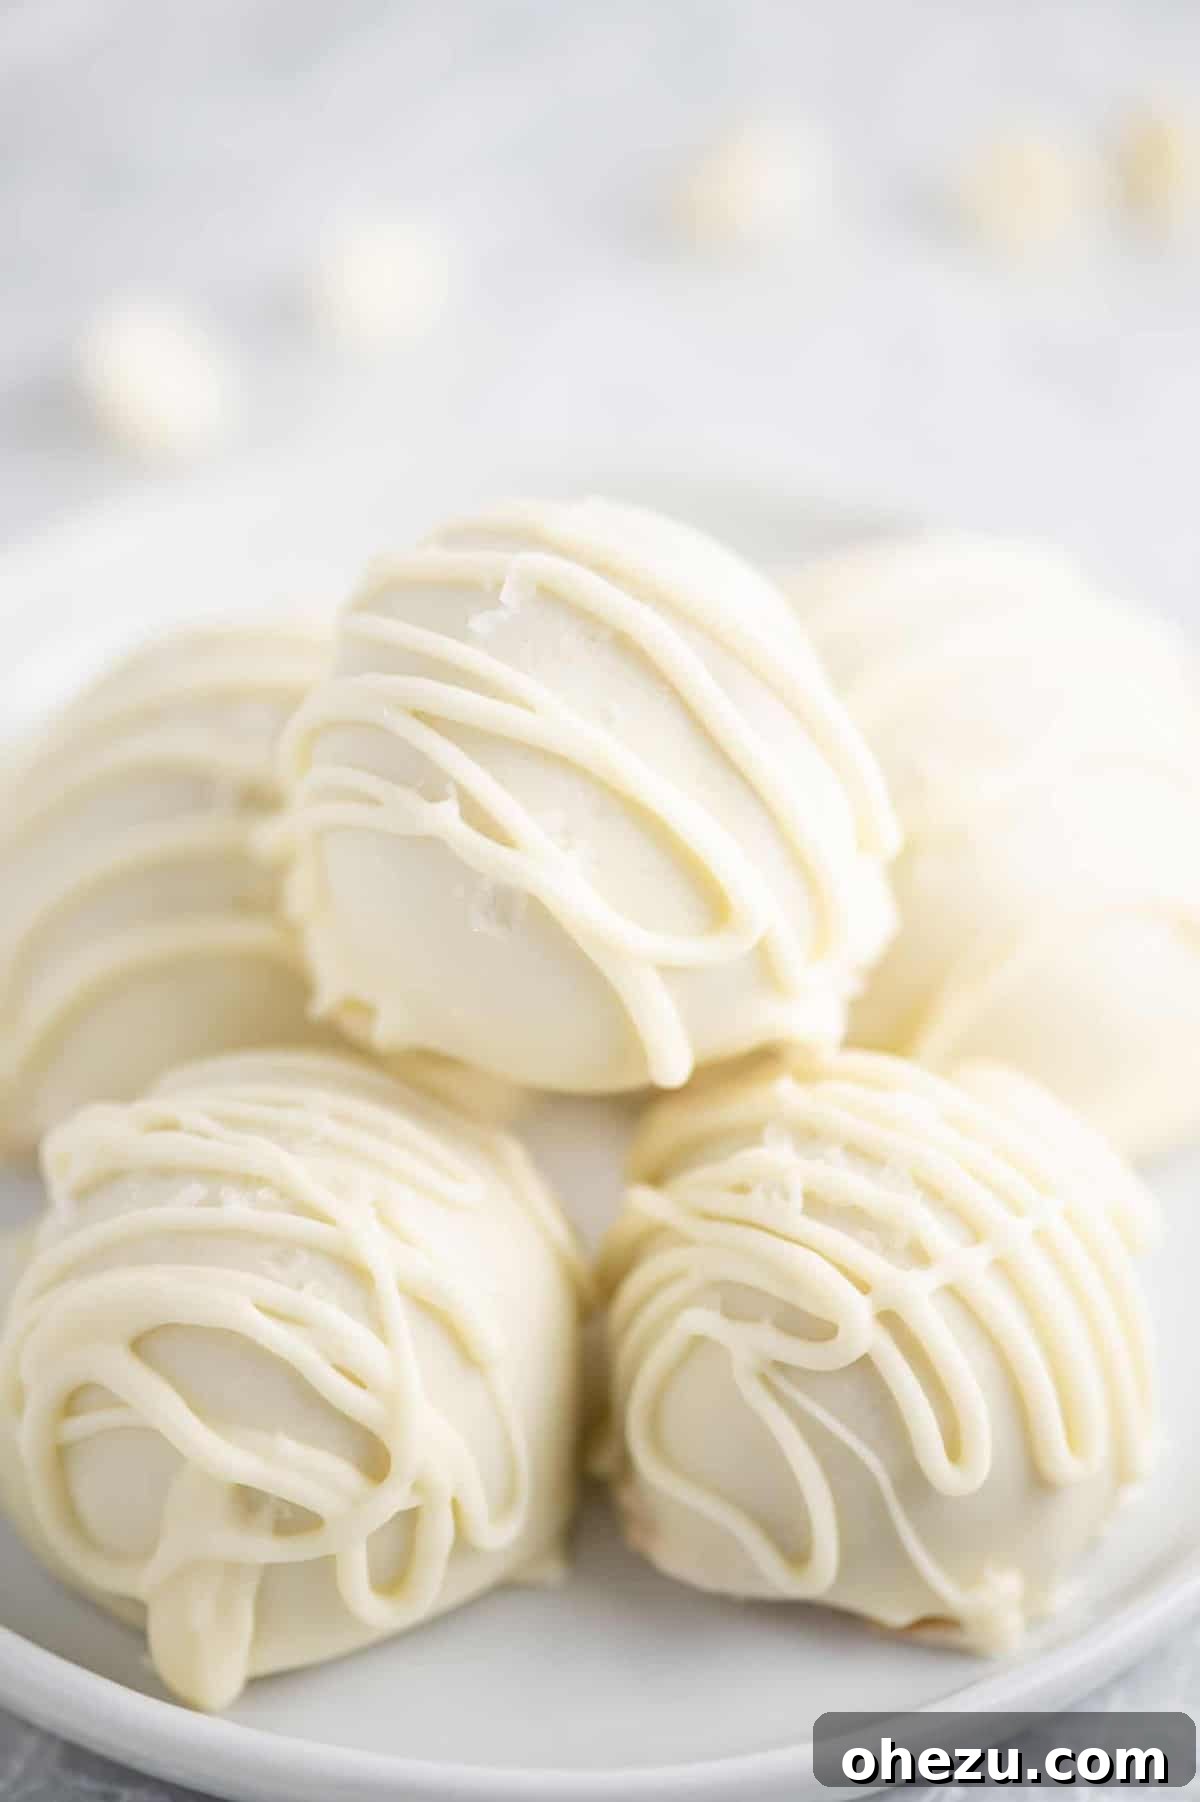
The Ultimate No-Bake Dessert: White Chocolate Peanut Butter Balls
These incredibly easy peanut butter balls are a dessert guaranteed to please any crowd, regardless of the occasion. What makes them truly special is their no-bake nature, allowing you to whip up a batch in minutes without ever turning on your oven. The result? Elegant, truffle-like confections that look sophisticated but are astonishingly simple to create. They share the same crowd-pleasing charm as classic Christmas Oreo balls and delightful pecan pie balls, fitting perfectly into any festive spread or casual gathering.
There’s nothing better than a fancy-looking dessert that’s actually effortless to make! These truffles are so much fun to prepare and utterly yummy to eat, rivaling the simplicity of our beloved ritz cracker cookies. A unique aspect of this recipe is the clever use of coconut flour. Instead of relying heavily on excessive powdered sugar to achieve the desired texture, coconut flour helps bind the peanut butter mixture, creating a firm yet melt-in-your-mouth consistency without overwhelming sweetness. This ingenious substitution ensures a perfectly balanced flavor and a delightful bite every time.
How to Master White Chocolate Peanut Butter Balls: Step by Step
Creating these delightful white chocolate peanut butter balls is a straightforward process, broken down into a few simple stages. Follow these steps for perfect truffles every time.
Crafting the Perfect Peanut Butter Mixture
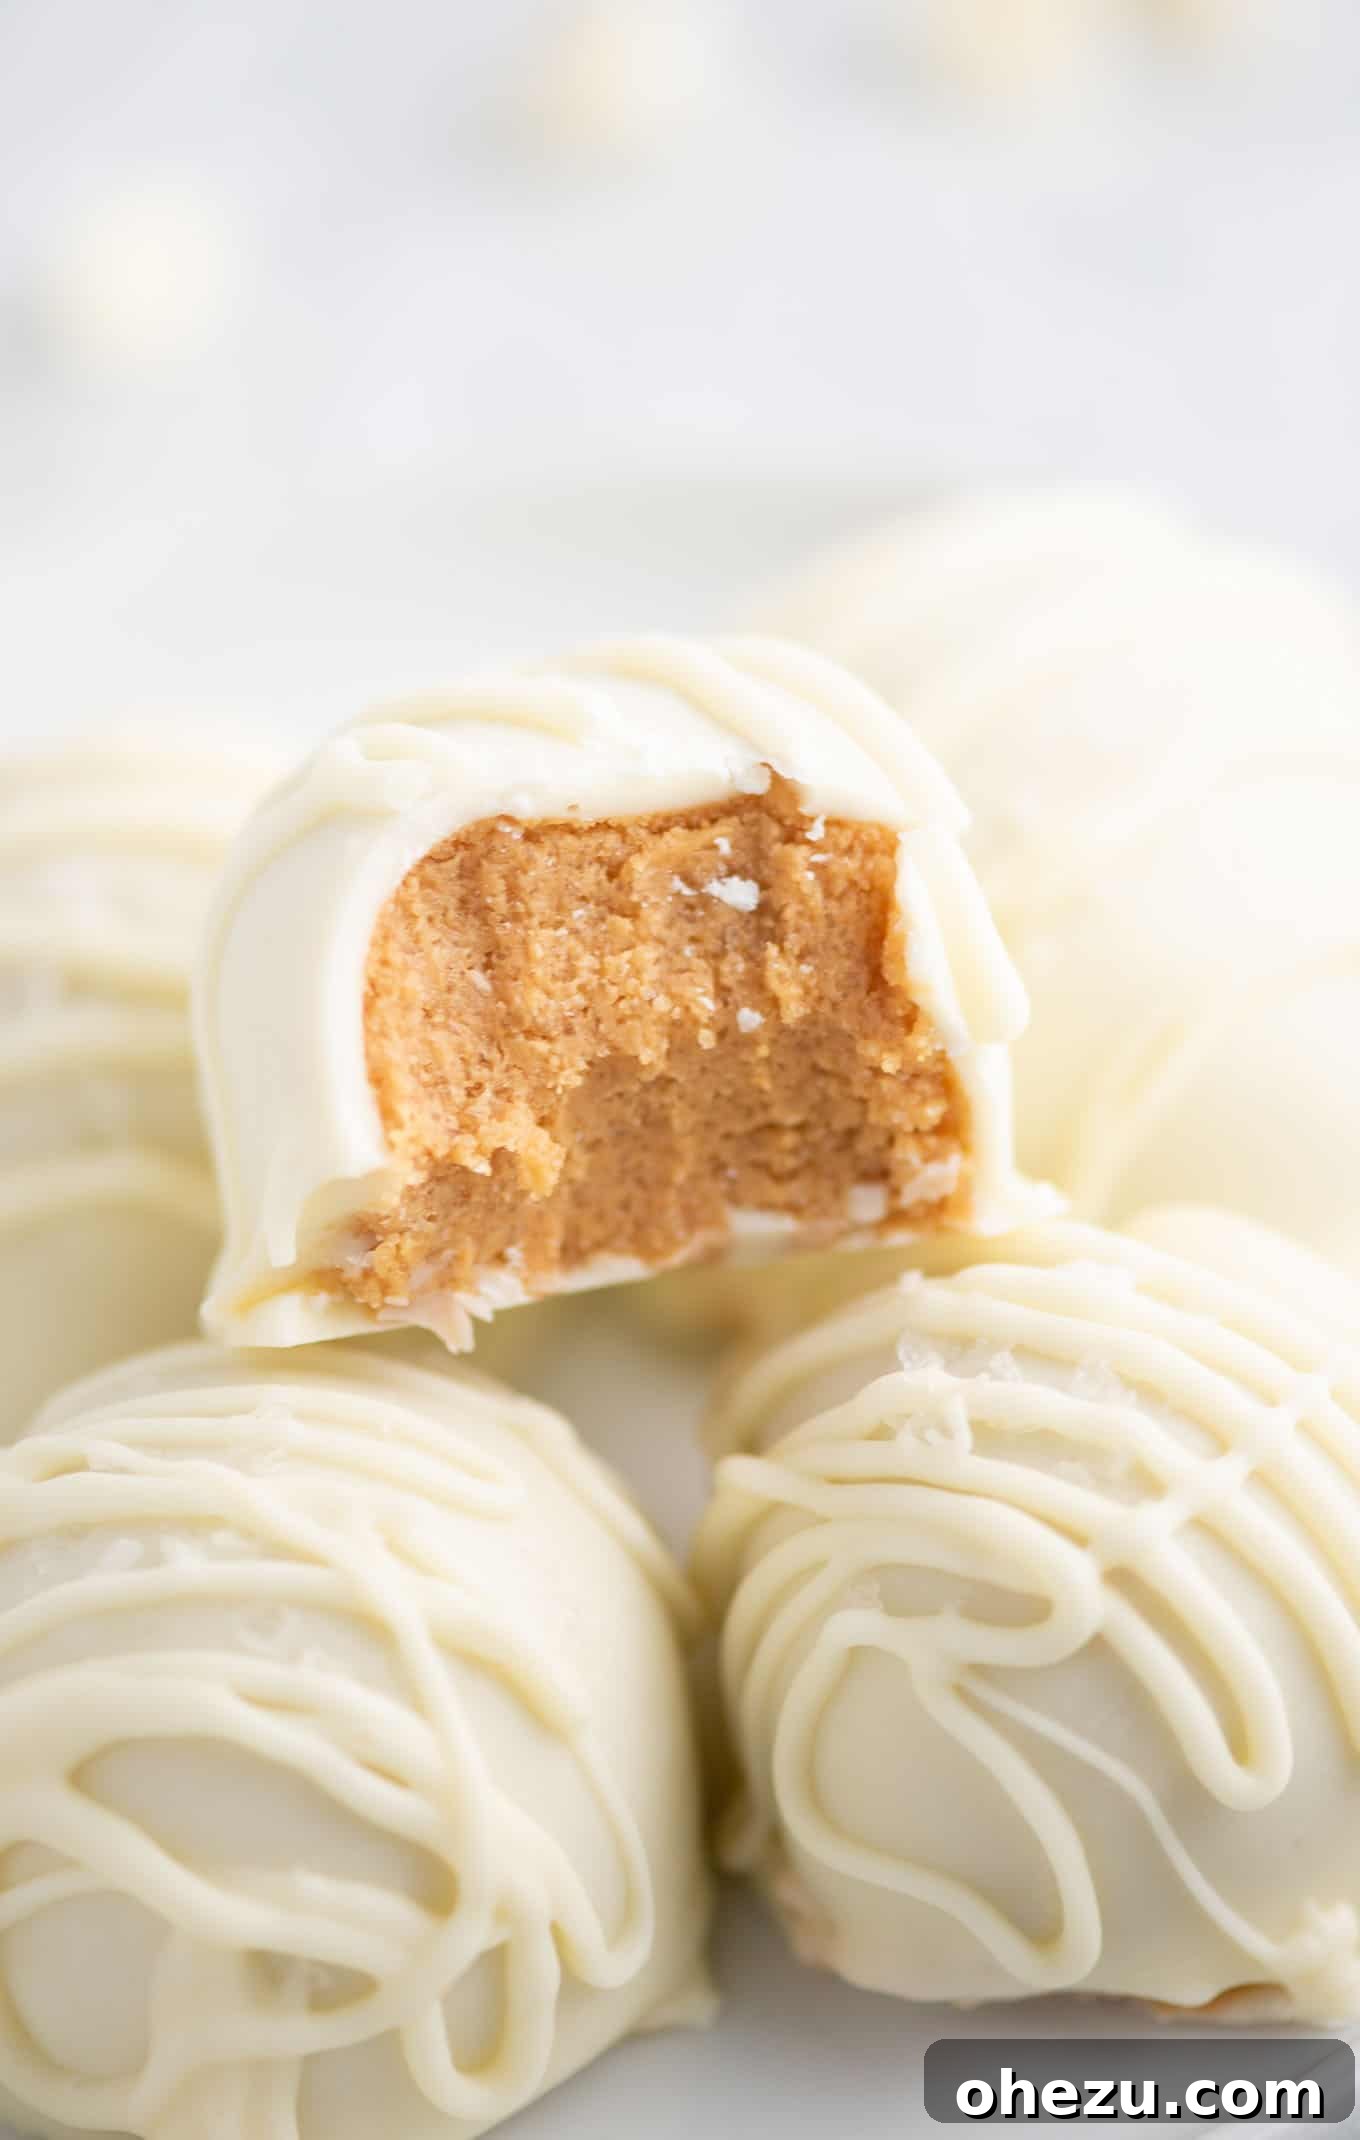
The journey begins with the heart of our treat: the rich and creamy peanut butter mixture. In a spacious mixing bowl, combine the creamy no-stir peanut butter, cane sugar, a pinch of salt, coconut flour, and a touch of powdered sugar. Beat these ingredients together until they are thoroughly combined and form a cohesive dough. The texture of your batter is key here. It should be sticky enough to hold its shape, but not so sticky that it’s unmanageable when you begin to form the balls. For an easier and less messy experience, a mini cookie scoop is your best friend. It helps create uniform portions and keeps your hands cleaner.
Shaping and Chilling Your Truffles
Once your peanut butter mixture is ready, line a baking sheet with wax paper. Using your mini cookie scoop or your hands, scoop out portions of the peanut butter batter and place each scoop onto the prepared baking sheet. At this stage, don’t worry about achieving perfectly smooth, round balls. The mixture will be soft, and a rough shape is perfectly fine. The magic happens during the chilling phase. Once the batter has chilled adequately, you can easily roll them again with your hands to refine their shape, resulting in beautifully uniform truffles. This two-step shaping process ensures a perfect form without the struggle of working with sticky dough.

The Decadent Dip: Melting and Coating
After your peanut butter balls have had ample time to chill and firm up, it’s time for the most exciting part: dipping them into luscious white chocolate! Begin by melting your white chocolate baking chips until they are wonderfully smooth and fluid. The simplest and most efficient way to achieve this is by using a microwave-safe bowl. Heat the chocolate in short bursts of 20-30 seconds, stirring thoroughly after each interval, to prevent burning. White chocolate can be delicate, so gentle heating and constant stirring are crucial for a silky, lump-free coating.
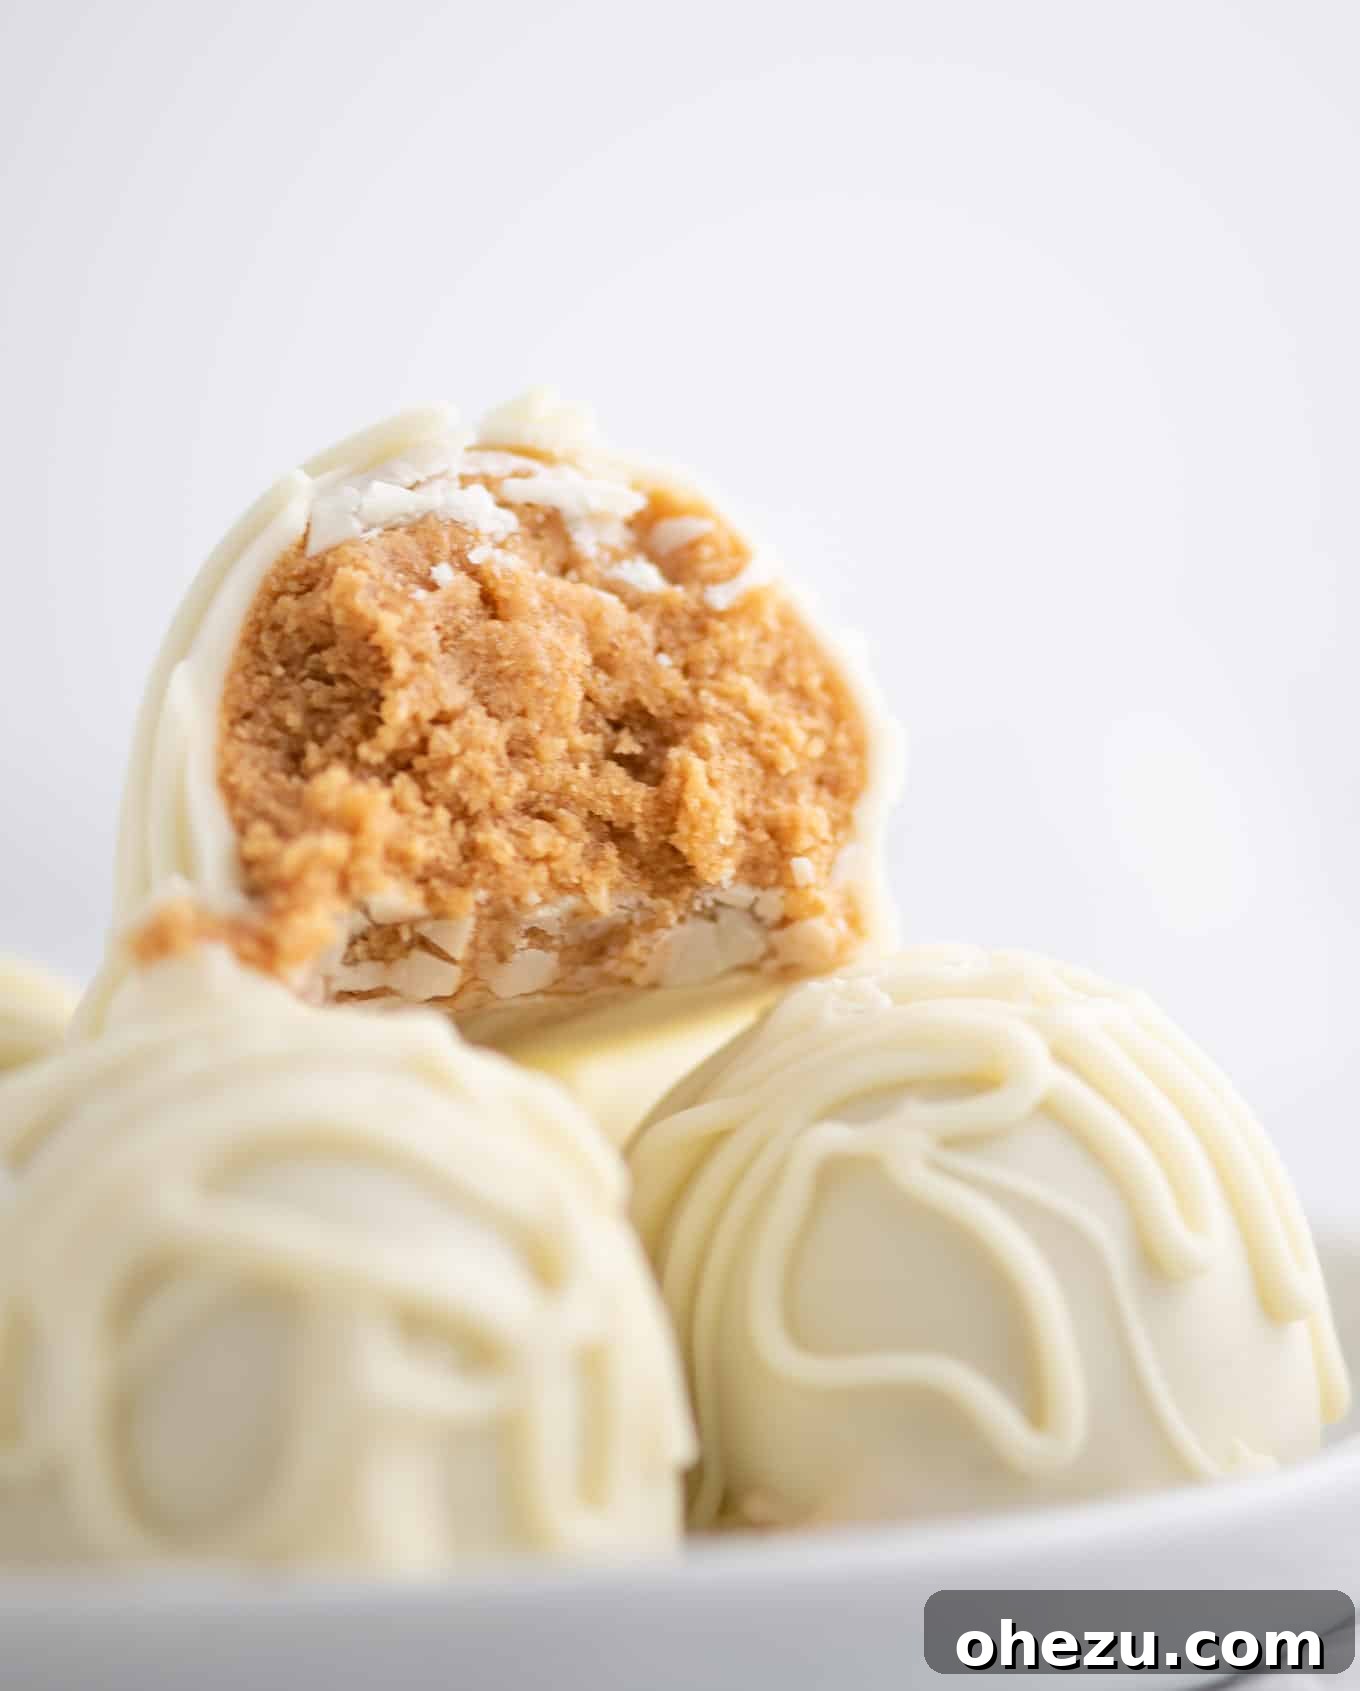
Once your white chocolate is perfectly melted and glossy, you can begin dipping the chilled peanut butter balls. If necessary, give each ball a quick roll with your hands to perfect its shape before gently dropping it into the melted chocolate. Use a spoon to completely cover the ball, ensuring every inch is coated in the sweet white chocolate. Quickly remove the truffle with a fork, tapping the fork gently against the edge of the mixing bowl to remove any excess chocolate. This prevents pooling and ensures a clean, even coat. Finally, use a toothpick to carefully slide the coated peanut butter ball back onto your wax paper-lined baking sheet.
The Finishing Touch: Sea Salt and Drizzle
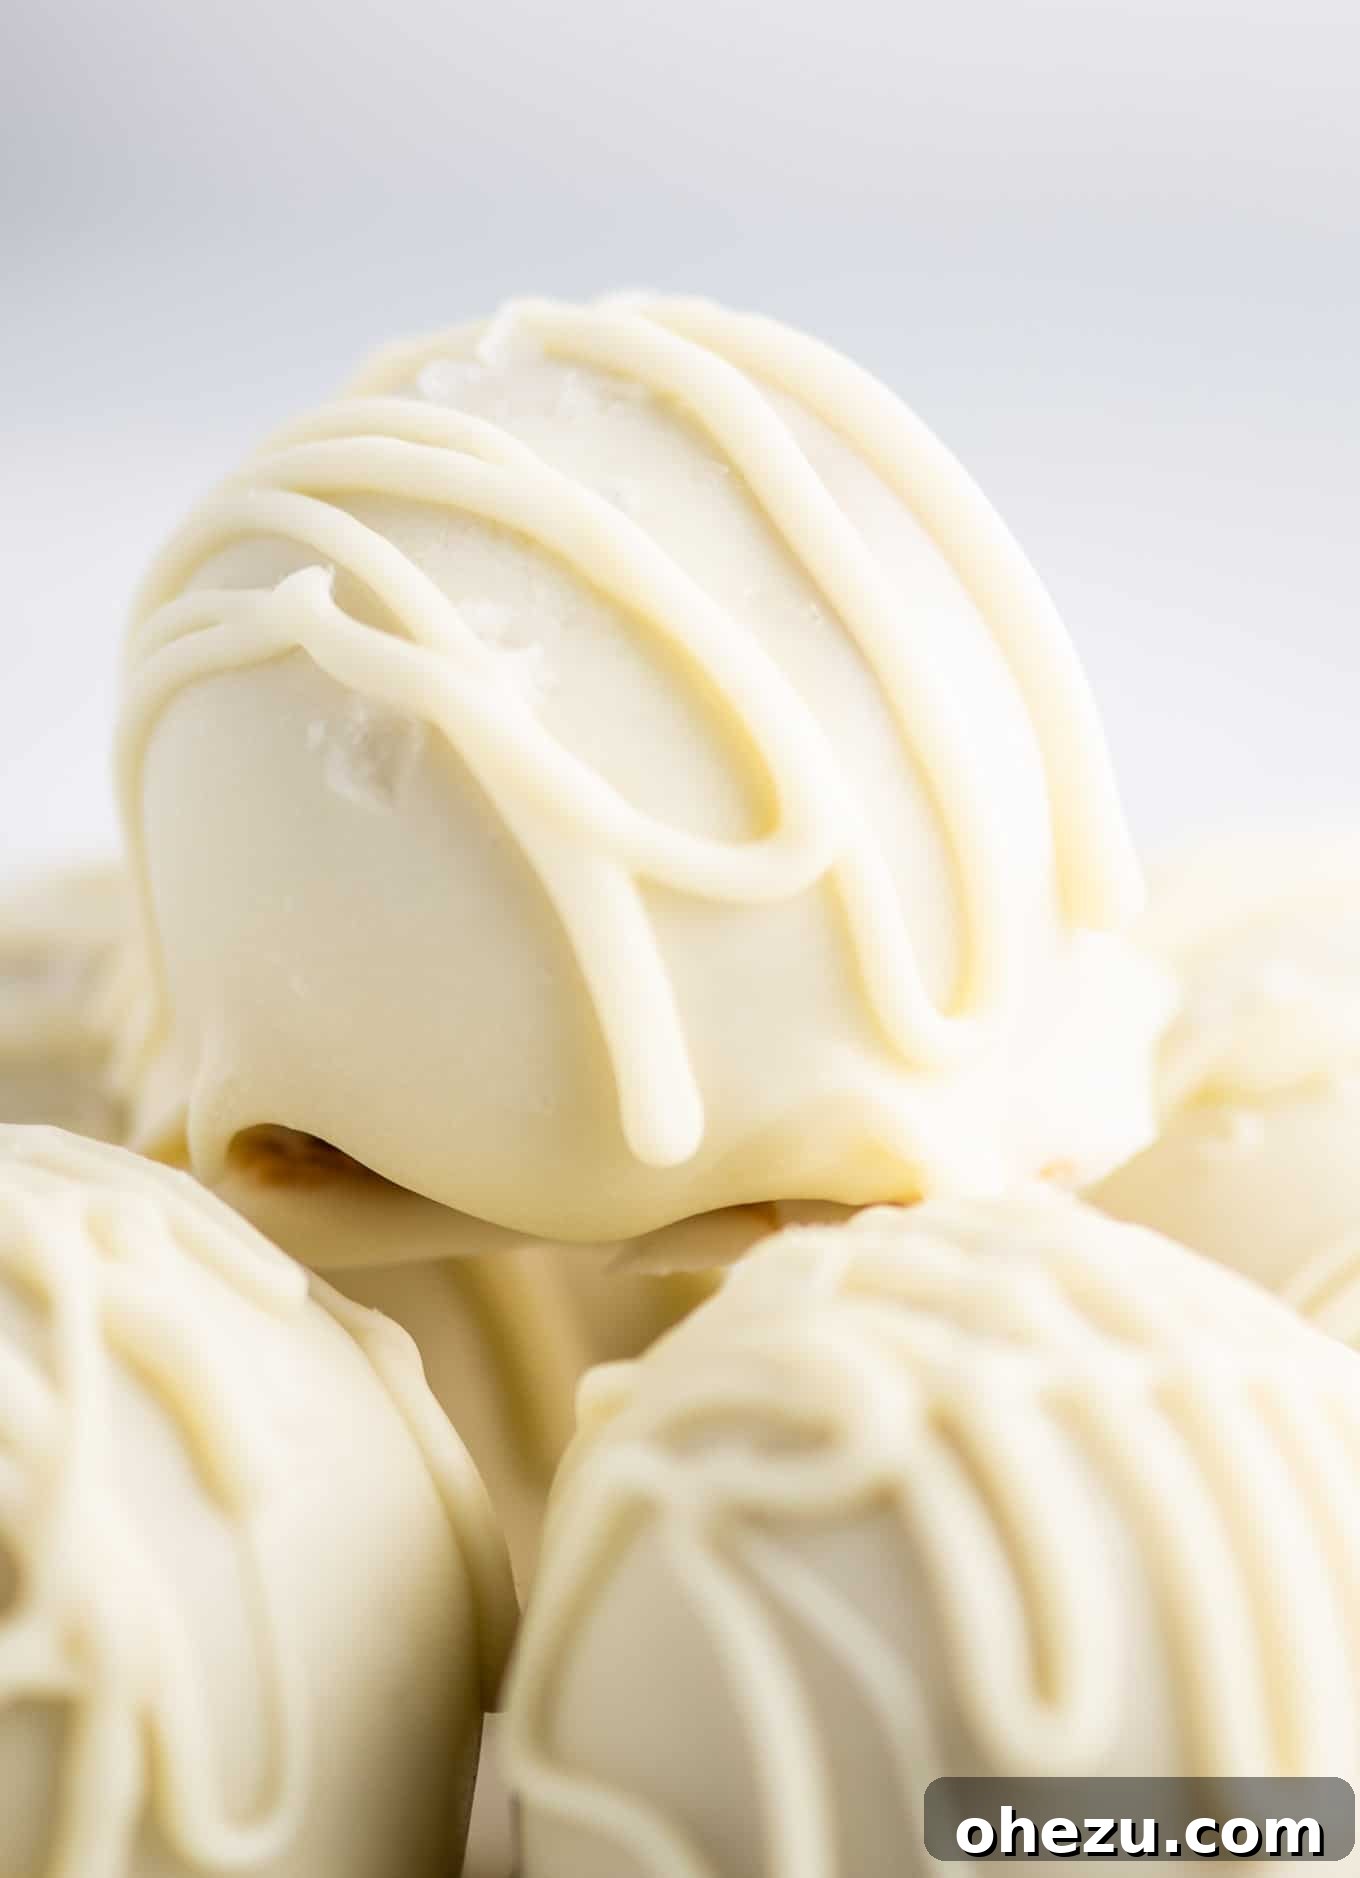
For an elevated flavor profile that truly sets these white chocolate peanut butter balls apart, immediately sprinkle each freshly dipped truffle with a generous pinch of flaked sea salt. It’s essential to do this as you go, rather than waiting until all the balls are dipped. The chocolate needs to be still melted and soft for the salt to adhere properly. This addition provides a perfect salty-sweet contrast, enhancing the rich peanut butter and sweet white chocolate flavors into an unforgettable taste experience.
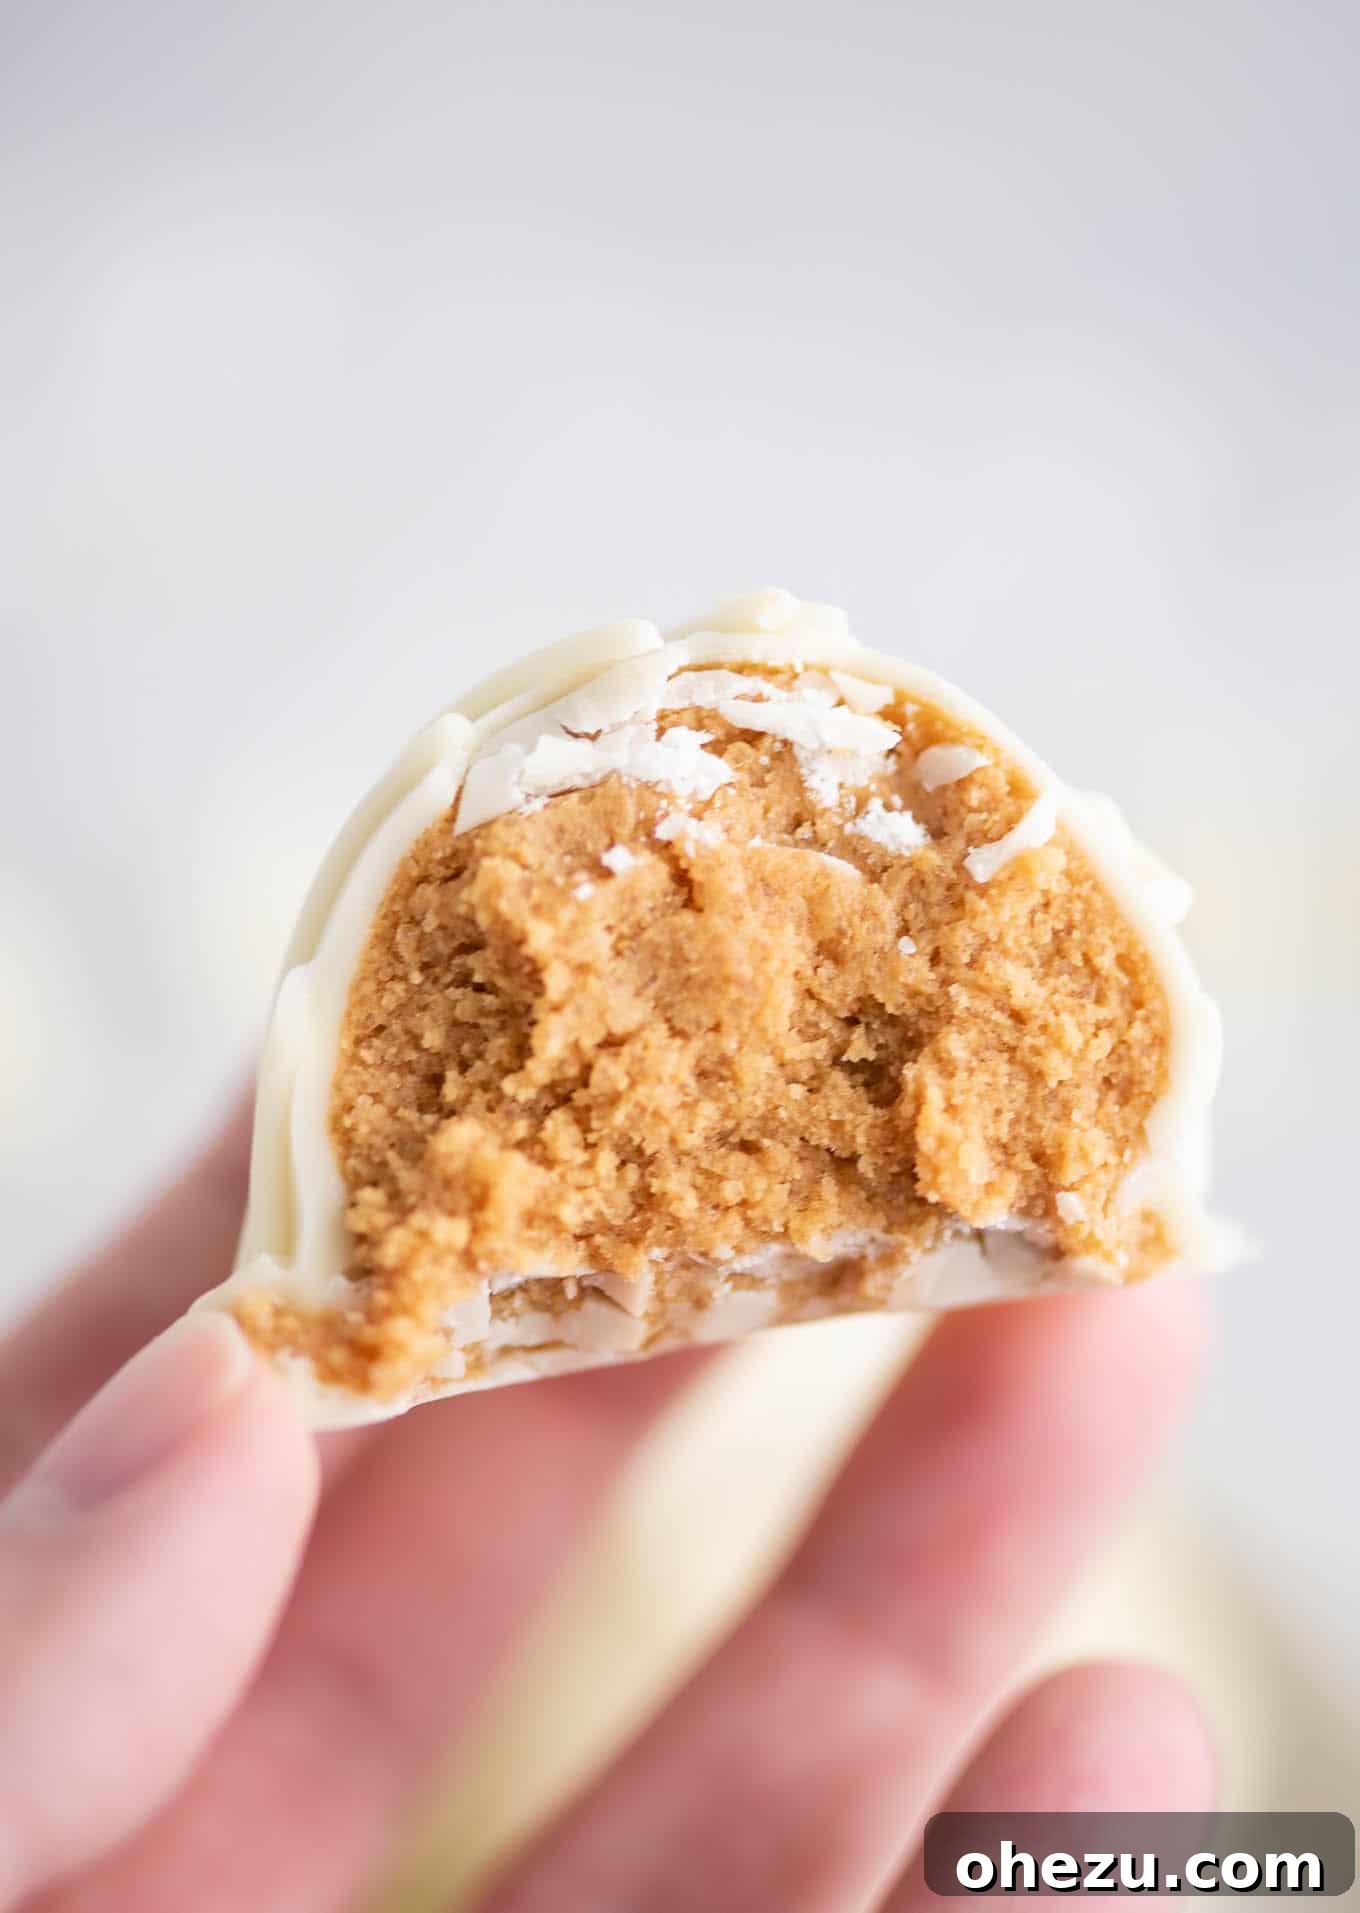
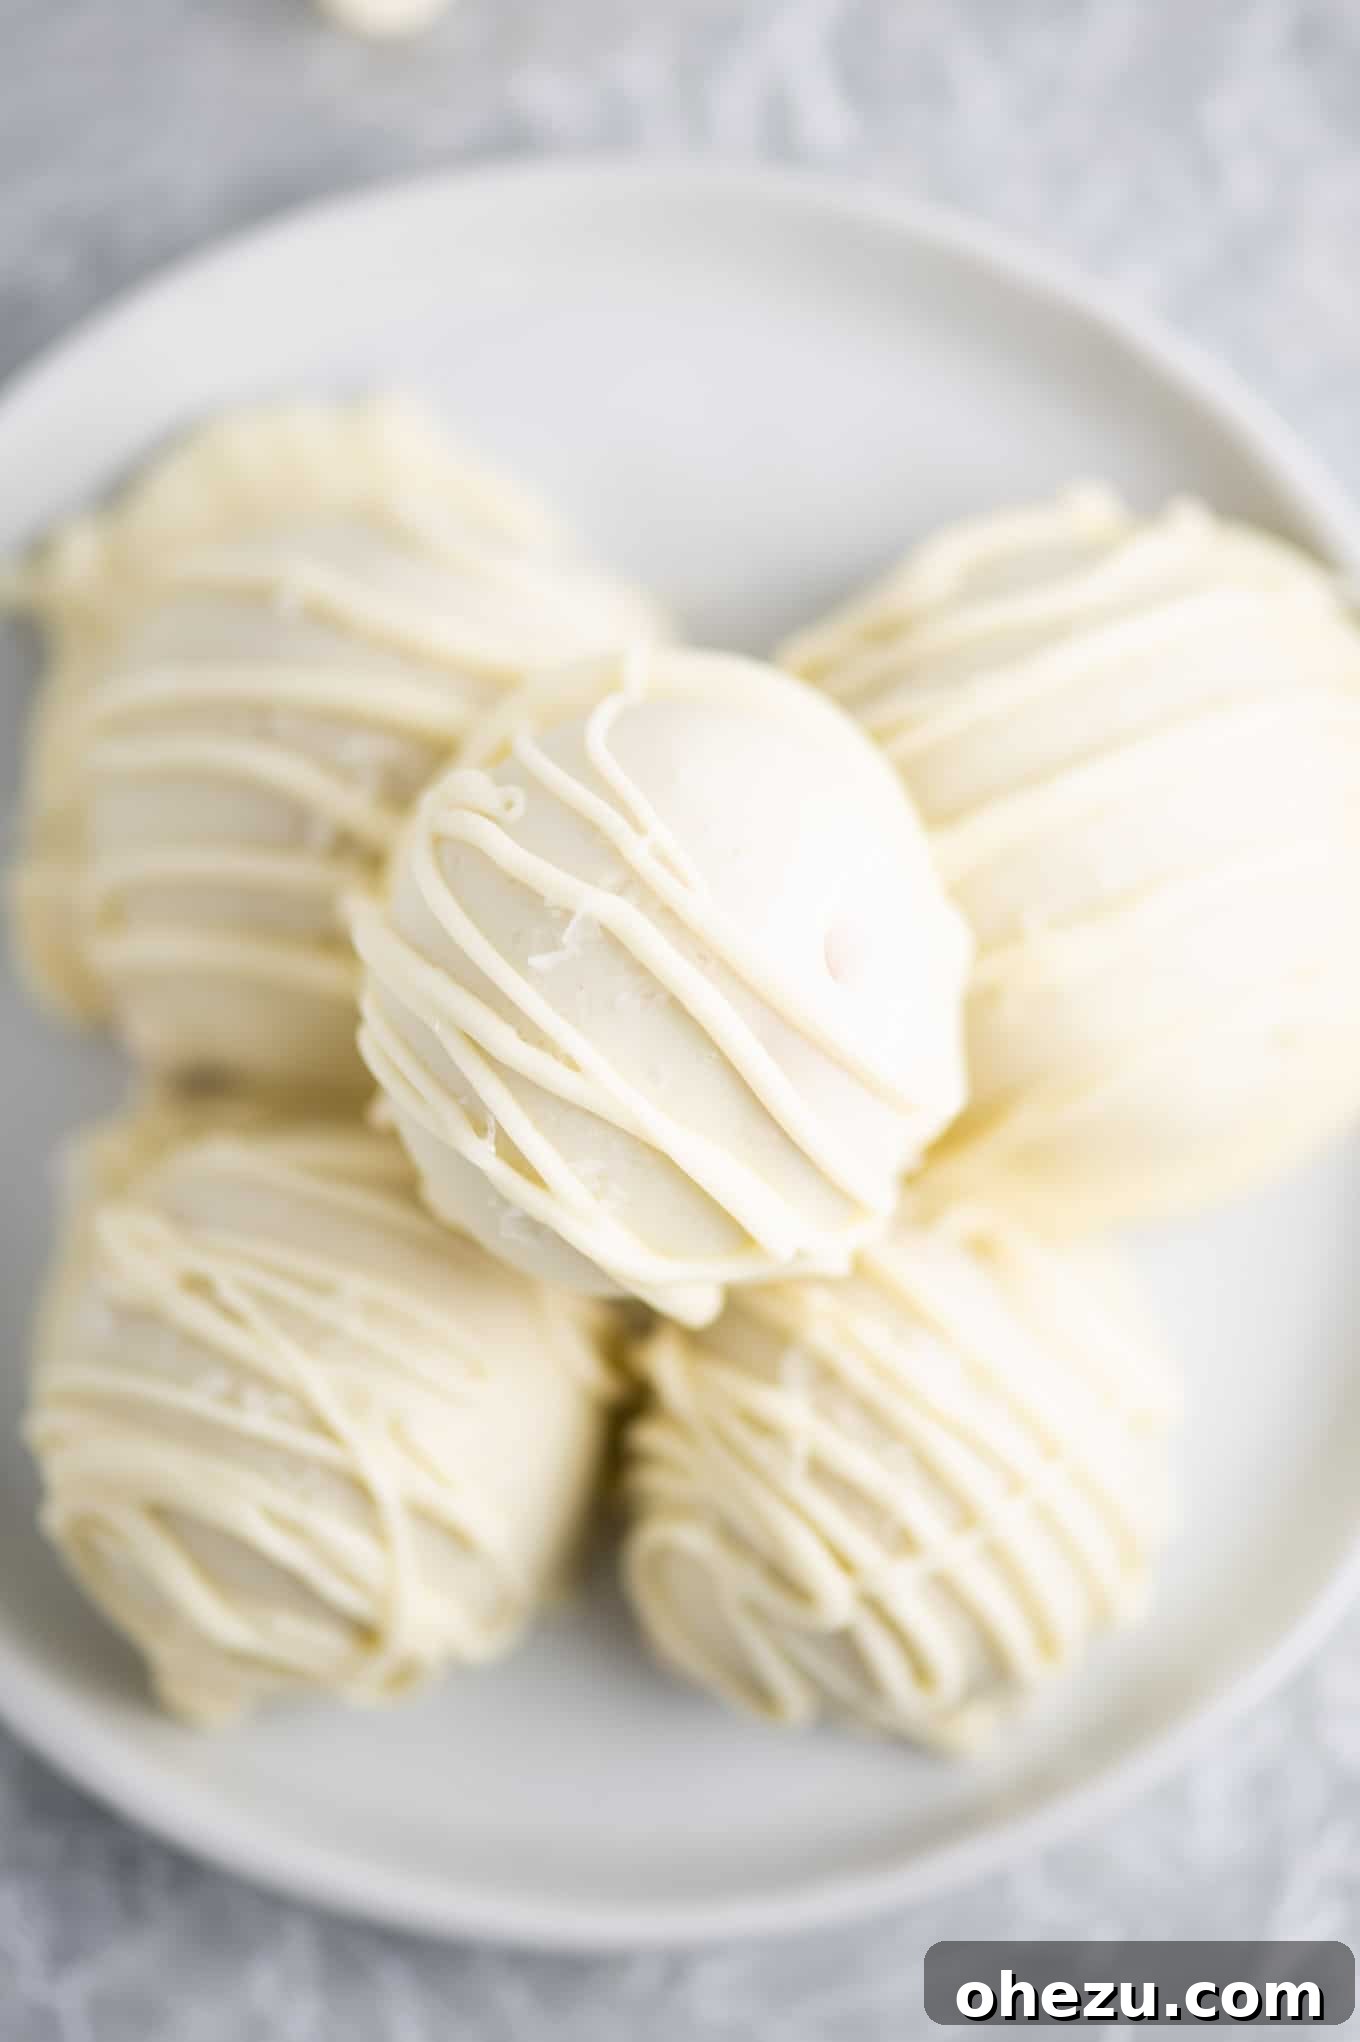
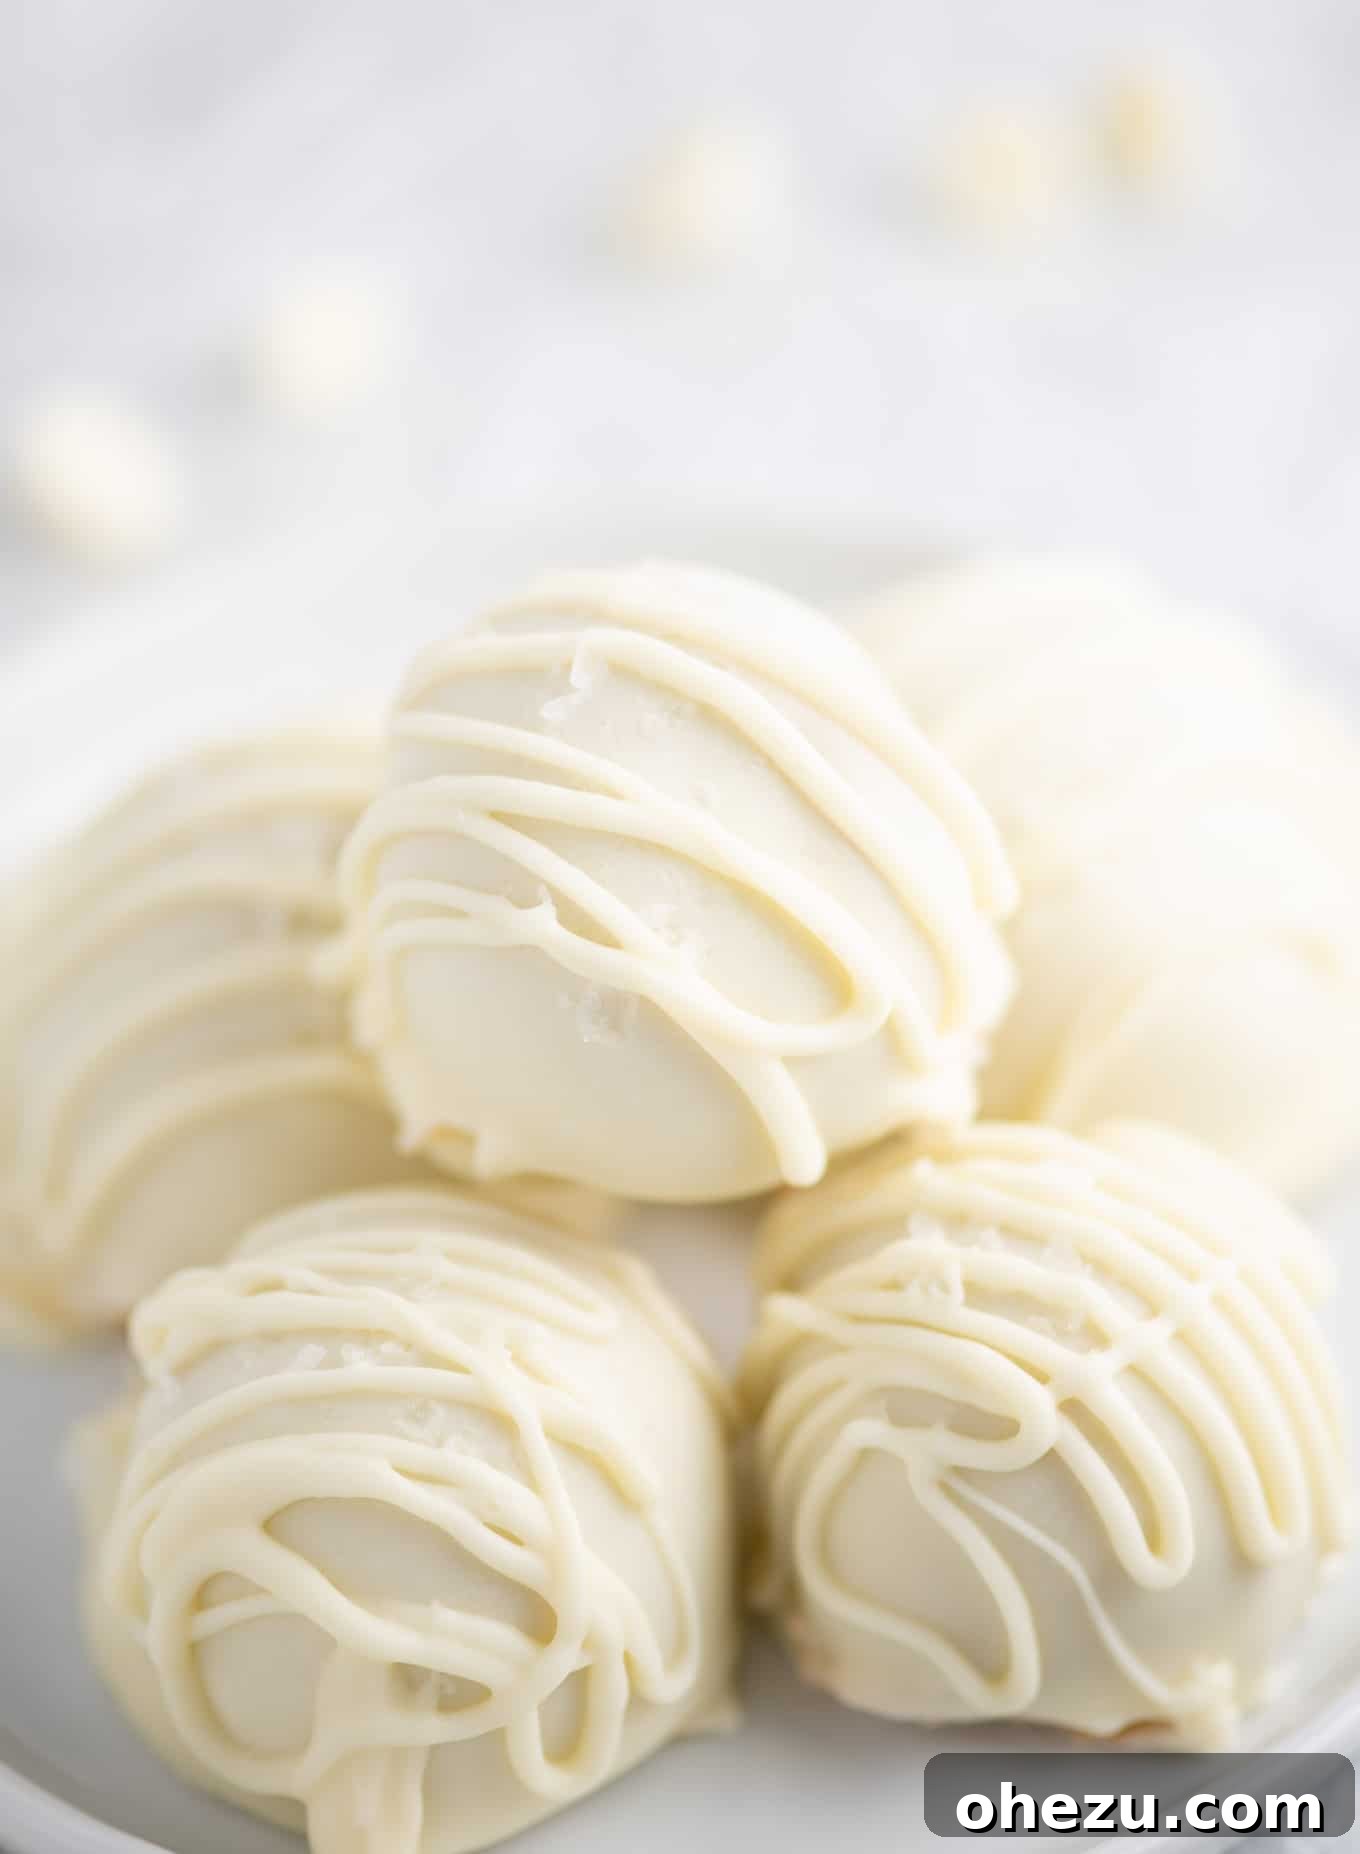
Once all your peanut butter balls are dipped and salted, you’ll likely have some melted white chocolate remaining. Don’t discard it! This is precisely what you’ll use to create that elegant drizzle over the tops. First, allow the dipped peanut butter balls to chill in the refrigerator for about 15 minutes, or until the chocolate coating is set and firm. While they are chilling, gently re-warm any leftover white chocolate until it’s fluid again. Transfer this warmed chocolate into a small ziploc bag. Snip off a tiny corner of the bag to create a fine opening, and then artfully drizzle the white chocolate over the tops of the peanut butter balls. This adds a beautiful visual appeal and an extra layer of chocolatey goodness. Return them to the fridge for a final chill until the drizzle is completely hardened, then they’re ready to serve!
Creative Toppings and Variations for Peanut Butter Truffles
One of the best aspects of these peanut butter truffles is their versatility. Feel free to unleash your creativity and customize them with an array of toppings to suit your taste or match any occasion. Remember, the golden rule for toppings is to sprinkle them immediately after dipping each truffle, while the chocolate is still melted and tacky, ensuring they adhere beautifully.
Topping Ideas to Elevate Your Truffles:
- Crushed up Oreos: For a classic cookies and cream twist.
- Finely Chopped Nuts: Almonds, pecans, or walnuts add a delightful crunch.
- Festive Sprinkles: Perfect for holidays or birthday celebrations.
- Toasted Flaked Coconut: Brings a tropical note and chewy texture.
- Mini Chocolate Chips: A simple yet effective chocolatey embellishment.
- Crushed Pretzels: For an extra layer of salty crunch and unique texture.
- Swirled Dark or Milk Chocolate: Instead of a white chocolate drizzle, use a contrasting chocolate for an elegant marble effect.
- Candy Cane Pieces: Crushed candy canes are fantastic for a minty, festive touch during the holidays.
Storage Tips for Your White Chocolate Peanut Butter Balls
Proper storage is key to keeping these delicious peanut butter balls fresh and enjoyable for longer. Store any leftover truffles in an airtight container to prevent them from drying out or absorbing other odors from your refrigerator. They will stay perfectly fresh and delicious in the fridge for up to a week. For longer storage, these truffles freeze exceptionally well. Place them in a single layer in an airtight freezer-safe container or bag. They can be kept in the freezer for up to a month, making them an excellent make-ahead treat for future gatherings or unexpected cravings. Simply thaw them in the refrigerator for a few hours before serving, or enjoy them straight from the freezer for a firmer, chilled delight.
Frequently Asked Questions about White Chocolate Peanut Butter Balls
Here are answers to some common questions you might have:
Can I use natural peanut butter?
While this recipe specifies creamy no-stir peanut butter for consistency, you can use natural peanut butter. However, ensure it’s well-stirred and doesn’t have too much oil separation. You might need to adjust the amount of coconut flour or powdered sugar slightly to achieve the right consistency, as natural peanut butter can be runnier. Add a little extra coconut flour until the mixture is firm enough to roll.
What if my chocolate seizes?
Chocolate seizes when it comes into contact with even a tiny amount of water, or if it gets too hot too quickly. To avoid this, ensure all your bowls and utensils are completely dry. When melting in the microwave, use short intervals and stir frequently. If your chocolate does seize and becomes thick and grainy, unfortunately, it’s often beyond repair for dipping. It’s best to start with a fresh batch.
Can I use other types of chocolate for dipping?
Absolutely! While white chocolate offers a beautiful contrast and sweet flavor, these peanut butter balls are also fantastic dipped in milk chocolate or dark chocolate. You can even do a mix for variety. Ensure you use good quality baking chips or melting wafers for the best results, as they melt more smoothly than regular chocolate bars.
Can I make them ahead of time?
Yes, these are an excellent make-ahead dessert! You can prepare the peanut butter mixture and form the balls, then chill them for several days in the refrigerator (or freeze them for up to a month) before dipping. Once dipped and hardened, they store beautifully in the fridge for up to a week.
Why use coconut flour?
Coconut flour is used here as a low-carb, high-fiber alternative to using excessive amounts of powdered sugar to thicken the peanut butter mixture. It helps absorb moisture and gives the truffles a pleasant, dense yet tender texture without making them overly sweet.
More Irresistible Holiday and No-Bake Recipes You Will Adore
If you’ve fallen in love with the simplicity and deliciousness of these White Chocolate Peanut Butter Balls, you’re in for a treat! Explore these other fantastic recipes that are perfect for holidays, entertaining, or simply satisfying your sweet tooth, many of which are also wonderfully easy and no-bake:
- No Bake Peanut Butter Truffles: For a slightly healthier take on a classic.
- No Bake Avalanche Cookies: A delightful blend of peanut butter, marshmallows, and chocolate.
- Pumpkin Cheesecake Truffles: Seasonal perfection in a bite-sized form.
- Christmas Cookie Bars: Easy, festive, and perfect for sharing.
- Peanut Clusters: Another incredibly simple chocolate and peanut butter favorite.
- Christmas Crack Recipe: Addictively sweet and salty, perfect for gifting.
Are you making this delightful recipe? We would absolutely love to see your creations! Don’t forget to tag us on Instagram @buildyourbite and use the hashtag #buildyourbite with your beautiful recipe photos! Your culinary masterpieces inspire us!
For more scrumptious recipes and daily dose of culinary inspiration, be sure to pin this recipe for later and follow Build Your Bite on Pinterest!
If you’ve tried this recipe and loved it, please take a moment to leave a star rating and comment below. Your feedback helps other home cooks discover and enjoy these wonderful treats!
White Chocolate Peanut Butter Balls
By: Joy Shull
These salted white chocolate peanut butter balls are always a hit! Easy holiday treat that everyone will love.
Prep Time: 30 mins
Additional Time (Chill): 15 mins
Total Time: 45 mins
Servings: 10
Ingredients
- 3/4 cup creamy no-stir peanut butter
- 1/2 cup cane sugar
- 1/8 teaspoon salt
- 1/4 cup coconut flour
- 2 tablespoons powdered sugar
- 2 cups white chocolate baking chips
- Flaked sea salt, for topping
Instructions
- In a mixing bowl, beat together the creamy no-stir peanut butter, cane sugar, salt, coconut flour, and powdered sugar until well combined.
- Use a mini cookie scoop or your hands to form the truffle batter into balls and place them on a baking sheet covered with wax paper (this recipe yields 10-12 truffles).
- Chill the peanut butter balls for 20 minutes in the freezer to firm them up.
- Melt white chocolate chips in the microwave in 20-30 second increments, stirring well after each interval, until smooth and fully melted. Be careful not to burn the chocolate.
- Remove the peanut butter balls from the freezer and begin the dipping process.
- Place each peanut butter ball into the melted white chocolate and use a spoon to fully coat it.
- Carefully remove the truffle with a fork, tapping it gently on the edge of the bowl to remove any excess chocolate.
- Use a toothpick to slide the coated peanut butter ball back onto the prepared baking sheet.
- Immediately top each dipped ball with flaked sea salt before the chocolate hardens.
- Once all peanut butter balls are dipped, place them in the fridge for 15 minutes, or until the chocolate is completely set.
- For the optional white chocolate drizzle, warm up any remaining dipping chocolate and transfer it to a small ziploc bag.
- Cut off a tiny piece from the corner tip of the bag and artfully drizzle white chocolate over the tops of the hardened peanut butter balls for added texture and visual appeal.
- Return the peanut butter balls to the refrigerator and chill until the drizzle is totally hardened, then serve and enjoy!
Nutrition (per serving)
Calories: 367kcal, Carbohydrates: 39g, Protein: 7g, Fat: 22g, Saturated Fat: 9g, Polyunsaturated Fat: 3g, Monounsaturated Fat: 8g, Cholesterol: 8mg, Sodium: 151mg, Potassium: 212mg, Fiber: 2g, Sugar: 35g, Vitamin A: 11IU, Vitamin C: 0.2mg, Calcium: 81mg, Iron: 1mg
Like this recipe? We’d love for you to rate it and leave a comment below!