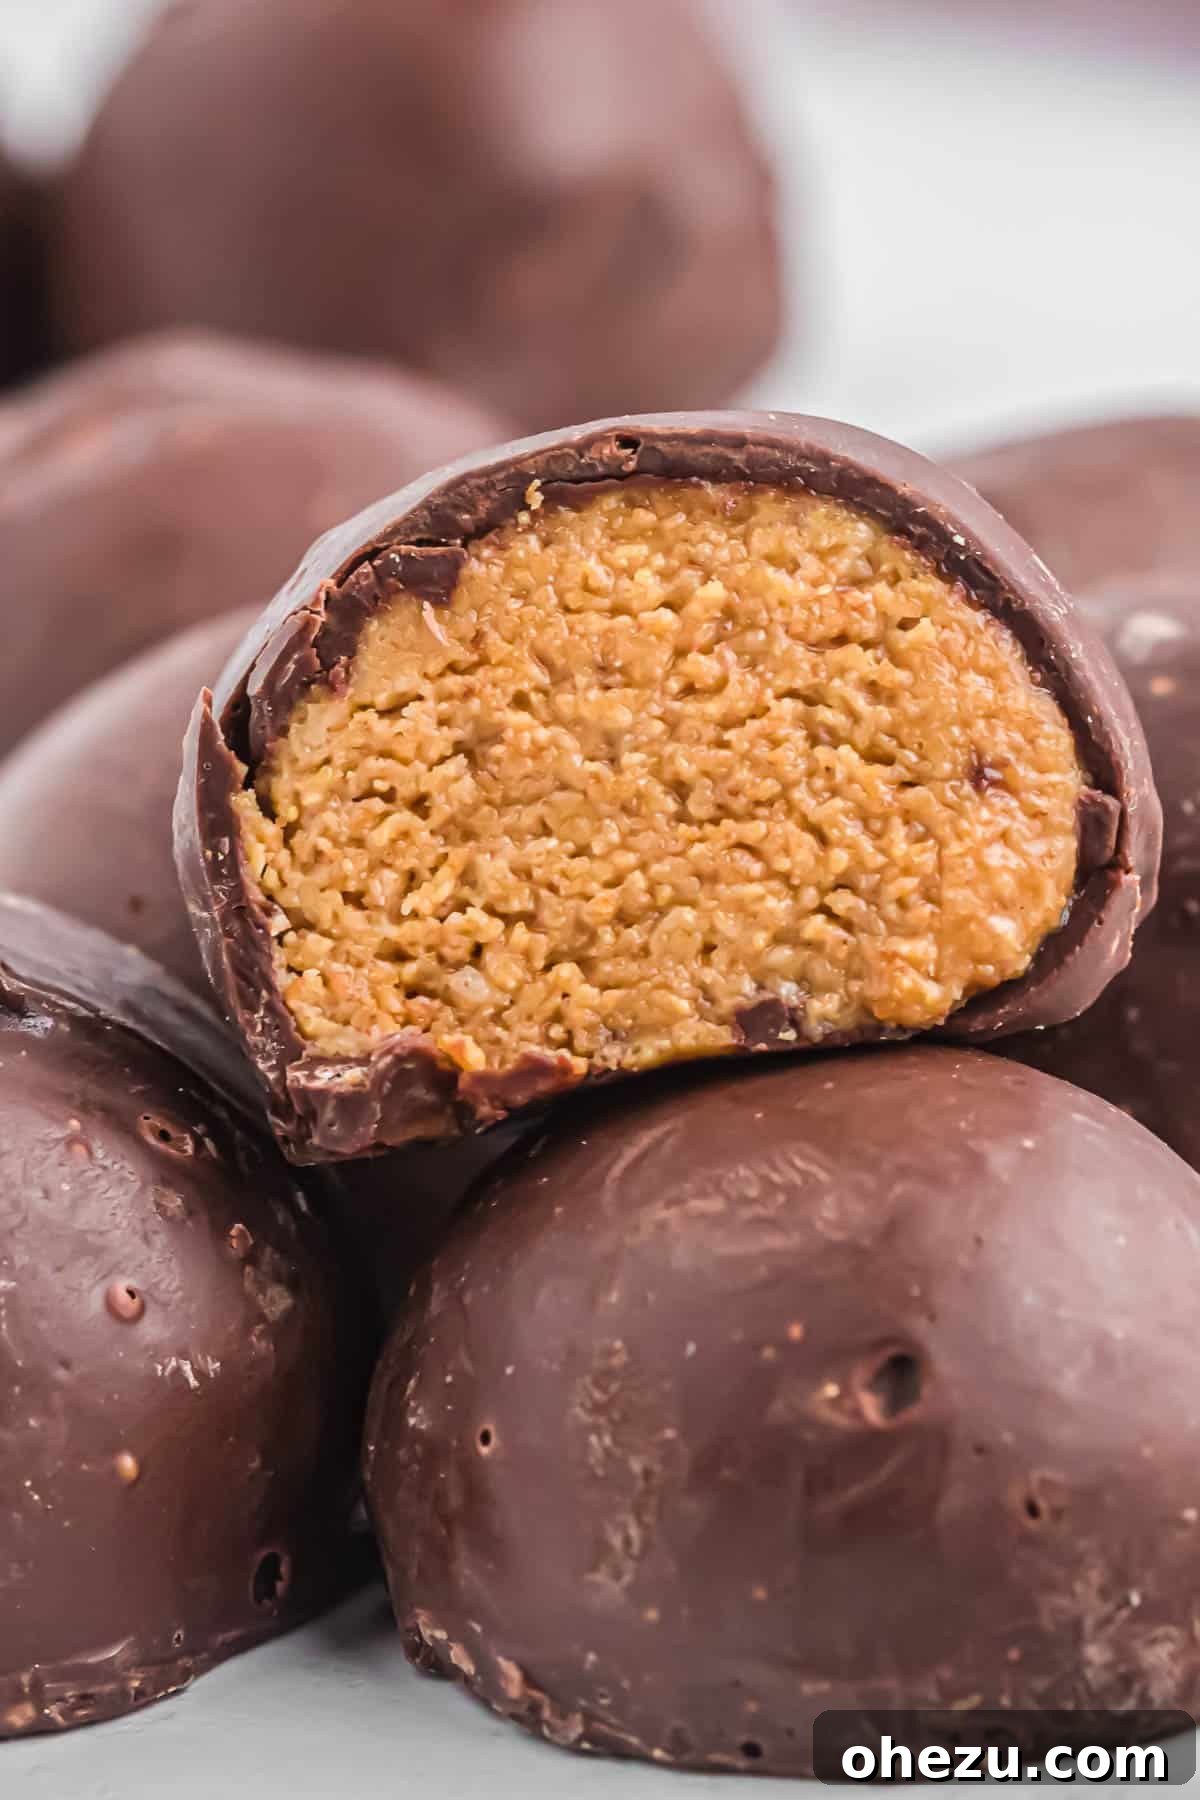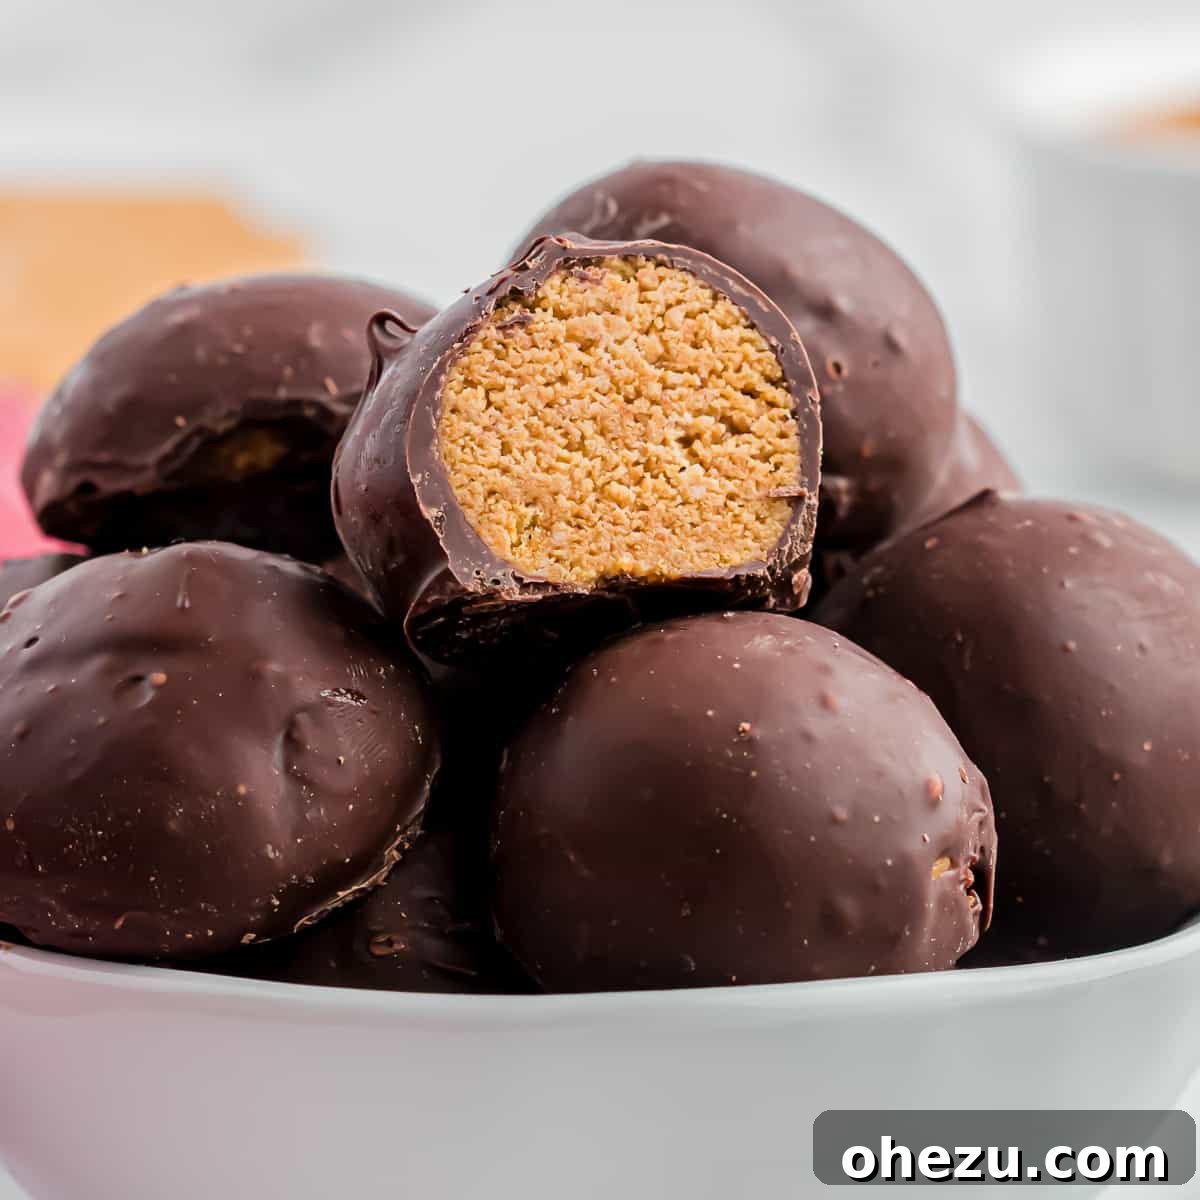
These Peanut Butter Balls With Graham Crackers are a delicious no bake dessert. The best no bake candy recipe for the holidays!
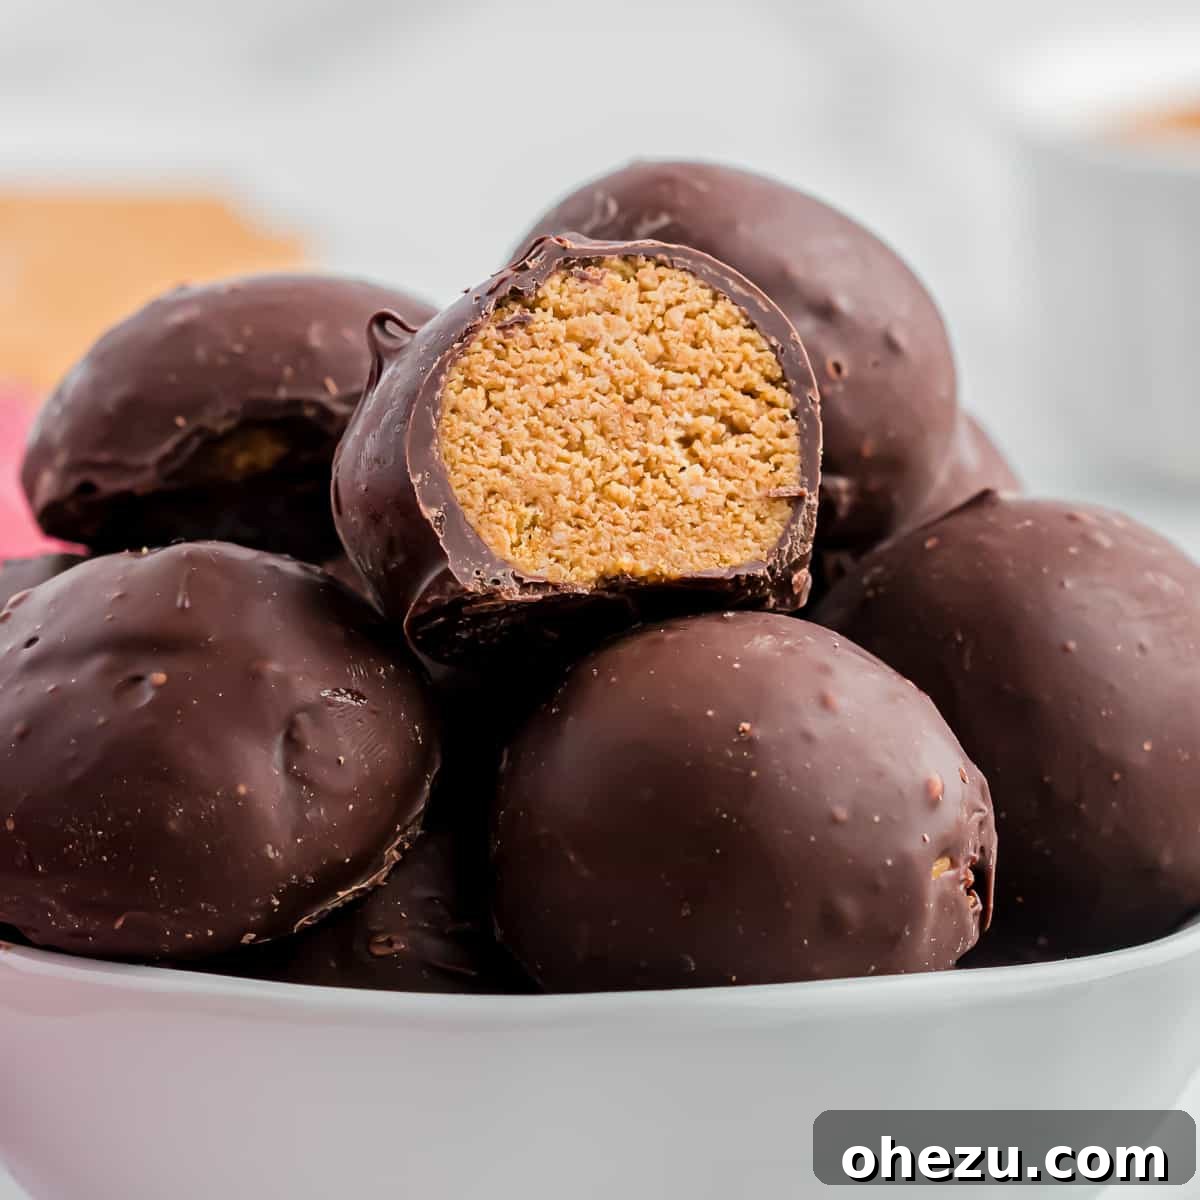
Irresistible No-Bake Peanut Butter Balls with Graham Crackers: A Holiday Favorite
Are you searching for a delightful, fuss-free dessert that captures the essence of the holidays? Look no further! These sensational Peanut Butter Balls with Graham Crackers are an absolute game-changer. This recipe elevates the beloved peanut butter ball by introducing a secret ingredient: finely crushed graham crackers. The result is a truly irresistible no-bake treat boasting a perfect balance of creamy and crunchy textures, all enveloped in a rich chocolate coating.
During the busy holiday season, time is precious. That’s why no-bake desserts become cherished traditions. These chocolate-covered peanut butter confections are not just easy; they are a staple in our home, bringing joy from Thanksgiving all the way through New Year’s. Imagine biting into a treat that tastes like a gourmet Reese’s cup, but with an added, delightful crunch. With just six simple ingredients, you can create a batch of these mouth-watering candies that will impress everyone.
The Secret to Extraordinary Peanut Butter Balls: Graham Crackers
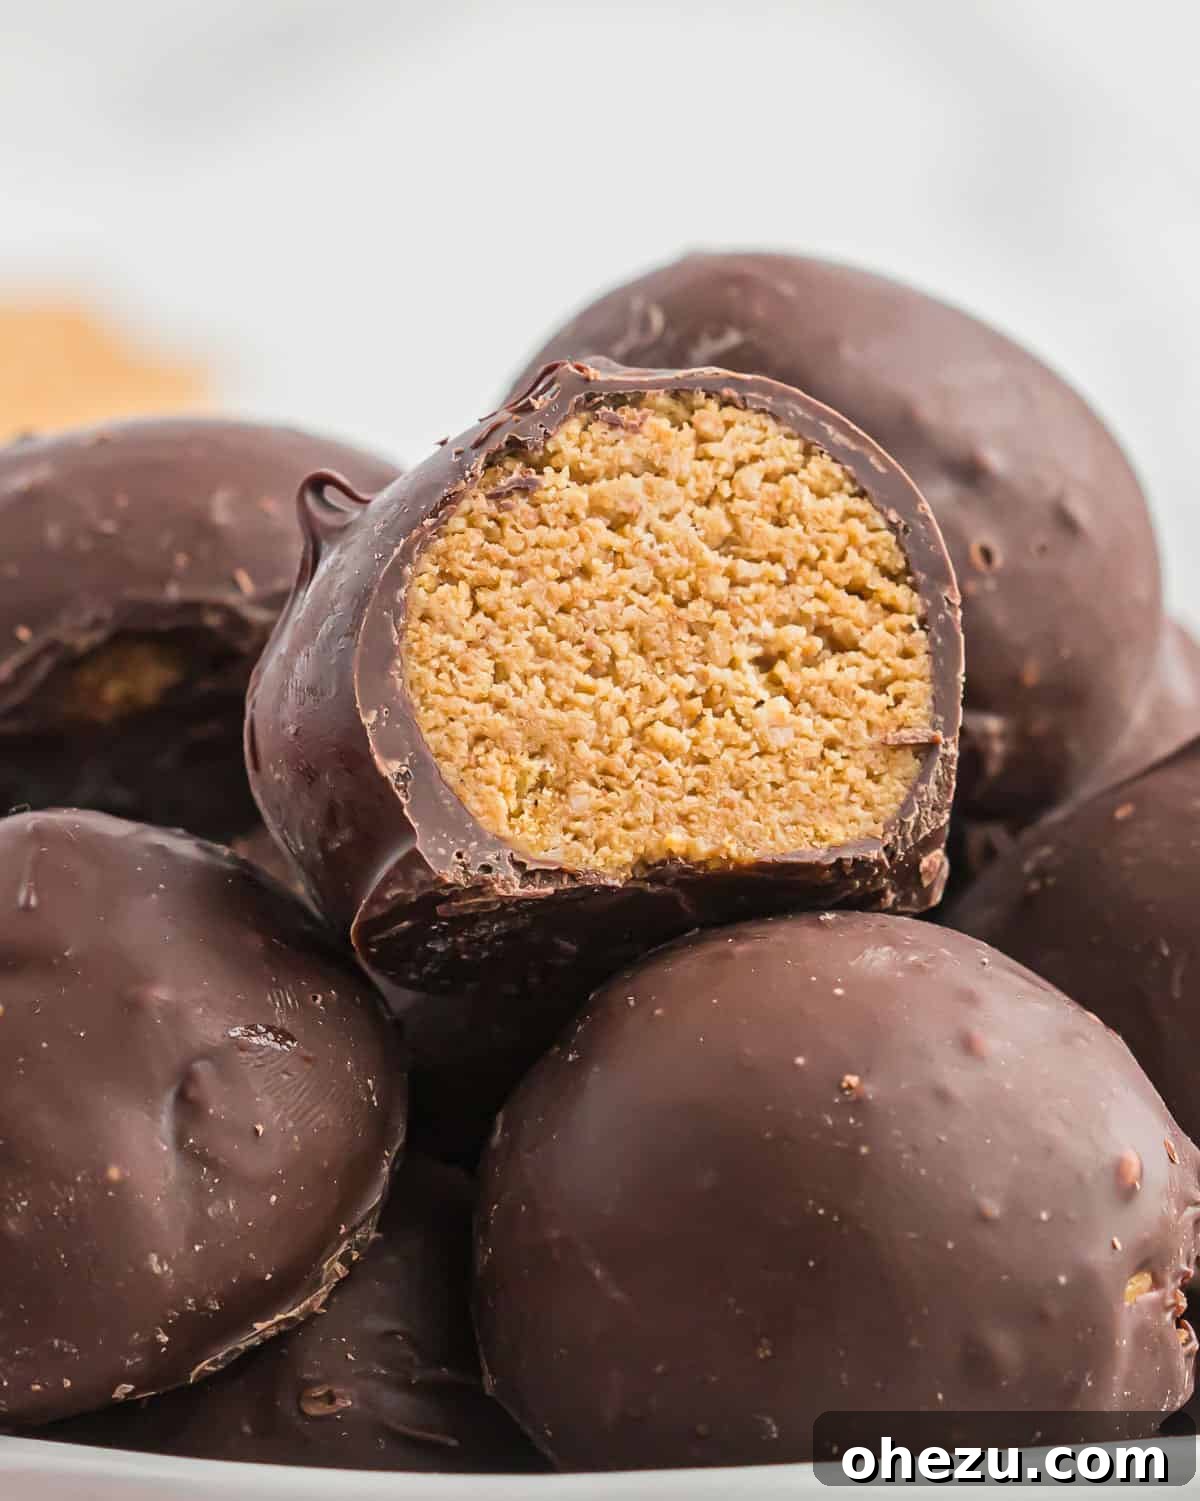
What makes these particular peanut butter balls stand out from the rest? It’s the ingenious addition of crushed graham cracker crumbs. Many traditional recipes rely solely on powdered sugar to bind the peanut butter mixture, but graham crackers introduce a whole new dimension of flavor and texture. They impart a subtle honey sweetness and a satisfying, delicate crunch that contrasts beautifully with the smooth, rich peanut butter filling. This isn’t merely a filler; it’s a crucial component that transforms a simple treat into an unforgettable experience.
Once you try peanut butter balls prepared this way, you’ll understand why it becomes an instant classic. The graham crackers add a delightful depth, making each bite more complex and enjoyable. It’s a small tweak that yields a huge difference in taste and texture, ensuring these no-bake peanut butter treats become a requested favorite year after year. Prepare to be amazed by how this one ingredient can elevate your homemade candy game!
Essential Ingredients and Helpful Notes
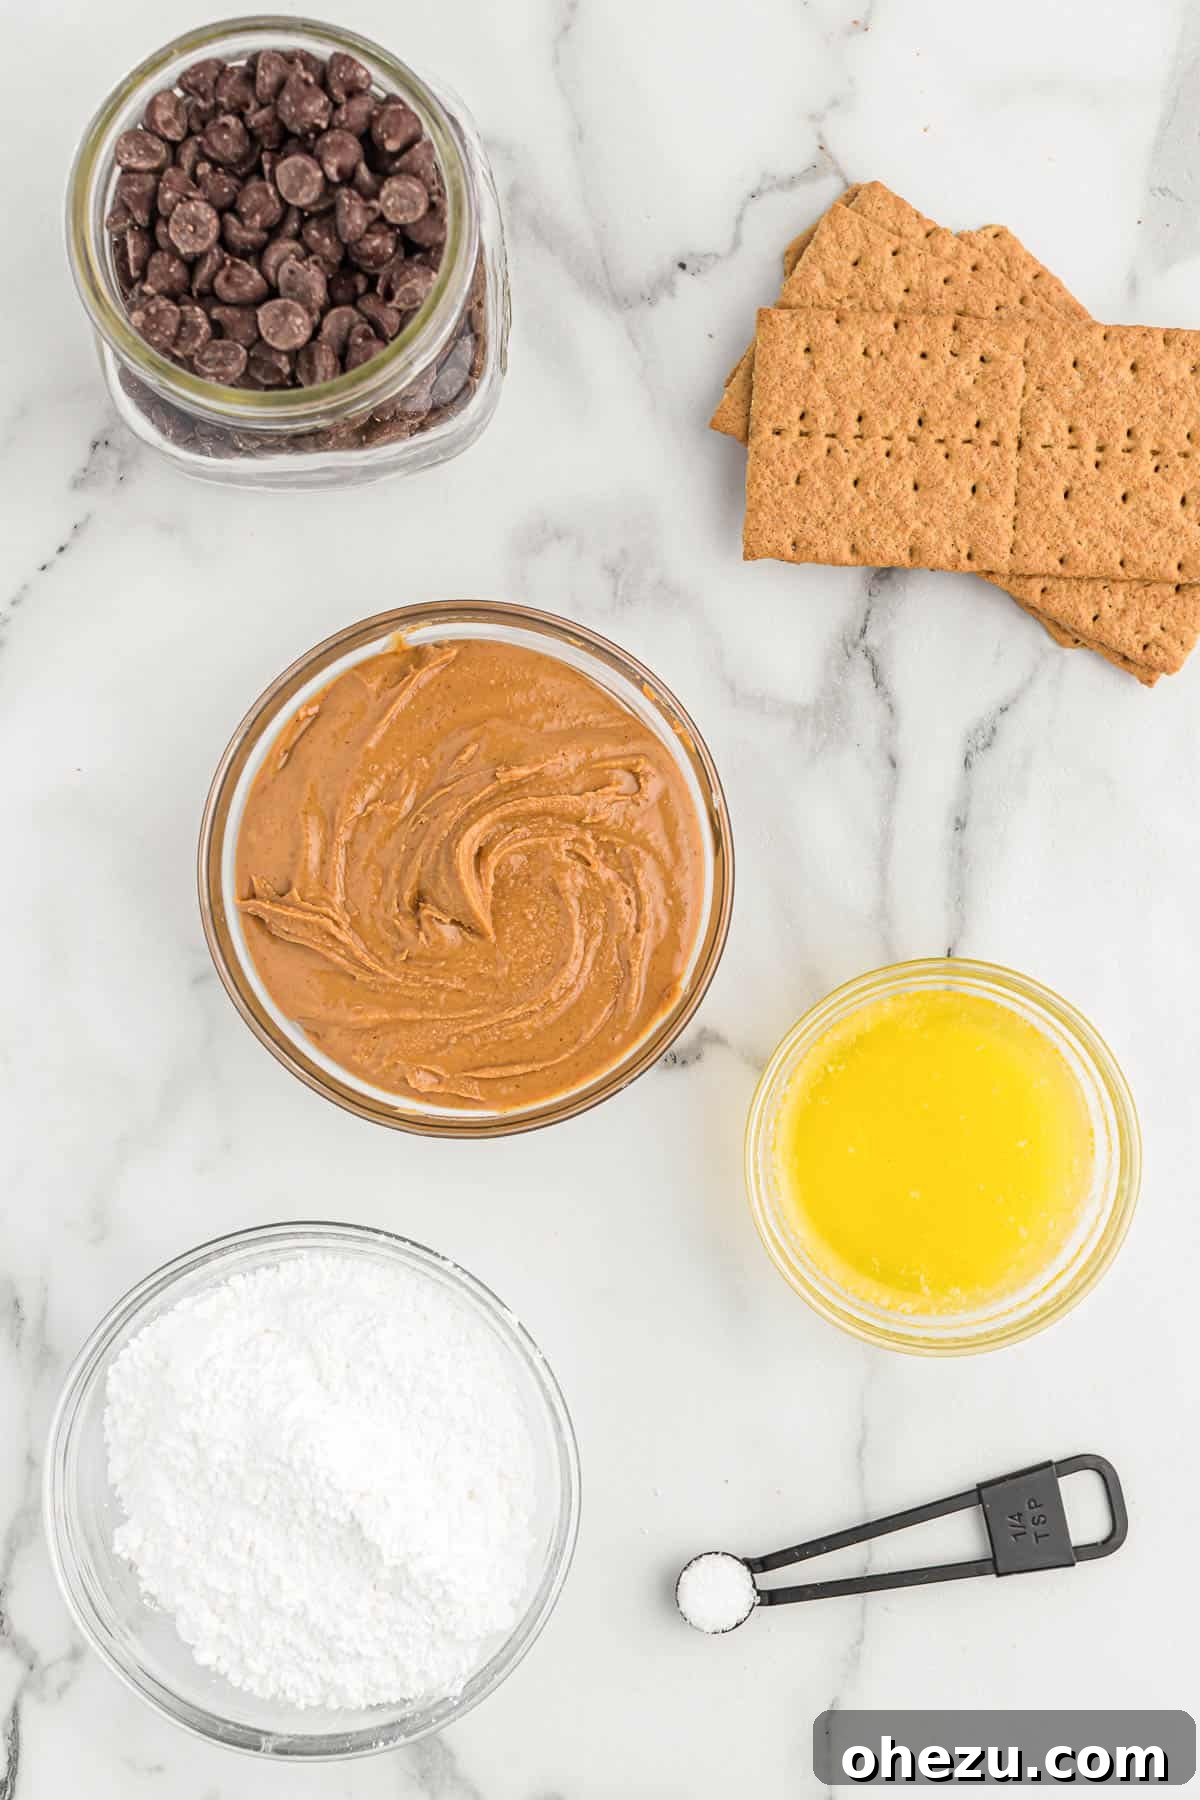
Creating these perfect no-bake peanut butter balls with graham crackers starts with understanding the role of each ingredient. Here’s a detailed look at what you’ll need and some tips for the best results:
- Creamy No-Stir Peanut Butter: This is the cornerstone of our recipe. For optimal texture and consistency, it’s crucial to use creamy “no-stir” peanut butter (like Jif, Skippy, or Peter Pan). Natural peanut butter, which often separates and has a thinner, oilier consistency, is *not* a direct substitute and will likely result in a sticky, unmanageable mixture. The firm, consistent texture of no-stir peanut butter is essential for forming stable balls.
- Unsalted Butter: Melted butter acts as a binder, bringing all the ingredients together smoothly while adding a rich, decadent flavor. Using unsalted butter allows you to control the exact amount of salt in your recipe, preventing it from becoming overly salty. Ensure the butter is melted, but not hot, before adding it to the peanut butter.
- Powdered Sugar (Confectioners’ Sugar): This fine sugar is key to achieving the smooth, melt-in-your-mouth texture of the peanut butter filling. It dissolves easily, preventing any grainy mouthfeel, and provides the necessary sweetness and structure to the mixture.
- Graham Cracker Crumbs: The star of the show for that signature crunch and flavor! You can buy pre-crushed graham cracker crumbs for convenience. Alternatively, you can easily make your own by pulsing about 12 full graham cracker sheets in a food processor until they form fine, sand-like crumbs. Avoid large chunks, as they won’t incorporate as smoothly.
- Salt: A small amount of salt is vital for balancing the sweetness and enhancing the deep, nutty notes of the peanut butter and chocolate. It prevents the dessert from being one-dimensionally sweet and truly brings out the best in all the flavors.
- Semi-Sweet Chocolate Chips: These will form the delicious, crisp outer shell of your peanut butter balls. Semi-sweet chocolate offers a wonderful balance against the sweet peanut butter filling. For an even easier dipping experience, especially if you’re new to working with chocolate, consider using chocolate melting wafers (also known as candy melts). They melt smoothly and set quickly without requiring tempering. You can also experiment with milk chocolate or dark chocolate, depending on your preference.
With these quality ingredients in hand, you’re ready to embark on a simple and rewarding journey to creating an unforgettable no-bake treat!
Step-by-Step Guide to Making Peanut Butter Graham Cracker Balls
Making these decadent no-bake peanut butter balls is a straightforward process that yields impressive results. Follow these simple steps for a perfect batch every time:
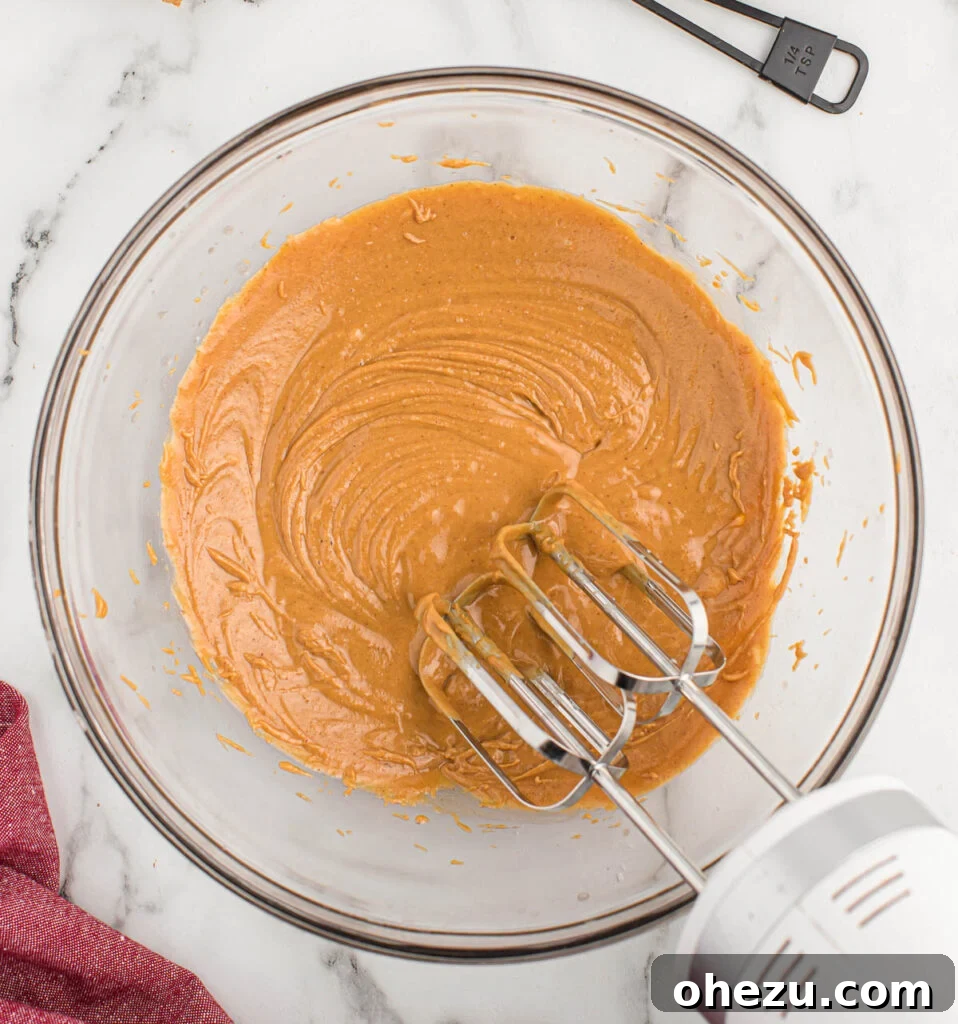
Step 1: Combine Peanut Butter and Butter. In the bowl of a stand mixer fitted with a paddle attachment (or using a large bowl and a hand mixer), add the creamy no-stir peanut butter and the thoroughly melted, but not hot, unsalted butter. Beat on medium speed until the two ingredients are completely combined and smooth. Scrape down the sides of the bowl with a spatula to ensure no unmixed portions remain.
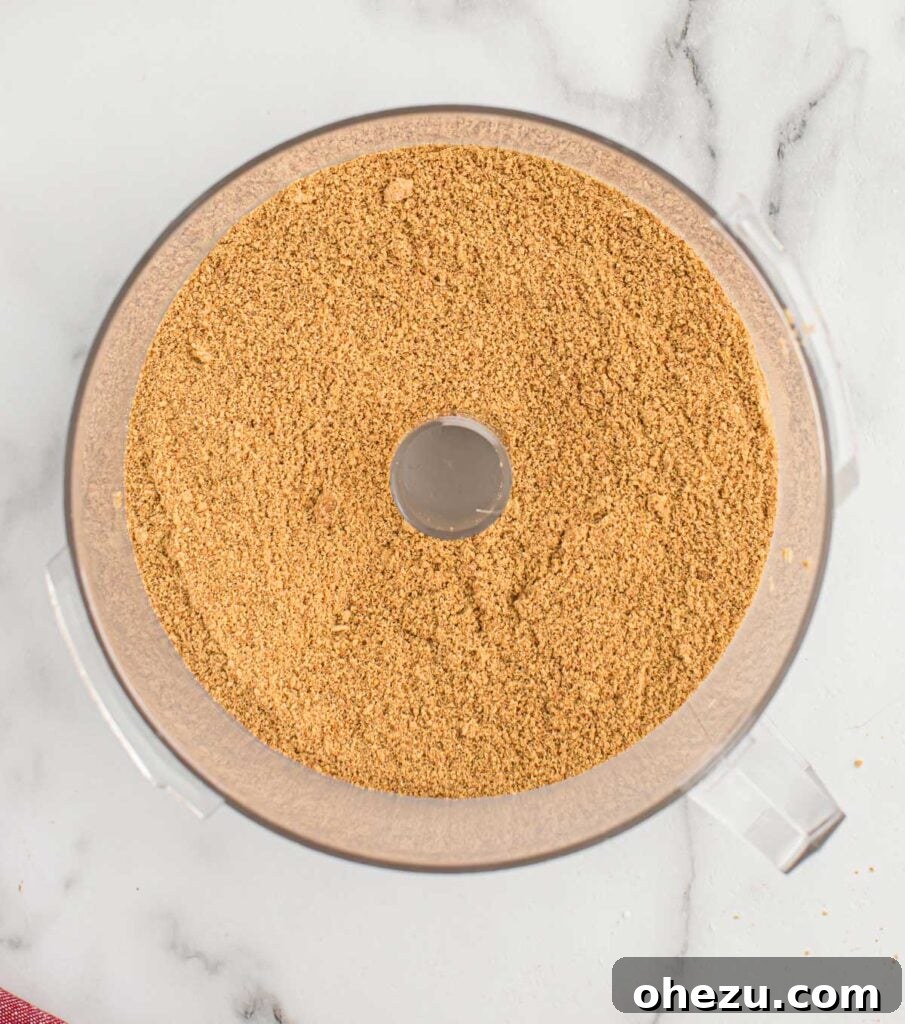
Step 2: Prepare Graham Cracker Crumbs. If you’re not using store-bought crumbs, place your whole graham cracker sheets into a food processor. Pulse them until they are finely ground into a consistent crumb, similar to coarse sand. If you don’t have a food processor, place the crackers in a sturdy freezer bag and crush them with a rolling pin or the bottom of a heavy pan.
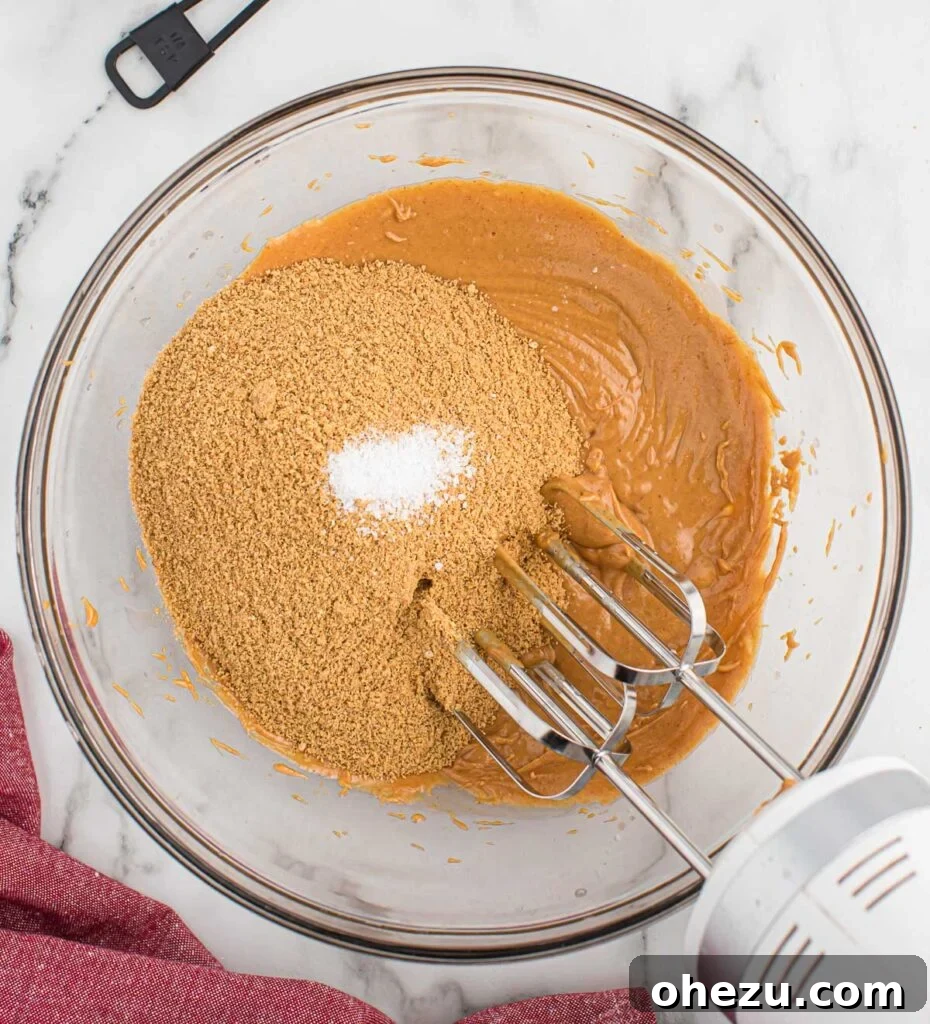
Step 3: Incorporate Graham Crumbs and Salt. Add the freshly prepared graham cracker crumbs and the salt to the peanut butter and butter mixture in the mixer. Mix on low speed, just until the crumbs are fully incorporated and the mixture begins to resemble a thick, slightly sticky dough. Avoid overmixing once the dry ingredients are added.
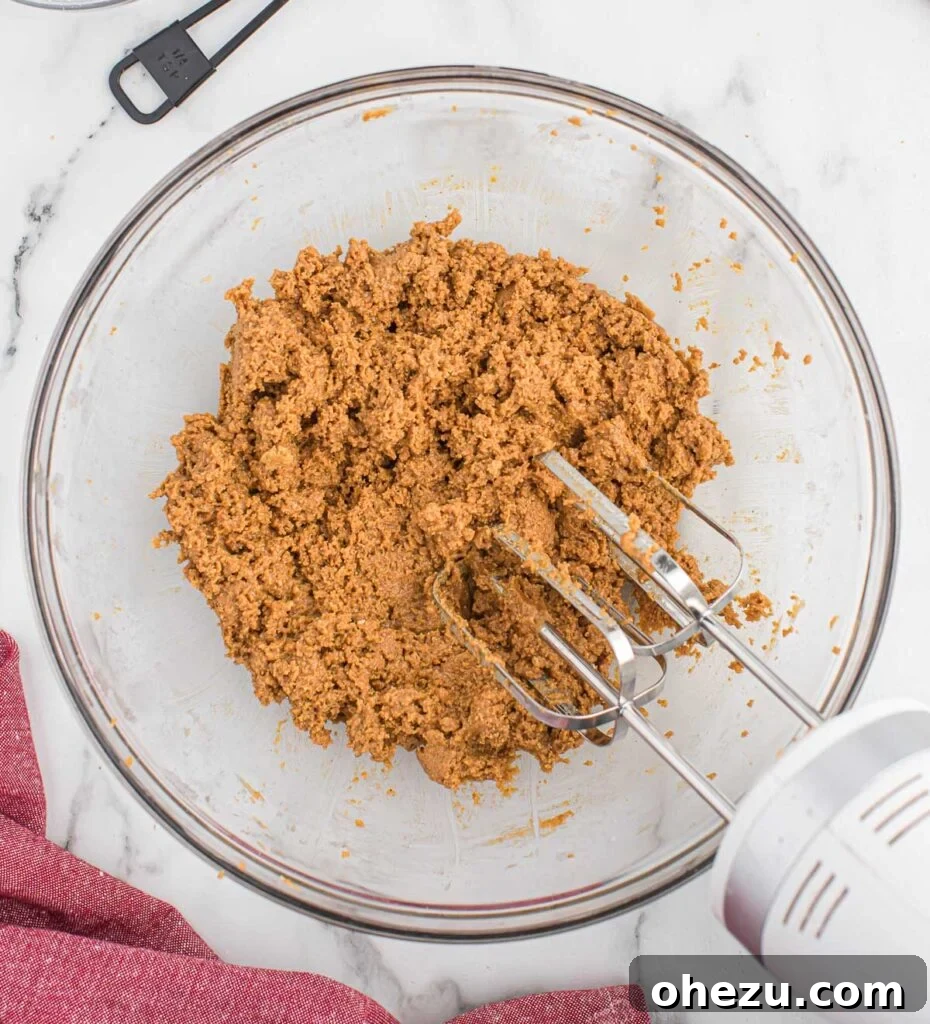
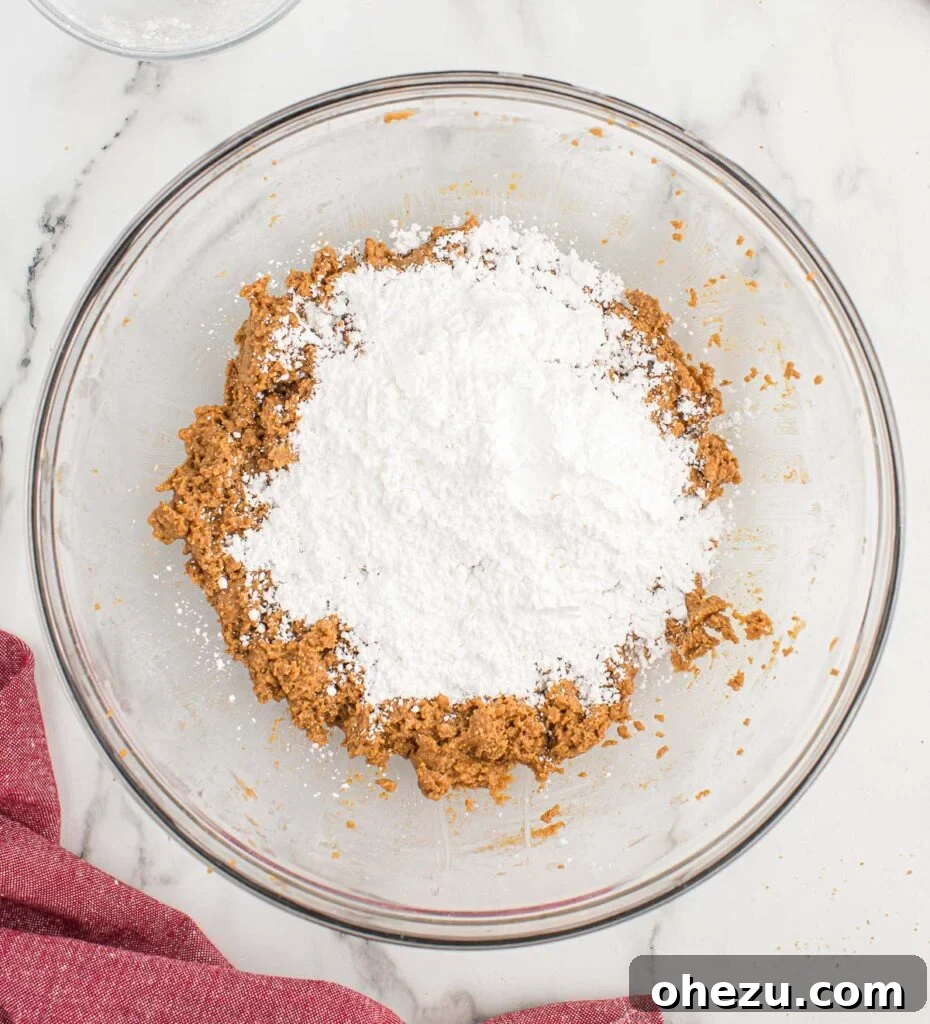
Step 4: Add Powdered Sugar and Finish Mixing. Gradually add the powdered sugar to the mixture. It’s best to add it in two or three additions, mixing gently until mostly combined after each. Once all the powdered sugar has been added, switch from the mixer to a sturdy rubber spatula. Use the spatula to finish incorporating everything by hand, ensuring the mixture is thoroughly combined and has a uniform, pliable dough-like consistency that is firm enough to roll.
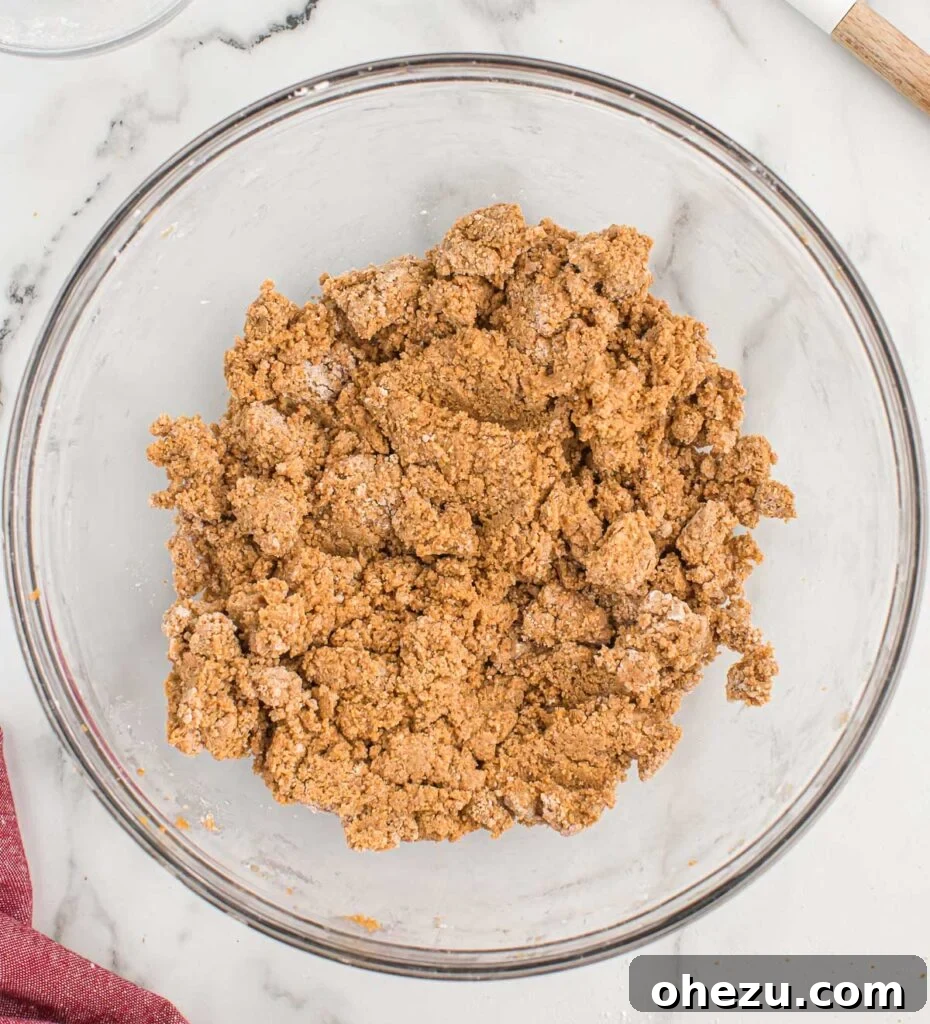
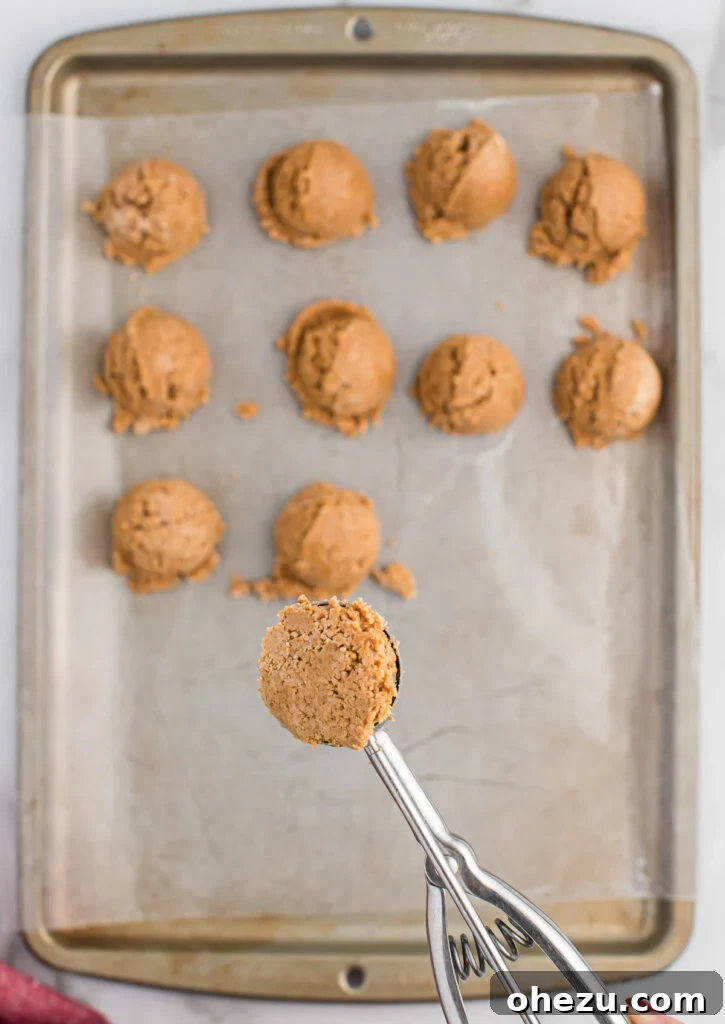
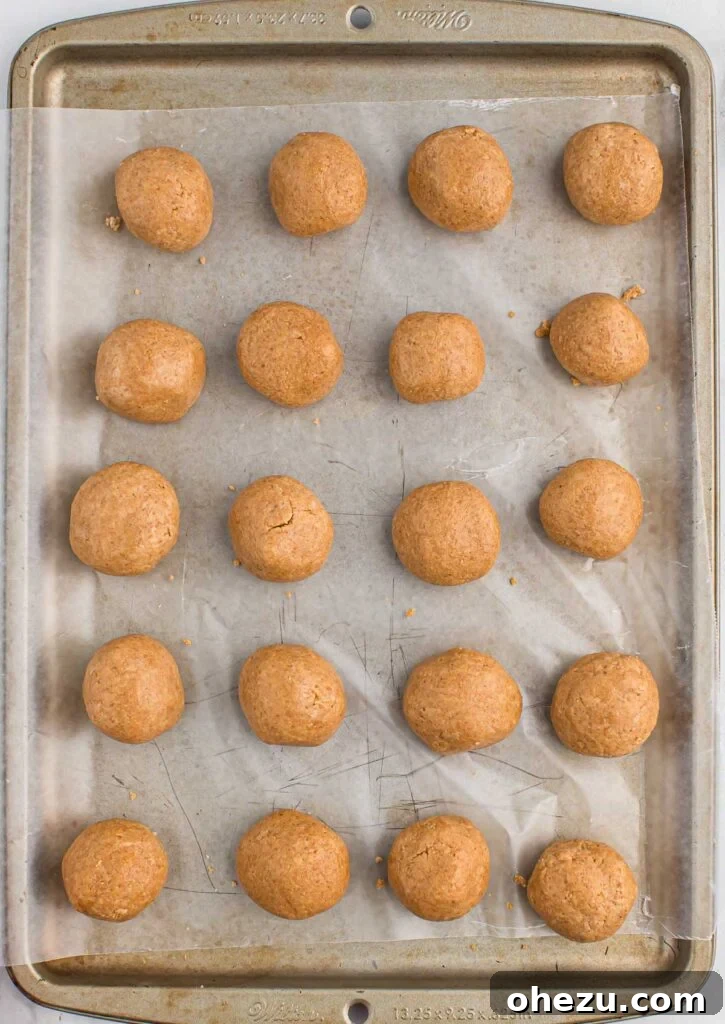
Step 5: Form the Balls. Line a large baking sheet with wax paper or parchment paper. Use a mini cookie scoop (approximately 1.5 tablespoons) to portion out the peanut butter mixture. This ensures consistent sizing for all your treats. Roll each scooped portion between your palms to form smooth, round balls. If the mixture starts to get too sticky on your hands, lightly dust your palms with powdered sugar or slightly dampen them. Place the formed balls onto the prepared baking sheet. This recipe should yield around 20-24 peanut butter balls, depending on the size.
The Crucial Step: Chilling for Perfect Dipping
Step 6: Chill Thoroughly. This step is absolutely critical for successful chocolate dipping and cannot be skipped! Place the baking sheet with your formed peanut butter balls into the refrigerator and chill for at least one hour, or until they are very firm to the touch. This chilling time allows the butter and peanut butter in the mixture to solidify, ensuring the balls maintain their shape and don’t become messy or fall apart when coated in warm chocolate. A firm, cold ball is much easier to work with.
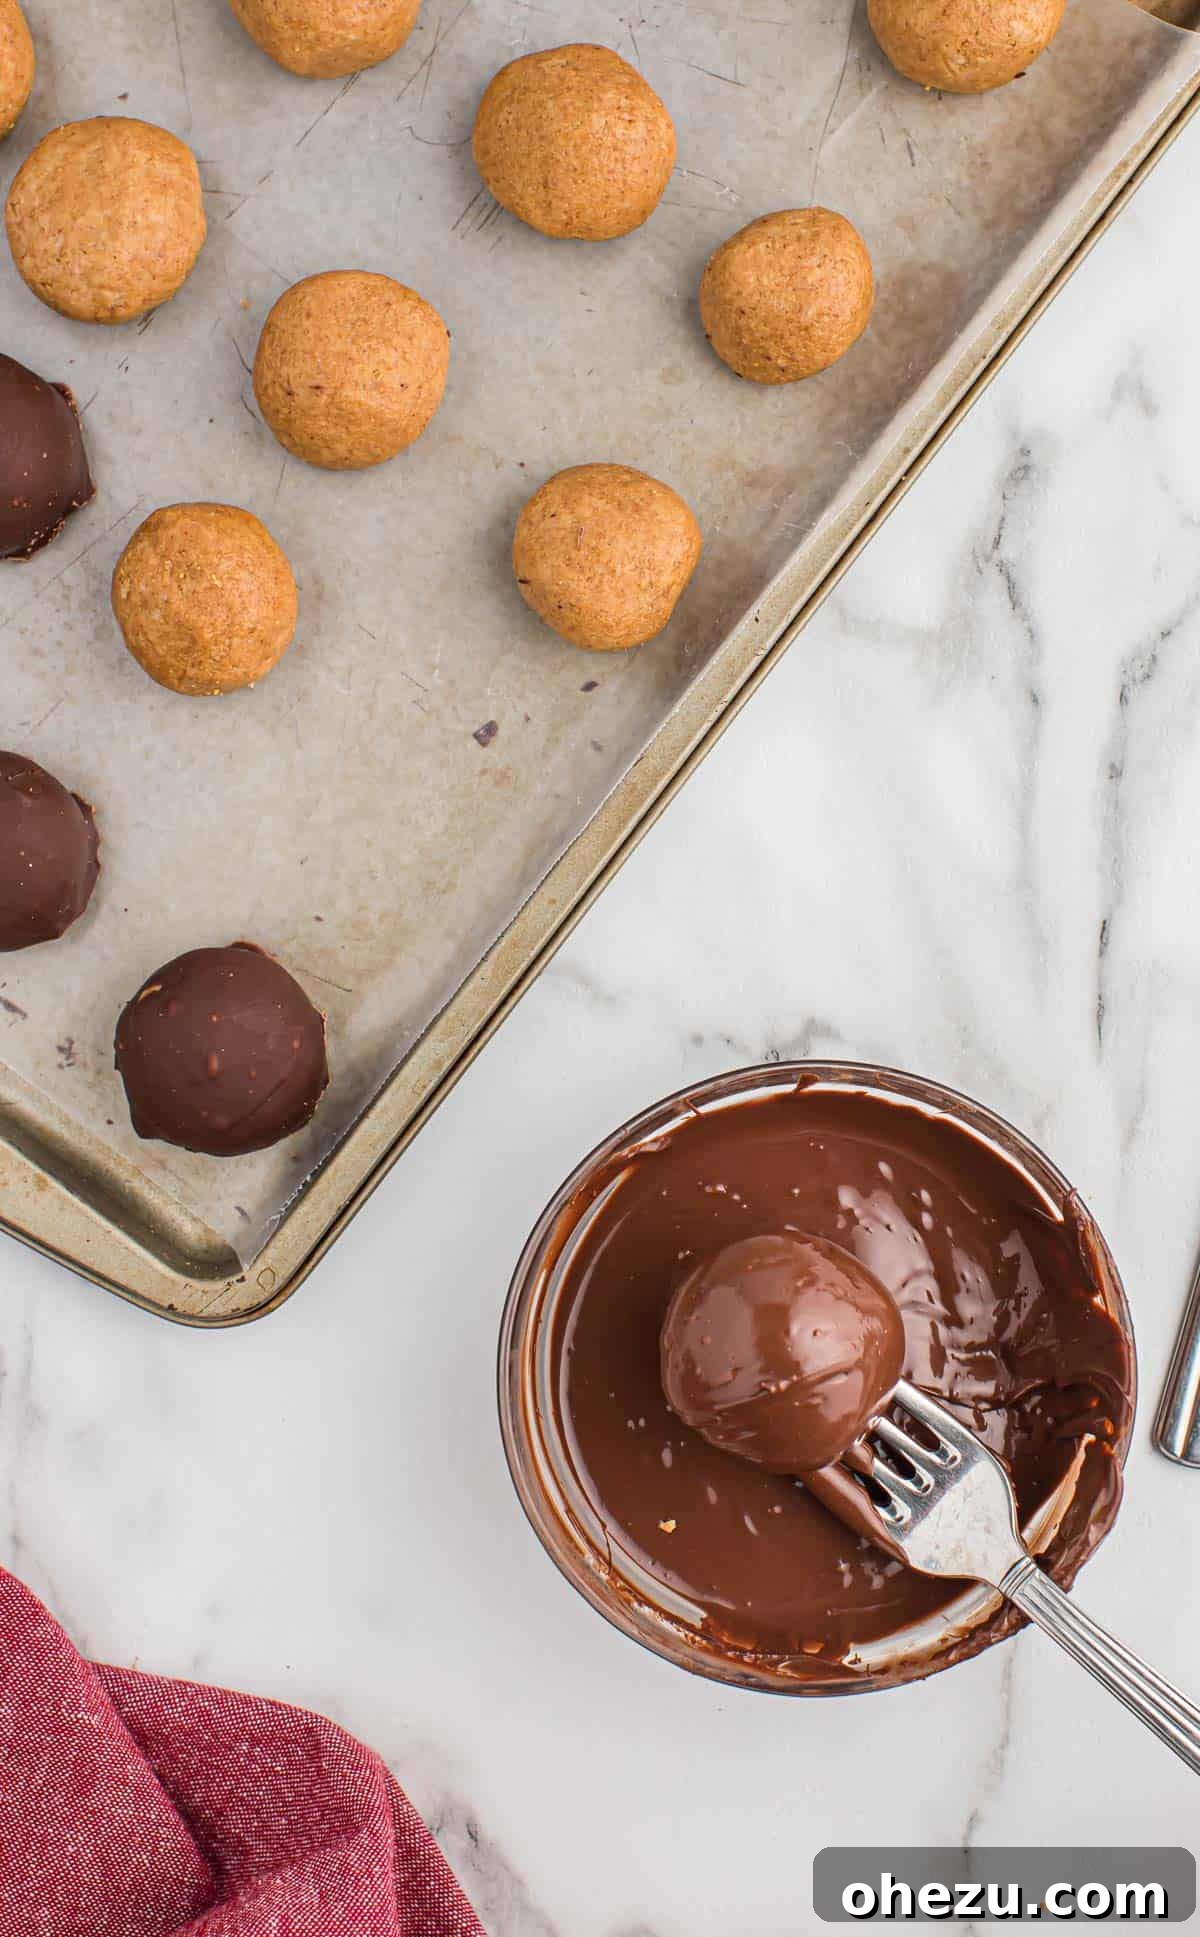
Step 7: Melt Chocolate and Dip. Once your peanut butter balls are perfectly chilled and firm, it’s time to prepare the chocolate coating. Melt the semi-sweet chocolate chips using your preferred method: either in a microwave (heating in 30-second intervals, stirring thoroughly after each, until smooth) or over a double boiler. Ensure the chocolate is completely smooth and free of any lumps. Using a fork or a specialized candy dipping tool, carefully submerge each chilled peanut butter graham cracker ball into the melted chocolate, coating it entirely. Lift it out, gently tapping the fork against the edge of the bowl to remove any excess chocolate, then carefully place the dipped ball back onto the parchment-lined baking sheet.
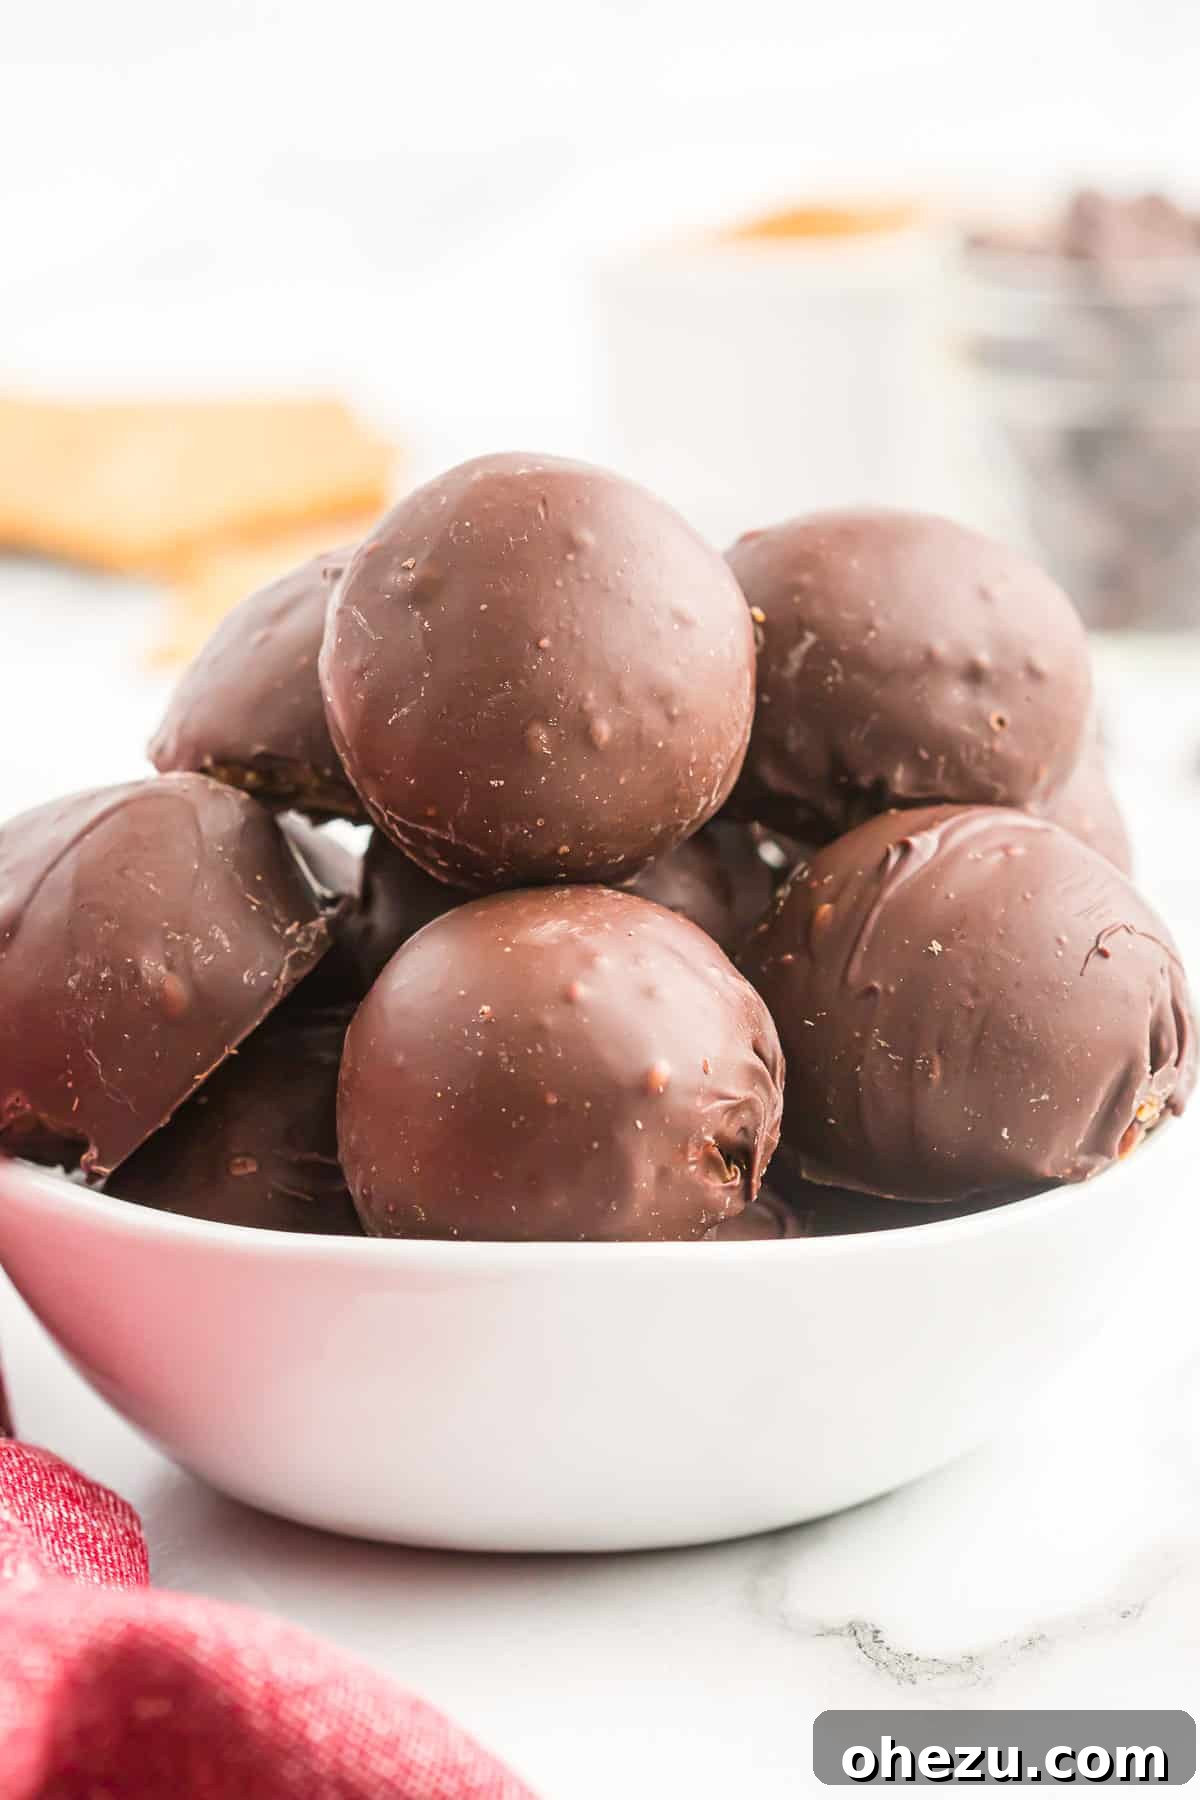
Step 8: Final Chill to Set. Return the chocolate-dipped peanut butter balls to the refrigerator for another 20-30 minutes. This final chilling period allows the chocolate coating to fully harden and set, creating that satisfying snap when you bite into them. Once the chocolate is firm, your delicious no-bake treats are ready to be served and enjoyed!
Recipe Tip: Customizing Your Chocolate Coating
While classic semi-sweet chocolate chips create a wonderfully balanced flavor, don’t hesitate to personalize your peanut butter balls with different chocolate types! Chocolate melting wafers (candy melts) are an excellent alternative, offering a super smooth, easy-to-work-with coating that sets quickly and beautifully without needing any special tempering. They come in various colors and flavors, perfect for festive variations. You can also opt for rich dark chocolate for a less sweet, more intense flavor, or creamy milk chocolate for a milder, sweeter profile. White chocolate can also be used for a visually striking contrast, perhaps with a decorative drizzle of dark chocolate.
Choosing the Right Peanut Butter for No-Fail Results
The type of peanut butter you select is paramount to the success of your no-bake peanut butter balls. For this specific recipe, it is highly recommended to always use creamy, “no-stir” peanut butter. These varieties are formulated to have a consistent, thicker texture that is ideal for creating a firm, pliable dough.
Natural peanut butter is generally not suitable for this recipe. Its characteristic oil separation and thinner, runnier consistency will make the mixture too greasy, overly soft, and exceptionally difficult to roll into balls that hold their shape. If you only have natural peanut butter on hand, you might need to significantly increase the amount of powdered sugar or graham cracker crumbs to achieve a workable dough, but for predictable and easy results, “no-stir” is the way to go.
As for whether to choose crunchy or creamy “no-stir” peanut butter, both options will yield delicious results! Creamy peanut butter will provide a uniformly smooth interior, while crunchy varieties will add another layer of texture, complementing the graham cracker crumbs beautifully. The choice between crunchy and creamy is purely a matter of personal preference.
Pro Tips for Success and Exciting Variations
Making these no-bake peanut butter balls is already easy, but these tips will ensure perfection every time. Plus, get inspired with fun ways to customize your treats!
Achieving Peanut Butter Ball Perfection:
- Perfect Dough Consistency: If your peanut butter mixture feels too sticky to roll comfortably, pop it into the refrigerator for an extra 15-20 minutes to firm up. If it’s too dry and crumbly, add a tiny bit more melted butter (start with ½ teaspoon) or peanut butter until it reaches a pliable, rollable consistency.
- Uniform Sizing: Using a mini cookie scoop or a measuring spoon for portioning is a fantastic way to ensure all your peanut butter balls are the same size. This not only makes them look professionally made but also ensures they chill and coat evenly.
- Smooth Dipping Technique: When dipping in chocolate, use a fork or a candy dipping tool. Lift the ball and gently tap the fork against the side of the bowl to let excess chocolate drip off. This prevents messy pooling at the bottom and gives a smooth, thin coating.
- Work in Batches: If you’re preparing a large quantity, keep your un-dipped peanut butter balls chilled in the refrigerator while you work on smaller batches for dipping. This helps maintain their firmness throughout the process.
- Storage Guidelines: Store your finished peanut butter balls in an airtight container in the refrigerator for up to 2 weeks. For longer storage, they freeze exceptionally well! Arrange them in a single layer on a baking sheet to freeze solid, then transfer them to a freezer-safe bag or container. They can be frozen for up to 2-3 months. Thaw them in the refrigerator before serving for the best texture.
Creative Variations to Explore:
- Beyond Semi-Sweet: While semi-sweet chocolate is a classic pairing, feel free to experiment with other chocolate types. Milk chocolate offers a sweeter, creamier exterior, while dark chocolate provides a richer, more intense flavor. White chocolate can create a beautiful visual contrast.
- Delicious Add-ins: For extra texture and flavor, consider mixing finely chopped nuts (like pecans, walnuts, or even more peanuts), mini chocolate chips, or colorful sprinkles directly into the peanut butter mixture before rolling.
- Festive Decorations: Before the chocolate coating sets, sprinkle your dipped balls with holiday-themed sprinkles, a dash of sea salt flakes for a salty-sweet kick, finely chopped peanuts, or even a dusting of cocoa powder or edible glitter for an extra festive touch.
- Flavor Boost: A tiny drop of vanilla extract or almond extract (¼ to ½ teaspoon) can be added to the peanut butter mixture to enhance its flavor profile.
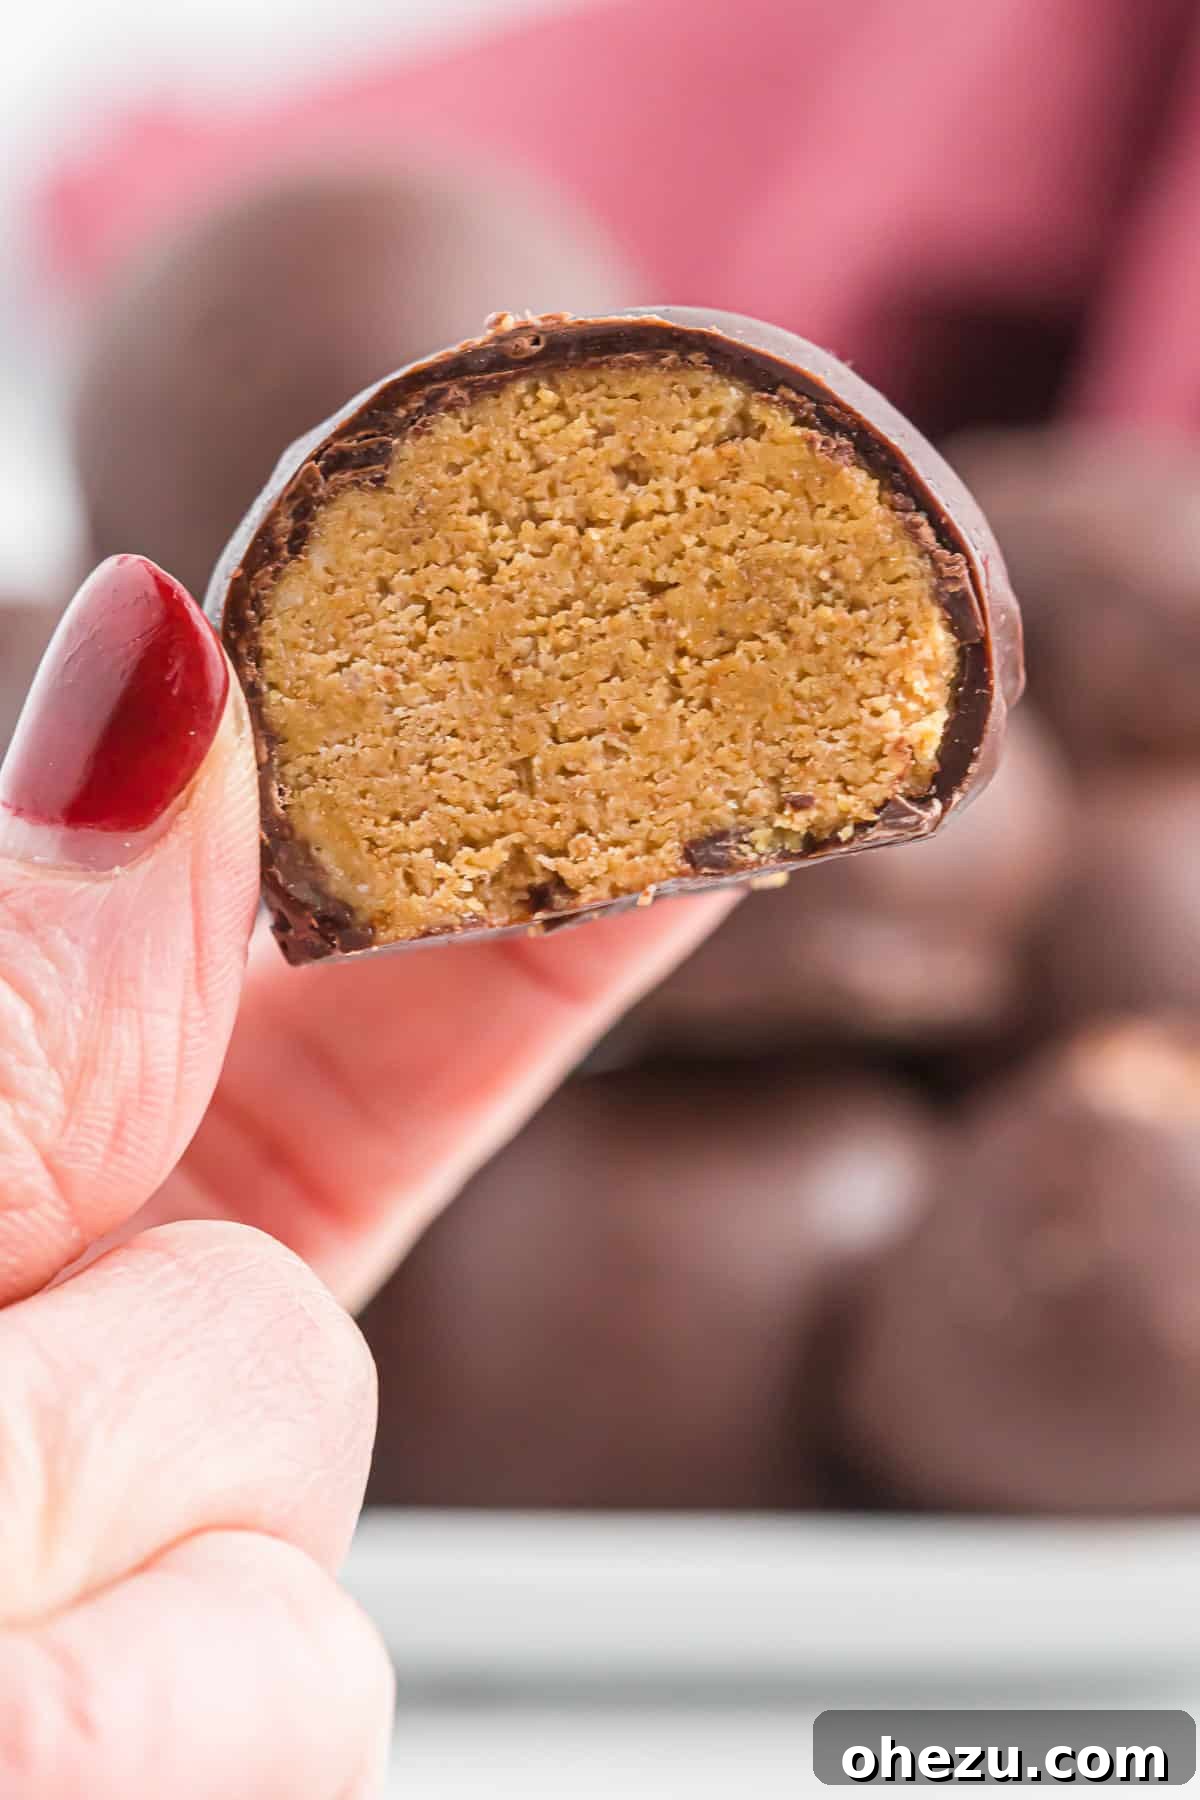
These easy peanut butter balls with graham crackers are truly the best homemade candy for the holidays and beyond! Whether you’re making them for festive parties, packaging them as thoughtful homemade Christmas gifts, or simply treating yourself and your loved ones to something special, their irresistible combination of creamy peanut butter, crunchy graham crackers, and rich chocolate is sure to delight. Enjoy the simplicity and deliciousness of this perfect no-bake recipe!
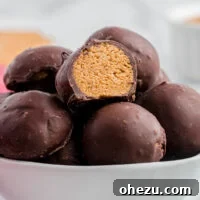
Peanut Butter Balls with Graham Crackers
Joy Shull
30 minutes
1 hour
1 hour 30 minutes
20
Rate Recipe
Print Recipe
Ingredients
- 1 cup creamy no stir peanut butter
- 3 tablespoons unsalted butter, melted
- ¾ cup powdered sugar
- 1 ½ cups graham cracker crumbs, around 12 graham crackers
- ¼ teaspoon salt
- 12 oz semi sweet chocolate chips, or chocolate melting wafers
Instructions
-
Add the creamy no-stir peanut butter and melted unsalted butter to a large mixing bowl or a stand mixer. Mix on medium speed until thoroughly combined and smooth.
-
If making your own, process graham crackers into fine crumbs. Add the graham cracker crumbs and salt to the peanut butter mixture and mix on low speed until fully integrated.
-
Gradually add the powdered sugar to the mixture, incorporating it well after each addition.
-
Finish mixing the batter with a sturdy rubber spatula until all ingredients are completely combined and the mixture forms a pliable, firm dough.
-
Line a baking sheet with wax paper or parchment paper to prevent sticking.
-
Using a mini cookie scoop (approx. 1.5 tbsp), drop portions of the mixture onto the baking sheet. Roll each portion between your palms to form smooth, uniform balls. You should yield around 20 peanut butter balls.
-
Place the baking sheet with the formed peanut butter balls into the refrigerator and chill for at least one hour, or until they are firm to the touch. This step is crucial for easy chocolate dipping.
-
Once chilled, melt the semi-sweet chocolate chips (or chocolate melting wafers) using a microwave or double boiler until completely smooth.
-
Using a fork or candy dipping tool, dip each chilled peanut butter graham cracker ball into the melted chocolate. Allow any excess chocolate to drip off, then carefully place the dipped balls back onto the prepared baking sheet.
-
Return the chocolate-coated balls to the refrigerator and chill for another 20-30 minutes, or until the chocolate is completely firm and set. Serve and enjoy!
Nutrition
Like this recipe? Rate and comment below!
More Holiday No-Bake Dessert Favorites
If you’ve enjoyed these delightful no-bake peanut butter and graham cracker balls, you’re in for a treat! The world of no-bake desserts is incredibly diverse and satisfying, offering impressive results with minimal effort. Here are some more of our top holiday (and anytime!) favorites that are sure to impress and satisfy your sweet cravings:
- Pecan Pie Balls: Enjoy all the rich, buttery, and nutty flavors of pecan pie transformed into a convenient, bite-sized no-bake confection.
- Christmas Oreo Balls: Festive and fun, these popular crushed Oreo and cream cheese delights are coated in vibrant, colorful chocolate, perfect for holiday platters.
- Chocolate Covered Oreos: A simple classic, these iconic cookies are elevated with a smooth chocolate shell and offer endless possibilities for creative decorations.
- Peanut Butter Balls with Rice Krispies: For an extra-crispy and light twist on the traditional peanut butter ball, these offer a delightful textural contrast.
- Mint Oreo Truffles: A refreshing and decadent treat, combining the cool flavor of mint with rich chocolate and Oreo, ideal for mint chocolate enthusiasts during the holiday season.
- Chocolate Covered Almonds: A perfectly wholesome yet indulgent snack that’s incredibly easy to prepare and customize with different chocolates or toppings.
- Oreo Balls: The original, simple, and utterly addictive crushed Oreo and cream cheese truffle that everyone loves, perfect for any gathering.
- Christmas Crack: A deliciously addictive salty-sweet, crunchy toffee-like treat made with saltine crackers, chocolate, and toffee bits that disappears incredibly fast!
- Crock Pot Peanut Clusters: An unbelievably easy, hands-off method to create delectable chocolate and peanut clusters, making dessert prep a breeze.
- Ritz Cracker Toffee: A delightful combination of buttery, salty Ritz crackers transformed into a crisp, sweet toffee, perfectly balancing savory and sweet.
- Ritz Cracker Cookies: A delightful and surprising treat featuring creamy peanut butter sandwiched between salty Ritz crackers, then dipped in luscious chocolate.
These recipes wonderfully demonstrate that an oven isn’t always necessary to create impressive and utterly delicious desserts that will become cherished traditions in their own right. Dive into the world of no-bake wonders and enjoy! Happy no-baking!