
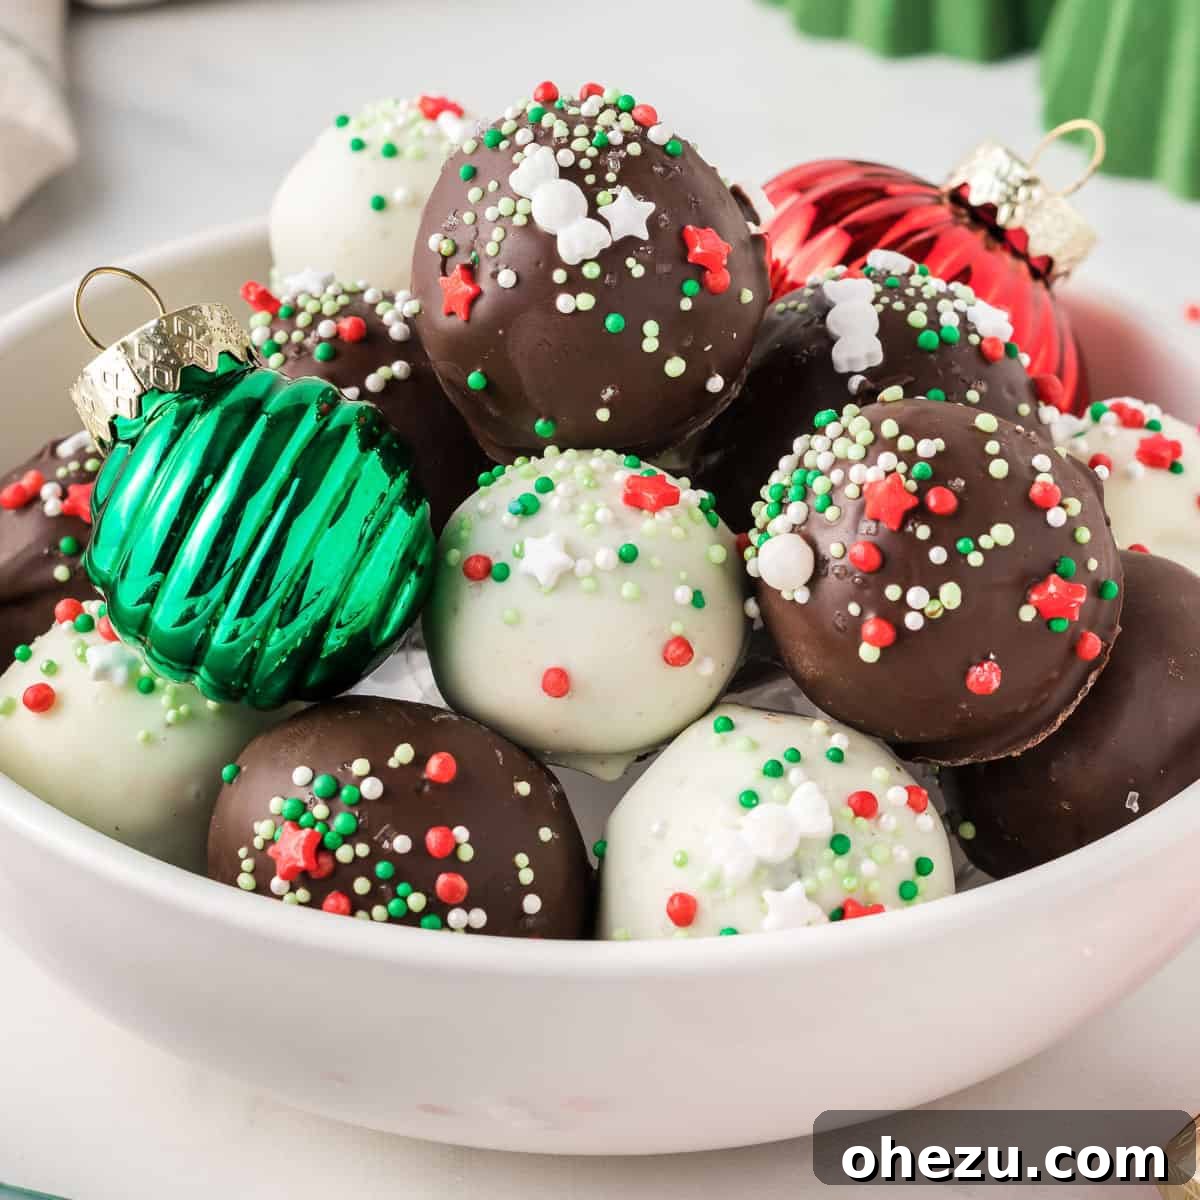
Easy Christmas Oreo Balls: Your Go-To No-Bake Holiday Dessert
Get ready to delight your taste buds with these incredibly easy Christmas Oreo Balls, a true holiday classic! Adorned with vibrant red and green sprinkles, these festive treats are not just delicious but also a joy to make, perfect for adding a touch of cheer to any holiday gathering. Their simplicity and irresistible flavor make them an absolute must-have for your seasonal dessert spread.

Why These Holiday Oreo Balls Are Simply Irresistible
Oreo balls, often affectionately called Oreo truffles, have earned their reputation as a beloved crowd-pleaser for good reason. Crafted from just a handful of simple ingredients, they transform humble Oreo cookies and cream cheese into decadent, fudgy bites that taste remarkably like rich cake batter. What makes them even better for the bustling holiday season is their no-bake nature, freeing up oven space and valuable time.
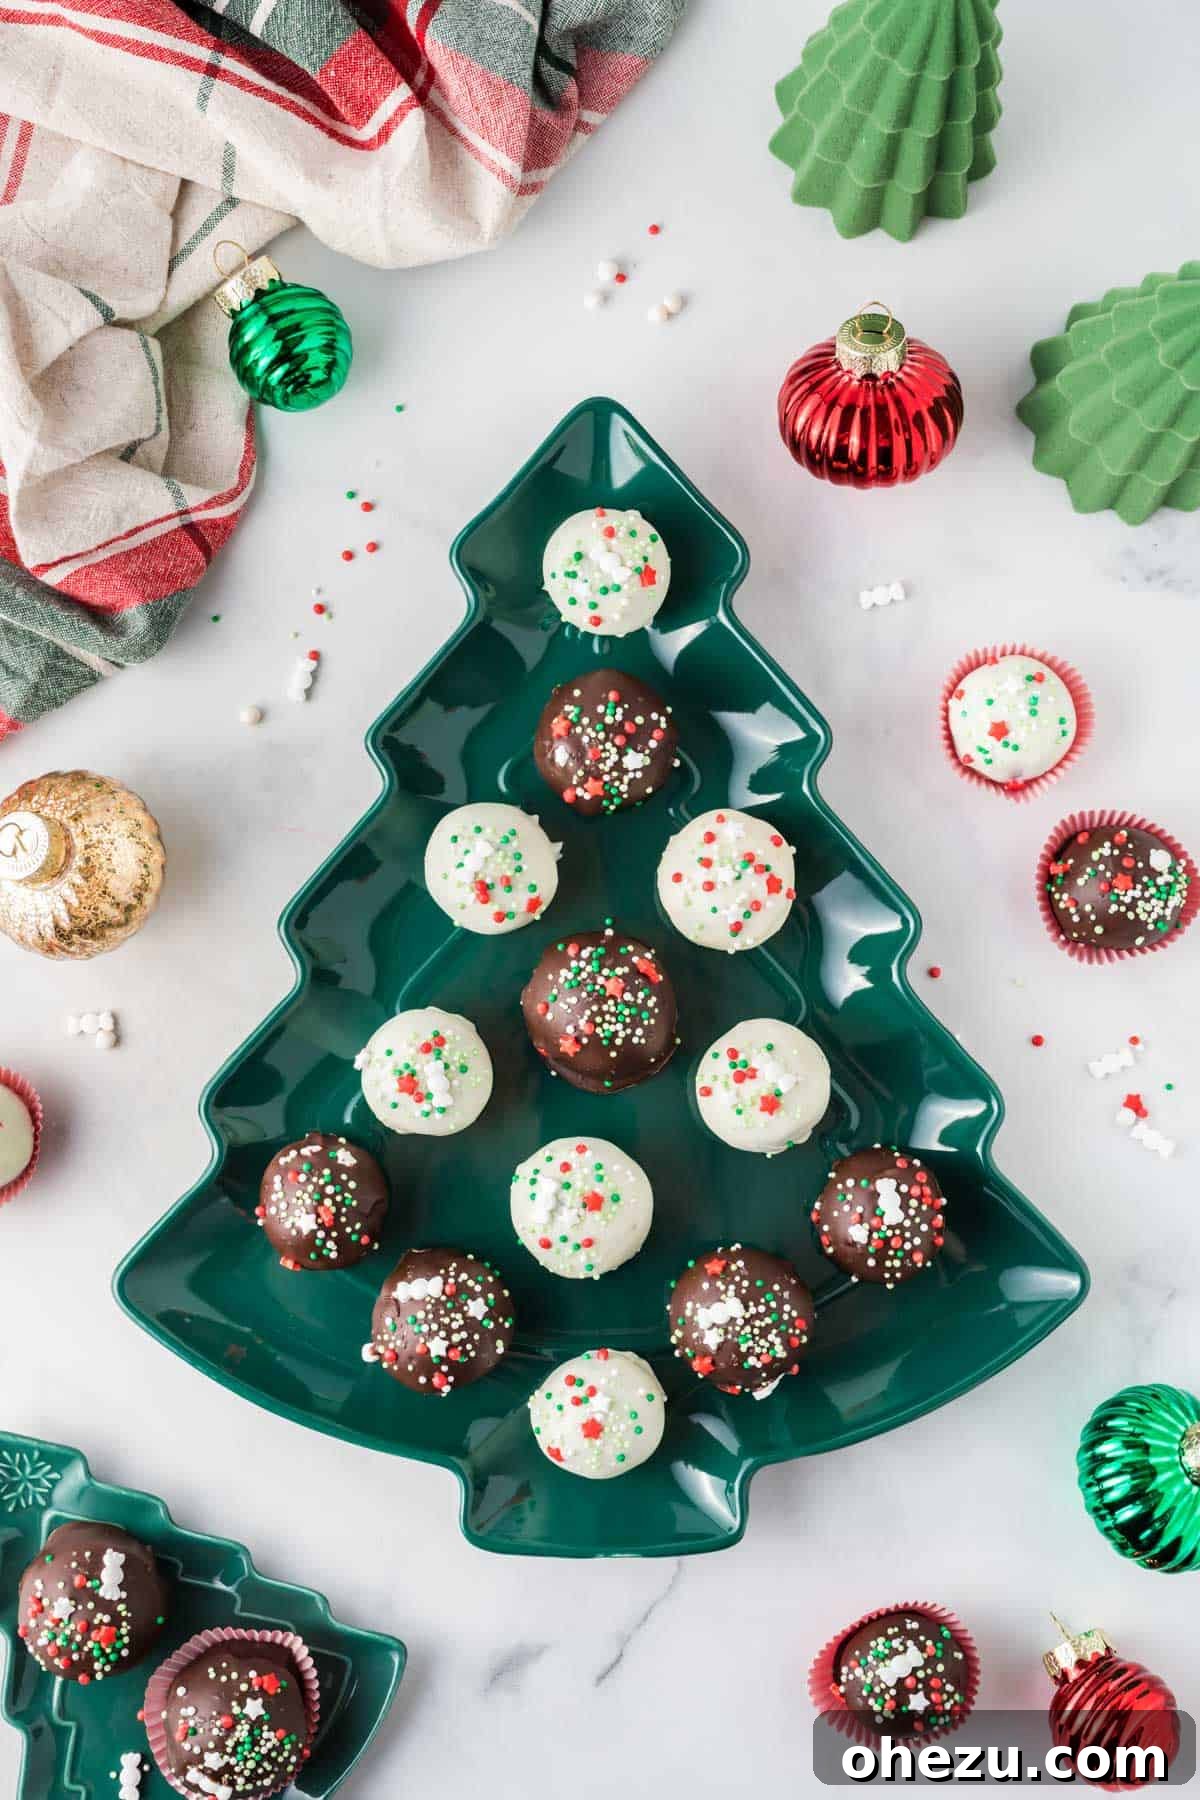
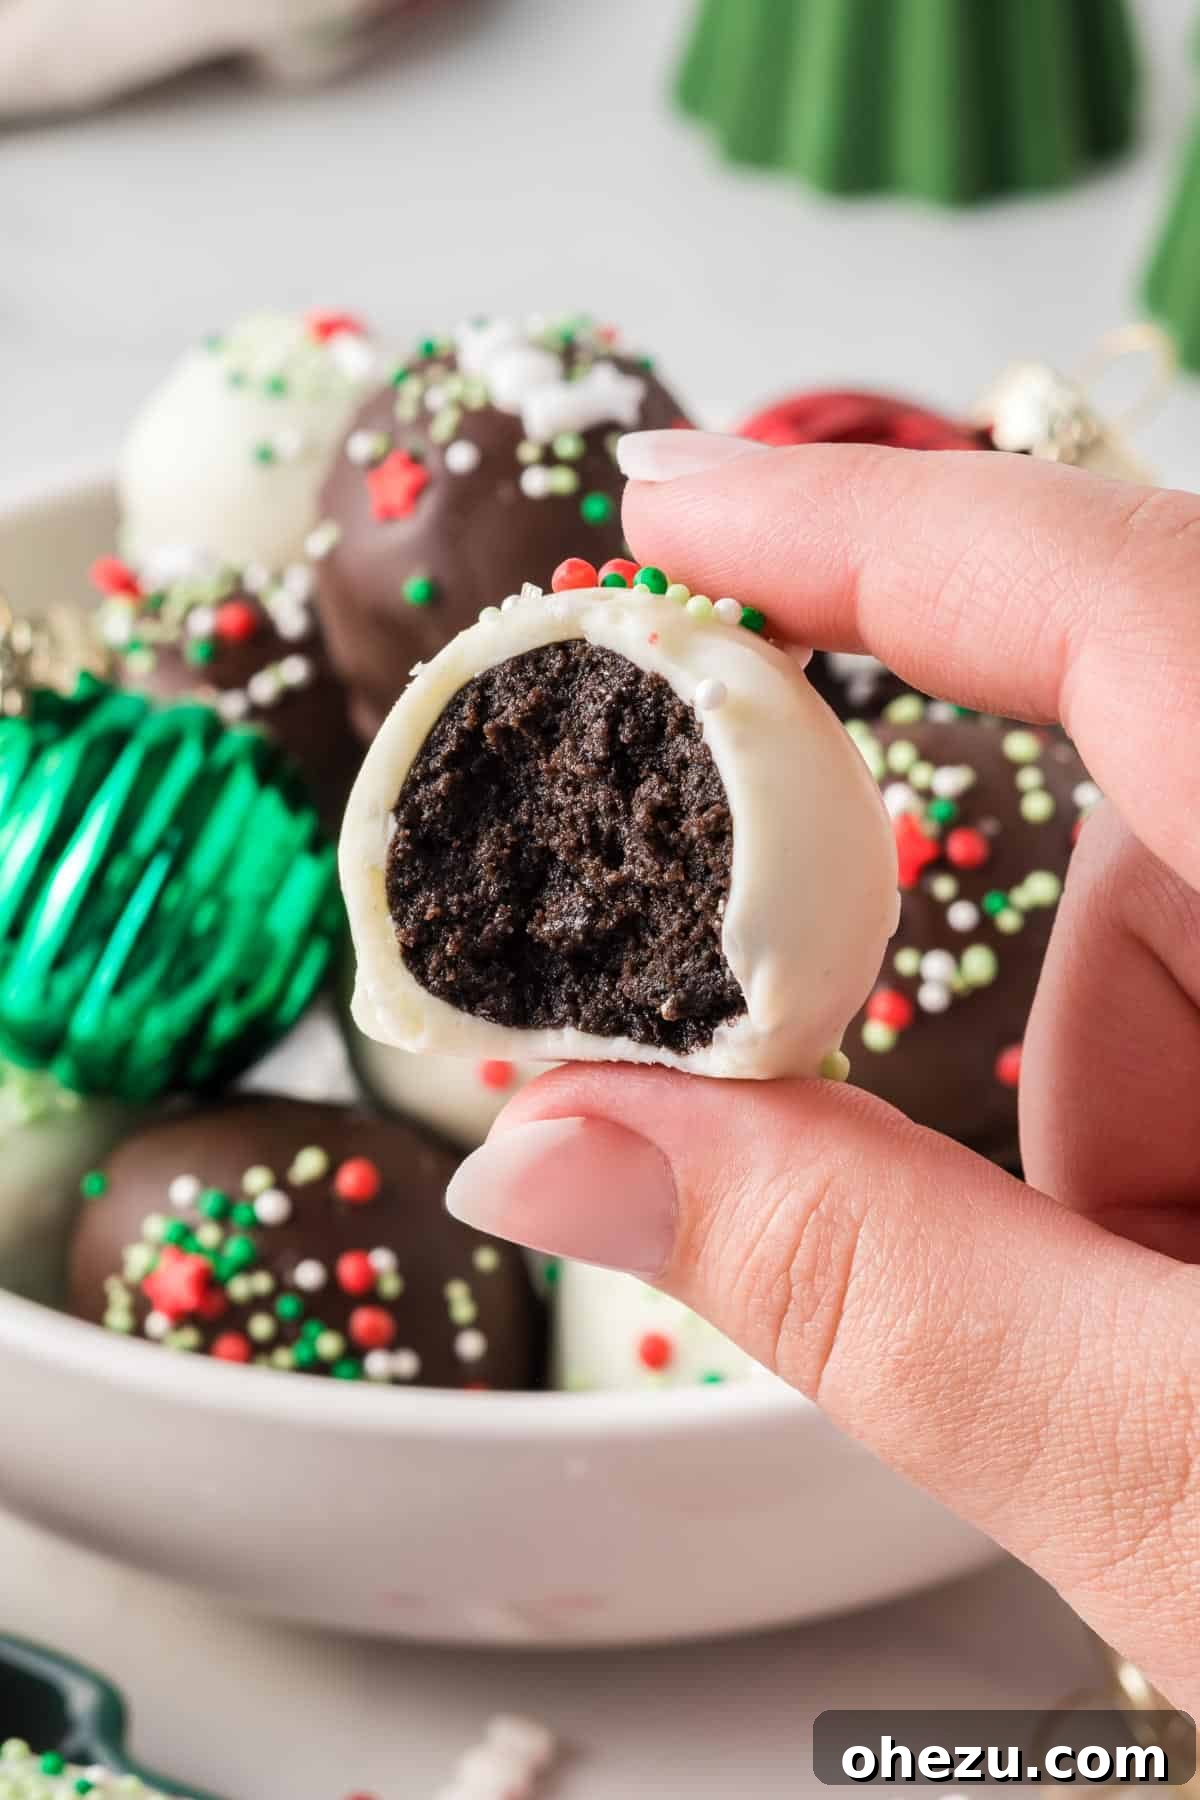
While these delightful truffles are fantastic any time of the year, Christmas offers the perfect excuse to dress them up! Imagine these smooth, chocolatey spheres topped with an array of festive sprinkles, crushed candy canes, or a drizzle of contrasting chocolate. They instantly become a show-stopping holiday dessert that’s as pleasing to the eye as it is to the palate.
Beyond their deliciousness, making Christmas Oreo balls is a wonderfully easy and engaging activity, especially for families. Kids absolutely adore helping out, from crushing the cookies to rolling the balls and, most excitedly, decorating their own personalized truffles. It’s a fun culinary project that creates lasting holiday memories and results in a tray full of delectable treats. Each bite promises a rich, chocolatey experience, making them one of the most satisfying and easiest truffle recipes you’ll ever encounter.

Before diving into the detailed step-by-step instructions, let’s ensure you have all the necessary components for these magical holiday truffles.
Essential Ingredients for Your Christmas Oreo Balls
Creating these delightful truffles requires minimal ingredients, proving that simple can truly be spectacular. Here’s what you’ll need:
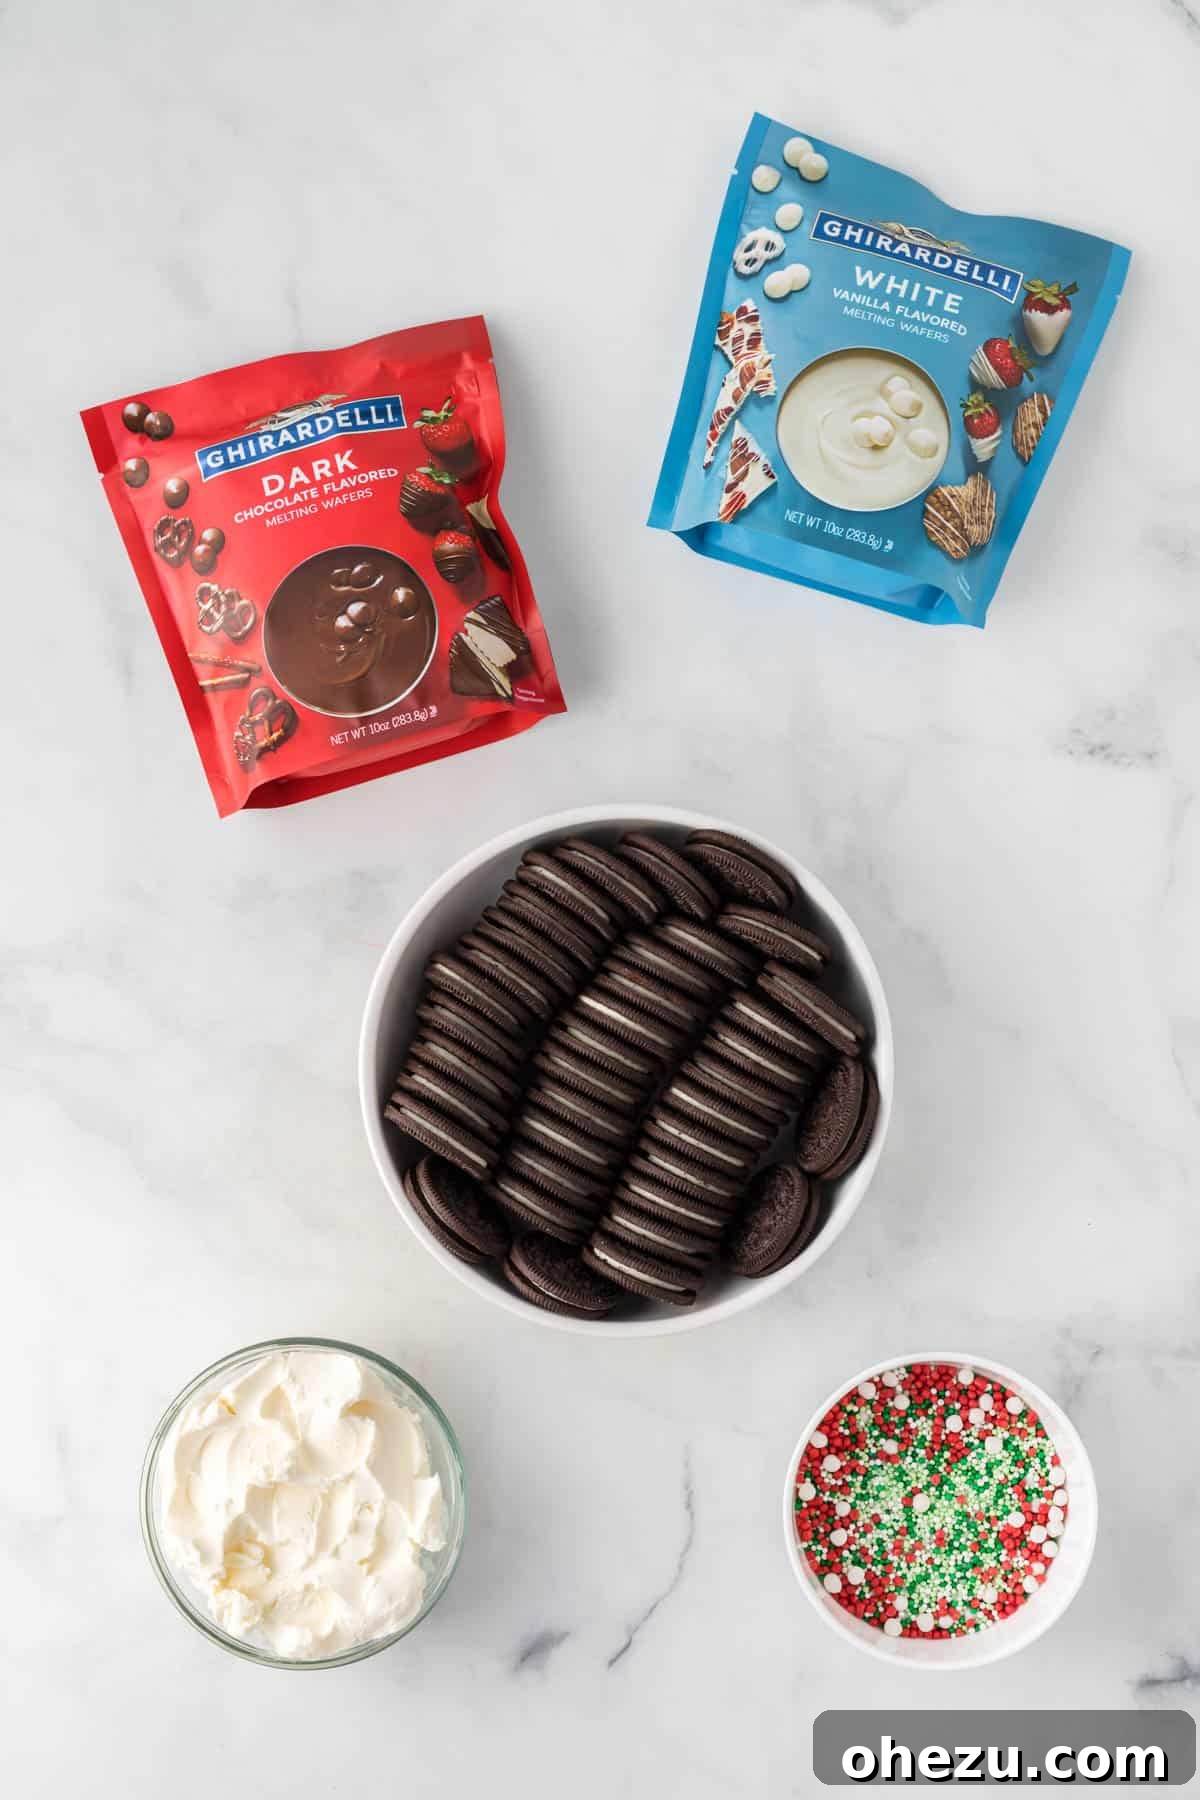
- Oreos: One standard package of your favorite Oreo cookies. We recommend the classic sandwich cookies for the best flavor and texture.
- Cream Cheese: A block of softened full-fat cream cheese is crucial for that rich, tangy binder that brings the truffles together. Ensure it’s at room temperature for smooth mixing.
- Dark Chocolate Melting Wafers: High-quality melting wafers, like Ghirardelli, provide a smooth, glossy coating with a rich chocolate flavor.
- White Vanilla Melting Wafers: These offer a beautiful contrast and a creamy vanilla flavor for dipping a portion of your truffles.
- Christmas Colored Sprinkles: Red, green, and white sprinkles are essential for that festive holiday look. Feel free to mix and match various shapes and sizes!
Crafting Your Perfect Christmas Oreo Balls: A Step-by-Step Guide
Making these Oreo truffles is incredibly straightforward. Follow these steps for a perfect batch every time!
Step 1: Crushing the Oreos to Perfection
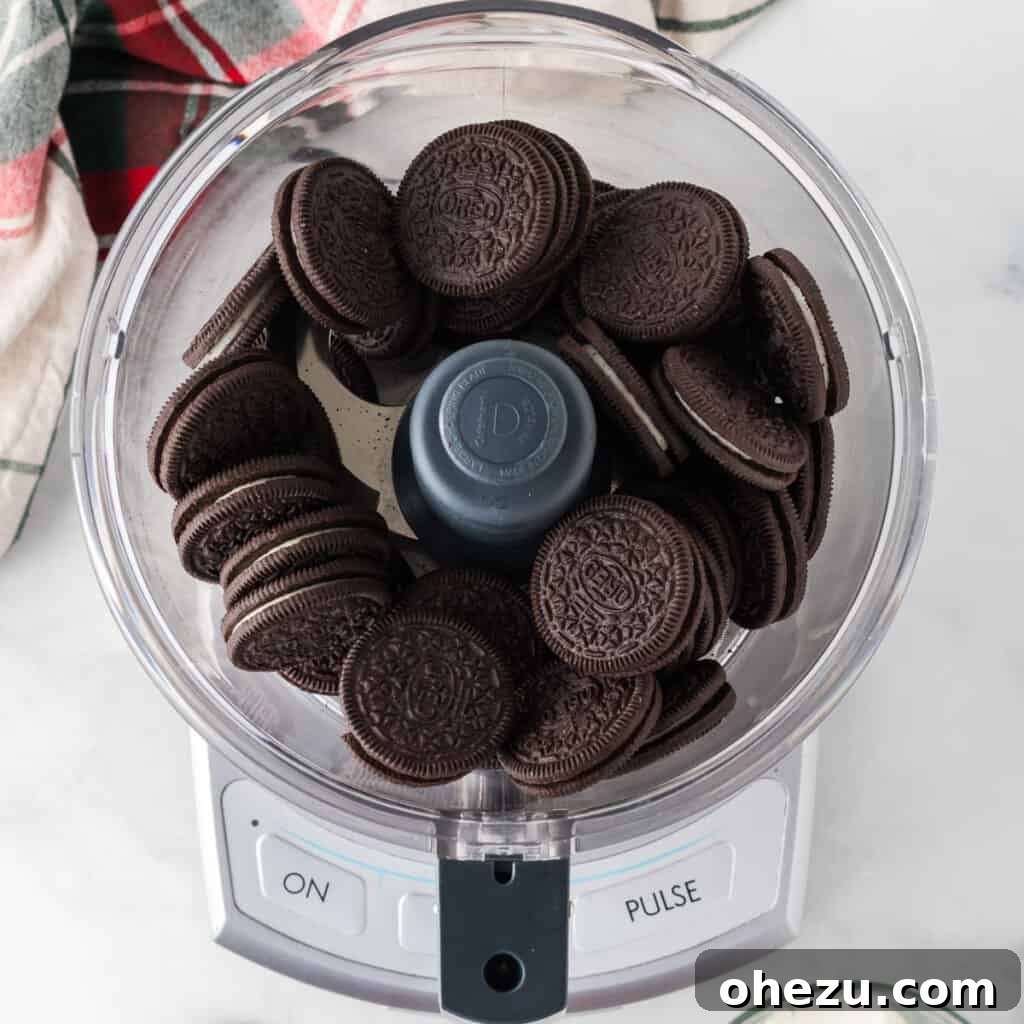
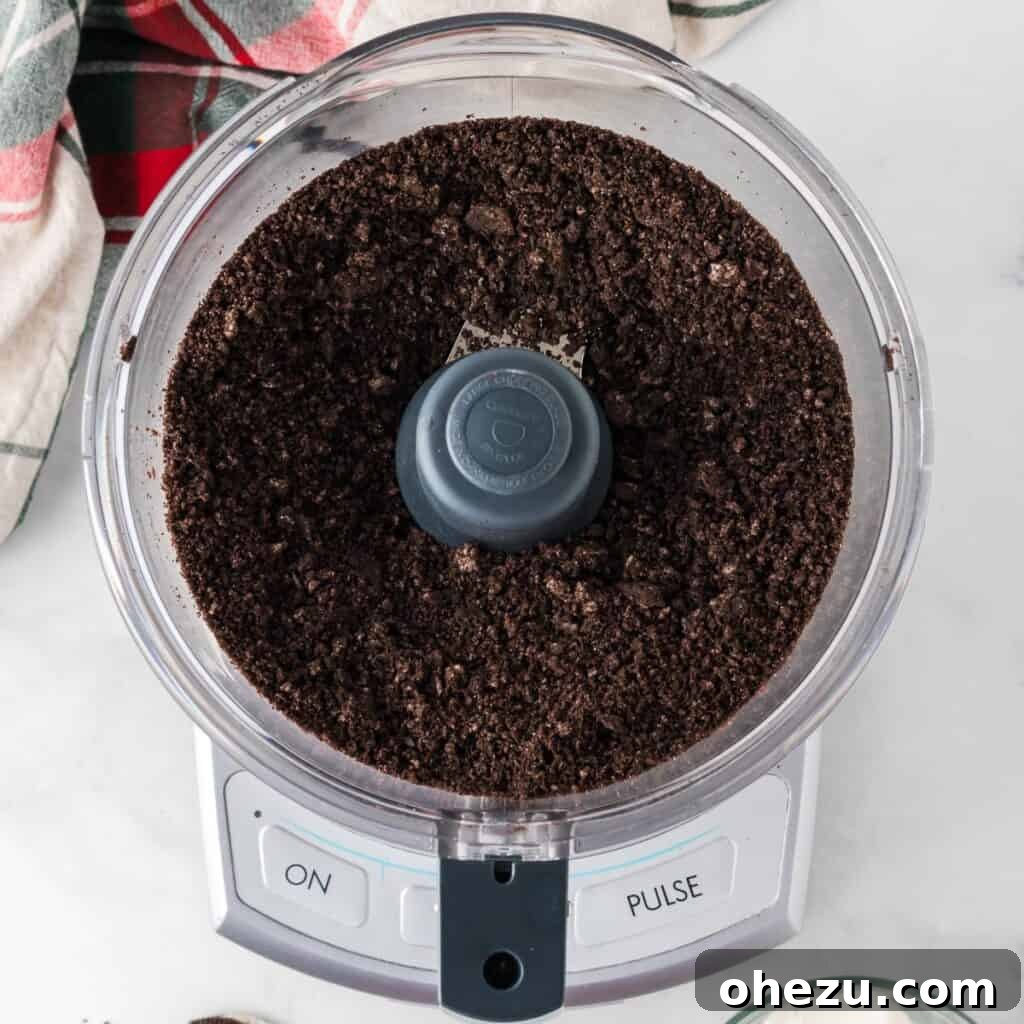
Begin by adding the entire package of Oreo cookies, cream filling and all, into a food processor. Pulse the food processor until the Oreos are finely ground into uniform crumbs, resembling fine dirt or sand. This ensures a smooth and consistent truffle base.
Pro Tip: If you don’t have a food processor, no worries! Place the Oreos in a sturdy zip-top bag, remove as much air as possible, and use a rolling pin or the bottom of a heavy pan to crush them. Aim for the finest crumbs you can achieve.
Step 2: Blending with Cream Cheese
Next, add the softened block of cream cheese directly to the Oreo crumbs in the food processor. Pulse a few times, then process continuously until the mixture is thoroughly combined and starts to come together, forming a thick, sticky dough. The cream cheese acts as the perfect binder, creating that signature fudgy texture.
If you’re mixing by hand, add the softened cream cheese to your bag of crushed Oreos or a mixing bowl. Use a sturdy rubber spatula or your hands to knead and mix until a uniform, thick dough forms. Ensure there are no streaks of plain cream cheese.
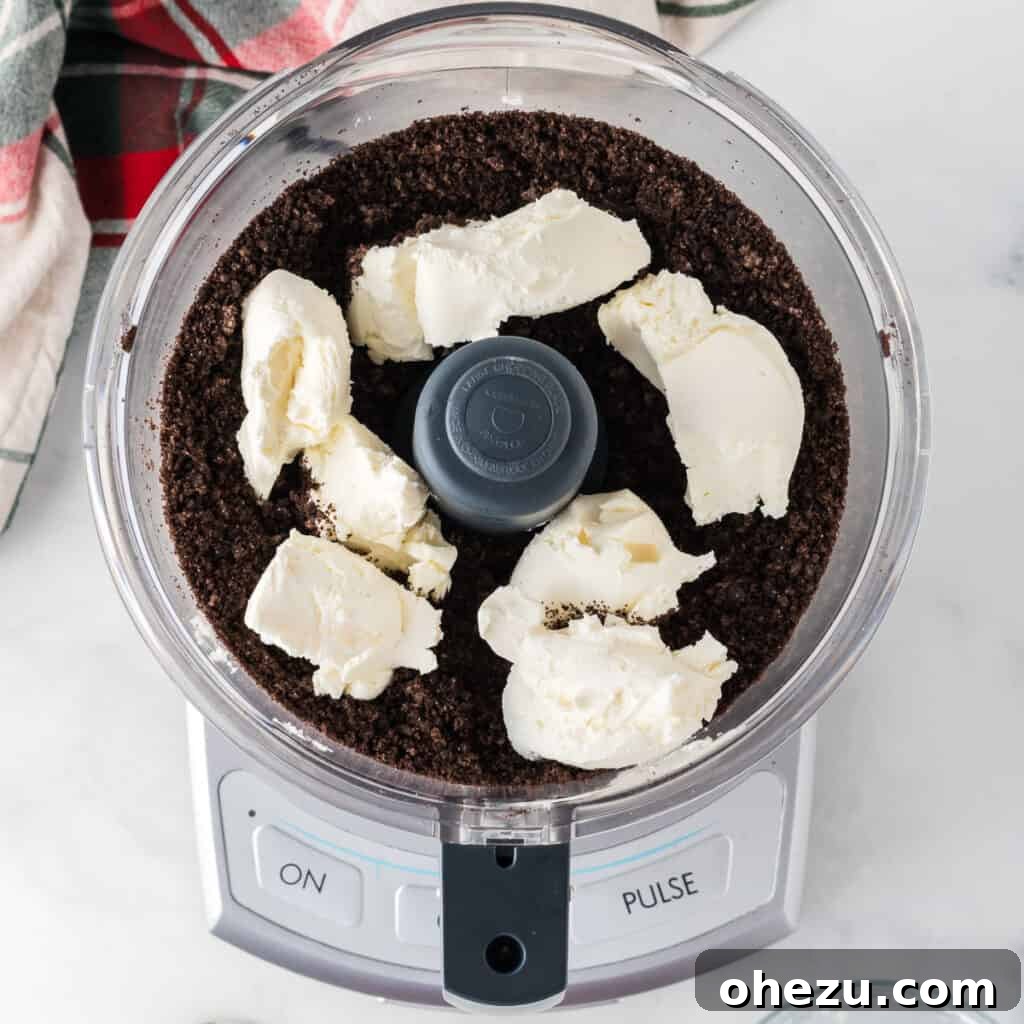
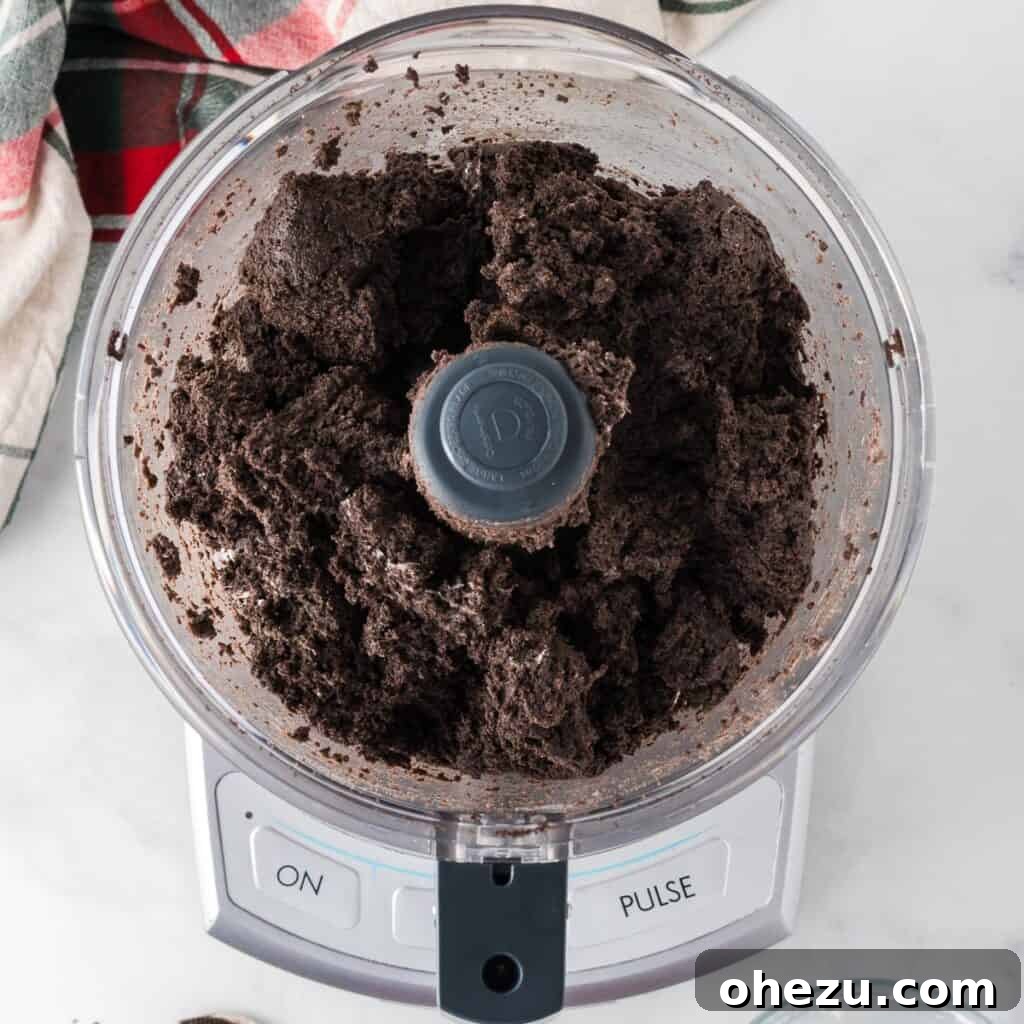
At this point, the mixture should be thick and moldable, ready for the next stage.
Step 3: Hand Mixing and Shaping the Truffles
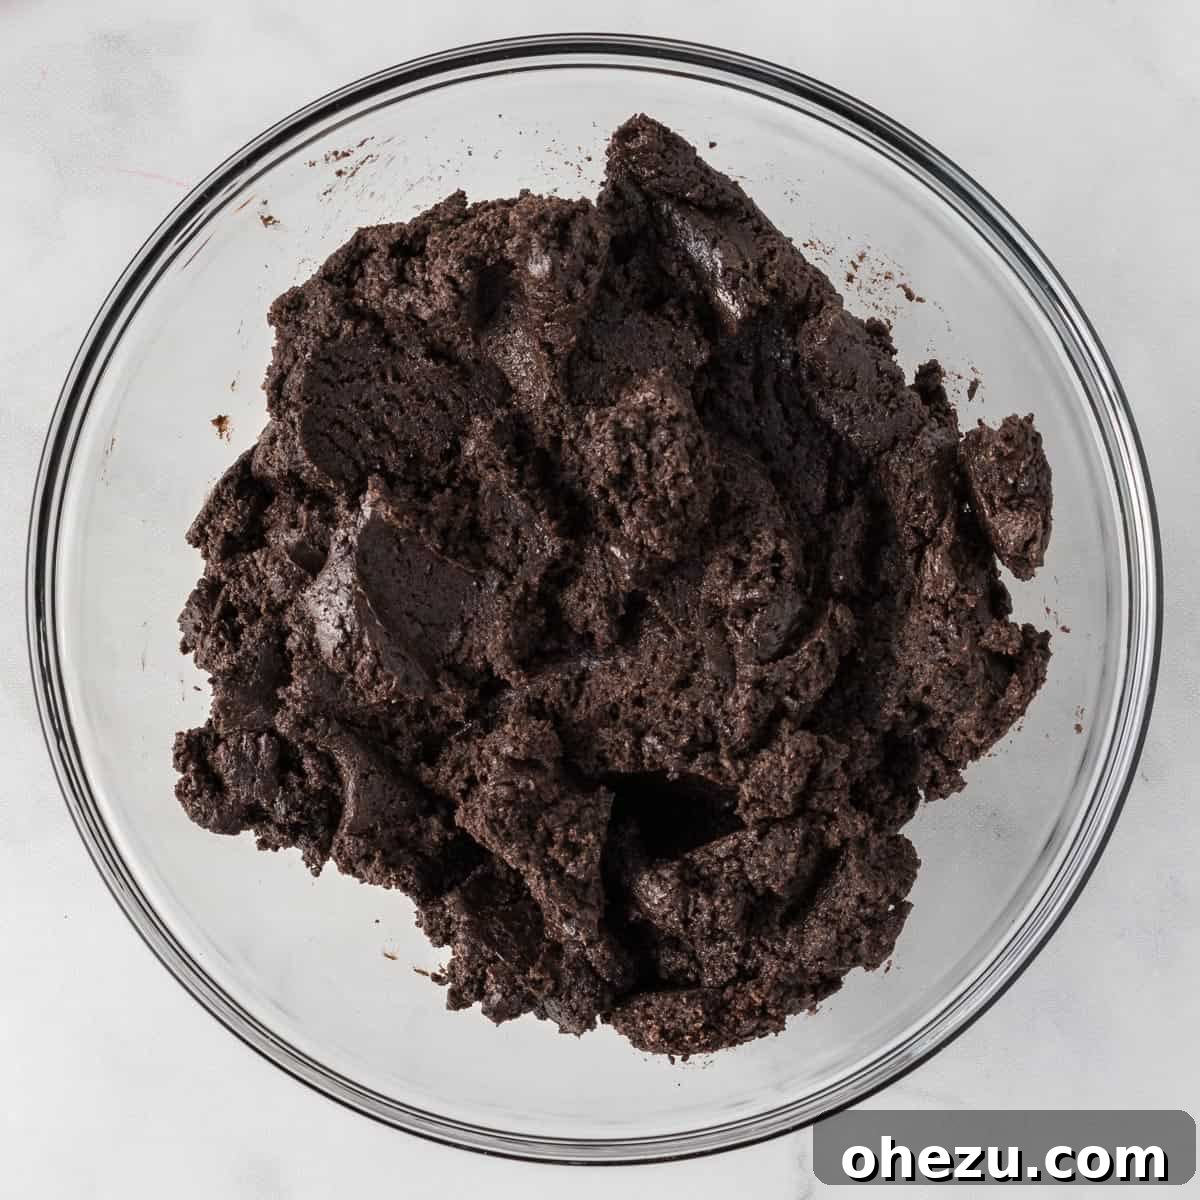
Once the food processor has done its best, transfer the Oreo and cream cheese mixture to a clean mixing bowl. Use a rubber spatula to give it a final mix by hand, ensuring everything is perfectly incorporated and uniform in consistency. This step helps in achieving the ideal texture for rolling.
Step 4: Rolling and Chilling Your Oreo Balls
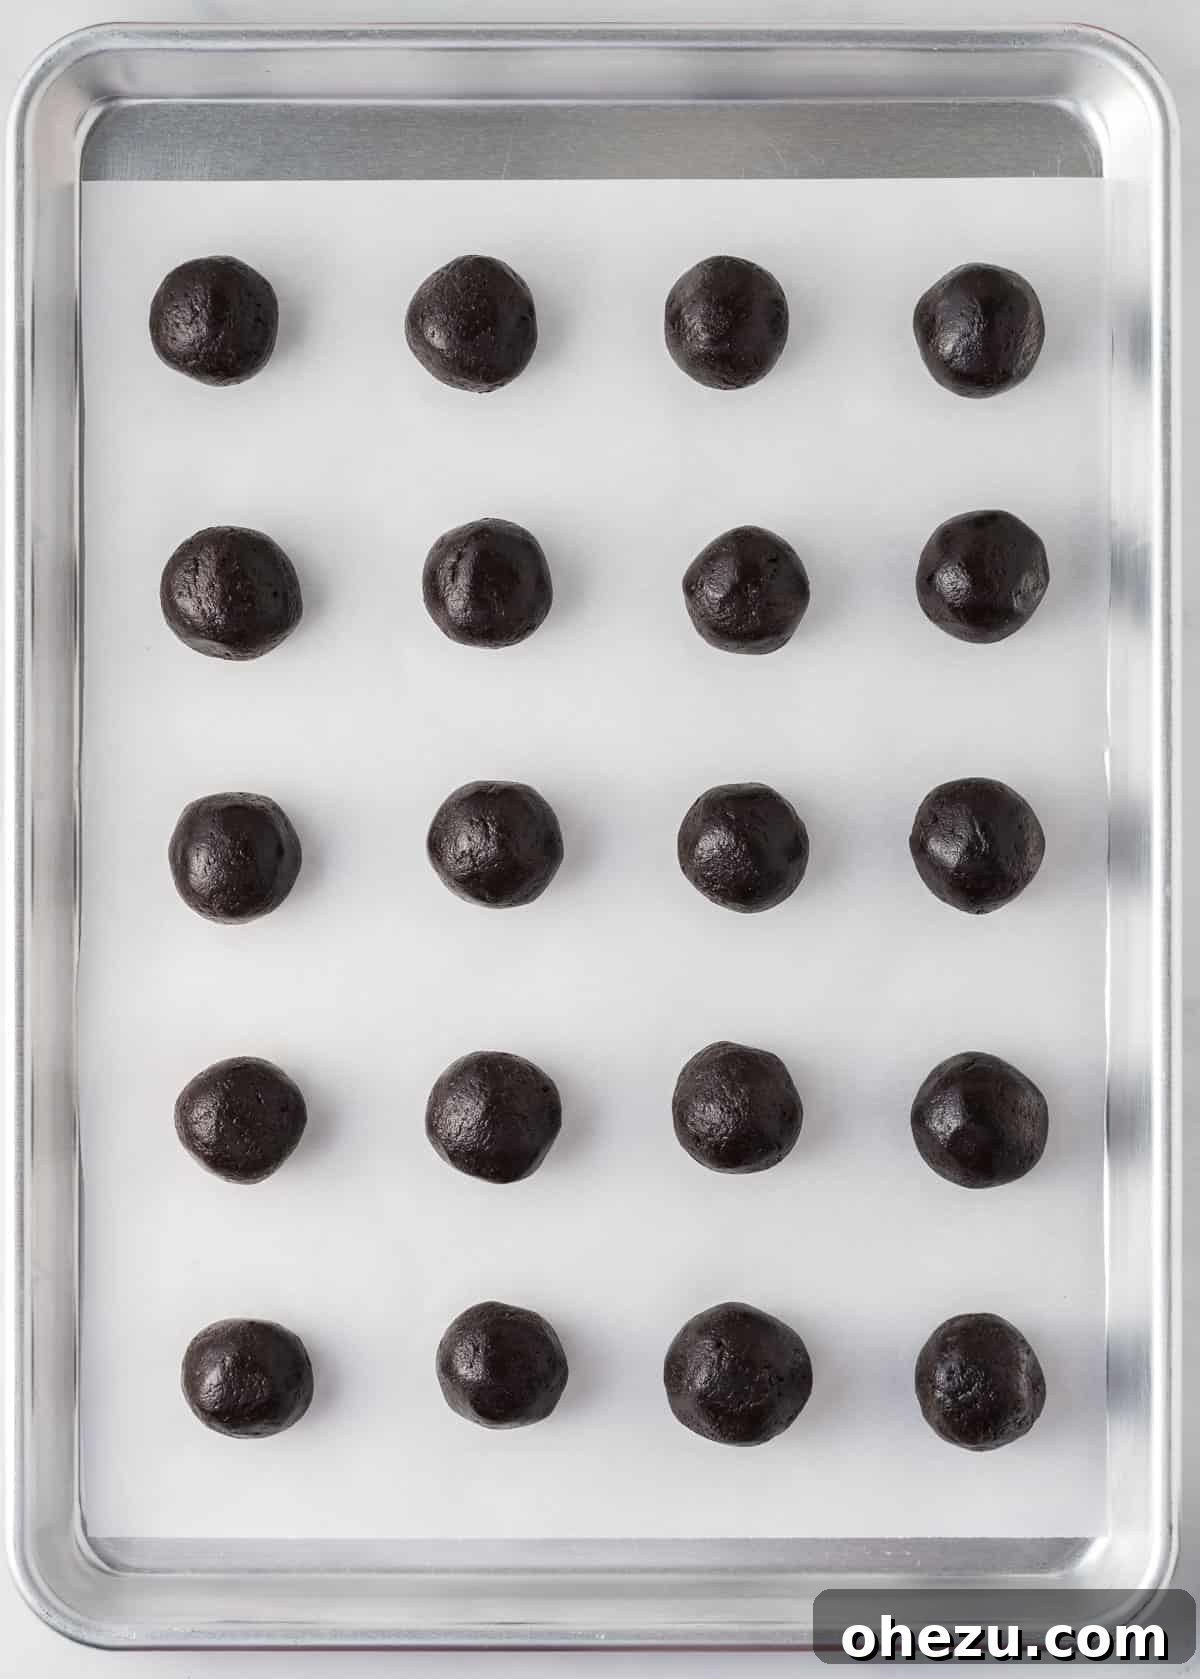
Line a baking sheet with parchment paper; this prevents sticking and makes cleanup a breeze. Use a small cookie scoop (about 1.5 tablespoons in size) to portion out the truffle mixture. Then, gently roll each portion between your palms to form smooth, round balls. This step is where the truffles truly take their shape!
Once all your Oreo balls are shaped, place the baking sheet into the refrigerator or freezer. Chill them for at least 30 minutes. This firming-up period is crucial as it helps the truffles hold their shape and makes them much easier to dip in chocolate without falling apart.
Step 5: Dipping in Dark Chocolate and Decorating
Melt your dark chocolate melting wafers until completely smooth and fluid. You can achieve this using a microwave (heating in 30-second intervals, stirring in between) or a double boiler method for a more controlled melt. Be careful not to overheat the chocolate, as it can seize.
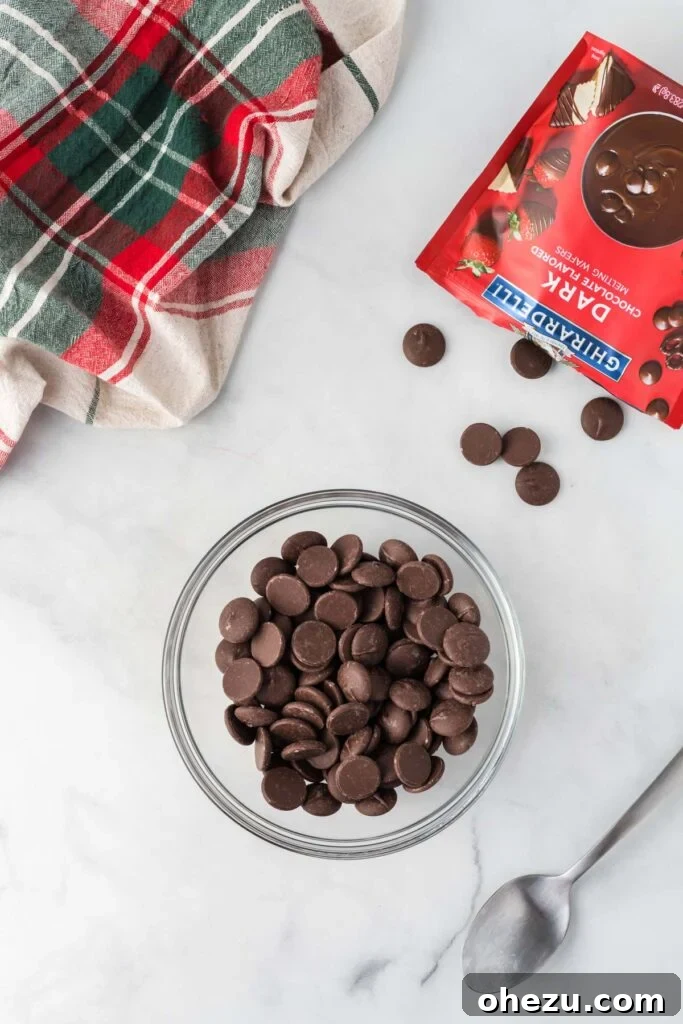
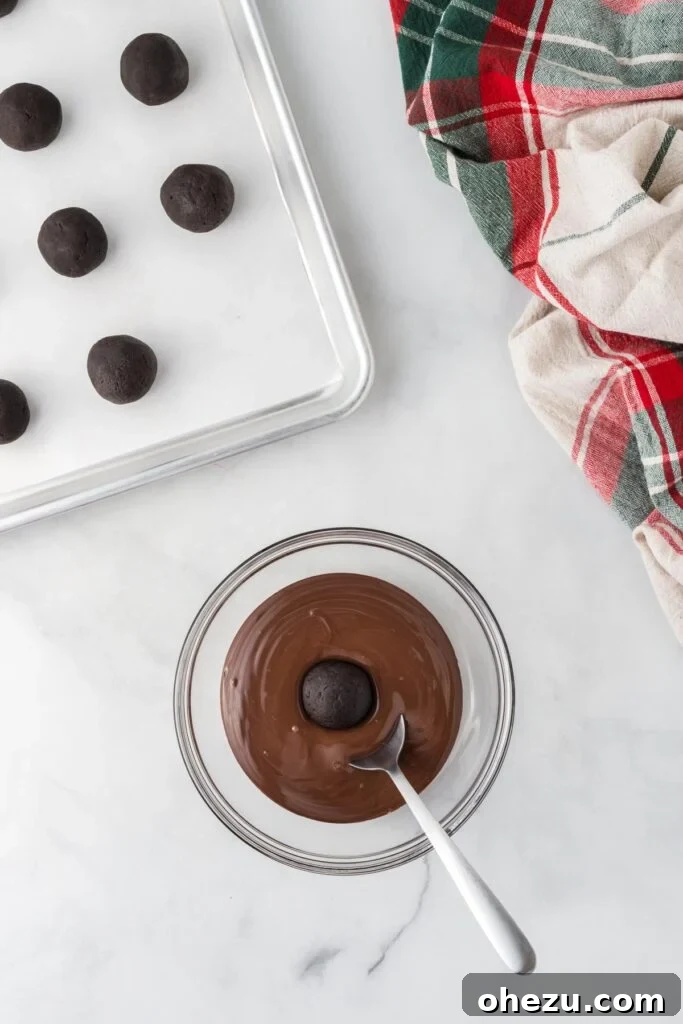
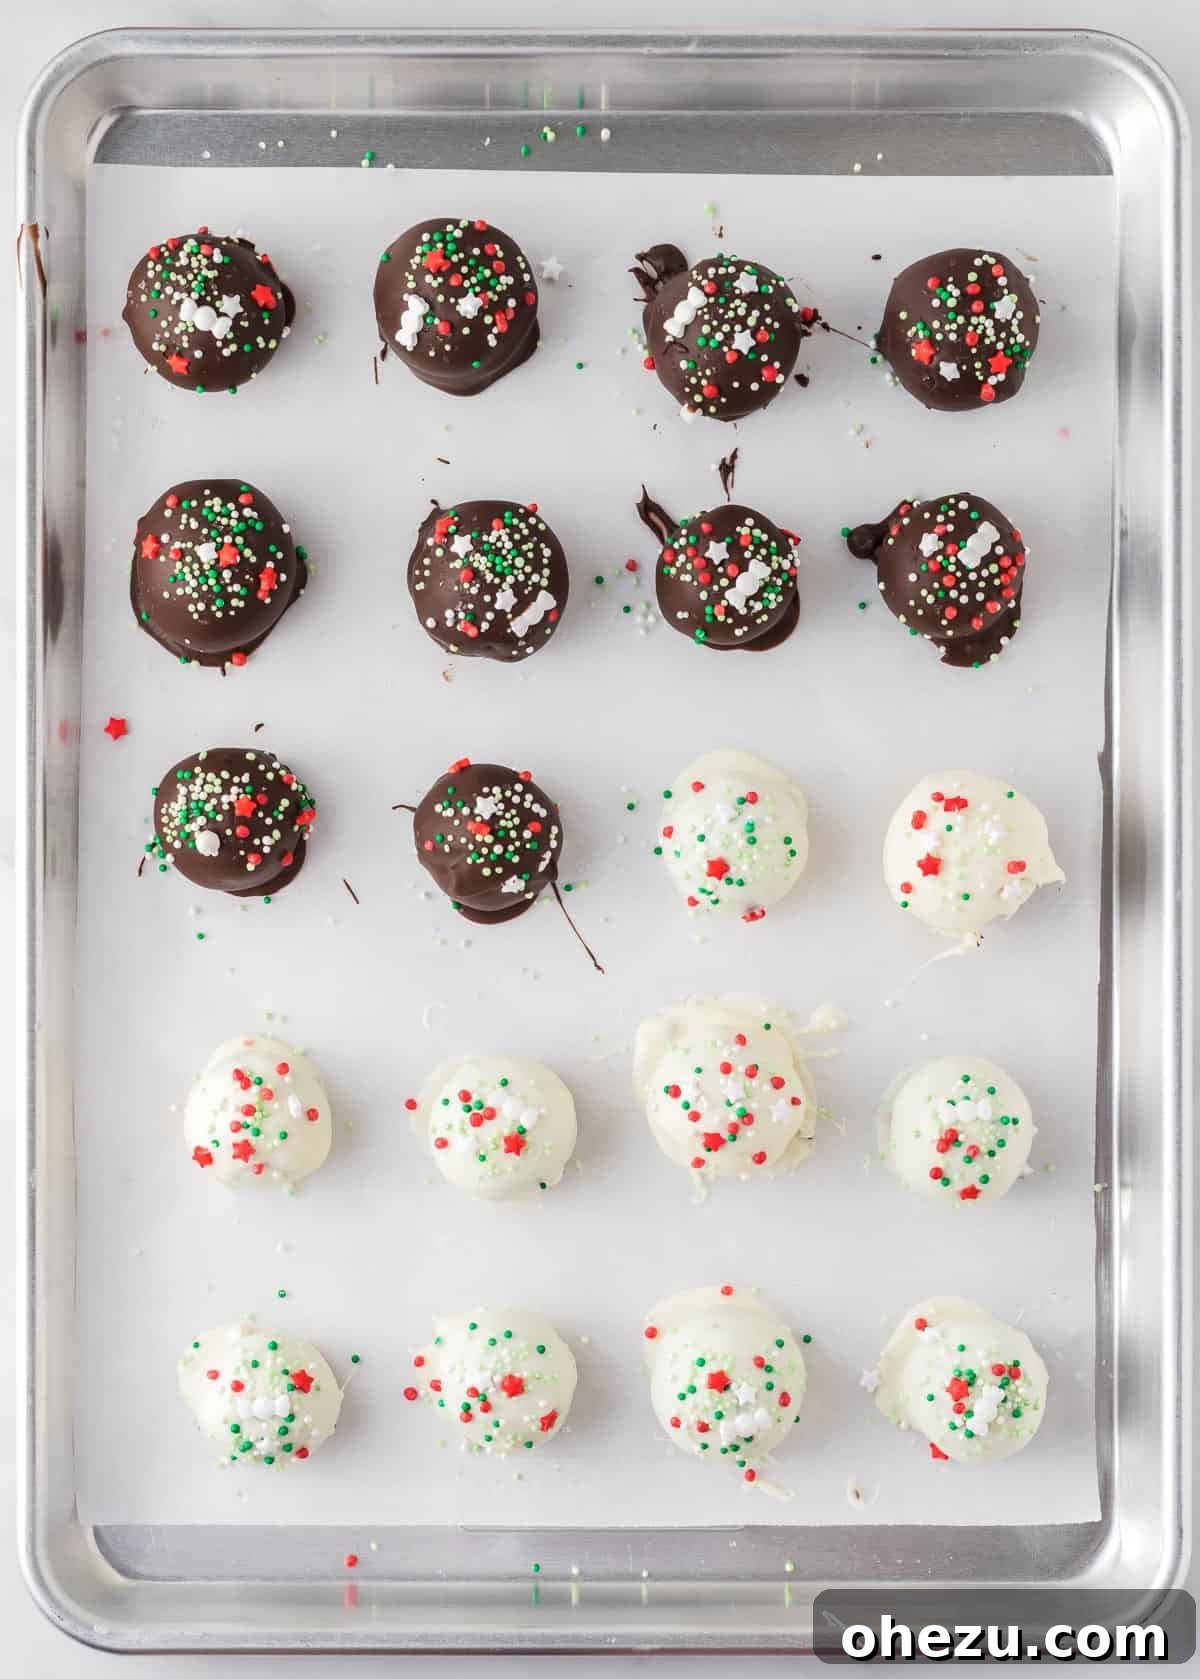
Using a fork or a dipping tool, carefully immerse approximately half of your chilled Oreo balls into the melted dark chocolate. Allow any excess chocolate to drip off, then return the dipped truffle to the parchment-lined baking sheet. Immediately, while the chocolate is still wet, generously sprinkle with your Christmas-colored sprinkles. This quick action ensures the sprinkles adhere perfectly.
Step 6: Dipping in White Vanilla Chocolate
Repeat the melting process with your white vanilla-flavored melting wafers until they are smooth and creamy. Ensure your bowl and tools are clean to prevent any dark chocolate from mixing in.
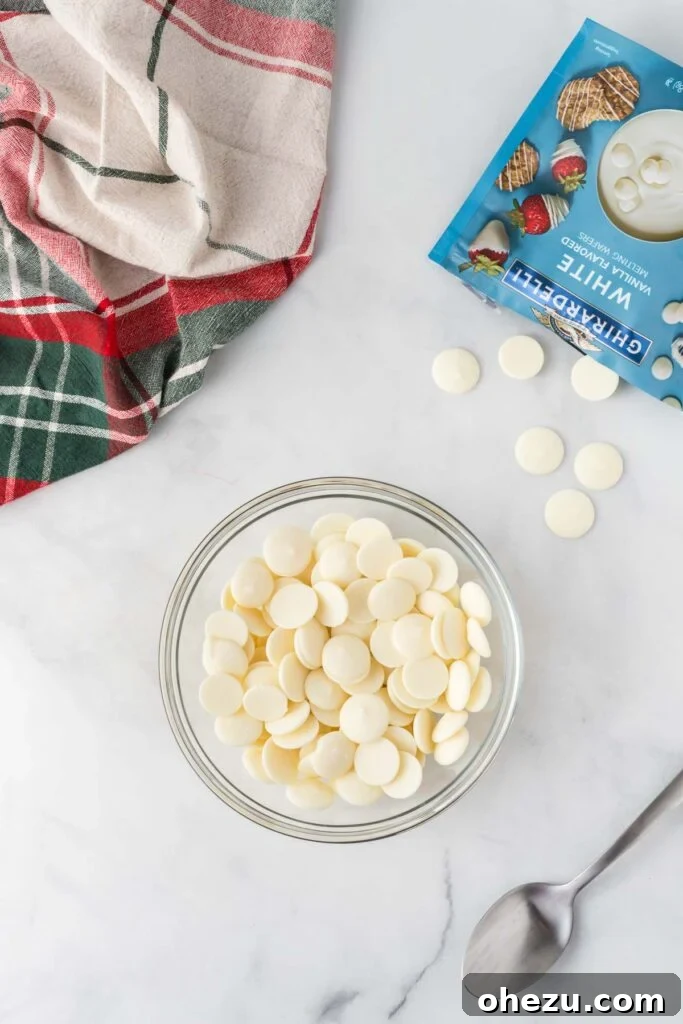
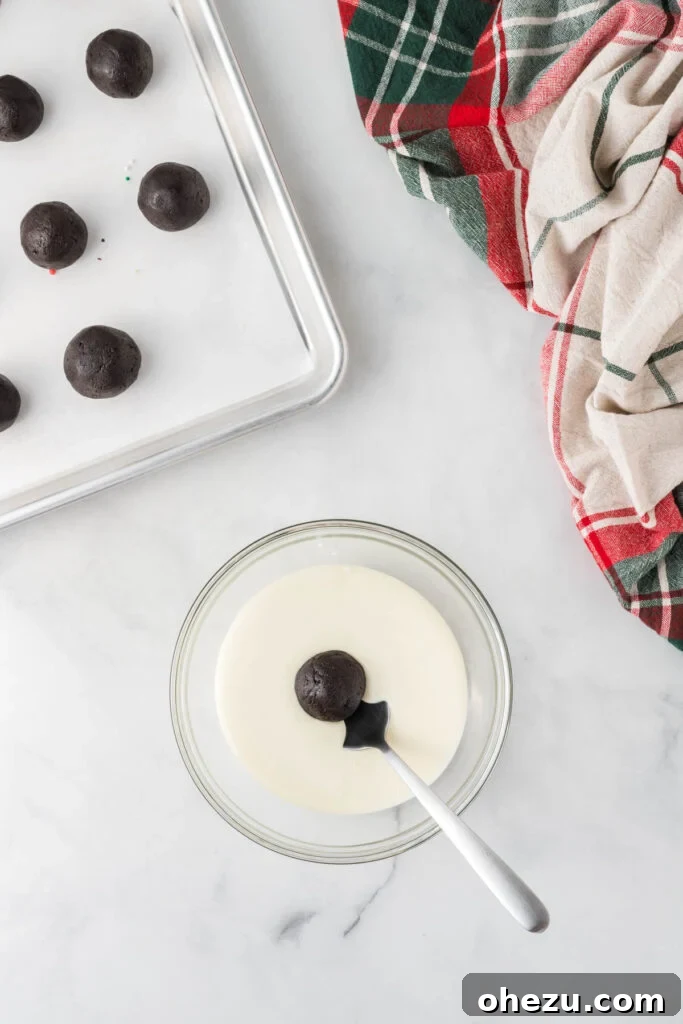
Dip the remaining half of your Christmas Oreo balls into the melted white vanilla chocolate. Again, let the excess drip off and place them back on the baking sheet. Finish by adorning them with Christmas sprinkles before the white chocolate has a chance to set.
Step 7: Final Chill Until Set
Once all your truffles are dipped and decorated, return the baking sheet to the refrigerator. Allow them to chill until the chocolate coating is completely firm and set. This usually takes about 15-30 minutes. Once firm, they are ready to be served and enjoyed!
How to Store Your Christmas Oreo Balls
Proper storage ensures your delicious truffles remain fresh and flavorful throughout the holiday season:
- In the refrigerator: Store your Christmas Oreo balls in an airtight container or a sealed bag in the refrigerator for up to 2 weeks. Their chilled state enhances their fudgy texture.
- In the freezer: For longer storage, place the truffles in an airtight freezer-safe container or bag. They can be frozen for up to 2 months. Thaw them in the refrigerator before serving.
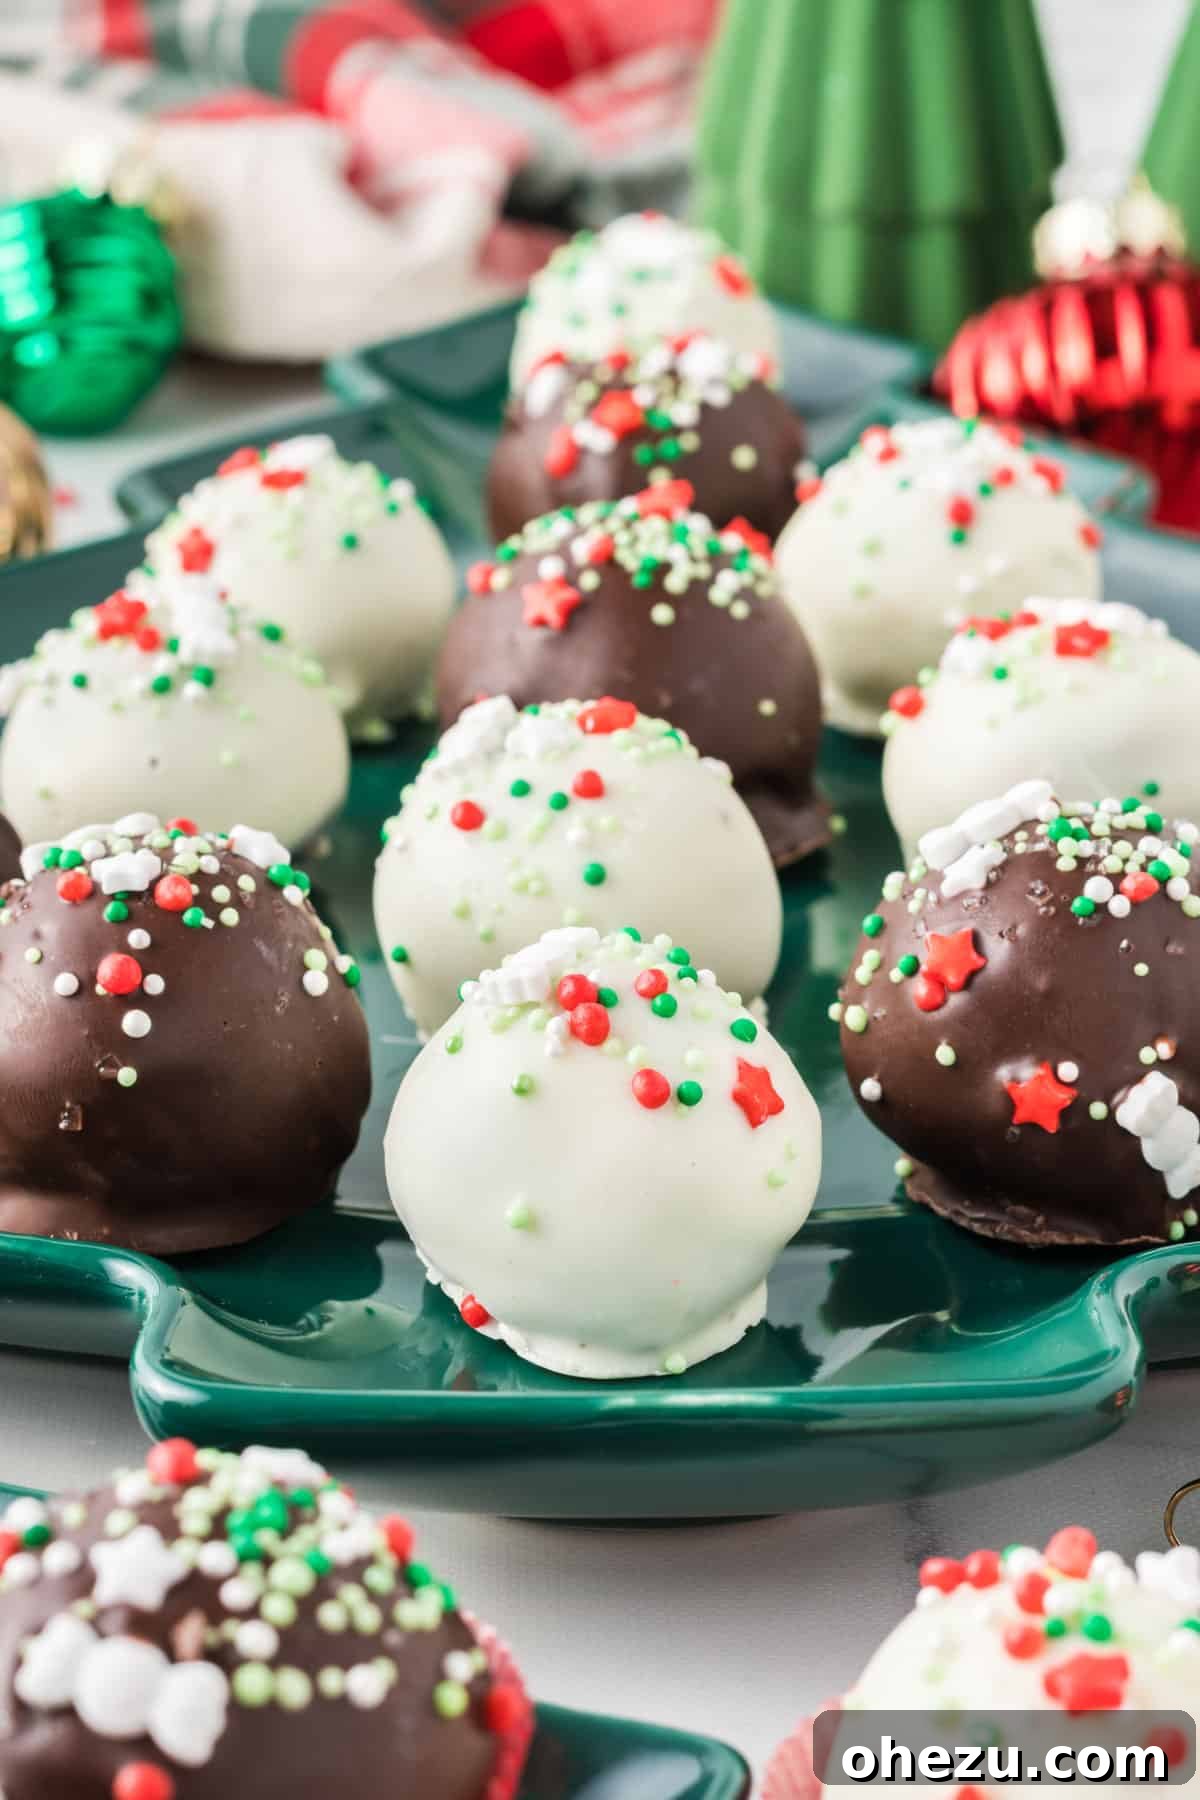
These truffles might be incredibly simple to prepare, but their taste is absolutely phenomenal! Each bite delivers a rich, fudgy, and intensely flavorful experience that’s hard to resist. We bet you won’t be able to stop at just one!

Serving Tips for Optimal Enjoyment
While these truffles can tolerate being left out for a short period in cooler temperatures, they truly shine when served chilled. For the best flavor and texture, store them in the refrigerator until you’re ready to present them. It’s advisable not to leave them at room temperature for longer than two hours, especially if your cream cheese is involved, to maintain food safety and quality.
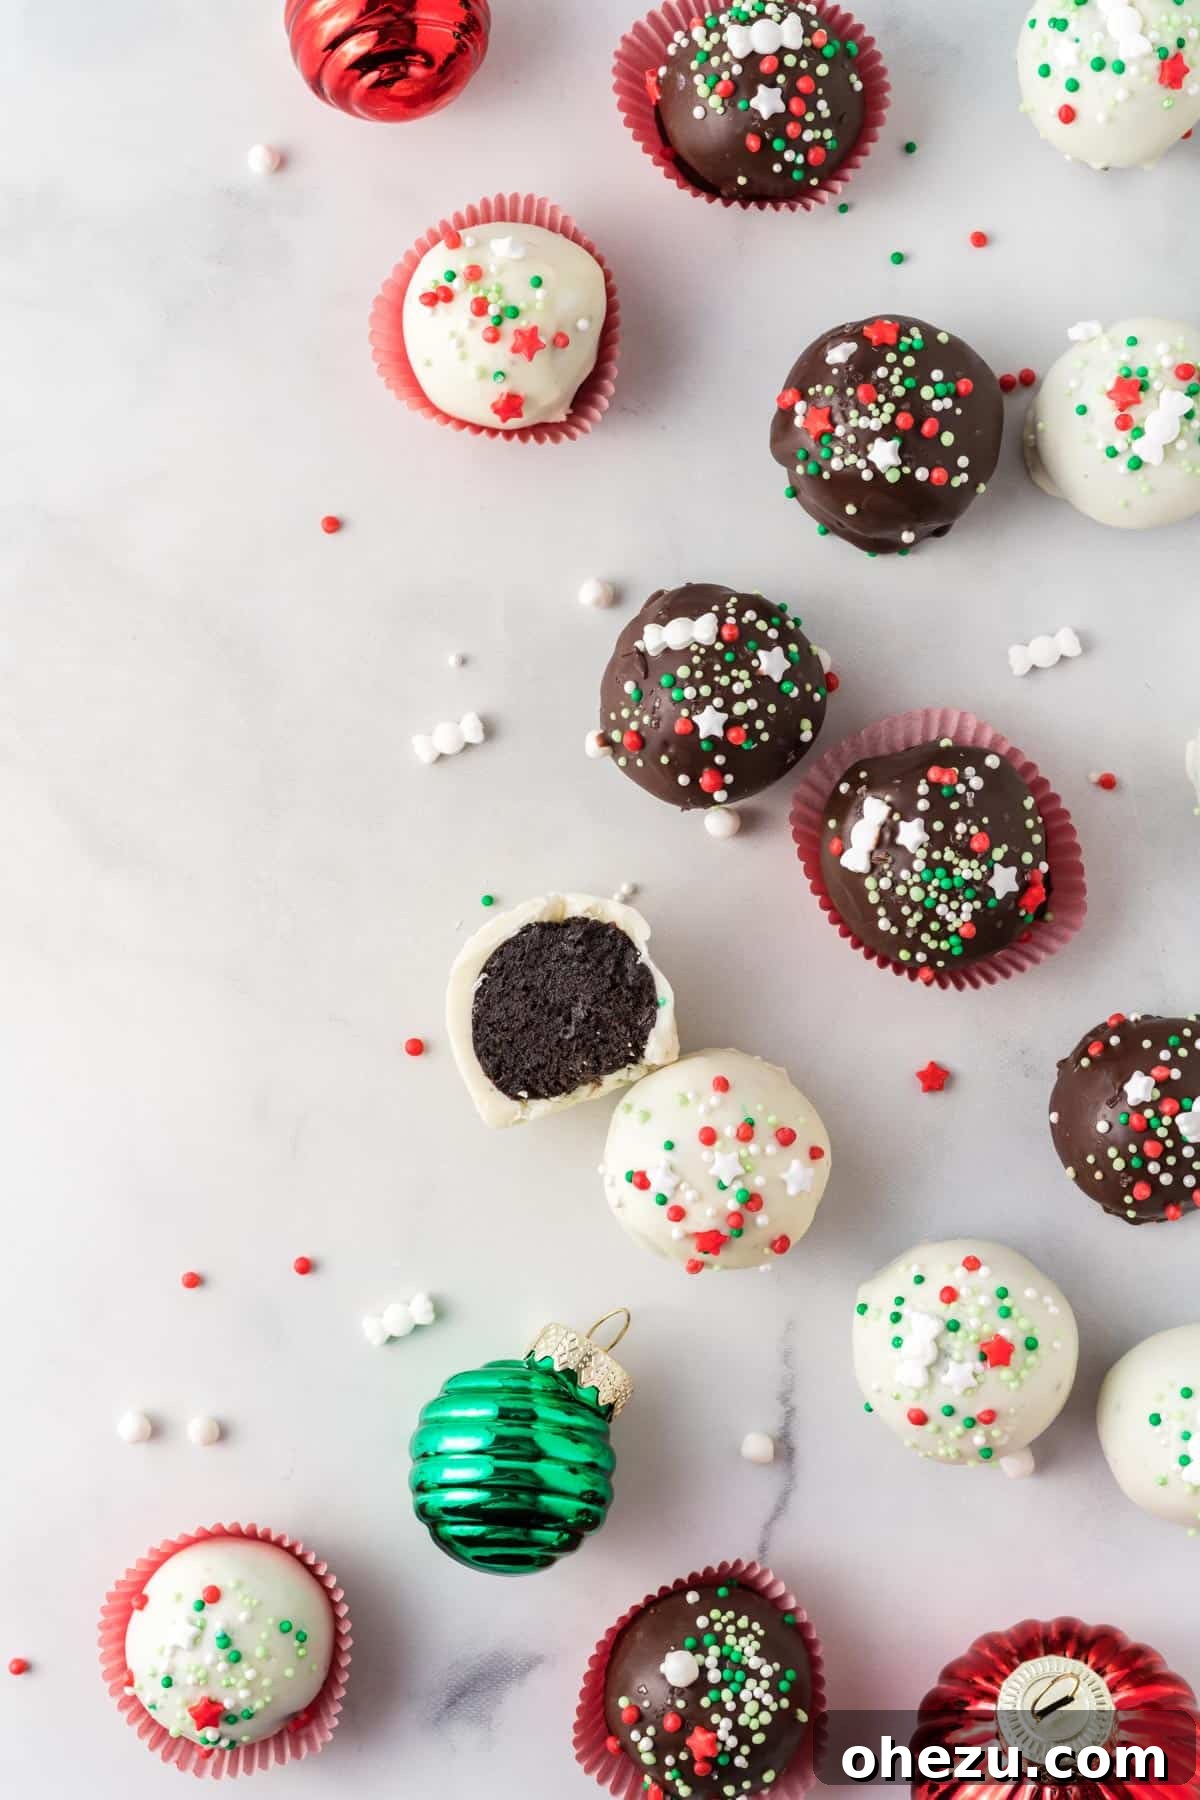
Christmas Oreo balls are indeed the quintessential treat for all your holiday gatherings, offering a blend of simplicity, festive flair, and incredible taste that everyone will adore!
Tips for Success & Common Questions
To ensure your Christmas Oreo balls turn out perfectly every time, here are a few extra tips and answers to common questions:
- Softened Cream Cheese is Key: Make sure your cream cheese is at true room temperature. Cold cream cheese will result in a lumpy mixture that’s hard to work with.
- Don’t Over-Process: While you want fine crumbs, be careful not to process the Oreos and cream cheese too long after they’re combined, as it can start to warm the mixture too much.
- Chilling Time: Don’t skip the chilling steps! They are vital for the truffles to hold their shape and for the chocolate coating to set properly.
- Melting Chocolate: Use quality melting wafers for the best results. If using chocolate chips, you might need to add a teaspoon of coconut oil or shortening to achieve a smooth, dippable consistency. Melt slowly and stir often to prevent burning or seizing.
- Quick Dipping: Work quickly when dipping and sprinkling. The chocolate sets fast, especially on chilled truffles.
Delicious Variations for Your Oreo Truffles
Get creative with your Christmas Oreo balls! Here are a few ideas to customize your holiday treats:
- Peppermint Delight: Crush candy canes and mix them into the Oreo mixture, or use them as a festive topping.
- Spice It Up: Add a pinch of cinnamon or pumpkin pie spice to the Oreo and cream cheese mixture for a warm, cozy flavor.
- Nutty Crunch: Fold in finely chopped toasted pecans or walnuts into the truffle base for added texture.
- Citrus Zest: A tiny bit of orange or lemon zest can brighten the flavor profile beautifully.
- Drizzle Design: Instead of full dips, drizzle melted contrasting chocolate (e.g., white chocolate over dark, or vice versa) in a zigzag pattern for an elegant look.
- Different Oreo Flavors: Experiment with mint Oreos, gingerbread Oreos, or other seasonal flavors for unique twists!
More Festive Christmas Desserts to Explore
If you loved making these Oreo balls, you’ll surely enjoy these other wonderful holiday treats:
- Oreo Dip
- Cake Mix Snickerdoodles
- Chocolate Christmas Cookies
- Christmas Crack
- Ritz Cracker Cookies
- Pecan Pie Balls
- Mint Oreo Truffles
- Crock Pot Peanut Clusters
- Peanut Butter Balls with Graham Crackers
- Hot Chocolate Dip
- Graham Cracker Toffee
- No-Bake Avalanche Cookies
- Peanut Clusters
This holiday season, make these Christmas Oreo balls a staple at your parties. They are guaranteed to be a sensational hit, leaving everyone asking for the recipe!

Christmas Oreo Balls Recipe
These Christmas Oreo balls are an easy and delicious no-bake holiday dessert, perfect for festive gatherings.
By: Joy Shull
Prep Time: 30 mins |
Total Time: 30 mins |
Servings: 20
Ingredients
- 36 Oreos (1 standard package)
- 8 oz cream cheese, softened
- 10 oz Ghirardelli Dark chocolate melting wafers
- 10 oz Ghirardelli White vanilla melting wafers
- Christmas sprinkles (red, green, white)
Instructions
- Add the entire package of Oreos to a food processor and process until finely ground into crumbs.
- Add the softened cream cheese to the food processor with the Oreo crumbs and pulse until fully combined into a thick dough.
- Transfer the Oreo mixture to a bowl and use a rubber spatula to ensure all ingredients are perfectly blended.
- Line a baking sheet with parchment paper.
- Use a mini cookie scoop (approx. 1.5 tablespoons) to portion out the Oreo mixture onto the prepared baking sheet.
- Roll each portion with your hands to form smooth, round balls.
- Chill the Oreo balls in the refrigerator or freezer for at least 30 minutes until firm.
- Melt the dark chocolate melting wafers until smooth, following package instructions (microwave in 30-second intervals or use a double boiler).
- Dip half of the chilled Oreo balls into the melted dark chocolate, allowing excess to drip off. Immediately place back on the baking sheet and top with Christmas sprinkles before the chocolate sets.
- Melt the white vanilla wafers until smooth.
- Dip the remaining half of the Oreo balls into the melted white vanilla chocolate, let excess drip, and place back on the baking sheet. Top immediately with Christmas sprinkles.
- Return the decorated Christmas Oreo balls to the fridge and chill until the chocolate coating is completely firm, about 15-30 minutes.
Nutrition Information (per serving)
Calories: 202kcal, Carbohydrates: 24g, Protein: 2g, Fat: 11g, Saturated Fat: 7g, Polyunsaturated Fat: 1g, Monounsaturated Fat: 3g, Trans Fat: 0.01g, Cholesterol: 11mg, Sodium: 132mg, Potassium: 66mg, Fiber: 1g, Sugar: 17g, Vitamin A: 153IU, Calcium: 16mg, Iron: 3mg