
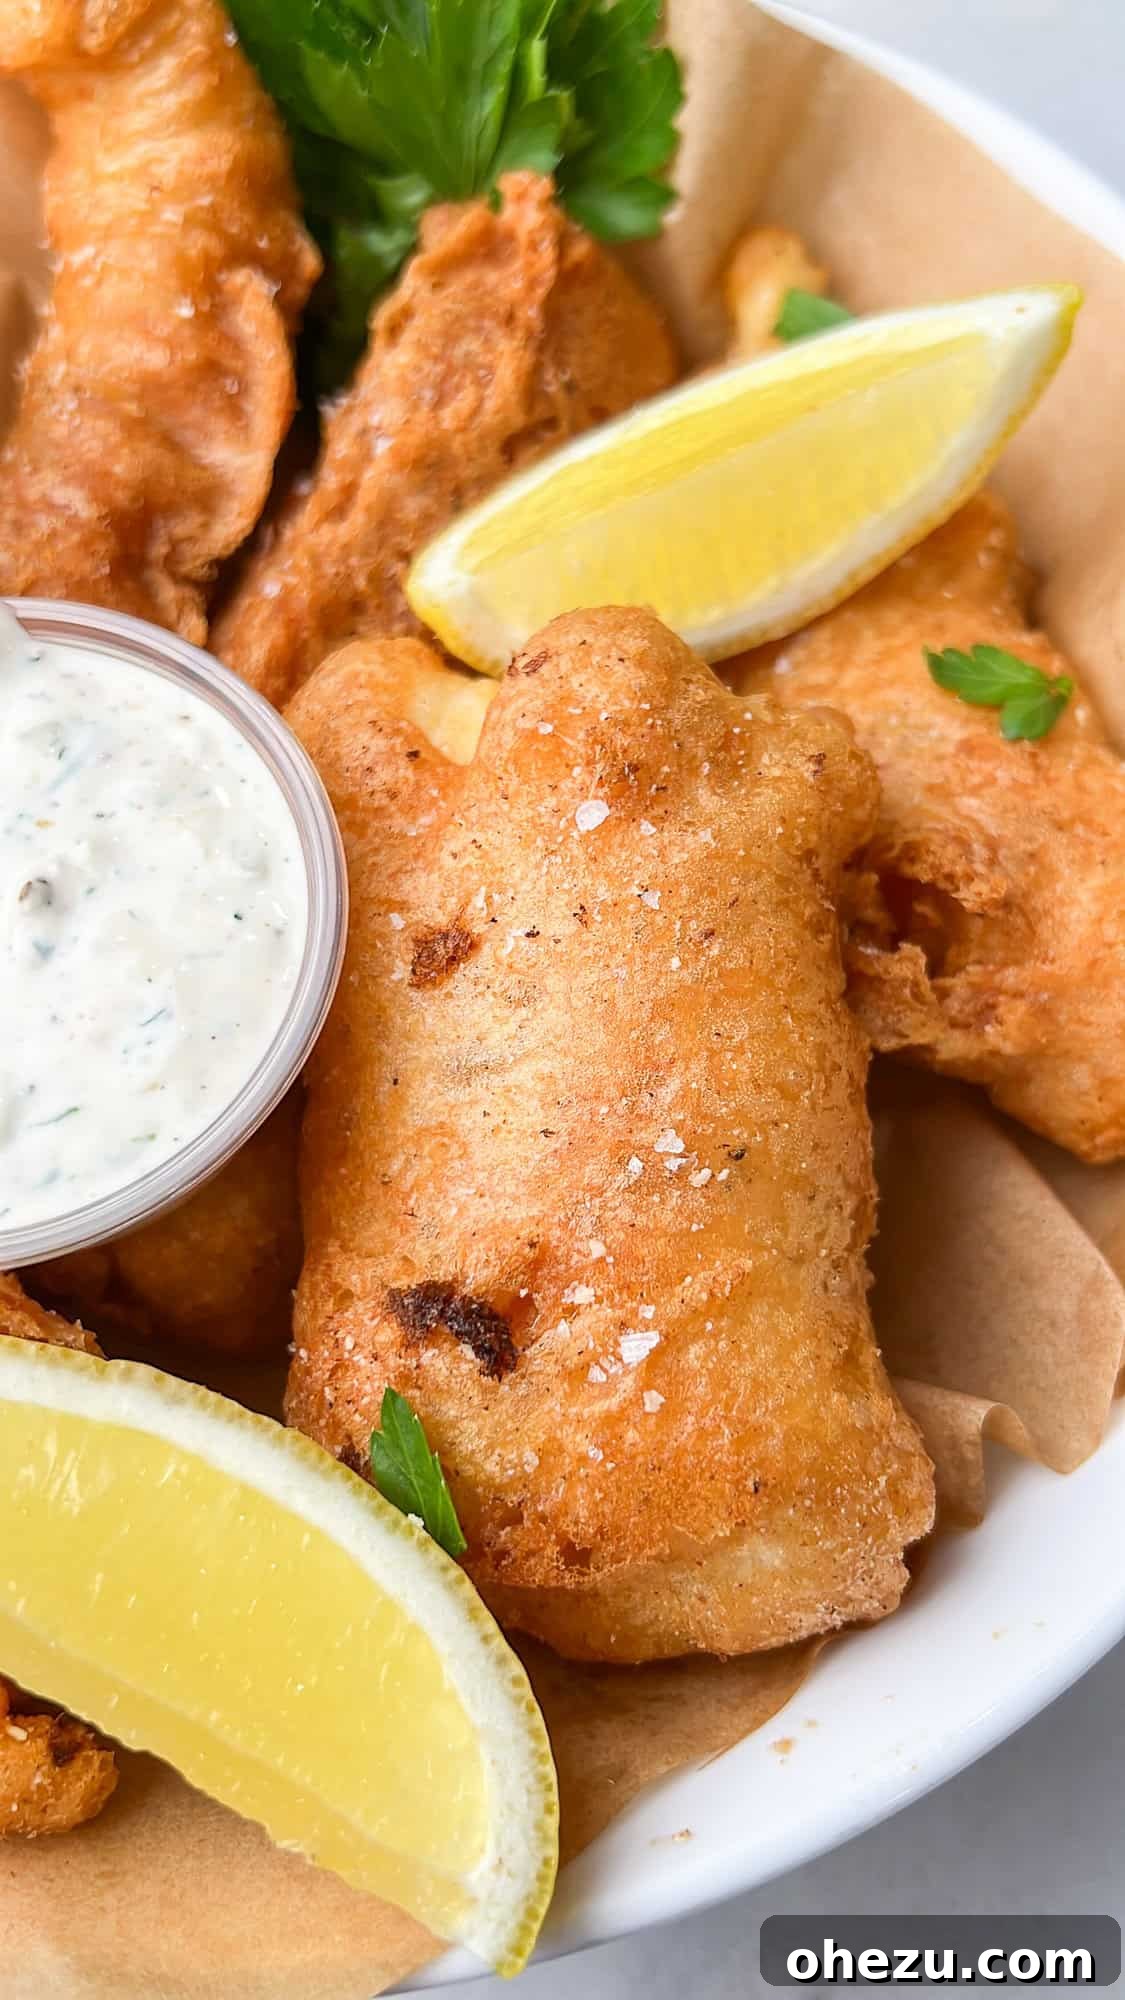
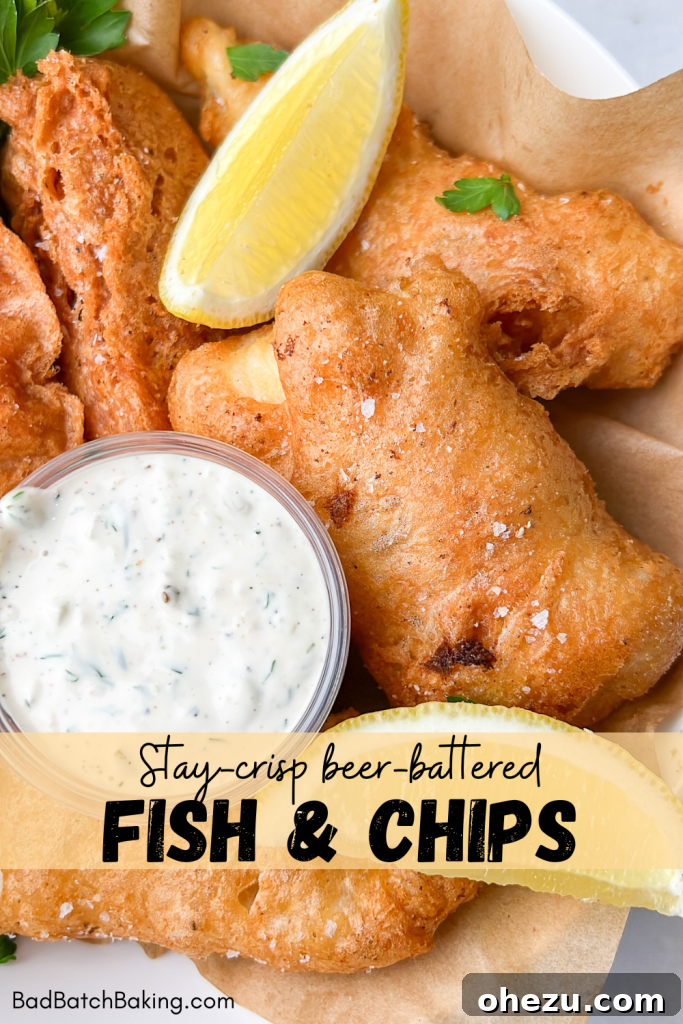
Welcome to the definitive guide for making the best fish and chips, designed to stay irresistibly crispy for hours. This recipe transforms tender halibut into golden, puffy, and crunchy delights, enveloped in a perfectly seasoned, thick beer batter. Prepare to elevate your home cooking with a dish that rivals your favorite British pub!
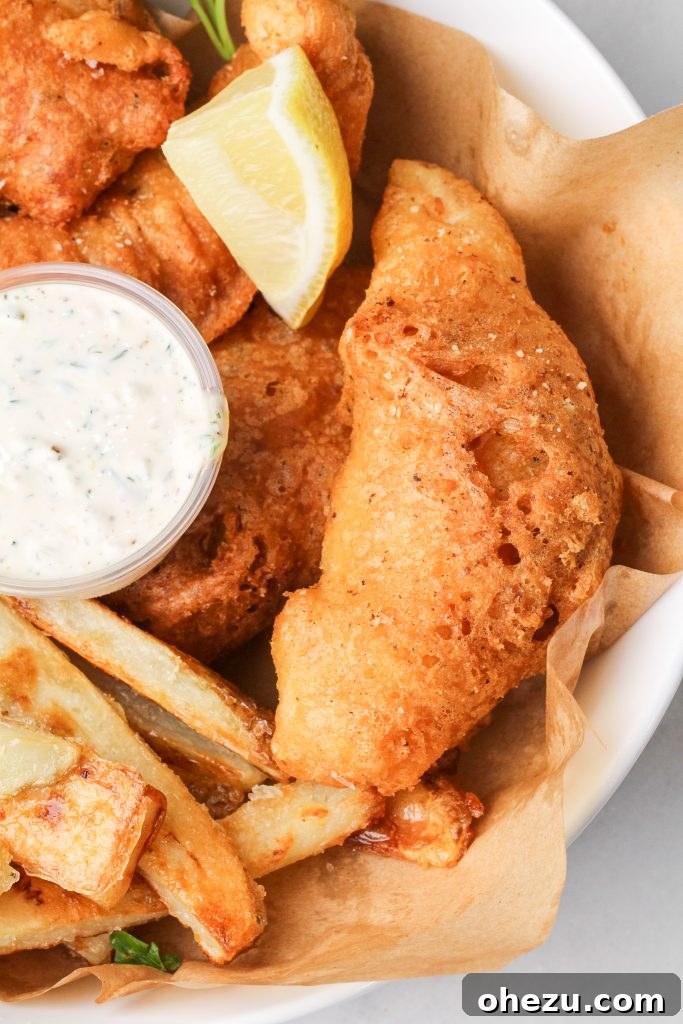
Are you on a quest for the ultimate fish and chips recipe? One that promises a perfectly seasoned, ultra-crispy beer-battered crunch that defies sogginess and remains crisp long after it leaves the fryer? Your search ends here. These authentic British pub-style fish and chips are poised to be the best you’ve ever savored.
Imagine tender, flaky halibut on the inside, encased in a light yet robust beer-infused batter that puffs up beautifully, delivering a lasting, satisfying crunch with every bite. This comprehensive guide doesn’t just stop at the fish; it also includes my incredible recipe for a creamy homemade tartar sauce and a game-changing method for ultra-crispy oven-baked fries. While tartar sauce is a classic pairing, we’ll also introduce you to a surprising condiment that might just become your new favorite accompaniment.
This post is your complete guide to crafting the most incredible fish and chips, featuring a famously puffy beer-batter that stays delightfully crispy for hours!
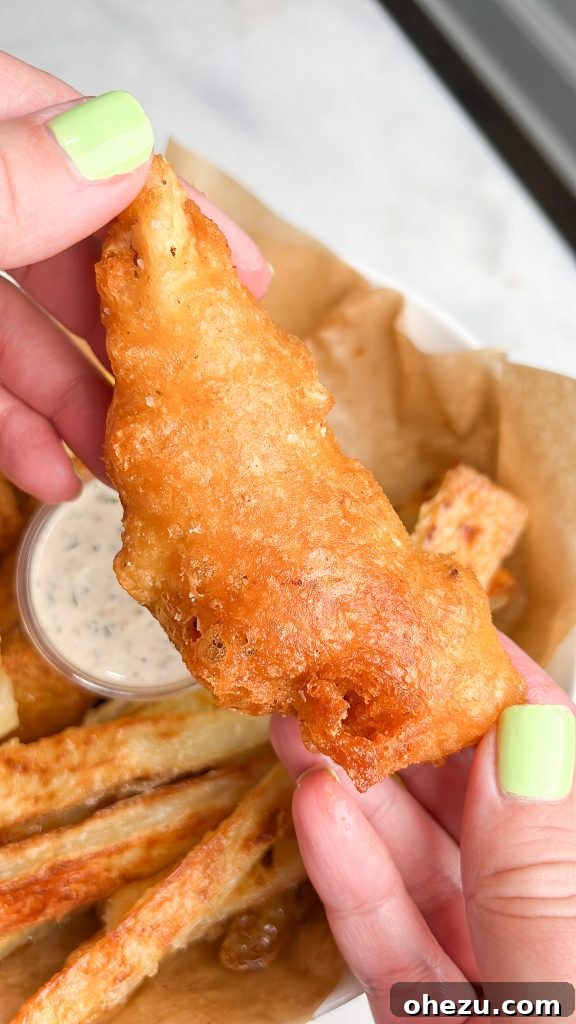
What Makes These Fish and Chips the Absolute Best?
Achieving truly exceptional fish and chips isn’t just about frying fish; it’s about a combination of techniques and ingredients that result in a culinary masterpiece. Here’s why this recipe stands head and shoulders above the rest:
Stay-Crisp, Crunchy, Puffy Batter
The secret to a batter that remains crisp for hours lies in the careful balance of ingredients. Our recipe utilizes both baking powder and ice-cold beer, which are absolutely crucial. The carbonation in the beer, combined with the leavening power of baking powder, creates countless tiny bubbles in the batter. As these bubbles hit the hot oil, they expand rapidly, resulting in an incredibly light, airy, and puffy texture that encapsulates the fish. This unique structure locks in crispiness, preventing the dreaded soggy batter common in many recipes, just like you’d experience in a traditional British chippy.
Perfectly Seasoned for Maximum Flavor
Unlike recipes that rely solely on salt and pepper, our beer batter is a symphony of flavors. Beyond the inherent depth provided by the beer, a carefully selected blend of seasonings ensures that each strip of fish is bursting with balanced, robust taste. This thoughtful seasoning approach elevates the fish itself, creating a harmonious flavor profile that’s anything but bland. You’ll find yourself craving the nuanced punch our batter delivers.
Homemade Tartar Sauce: A Tangy Delight
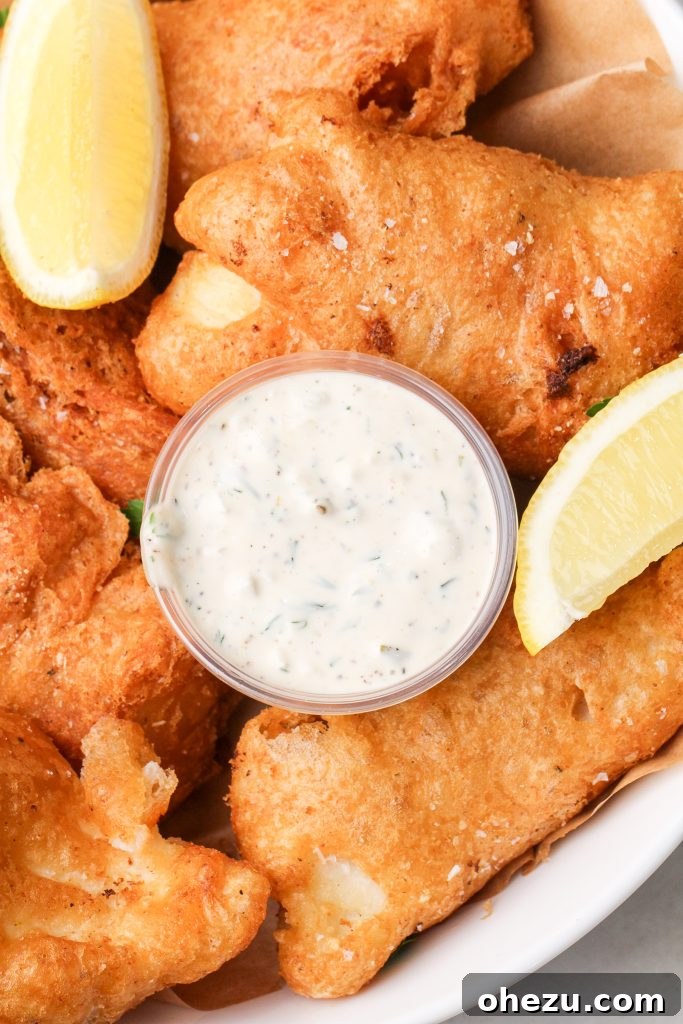
Prepare to be amazed by this homemade tartar sauce; it’s truly in a league of its own. Creamy, fresh, and perfectly tangy, it’s designed to be the addictive dipping companion your crispy fish deserves. Crafted with rich mayonnaise, finely minced dill pickles (patted dry for optimal texture), fresh dill, a squeeze of lemon juice, and a touch of sugar, this sauce offers a bright, refreshing contrast to the rich fried fish. Once you try this version, store-bought will simply not compare.
The Unexpected Delight: Ponzu Sauce
While classic malt vinegar is always an option, we encourage you to venture into the unexpected with Ponzu sauce. This revelation, introduced to me by my parents’ favorite restaurant, Avanti in West Linn, offers an exciting twist. Ponzu, a citrus-based soy sauce, provides a unique umami and tangy flavor that beautifully complements the fried fish. Its bright, savory notes cut through the richness of the batter, offering a refreshing alternative that might just become your new go-to dip!
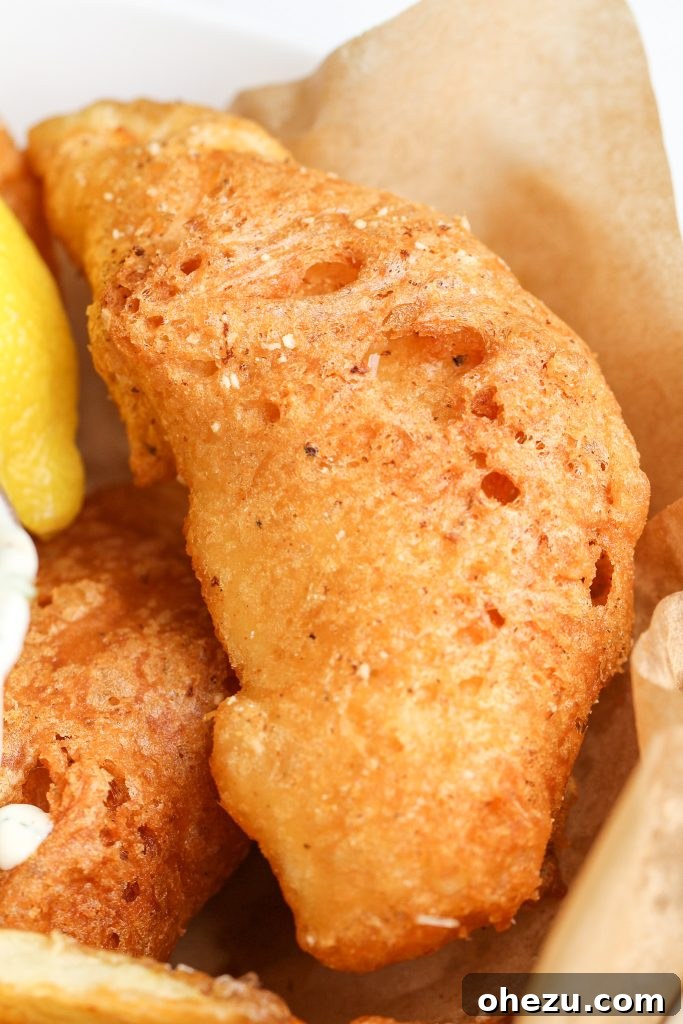
How to Make The Best Fish and Chips: Pro Tips for Perfection
There are a few critical steps that guarantee perfectly puffy, crispy battered fish every single time!
- The Power of Cornstarch: Cornstarch is a hero in this recipe, utilized twice for maximum crispiness. First, it’s used as a preliminary dusting for the fish. This creates a dry surface that allows the batter to adhere better and prevents a soggy layer from forming between the fish and the batter. Secondly, it’s incorporated directly into the batter itself, contributing to that desirable light, airy, and incredibly crunchy texture.
- Ice-Cold Beer is Key: The type and temperature of your beer are paramount. Always use an ice-cold pale ale or IPA; avoid darker, heavier beers that can impart undesirable flavors. The extreme coldness of the beer, when mixed into the batter just before frying, reacts with the hot oil to create a thermal shock. This shock, combined with the beer’s carbonation, produces an explosive puffiness and crisp texture. It’s crucial not to make the batter too far in advance or overmix it, as this will cause the precious bubbles to dissipate, diminishing its lightness and crispiness.
- Maintain Perfect Oil Temperature: This is arguably the most critical factor in achieving perfectly cooked, crispy fish. Invest in a reliable deep-fry thermometer. If your oil isn’t hot enough (below 350°F / 175°C), the batter will absorb too much oil, resulting in a greasy, soggy coating. Conversely, if the oil is too hot (above 375°F / 190°C), the exterior will darken rapidly before the interior batter has a chance to cook through and become crispy, leaving you with a mushy breading or even undercooked fish. Aim for a consistent 375°F (190°C) for optimal results.
- The “Landing Station” Method: After frying, resist the urge to place your freshly cooked fish directly onto paper towels. While this seems intuitive for absorbing excess oil, paper towels trap steam against the hot batter, quickly turning it soggy. Instead, transfer the fried fish directly onto a wire cooling rack set over a baking sheet. This allows air to circulate around the pieces, letting excess oil drip away and preserving that hard-earned crispiness for much longer.
- Proper Reheating Techniques: If you’re frying in batches, keep finished pieces warm and toasty in an oven set to its “warm” setting (or lowest temperature, around 200°F / 95°C). For reheating leftover fish from room temperature or the refrigerator, never use a microwave. Instead, preheat your oven to 400°F (200°C) and bake the fish for about 10-15 minutes, flipping halfway, until they are gloriously crispy once more.
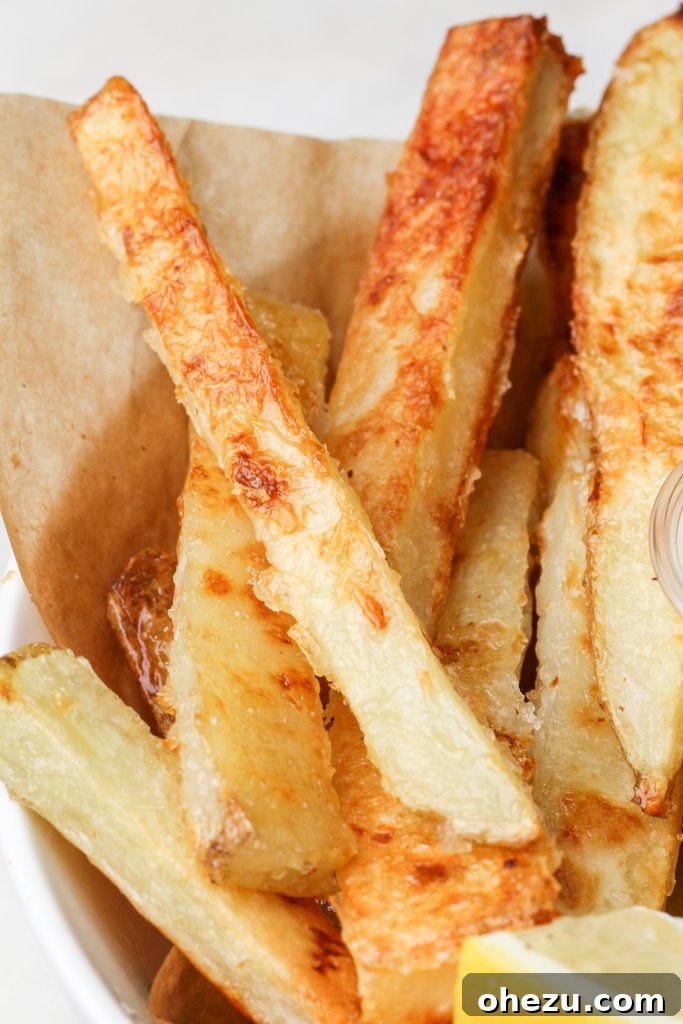
Let’s Talk About the “Chips” (Fries): The Perfect Accompaniment
No fish and chips experience is complete without the perfect side of golden, crispy fries. While deep-frying fries is traditional, we’re introducing you to an ultra-crispy homemade oven fry method that is incredibly simple and surprisingly effective. This approach eliminates the need for par-boiling or a second round of frying, saving you time and effort.
I wholeheartedly prefer oven fries when concurrently deep-frying other foods. Frying in batches can be time-consuming and often means some components get cold while others cook. By baking the fries simultaneously as the fish fries, you ensure both elements are ready at the same time, allowing you to enjoy your meal immediately at its peak freshness and crispiness. Of course, for convenience, feel free to use high-quality frozen fries or, if you prefer, you can certainly deep-fry your homemade chips as well.
This ingenious oven fry recipe comes from the culinary geniuses at America’s Test Kitchen, a method perfected by Lan Lam. It utilizes a very unique technique to achieve an unparalleled level of crispiness without ever touching a deep fryer.
Here is How to Make These Ultra-Crispy Oven Fries:
The secret to these unbelievably crispy oven fries lies in a simple yet scientific approach:
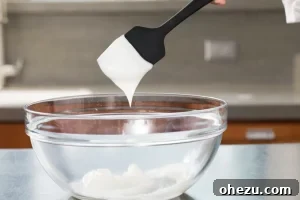
- The Cornstarch Slurry: Begin by heating a mixture of cornstarch and water until it transforms into a glossy, pudding-like consistency. This thick slurry is the magic ingredient that creates an incredibly thin, protective, and super-crispy coating on each potato strip.
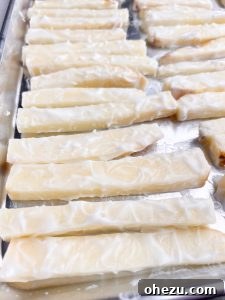
- Prep the Pan: Generously spray a rimmed baking sheet with non-stick spray, then add vegetable oil and tilt the pan to ensure an even coating. This prevents sticking and helps create a perfect golden crust. Carefully place your coated fries on the prepared pan, ensuring they are in a single layer with small gaps between them for optimal air circulation. Cover the pan tightly with aluminum foil.
- Initial Steam Bake: Bake the covered fries for 15 minutes at 425°F (220°C). This initial steaming phase, trapped by the foil, ensures the potatoes cook through and become tender on the inside without drying out, setting the stage for their crispy exterior.
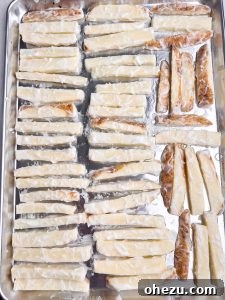
- Crisping Phase: Remove the foil and continue baking for another 10-15 minutes, allowing the bottom of each fry to turn golden brown and crispy. Then, use a metal spatula to carefully flip each fry, rotate the pan, and bake for another 10-15 minutes until the second side is equally golden and crisp. This two-stage baking ensures even browning and maximum crunch.
- Season and Serve: Once perfectly crispy, transfer the fries to a large, paper towel-lined bowl. Toss them around gently, patting with additional paper towels to absorb any residual oil. Finally, sprinkle generously with flaky sea salt while they’re still hot, allowing the salt to adhere beautifully.

Essential Tools for The Best Fish and Chips
Having the right kitchen tools can make all the difference, especially when deep frying. These are my go-to items for ensuring a safe and successful fish and chips experience:
Dutch Oven (6-8 Quart Size)
For deep frying, a heavy-bottomed Dutch oven is truly superior. These sturdy pots excel at maintaining and distributing heat evenly, which is crucial for consistent frying and preventing temperature fluctuations that can lead to soggy or burnt food. More importantly, their substantial weight and broad base provide a much better sense of security compared to a standard, lighter pot. As a cook who often juggles multiple tasks (and has, on occasion, been known to knock things over or snag a sleeve on a pan handle!), safety is my number one priority. The inherent stability of a massive ceramic or cast iron Dutch oven significantly reduces the likelihood of kitchen accidents involving hot oil. It’s a game-changer for clumsy cooks and a wise investment for any home chef.
Taylor Candy Thermometer for Frying
A reliable thermometer is not just a convenience; it’s an imperative tool for both accurate frying and kitchen safety. Oil temperatures can spike or drop unexpectedly, and even the most experienced chefs cannot accurately gauge deep-frying temperatures without one. A candy or deep-fry thermometer allows you to continuously monitor the oil, ensuring it stays within the optimal range (around 375°F / 190°C) for perfect crispiness and thorough cooking without burning. It eliminates guesswork and drastically reduces the risk of oily, undercooked, or overly dark results.
Full Sheet Baking Pan
While most home kitchens are equipped with half-sheet pans (the standard size you find at general stores), a full-sheet pan is a worthy upgrade. These pans span the entire width of a standard oven, offering significantly more surface area for baking. This extra room is particularly beneficial for our oven fries recipe, allowing you to spread out a generous batch in a single layer. Proper spacing prevents steaming and ensures each fry gets beautifully crispy, making it easy to bake enough fries for the entire family or prepare ample leftovers without crowding the pan.
Pyrex Glass Bowls
Pyrex glass bowls are indispensable in my kitchen, making an appearance in almost all my recipes. For this fish and chips recipe, they are perfect for mixing the beer batter and, notably, for preparing the cornstarch slurry for the fries, as they are microwave-safe. What I appreciate most about these bowls, especially the nesting sets, is their incredible versatility and ease of storage. They handle high temperatures, resist staining, and are practical for everything from prep work to serving.
Looking for More Craveable Recipes?
If you’ve enjoyed mastering these perfectly crispy fish and chips, you’ll love exploring more of my go-to recipes that are sure to satisfy any craving. Expand your culinary repertoire with these exciting dishes:
Blackened Salmon BLT Sliders Firecracker Cajun Salmon Fried Chicken Tacos with Street Corn
Meat Lover’s Pizza Dip Brisket Street Corn Tacos


I genuinely hope you enjoy crafting and devouring these incredible fish and chips as much as my family and I do. Don’t hesitate to leave a comment below with any questions or feedback – I love hearing from you! If you make this recipe or any others from my collection, please don’t forget to tag me on Instagram @BadBatchBaking to be featured on my story. Seeing your delicious recreations truly brightens my day!
The Best Fish and Chips That Stay Crispy

The perfect British-style beer-battered fish and chips recipe with a puffy, stay-crisp texture, crunchy with every bite.
The fries are oven-baked with a secret technique that ensures they are incredibly crispy on the outside and soft and tender on the inside.
Ingredients
Beer-Battered Fish
- 1.5 lbs halibut, skinless and boneless or similar white fish fillets: sea bass, cod, snapper, etc.
- 5 cups peanut oil for frying or vegetable oil
- Ponzu sauce or malt vinegar for serving
- lemon wedges for serving
- Flaky finishing salt for sprinkling
Cornstarch Dusting
- 1/2 cup cornstarch
Ultra-Crispy Beer Batter
- 3/4 cup all purpose flour
- 1/4 cup cornstarch
- 1 1/4 tsp baking powder
- 1/2 tsp salt
- 1 tablespoon paprika
- 2 tsp garlic powder
- 1 tsp pepper
- 1 cup very cold beer IPA/pale ale or similar. Avoid dark beers
Tartar Sauce
- 1 cup mayonnaise
- 3/4 cup dill pickles, finely chopped and patted dry
- 1 tablespoon fresh dill, minced
- 1 tsp lemon juice
- 1 tsp sugar
- 1/4 tsp black pepper freshly ground
- 2 tablespoons onion, finely chopped OR 1 tsp horseradish optional
Crispy Thick-Cut Oven Fries
- vegetable oil non-stick cooking spray
- 4-5 tablespoons vegetable oil
- 2 1/2 pounds russet potatoes, scrubbed clean, skin left on about 4-5 large potatoes. I prefer the long and flatter ones to get straight fries rather than wedges
- 3 tablespoons cornstarch
- 2/3 cup water
- sea salt for sprinkling
Instructions
Prepping
-
Prepare fish by cutting to your desired size; I typically opt for a variety of long pieces (around 5″ by 1.5″) and shorter, squarer pieces (about 3″ x 2.5″). Pat the fish thoroughly dry with paper towels.
-
In a medium bowl, whisk together the flour, cornstarch, baking powder, and all dry seasonings (paprika, garlic powder, salt, pepper). Set this mixture aside. Do NOT add the beer at this stage.
Dust Fish & Prepare Oil
-
In a shallow dish, add the 1/2 cup of cornstarch designated for dusting the fish.
-
Set up your frying station: heat 5 cups of peanut or vegetable oil in a heavy-bottomed, fry-safe pot (like a Dutch oven) over medium-high heat. Attach a deep-fry thermometer and heat the oil to a precise 375°F (190°C). Position a wire cooling rack over a baking sheet nearby for draining the fried fish.
**Note: Refer to the “Oven-Fries” section in the notes for when to begin preparing your fries to ensure everything finishes cooking simultaneously. -
While the oil is heating, take your prepared fish pieces and individually coat them completely in the cornstarch from the shallow dish. Ensure all sides are lightly but evenly dusted, then shake off any excess.
Beer Batter & Frying
-
Just as the oil reaches temperature (around 375°F), remove the very cold beer from the fridge. Slowly whisk the beer into the reserved dry flour mixture until just combined. The batter should be thick enough to coat the back of a spoon but not excessively thick or runny; it should still have a few small clumps. Avoid overmixing, as this will deplete the carbonation and reduce the puffiness. Use immediately!
-
Working in small batches of 3-4 pieces at a time, dunk the cornstarch-dusted fish pieces into the beer batter, ensuring they are fully coated. Allow any excess batter to drip off before carefully lowering each piece into the hot oil. Keep a close eye on the oil temperature, as it typically drops once cold fish is added. Adjust the heat as needed to maintain a consistent 375°F (190°C).
-
Fry the fish for a total of 3-4 minutes, flipping them halfway through to ensure even cooking and browning. They should achieve a deep, beautiful golden-brown color and a visibly puffy, crispy texture.
-
Using a slotted spoon or spider, carefully remove the finished fish pieces from the oil and immediately place them onto your prepared wire cooling rack. This allows excess oil to drain away and prevents sogginess. While still hot, generously sprinkle with flaky sea salt. Continue frying in batches until all the fish is cooked, adjusting oil temperature as necessary.
Oven-Fries
-
Adjust your oven rack to the lowest position and preheat the oven to 425°F (220°C). Generously spray a large, rimmed baking sheet with vegetable oil cooking spray. Pour 4-5 tablespoons of vegetable oil onto the prepared sheet and tilt it until the entire surface is evenly coated.
-
Prepare the potatoes: scrub the russet potatoes clean, leaving the skin on for extra texture and nutrients. To create straighter fries rather than wedges, trim off the rounded edges on all four sides of each potato. Halve the potatoes lengthwise, then turn the halves cut-side down on your cutting board. Cut them into fries of your desired thickness, typically about 1/4 to 1/2-inch thick slices.
-
In a large bowl, whisk together the 2/3 cup water and 3 tablespoons of cornstarch, ensuring no lumps remain at the bottom. Microwave this mixture for 1-2 minutes, stirring every 20 seconds, until it begins to thicken to a pudding-like consistency. Remove from the microwave and continue to stir until the mixture achieves the ideal thick, glossy texture. If it becomes too thick, add 1-2 tablespoons of water to adjust.
-
Transfer the cut potatoes into the bowl with the warm cornstarch mixture and toss thoroughly until each potato plank is evenly coated. Arrange the coated planks in a single layer on your prepared baking sheet, leaving small gaps between each piece to promote crisping. Cover the sheet tightly with lightly greased aluminum foil and bake for 15 minutes.
-
Remove the foil from the baking sheet and continue to bake for another 10-15 minutes, or until the bottom of each fry is golden brown and crispy. Use a metal spatula to carefully flip each fry, rotate the pan (to ensure even heat distribution), and continue to bake until the second sides are equally golden brown and crisp, approximately 10-15 minutes longer.
-
Once the fries are perfectly golden and crispy on both sides, remove them from the oven. Transfer them to a large, paper towel-lined bowl. Toss the fries around, gently patting them with additional paper towels to absorb any excess oil, then immediately sprinkle generously with sea salt.
Tartar Sauce
-
In a medium bowl, combine all tartar sauce ingredients: mayonnaise, finely chopped dill pickles, minced fresh dill, lemon juice, sugar, black pepper, and optional chopped onion or horseradish. Stir everything together until well combined. Taste and adjust seasonings (more lemon, sugar, or salt) as needed to suit your preference. Refrigerate the tartar sauce until ready to use. It tastes even better after the flavors have melded for a few hours and will last about 5-7 days in the fridge.
Notes
Oven-Fries: If you are opting for the homemade oven fries, I highly recommend starting their preparation before you begin heating your frying oil and before you add beer to your fish batter. Get the fries prepped and on the pan, then place them into the oven as soon as you start heating your oil for the fish. This timing will help ensure that both your perfectly crispy fish and your golden fries are ready to be served hot and fresh at the same time.
Tartar Sauce: For the best flavor, prepare the tartar sauce ahead of time – even a day or two in advance is ideal. The flavors truly meld and deepen as it sits in the refrigerator. It keeps well for 5-7 days, making it perfect for meal prep.
Reheating: To bring any leftover fish and chips back to their crispy glory, never use a microwave. Instead, preheat your oven to 425°F (220°C). Place the fish and chips on a baking sheet and bake for about 10-15 minutes, flipping them halfway through, until they are hot and wonderfully crispy again.