
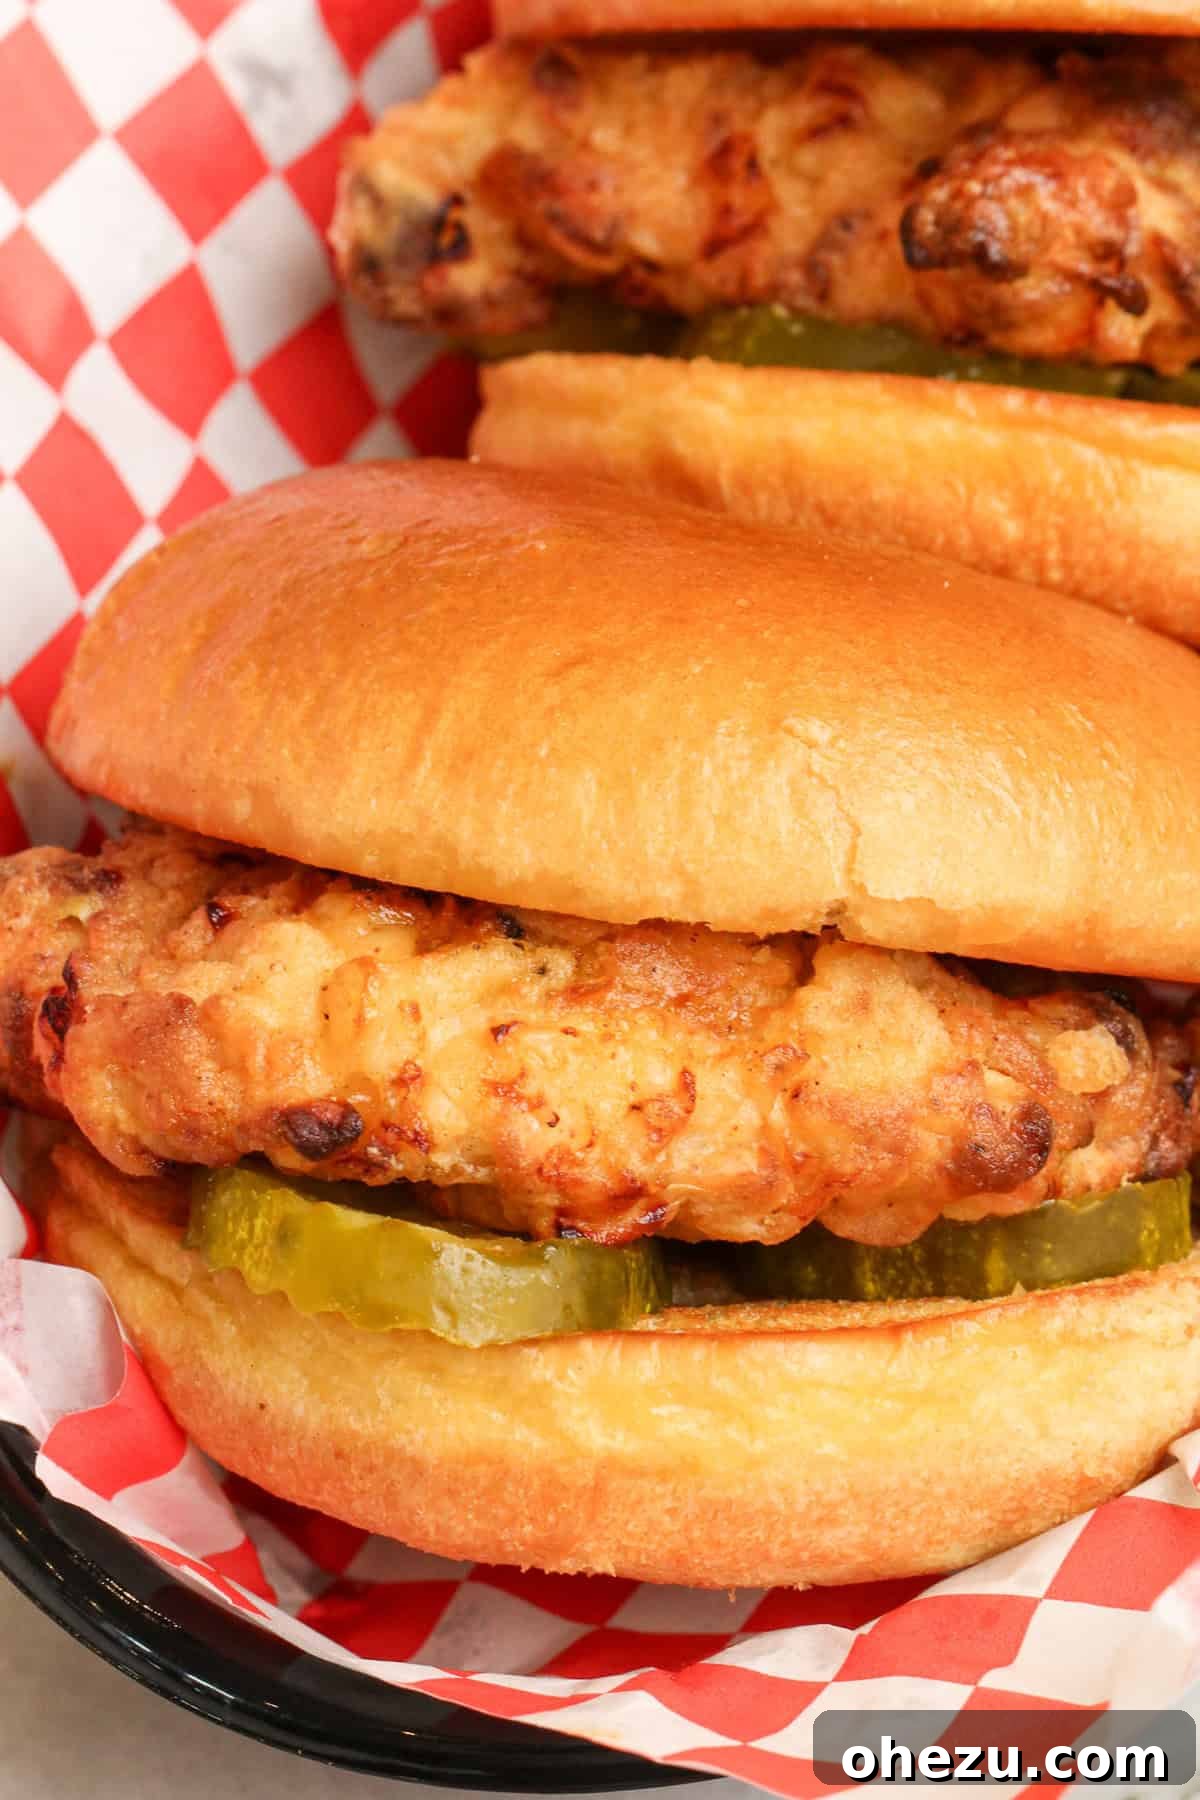
The Ultimate Air Fryer Chick-fil-A Sandwich: Your Crispy Homemade Copycat
Forget your meal plans this week and prepare to be amazed by this incredible Air Fryer Chick-fil-A Sandwich copycat recipe. It’s not just good; it’s *that* good. Imagine indulging in the iconic chicken sandwich you adore, but made right in your own kitchen, healthier, and with minimal fuss. This recipe delivers a truly superior taste and texture, making it a staple for anyone who loves a delicious chicken sandwich.
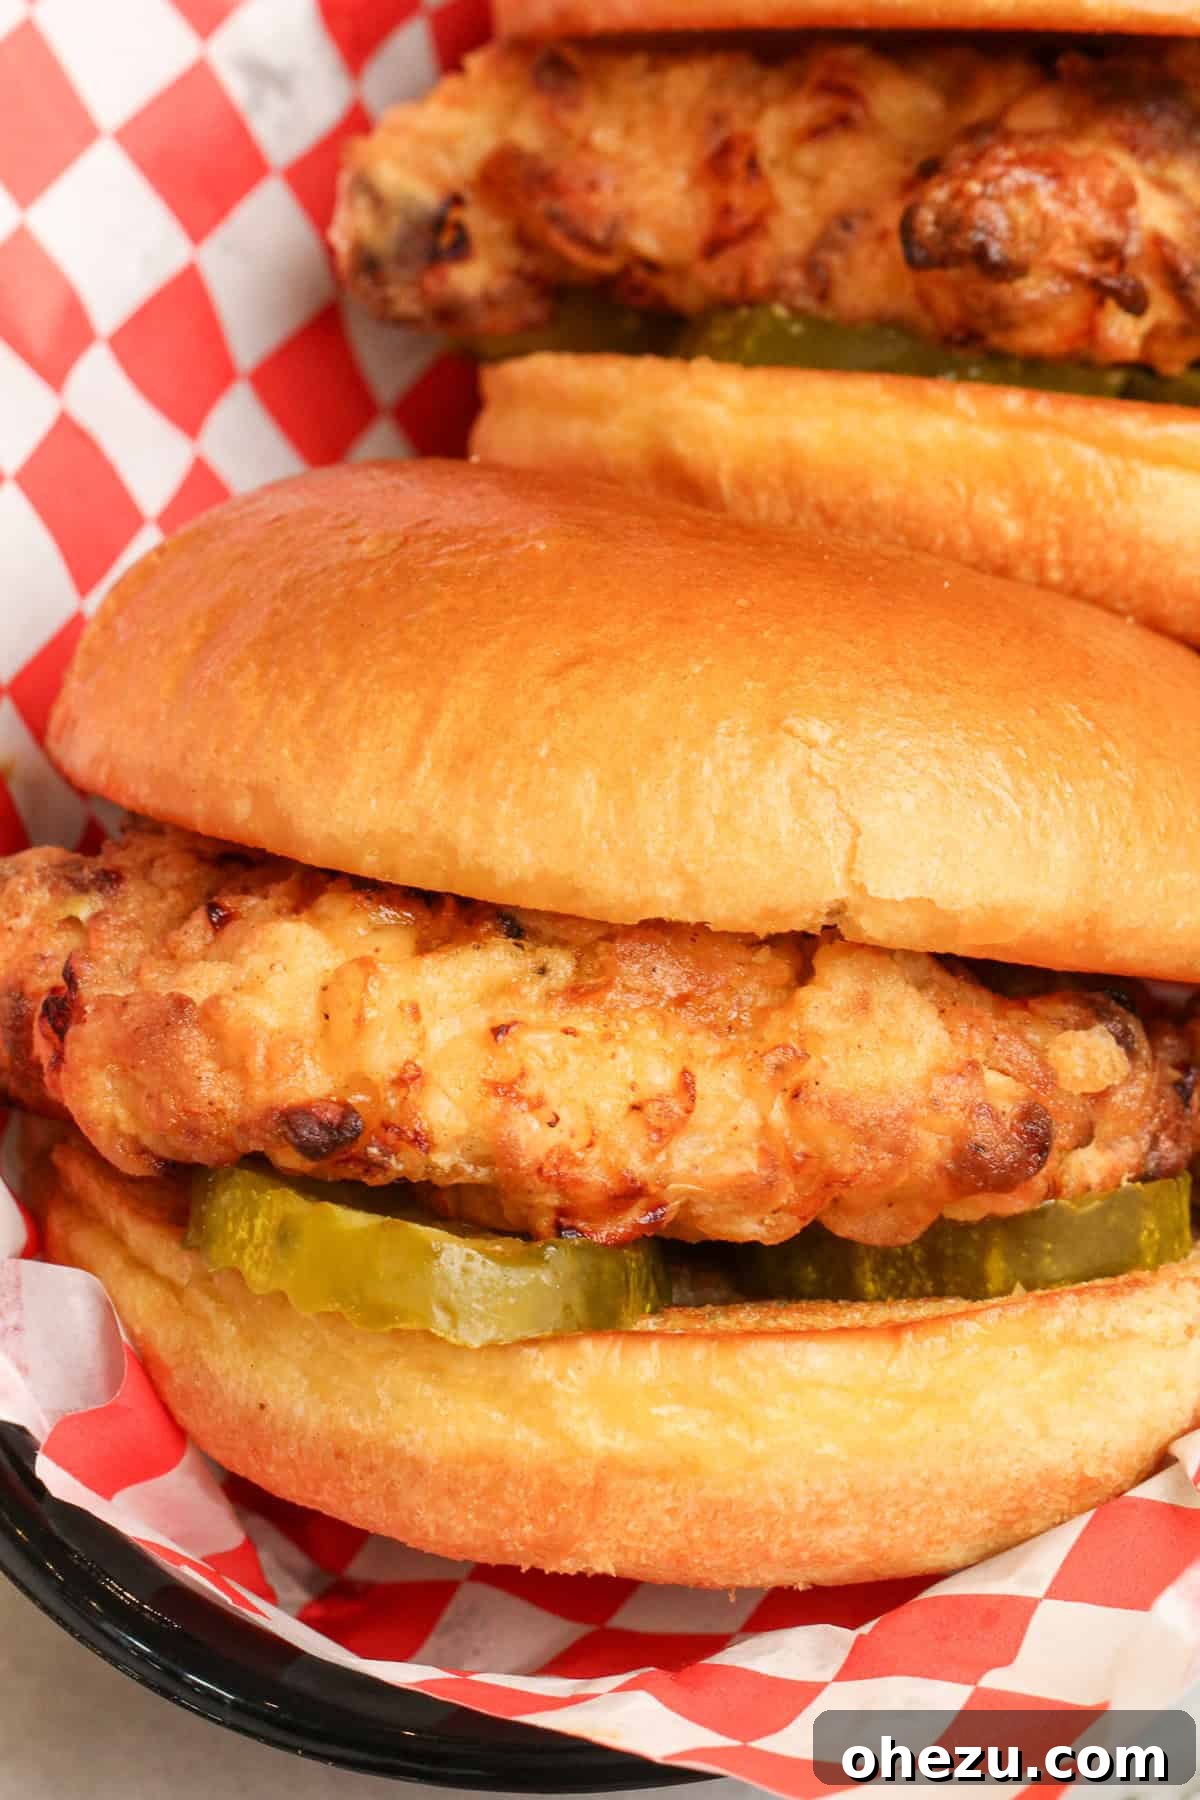
You’ll genuinely be astonished that these copycat Chick-fil-A sandwiches are air-fried! From the unparalleled juiciness of the chicken breast to the exquisite flavor of its crispy, golden coating, all nestled in a perfectly buttery brioche bun – these sandwiches are a game-changer. Not only do they taste 100 times better than the restaurant version, but they also offer a significantly healthier alternative, allowing you to enjoy your favorite comfort food without the guilt. Prepare for rave reviews and requests for seconds from everyone you serve!
As a devoted Chick-fil-A enthusiast, the inspiration for this recipe stemmed from a familiar thought: despite our adoration, Chick-fil-A is, at its heart, still fast food. This realization sparked a quest to recreate my beloved fried chicken comforts in a way that was both delicious and health-conscious. The result? These phenomenal air fryer Chick-fil-A sandwiches, offering all the crunch and flavor you crave, but with a lighter touch.
Why This Air Fryer Chick-fil-A Sandwich Will Be Your New Favorite
-
A Healthier Indulgence
Embrace a lighter take on the world-famous chicken sandwich by utilizing the magic of your air fryer. Instead of deep-frying in excessive oil, this recipe uses just a light spritz, dramatically cutting down on fat and calories without compromising on that signature crispy texture. It’s the perfect guilt-free pleasure.
-
Effortless Cooking, Less Mess
Say goodbye to hot oil splatters and the lingering smell of deep frying. With this air fryer method, there’s no need to heat up a skillet full of oil. All you require is your trusty air fryer, making cleanup a breeze and the cooking process far more enjoyable.
-
An Explosion of Flavor
Prepare for flavor heaven! These air fryer Chick-fil-A sandwiches are meticulously seasoned, resulting in a perfectly balanced and incredibly craveable taste. Every bite delivers a symphony of savory and slightly sweet notes that will have you reaching for more.
-
The Signature Sweetness You Know and Love
Just like the beloved restaurant original, this recipe incorporates a touch of sugar into both the chicken’s brine and its crispy coating. This subtle sweetness is crucial, providing that distinct, mouth-watering flavor profile that sets Chick-fil-A apart and makes this copycat truly authentic.
-
Unbelievably Crunchy Texture
You might not expect such a profound crunch and satisfying texture from an air-fried chicken sandwich, but prepare to be pleasantly surprised! The air fryer works wonders, creating an exterior that’s perfectly golden brown and incredibly crispy, rivaling any deep-fried counterpart. You’ll be thoroughly impressed by the results.
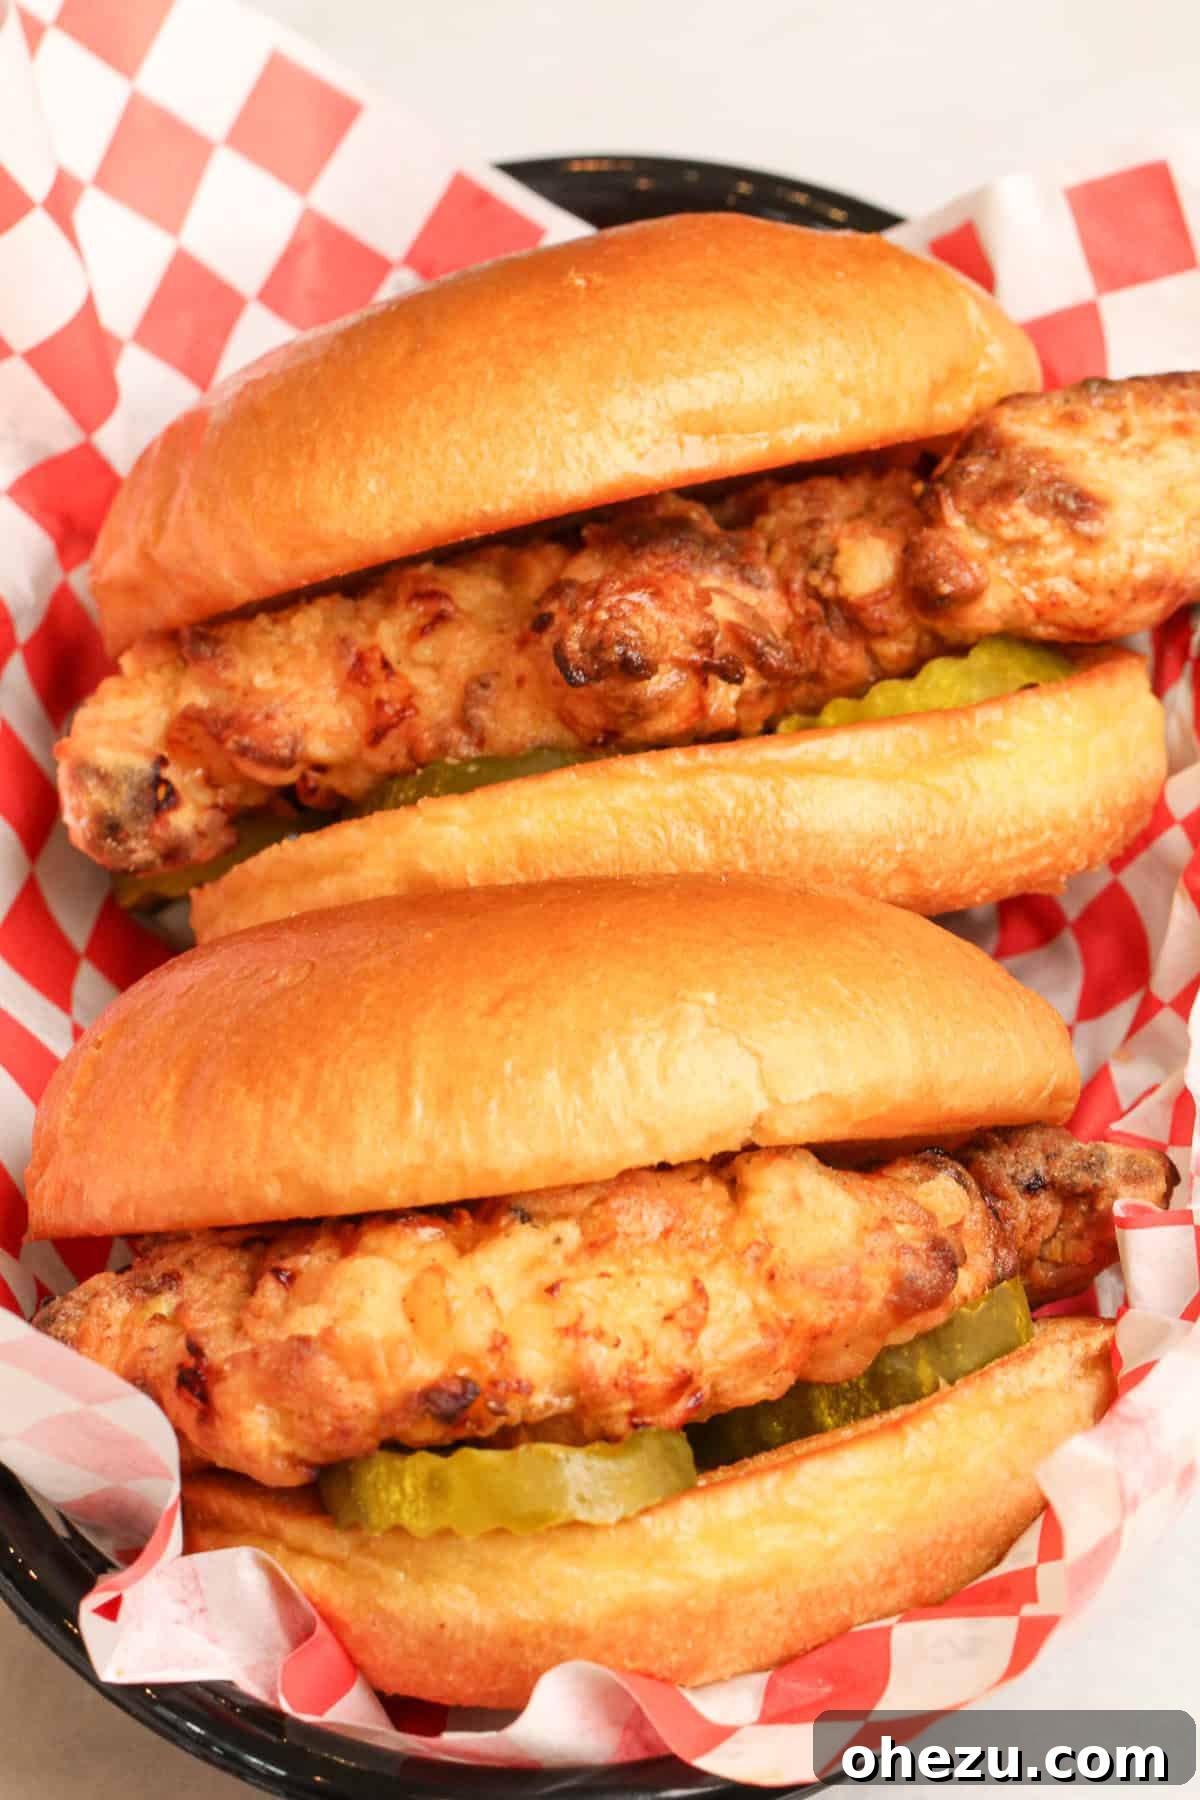
Essential Ingredients for Your Copycat Chick-fil-A Sandwich
To craft this irresistibly tasty and healthier air fryer Chick-fil-A sandwich, you’ll need a selection of quality ingredients. Below is an overview of what makes this recipe shine; specific measurements are detailed in the full recipe section below.
Chicken: The Heart of the Sandwich
Chicken breasts or cutlets: Opt for boneless, skinless chicken breasts. Pounding them to an even thickness ensures uniform cooking and maximizes tenderness. If using larger breasts, consider halving them after pounding to fit your buns.
The Iconic Brine: Flavor and Tenderness
- Pickle juice: This is a secret weapon! The acidity in pickle juice works wonders to tenderize the chicken and infuse it with that signature tangy flavor. Don’t skip it!
- Buttermilk: Another key tenderizer and flavor enhancer. Buttermilk helps to break down tough fibers in the chicken, resulting in an exceptionally moist and tender patty.
- Milk & Egg (for wet coating): These combine to create the essential wet base for your breading, helping the flour mixture adhere perfectly to the chicken.
- Seasonings for Brine: A blend of salt, granulated sugar, onion powder, garlic powder, and black pepper. The granulated sugar provides that subtle sweetness unique to Chick-fil-A, while the savory spices build a foundational flavor layer.
The Crispy Coating: Achieving Perfection
- All-purpose flour: The base for our crispy breading.
- Powdered sugar: This might seem unusual, but it’s crucial for replicating Chick-fil-A’s subtly sweet and ultra-crispy crust. It also helps with browning in the air fryer.
- Seasonings for Coating: Paprika, garlic powder, onion powder, salt, and freshly ground black pepper. These spices ensure every inch of the chicken is bursting with flavor and contributes to a beautiful golden hue.
Assembly Essentials
- Peanut oil: Ideal for air frying due to its high smoke point and neutral flavor. Use it for spritzing the chicken to achieve maximum crispiness.
- Brioche buns: These soft, buttery, and slightly sweet buns are the perfect complement to the savory chicken, replicating the authentic Chick-fil-A experience.
- Butter: For toasting those brioche buns to golden perfection, adding another layer of rich flavor and texture.
- Toppings: Essential dill pickle slices are a must for that classic tangy crunch. For a “Deluxe” version, consider adding crisp green leaf lettuce, a ripe tomato slice, and a slice of your favorite cheese.
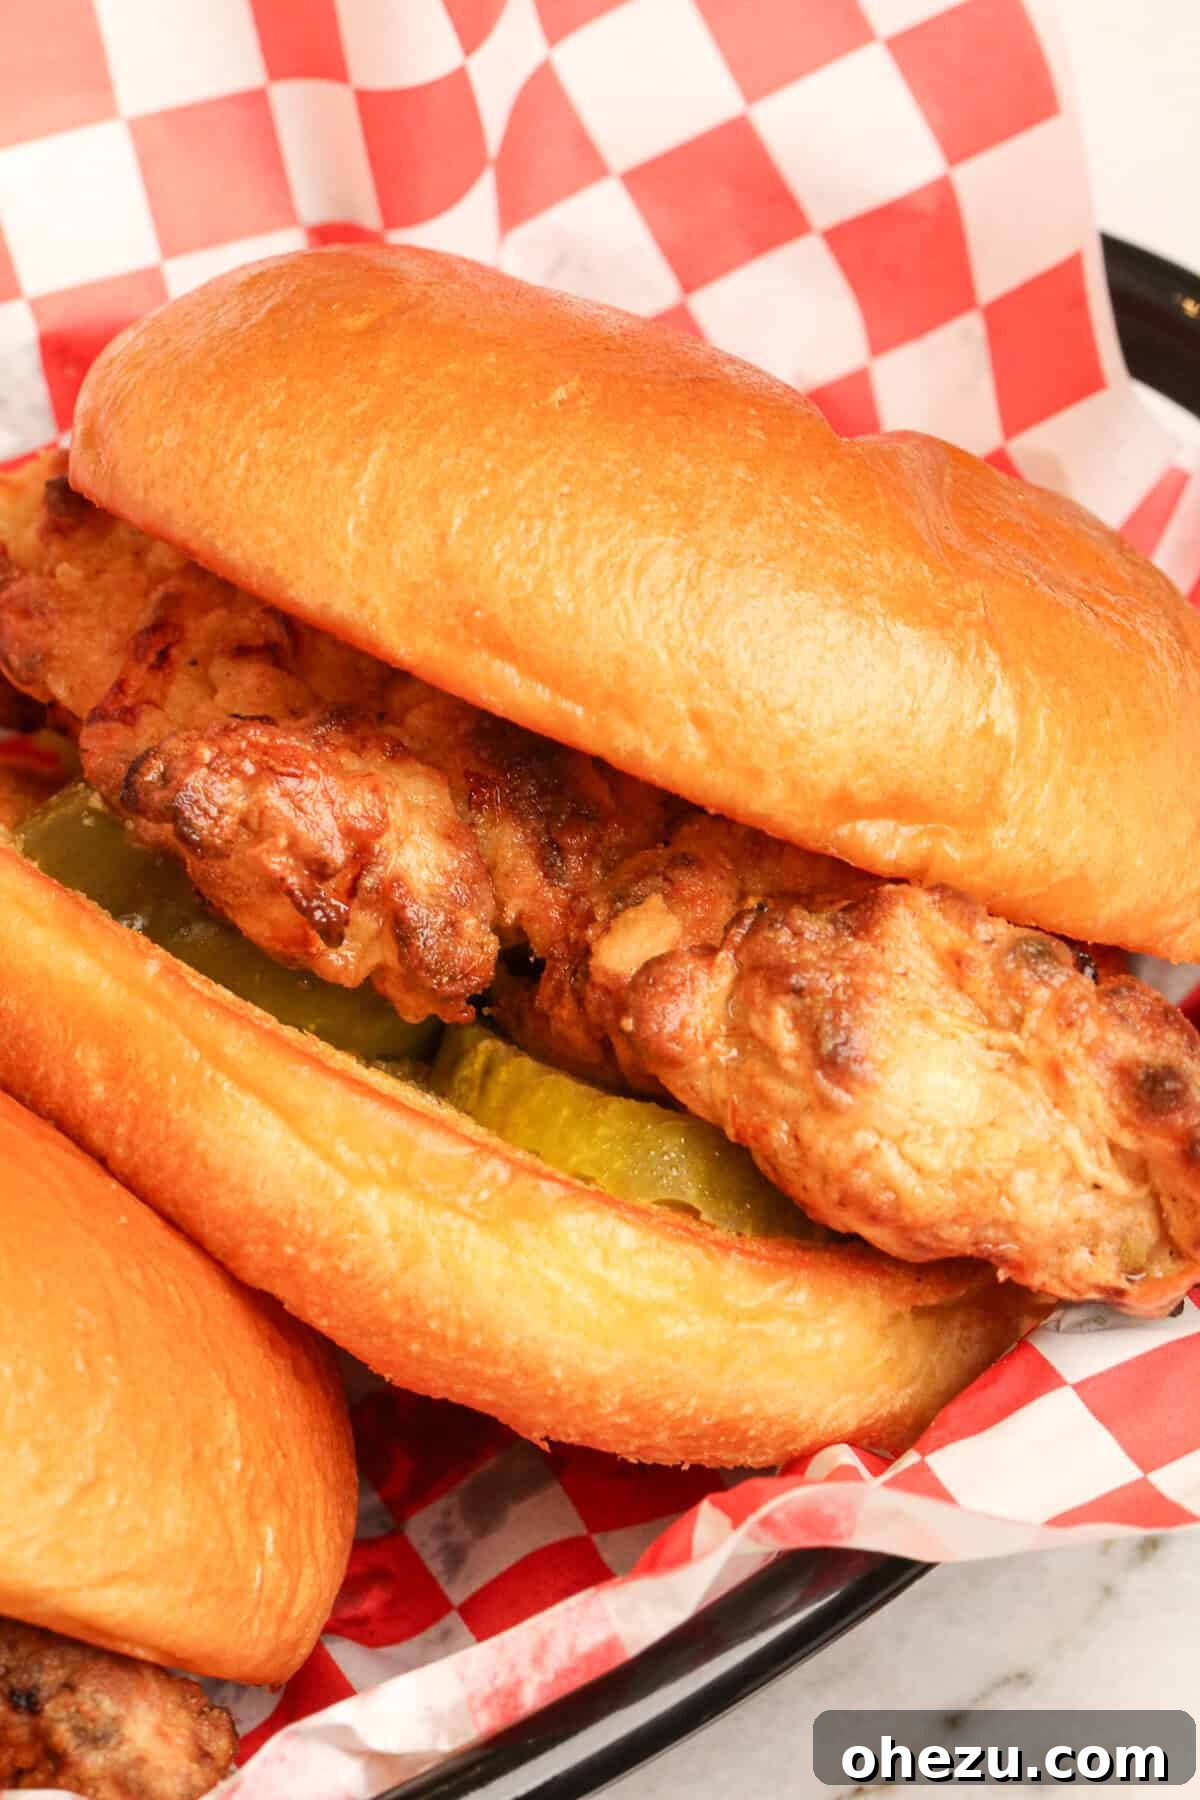
Crafting Your Air Fryer Chick-fil-A Sandwich: Step-by-Step
Follow these detailed steps to create your own irresistible homemade Chick-fil-A sandwiches using the air fryer. Precision in each step ensures a tender, juicy, and perfectly crispy result.
Step 1: Marinate the Chicken for Maximum Flavor and Tenderness
Begin by preparing your essential chicken brine. In a medium-sized bowl, combine the pickle juice, buttermilk, and all the specified seasonings for the chicken brine (salt, granulated sugar, onion powder, garlic powder, and black pepper). Whisk these ingredients together thoroughly until well combined. Submerge your pounded chicken breasts completely into this flavorful mixture. Ensure the chicken is fully covered. Cover the bowl tightly with plastic wrap and refrigerate for at least 4 hours, or ideally, overnight. This marination period is crucial for tenderizing the chicken and infusing it with deep, authentic flavors.
Step 2: Prepare Your Two-Part Coating System
While your chicken is marinating, or just before you’re ready to cook, prepare your breading stations. In a shallow dish (like a pie plate or a wide, shallow bowl), combine all the dry breading ingredients: all-purpose flour, powdered sugar, paprika, garlic powder, onion powder, salt, and black pepper. Whisk these together until evenly distributed. In a separate medium bowl, whisk together the milk and egg until the mixture is smooth and uniform. These two stations are essential for achieving that characteristic crispy coating.
Step 3: Perfectly Coat the Chicken
Carefully remove one piece of chicken from the marinade, allowing any excess liquid to drip off. Immediately dunk the chicken into the egg-milk mixture, ensuring it is thoroughly coated on all sides. After the wet dip, transfer the drippy chicken piece directly into the flour coating. Press the flour mixture firmly onto all sides of the chicken, making sure it’s completely covered. For an even more pronounced crunch and thicker crust, you can “double-dip” the chicken: after the first flour coating, dip it back into the egg mixture and then into the flour mixture again, pressing to coat thoroughly. Gently shake off any excess flour before proceeding to cooking.
Step 4: Air Fry to Crispy Perfection (or Pan Fry)
The air fryer is your secret weapon for a healthier, crispy sandwich:
- Air Frying Method: Preheat your air fryer to 400°F (200°C) for a few minutes. Lightly spray the air fryer basket with peanut oil or your preferred cooking oil. Place the coated chicken breasts in a single layer in the basket, ensuring not to overcrowd it (cook in batches if necessary). Generously spritz or brush the tops of each chicken breast several times with peanut oil until there are no dry flour spots visible. This oil is key to achieving a golden, crispy crust. Cook for 4-5 minutes at 400°F. Carefully flip the chicken, spritz the other side generously with oil, and continue cooking for another 4-5 minutes, or until the chicken is a beautiful crispy golden brown and the internal temperature reaches a safe 165°F (74°C) using a meat thermometer.
- Pan Frying Method (Alternative): If you prefer the traditional fried taste, add 5-6 cups of peanut oil to a large skillet and heat to 350°F (175°C). Carefully place a few pieces of coated chicken at a time into the hot oil, ensuring not to overcrowd the pan. Fry for about 3-4 minutes per side, or until the chicken is golden brown and reaches an internal temperature of 165°F (74°C). Remove the cooked chicken and drain on a wire rack set over paper towels to remove excess oil.
Step 5: Assemble Your Delectable Chicken Sandwiches
Once the chicken is cooked, it’s time to assemble your masterpieces. Lightly butter your brioche buns and toast them until golden brown and slightly crisp. This adds a wonderful depth of flavor and texture. Place a few dill pickle slices on the bottom bun, then top with your perfectly air-fried chicken breast. For the “Deluxe” version, layer on fresh green leaf lettuce, a slice of ripe tomato, and a slice of cheese. Serve immediately and savor every bite of your homemade Air Fryer Chick-fil-A Sandwich!
The Secret Behind the Iconic Chick-fil-A Taste (and How We Replicate It)
What makes a Chick-fil-A sandwich so universally loved? It’s a combination of distinct elements, and this air fryer copycat masterfully replicates them. The magic starts with the brine. The use of pickle juice isn’t just a rumor; it’s a critical component. Its acidity tenderizes the chicken while imparting that characteristic tangy note. Combined with buttermilk, which further ensures a moist interior, the chicken develops a deep, complex flavor profile even before it’s cooked. The subtle sweetness in both the brine and the dry coating, often from granulated and powdered sugar, is another key differentiator. This delicate balance of savory, tangy, and sweet is what truly elevates the Chick-fil-A experience, and we’ve captured it perfectly in this air-fried version.
Air Frying vs. Deep Frying: Why the Air Fryer Wins
While the classic Chick-fil-A sandwich is traditionally deep-fried, using an air fryer offers compelling advantages without sacrificing flavor or crunch. The most significant benefit is the reduction in oil. An air fryer circulates hot air around the food, creating a crispy exterior similar to deep frying, but with only a fraction of the oil. This translates to a significantly healthier meal with fewer calories and less fat, making it easier to enjoy your favorite comfort food more often. Beyond health, air frying is less messy, eliminates the need to dispose of large quantities of used oil, and is generally safer since you’re not dealing with a pot of bubbling hot oil. Plus, the quick cooking time and easy cleanup make it an ideal method for busy weeknights.
Pro Tips for the Perfect Air Fryer Chick-fil-A Sandwich
- Pound Your Chicken Evenly: For consistent cooking and tenderness, pound chicken breasts to about 1/4-inch thickness. This ensures they cook through evenly and quickly, preventing dry spots.
- Don’t Skimp on Marinating: The longer the chicken brines, the more tender and flavorful it will be. Aim for at least 4 hours, but an overnight soak yields the best results.
- Achieve Maximum Crispiness with Oil Spritzing: Generously spray the chicken with peanut oil (or another high-smoke-point oil) before and during air frying. This oil helps the breading crisp up and turn golden brown. Don’t be shy – aim for thorough coverage.
- Avoid Overcrowding the Air Fryer: Cook chicken in a single layer with space between pieces. Overcrowding reduces air circulation, leading to steamed rather than crispy chicken. Work in batches if necessary.
- Check Internal Temperature: Always use a meat thermometer to ensure the chicken reaches 165°F (74°C). This guarantees the chicken is safely cooked and perfectly juicy.
- Toast Your Buns: A buttered and toasted brioche bun adds an extra layer of flavor and texture that truly completes the sandwich experience.
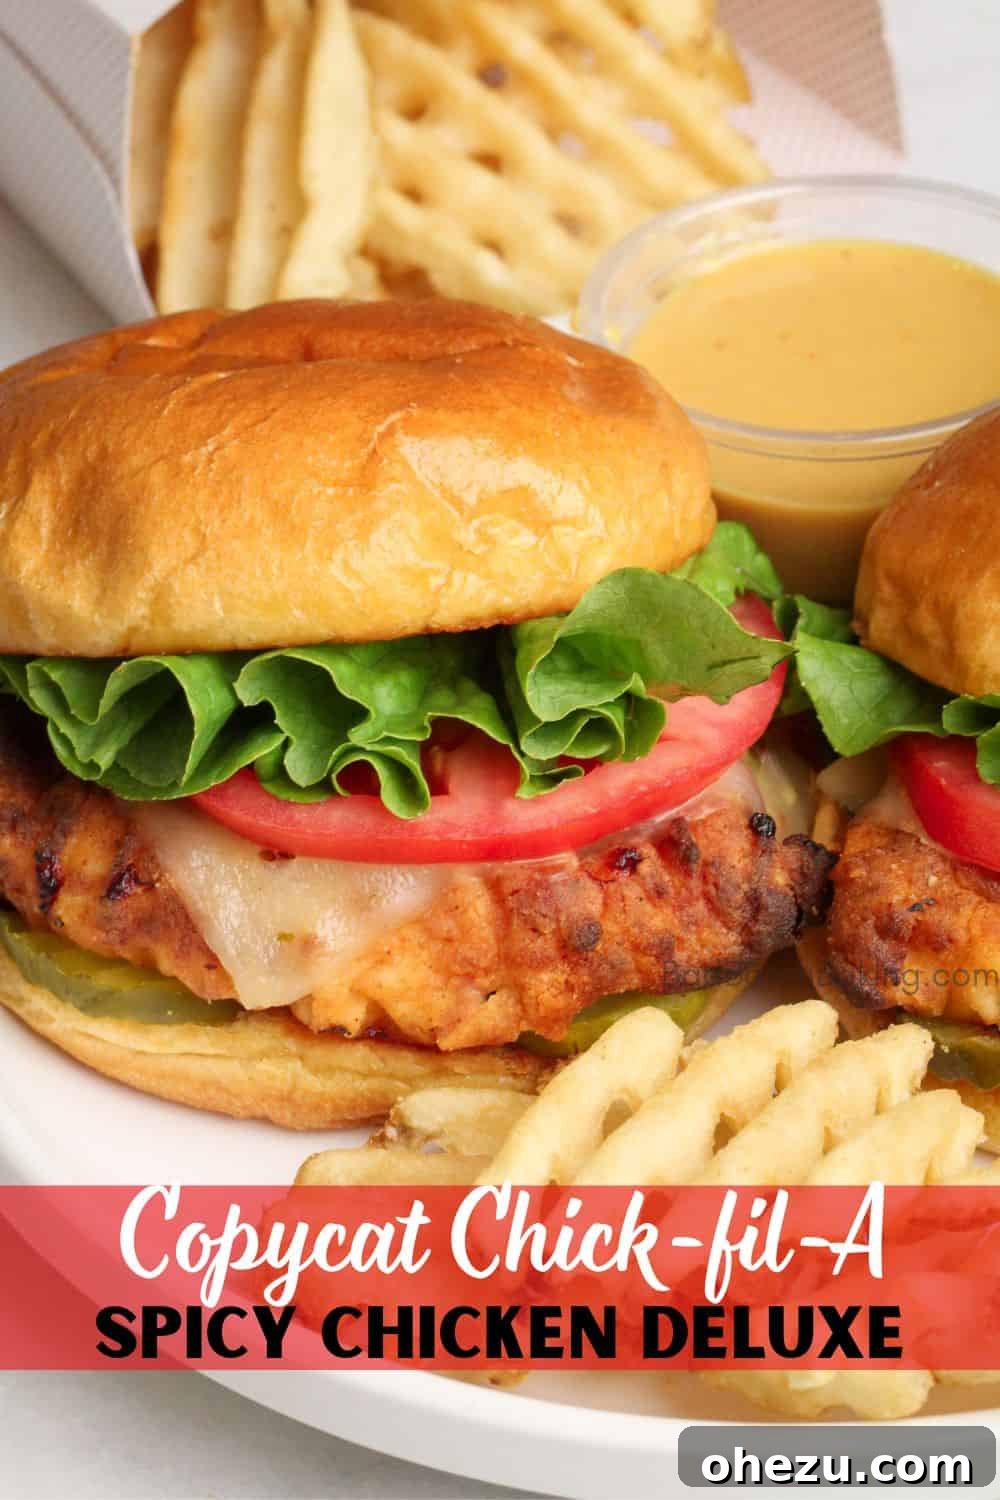
Craving the Spicy Chick-fil-A Sandwich?
If you’re a fan of a little heat, you’re in luck! We also have a fantastic air fryer copycat version of the Chick-fil-A spicy chicken sandwich. Look no further than this deliciously fiery, crunchy sandwich recipe to ignite your taste buds.
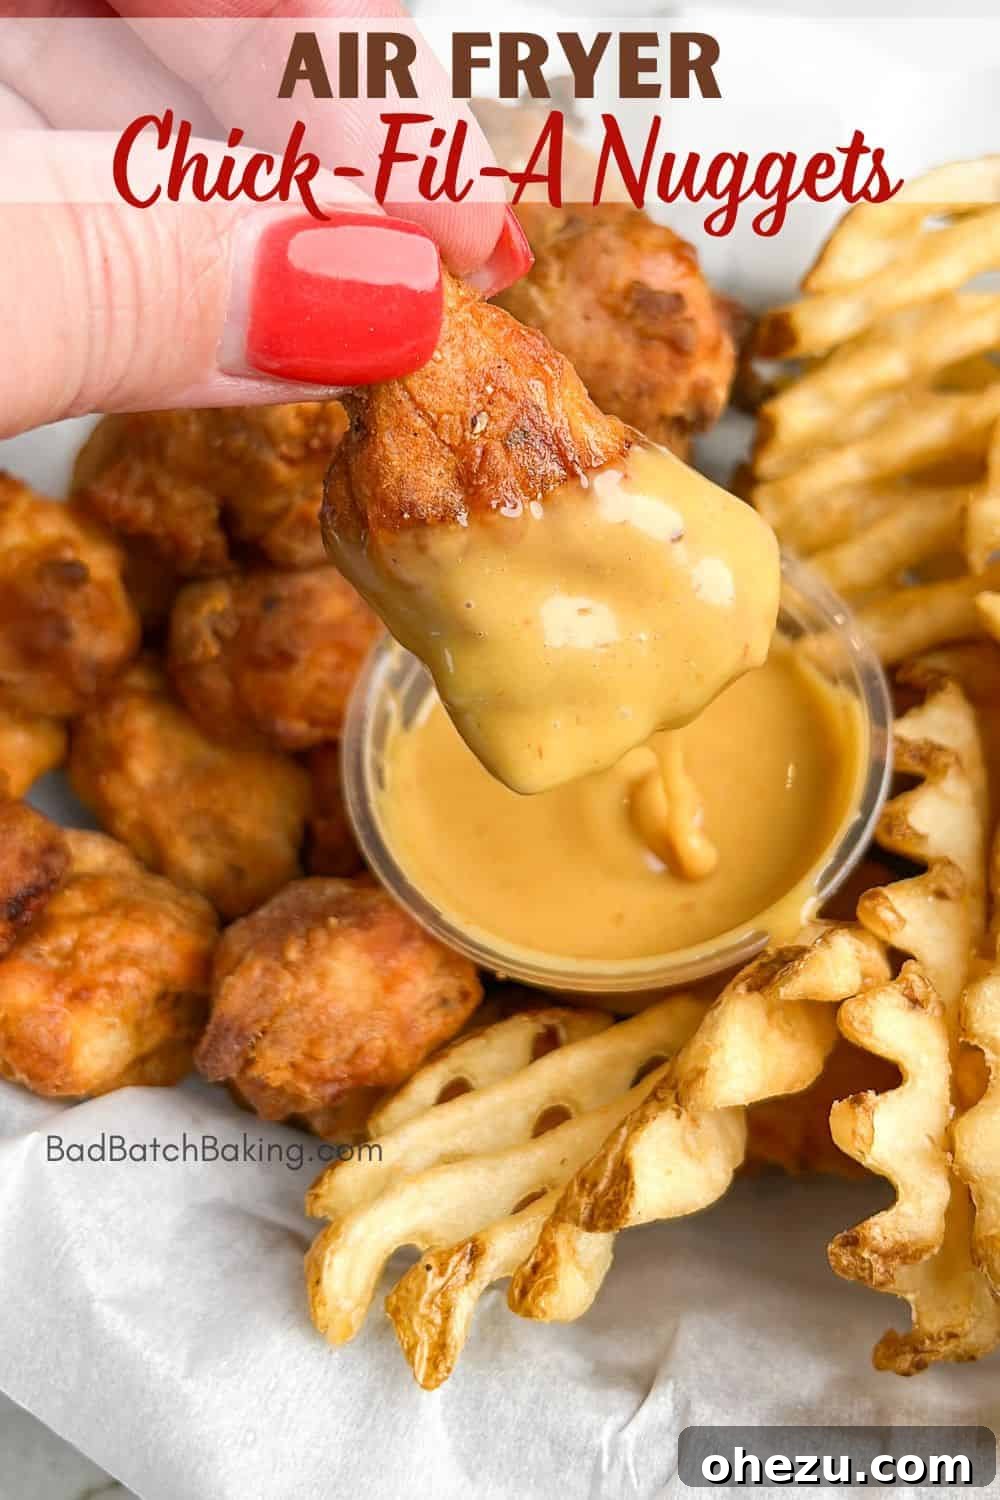
Did Someone Say Air Fryer Chick-fil-A Nuggets?
Yes, you heard right! My obsession with Chick-fil-A extends beyond sandwiches. I’ve also perfected an air fryer version of Chick-fil-A nuggets. They’re just as crispy, juicy, and flavorful as the original, making them perfect for snacking or as a kid-friendly meal.
Serving Suggestions and Perfect Pairings
A homemade Air Fryer Chick-fil-A sandwich is a meal in itself, but a few sides can elevate the experience. Classic pairings include crispy air-fried waffle fries (of course!), a fresh coleslaw, or a simple side salad. Don’t forget your favorite dipping sauces! A creamy honey mustard, a zesty BBQ sauce, or a homemade Chick-fil-A sauce copycat would be perfect. For drinks, a tall glass of freshly brewed iced tea (sweet or unsweet) completes the authentic fast-food-at-home experience.
Storage and Reheating Instructions
While these sandwiches are best enjoyed fresh, you can store leftover cooked chicken patties in an airtight container in the refrigerator for up to 3-4 days. To reheat, place the chicken back in the air fryer at 350°F (175°C) for 5-7 minutes, or until heated through and crispy again. Avoid the microwave, as it will make the breading soggy. You can also freeze cooked patties for up to 2-3 months. Thaw them in the refrigerator overnight before reheating in the air fryer.
My Favorite Tools for This Recipe
Having the right tools can make all the difference in your cooking experience. Here are some of my top recommendations for making this recipe a breeze:
Ninja Stacked Air Fryer
Oil Spritzer
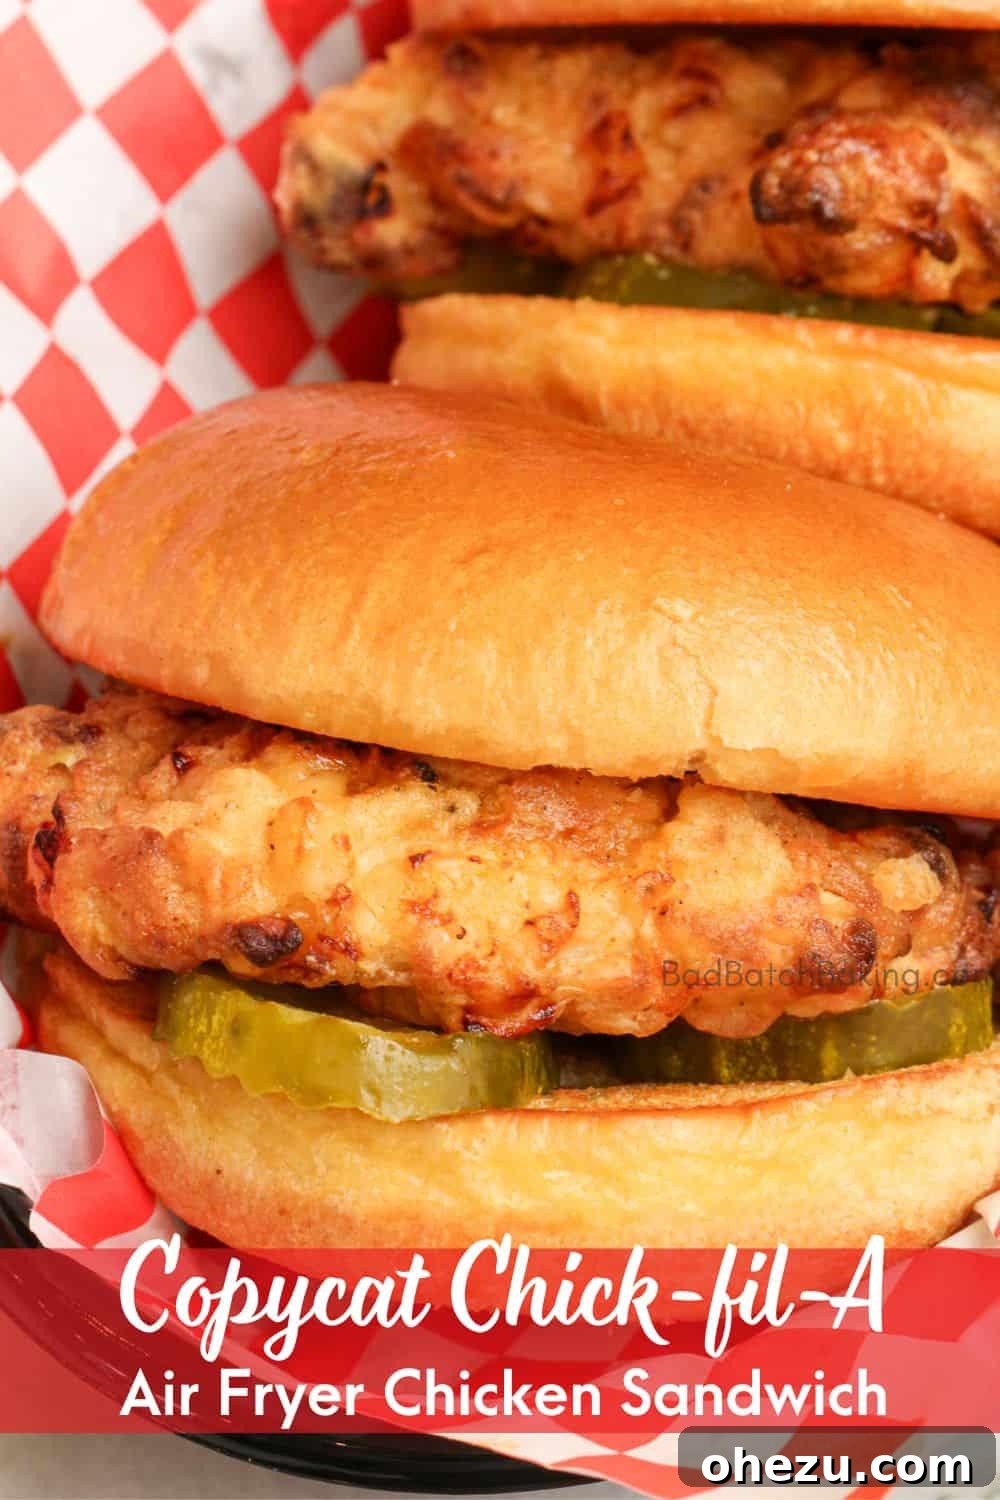
I genuinely hope you enjoy this Air Fryer Chick-fil-A Sandwich recipe as much as I do. It’s a true labor of love to bring you these healthier, homemade versions of your favorite fast food classics. Your feedback and questions are always welcome, so please feel free to comment below!
If you create these or any other delicious recipes, don’t forget to tag me on Instagram @BadBatchBaking. Seeing your incredible recreations truly makes my day and I’d love to feature your culinary masterpieces on my story!
Air Fryer Chick-fil-A Sandwich Copycat Recipe
Prep Time: 30 mins
Cook Time: 10 mins
Marinating Time: 4 hrs
Total Time: 40 mins (active time)
Servings: 4 sandwiches
You won’t believe these copycat Chick-fil-A sandwiches are air fried! From the juiciness of the chicken, flavor of the crispy coating, to the buttery bun (and the fact that they are a much healthier take), these taste 100x better than the restaurant. Everyone you serve them to will adore these and want two, so plan accordingly!
Ingredients
- 2 chicken breasts, pounded to 1/4″ even thickness and halved
- Peanut oil, enough for spritzing (or frying if pan-frying)
- 4 brioche hamburger buns
- Toppings: dill pickle slices (optionally: green leaf lettuce, tomato, and cheese for Deluxe)
- 1/4 cup butter, for buttering buns
Chicken Brine
- 1 cup pickle juice
- 1 cup buttermilk
- 1 teaspoon salt
- 1 teaspoon granulated sugar
- 1/2 teaspoon onion powder
- 1/2 teaspoon garlic powder
- 1/2 teaspoon freshly ground black pepper
Wet Chicken Coating
- 1 cup milk
- 1 egg
Dry Flour Coating
- 1 1/2 cups all-purpose flour
- 2 tablespoons powdered sugar
- 1 teaspoon paprika
- 1/2 teaspoon garlic powder
- 1/2 teaspoon onion powder
- 3/4 teaspoon salt
- 1 teaspoon freshly ground black pepper
Instructions
Step 1: Marinate Chicken
- Combine and whisk together all the marinade ingredients in a medium bowl; pickle juice, buttermilk and seasonings. Submerge the chicken into the bowl, cover tightly with plastic and marinade for at least 4 hours, ideally overnight.
Step 2: Prepare Coating for Chicken
- In a shallow dish, combine all the breading ingredients; flour, powdered sugar, and seasonings. In a medium bowl whisk together milk and egg until smooth. If pan-frying, add 5-6 cups oil into a skillet and heat oil to 350 degrees.
Step 3: Coat Chicken
- Remove chicken from marinade and dunk directly into the egg-milk mixture to coat well. Then transfer each drippy piece of chicken into the flour coating, pressing in the flour mixture to all sides of the chicken coating it well.
- For extra crunchy chicken, you can “double dip” by placing it back into the egg mixture and again into the flour coating. Shake off excess flour.
Step 4: Pan Fry or Air Fry
- Air Frying: Place chicken in air fryer basket that’s been sprayed with oil. Spritz or brush the tops of each chicken breast several times with peanut oil**.
- Cook for 4-5 minutes at 400 degrees, flip and repeat by spritzing with oil and cooking another 4-5 minutes or until it’s a crispy golden brown and the internal temp reaches 165 degrees.
- Pan Frying: Place a few pieces of chicken at a time into the hot oil, cooking about 3-4 minutes per side or until the internal temp reaches 165 degrees. Remove and drain on a cooling rack.
Step 5: Assemble Chicken Sandwiches
- Toast the brioche buns (I like to use a little butter), then assemble the sandwiches by adding pickles then topping with the chicken. Of course if you’d like to make the Deluxe version, you can add lettuce, tomato, cheese, etc.
Notes
**Spritzing with oil: Be sure to spritz chicken thoroughly, about 10-15 times per air fryer basket of chicken – or until you no longer see dry flour spots on the chicken. This is key for maximum crispiness.