
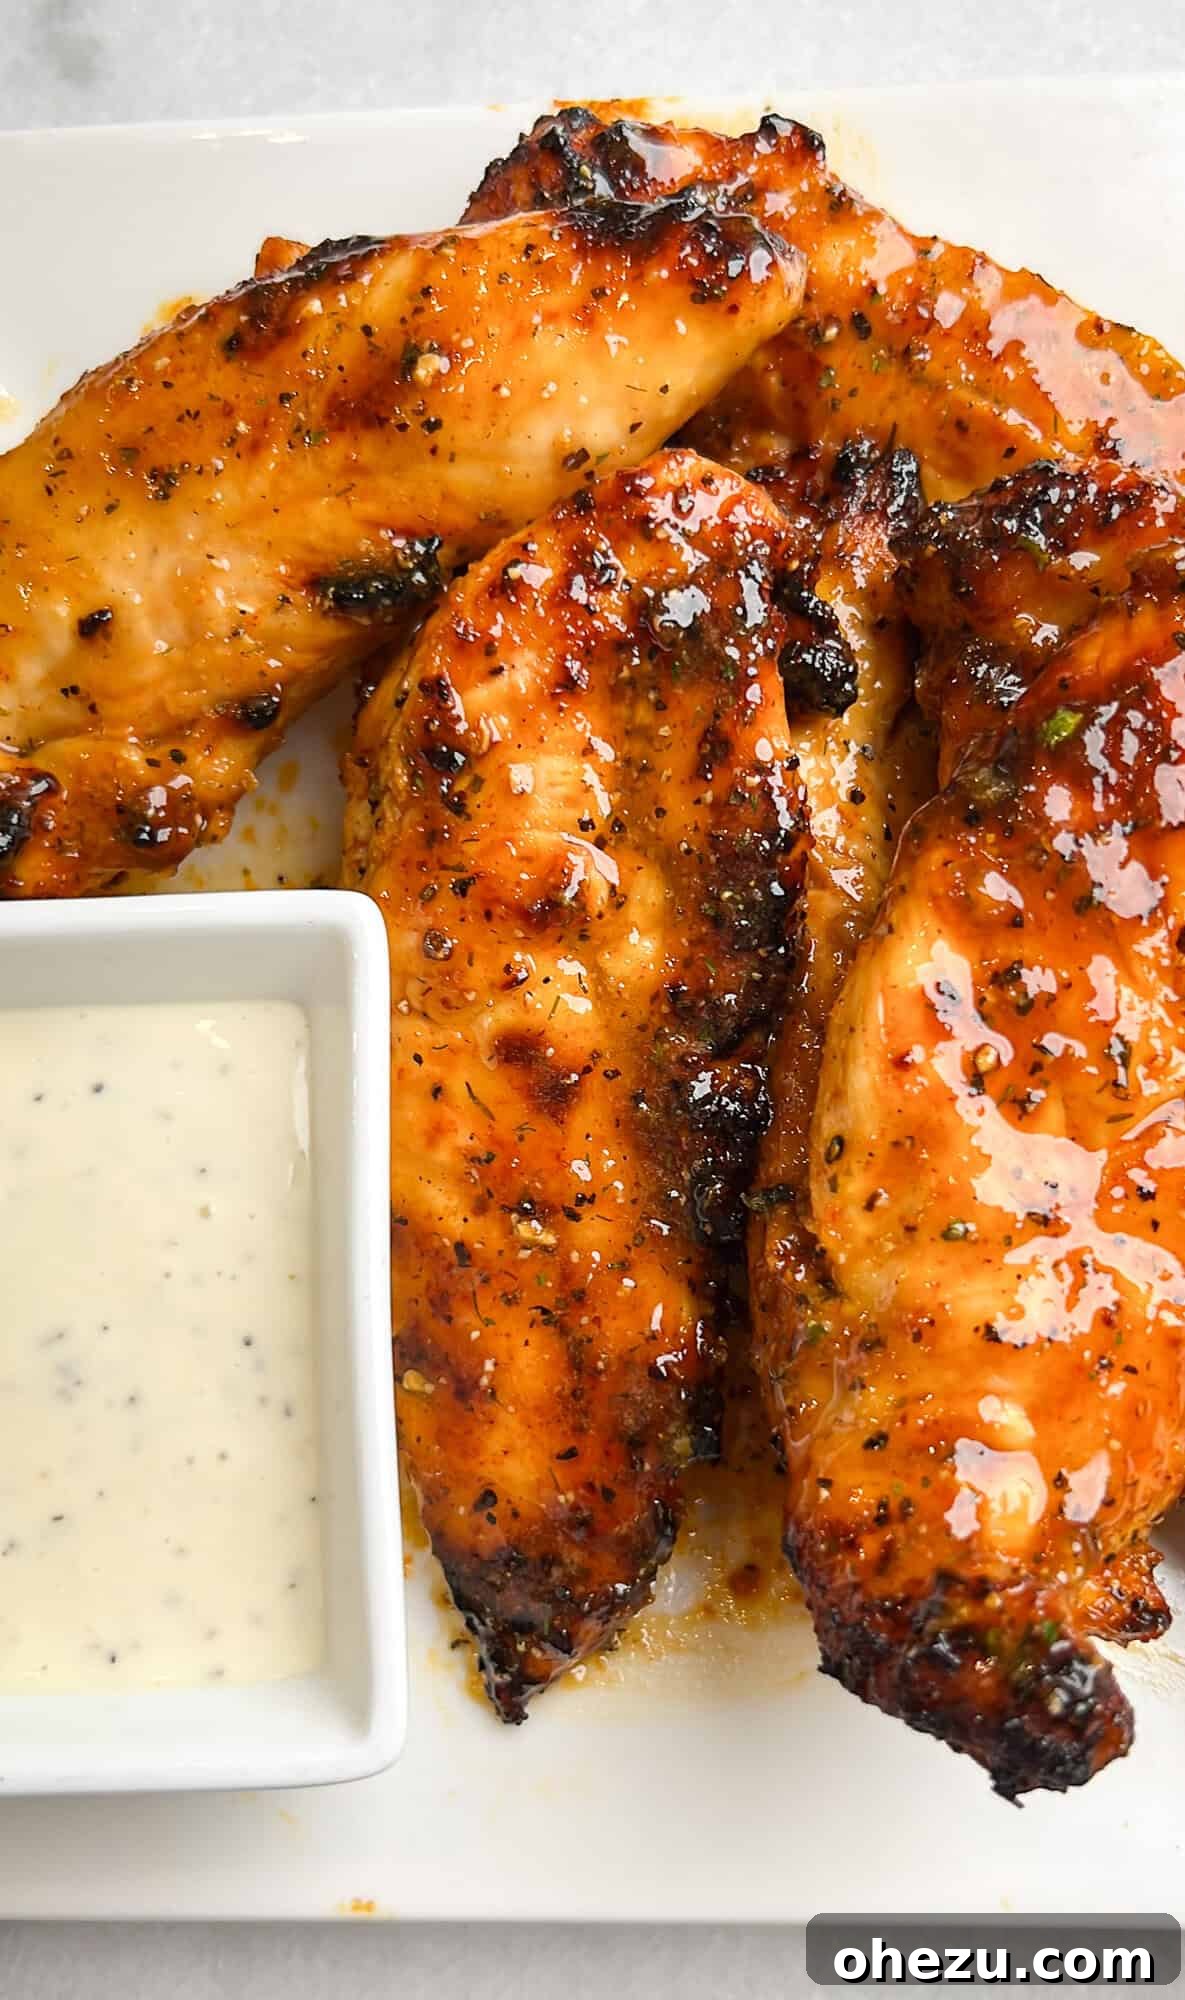
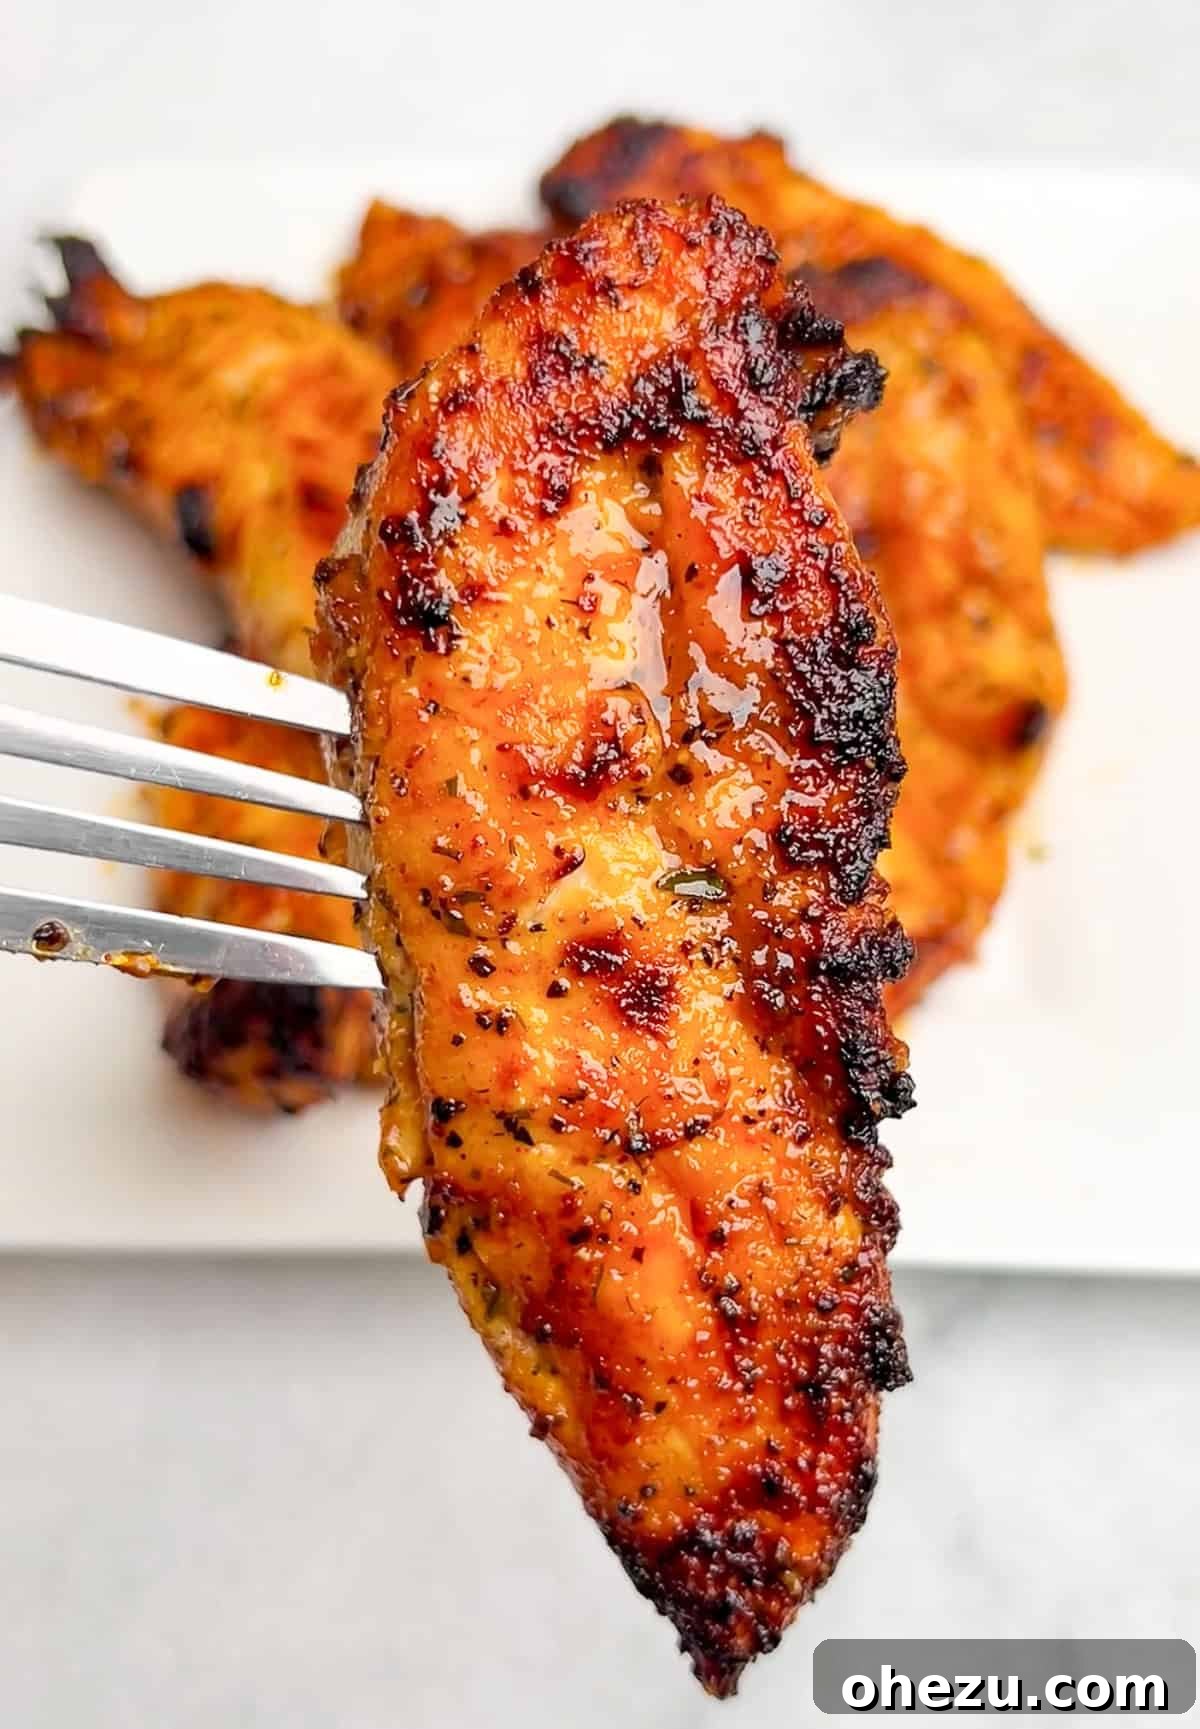
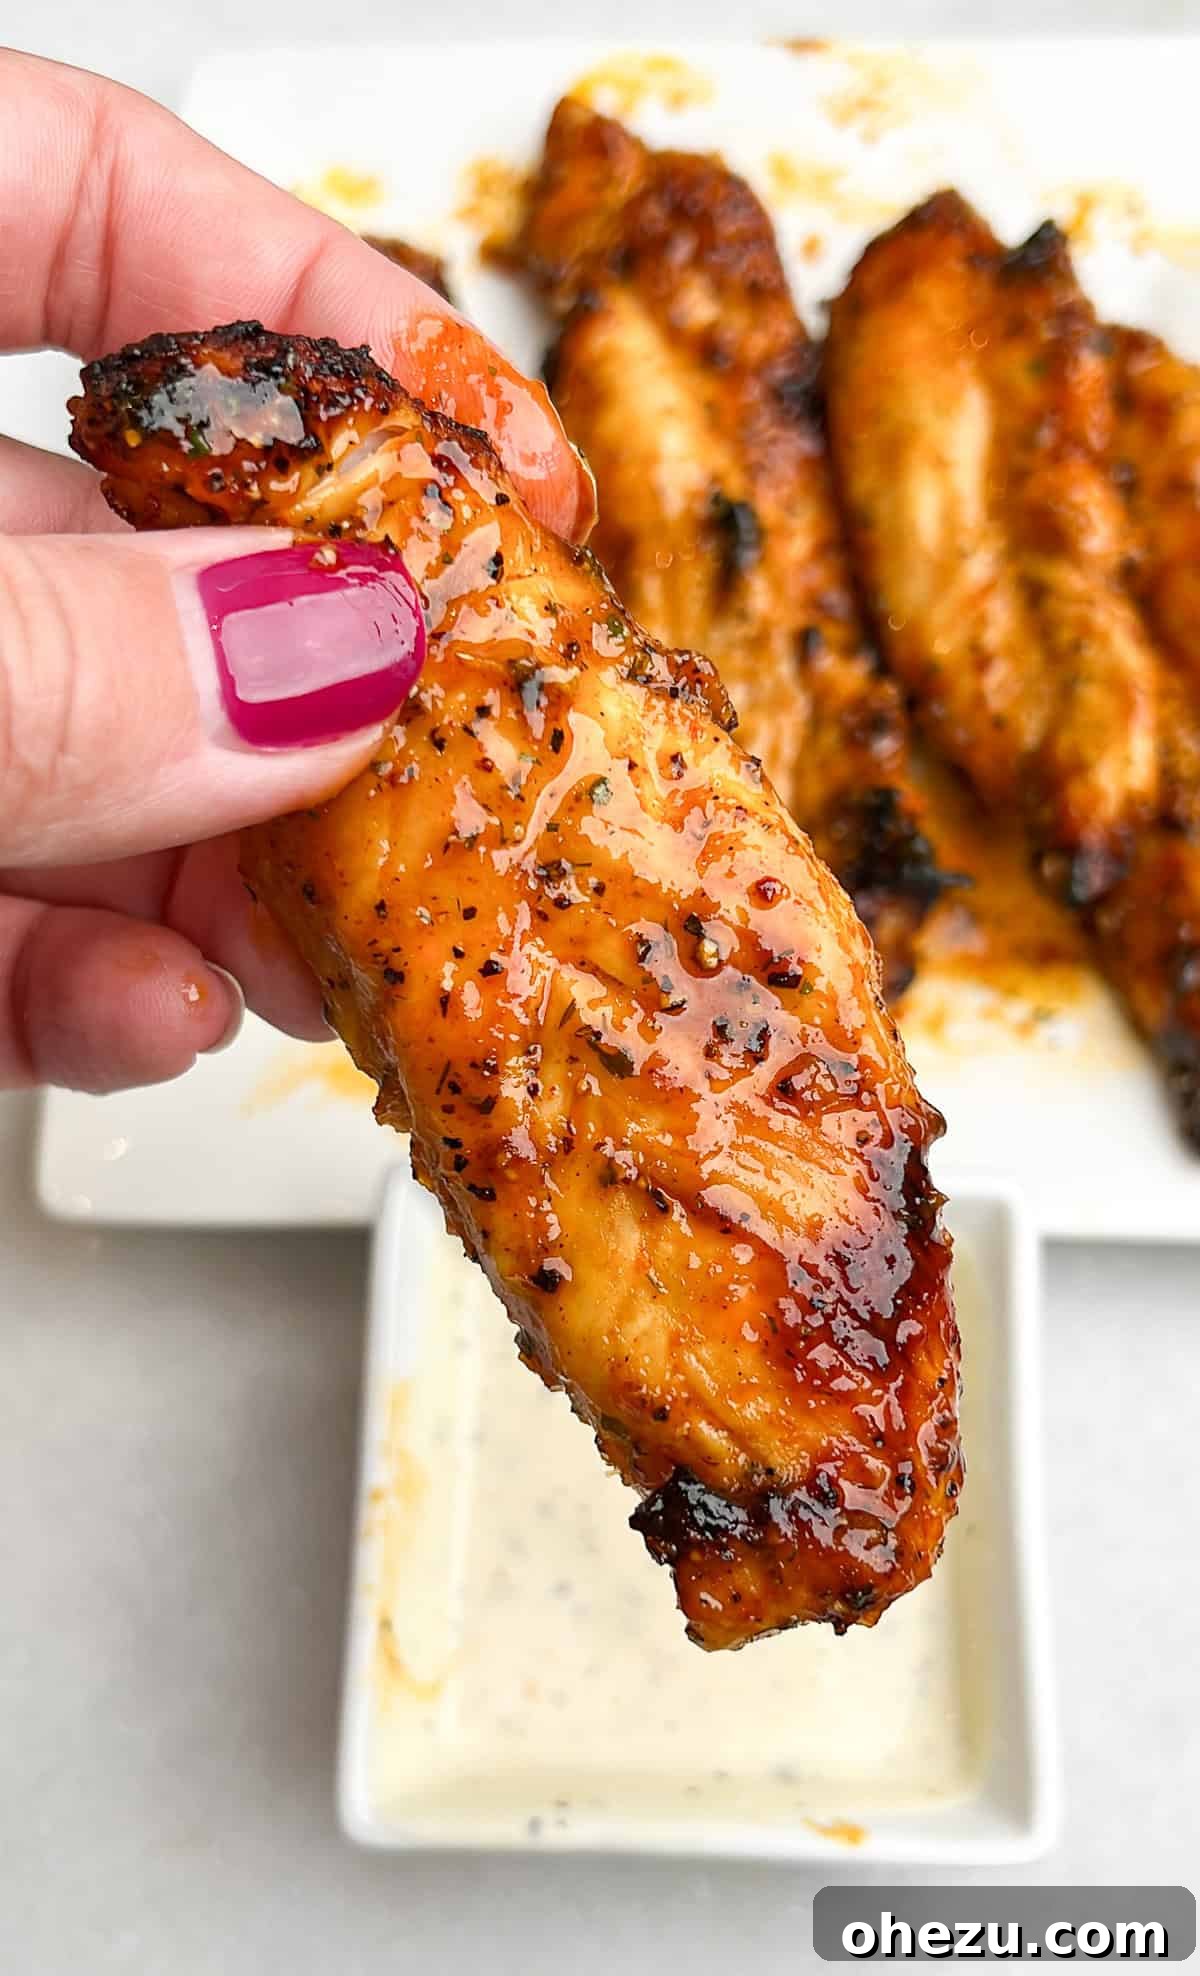
Prepare to be amazed by the incredible flavor and texture of our Hot Lemon Pepper Ranch Air Fried Chicken Tenders. Each tender is generously coated in a luscious, homemade sauce that strikes a perfect balance of sweet, tangy, and herbaceous notes, all elevated by an exciting kick of heat. Our innovative air frying method guarantees chicken that is remarkably juicy and tender on the inside, with a subtly crispy exterior that melts in your mouth and practically breaks apart with little effort.
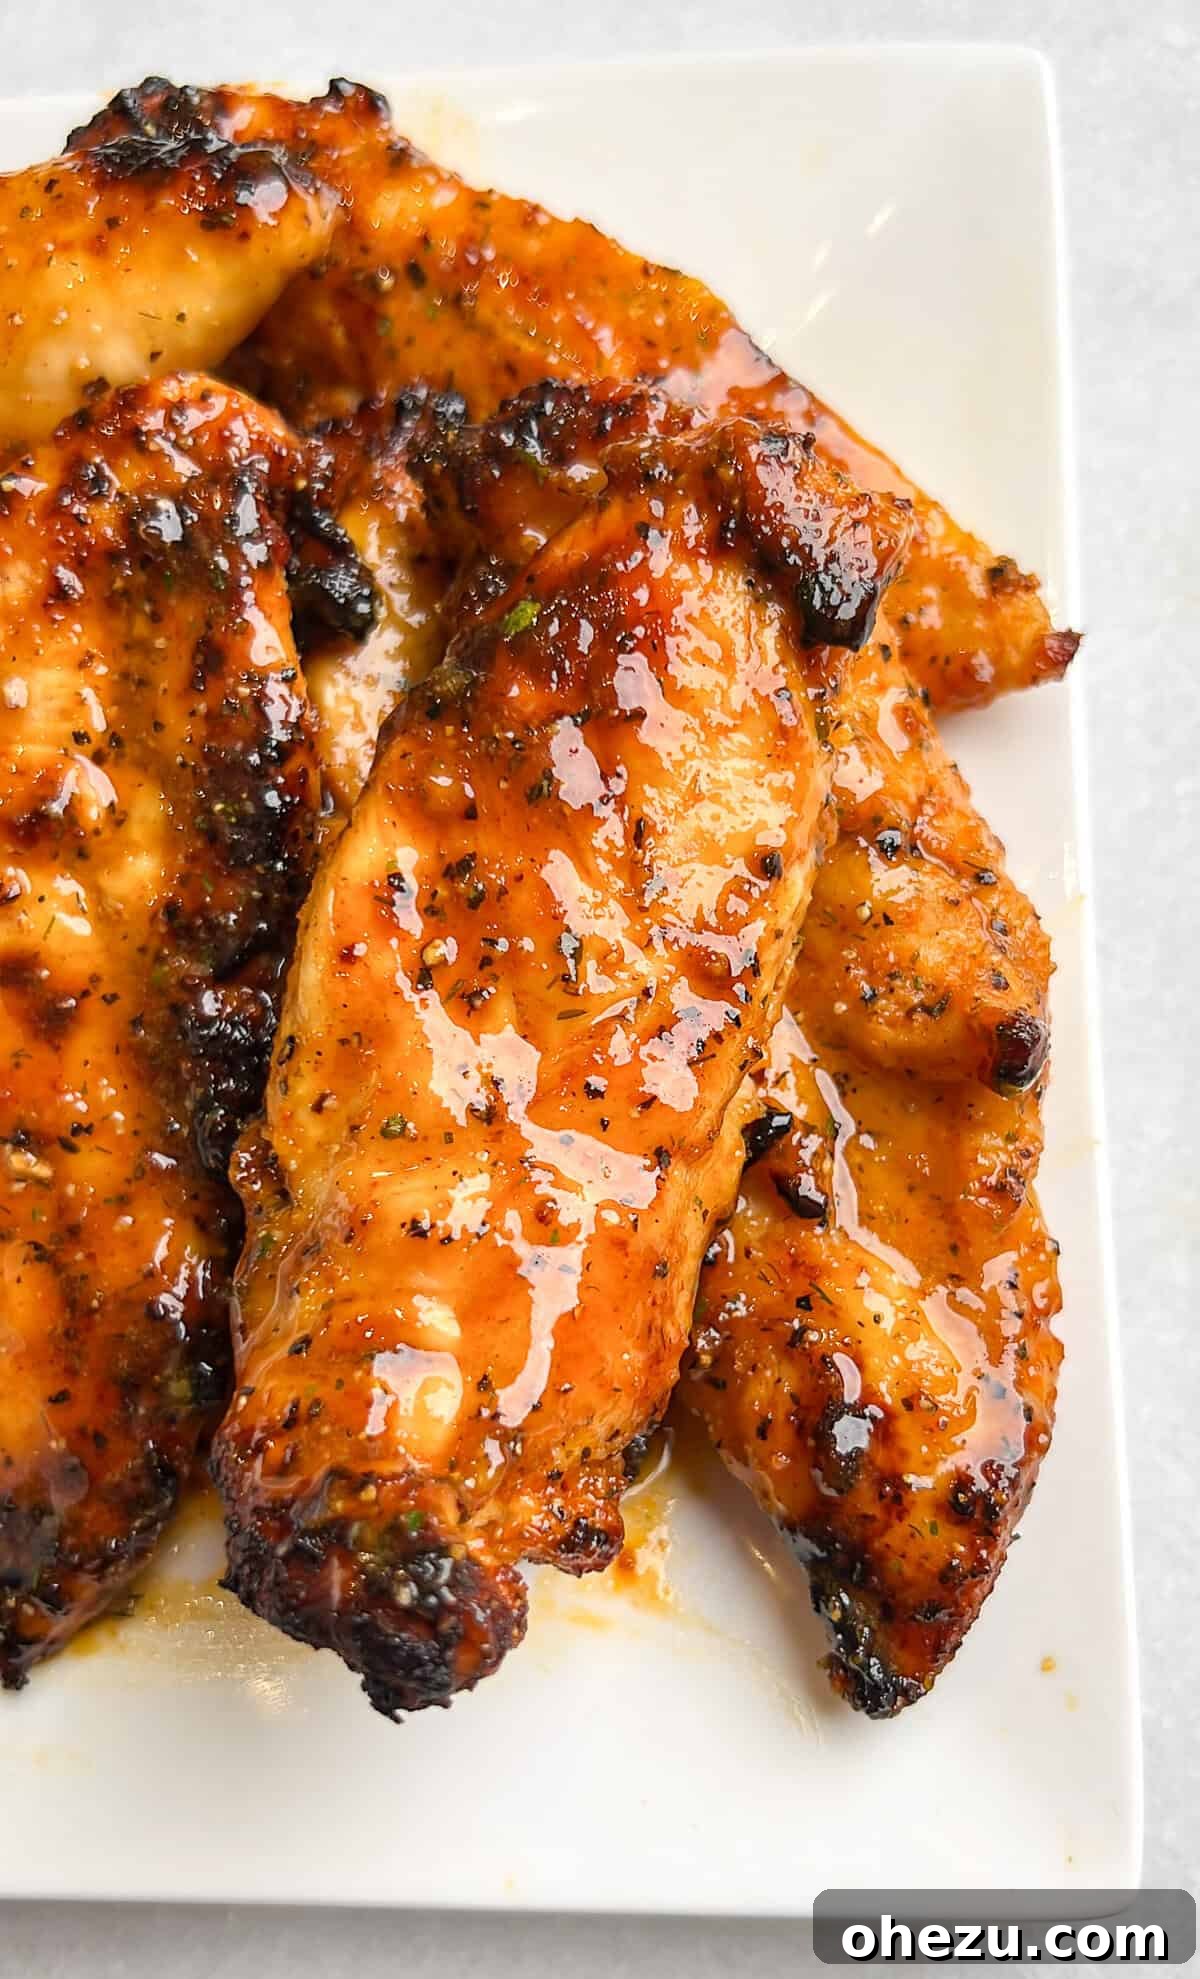
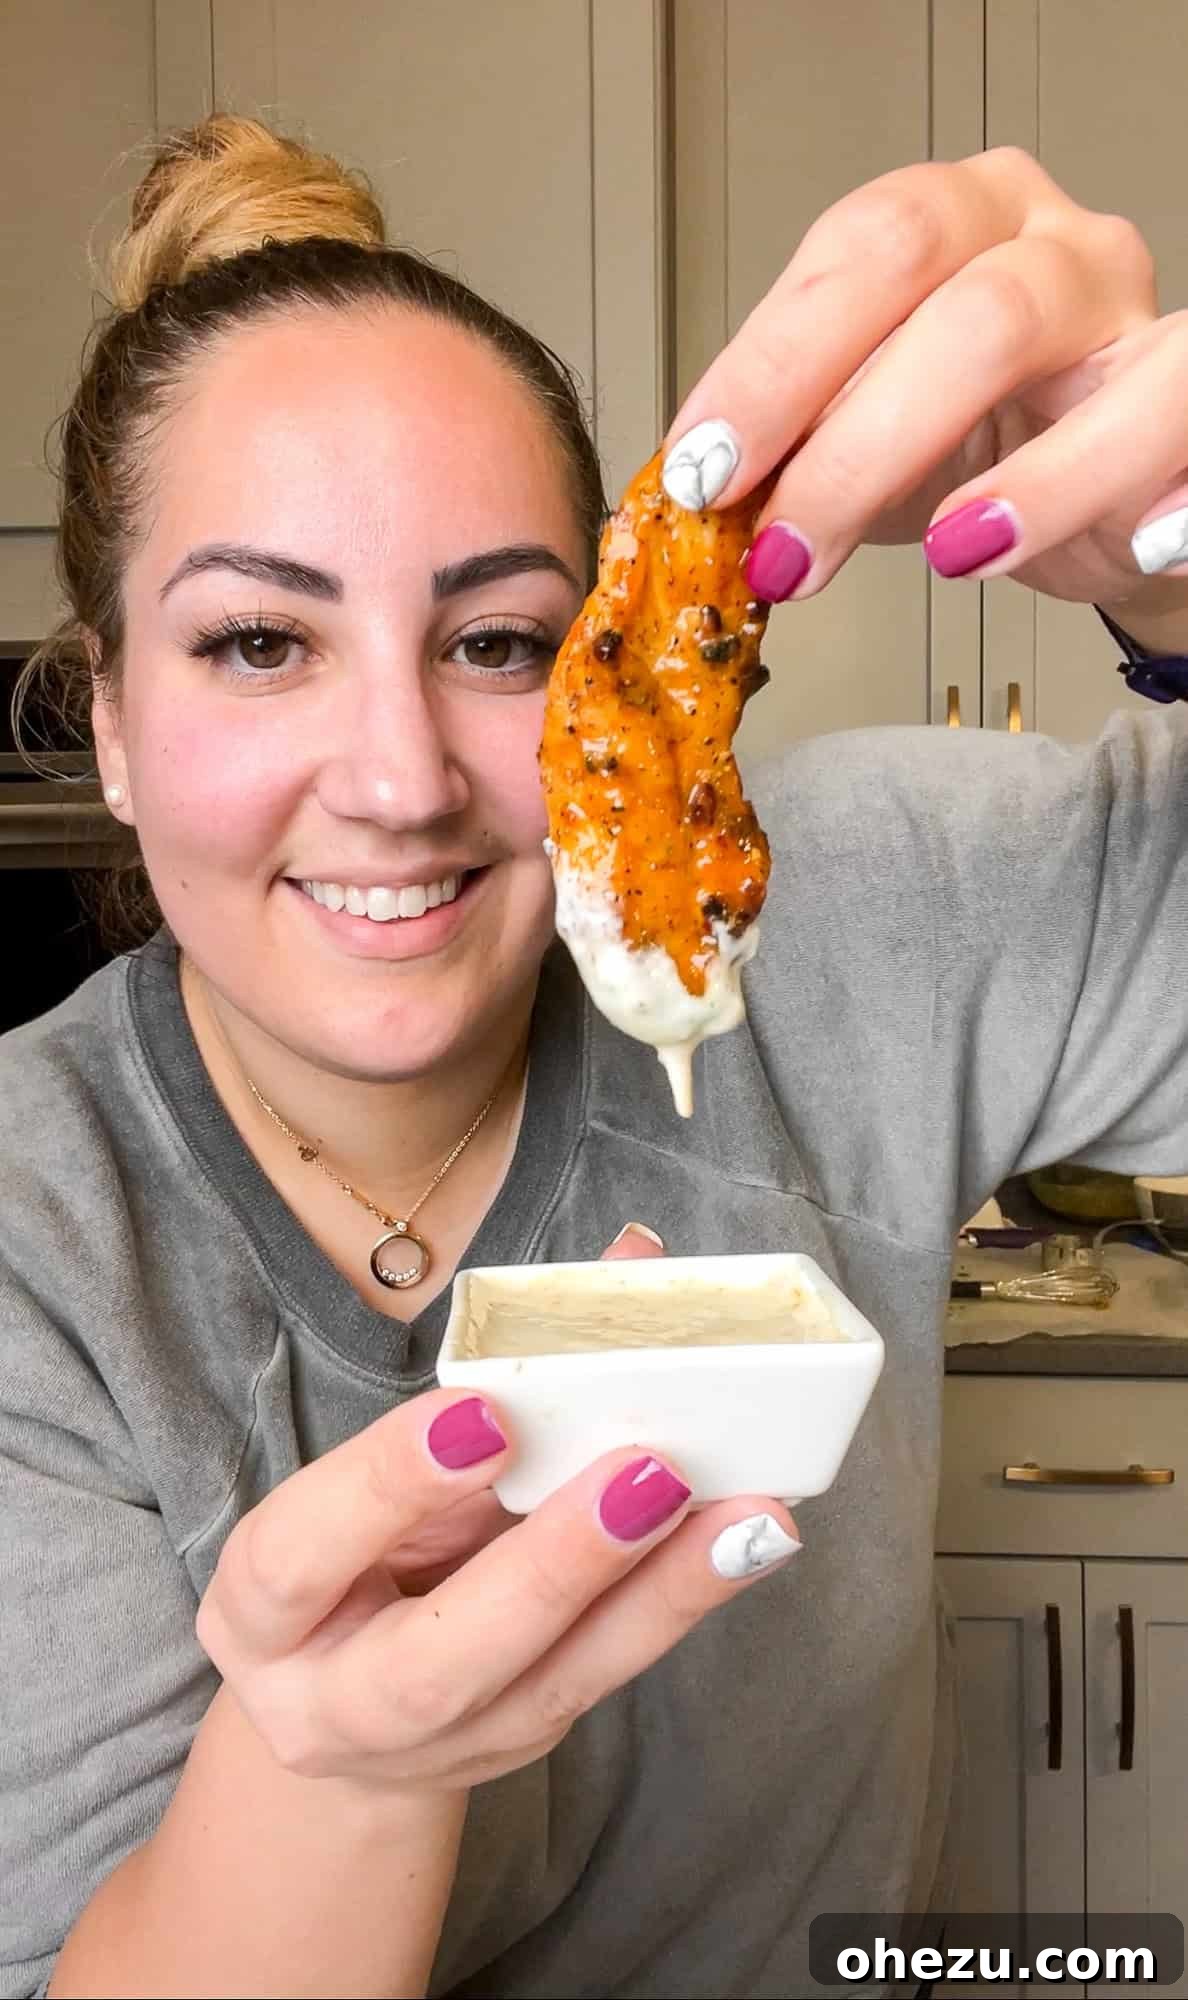
These chicken tenders are more than just a dish; they’re a versatile culinary staple. Serve them alongside a cool ranch or zesty blue cheese dip, and you’ve got the perfect appetizer to elevate your Football Sundays or any casual gathering. Beyond tenders, this extraordinary glaze proves equally fantastic on crispy air-fried bone-in chicken wings. For those, simply adapt the efficient cooking method we detail in our renowned Garlic Parmesan Crispy Air Fried Chicken Wings recipe.
Why You’ll Adore Hot Lemon Pepper Ranch Air Fried Chicken Tenders
These hot lemon pepper ranch chicken tenders are destined to become a new favorite in your recipe repertoire. Here are compelling reasons why they stand out and why you’ll fall in love with them:
- Lightning-Fast Preparation: Forget long hours in the kitchen! These tenders cook quickly and efficiently in your air fryer, making them an ideal choice for busy weeknights, ready in just about 15 minutes.
- Unbelievably Tender and Juicy: Experience chicken tenders so moist and succulent that they effortlessly melt in your mouth. The air fryer excels at retaining natural juices, preventing dryness that often plagues other cooking methods.
- Versatile Glaze for All Poultry: The star of this recipe is undoubtedly the homemade hot lemon pepper ranch glaze. Its incredible flavor profile isn’t limited to tenders; it also shines brightly on bone-in chicken wings, thighs, or even as a flavorful marinade for grilled chicken, offering endless culinary creativity.
- The Quintessential Game Day Snack: Elevate your entertaining game with these ultimate crowd-pleasers. They are perfectly seasoned, easy to eat, and guaranteed to be a hit at any sports gathering, party, or casual get-together.
- Perfect High-Protein Meal or Appetizer: Not only are these tenders delicious, but they also offer a substantial protein boost. Enjoy them as a satisfying main course for a healthy dinner or as a robust appetizer that truly satiates.
- Excellent for Make-Ahead Meals & Meal Prep: These tenders hold up wonderfully. Cook a larger batch and keep them refrigerated for quick lunches, adding them to salads, wraps, or simply reheating for a convenient and flavorful meal throughout the week.
- Effortless Dinner Solution: Pair these vibrant tenders with a simple side of steamed vegetables, a fresh garden salad, or fluffy rice for a complete, balanced, and incredibly easy dinner that appeals to all ages.
- Healthier Frying Alternative: Achieve that desired crispy texture without the excess oil and mess of deep frying. The air fryer circulates hot air, delivering results that are both delicious and a healthier alternative.
- Customizable Spice Level: The hot lemon pepper ranch glaze can be tailored to your preference. Easily adjust the amount of hot sauce to create a mild tang or a fiery kick, satisfying every palate at your table.
Key Ingredients for the Most Flavorful Chicken Tenders
Crafting these succulent air fried chicken tenders with their signature hot lemon pepper ranch glaze requires a careful selection of fresh, quality ingredients. Each component plays a vital role in achieving the dish’s irresistible flavor profile. For precise measurements and step-by-step instructions, please refer to the comprehensive recipe card located at the conclusion of this article.
For the Chicken Tenders:
- Chicken Tenders: The star of our show! Opt for fresh chicken tenders for the best results, as they tend to be more succulent. It’s crucial to remove the tough white tendon for an unparalleled eating experience, a step we’ll guide you through.
- Olive Oil: A light coating of olive oil serves multiple purposes: it helps all the seasonings adhere evenly to the chicken, promotes a beautiful golden-brown crisp, and aids in locking in moisture during air frying.
- My Go-To Chicken Seasonings: This foundational blend includes paprika (for mild sweetness and vibrant color), onion powder and garlic powder (for aromatic depth), and cayenne pepper (for a subtle warmth that complements the zesty lemon pepper). Don’t forget ample salt and freshly ground black pepper to enhance all the other flavors.
- Lemon Pepper Seasoning: An indispensable ingredient, this seasoning directly infuses the chicken with bright, zesty lemon and sharp peppery notes, establishing the essential base flavor before the glaze is even applied.
- Powdered Ranch Seasoning: This adds that unmistakable, savory, and herbaceous ranch flavor directly to the chicken, ensuring deliciousness from the inside out and providing a wonderful complexity.
For the Hot Lemon Pepper Ranch Glaze:
- Unsalted Butter: The rich, creamy base of our glaze. Butter adds luxurious body and a delectable flavor that helps the sauce beautifully coat and caramelize on the chicken. Using unsalted allows you to control the overall sodium content.
- Honey: This natural sweetener provides the perfect counterpoint to the tart lemon and spicy hot sauce. It also creates a sticky, glossy texture that helps the glaze adhere and develop a slight char in the air fryer.
- Powdered Ranch Seasoning: We double down on the ranch flavor in the glaze, ensuring every bite is bursting with that beloved herby, savory, and slightly tangy taste. Choose your favorite brand, like Hidden Valley, for consistency.
- Lemon Pepper Seasoning: Integral to the glaze, this seasoning reinforces the vibrant citrus and peppery punch, ensuring the “lemon pepper” aspect truly shines through.
- Fresh Lemon Zest & Juice: Using both the zest (which contains potent essential oils) and the juice of fresh lemons dramatically intensifies the bright, aromatic lemon flavor and provides the necessary acidity to balance the sweetness and heat.
- Hot Sauce: The crucial component for the “hot” in our “hot lemon pepper ranch.” Select your preferred hot sauce (such as Frank’s RedHot or Tabasco) to customize the spice level from a gentle warmth to a fiery inferno.
How to Make The Best Air Fried Chicken Tenders
Achieving perfectly cooked, incredibly flavorful air fried chicken tenders is simpler than you might imagine, yet the results are truly gourmet. The hot lemon pepper ranch glaze is so tantalizing, you’ll find yourself wanting to put it on everything! Follow these clear, easy-to-understand steps for a truly unforgettable meal. For a detailed, printable version of the recipe with exact measurements, please scroll down to the dedicated recipe card.
Step-by-Step Air Frying Instructions:
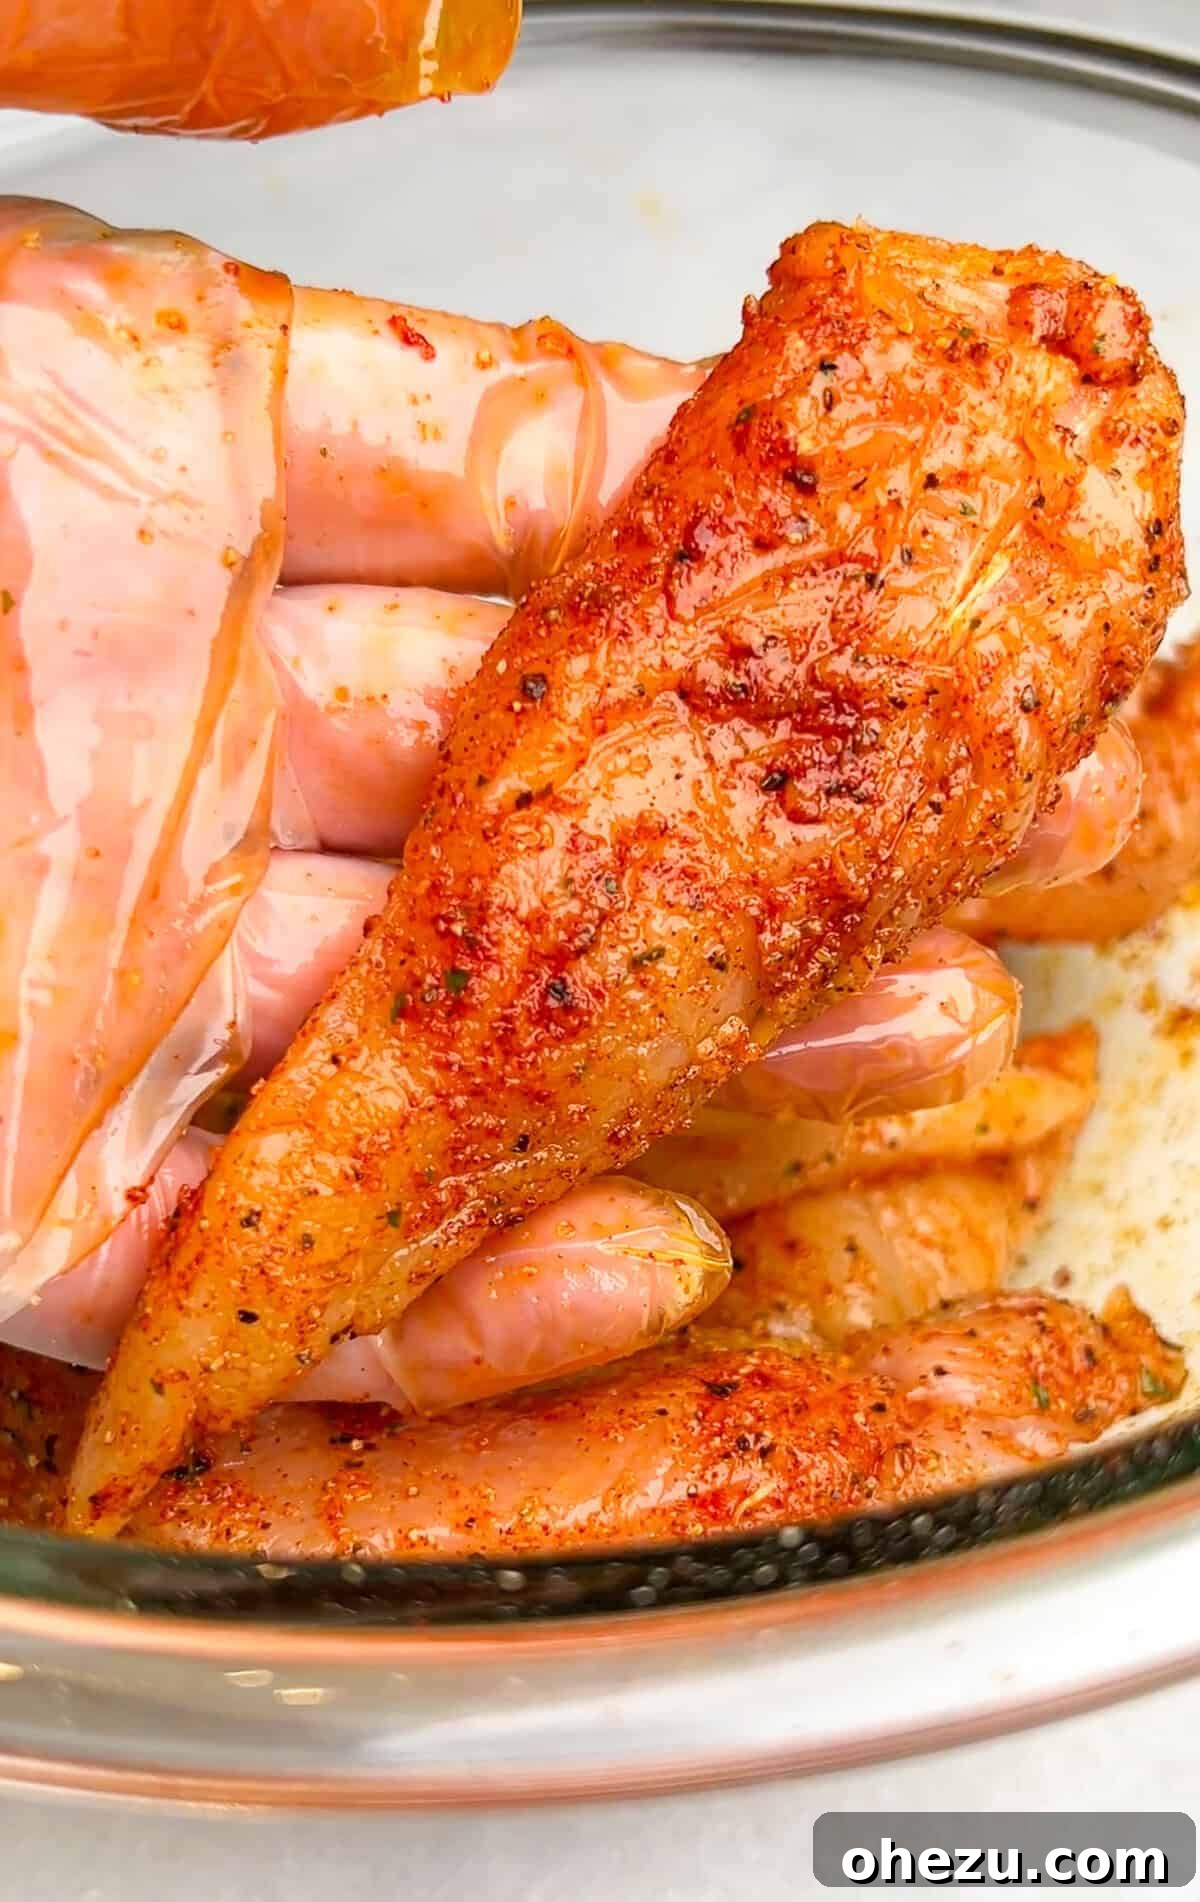
- Prepare the Chicken and Initial Seasoning: Begin by preparing your chicken tenders. This includes the essential step of removing the tough white tendons (find detailed instructions below). Once prepped, place the tenders in a large mixing bowl. Drizzle them generously with olive oil, then sprinkle evenly with your chosen chicken seasonings (lemon pepper, powdered ranch, paprika, cayenne, garlic powder, onion powder, salt, and pepper). Toss everything together thoroughly until each tender is completely and evenly coated. Set the seasoned chicken aside while you prepare the glaze.
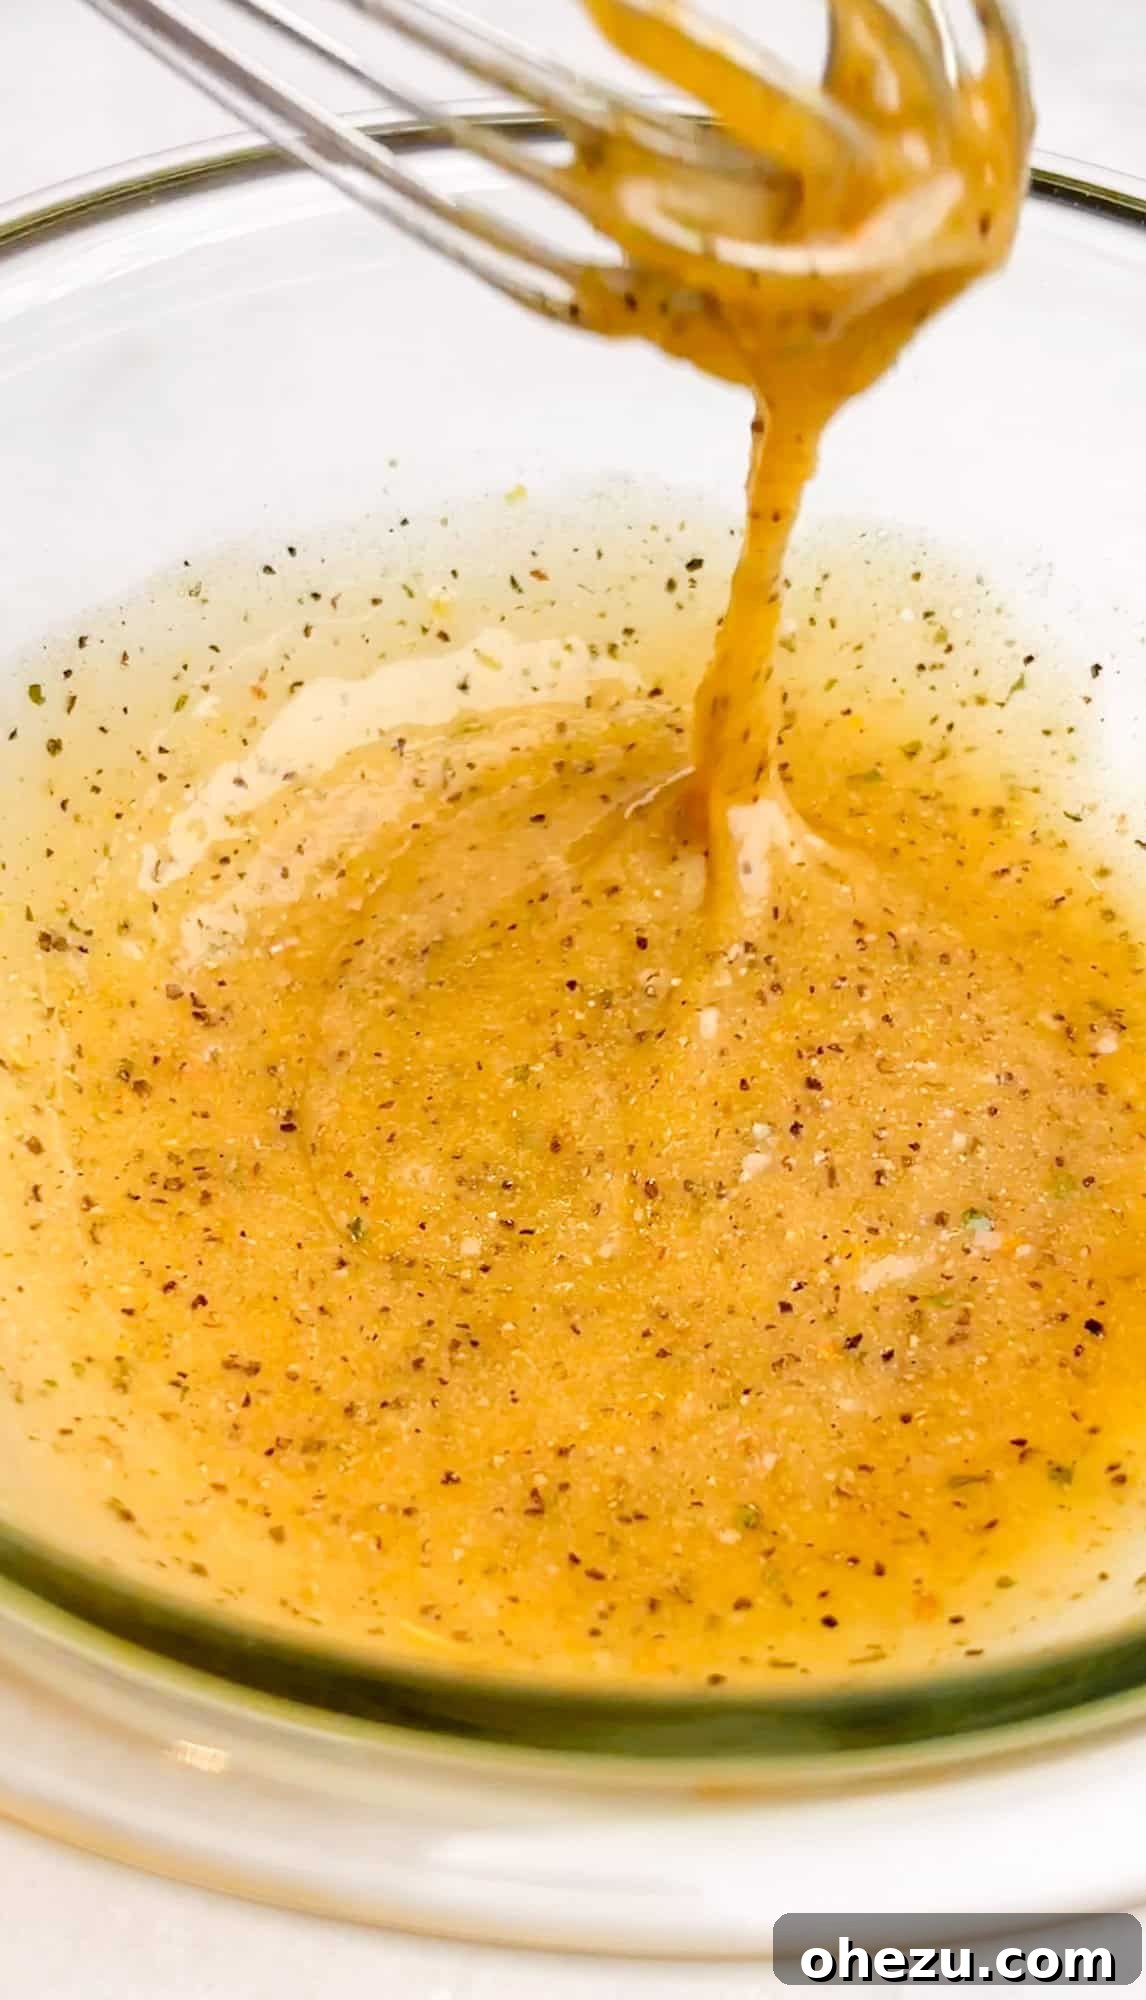
- Craft the Hot Lemon Pepper Ranch Glaze: In a medium-sized microwave-safe bowl, combine the unsalted butter and honey. Heat this mixture in the microwave for approximately 30-40 seconds, or until the butter is mostly melted. Whisk the butter and honey together until smooth. Now, incorporate the remaining glaze ingredients: powdered ranch seasoning, an additional measure of lemon pepper seasoning, fresh lemon zest, fresh lemon juice, and your preferred hot sauce. Whisk until all ingredients are fully combined and the glaze is smooth. Taste the glaze and adjust any seasonings or the level of heat to perfectly suit your preference. Immediately after mixing, divide this prepared glaze into two separate bowls to prevent any cross-contamination during the cooking process.
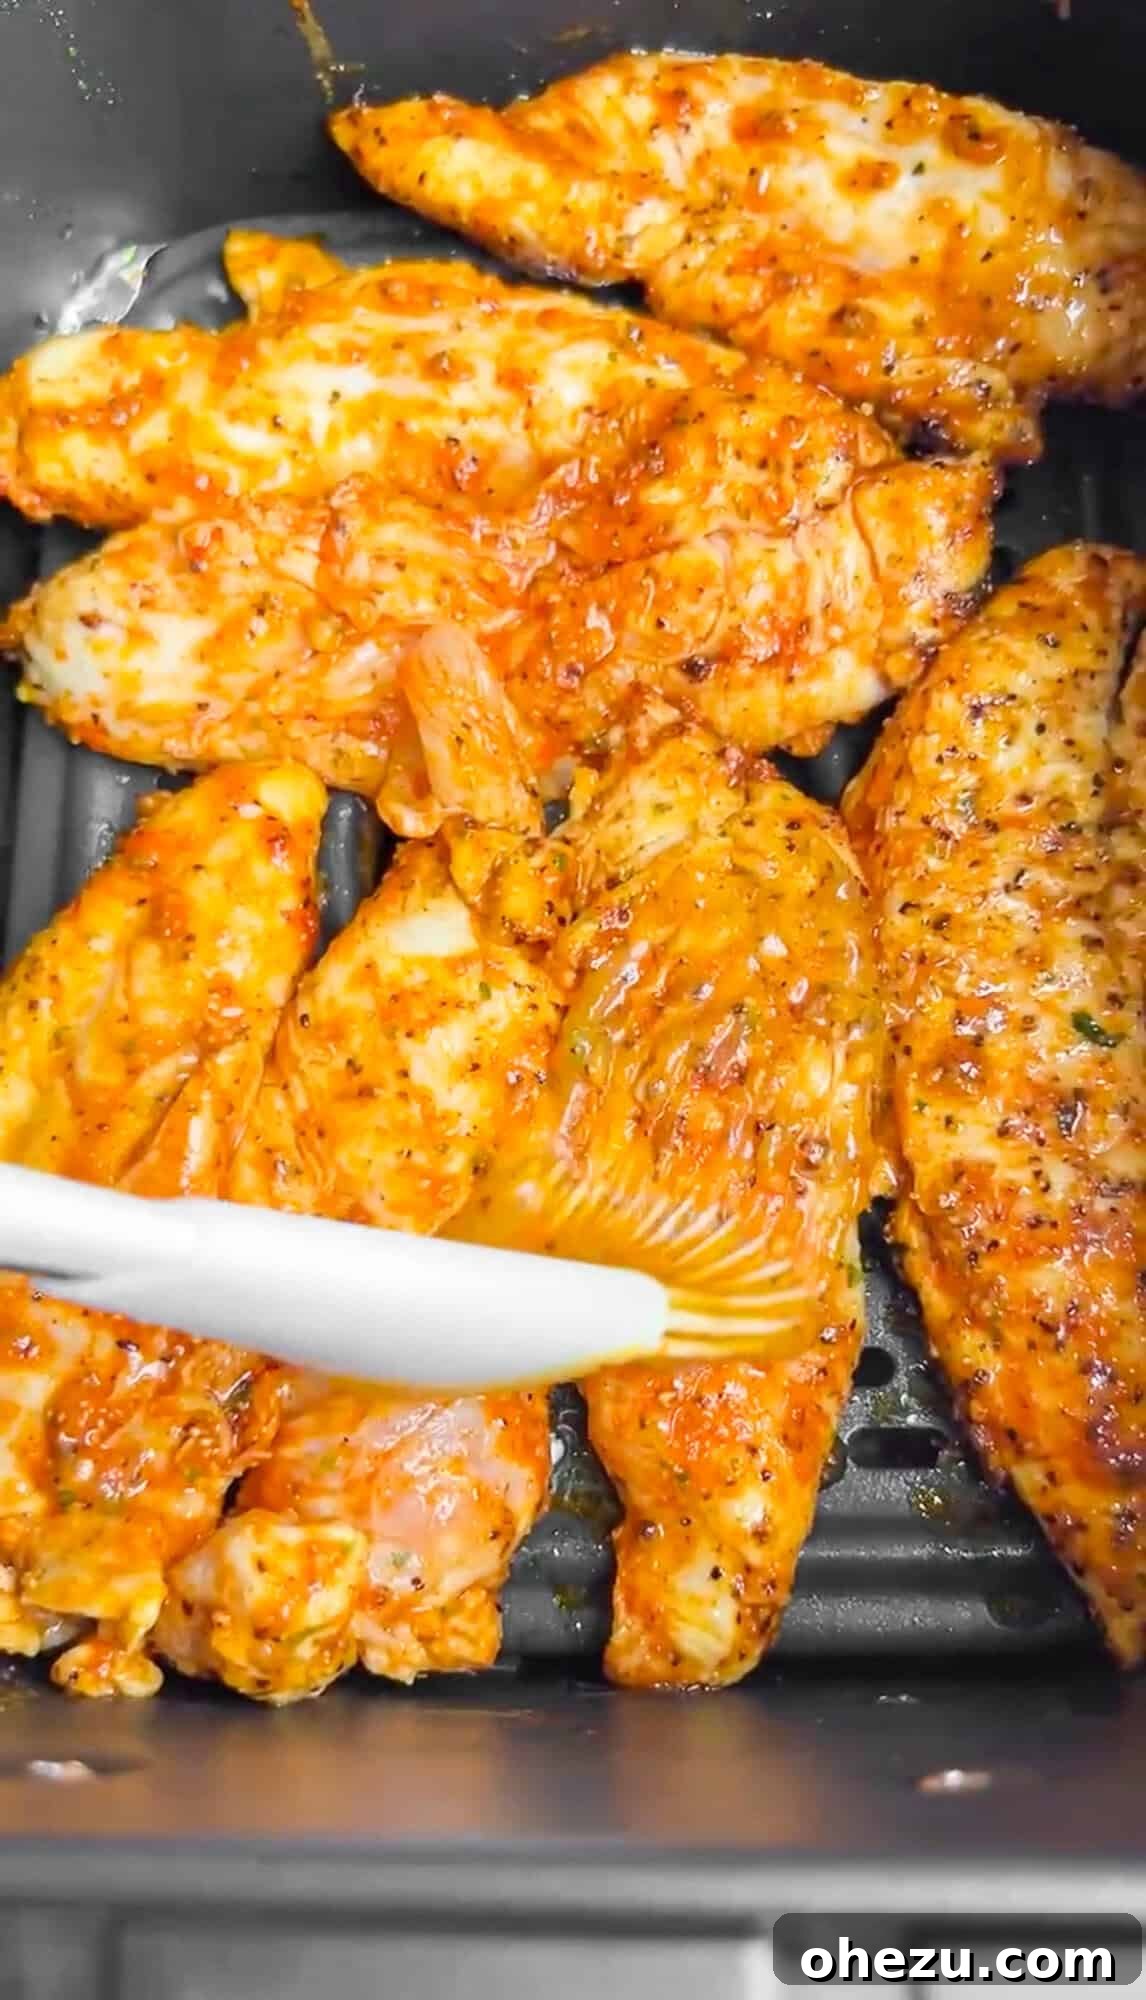
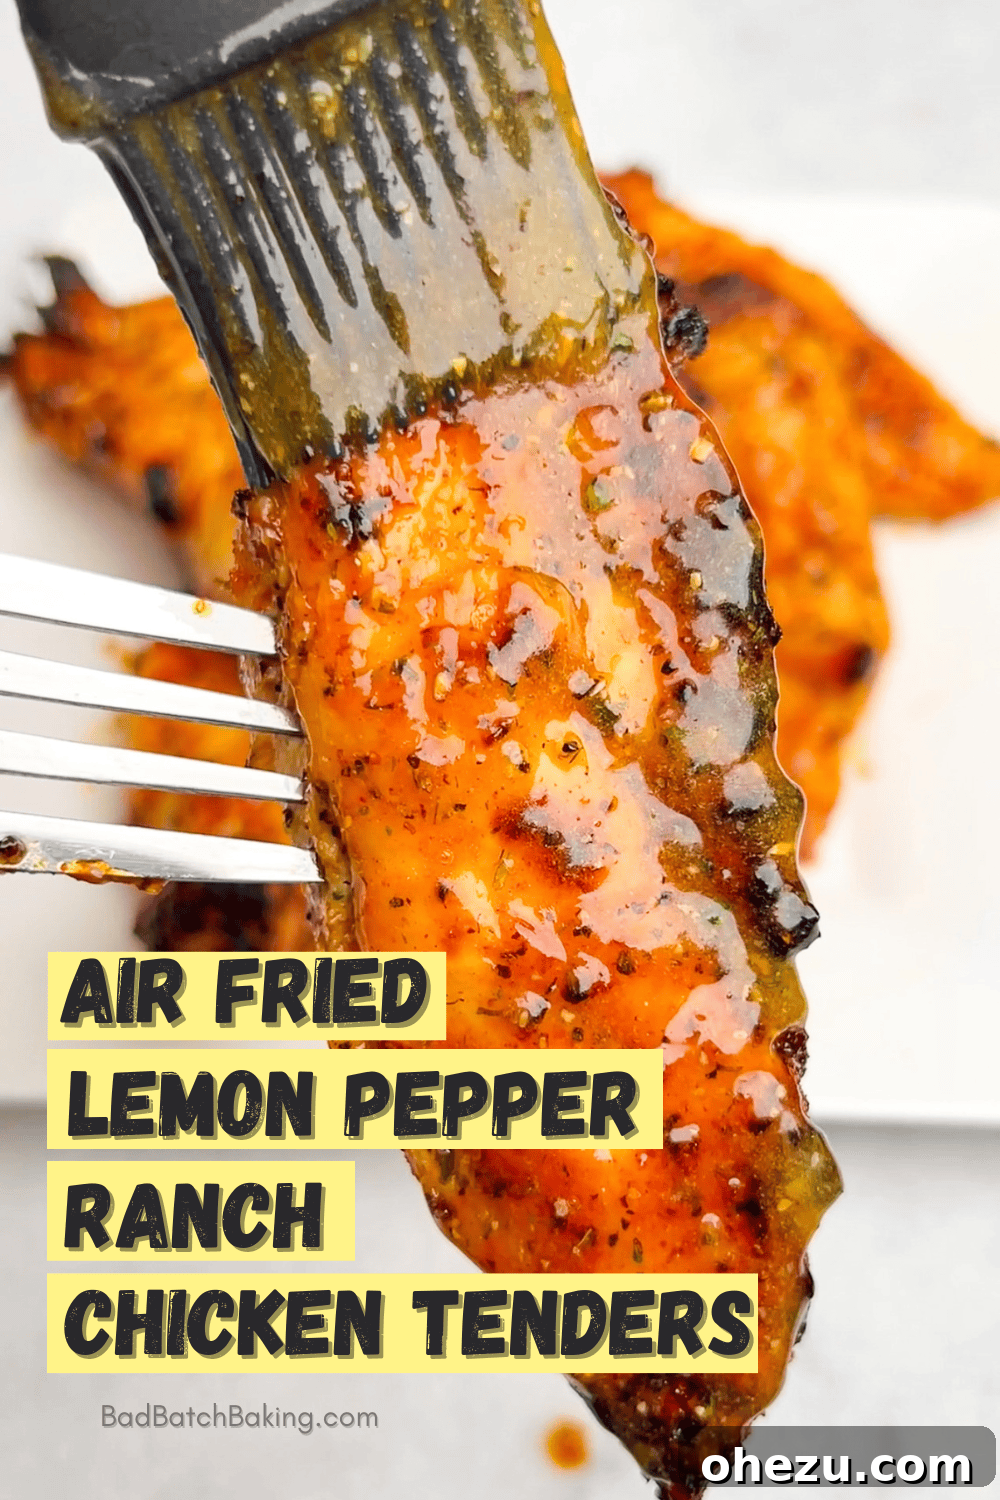
- Air Fry to Golden Perfection: Preheat your air fryer to 400°F (200°C). Carefully arrange the seasoned chicken tenders in the air fryer basket in a single layer. It’s crucial not to overcrowd the basket, so cook them in batches if necessary to ensure even cooking and optimal crispiness. Using a clean basting brush, generously coat the chicken with the glaze from the first bowl (designated for raw/partially cooked chicken). Air fry for 4 minutes. After the initial cooking time, carefully flip the tenders, baste them again with the glaze from the first bowl, and return them to the air fryer to cook for another 5 minutes.
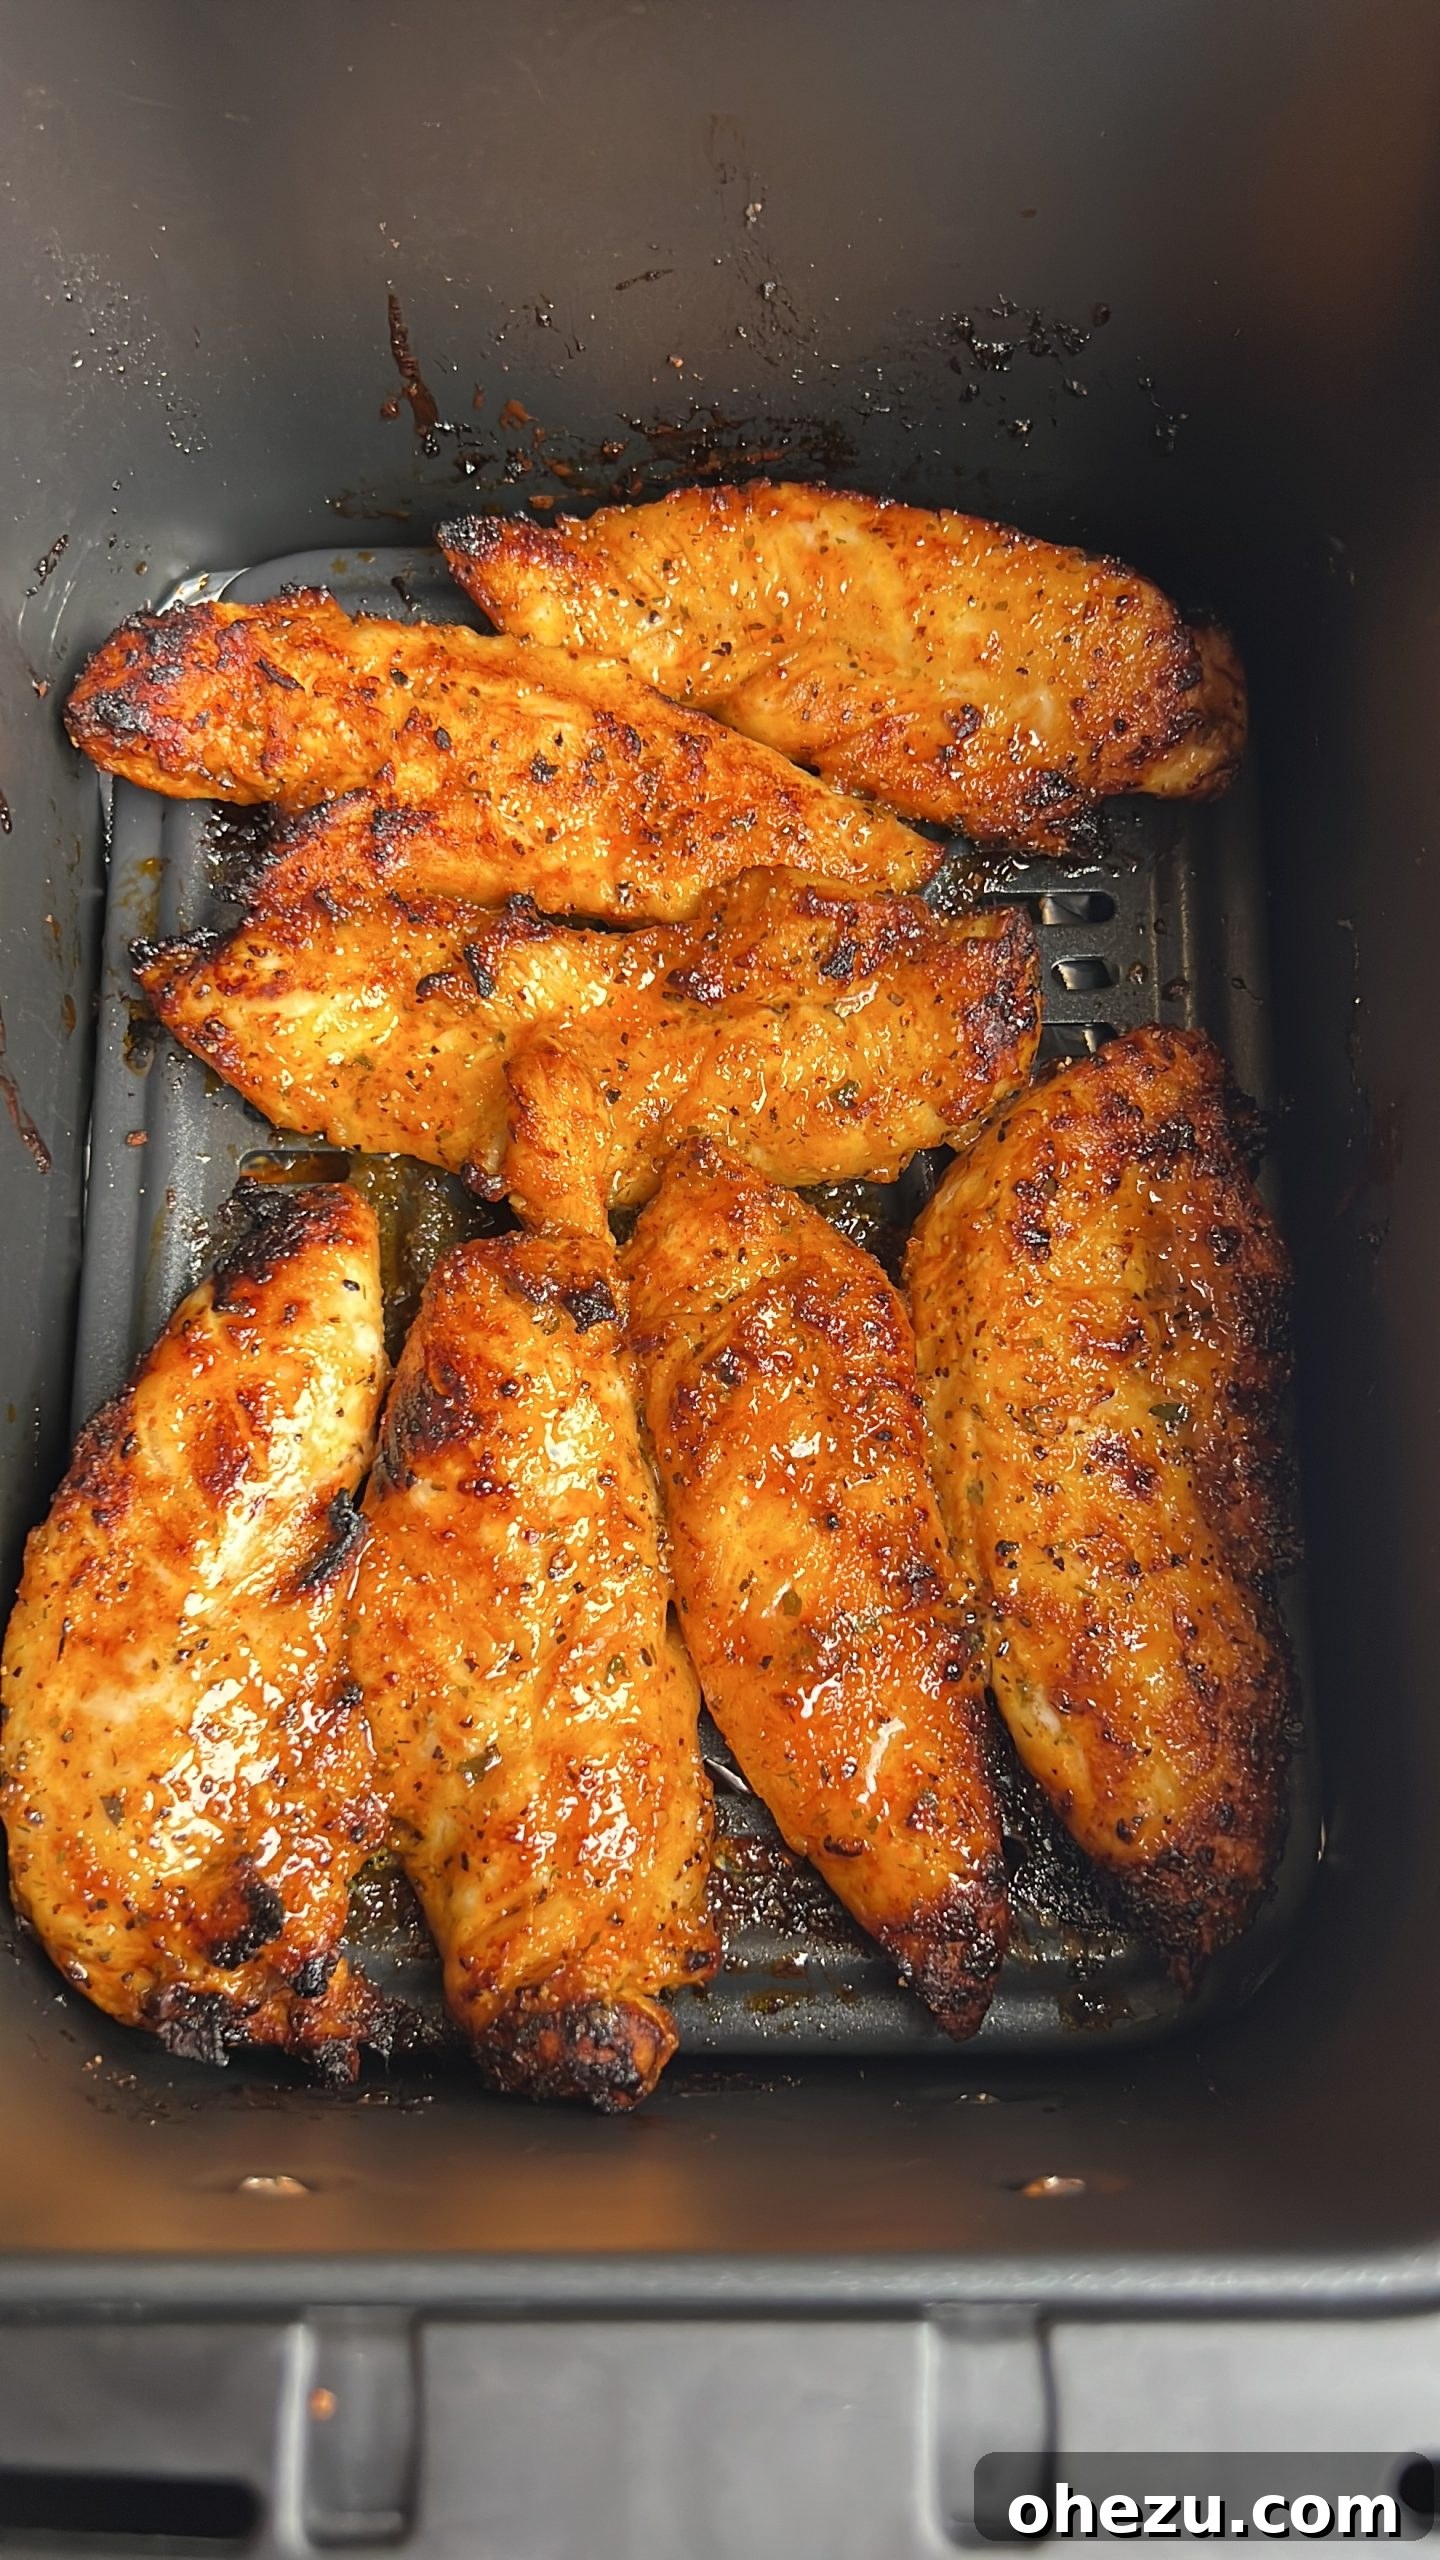
- Final Glaze and Broil for Char: For the final cooking stage, switch to a fresh, clean basting brush and use the “clean” sauce from your second bowl. Generously coat the tenders one last time. Increase the air fryer temperature to “broil” or 450°F (230°C) and cook for an additional 2-3 minutes. This critical final broil step helps to achieve a beautiful golden-brown char on the tenders, intensifying their flavor and crispiness. Always ensure the chicken reaches an internal temperature of 165°F (74°C) using a meat thermometer to confirm doneness. Once cooked through, carefully remove the tenders from the air fryer, transfer them to a serving platter, and for an extra burst of flavor and gloss, give them one additional optional pass with the clean glaze before serving. Enjoy immediately!
Prep Tenders: The Essential Step of Tendon Removal!
One of the most important, yet frequently overlooked, steps when preparing chicken tenders is the removal of the thick, fibrous white tendon that runs through each piece of meat. You might be surprised to find that even some professional kitchens skip this detail, which can significantly impact your eating experience.
Trust us, you’ll be much happier investing a few moments to remove these tendons. Doing so ensures your chicken tenders are uniformly tender, free from any chewy, rubbery bits, and truly melt-in-your-mouth delicious. It makes for a far more pleasant and refined dining experience.
How to Easily Remove Chicken Tendons:
- Locate the Tendon: Lay a chicken tender flat on a clean cutting board. You’ll typically find the tough white tendon at one end, often protruding slightly.
- Secure the Tendon: Firmly grasp the end of the tendon with a paper towel (this provides a much better grip than bare fingers) or a pair of kitchen tongs.
- Use a Fork or Knife: Slide the tines of a fork underneath the tendon, pressing the fork firmly against the cutting board. Alternatively, you can make a small incision just under the tendon with a sharp knife and gently pull it up.
- Pull it Through: While maintaining pressure with the fork (or knife) against the board, steadily pull the tendon through the tines. The meat should cleanly separate from the tendon with surprising ease.
For a clear visual demonstration, we recommend watching this helpful video from Moola Savings Mom:
Alternative Cooking Methods: Oven or Grill
While the air fryer is fantastic for achieving maximum crispiness, these Hot Lemon Pepper Ranch Chicken Tenders are incredibly versatile and can be cooked to perfection using a conventional oven or an outdoor grill. These methods offer excellent flexibility, ensuring you can enjoy this delicious recipe no matter what equipment you have on hand, without compromising on that incredible flavor.
Oven Preparation:
- Preheat Oven: Preheat your oven to 400°F (200°C).
- Prepare Baking Sheet: Line a rimmed baking sheet with aluminum foil or parchment paper. This aids in easy cleanup and prevents sticking.
- Arrange Tenders: Place the seasoned chicken tenders in a single layer on the prepared baking sheet, ensuring they are not touching for even cooking.
- Bake and Baste: Cook for 15-18 minutes, or until the internal temperature of the chicken reaches 165°F (74°C) at its thickest part. Flip the tenders halfway through the cooking time. Throughout the baking process, baste them generously a few times with the lemon pepper ranch glaze, remembering our crucial food safety tip of using separate glaze bowls for raw and cooked chicken.
- Broil for Char (Optional): For a deliciously charred and slightly crispier finish, switch your oven to the broil setting for an additional 2 minutes at the very end of cooking. Keep a very close eye on them during this stage to prevent burning.
- Serve: Remove from the oven, give them one final baste with fresh, clean glaze, and serve hot!
Grill Preparation:
- Preheat Grill: Preheat your outdoor grill to medium-high heat. Ensure the grates are clean and lightly oiled to prevent sticking.
- Grill Tenders: Once the grill is hot, place the prepared tenders directly over the heat. Cook each side for approximately 5-6 minutes.
- Baste Consistently: During the grilling process, baste the tenders repeatedly with the lemon pepper ranch glaze. As with other methods, always use separate bowls for the glaze that touches raw chicken versus cooked chicken to avoid cross-contamination.
- Check Doneness: Continue grilling until the chicken reaches an internal temperature of 165°F (74°C).
- Final Glaze & Serve: Remove the tenders from the grill, give them one last generous coating of the buttery, flavorful glaze, and savor the wonderful smoky notes!
Food Safety Tip: Always Separate Your Sauce Bowls!
When preparing any poultry, food safety is paramount. One critical step to prevent the risk of cross-contamination is to meticulously divide your hot lemon pepper ranch glaze into two distinct and clearly marked bowls. The first bowl should be used exclusively for basting the raw chicken and any partially cooked tenders during the initial phases of air frying, oven baking, or grilling.
The second bowl, which we refer to as your “clean” sauce, is to be reserved solely for the final stages of the cooking process and for any last-minute drizzling over the fully cooked chicken before it’s served. Furthermore, it’s equally important to either thoroughly wash and sanitize your basting brush after using it with the “raw” glaze, or ideally, use a completely separate, clean brush when transitioning to the “clean” sauce. This simple but vital food safety practice ensures that your delicious chicken tenders are not only incredibly flavorful but also safe and enjoyable for everyone.
Looking for More Irresistible Game Day Foods?
If you thoroughly enjoyed the vibrant flavors of these chicken tenders, you’re in luck! We have an array of other fantastic game day recipes that are perfect for sharing, entertaining, or simply enjoying a delicious snack. Explore these crowd-pleasing options:
Bacon Wrapped Chicken Bites
Air Fried Crispy Garlic Parmesan Chicken Wings
Garlic Parmesan Chicken Skewers
Spicy Italian Sausage Dip
Caramelized Onion & Bacon Dip
We genuinely hope you enjoy this easy and incredibly flavorful recipe for Hot Lemon Pepper Ranch Air Fried Chicken Tenders. Your thoughts and experiences mean the world to us, so please don’t hesitate to comment below with any questions or feedback! If you create these tenders or any other delicious recipes from our site, we’d absolutely love to see them. Don’t forget to tag us on Instagram @BadBatchBaking to be featured on our story – seeing your culinary recreations truly makes our day!
Recipe: Hot Lemon Pepper Ranch Air Fried Chicken Tenders
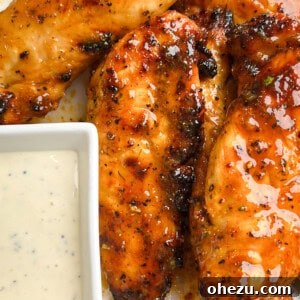
Experience buttery, tangy chicken tenders with a delightful kick of heat and abundant herby flavor. These air fried chicken tenders are perfectly glazed as they cook, ensuring ultimate juiciness and a memorable taste.
Prep Time: 5 minutes
Cook Time: 15 minutes
Total Time: 20 minutes
Yields: 4 servings
Author: Mallory Austin
Ingredients
Chicken Tenders
- 2 lbs chicken tenders
- 2 tablespoons olive oil
- 1 tablespoon lemon pepper seasoning
- 1 tablespoon powdered ranch seasoning
- 2 teaspoons paprika
- 2 teaspoons cayenne pepper
- 1 teaspoon garlic powder
- 1 teaspoon onion powder
- 1 teaspoon each: salt and freshly ground black pepper
Hot Lemon Pepper Ranch Glaze
- 1/2 stick unsalted butter (4 tablespoons)
- 1/2 cup honey
- 2 tablespoons powdered ranch seasoning (e.g., Hidden Valley)
- 2 tablespoons lemon pepper seasoning
- 2 teaspoons fresh lemon zest
- 1 tablespoon fresh lemon juice
- 2 tablespoons hot sauce (adjust to taste)
Instructions
Prep Chicken & Glaze
- Place chicken tenders into a large bowl. Drizzle with olive oil and generously sprinkle with lemon pepper seasoning, powdered ranch seasoning, paprika, cayenne, garlic powder, onion powder, salt, and pepper. Toss well until the tenders are evenly coated. Set aside.
- In a medium microwave-safe bowl, combine the butter and honey. Microwave for 30-40 seconds, or until the butter is mostly melted. Whisk until smooth. Stir in the powdered ranch seasoning, lemon pepper seasoning, fresh lemon zest, lemon juice, and hot sauce. Taste and adjust seasonings to your preference.
- Immediately separate the prepared glaze into two distinct bowls: one for basting raw/partially cooked chicken, and the other for basting fully cooked chicken to prevent cross-contamination.
Cook & Glaze Chicken (Air Fryer Method)
- Preheat your air fryer to 400°F (200°C). Arrange the seasoned chicken tenders in a single layer in the air fryer basket (cook in batches if necessary). Use a basting brush to generously coat the tenders with glaze from the first bowl. Cook for 4 minutes.
- Flip the tenders, baste again with glaze from the first bowl, and return to cook for another 5 minutes.
- Use a clean basting brush and the “clean” sauce from the second bowl to baste the tenders one final time. Turn the air fryer to “broil” or increase the temperature to 450°F (230°C) and cook for an additional 4-5 minutes, or until chicken is cooked through (internal temperature of 165°F/74°C) and has a beautiful golden char.
- Once cooked, transfer the tenders to a serving platter and give them one final optional pass with the clean glaze. Enjoy immediately!
Notes on Preparation
Oven Preparation: Preheat oven to 400°F (200°C). Place seasoned chicken tenders on a foil-lined baking sheet and cook for 15-18 minutes (or until internal temp reaches 165°F/74°C), flipping and basting with glaze (using separate bowls) halfway through. Broil for an additional 2 minutes for a slight char. Remove and baste one last time with clean sauce.
Grill Preparation: Preheat grill to medium-high heat. Place prepared tenders over direct heat, cooking each side for 5-6 minutes (or until internal temp reaches 165°F/74°C). Baste with glaze (using separate bowls) throughout. Remove from grill and baste one last time with clean glaze.
Nutrition Information
Calories: Approximately 320 kcal per serving
Nutrition information is automatically calculated and should only be used as an approximation.
Enjoyed this recipe?
We’d love to hear from you – leave a comment below!