
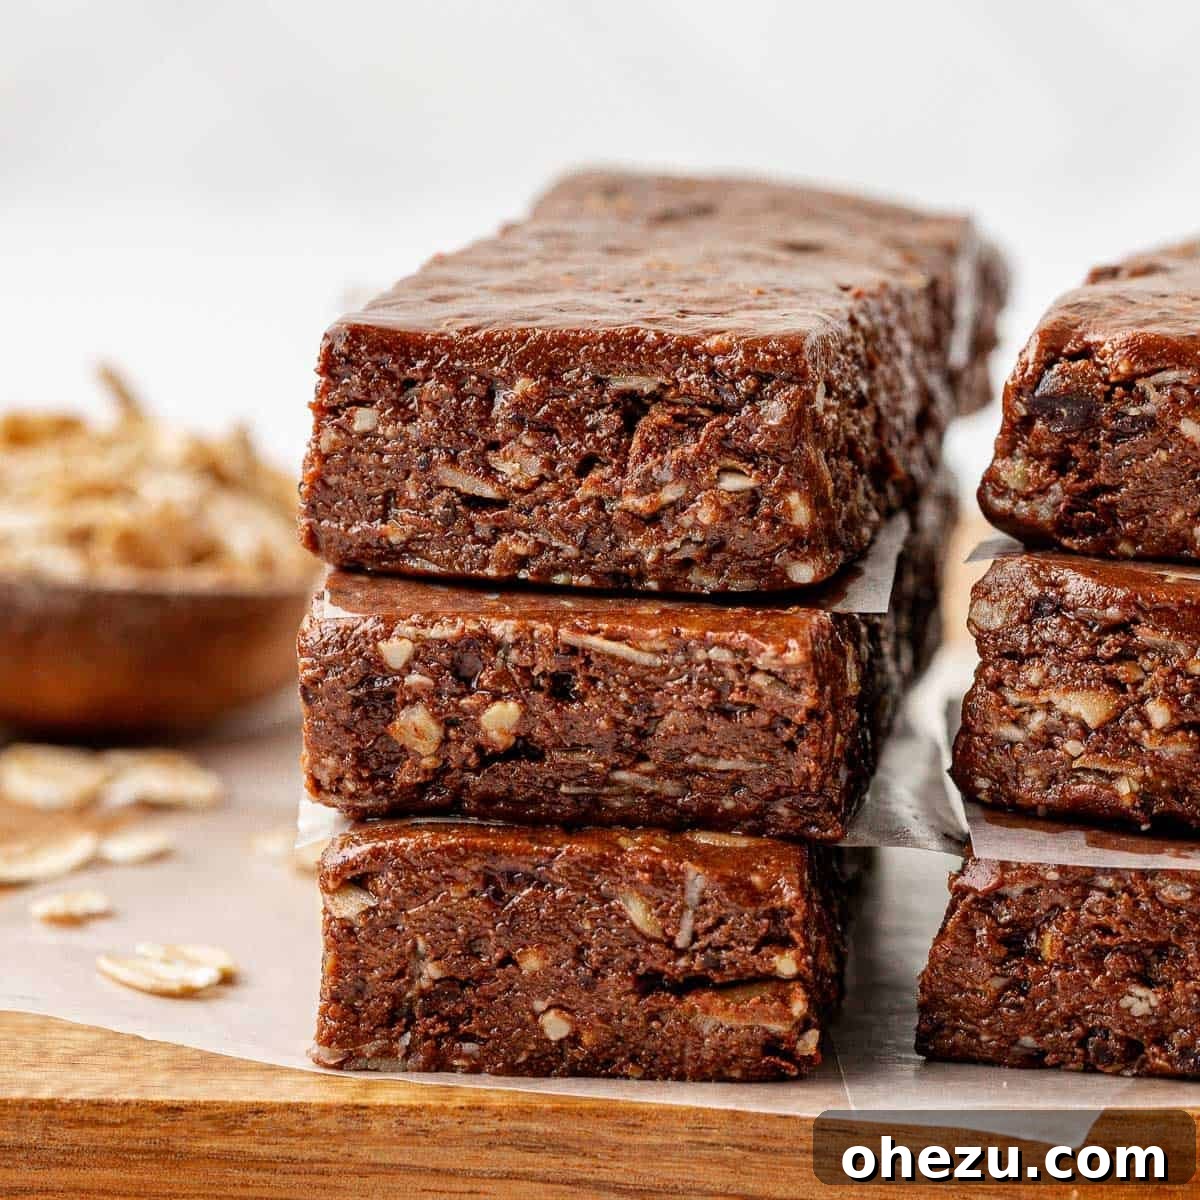
Indulge Guilt-Free: The Ultimate No-Bake Dark Chocolate Cashew Protein Bars
Craving a sweet, satisfying treat that also fuels your body? Look no further! These incredible no-bake dark Chocolate Cashew Protein Bars are not only exceptionally easy to make but are also packed with wholesome ingredients. Forget about artificial flavors and preservatives – this homemade protein bar recipe delivers pure, delicious goodness, making it the perfect choice for a quick snack, a post-workout refuel, or even a healthier dessert option.
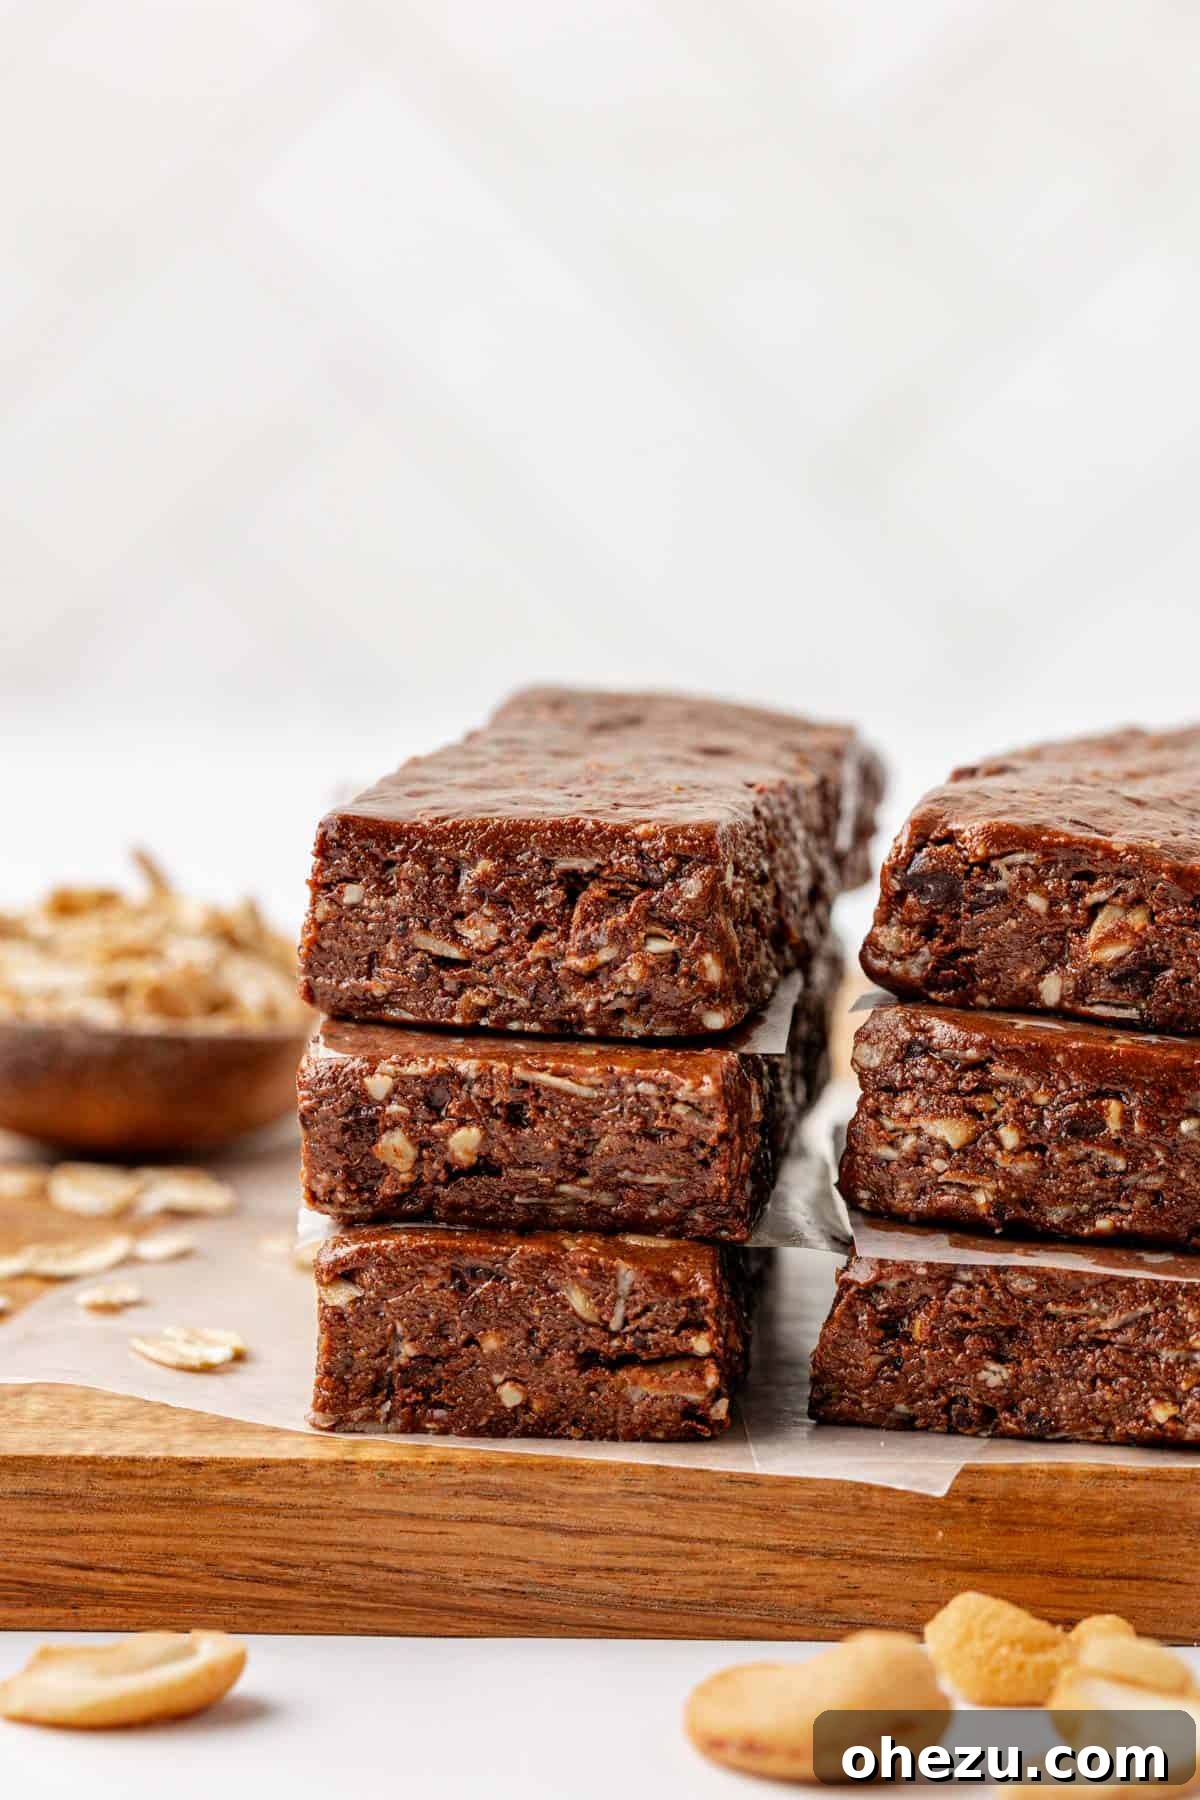
Why These Homemade Protein Bars Will Become Your Go-To Snack
There’s something uniquely satisfying about a homemade snack, especially when it tastes phenomenal and offers real nutritional benefits. These chocolate cashew protein bars are an effortless, no-bake creation that I find myself whipping up constantly – they’re so utterly delicious, they’ve become a staple craving! The combination of rich dark chocolate and the buttery crunch of cashews creates a flavor profile that’s both decadent and remarkably wholesome.
My preference will always lean towards a homemade protein bar or protein ball over anything store-bought. Why? Because the difference in taste and quality is undeniable. Homemade versions boast superior flavor, are crafted from a short list of easily recognizable ingredients, and crucially, they simply taste better. You control every component, avoiding the often-excessive sugars, unhealthy fats, and artificial additives commonly found in commercially produced bars. This commitment to simple, nutritious, and delicious no-bake protein treats is so strong that I even dedicated my first cookbook to them. For more inspiration and easy recipes, be sure to grab your copy here before they’re gone!
After developing my initial recipe for no-bake protein bars, I was inspired to explore an array of new flavors. The beauty of crafting your own protein bars at home lies in its simplicity and the endless possibilities for customization. These dark chocolate cashew bars quickly rose to the top of my favorites list due to their perfect balance of sweetness, saltiness, and satisfying texture, proving that making your own healthy snacks is not only easy but incredibly rewarding.
Key Ingredients for Your Wholesome Protein Bars
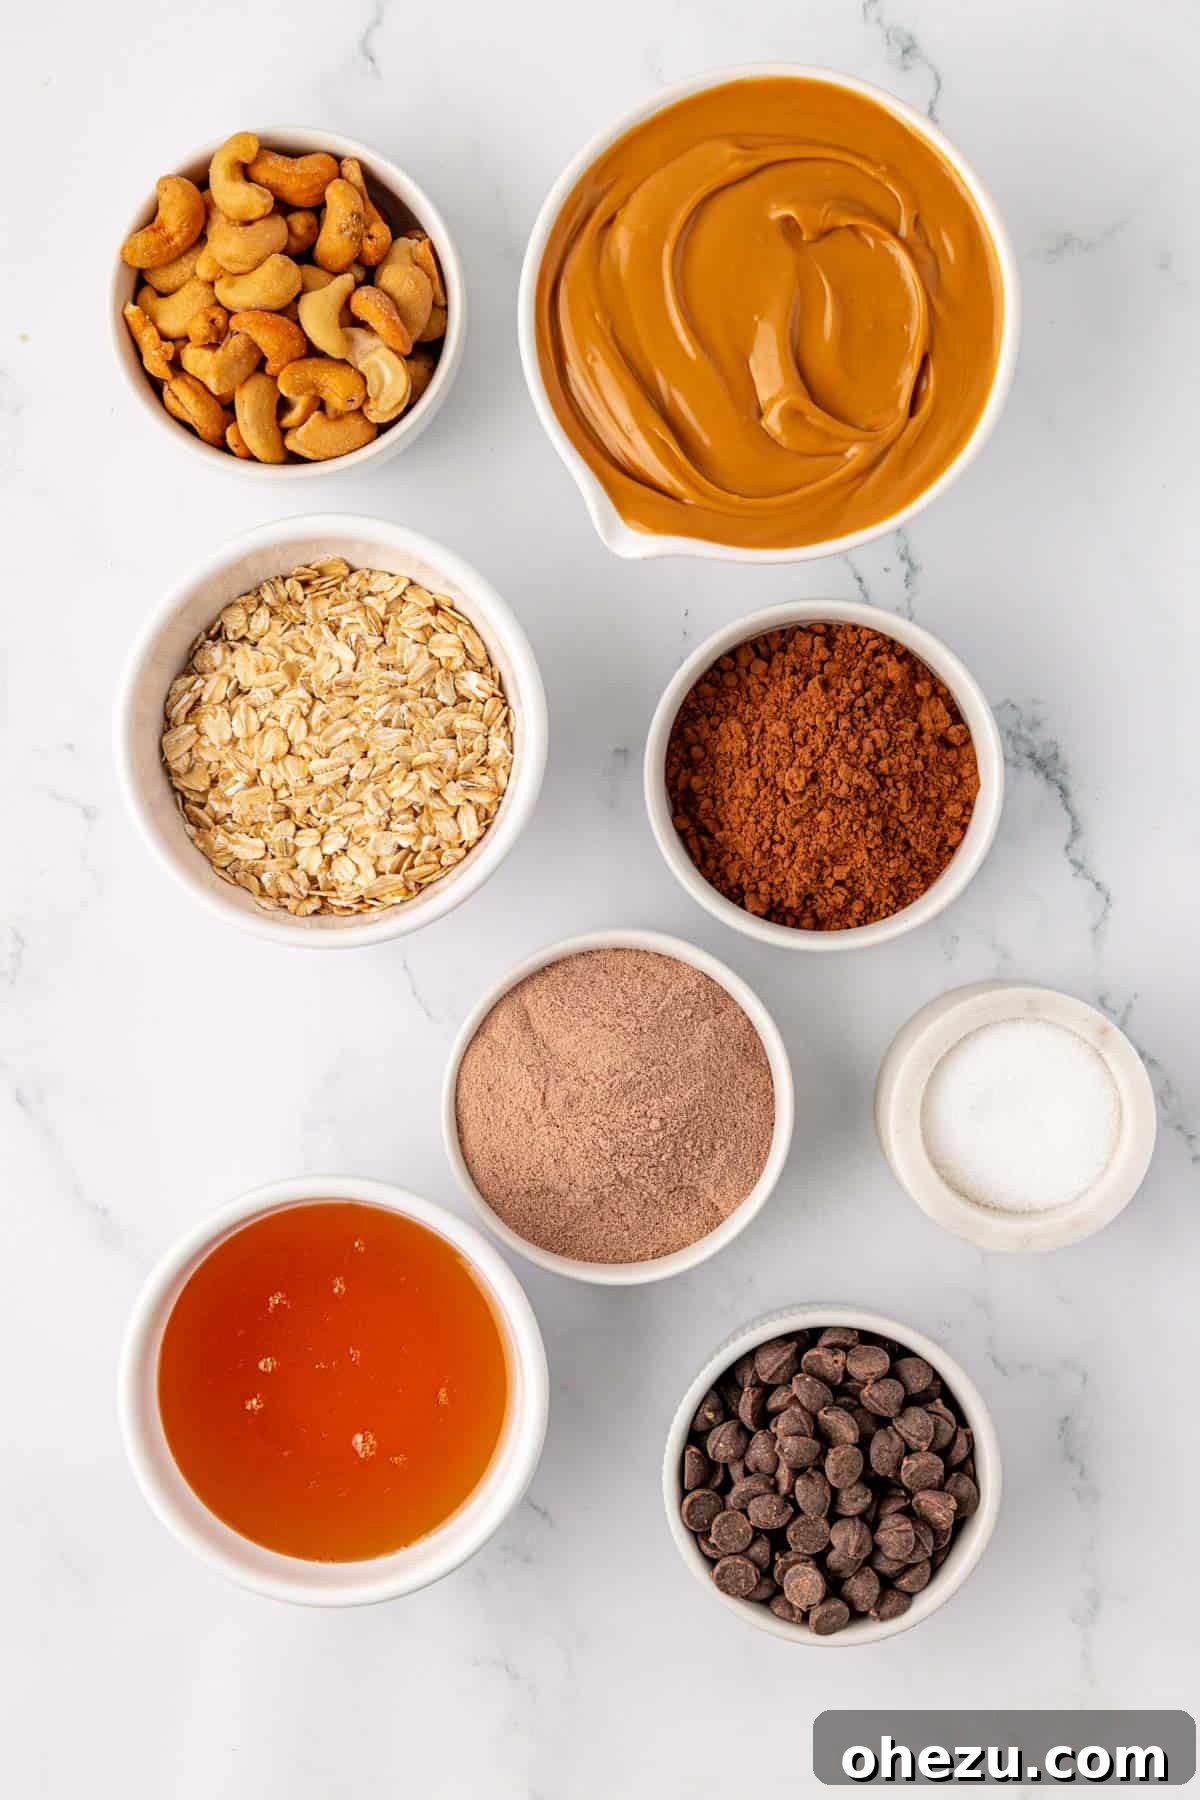
Creating your own batch of these delightful protein bars requires just a few pantry staples. I make it a point to keep these versatile ingredients on hand, ensuring that a healthy, satisfying snack is always just minutes away. Each component plays a vital role in both the flavor and nutritional profile of these bars.
- Natural Creamy Peanut Butter: This forms the foundational binder for our bars, contributing healthy fats, plant-based protein, and an irresistible nutty flavor. It’s crucial to select a natural peanut butter where the sole ingredients are peanuts and salt, avoiding any added sugars or hydrogenated oils. This ensures the best texture and maximizes health benefits.
- Rolled Oats (Old Fashioned Oats): Providing essential fiber and a pleasant chewiness, rolled oats are fundamental to the structure of these no-bake bars. They help absorb moisture and create a substantial base that keeps you feeling full and energized. Quick oats can also work in a pinch, but rolled oats offer a superior texture.
- Roasted Salted Cashews: The star of the show alongside chocolate, cashews introduce a luxurious creaminess and a delightful crunch. Their natural saltiness beautifully complements the sweetness of the chocolate and honey, elevating the overall flavor experience. Cashews are also a source of healthy monounsaturated fats and essential minerals.
- Cocoa Powder (or Raw Cacao Powder): This ingredient is responsible for the deep, rich chocolate flavor and vibrant dark color. Beyond taste, cocoa powder is packed with antioxidants, making these bars not just tasty but also a little boost for your well-being. Raw cacao powder is an excellent alternative for those seeking an even higher antioxidant content.
- Honey: Serving as both a natural sweetener and a powerful binding agent, honey is key to holding these bars together without the need for baking. Its sticky consistency ensures that all the ingredients adhere perfectly, preventing crumbling. For a vegan option, pure maple syrup can be used, though it may subtly alter the final texture.
- Chocolate Protein Powder: To truly maximize the protein content and intensify the chocolate flavor, a good quality chocolate protein powder is essential. Whether you prefer whey, casein, or a plant-based protein (like pea or rice protein), choose one that you enjoy the taste of, as it will be prominent in the bars.
- Salt: A small amount of salt is a secret weapon in baking and no-bake recipes alike. It brilliantly balances and enhances the sweetness of the honey and chocolate, making all the flavors pop. Be mindful of the salt content already present in your peanut butter and cashews; refer to the recipe notes for precise guidance on how much to add.
- Dark Chocolate Chips: These chips are integral for a double dose of chocolate flavor and a delightful textural contrast. When pulsed, they distribute pockets of rich, intense dark chocolate throughout the bars, ensuring every bite is a luxurious experience. Opt for high-quality dark chocolate for the best results.
How to Make the Best Chocolate Cashew Protein Bars: A Step-by-Step Guide
Prepare to be amazed at how simple it is to create these nutrient-dense, flavorful protein bars right in your own kitchen. No baking required, just a few easy steps!
Step-by-Step Instructions
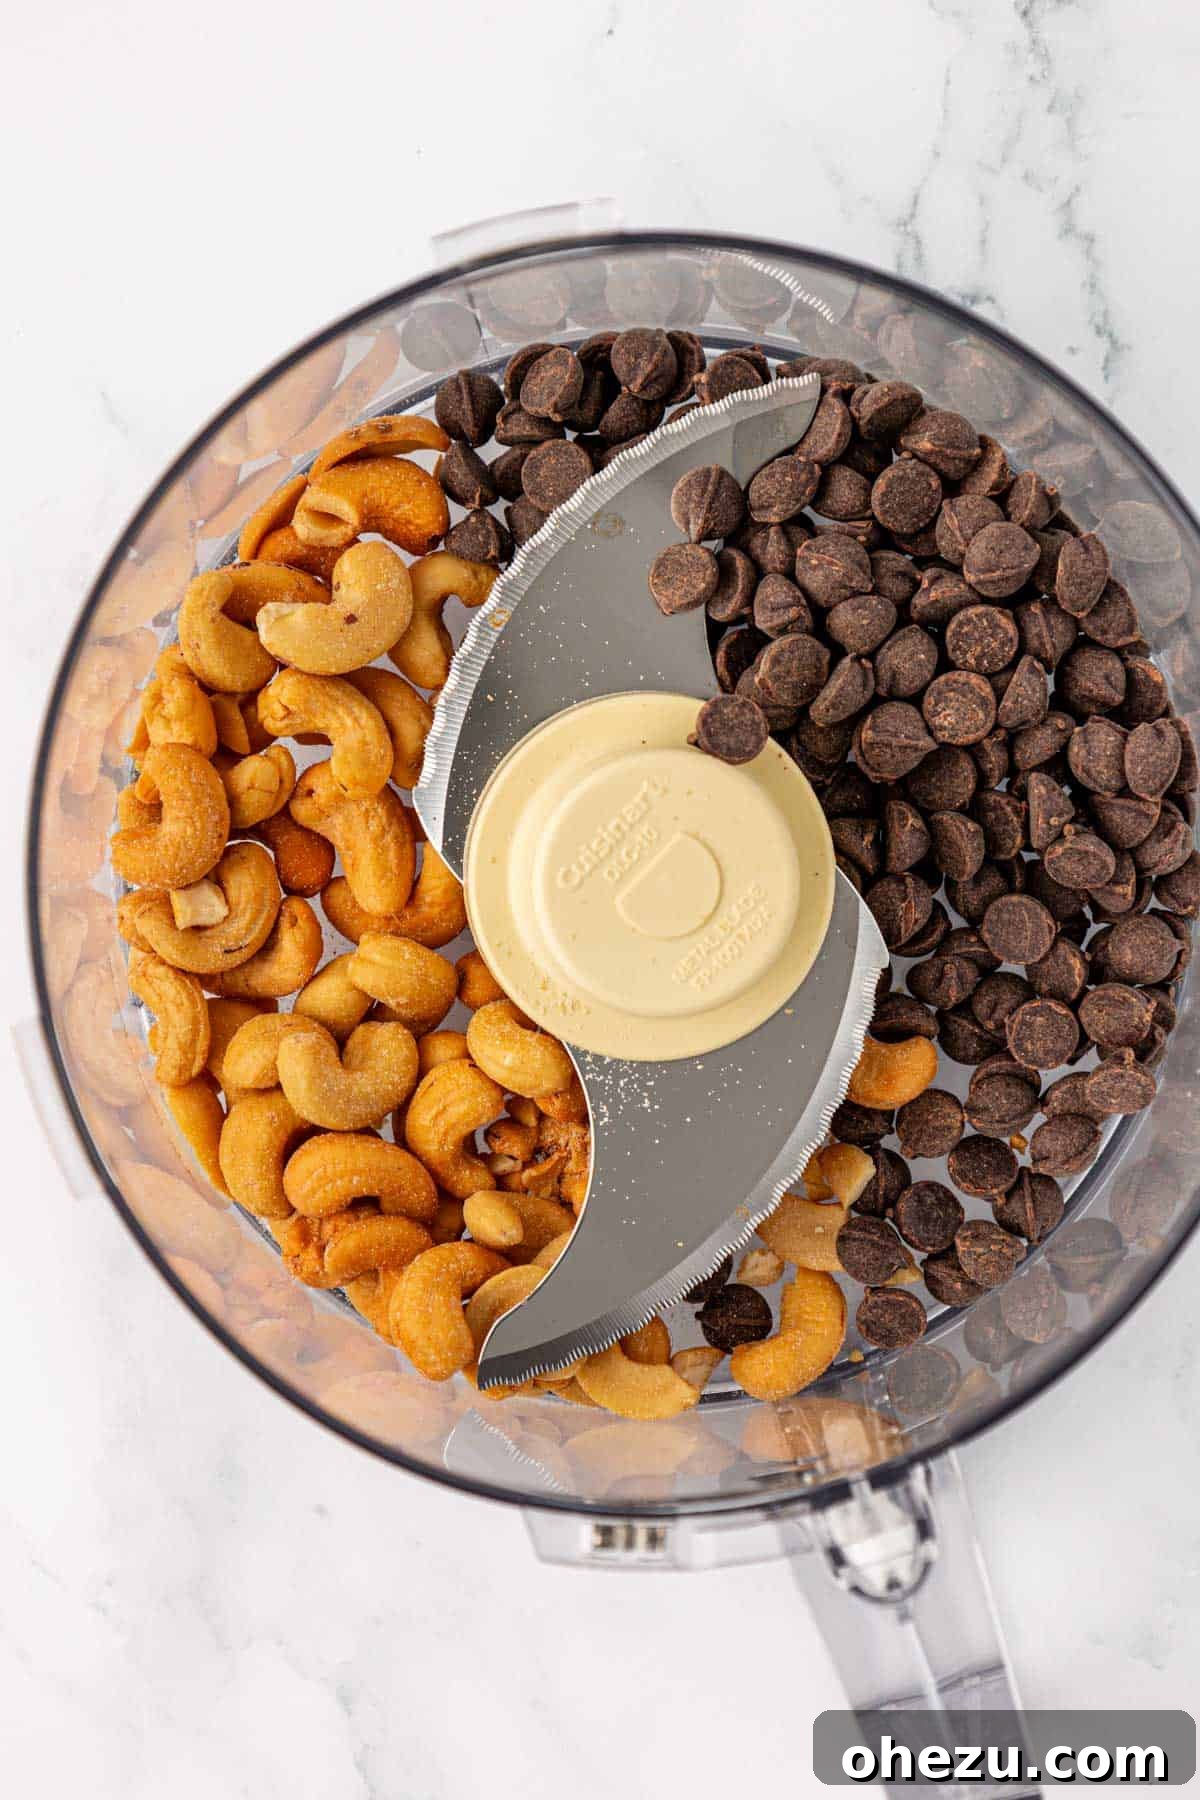
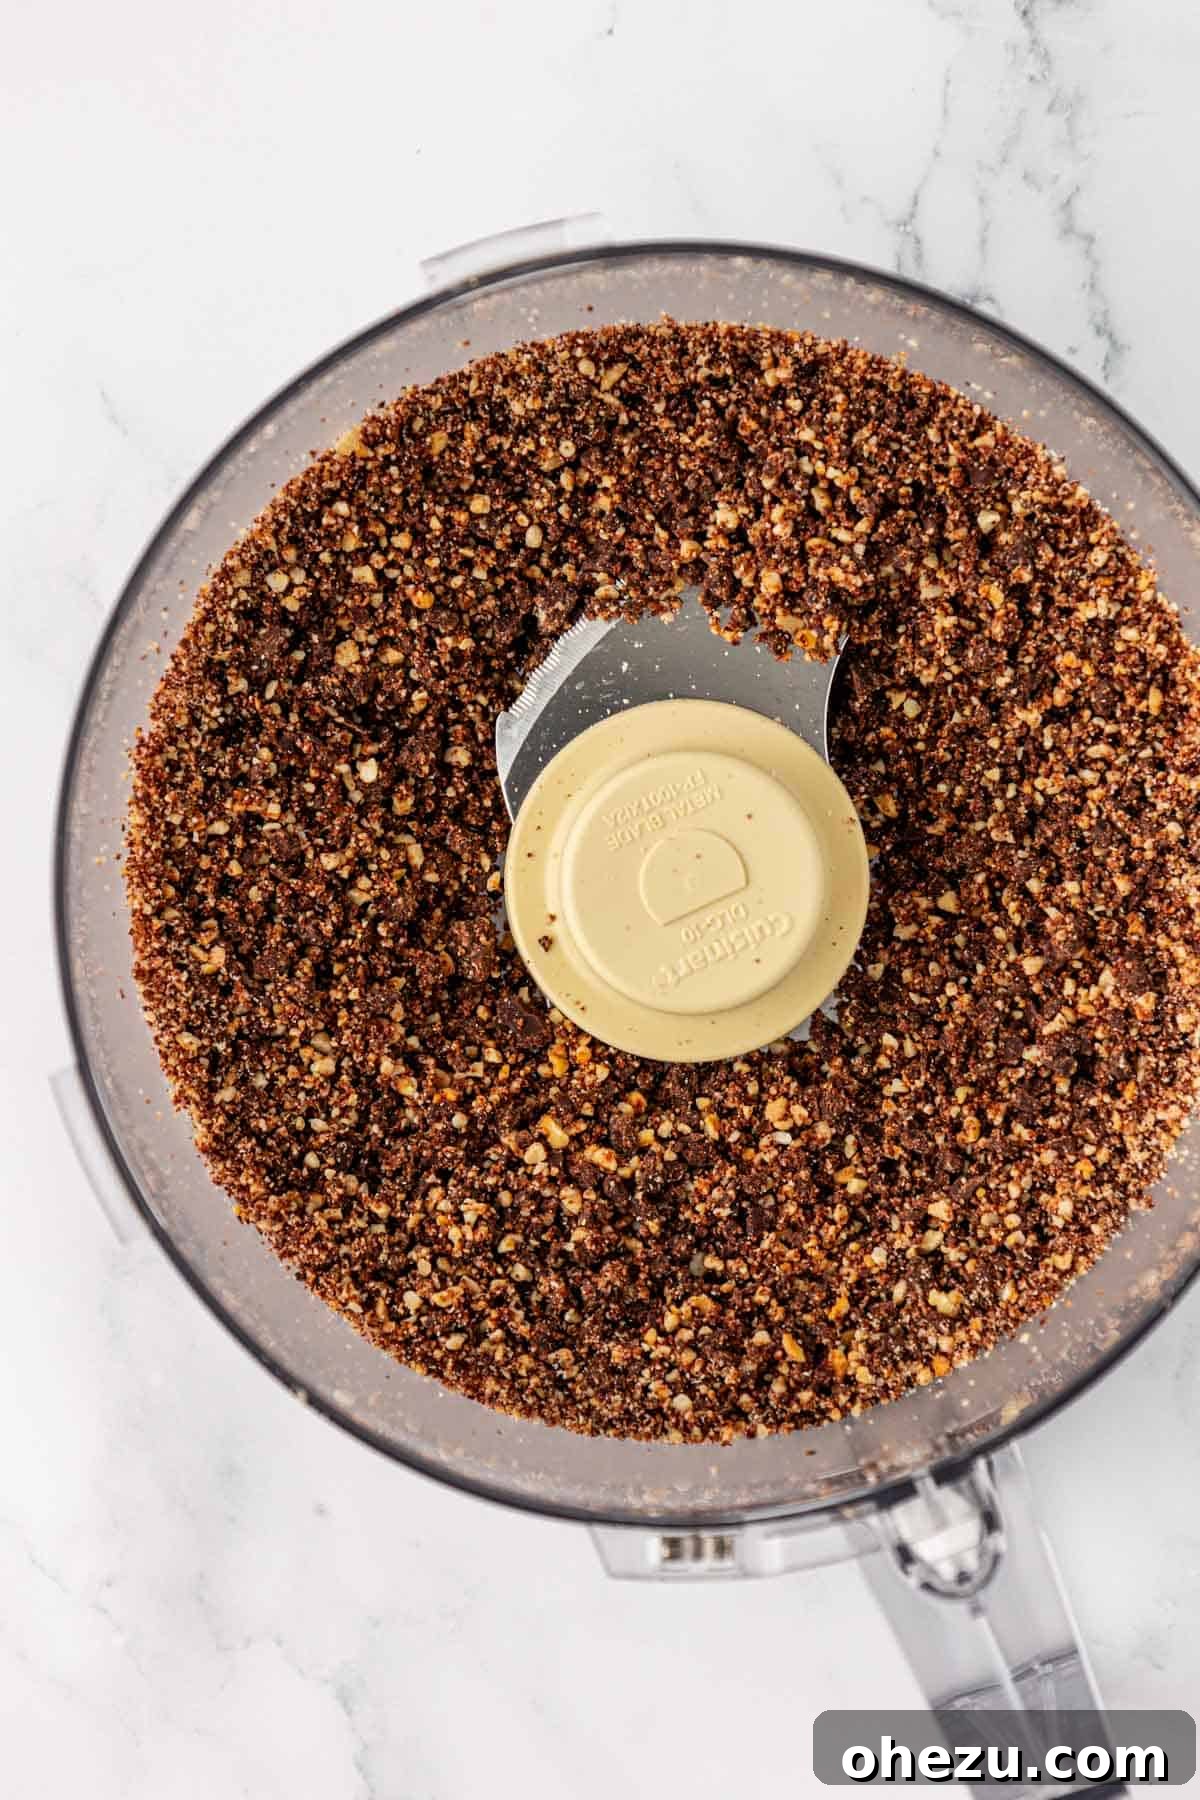
Step One: Prepare the Cashew and Chocolate Base. Start by adding your roasted salted cashews and dark chocolate chips to a food processor. Pulse them a few times until they are coarsely chopped into small, even pieces. This isn’t just about reducing size; it’s a critical step that ensures the salty richness of the cashews and the intense flavor of the dark chocolate are perfectly distributed throughout the entire batch of bars. This also contributes to a more interesting and appealing texture. Be careful not to over-process; you want distinct small chunks, not a fine meal.
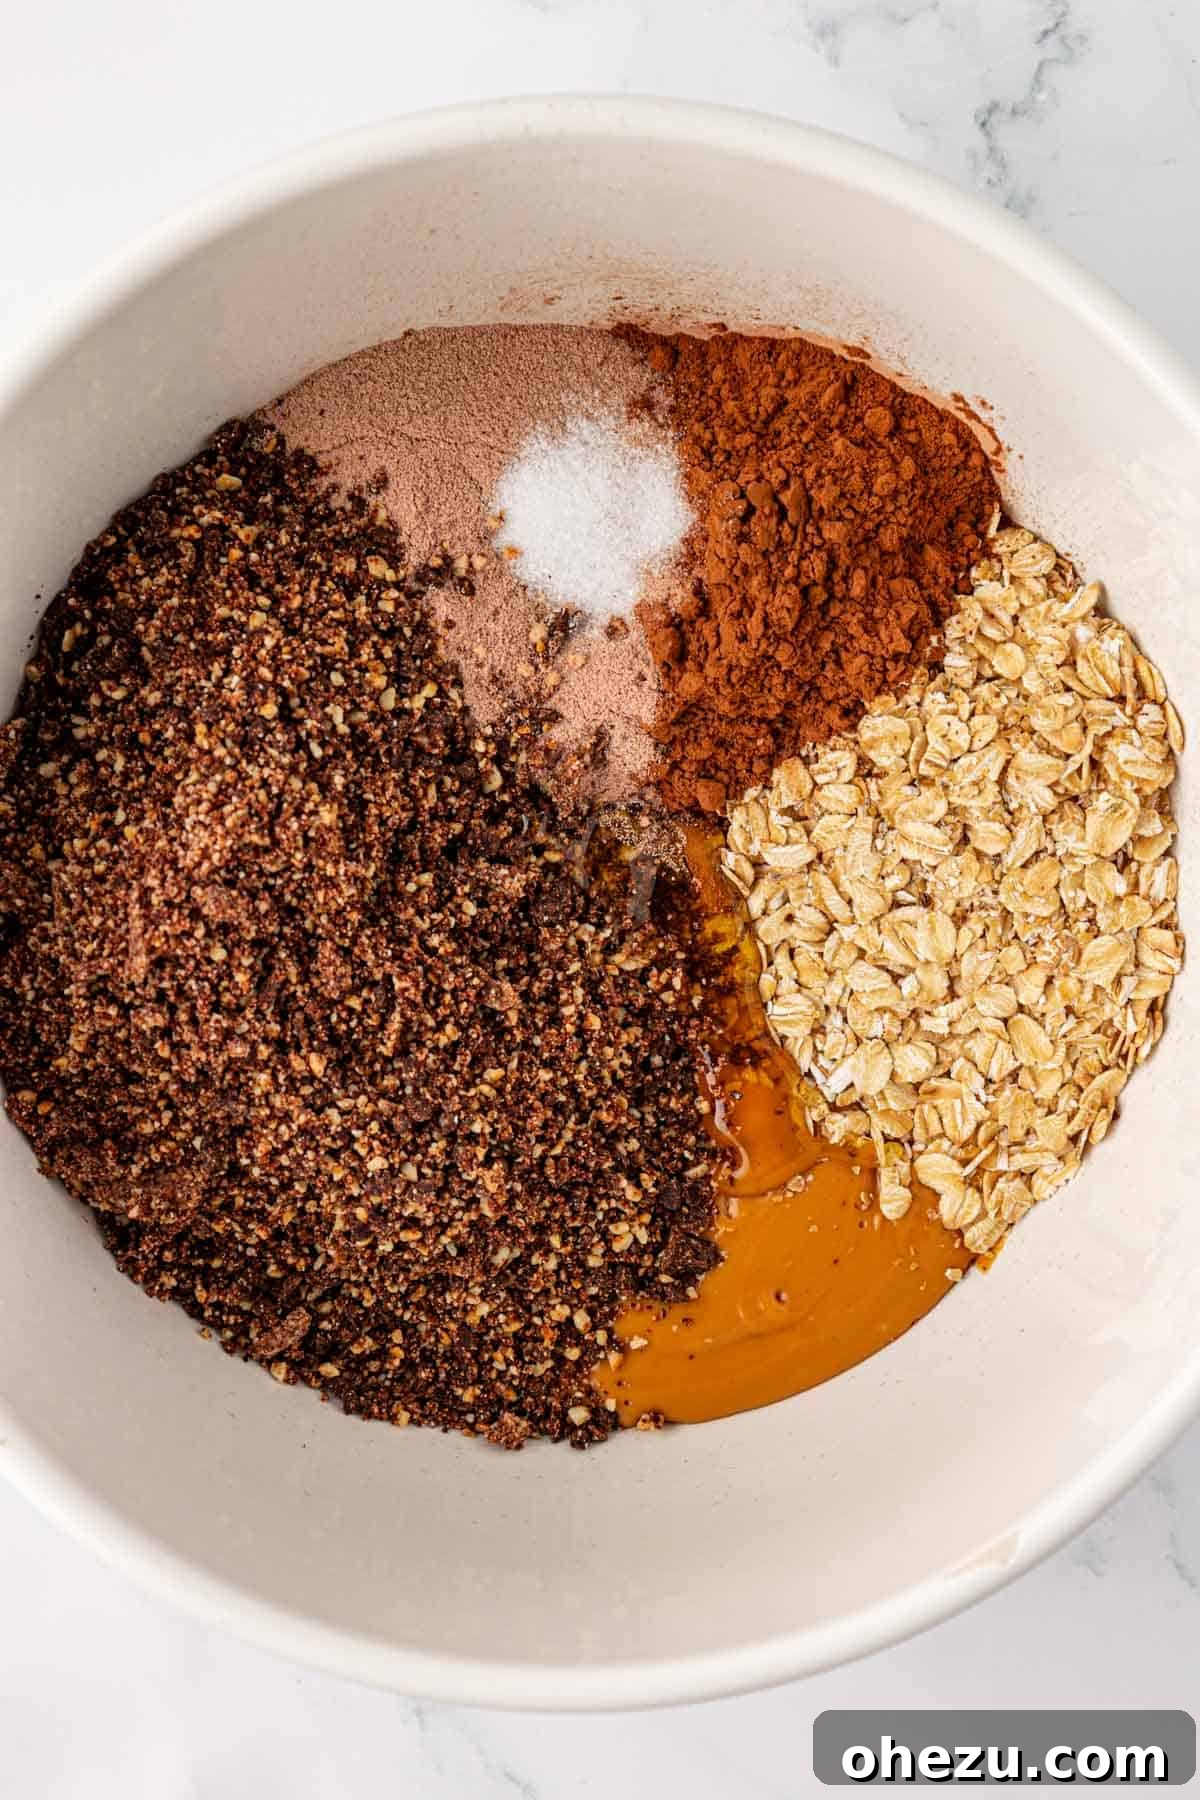
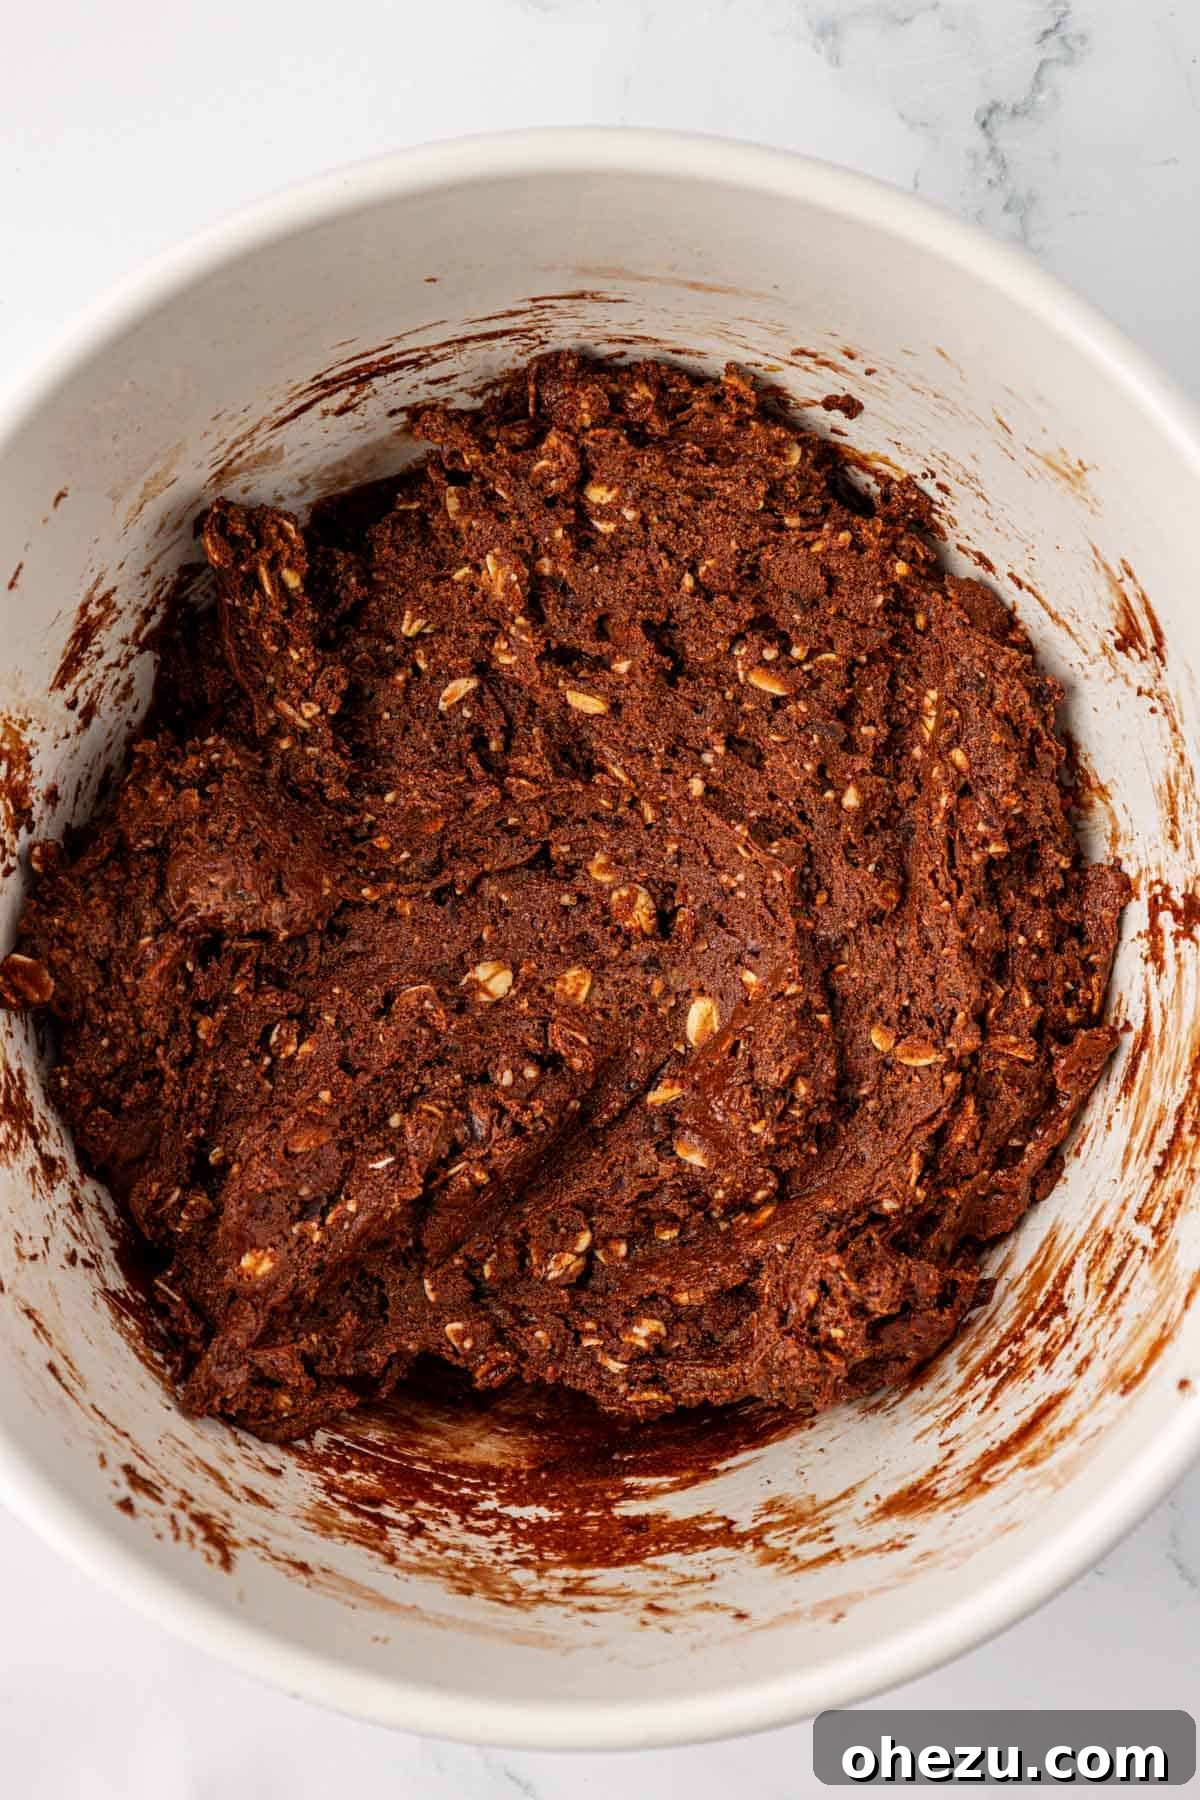
Step Two: Combine All Ingredients for the Batter. Transfer the pulsed cashew and chocolate mixture into a large, sturdy mixing bowl. Now, add all the remaining ingredients: the natural creamy peanut butter, rolled oats, cocoa powder, honey, chocolate protein powder, and the appropriate amount of salt (as per the recipe notes). Using a durable spatula, mix everything together thoroughly until a thick, cohesive batter forms. This mixture will be quite dense and sticky, so don’t be shy about putting some elbow grease into it. Continue mixing until you can no longer see any dry pockets of oats or protein powder, and all ingredients are uniformly incorporated.
Joy’s Pro Mixing Tip
For tackling the dense and sticky batter of protein bars or protein balls, I’ve discovered that a robust rubber spatula is an absolute game-changer. Its flexible yet firm nature allows you to effectively scrape down the sides of the bowl and thoroughly incorporate all ingredients without anything stubbornly sticking. This simple tool will make your protein snack preparation much smoother!
Step Three: Press into the Pan and Smooth. Line an 8×8 inch baking pan with wax paper, ensuring you leave a generous overhang on all four edges. This excess wax paper will act as convenient “handles,” making it incredibly simple to lift the entire set block of bars out of the pan once they are firm. Transfer the thick protein bar batter into the prepared pan. Using the back of your spatula, or even your hands (lightly dampen them if the mixture is too sticky), press the batter down very firmly and evenly across the bottom of the pan. Smooth the top surface to ensure a consistent thickness, which is key for uniform slicing later.
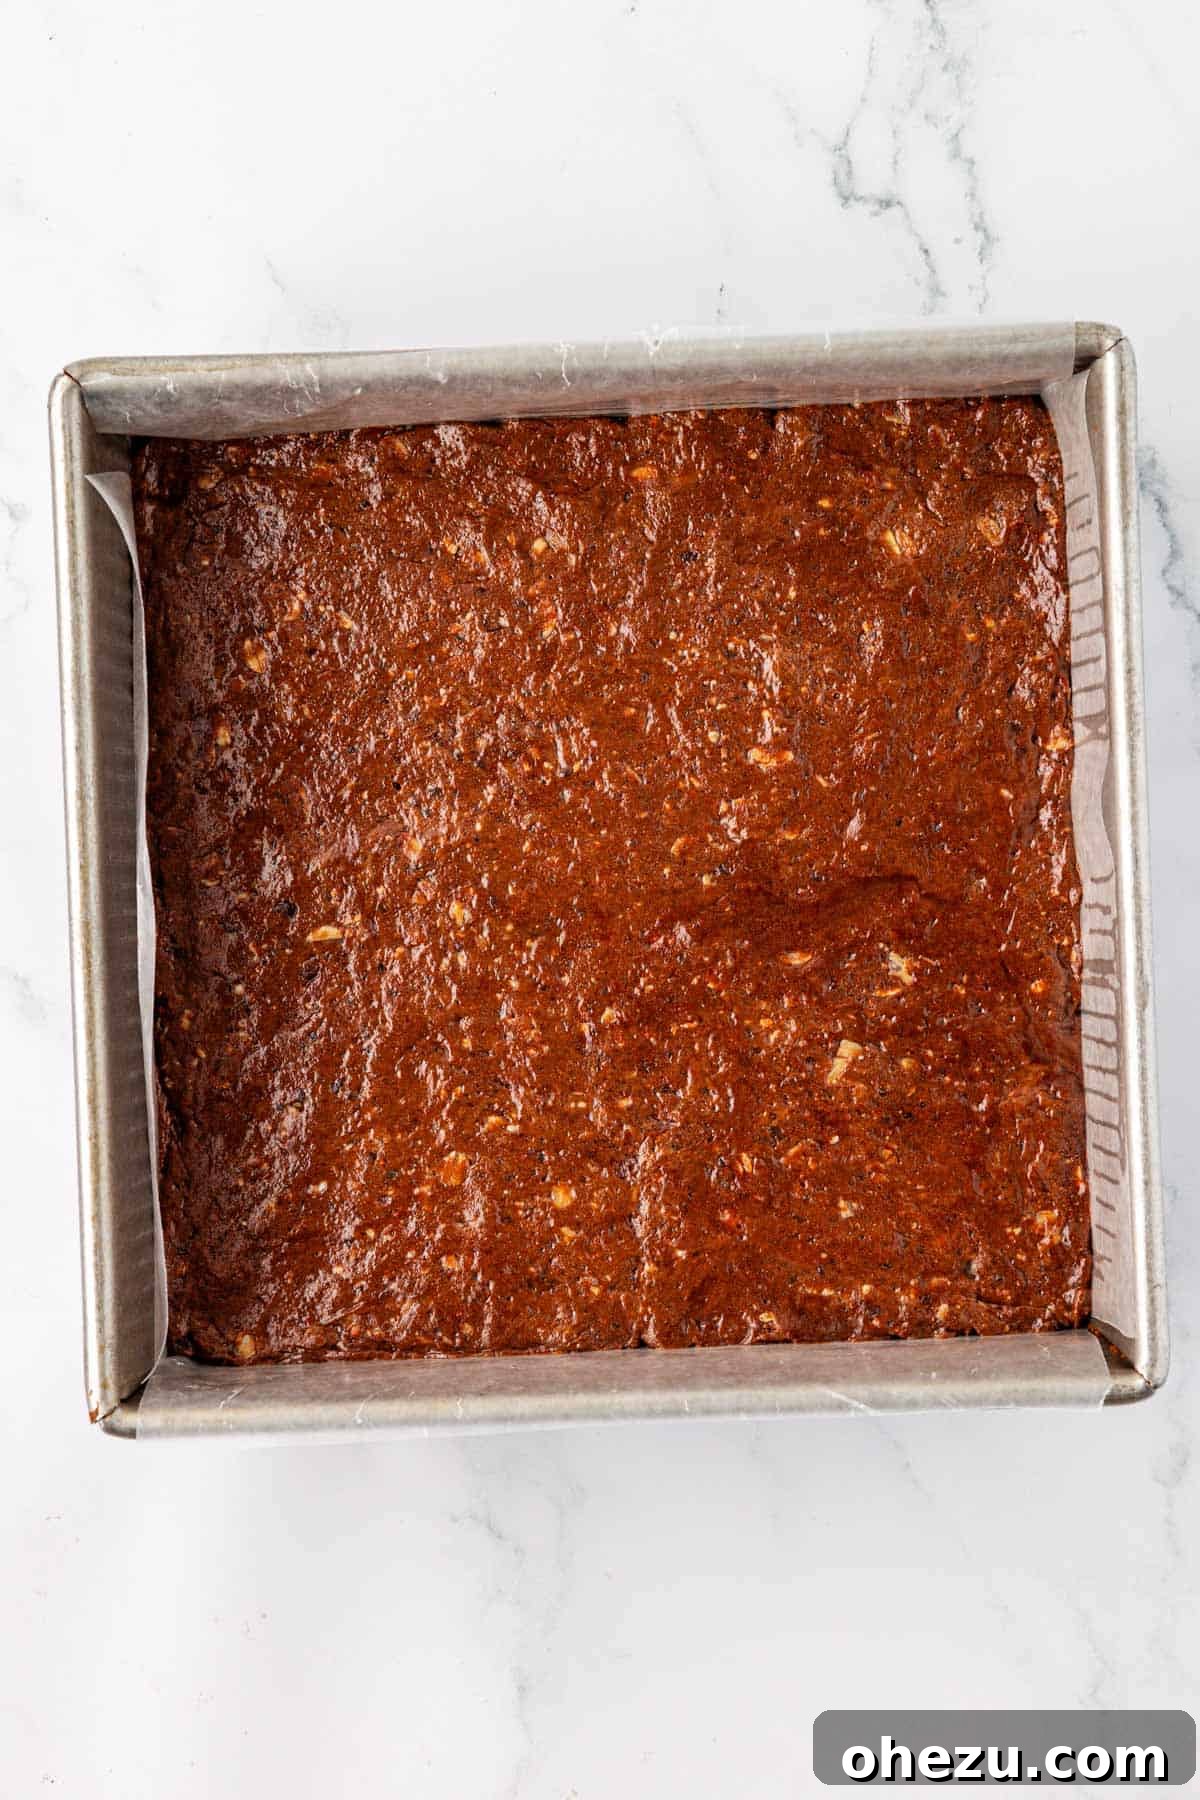
Step Four: Chill Until Firm. Place the pan containing the pressed protein bar mixture into the refrigerator. Allow it to chill for a minimum of 1-2 hours, or until the mixture has firmed up considerably. This chilling period is absolutely essential for the bars to set properly. A firm set ensures they will hold their shape beautifully when cut and can be easily handled without crumbling. Patience in this step is rewarded with perfectly structured bars!
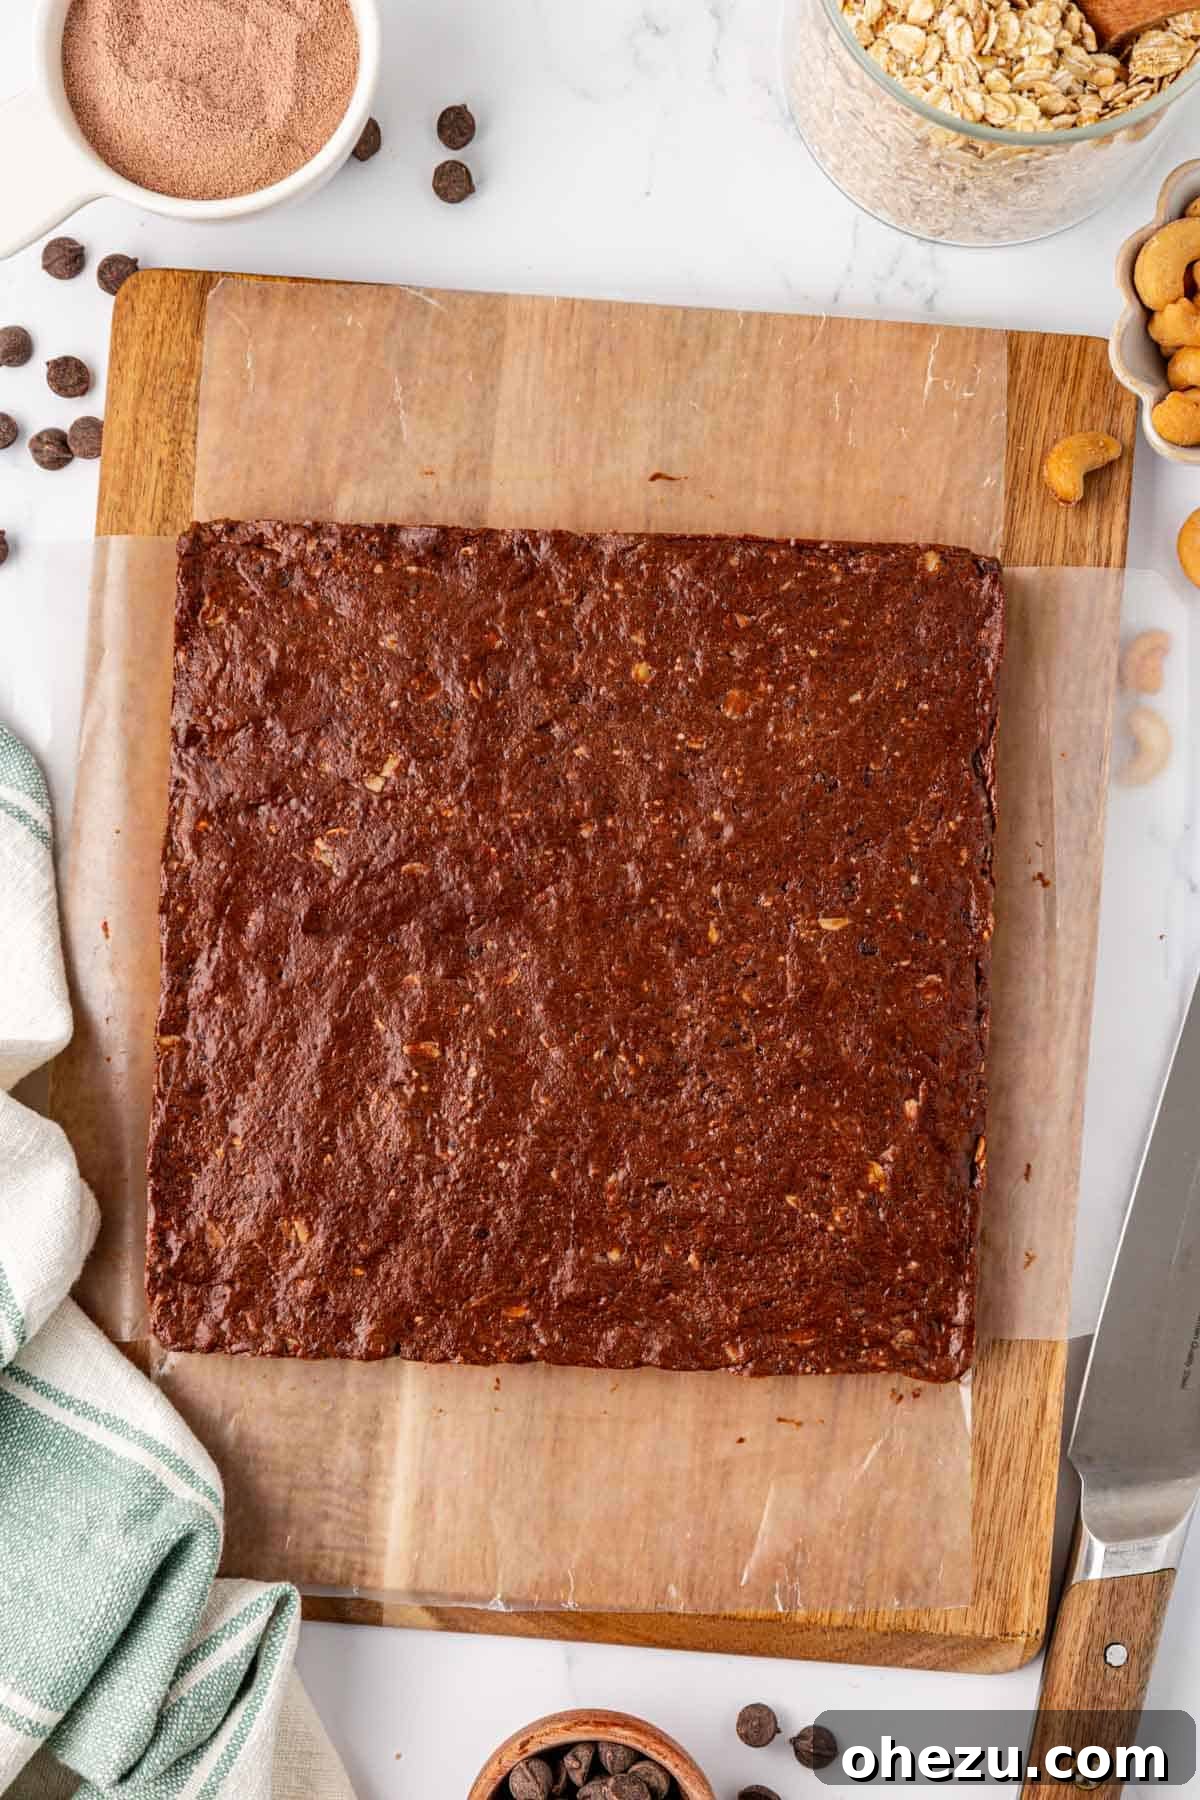
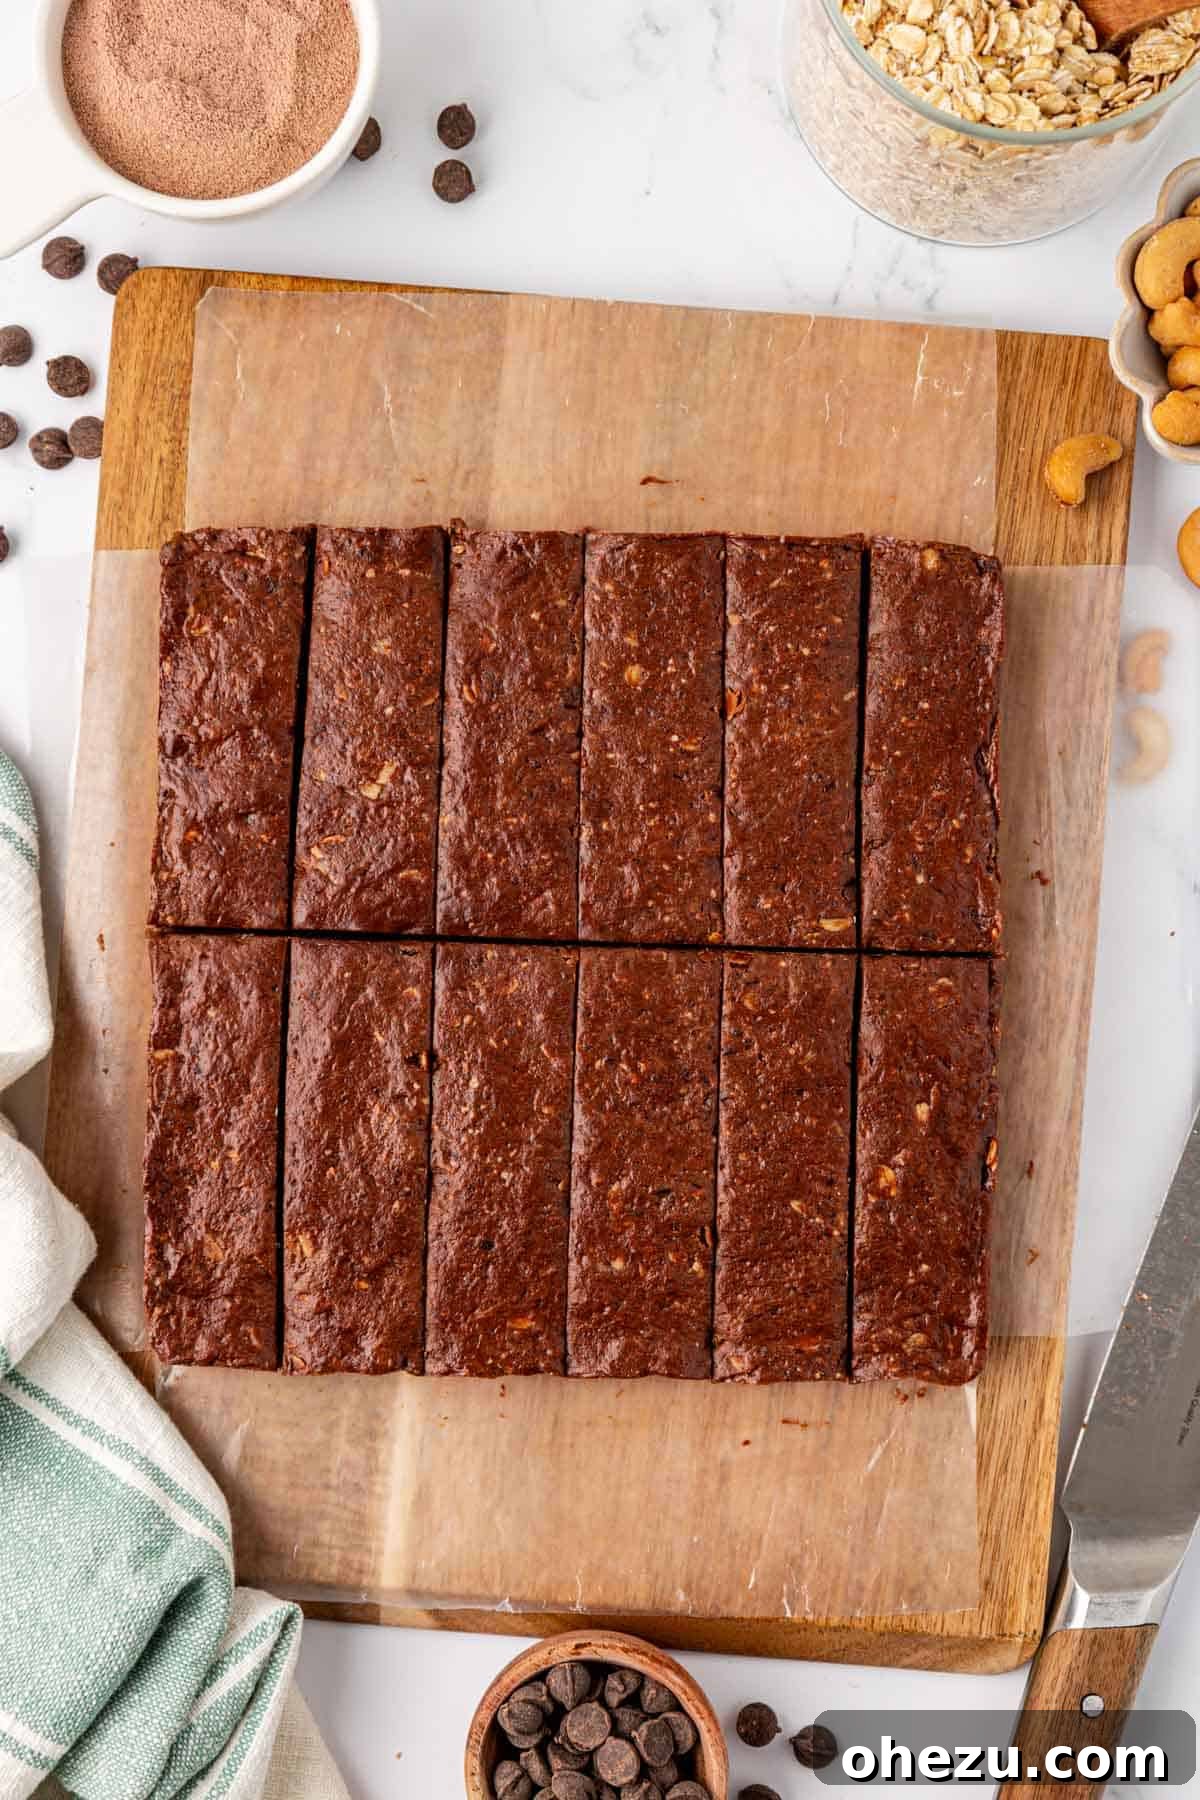
Step Five: Slice and Enjoy. Once the bars are thoroughly chilled and firm, gently pull the wax paper overhang to lift the entire block of protein bar mixture out of the pan and place it onto a clean cutting board. Using a sharp knife, carefully slice the block into 12 evenly sized protein bars. If you’re looking for smaller, kid-friendly portions or mini-bites for a party, you can then cut each bar in half, resulting in 24 delightful mini protein bars!
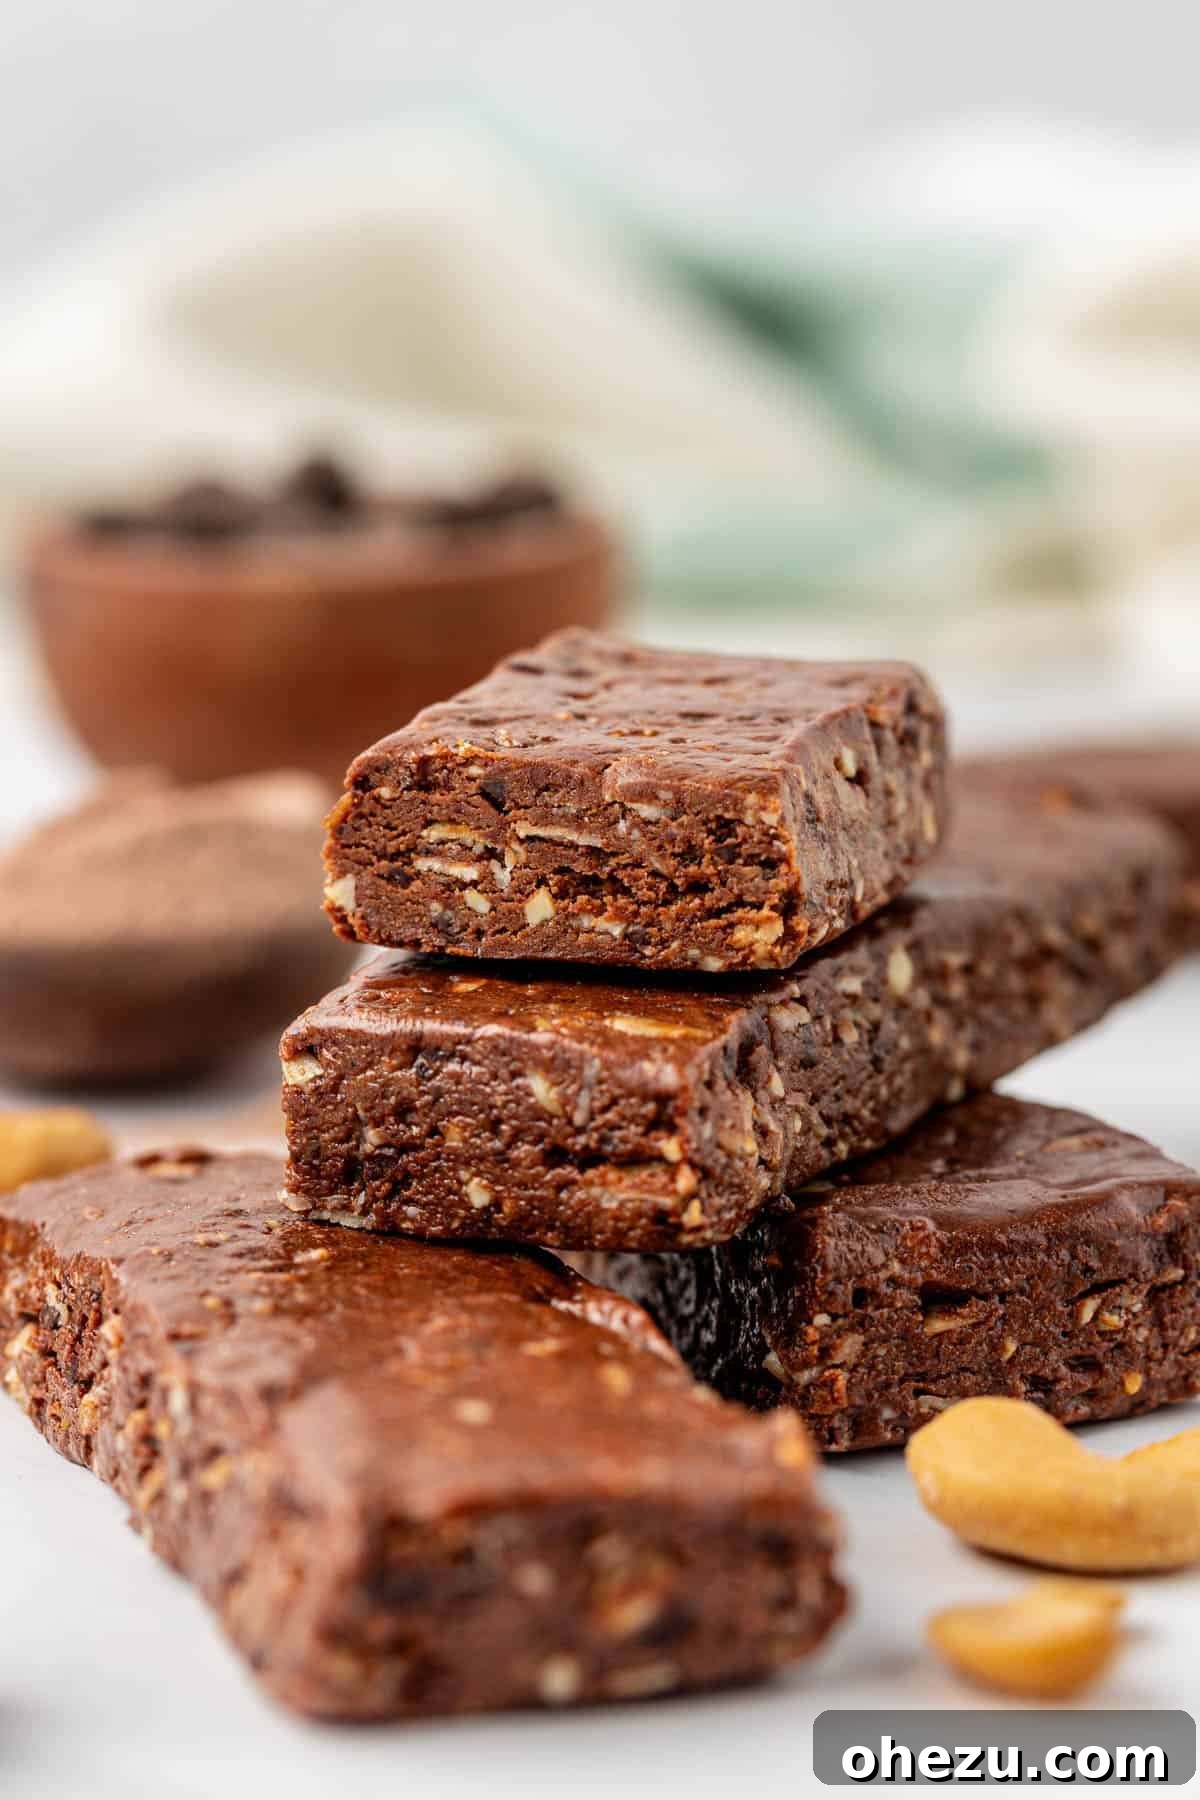
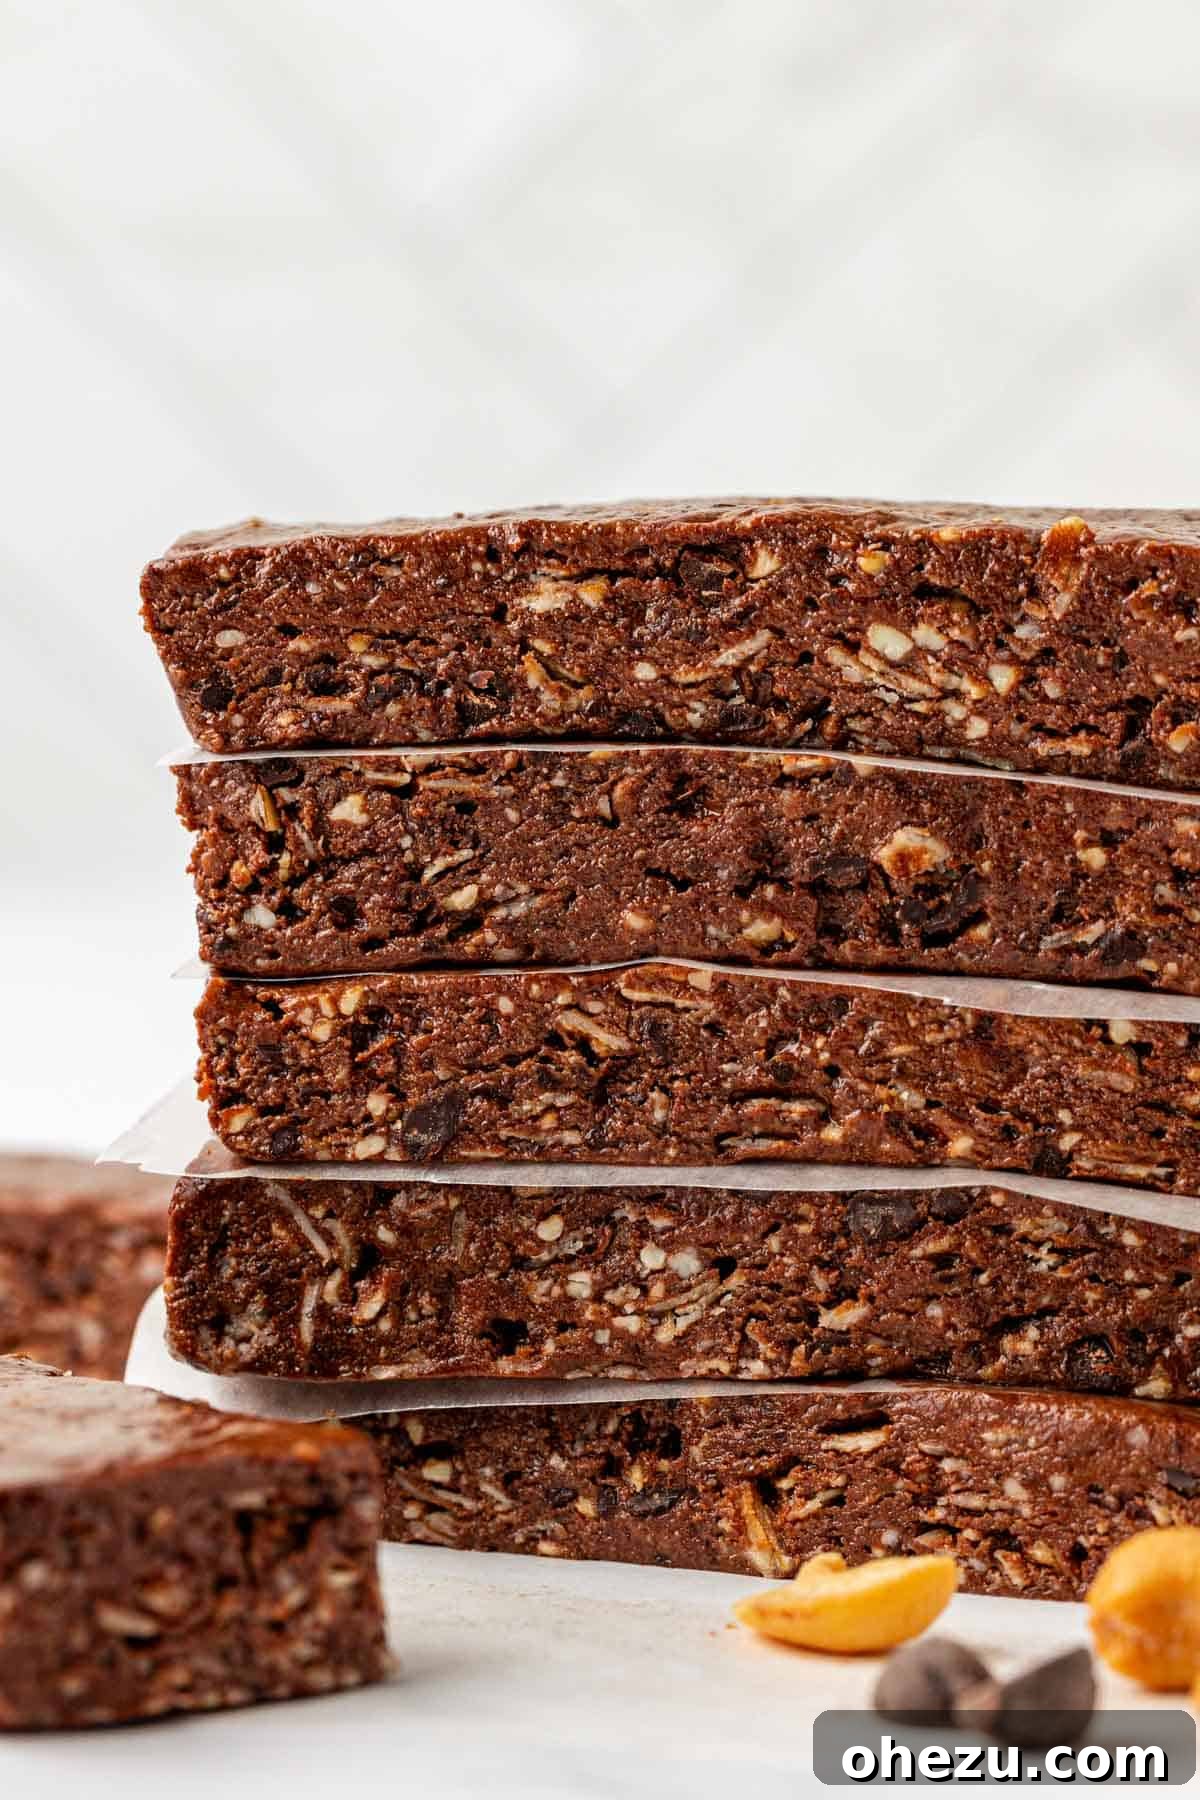
The rich, deep flavor profile, a result of the double chocolate combined with the bold dark chocolate chips and the perfect hint of saltiness from the cashews, makes these bars truly unforgettable. They are incredibly rich and satisfying, keeping me feeling full for hours. It’s not uncommon for me to enjoy one as a healthier, protein-packed dessert! In our house, a batch of these rarely lasts more than 2-3 days—they’re just that popular!
If you’ve ever thought about making your own protein snacks but felt daunted, this recipe is your perfect starting point. The prep time is minimal, and the reward is a batch of genuinely wholesome, incredibly tasty, and perfectly portable treats.
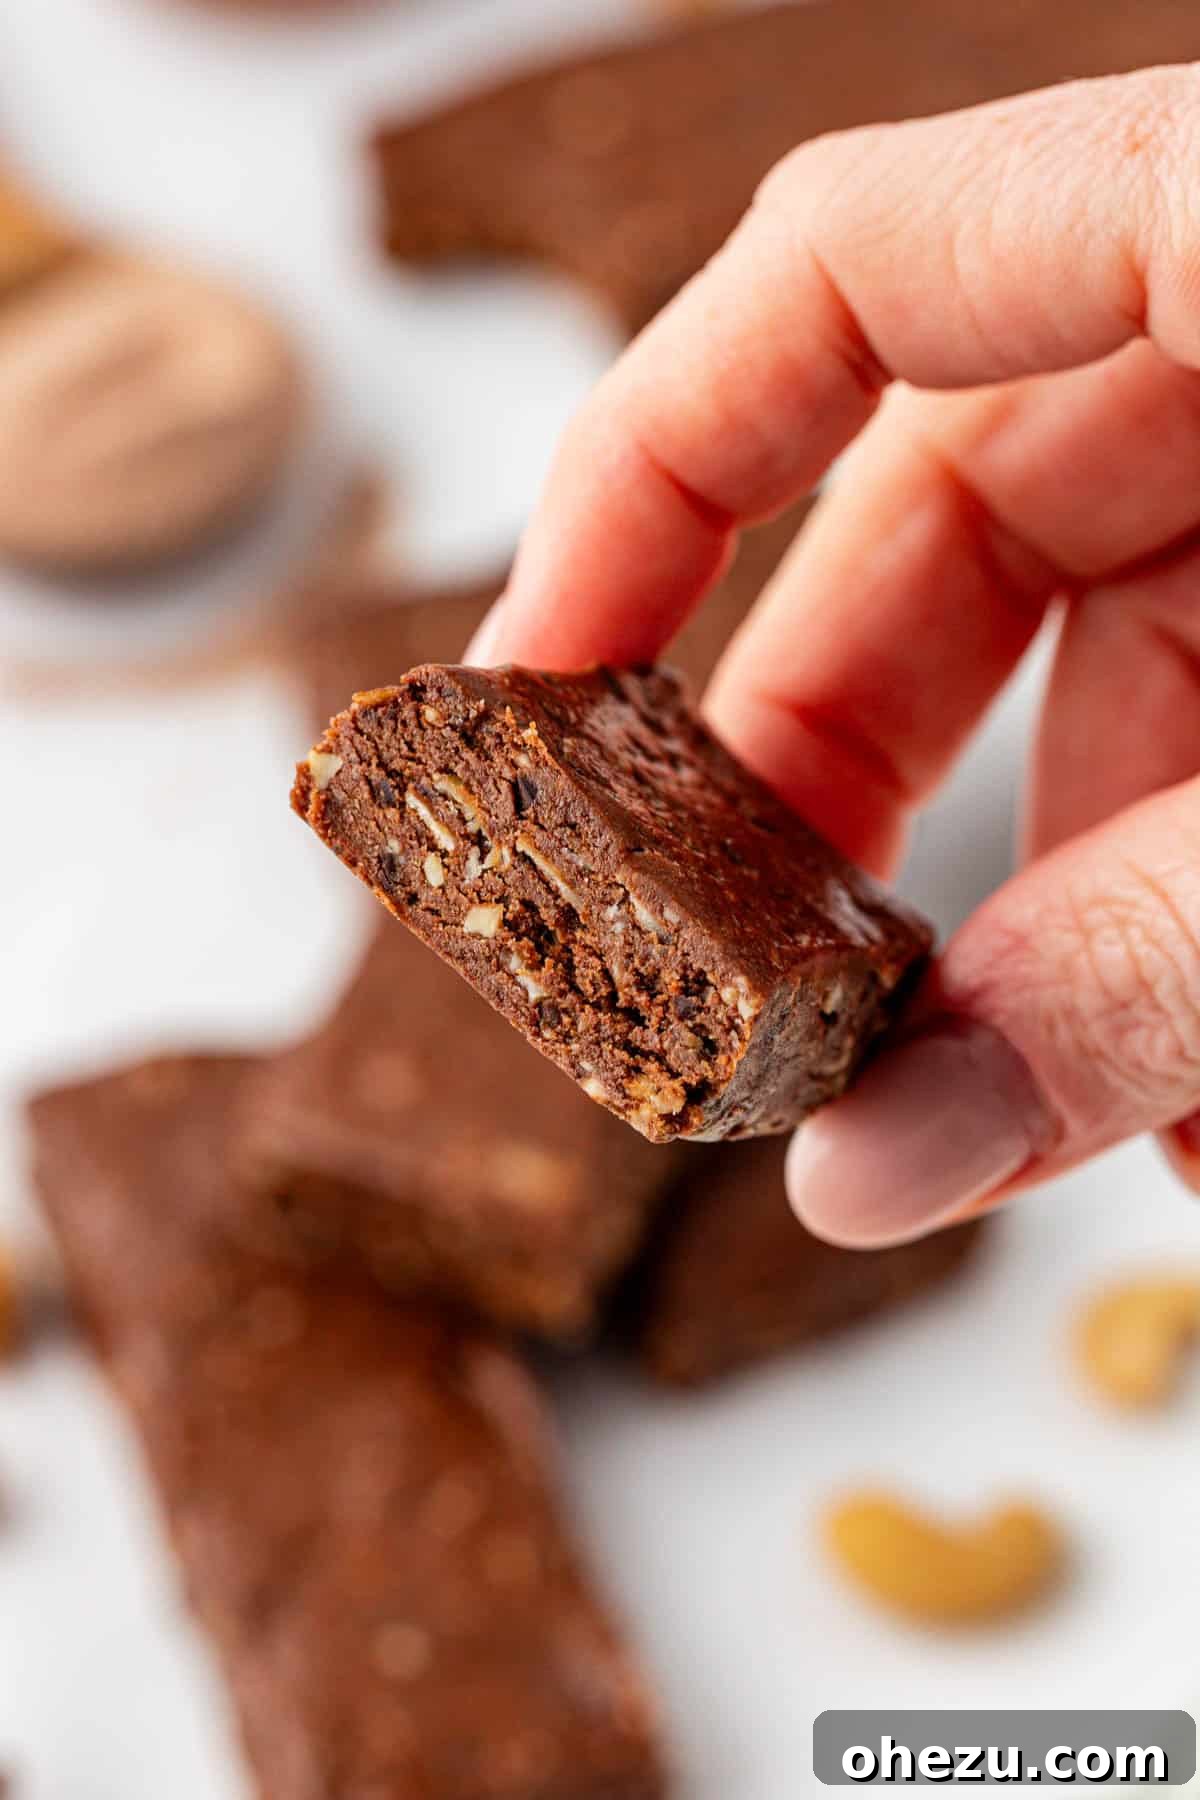
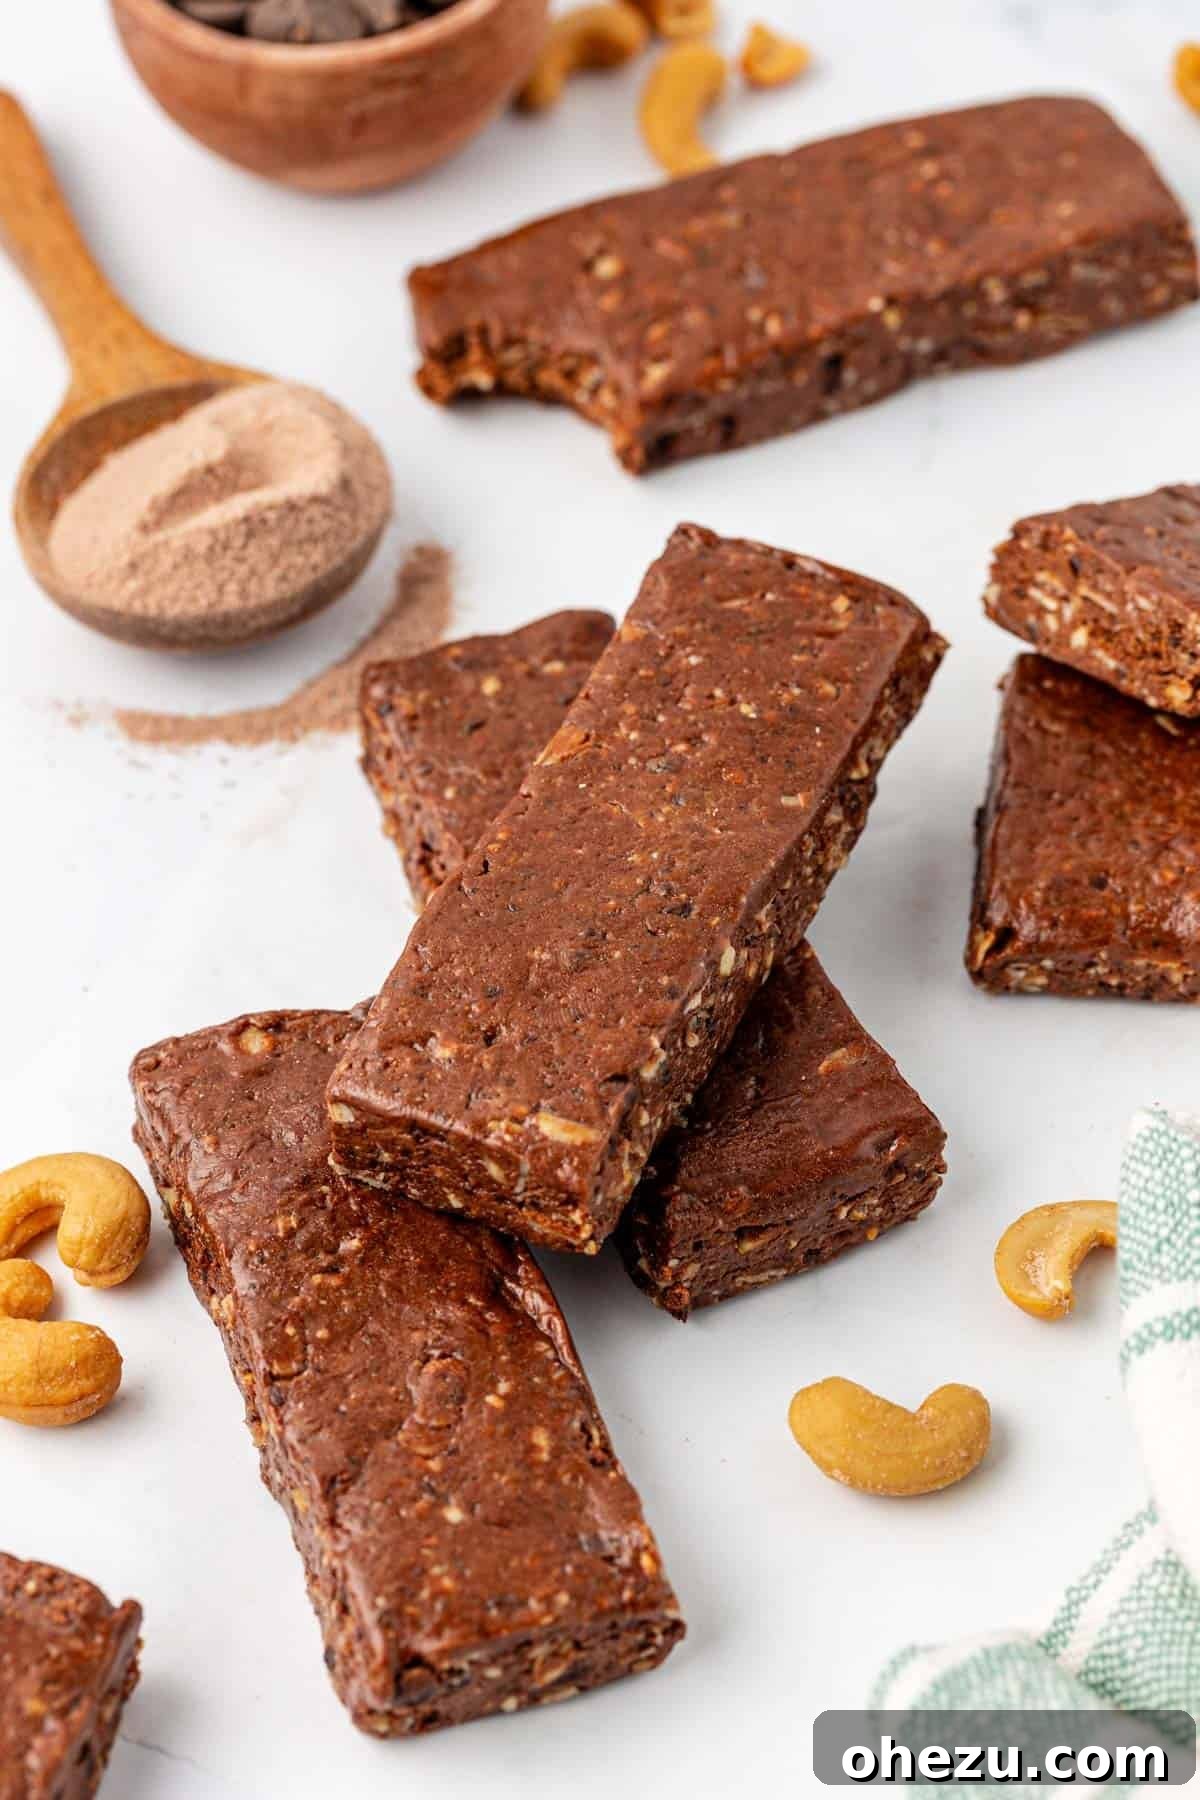
Storage and Pro Tips for Optimal Enjoyment
To ensure your homemade chocolate cashew protein bars remain fresh, flavorful, and perfectly textured, proper storage is key. Here’s how to maximize their shelf life and a few extra tips for success.
How to Store Your Protein Bars
Once you’ve sliced your delicious protein bars, store any leftovers in an airtight storage container. To prevent them from sticking together, which can happen with these wonderfully chewy bars, place a piece of wax paper or parchment paper between each bar or layer. These bars will stay wonderfully fresh and delicious for 5-7 days when stored in the refrigerator. For a longer-term solution, they freeze beautifully! Simply place them in an airtight freezer-safe container, again with wax paper between them, and they will keep well for up to 2 months. When you’re ready to enjoy a frozen bar, just let it thaw in the refrigerator for a few hours or at room temperature for about 15-30 minutes.
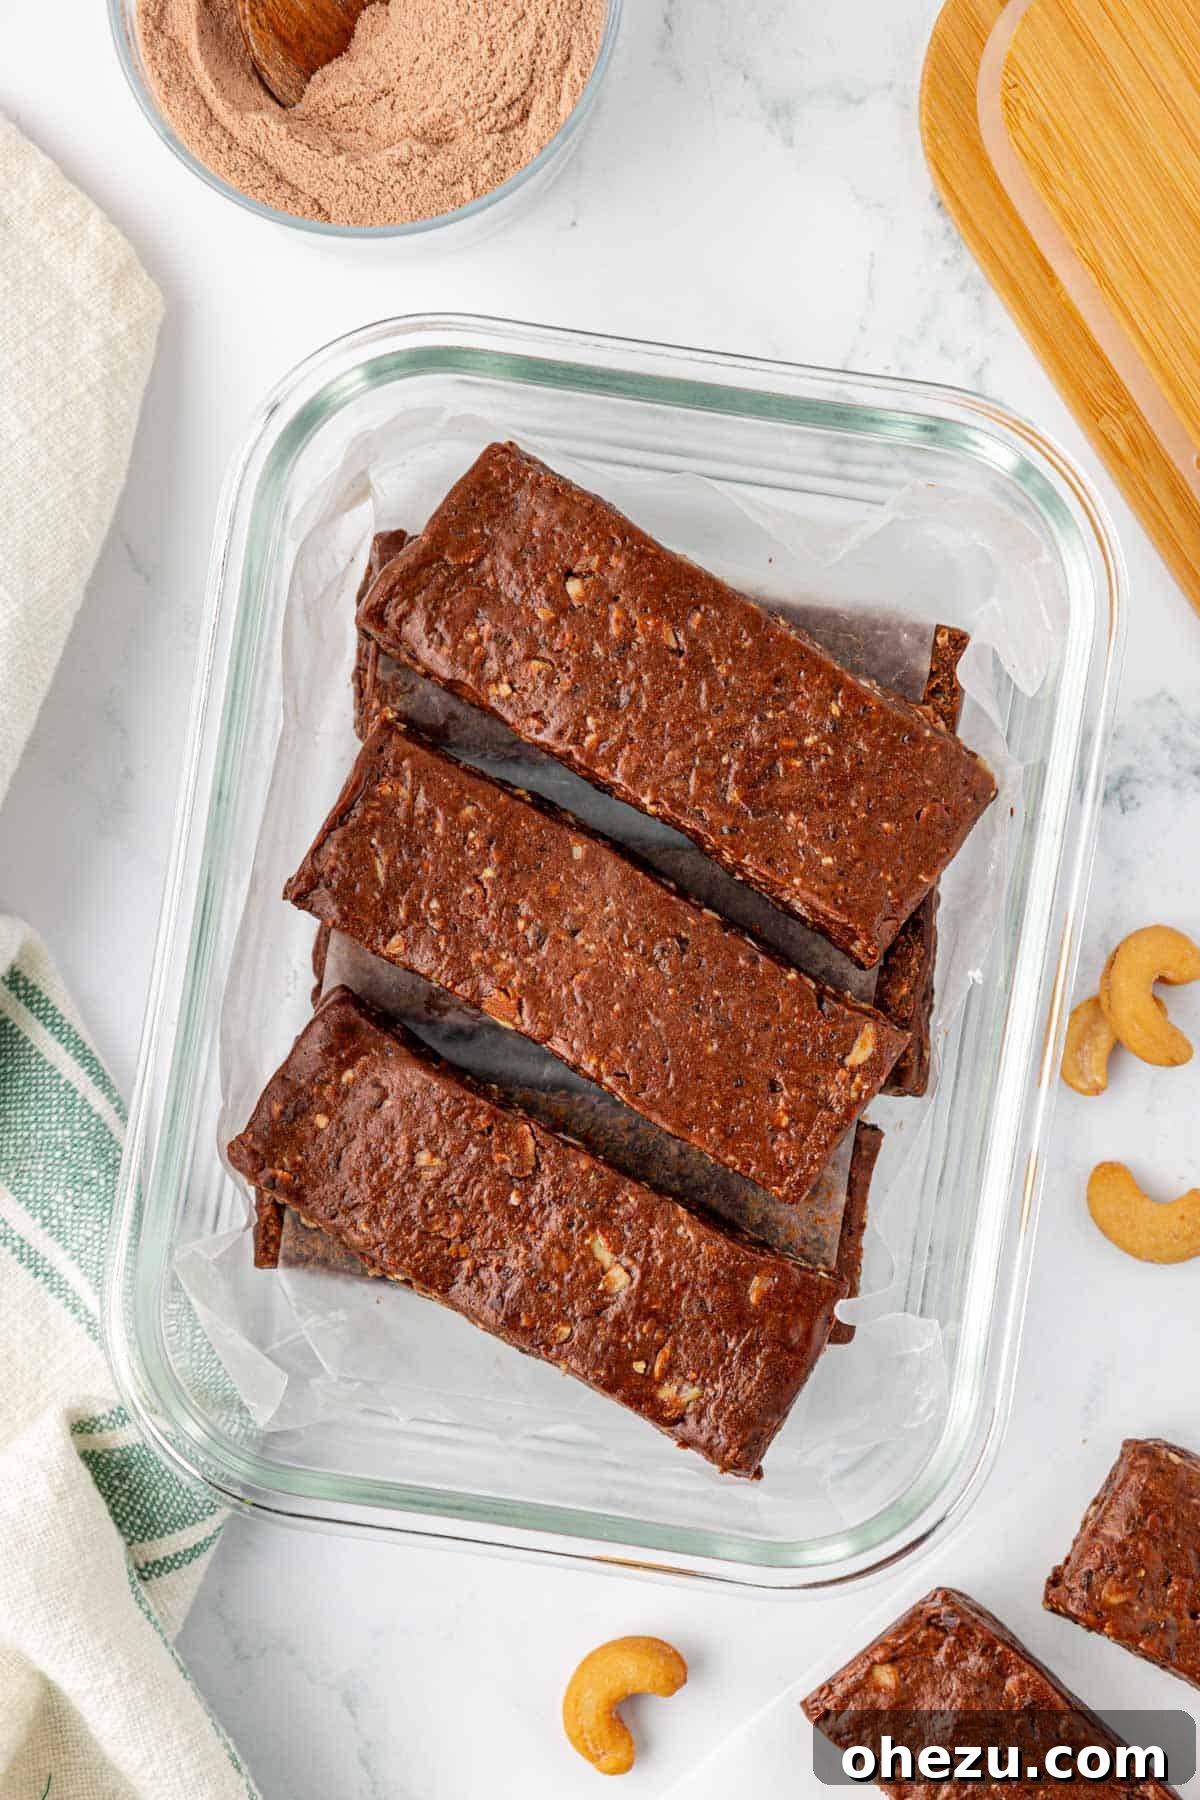
Customization and Delicious Variations
- Nut Butter Alternatives: While creamy natural peanut butter provides a classic and robust flavor, feel free to experiment with other natural creamy nut butters like almond butter or cashew butter. Ensure they are the natural, runny kind for the best consistency in the batter.
- Sweetener Adjustments: If you prefer a completely vegan option, pure maple syrup can be substituted for honey. Keep in mind that maple syrup is slightly less viscous than honey, so you might need to add an extra tablespoon or two of rolled oats to maintain the desired thickness of the batter.
- Flavor Boosters: Don’t hesitate to personalize your bars with additional flavors! A pinch of cinnamon, a dash of pure vanilla extract, or even a hint of espresso powder can significantly elevate the chocolate notes.
- Texture Enhancers: For even more texture and flavor, consider adding finely chopped dried fruits such as cranberries, cherries, or apricots. A sprinkle of shredded coconut, mini chocolate chips, or even a few more whole cashews can also be pressed into the top before chilling.
- Different Protein Powders: While chocolate protein powder enhances the overall chocolate theme, a vanilla-flavored protein powder can create a delightful complementary flavor, offering a “cookies and cream” or “chocolate vanilla swirl” dynamic.
The Unbeatable Benefits of Homemade
Beyond the incredible taste, making your own protein bars is a smart choice for your health and your wallet. You gain full control over the ingredients, confidently avoiding the artificial sweeteners, trans fats, and excessive sugars often found in commercial products. These bars are fantastic for meal prepping – whip up a batch on Sunday, and you’ll have wholesome, energizing snacks ready to grab for the entire week. They’re perfect for busy mornings, a healthy treat packed in lunchboxes, or a much-needed energy boost before or after a workout. Enjoy the satisfaction of nourishing your body with something you made yourself!
More Wholesome Protein Powder Recipes to Fuel Your Day
If you’ve enjoyed the ease and deliciousness of these chocolate cashew protein bars, you’ll be excited to discover other fantastic ways to incorporate protein powder into your daily routine. Explore these additional recipes that are perfect for health-conscious snackers and dessert lovers alike:
- Classic Chocolate Protein Bars
- Quick Chocolate Protein Mug Cake
- Energizing Protein Overnight Oats
- Fun Monster Cookie Protein Bars
- Homemade Protein Granola Bars
- Chewy Oatmeal Cookie Energy Balls
- Peanut Butter Chocolate Chip Protein Bars
- Refreshing Strawberries & Cream Energy Bites
- Delicious Cinnamon Roll Protein Balls
- Rich Chocolate Protein Balls
- Crunchy M&M Cashew Crunch Energy Bites
- Wholesome Banana Bread Energy Bites
- Nutty Almond Butter Protein Balls
- Celebratory Birthday Cake Protein Balls
- Decadent Pecan Pie Energy Bites
- Cool Mint Chocolate Energy Bites
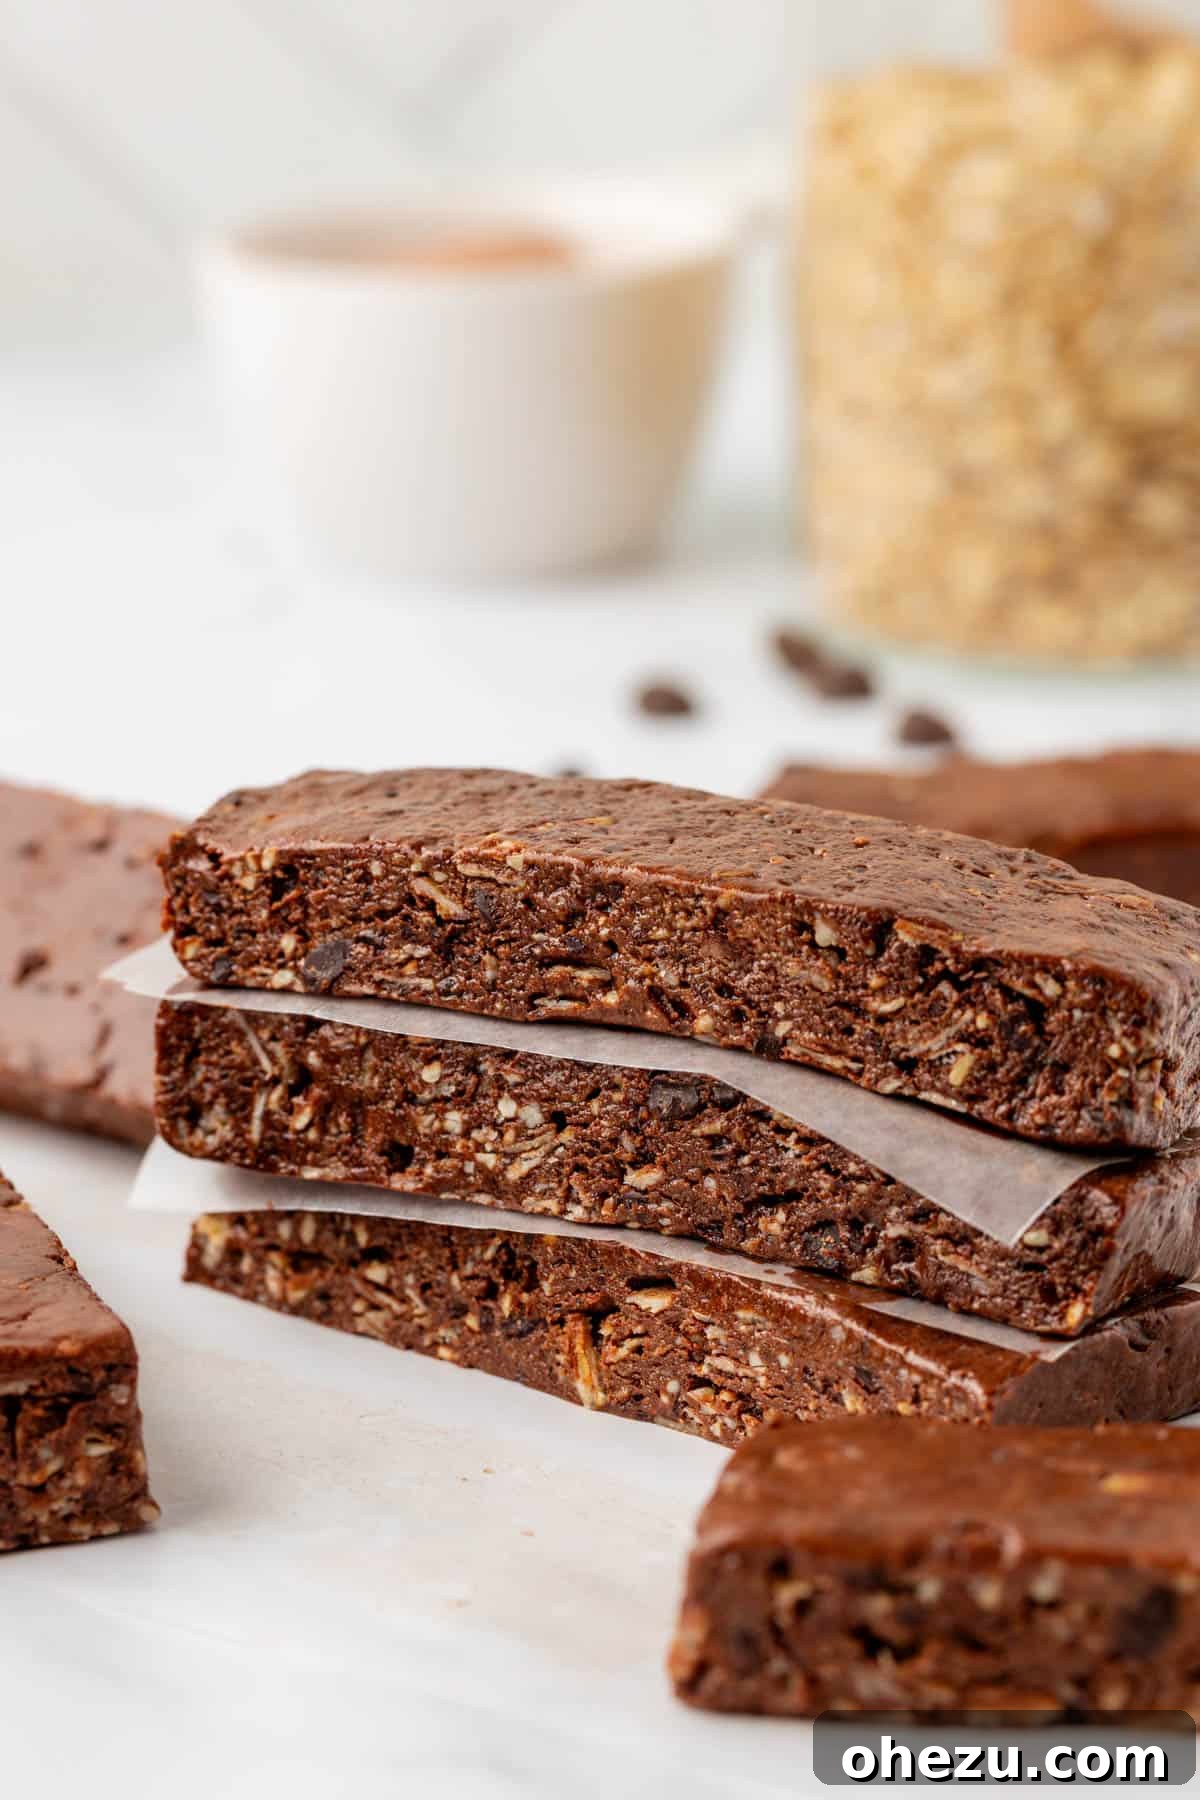
P.S. If you adore this recipe but prefer a convenient bite-sized form, you must try these incredibly yummy Chocolate Cashew Energy Bites!
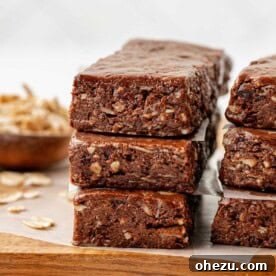
Chocolate Cashew Protein Bars Recipe
By: Joy Shull
These no-bake dark chocolate cashew protein bars are a delicious and easy snack made with wholesome ingredients, perfect for a quick energy boost. Simple to prepare and incredibly satisfying!
Prep Time: 10 mins
Additional Time: 20 mins (Chilling)
Total Time: 30 mins
Servings: 12 bars
Rate Recipe
Print Recipe
Ingredients
- 1 ¼ cups natural creamy peanut butter (see notes below)
- ½ cup rolled oats (old fashioned)
- ½ cup roasted salted cashews
- ¼ cup cocoa powder (or raw cacao powder)
- ½ cup honey (or maple syrup for vegan option)
- ½ cup chocolate protein powder (your preferred brand)
- ¼ teaspoon salt (adjust based on peanut butter, see notes)
- ½ cup dark chocolate chips
Instructions
- Pulse the cashews and dark chocolate chips in a food processor until they are broken into small, even pieces.
- In a large mixing bowl, combine the pulsed mixture with all remaining ingredients: peanut butter, rolled oats, cocoa powder, honey, chocolate protein powder, and salt. Mix thoroughly with a rubber spatula until a thick, uniform batter forms.
- Line an 8×8 inch baking dish with wax paper, ensuring there’s enough overhang on the sides to easily lift the bars out later.
- Press the batter firmly and evenly into the prepared pan, smoothing the top surface.
- Refrigerate the pan for 1-2 hours, or until the protein bar mixture is completely firm.
- Using the wax paper overhang, lift the chilled block from the pan and place it on a cutting board. Slice into 12 even bars.
- Store leftover bars in an airtight container in the refrigerator (5-7 days) or freezer (up to 2 months). Separate layers with wax paper to prevent sticking.
Recipe Notes
For best results, use natural creamy peanut butter that contains only peanuts and salt, without added sugars or oils. If your chosen peanut butter does not contain any added salt, you may increase the recipe’s salt content to 1 ½ teaspoons to balance the flavors. Otherwise, stick to the ¼ teaspoon listed.
Nutrition Information (Approximate per serving)
- Calories: 308 kcal
- Carbohydrates: 28g
- Protein: 11g
- Fat: 20g
- Saturated Fat: 6g
- Polyunsaturated Fat: 4g
- Monounsaturated Fat: 9g
- Cholesterol: 5mg
- Sodium: 117mg
- Potassium: 311mg
- Fiber: 3g
- Sugar: 17g
- Vitamin A: 1 IU
- Vitamin C: 0.1 mg
- Calcium: 74mg
- Iron: 1mg
Loved this recipe for no-bake dark chocolate cashew protein bars? We’d be thrilled to hear your thoughts and see your creations! Please take a moment to rate and comment below to share your experience with our community!