
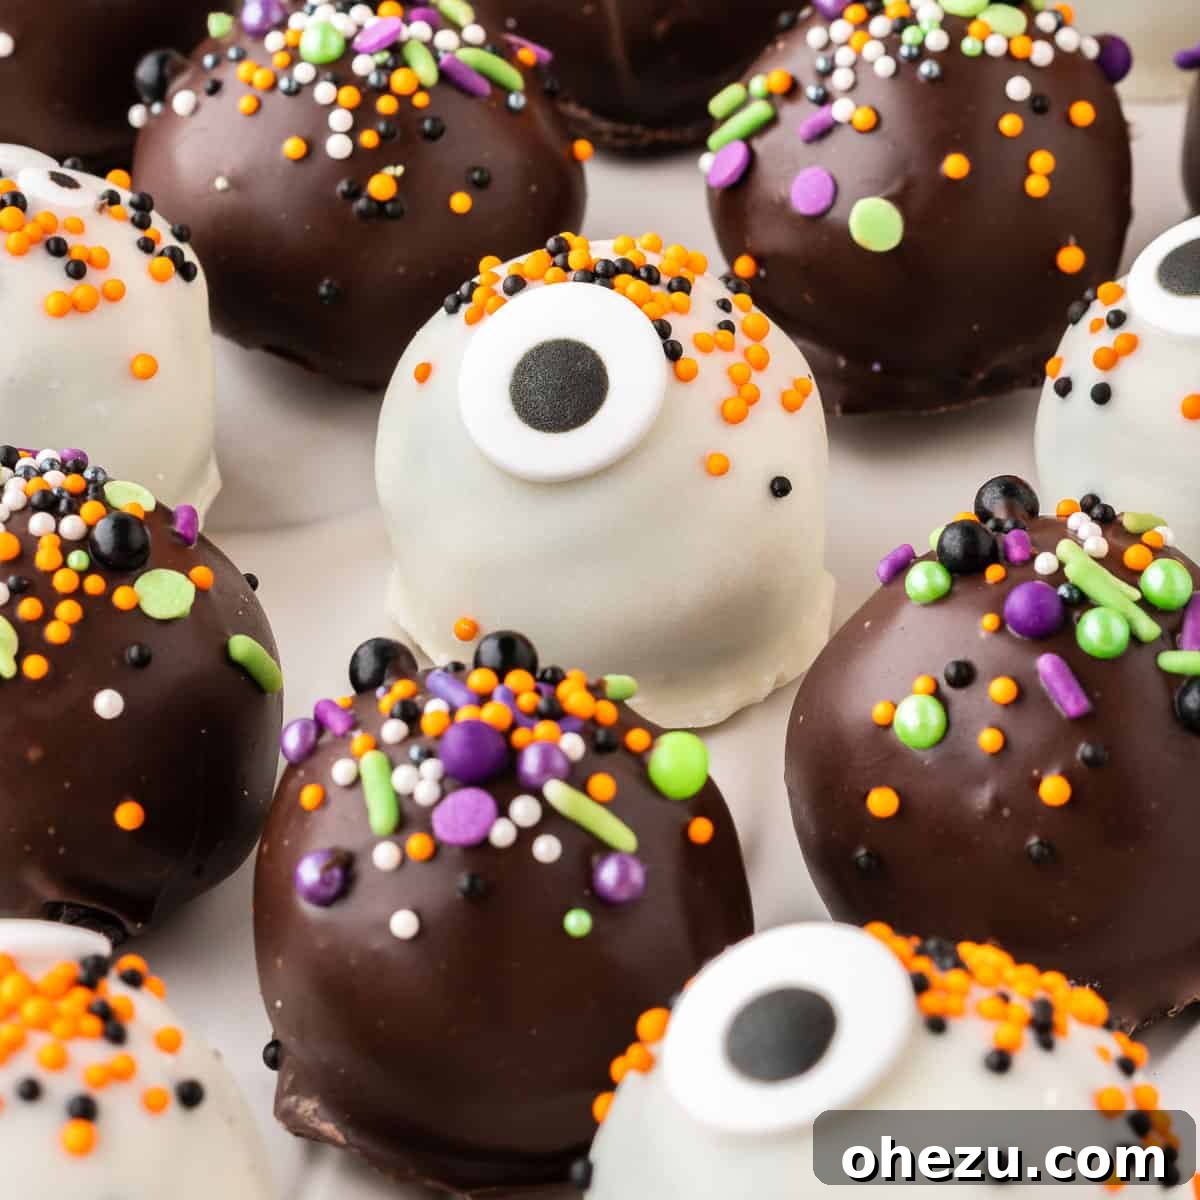
Celebrate the spooky season with these incredibly easy no-bake Halloween Oreo balls!

The Ultimate No-Bake Halloween Oreo Balls: Your Go-To Spooky Dessert!
As the leaves turn and the air grows crisp, it’s time to embrace the enchanting spirit of Halloween! This magical season calls for delightful treats that are both fun to make and wonderfully delicious to eat. If you’re searching for a simple yet impressive dessert to add to your spooky festivities, look no further than these incredibly easy Halloween Oreo balls. They are a true crowd-pleaser and embody everything we love about homemade holiday sweets.
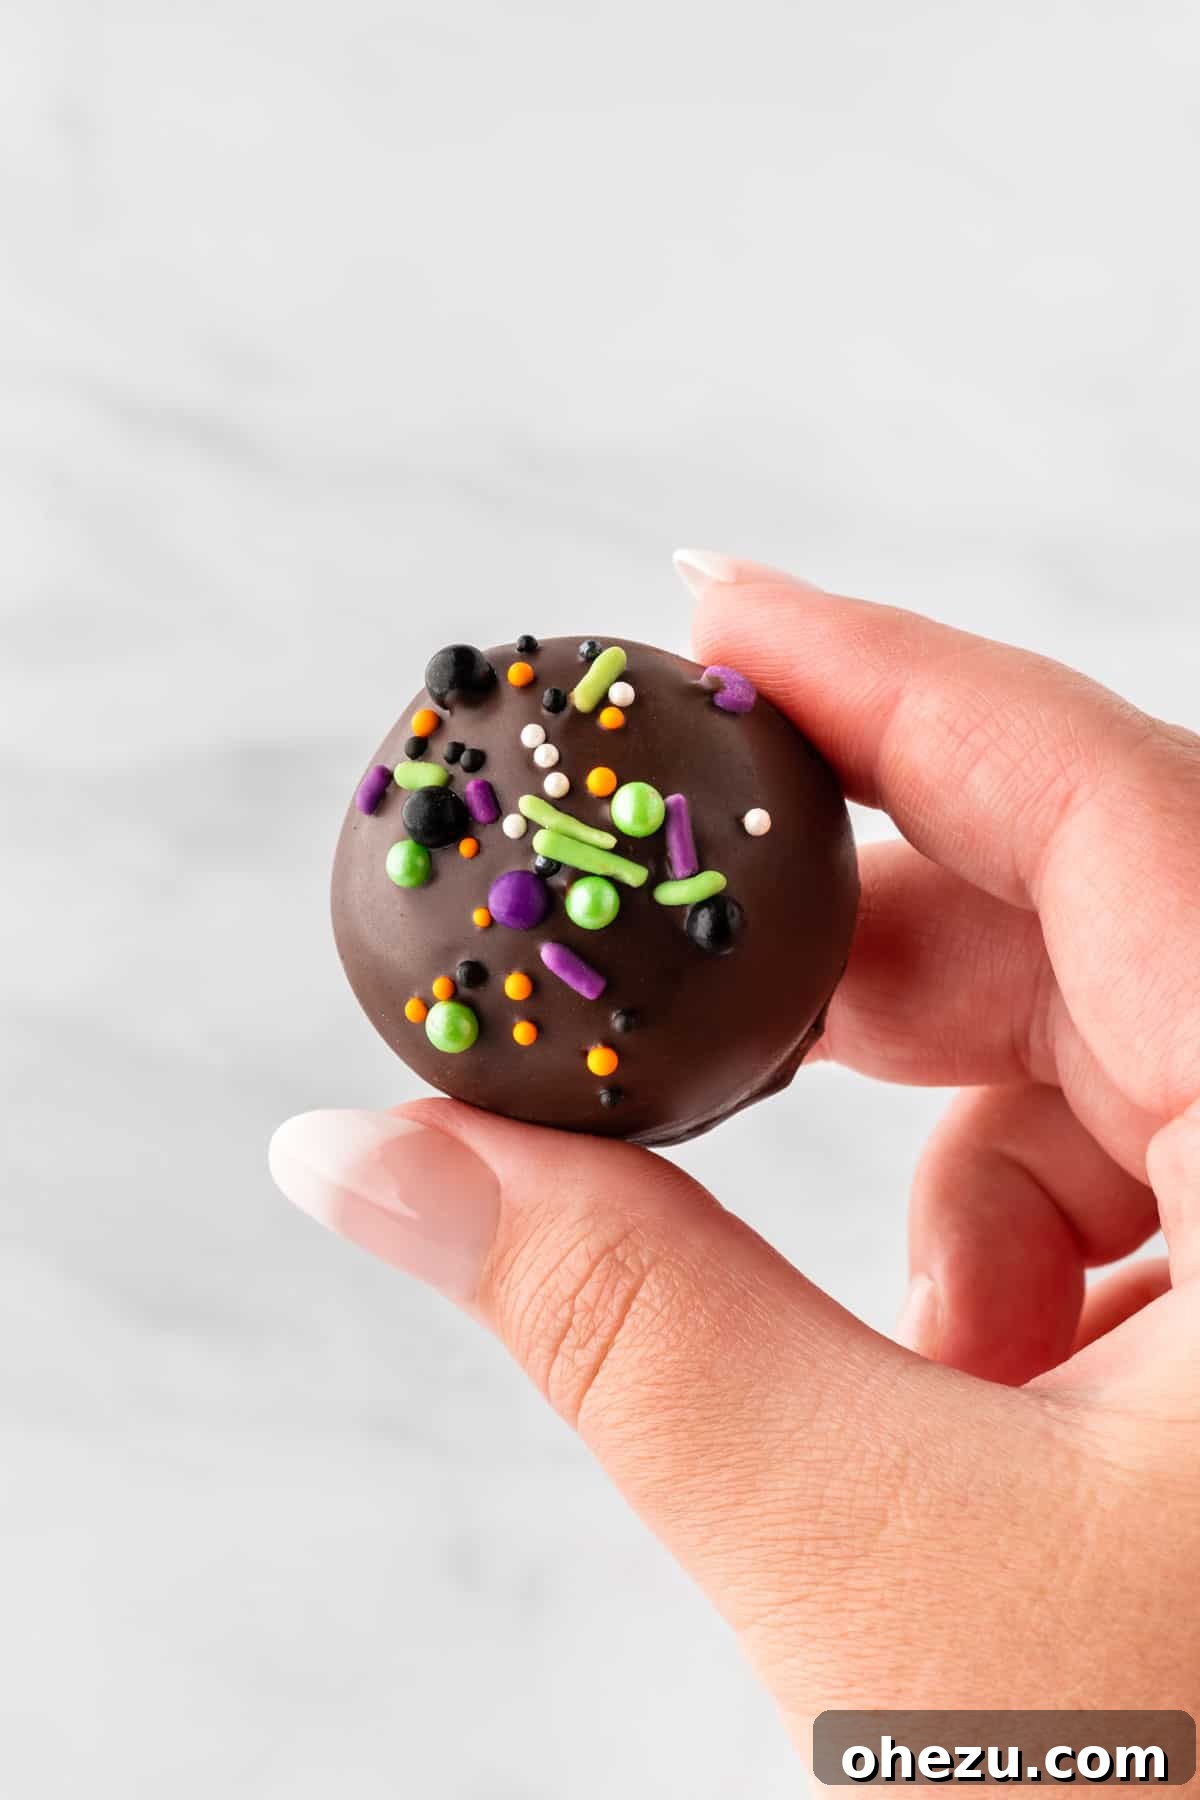
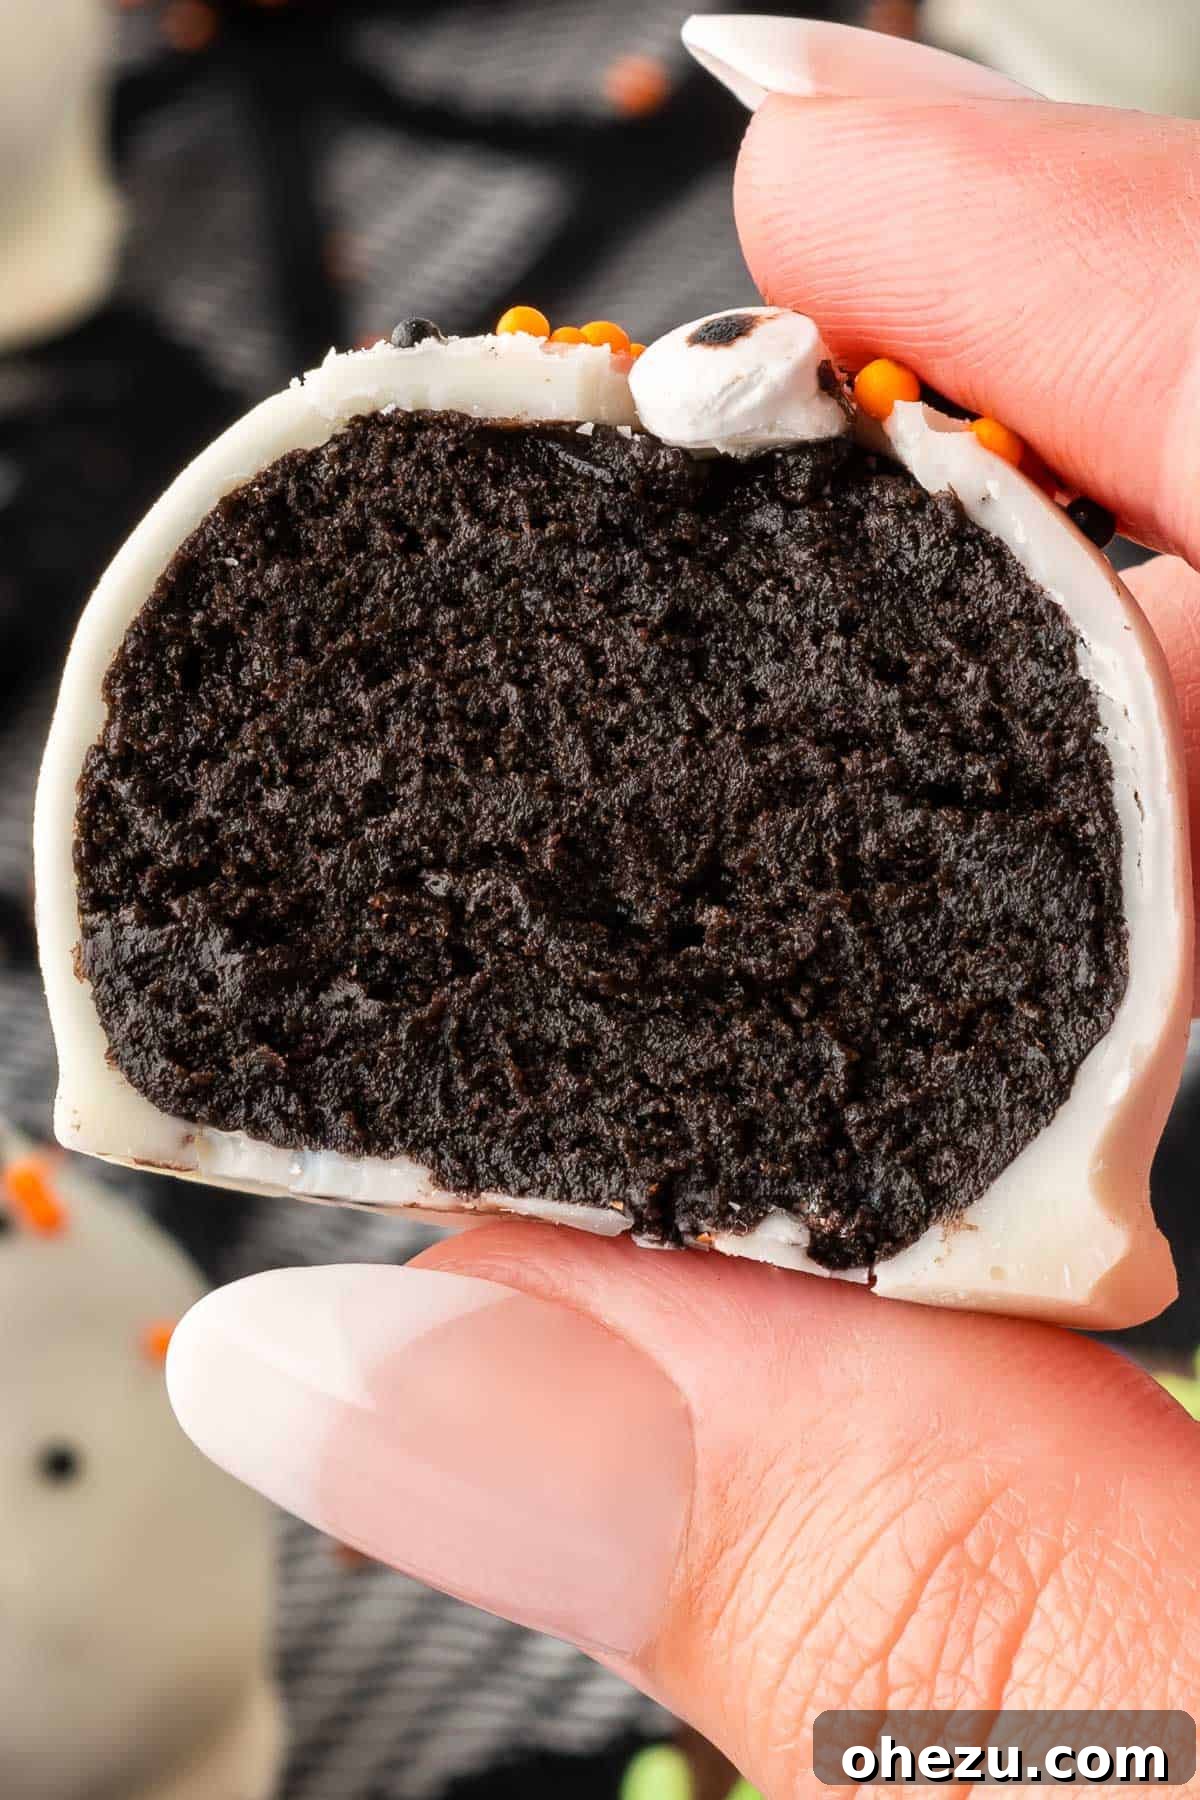
Everyone adores classic Oreo balls, and their popularity is well-deserved due to their straightforward preparation and irresistible taste. Imagine crunchy Oreo cookies, finely crushed and blended with rich, softened cream cheese, forming a luscious, fudgy truffle. These decadent balls are then dipped into melted chocolate, creating a smooth, enticing shell. The final touch? A generous scattering of vibrant Halloween-themed sprinkles and whimsical candy eyeballs, transforming them into edible works of art perfect for any haunted gathering.
This recipe isn’t just about making dessert; it’s about creating memories. Whether you’re hosting a grand Halloween party, preparing a special treat for your family, or looking for a fun activity to do with the kids, these Oreo balls fit the bill perfectly. They require no baking, minimal effort, and deliver maximum flavor and festive charm. Get ready to impress everyone with these delightful spooky bites!
Explore More Spooktacular Halloween Recipes
If you’re loving the festive spirit and looking for more easy Halloween treats, be sure to check out some of our other fan favorites:
- Halloween Crack: An addictive sweet and salty snack perfect for parties.
- Oreo Spiders: Another super simple and adorable Oreo-themed treat.
- Strawberry Ghosts: Healthy and cute, these are a lighter option for your dessert table.
- Halloween Bark: Customizable and quick, this is great for last-minute treats.
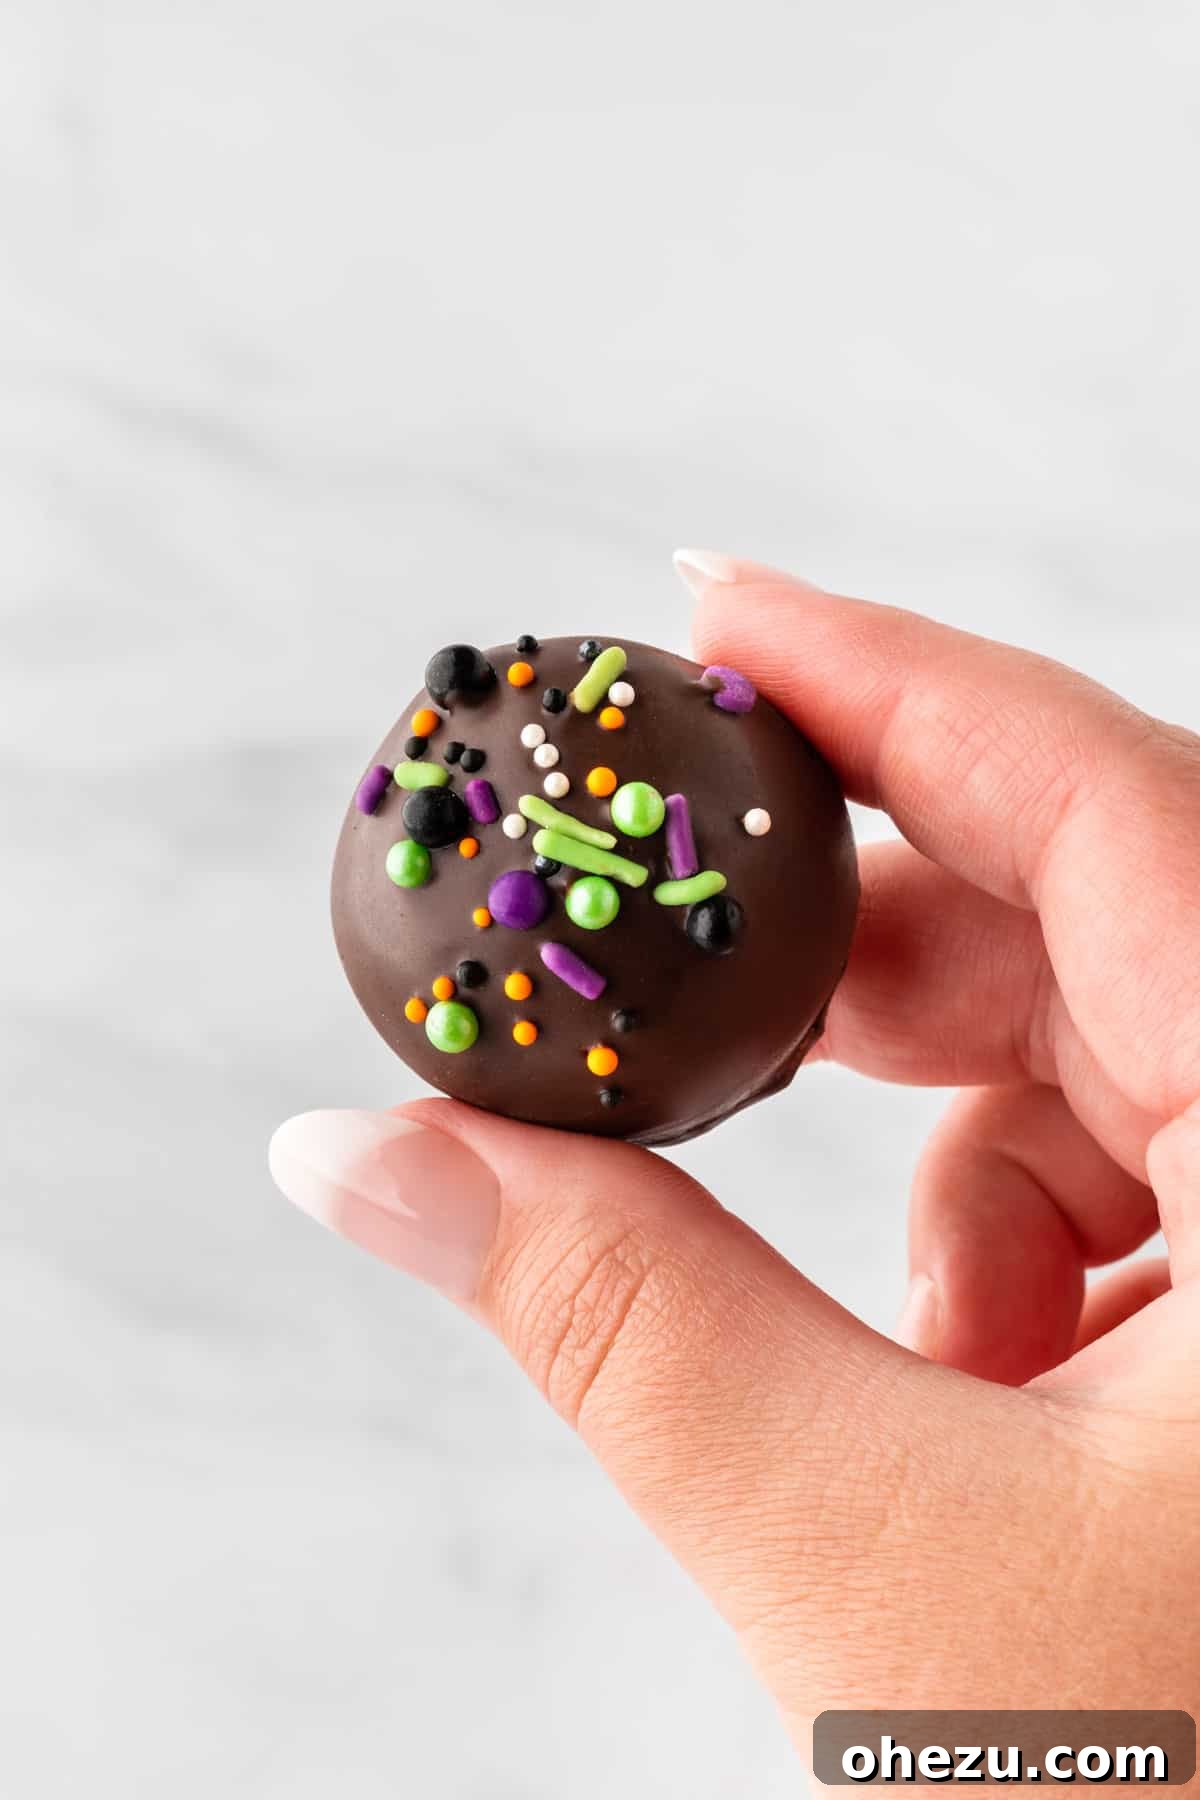
Simple Ingredients for Spooky Oreo Balls
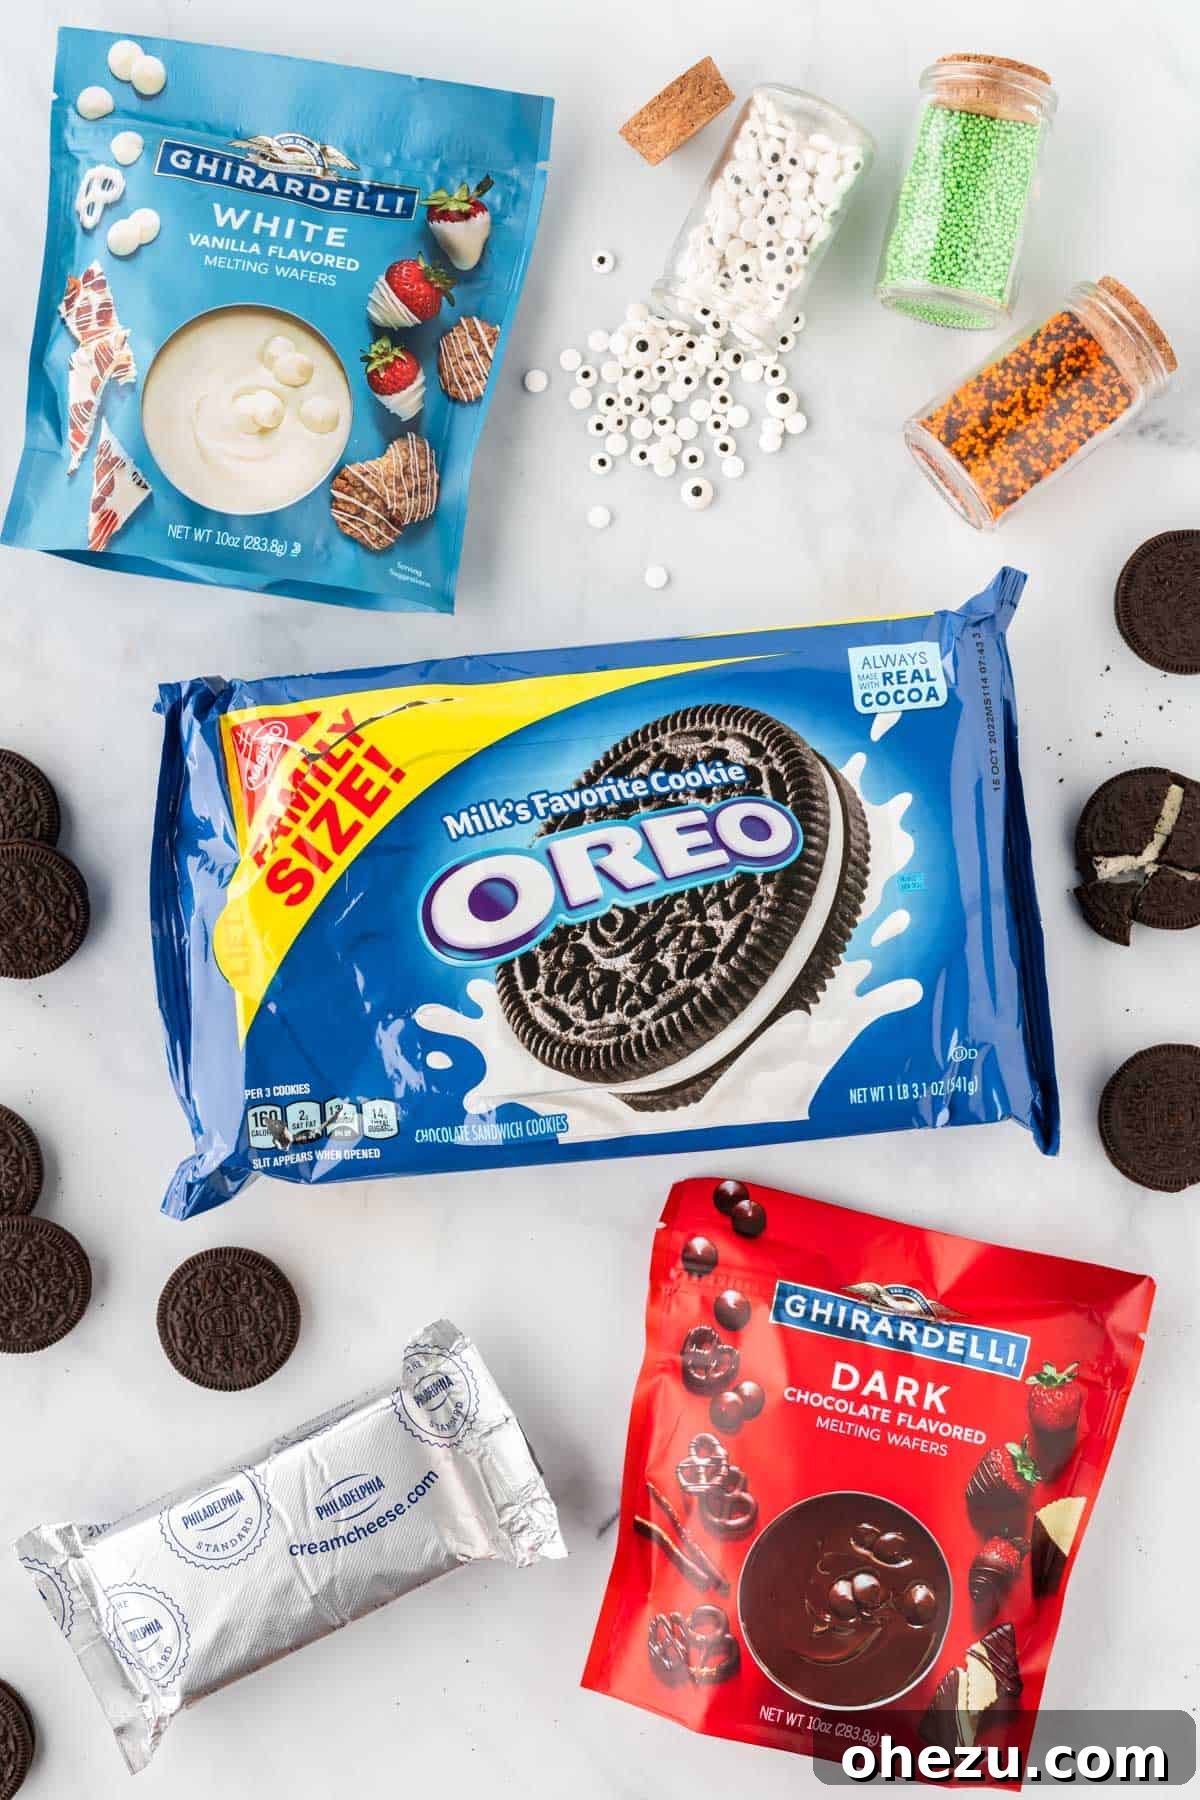
One of the best aspects of this recipe is that it calls for just a handful of readily available ingredients. You likely have some of these in your pantry already! The quality of your ingredients can make a noticeable difference, especially when it comes to the chocolate coating. Here’s what you’ll need to create these Halloween masterpieces:
- Oreos: The star of our show! Any classic variety works, but for an extra rich flavor, you can try Double Stuffed. A standard package is usually sufficient.
- Cream Cheese: Essential for binding the Oreo crumbs into a rich, fudgy consistency. Make sure it’s softened to room temperature for smooth mixing. Full-fat cream cheese is recommended for the best texture and flavor.
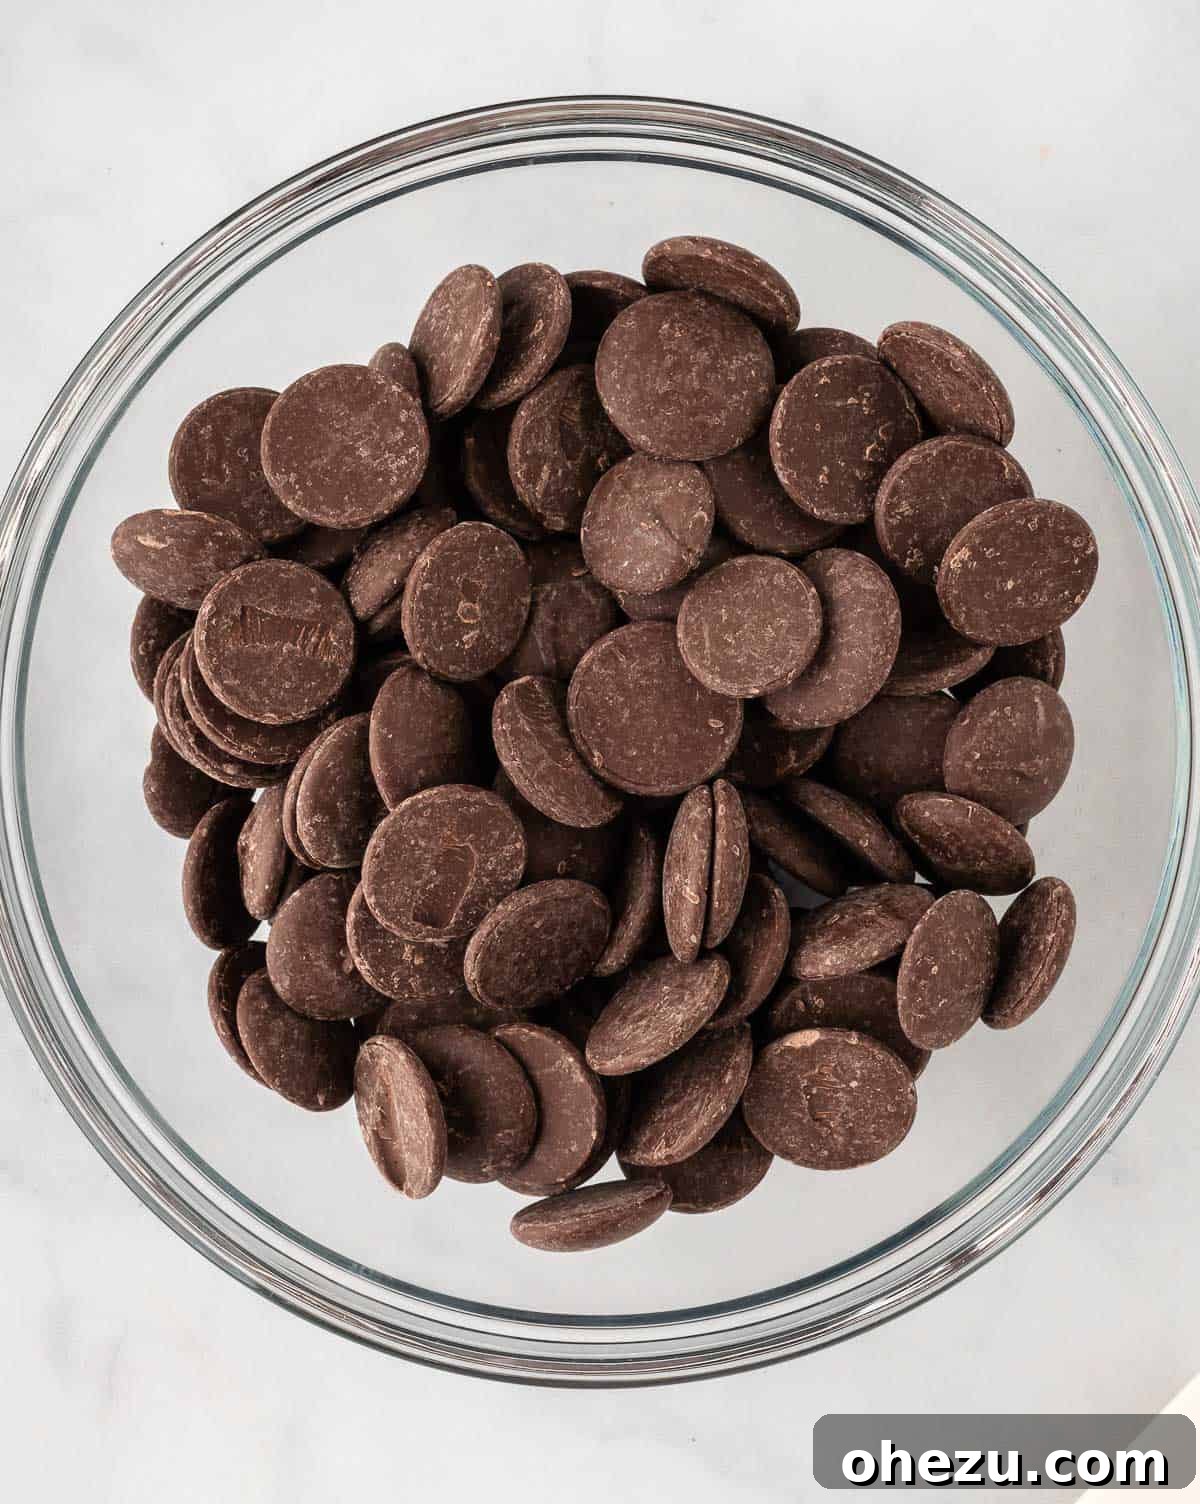
- Dark Chocolate Melting Wafers: Ghirardelli or Wilton melting wafers are excellent choices as they melt smoothly and harden beautifully, providing a professional finish without tempering.
- White Vanilla Melting Wafers: Perfect for creating contrast and a canvas for vibrant Halloween decorations. Again, quality melting wafers will yield the best results.
- Halloween Colored Sprinkles: Get creative with your sprinkle choices! Orange, black, purple, and green jimmies, nonpareils, or mixes will add instant festivity.
- Candy Eye Balls: These tiny, edible eyes instantly bring your Oreo balls to life, turning them into adorable (or spooky!) monsters and characters.
Essential Equipment You’ll Need
While the recipe is delightfully simple, having the right tools on hand will make the process even smoother and more enjoyable:
- Food Processor: The quickest and most efficient way to turn Oreos into fine crumbs. A powerful one will make short work of the cookies.
- Large Mixing Bowl: For combining the Oreo crumbs and cream cheese, especially if finishing by hand.
- Rubber Spatula: Ideal for scraping down the sides of the bowl and ensuring all ingredients are well incorporated.
- Cookie Scoop (1.5 – 2 tablespoons): This is key for creating uniformly sized Oreo balls, which helps them chill and dip evenly.
- Baking Sheet(s): To hold the formed Oreo balls during chilling and dipping.
- Parchment Paper or Silicone Baking Mat: Prevents the balls from sticking to the baking sheet and makes cleanup a breeze.
- Microwave-Safe Bowls or Double Boiler: For melting the chocolate wafers.
- Dipping Tools (optional): A fork, a candy dipping tool, or even toothpicks can make dipping easier and less messy.
Step-by-Step Guide: Crafting Your Halloween Oreo Balls
Creating these delightful no-bake treats is a fun and straightforward process. Follow these detailed steps to ensure perfectly fudgy and festive Halloween Oreo balls every time:
Step 1: Crushing the Oreos into Fine Crumbs
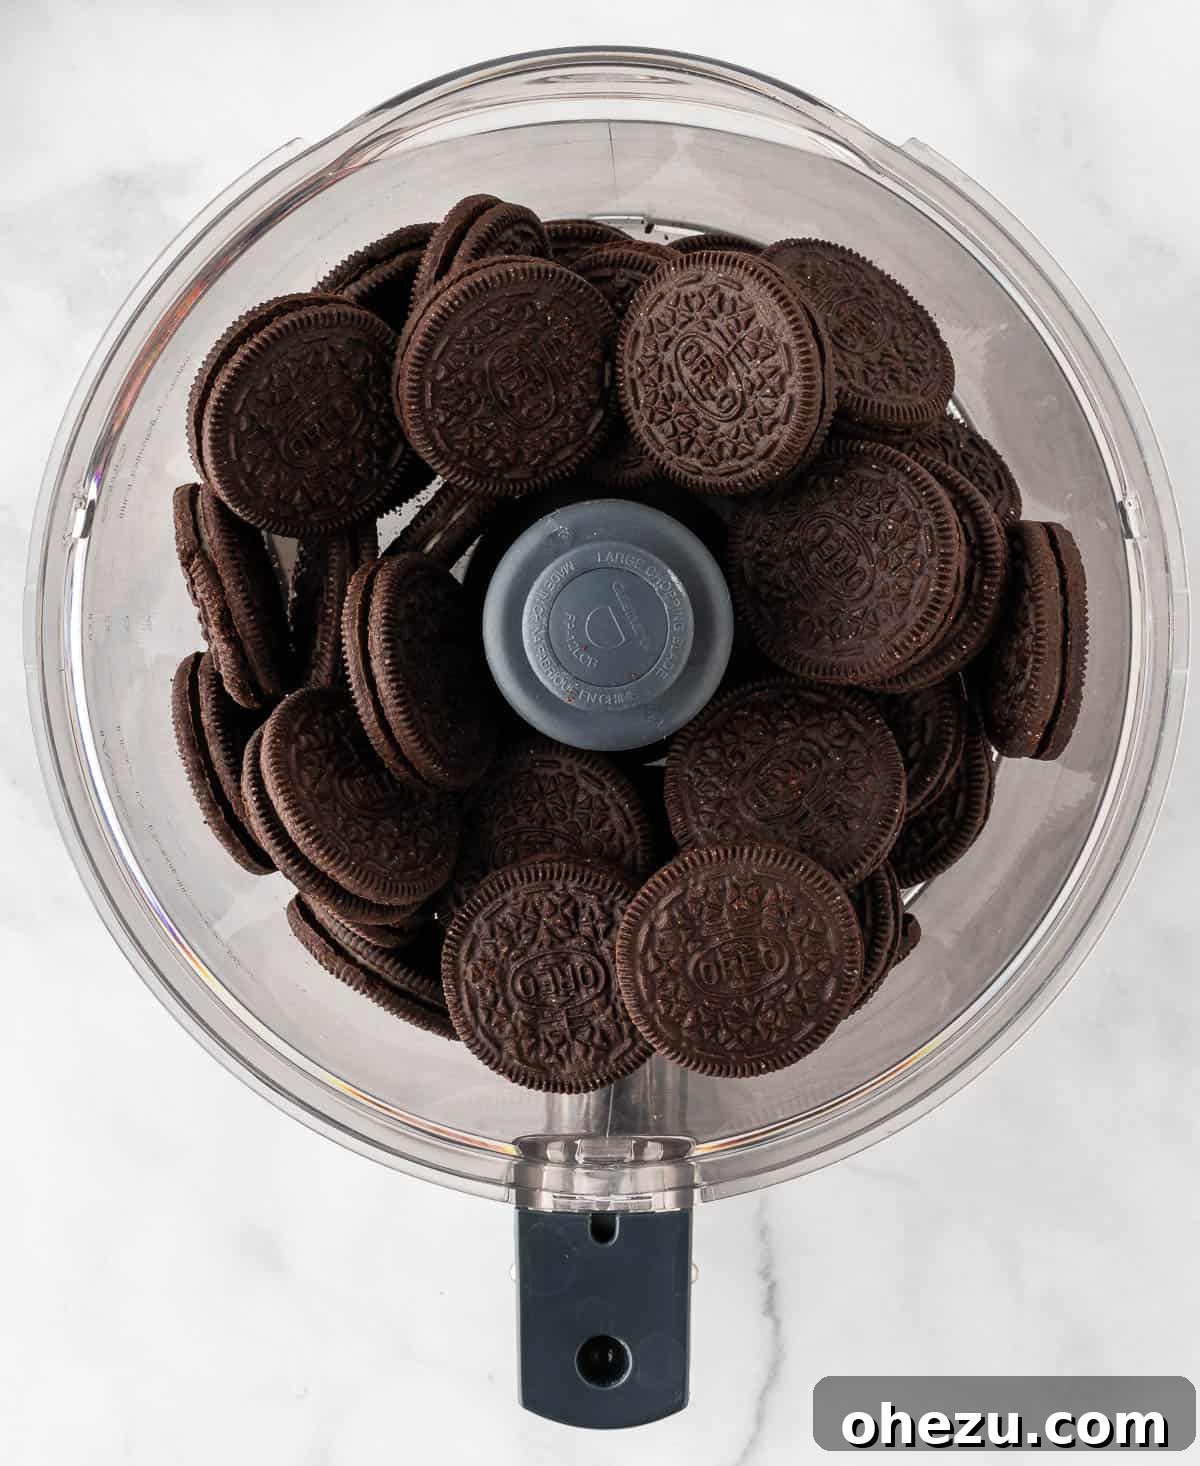
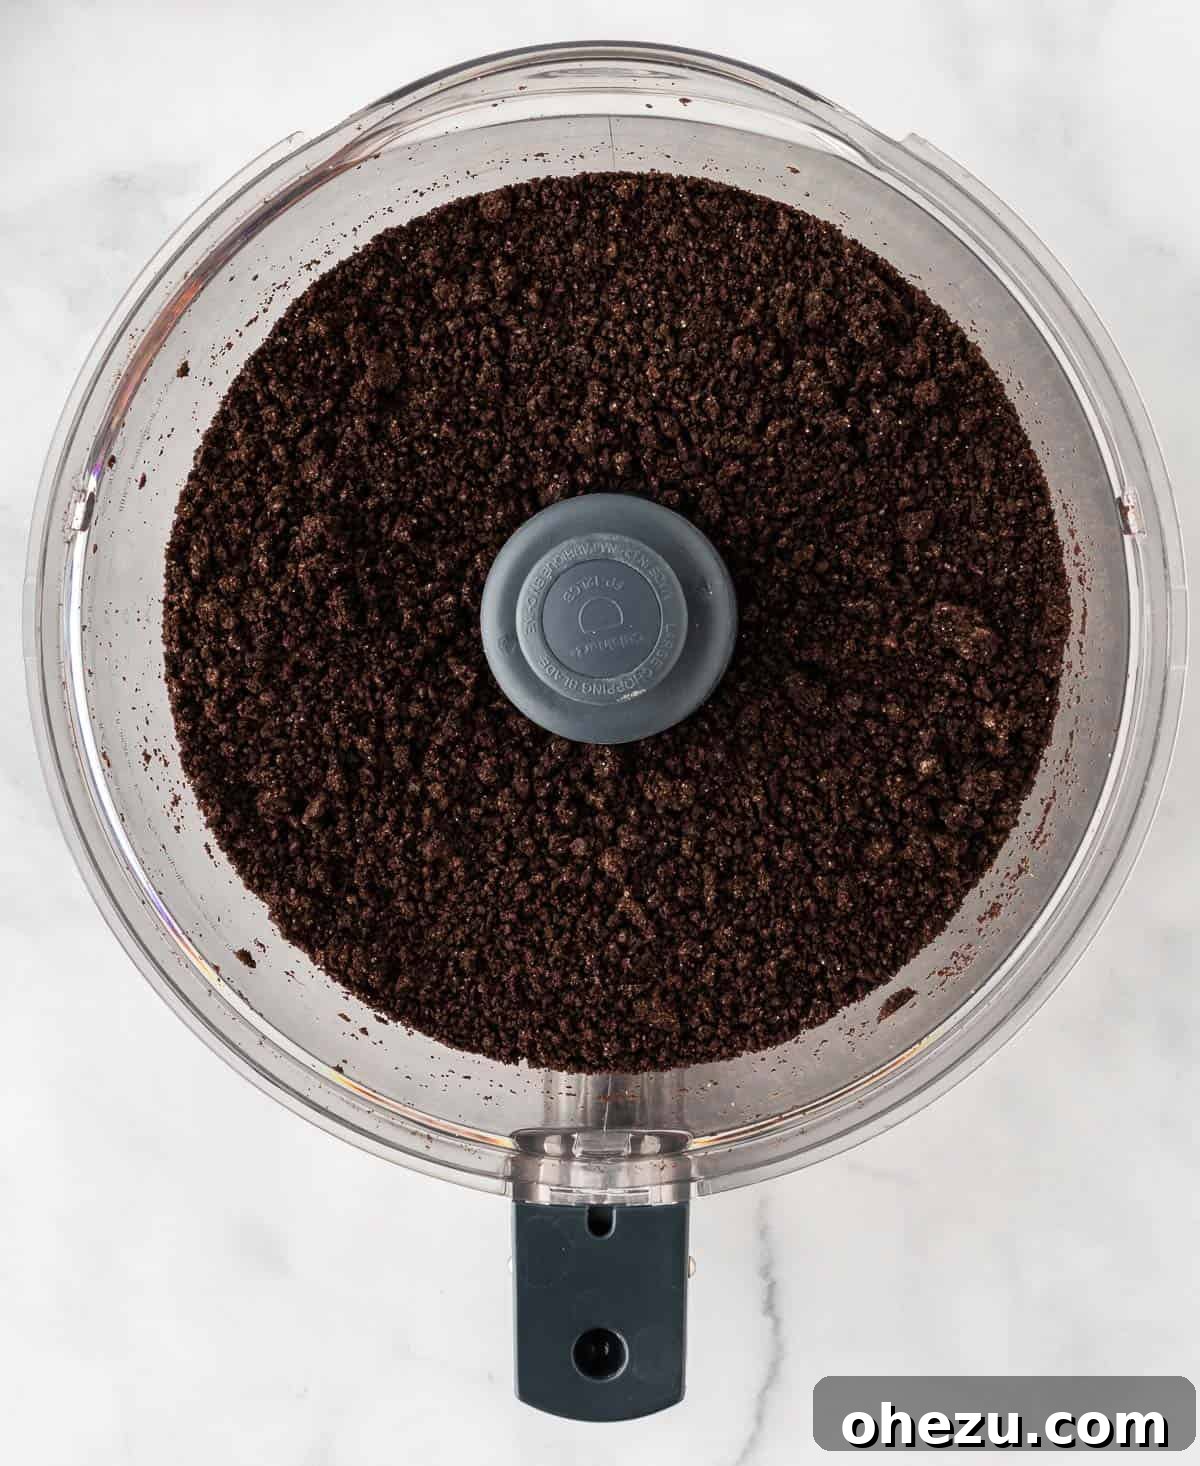
The first crucial step is to transform your whole Oreos into fine, dust-like crumbs. This ensures a smooth, uniform texture for your truffle base. Add the entire package of Oreos (no need to remove the cream filling!) to a food processor. Process on high until the cookies are reduced to very fine crumbs, resembling damp sand. This texture is ideal for mixing evenly with the cream cheese. If you don’t have a food processor, don’t worry! You can place the Oreos in a gallon-sized Ziploc bag, seal it tightly, and use a rolling pin to crush them. Aim for the finest crumbs possible, as larger chunks can make the balls harder to form and give them a lumpy texture.
Step 2: Mixing with Cream Cheese to Form the Base
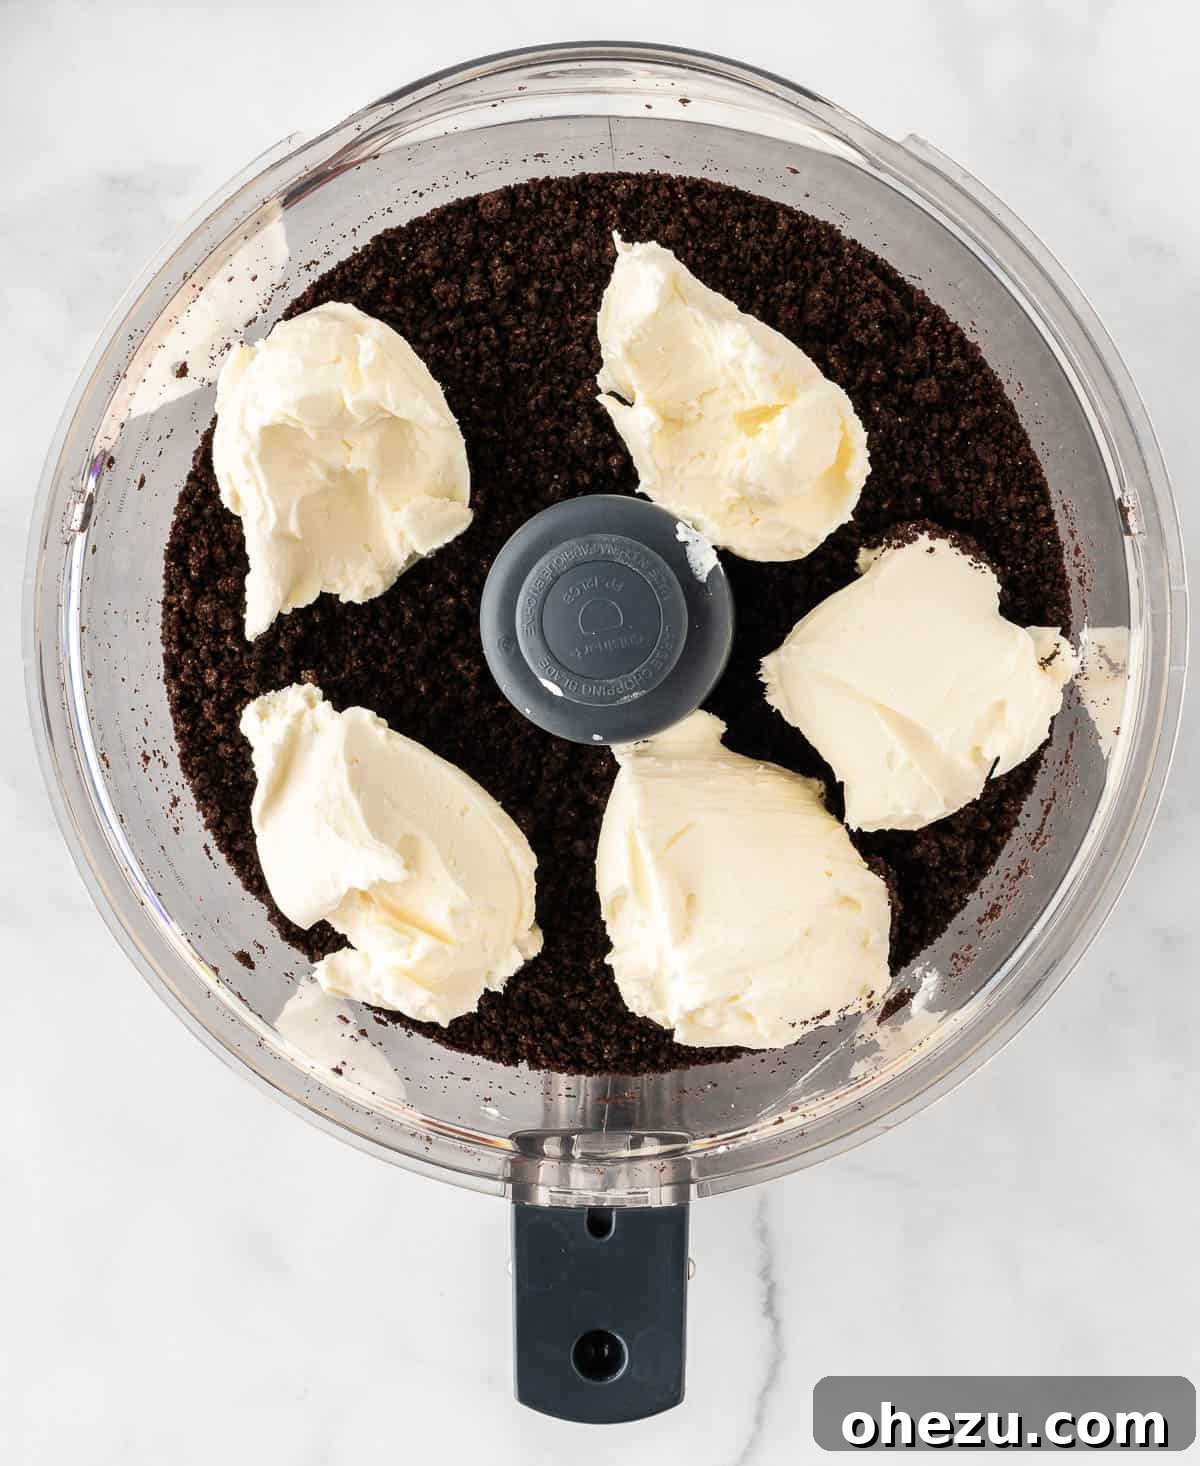
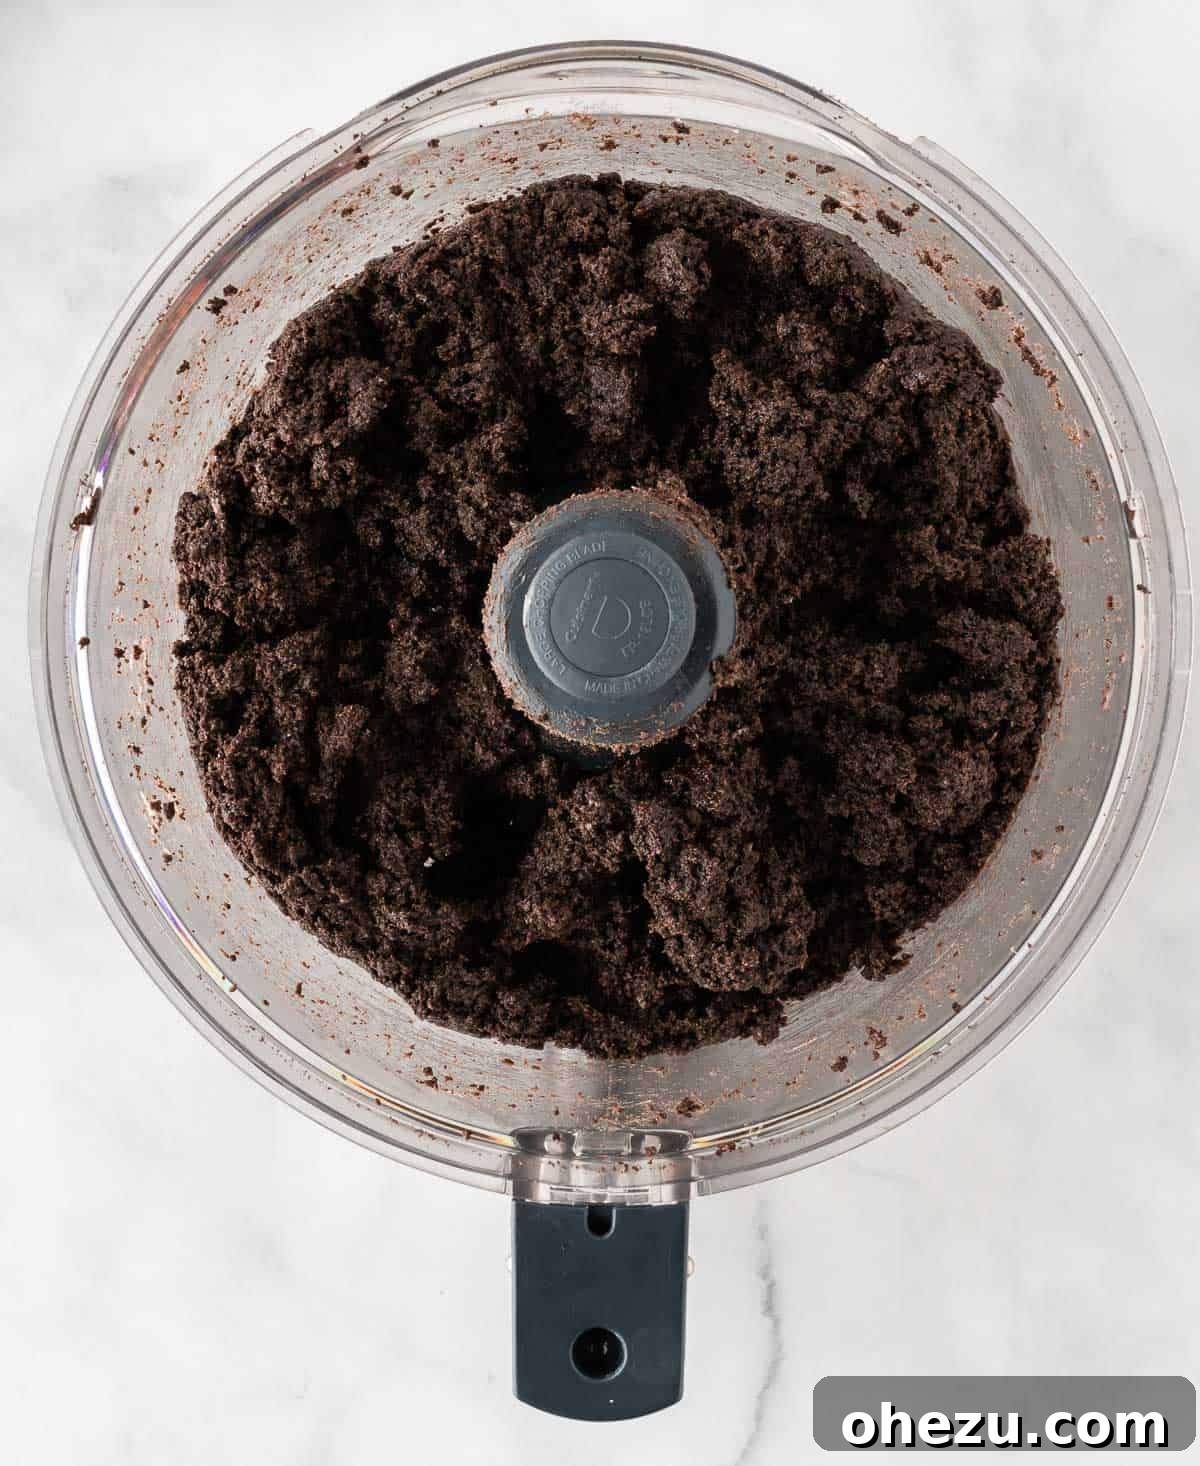
Once your Oreos are perfectly crumbed, it’s time to add the softened cream cheese. It’s vital that your cream cheese is at room temperature; this ensures it blends smoothly with the Oreo crumbs without creating lumps. Add the softened cream cheese directly to the food processor with the Oreo crumbs and pulse until a thick, uniform “dough” forms. The mixture should be sticky and hold together when pressed. If you used the rolling pin method, transfer the crumbs to a large bowl, add the cream cheese, and mix thoroughly with a sturdy rubber spatula or your hands until well combined. There should be no visible cream cheese streaks.
Step 3: Forming and Chilling the Oreo Balls
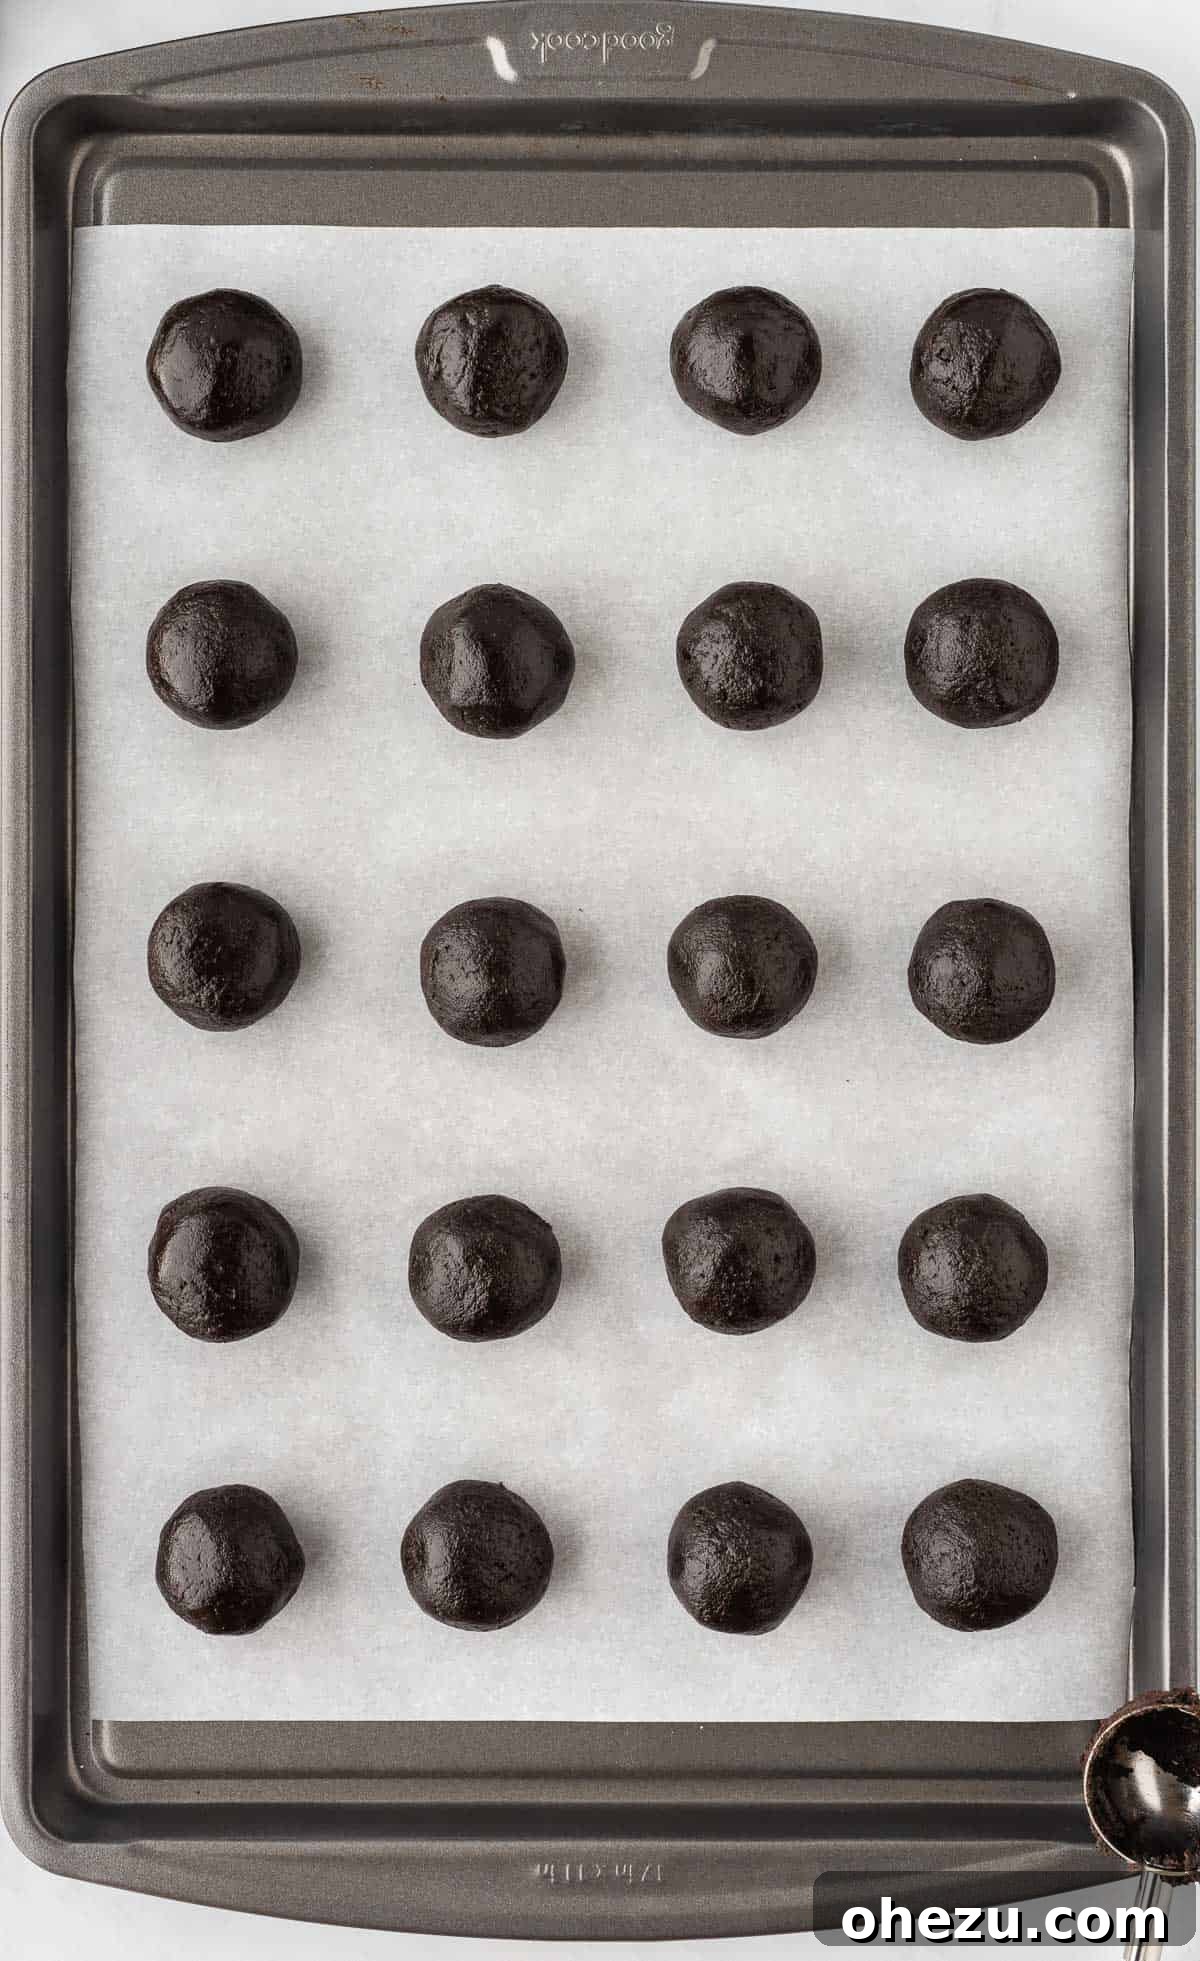
Prepare a baking sheet by lining it with parchment paper or a silicone baking mat. This prevents sticking and makes transfer easier. Using a cookie scoop (about 1.5 to 2 tablespoons in size) is highly recommended. It helps to portion the mixture evenly, ensuring all your Oreo balls are roughly the same size. Scoop portions of the Oreo mixture onto the prepared baking sheet. After scooping, gently roll each portion between your palms to form a perfectly round, smooth ball. Once all the balls are formed, place the baking sheet into the fridge or freezer for at least 30 minutes. This chilling step is absolutely vital as it hardens the balls, making them firm enough to dip into melted chocolate without falling apart or dissolving.
Step 4: Dipping in Dark Chocolate and Decorating
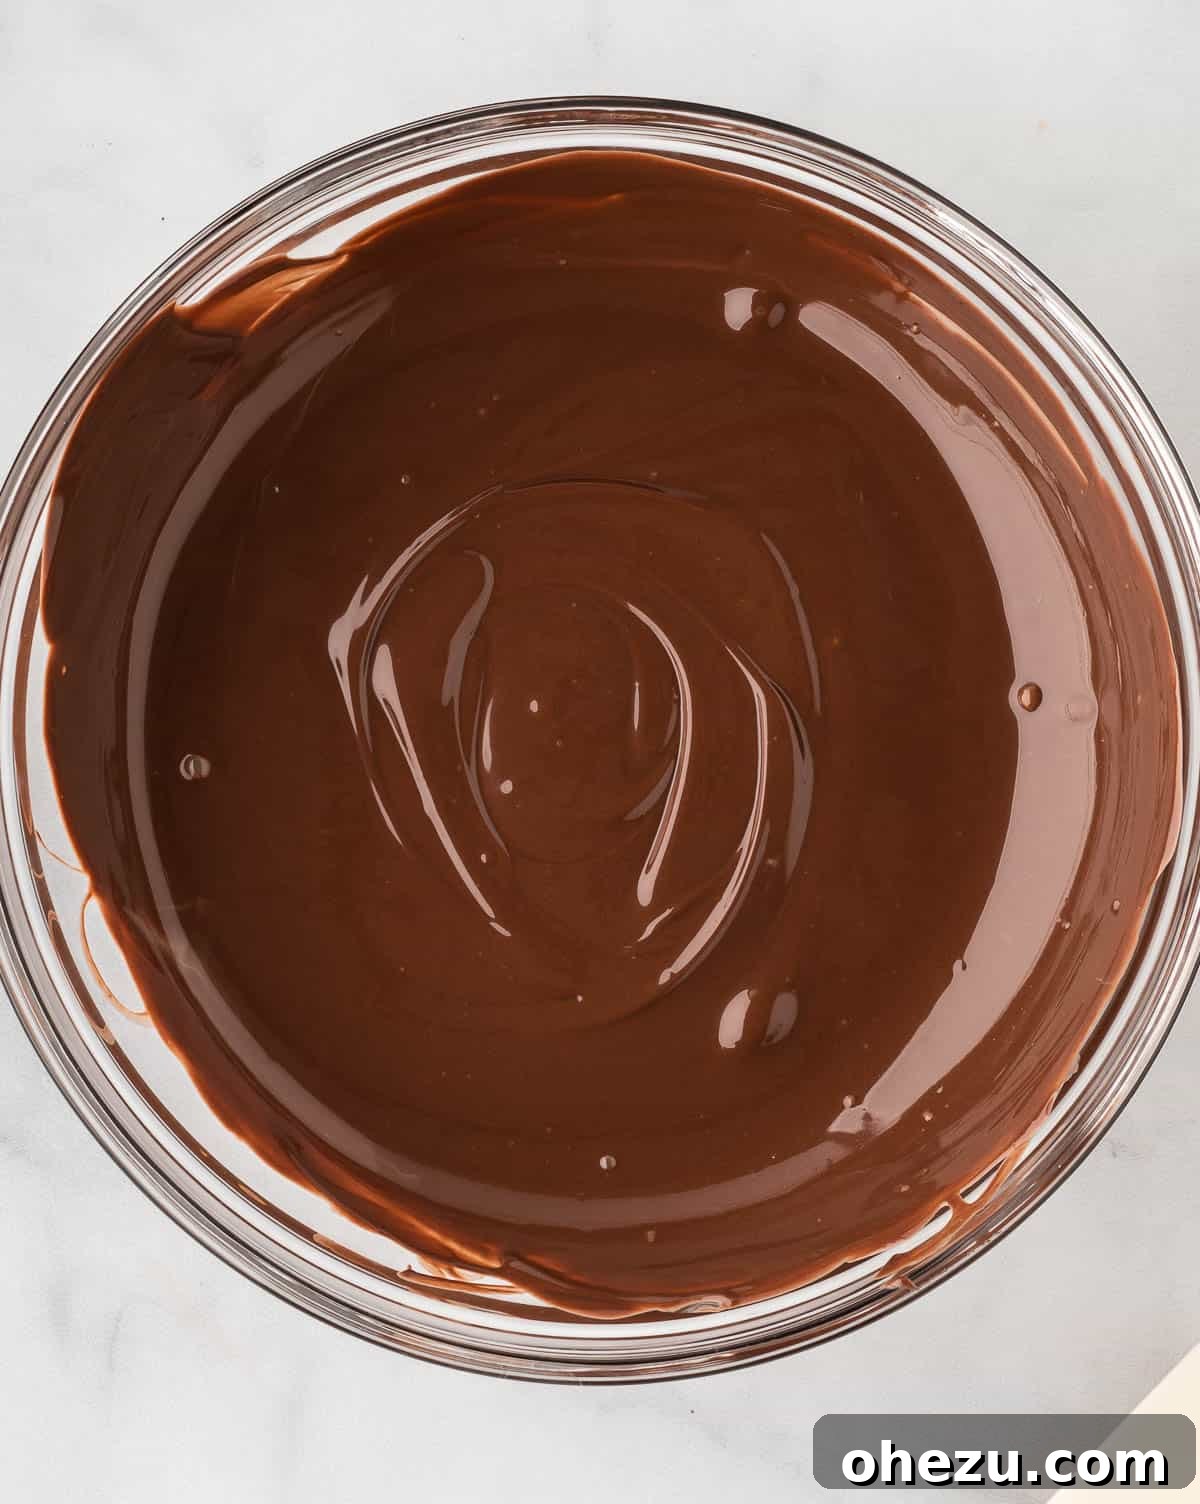
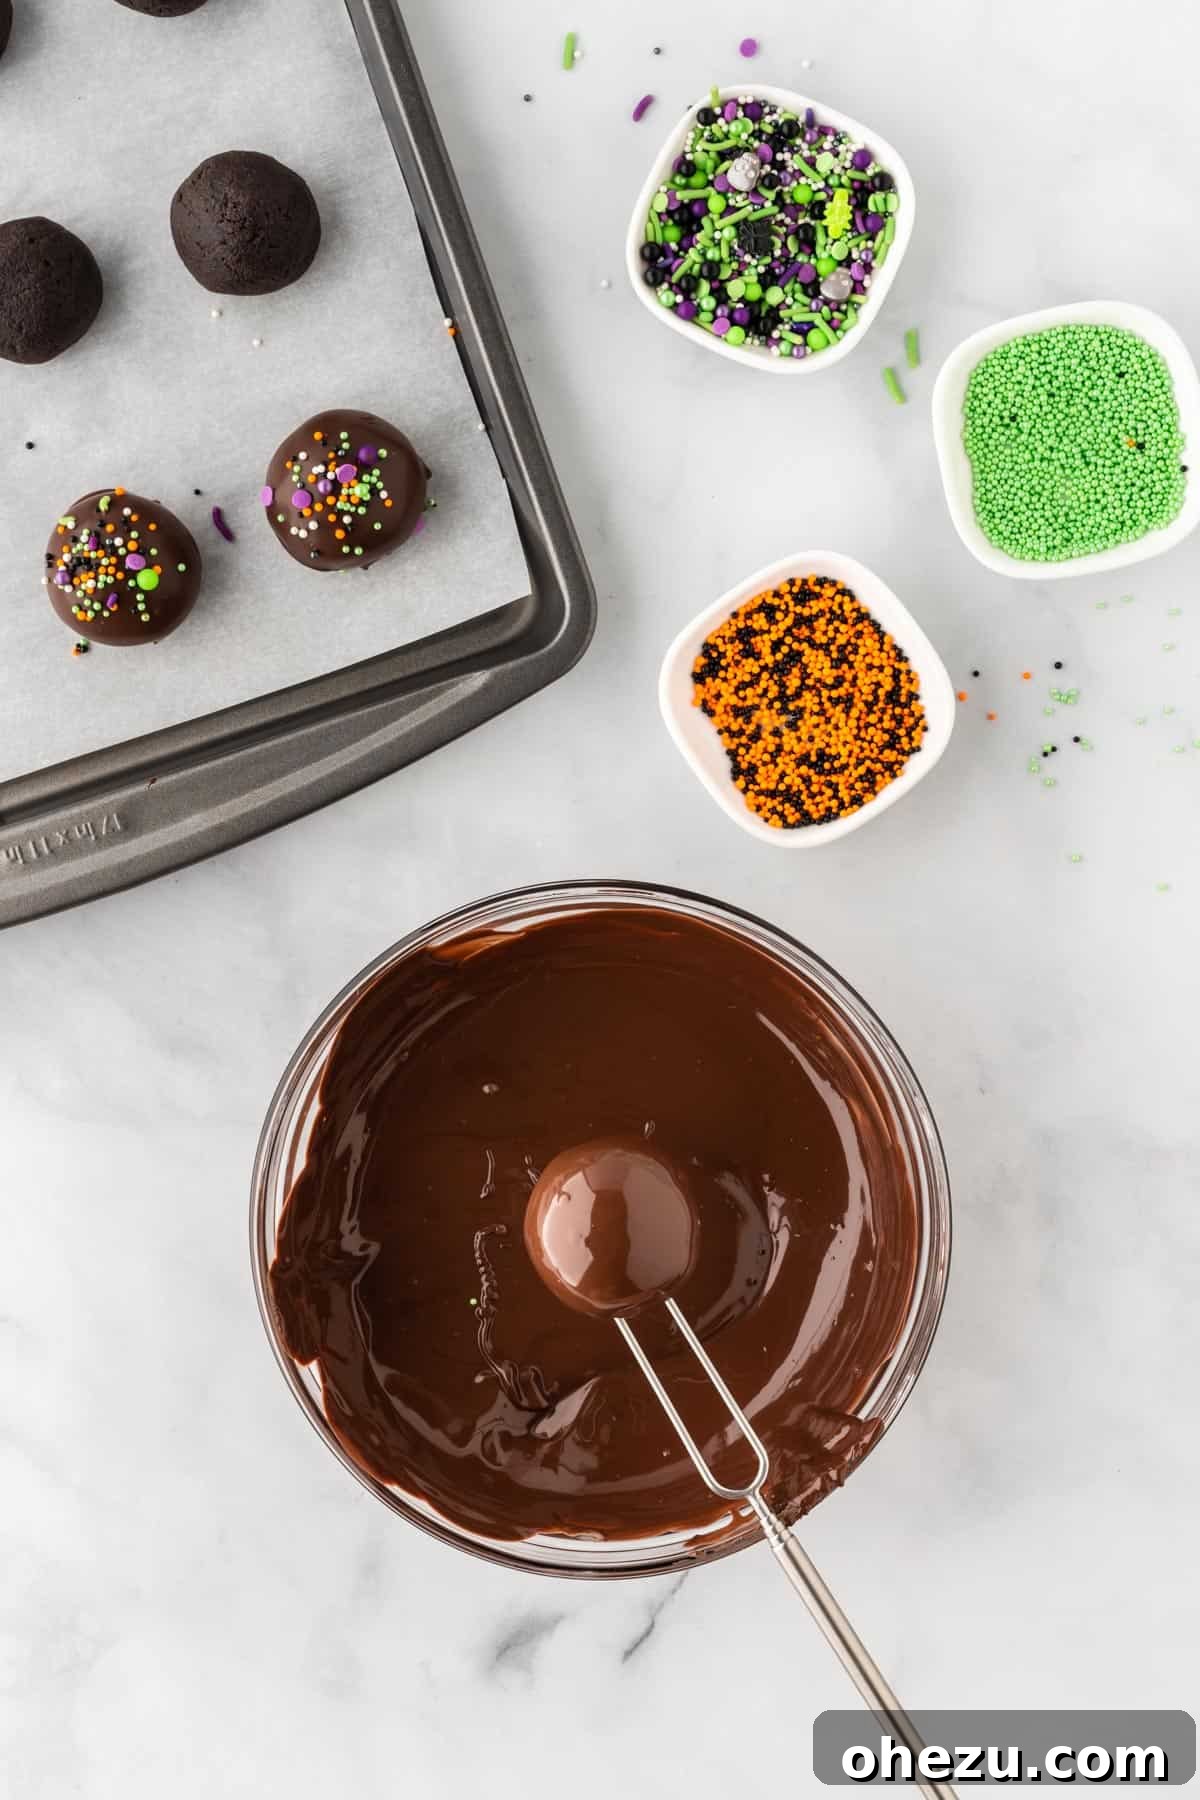
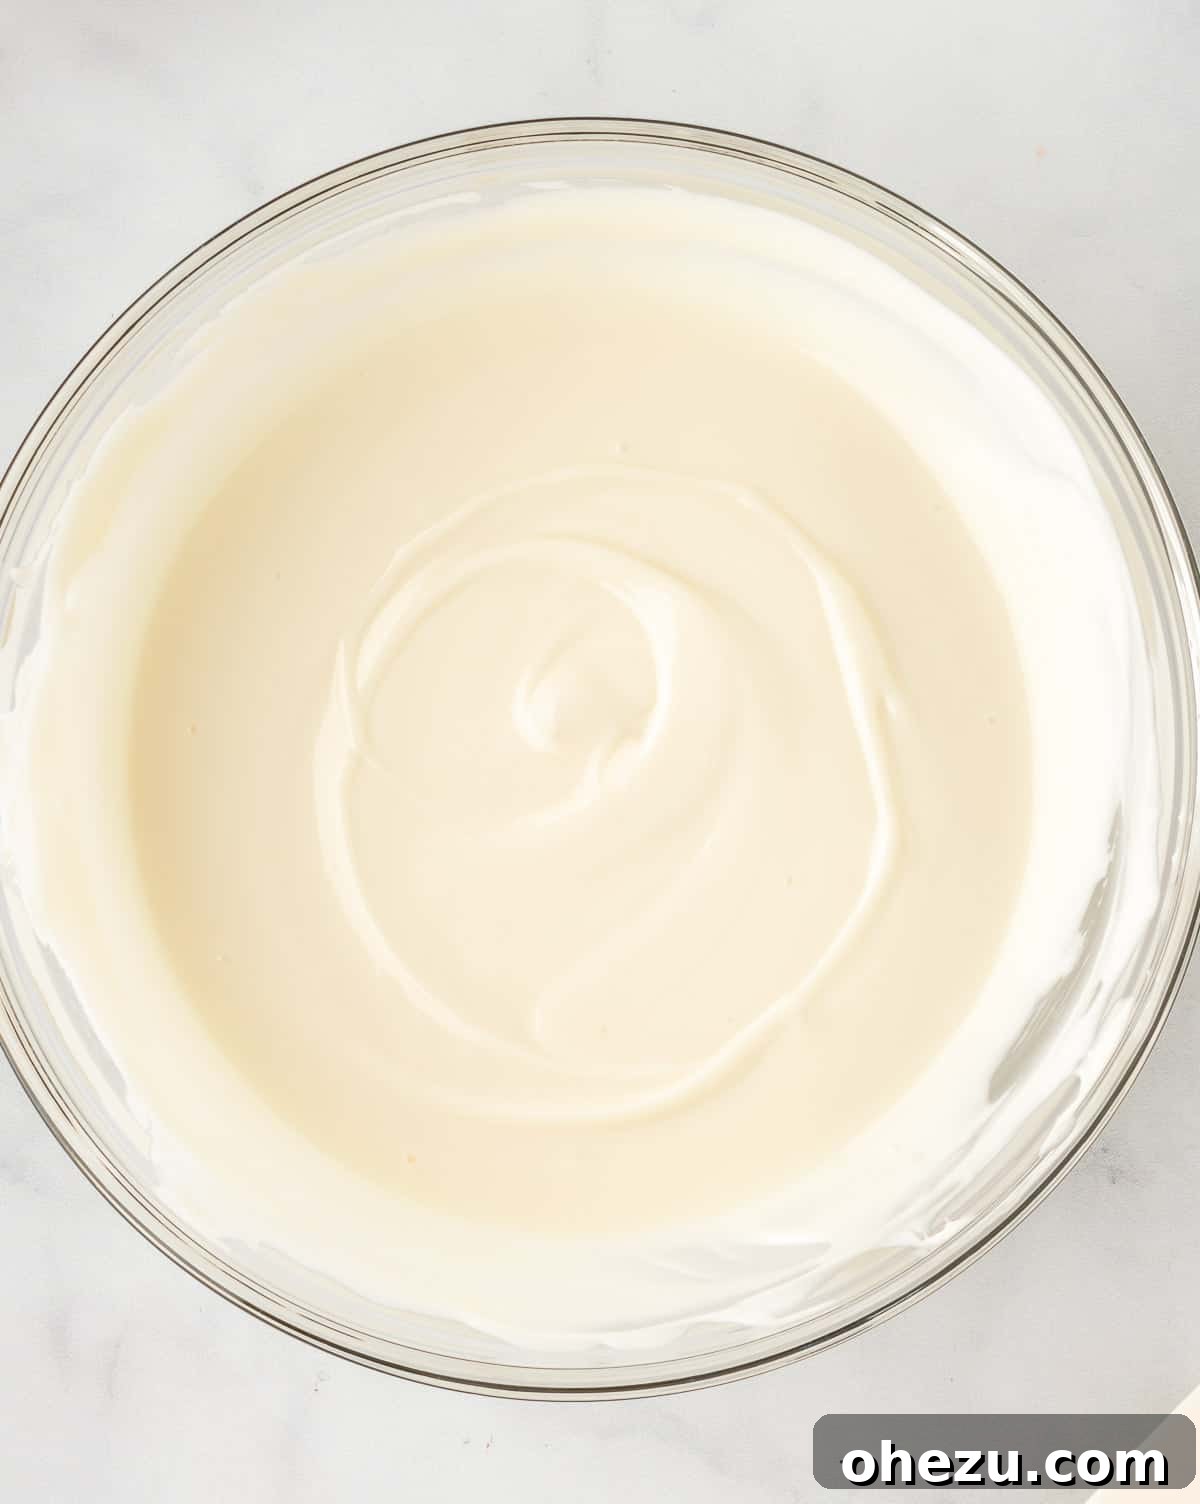
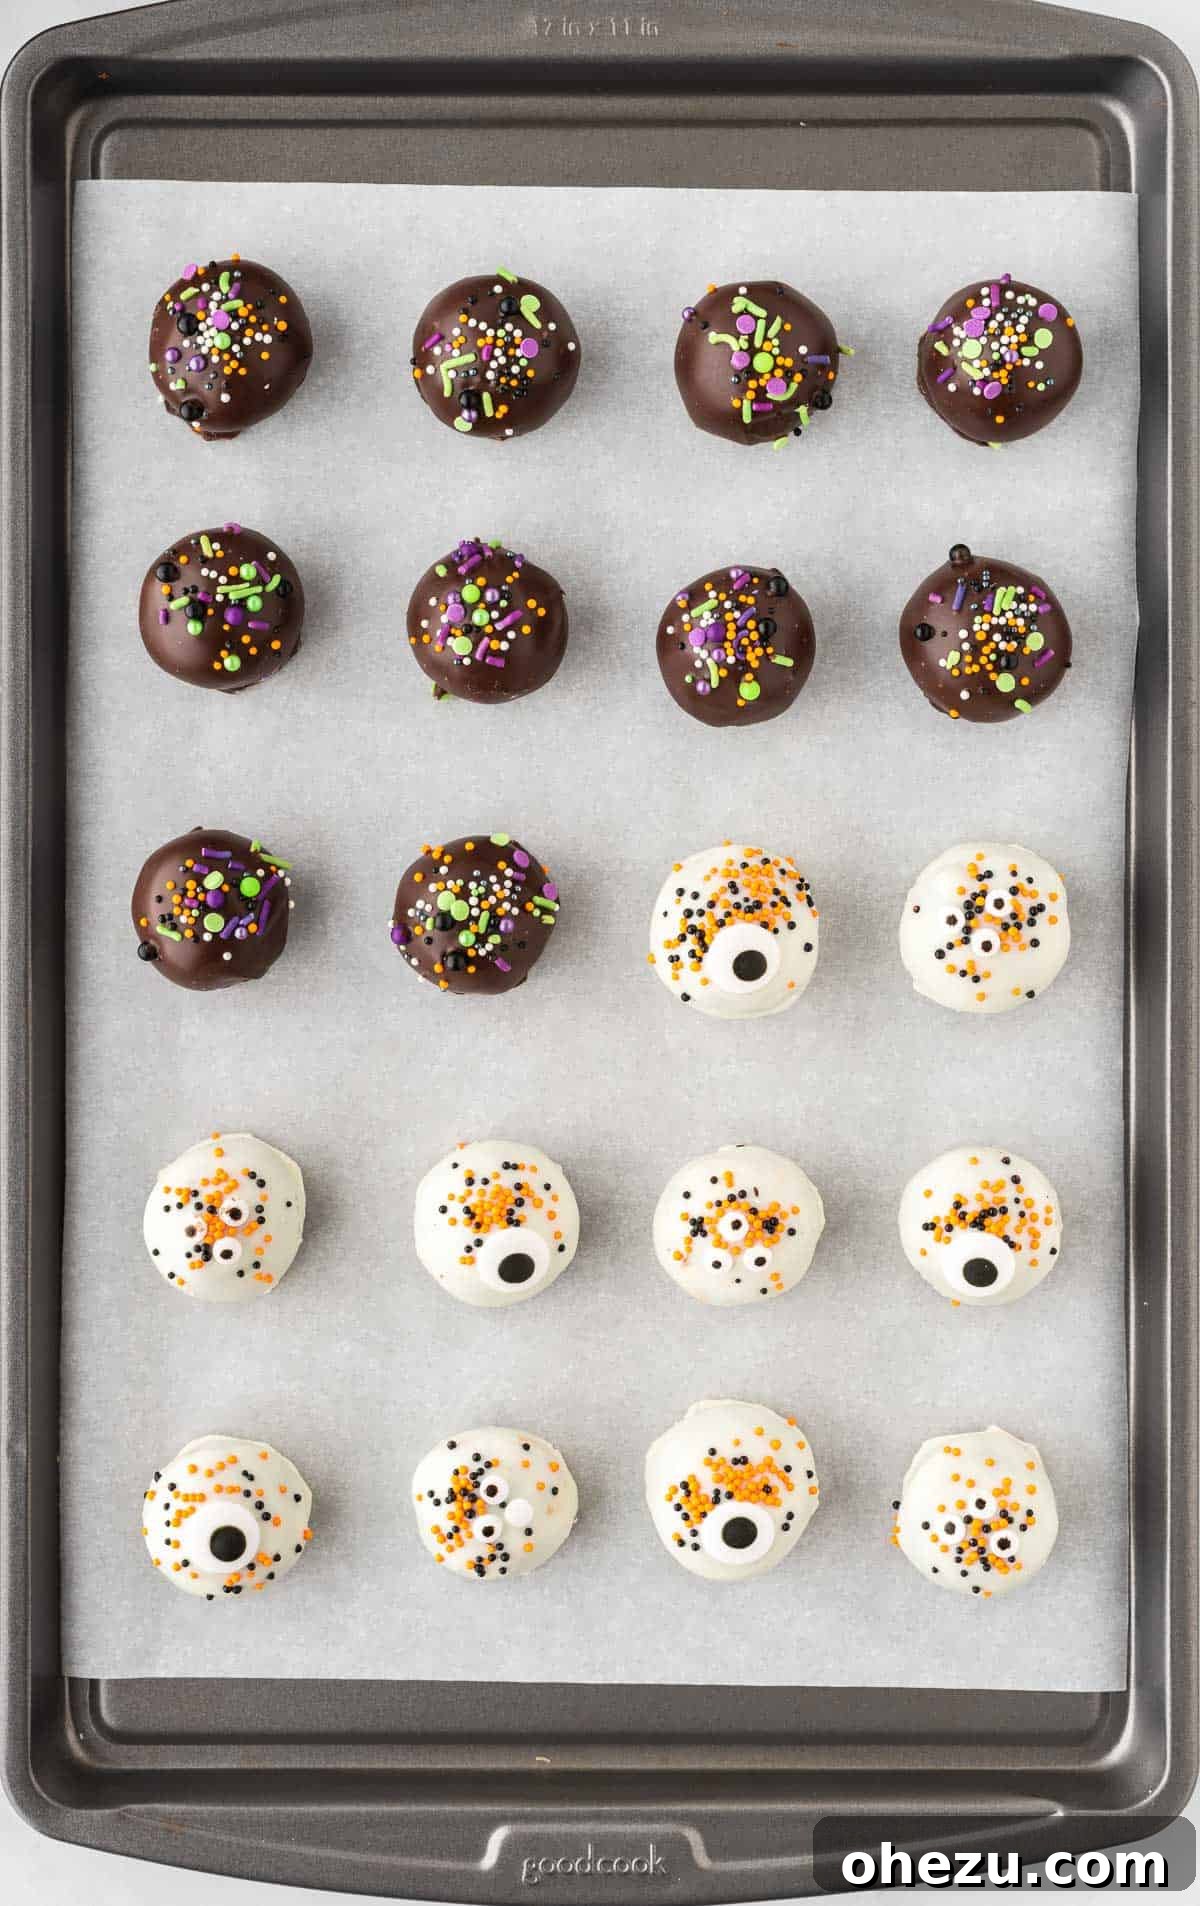
Once the Oreo balls are thoroughly chilled, it’s time for the fun part: dipping! In a microwave-safe bowl, melt the dark chocolate melting wafers. Heat in 30-second intervals, stirring well after each, until the chocolate is completely smooth and fluid. Be careful not to overheat it, as this can cause it to seize. Dip approximately half of your chilled Oreo balls into the melted dark chocolate, ensuring they are fully coated. Lift each ball out using a fork or a dipping tool, tapping gently against the edge of the bowl to remove excess chocolate. Immediately place them back on the parchment-lined baking sheet and generously top with your festive Halloween sprinkles while the chocolate is still wet. This will ensure the sprinkles adhere beautifully.
Important Tip: Do not melt the white chocolate until you have completely finished dipping and decorating all the dark chocolate balls. Melting wafers tend to cool and thicken quickly, so working with one color at a time ensures you always have perfectly smooth, dippable chocolate.
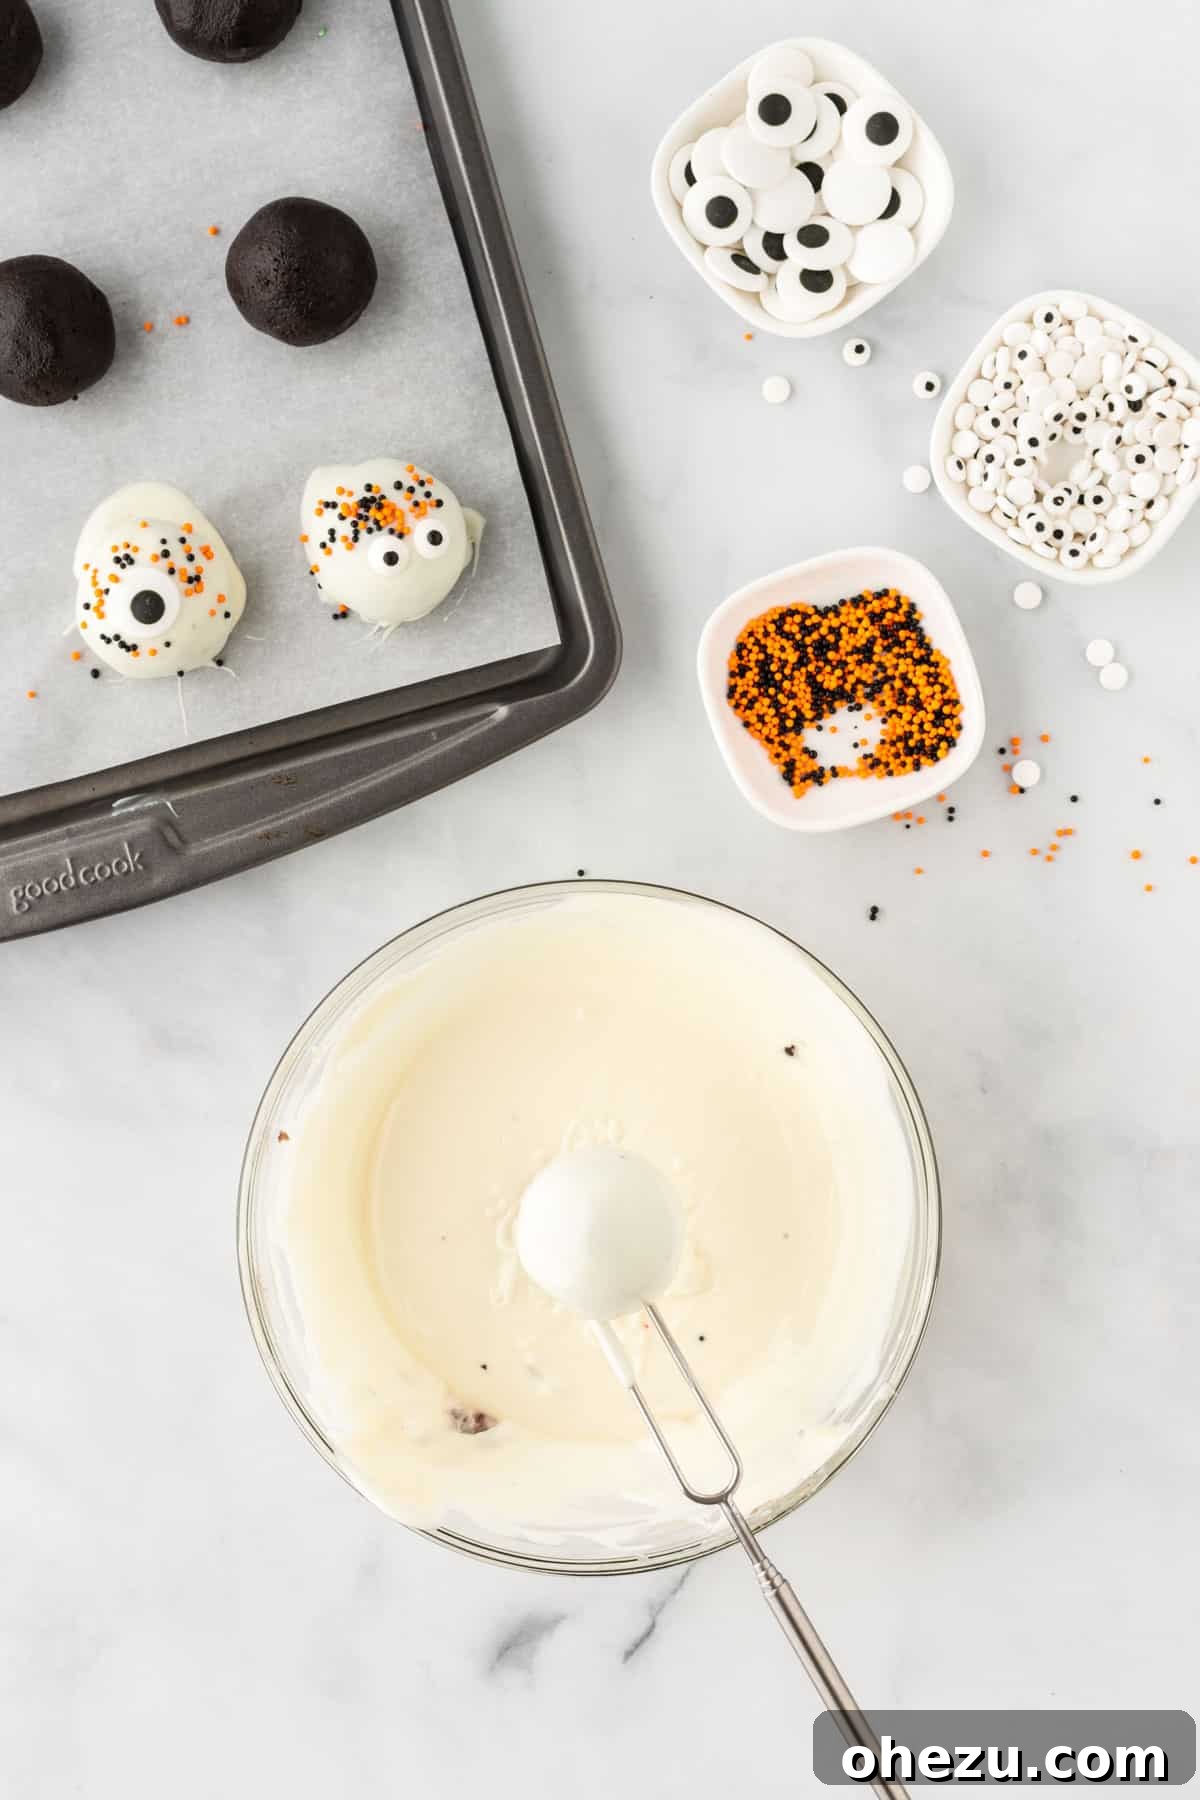
Step 5: Dipping in White Chocolate and Adding Candy Eyes
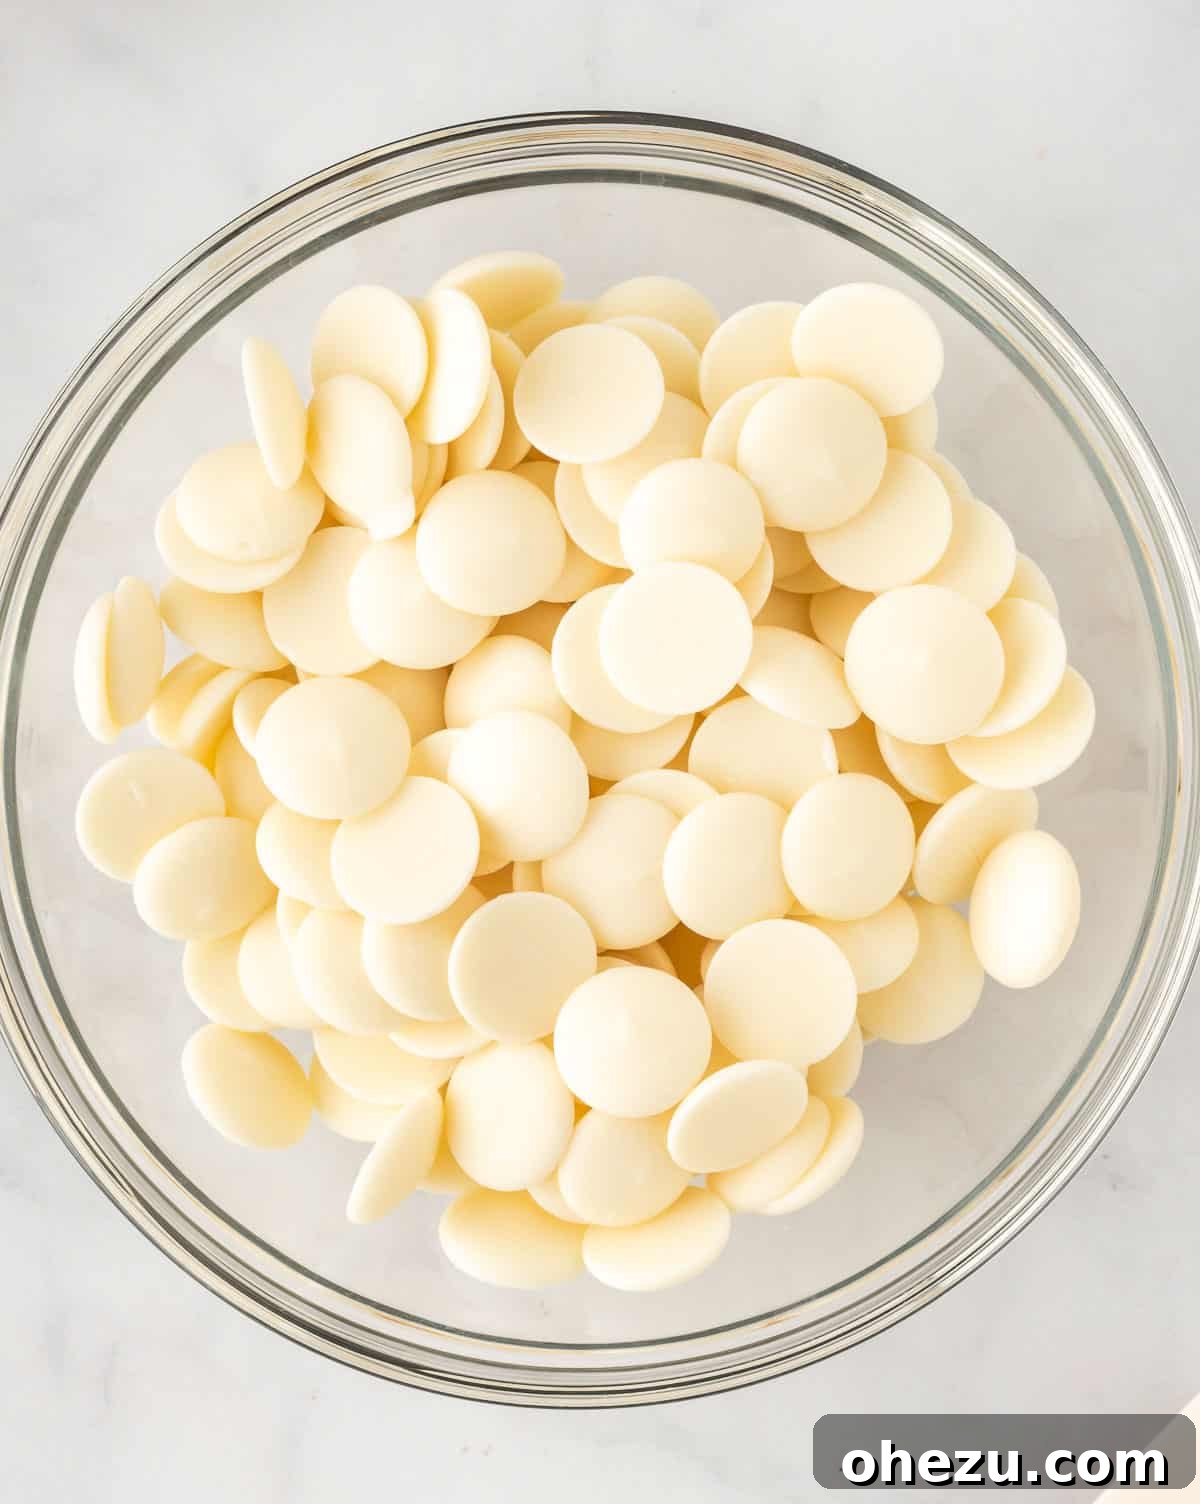
Once your dark chocolate creations are done, clean your bowl (or use a fresh one) and melt the white vanilla melting wafers using the same method as the dark chocolate. Ensure it’s silky smooth. Dip the remaining half of your chilled Oreo balls into the melted white chocolate. Again, tap off any excess chocolate. Place them back on the parchment paper. For these white chocolate balls, get creative! Top some with sprinkles for a classic look, and on others, carefully place one or two candy eyeballs while the chocolate is still wet. You can even draw little “mummy” lines with a bit of extra melted white chocolate in a piping bag for an extra spooky effect!
Step 6: Final Chill and Storage for Perfect Bites
After all your Oreo balls are dipped and decorated, return the baking sheet to the fridge. Chill them for at least 15-30 minutes, or until the chocolate coating is completely firm to the touch. This ensures the chocolate sets properly and gives them a nice snap when bitten. Once hardened, you can carefully transfer your beautiful Halloween Oreo balls to an airtight container or a sealed bag. Store them in the fridge for up to 1-2 weeks or in the freezer for up to 1 month. I personally love storing mine in the freezer; they keep longer, and you can grab one whenever a sweet craving strikes! If serving for a party, keep them in the fridge until just before guests arrive for optimal freshness and texture. A festive Halloween-themed platter makes for a perfect presentation!
These Halloween truffles might be super easy to make, but their taste is absolutely incredible! They offer a rich, fudgy texture with that classic Oreo flavor, all encased in a snappy chocolate shell. It’s nearly impossible to stop at just one! If you’ve ever had Oreo balls before, you already understand the irresistible hype. They are truly a treat that delights all ages.

Tips for Perfect Halloween Oreo Balls Every Time
To ensure your Halloween Oreo balls are a smashing success, keep these expert tips in mind:
- Room Temperature Cream Cheese: This cannot be stressed enough! Cold cream cheese will result in a lumpy mixture that’s hard to work with. Let it soften on the counter for at least an hour before starting.
- Fine Crumbs are Key: The finer your Oreo crumbs, the smoother your truffle base will be. A food processor is your best friend here.
- Don’t Skip the Chill Time: Chilling the Oreo balls before dipping is essential. It makes them firm and prevents them from melting or crumbling when they hit the warm chocolate.
- Melt Chocolate Carefully: Overheating chocolate can cause it to seize and become unusable. Use short bursts in the microwave, stirring diligently, or a gentle double boiler method.
- Work Quickly with Decorations: Sprinkles and candy eyes need to be applied immediately after dipping, while the chocolate is still wet, to ensure they stick.
- Experiment with Flavors: While classic Oreos are great, try using other flavored Oreos like Pumpkin Spice or Mint for unique Halloween variations!
Creative Halloween Decoration Ideas
Beyond sprinkles and candy eyes, here are some ideas to make your Oreo balls even more festive:
- Mummy Balls: Dip in white chocolate, then use a piping bag with a very fine tip (or a fork) to drizzle thin lines across the balls, leaving a gap for two candy eyes.
- Spiderweb Design: Dip in dark chocolate. While still wet, drizzle concentric circles of white chocolate on top. Use a toothpick to drag lines from the center outwards, creating a spiderweb effect.
- Ghostly Drizzles: After dipping in dark chocolate, use a squeeze bottle with melted white chocolate to create zig-zag patterns for a spectral look.
- Pumpkin Patch: Use orange candy melts for dipping. Once set, draw small green stems and leaves with green candy melts or icing.
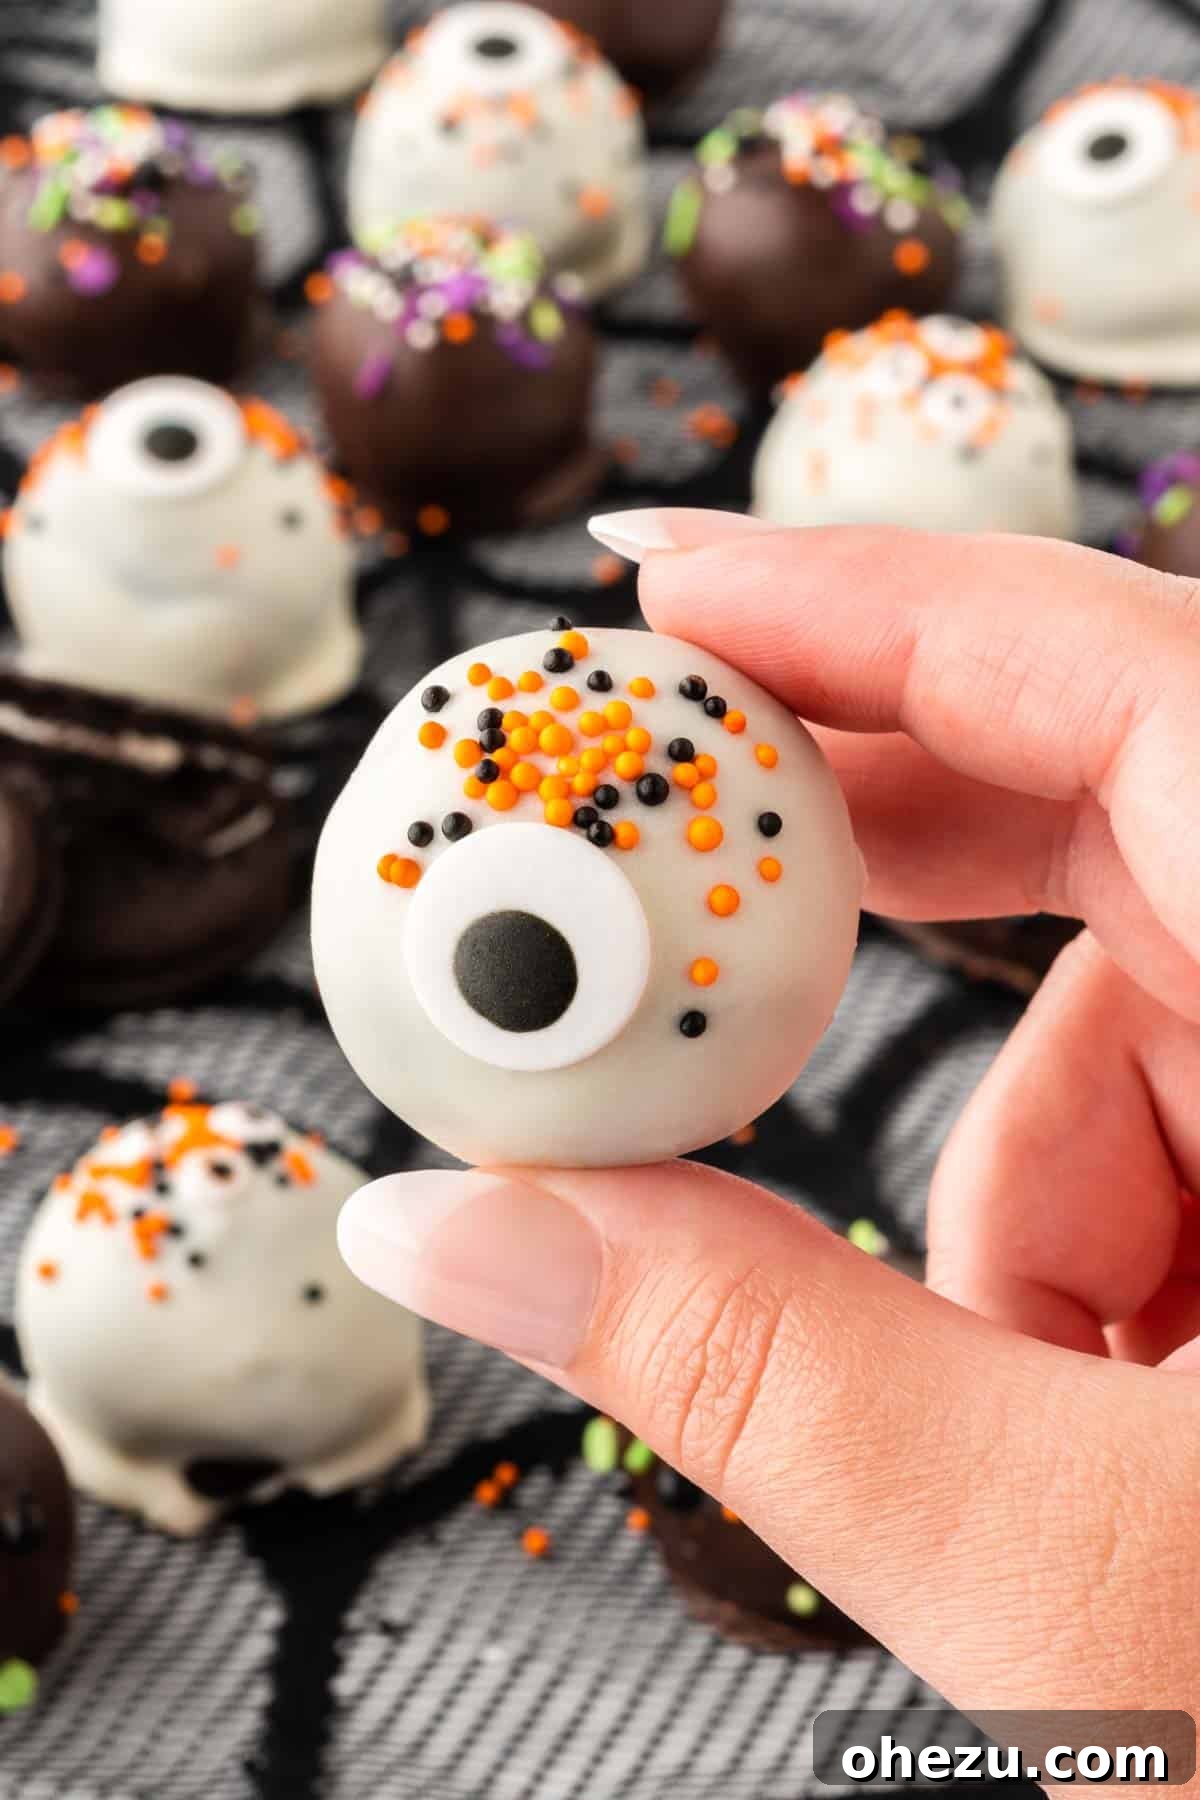

This is also another fantastic recipe that would be perfect for little hands to help with! Involve your children in the decorating process – letting them add sprinkles and candy eyes is a fun and engaging Halloween activity that they’ll absolutely love. My kids always enjoy eating these, and you get to be the cool mom or dad who made such amazing treats!
Frequently Asked Questions (FAQs)
Here are answers to some common questions about making Oreo balls:
- Can I use any type of Oreos? Yes, classic Oreos work perfectly. You can experiment with different flavors like Golden Oreos, Mint Oreos, or Peanut Butter Oreos for fun variations. Just ensure they are standard-sized cookies for the best crumb-to-cream cheese ratio.
- How long do Oreo balls last? When stored in an airtight container in the refrigerator, Halloween Oreo balls can last for up to 1-2 weeks. In the freezer, they’ll stay fresh for up to a month.
- Can I make these ahead of time? Absolutely! Oreo balls are an excellent make-ahead dessert. Prepare them entirely and store them in the fridge or freezer until you’re ready to serve. This makes party planning much easier.
- What if my chocolate is too thick for dipping? If your melted chocolate seems too thick, you can thin it out with a teaspoon of coconut oil or vegetable shortening (not water, which will seize it). Stir it in gradually until you reach a smooth, dippable consistency.
- Are Oreo balls gluten-free? No, traditional Oreos contain wheat. However, you can make a gluten-free version by using gluten-free sandwich cookies, which are widely available in most grocery stores.
- Can I use regular chocolate chips instead of melting wafers? While possible, regular chocolate chips may not melt as smoothly or harden as firmly as melting wafers, which are designed for dipping and coating. You might need to add a bit of coconut oil to make them more fluid.
Love Oreos as much as we do? You absolutely have to try this no-bake Oreo pie for a bigger dessert, and this delightful Oreo Dip for a quick snack idea!
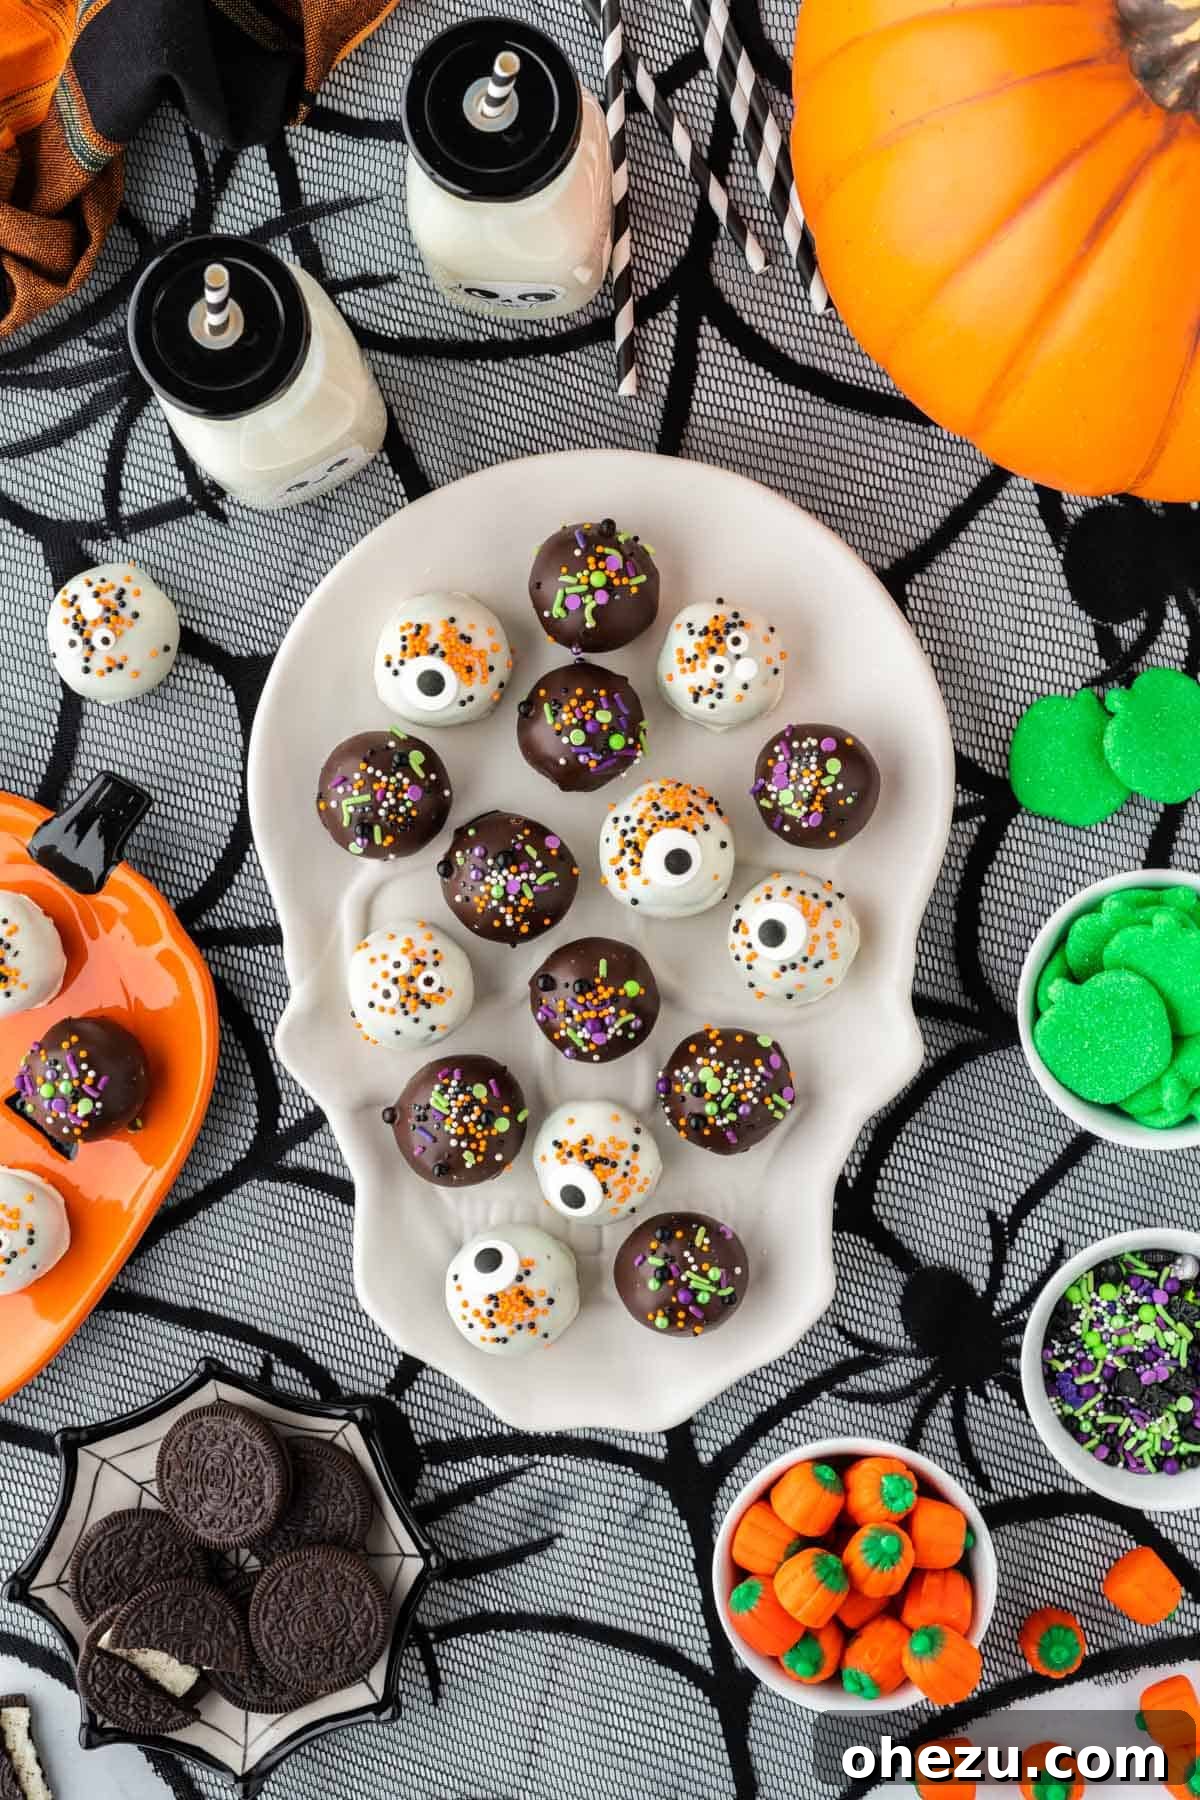
If you’re searching for a delicious, last-minute, and perfectly themed Halloween dessert that requires minimal effort but delivers maximum impact, you truly need to make these festive no-bake Oreo balls!
All it takes are a few basic ingredients to create these beloved Oreo truffles, and they are always a resounding favorite with both kids and adults. Give these incredibly delicious and fudgy little Halloween truffles a try this spooky season – you won’t regret it!

Spooky Halloween Oreo Balls
Joy Shull
30 minutes
30 minutes
20
Rate Recipe
Print Recipe
Ingredients
- 36 Oreos (1 standard package)
- 8 oz cream cheese, softened
- 10 oz Ghirardelli Dark chocolate melting wafers
- 10 oz Ghirardelli White vanilla melting wafers
- Halloween sprinkles and candy eyeballs, for decorating
Instructions
- Add the Oreos to a food processor and process into very fine crumbs.
- Add the softened cream cheese to the food processor and pulse until well combined and a uniform mixture forms.
- Transfer the Oreo ball mixture to a bowl and use a rubber spatula (or your hands) to ensure all ingredients are thoroughly mixed, eliminating any clumps.
- Line a baking sheet with parchment paper.
- Use a cookie scoop to portion out the Oreo mixture onto the baking sheet.
- Roll each portion between your hands to form smooth, round balls.
- Chill the Oreo balls in the fridge or freezer for at least 30 minutes to firm them up.
- Melt the Dark chocolate melting wafers until smooth, following package directions or using short microwave intervals.
- Dip half of the chilled Oreo balls into the melted dark chocolate and immediately top with Halloween sprinkles. Return to the parchment-lined baking sheet.
- Clean your bowl, then melt the white vanilla melting wafers until smooth.
- Dip the remaining half of the Oreo balls in white melting wafers and top with sprinkles and/or candy eyeballs.
- Chill all the decorated Oreo balls in the fridge until the chocolate coating is completely firm. Once set, transfer to an airtight container and store in the fridge until ready to eat.
Nutrition
Carbohydrates: 26g,
Protein: 2g,
Fat: 12g,
Saturated Fat: 7g,
Polyunsaturated Fat: 1g,
Monounsaturated Fat: 3g,
Trans Fat: 0.01g,
Cholesterol: 11mg,
Sodium: 132mg,
Potassium: 66mg,
Fiber: 1g,
Sugar: 19g,
Vitamin A: 153IU,
Calcium: 16mg,
Iron: 3mg
Like this recipe? Rate and comment below!