
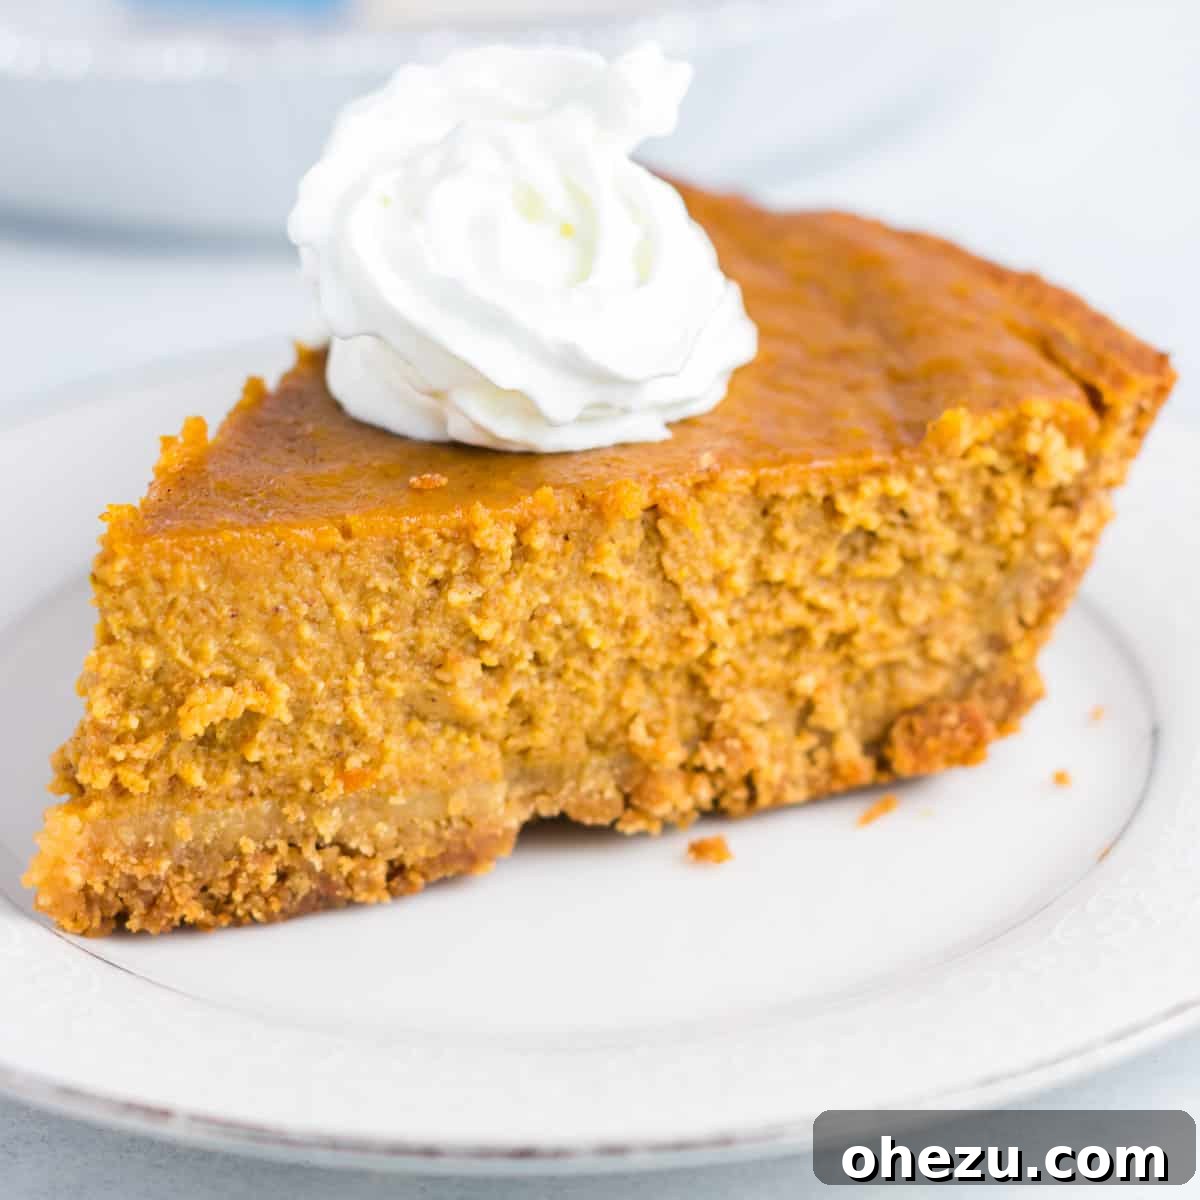
Celebrate the holidays with our irresistible Gluten-Free Pumpkin Pie recipe, featuring a delightful graham cracker crust that’s perfect for Thanksgiving and beyond!
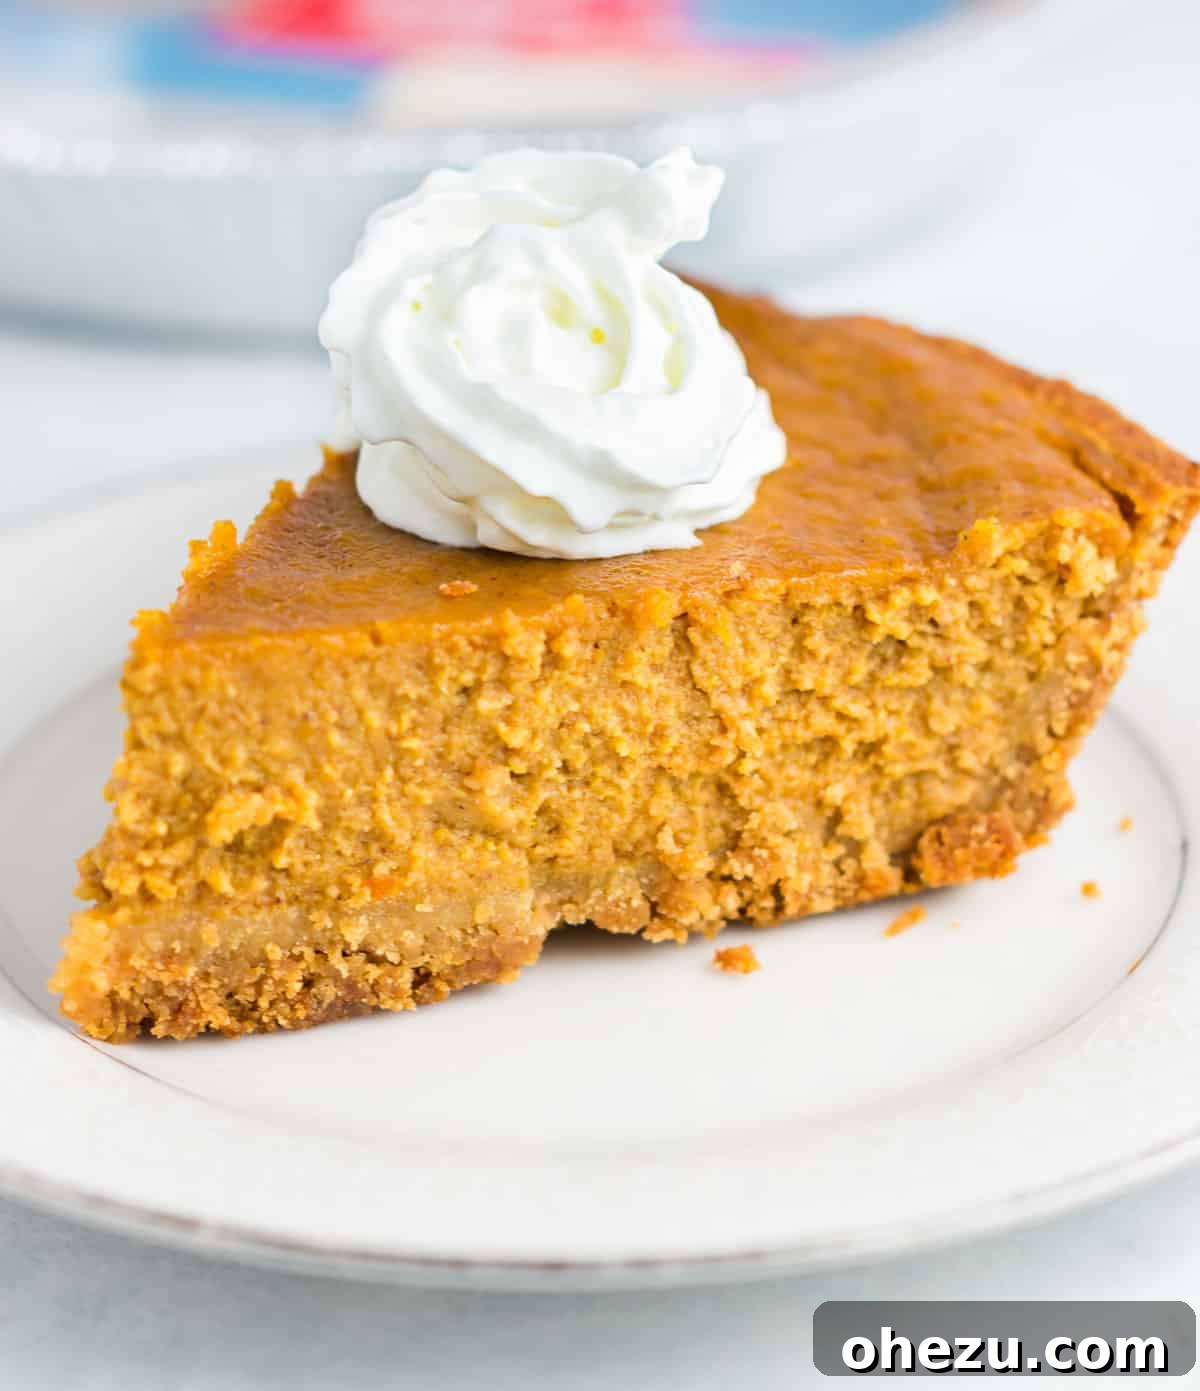
Bake the Best Gluten-Free Pumpkin Pie This Holiday Season
As the leaves change and a crispness fills the air, thoughts invariably turn to cozy gatherings and festive feasts. For many, no holiday table, especially Thanksgiving, is complete without the iconic pumpkin pie. Its rich, creamy filling and fragrant spices embody the very essence of autumn. However, for those navigating a gluten-free diet, enjoying this beloved classic can often be a challenge, requiring compromises on flavor or texture. That’s where this incredible recipe comes in.
We’re thrilled to share our recipe for the **easiest and most delicious gluten-free pumpkin pie** you’ll ever bake. This isn’t just a good gluten-free pie; it’s an exceptional pumpkin pie, period. It perfectly captures the nostalgic taste and comforting texture of traditional pumpkin pie, ensuring that everyone at your celebration can indulge without a second thought. Forget complicated ingredients or lengthy preparation times – this recipe is designed for simplicity, making it your new go-to holiday dessert.
⭐️ Rave Review! ⭐️
“My kids absolutely loved this pie! They declared it the best pumpkin pie they’d ever tasted, and I wholeheartedly agree. Thank you for sharing such a wonderful recipe!” – Tabitha
Why This Gluten-Free Pumpkin Pie Stands Out
What makes this gluten-free pumpkin pie truly special? It boils down to a few key elements that ensure a fantastic result every time:
- Authentic Flavor: We’ve meticulously balanced the spices and natural sweetness to deliver that classic, comforting pumpkin pie taste that evokes cherished holiday memories. You won’t miss the gluten one bit!
- Effortless Preparation: This recipe prioritizes ease without sacrificing quality. With straightforward steps and readily available ingredients, you can have this pie prepped and ready for the oven in minutes. It’s the perfect solution for busy holiday schedules.
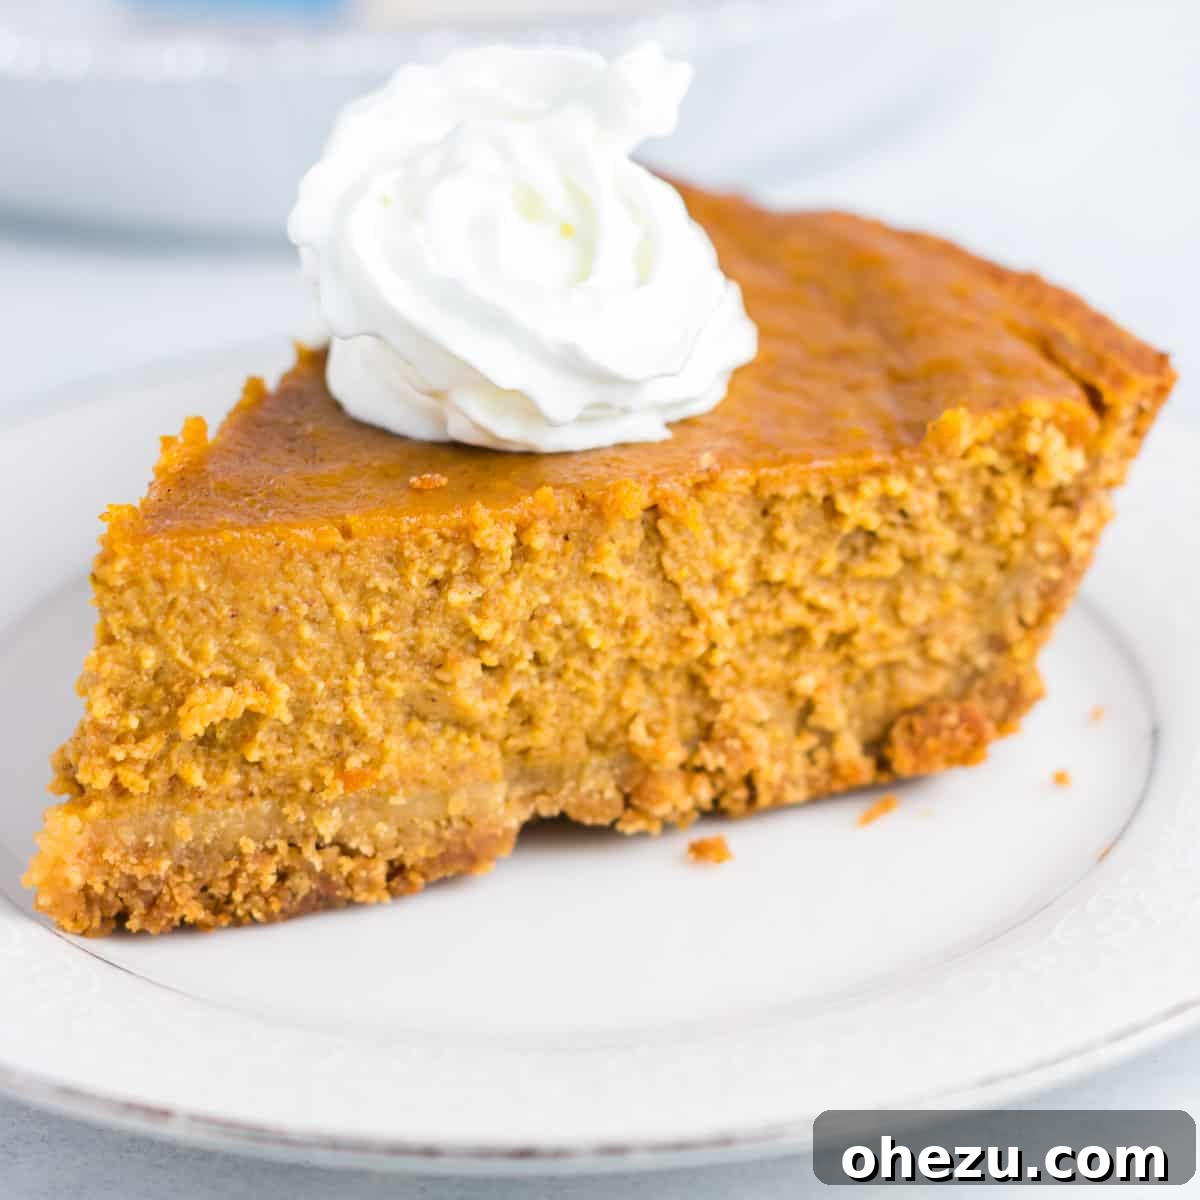
- Perfect Texture: The filling bakes up beautifully smooth and creamy, while the gluten-free graham cracker crust provides a delightful, sturdy base with a satisfying crunch. No soggy bottoms here!
- Naturally Sweetened: Using pure maple syrup not only sweetens the pie naturally but also adds a subtle depth of flavor that complements the pumpkin and spices perfectly.
- Crowd-Pleaser: Whether your guests are gluten-sensitive or not, this pie is guaranteed to be a hit. Its delicious taste and traditional appeal make it a dessert that everyone will enjoy, often without even realizing it’s gluten-free.
This recipe truly embodies the joy of holiday baking: delicious results with minimal fuss. It’s a testament that gluten-free doesn’t mean compromising on taste or experience.
Key Ingredients for Your Gluten-Free Pumpkin Pie
Crafting the perfect gluten-free pumpkin pie begins with selecting the right ingredients. Here’s a closer look at what you’ll need and why each component is important:
- Gluten-Free Ready-Made Graham Style Pie Crust: This is your shortcut to convenience! A pre-made crust saves time and effort, making the recipe even easier. Look for brands specifically labeled gluten-free. Alternatively, you can make your own gluten-free graham cracker crust from scratch using gluten-free graham crackers, melted butter, and a touch of sugar.
- Canned Pumpkin: Ensure you grab 100% pure canned pumpkin puree, not pumpkin pie filling. Pumpkin pie filling often contains added sugars and spices that will throw off the balance of this recipe. The pure puree allows you to control the exact flavor profile.
- Milk: Any milk will do, whether it’s whole milk for a richer pie, or a dairy-free alternative like almond milk, oat milk, or soy milk for those with dietary restrictions. The milk contributes to the pie’s creamy texture.
- Pure Maple Syrup: This natural sweetener not only provides a lovely caramel-like sweetness but also enhances the overall autumnal flavor of the pie. It’s a wonderful alternative to refined sugars, offering a more nuanced taste.
- Coconut Flour: A small amount of coconut flour acts as a gentle thickener for the filling, helping it set beautifully without being overly dense. It also adds a subtle, pleasant aroma.
- Pumpkin Pie Spice: This pre-mixed blend of cinnamon, nutmeg, ginger, and cloves is the heart of pumpkin pie flavor. It provides warmth and complexity.
- Cinnamon: An extra dash of ground cinnamon amplifies the spice profile, adding an inviting aroma and depth of flavor.
- Salt: Just a pinch of salt is crucial. It doesn’t make the pie salty but rather balances the sweetness and enhances all the other flavors, making them pop.
- Vanilla Extract: Pure vanilla extract adds a layer of sophisticated sweetness and aroma, rounding out the flavor of the pie. Use good quality vanilla for the best results.
- Eggs: Eggs are essential for binding the pie filling together, giving it structure and that signature silky-smooth, custardy texture. They help the pie set as it bakes.
With these simple yet powerful ingredients, you’re well on your way to baking a gluten-free pumpkin pie that will impress even the most discerning palates.
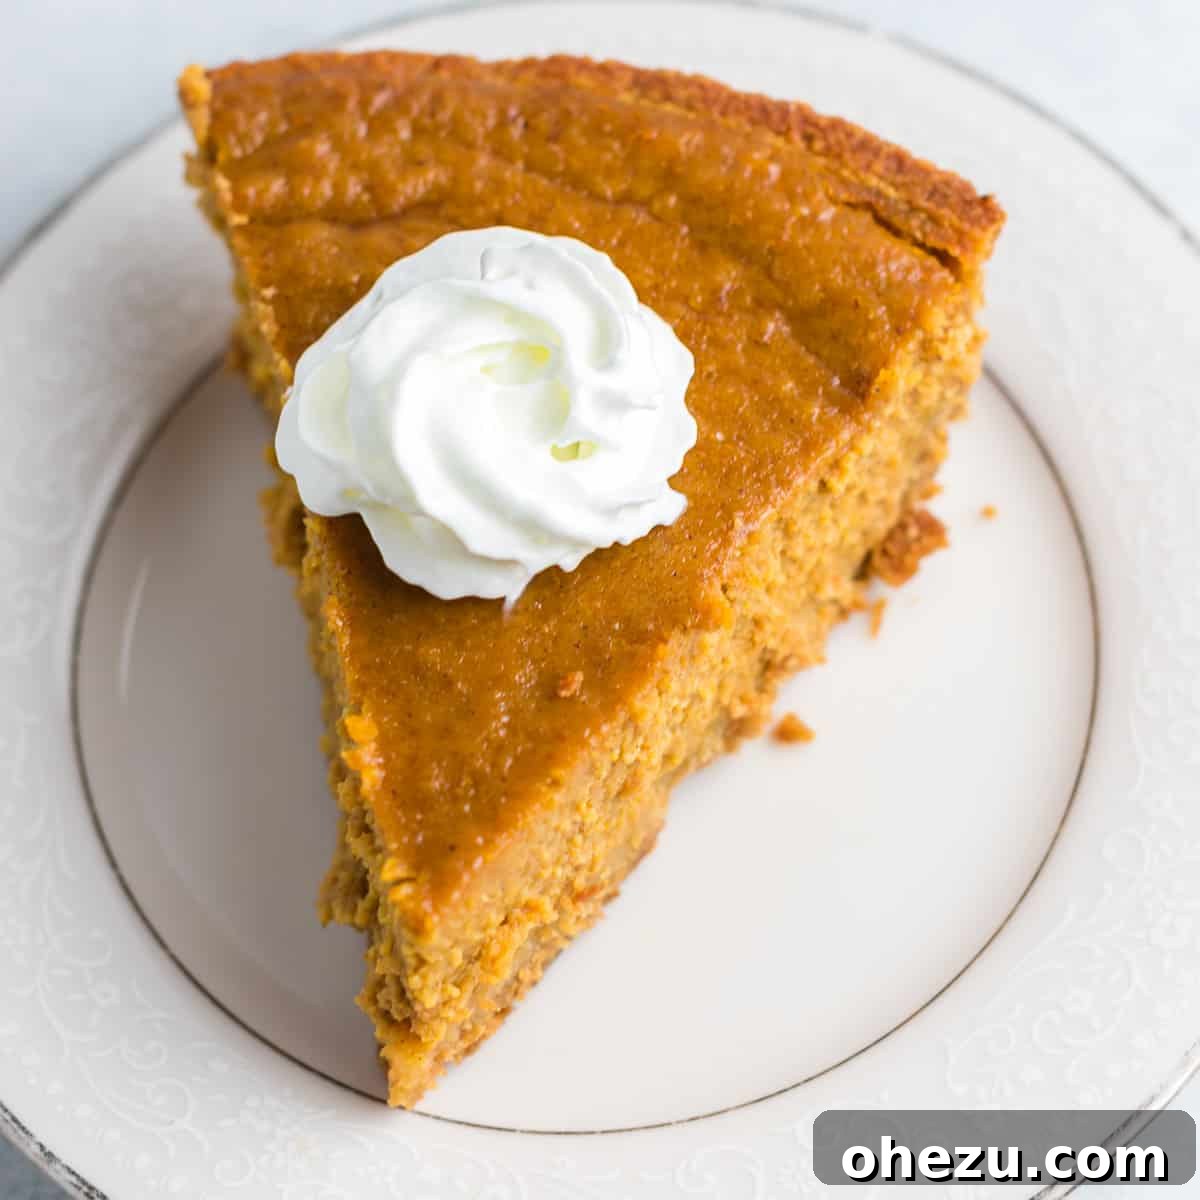
Step-by-Step Guide: How to Make Your Gluten-Free Pumpkin Pie
Making this incredible gluten-free pumpkin pie is surprisingly simple. Follow these easy steps to achieve a perfect, delectable dessert every time:
- Prepare the Filling: In a large mixing bowl, combine the canned pumpkin puree, milk, pure maple syrup, coconut flour, pumpkin pie spice, cinnamon, salt, vanilla extract, and eggs. Use an electric mixer on medium speed or a sturdy whisk to beat the ingredients thoroughly until they are completely smooth and well combined. Ensure there are no lumps of coconut flour. This mixing process is key to a smooth, uniform pie texture.
- Pour into Crust: Carefully pour the pumpkin pie filling mixture into your ready-made gluten-free graham-style pie crust. Gently tap the pie plate on your counter a few times to release any air bubbles and ensure the filling settles evenly.
- Bake to Perfection: Preheat your oven to 350 degrees Fahrenheit (175 degrees Celsius). Place the pie on a baking sheet (this helps catch any potential drips and makes transferring easier) and bake for 55-65 minutes. The pie is done when the edges are set, and the center still has a slight jiggle. The pie may also begin to pull away from the crust’s edges and show small cracks on the surface – these are all good indicators of doneness.
- Cool and Chill: Once baked, remove the pie from the oven and allow it to cool completely on a wire rack at room temperature for at least 1 hour, or until it is no longer warm to the touch. This cooling period is crucial for the pie to fully set. After cooling, transfer the pie to the refrigerator and chill for a minimum of 3-4 hours, or ideally overnight. Pumpkin pie tastes best when thoroughly chilled, as this allows the flavors to meld and the custard to firm up to its ideal consistency.
- Serve and Enjoy: Once fully chilled, slice your gluten-free pumpkin pie into generous wedges. Serve it cold with a dollop (or a mountain!) of freshly whipped cream. For an extra touch of indulgence, consider a sprinkle of cinnamon or a drizzle of caramel sauce.
That’s it! This recipe truly is as simple as “dump, mix, pour, and bake.” You’ll be amazed at how effortlessly you can create such a show-stopping dessert.
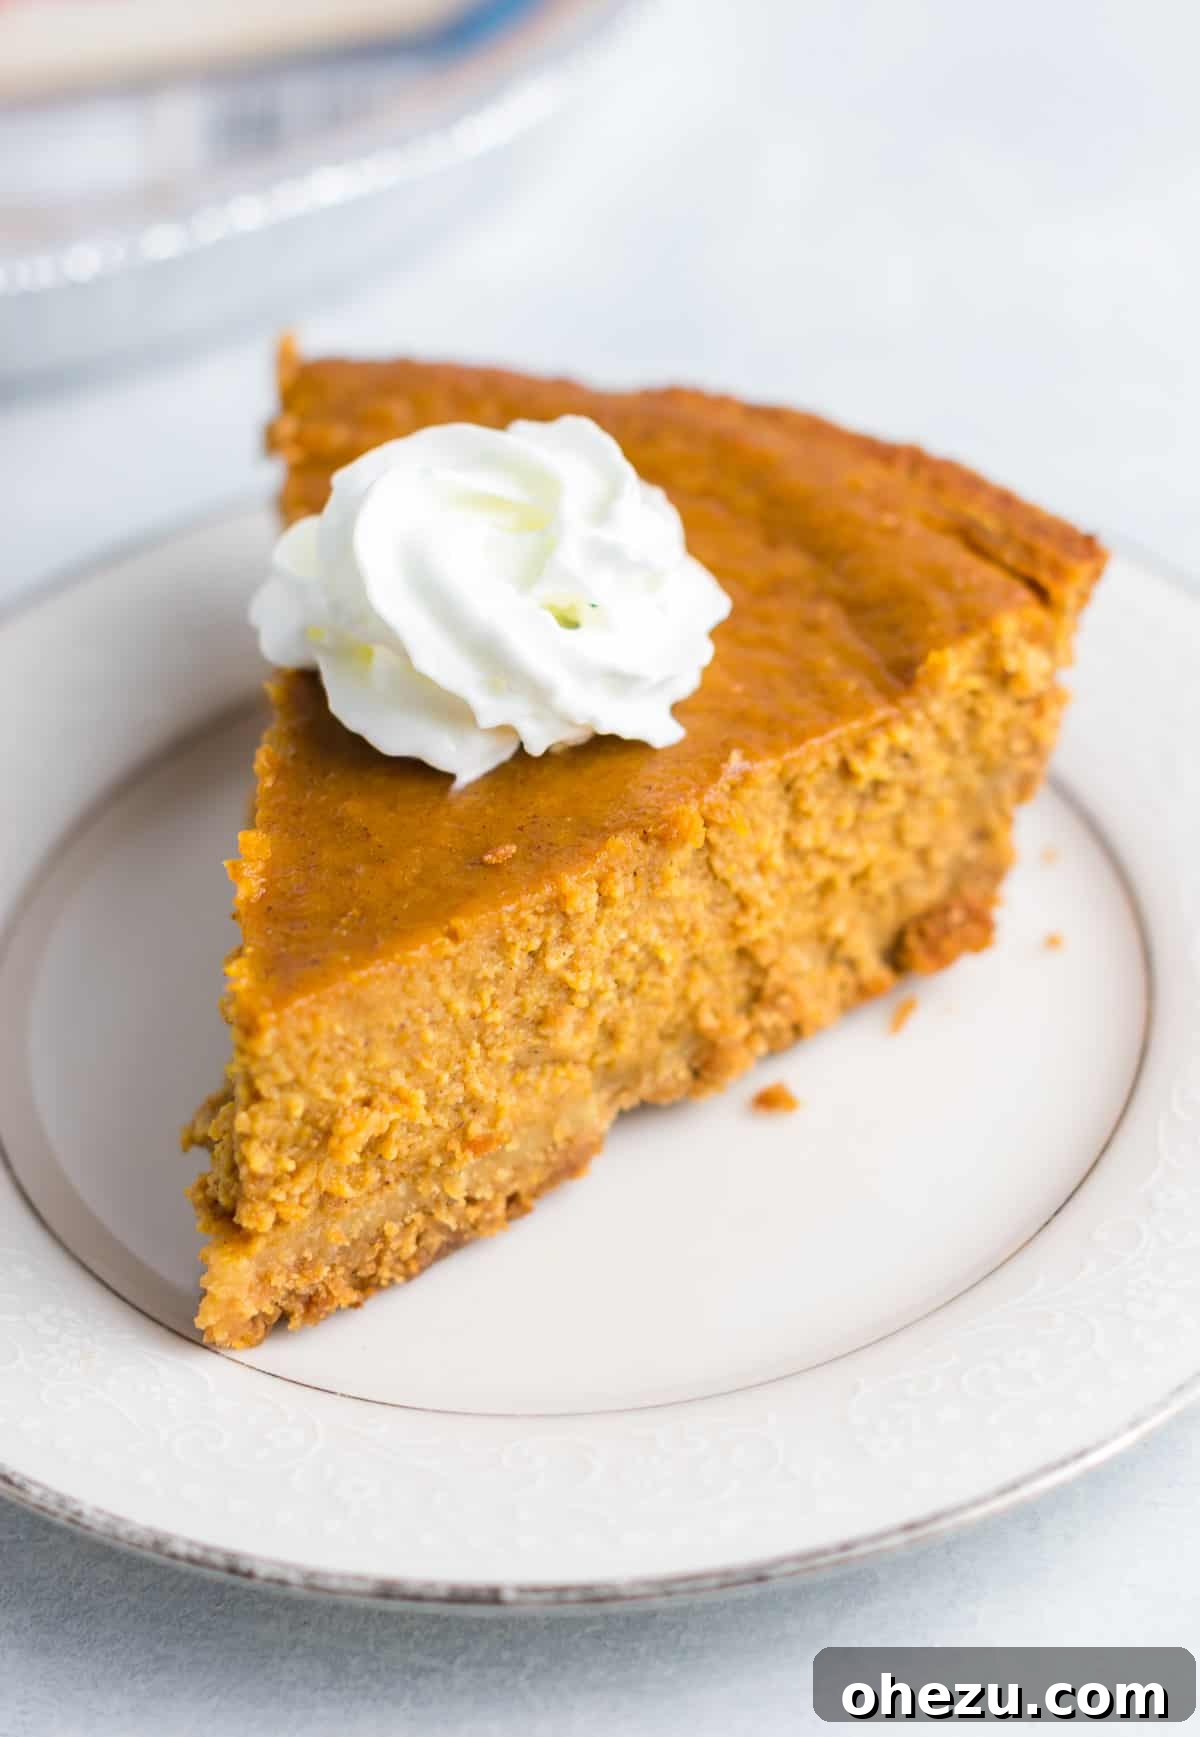
Tips for Baking Your Best Gluten-Free Pumpkin Pie
While this recipe is incredibly straightforward, a few expert tips can elevate your pie from great to absolutely extraordinary:
- Don’t Overbake: Overbaking can lead to a dry, cracked pie. Look for that slight jiggle in the center. The residual heat will continue to cook the pie as it cools.
- Room Temperature Eggs: Using room temperature eggs helps them incorporate more smoothly into the batter, leading to a silkier filling.
- Prevent Edge Burning: If your crust edges start to brown too quickly, you can cover them loosely with aluminum foil for the last portion of baking.
- Pure Pumpkin is Key: We can’t stress this enough – always use pure pumpkin puree, not pumpkin pie filling. The latter is already seasoned and sweetened, which will throw off the carefully balanced flavors in this recipe.
- Chill Thoroughly: Patience is a virtue here! A fully chilled pie not only tastes better but also slices more cleanly, giving you those picture-perfect wedges.
Make-Ahead & Storage Suggestions
This gluten-free pumpkin pie is an excellent dessert to prepare in advance, especially during the busy holiday season:
- Make-Ahead: You can bake this pie up to 2-3 days before you plan to serve it. Simply bake, cool, and chill as directed, then cover it loosely with plastic wrap and store it in the refrigerator.
- Storage: Leftover pumpkin pie should be stored in an airtight container or tightly wrapped in plastic wrap in the refrigerator for up to 3-4 days.
- Freezing: For longer storage, pumpkin pie freezes wonderfully! Wrap the cooled and chilled pie (whole or in slices) tightly in plastic wrap, then an additional layer of aluminum foil. Freeze for up to 1 month. Thaw in the refrigerator overnight before serving.
More Thanksgiving & Holiday Recipes to Love
Looking for more delicious gluten-free and crowd-pleasing dishes for your holiday spread? Explore these other fantastic recipes that will round out your festive meal:
- Creamed Corn: A classic, comforting side dish that’s always a hit.
- No Bake Peanut Butter Pie: An incredibly easy and decadent dessert for peanut butter lovers.
- Pecan Pie Bars: All the flavor of pecan pie in an easy-to-serve bar format.
- Pecan Cream Pie: A delightful twist on traditional pecan pie, offering a lighter, creamier texture.
- Honey Brown Sugar Glazed Carrots: A simple yet elegant vegetable side that adds a touch of sweetness.
- No Bake Pumpkin Cheesecake Bars: For another pumpkin-infused treat with minimal effort.
- Oreo Pie: A fun and indulgent dessert that’s always a crowd-pleaser.
- Pumpkin Cream Pie: A lighter, fluffier alternative to traditional pumpkin pie.
- Green Bean Casserole: The quintessential holiday side dish, reinvented for your table.
- Pumpkin Cheese Ball: A unique and festive appetizer to kick off your holiday meal.
Gluten Free Pumpkin Pie
Joy Shull
10 mins
1 hr 5 mins
1 hr 15 mins
8
Ingredients
For the Gluten Free Graham Crust
- 1 Gluten Free Graham Style Pie Crust
For the Pumpkin Pie Filling
- 2 cups canned pumpkin (pure puree, not pie filling)
- 1/2 cup milk (dairy or non-dairy)
- 3/4 cup pure maple syrup
- 3 tablespoons coconut flour
- 1 1/2 teaspoons pumpkin pie spice
- 1/2 teaspoon cinnamon
- 1/4 teaspoon salt
- 1 tablespoon vanilla extract
- 3 eggs
Instructions
-
Combine the canned pumpkin, milk, maple syrup, coconut flour, pumpkin pie spice, cinnamon, salt, vanilla extract, and eggs. Beat with a mixer or whisk well until all ingredients are thoroughly combined and smooth.
-
Pour the pumpkin pie batter into a ready-made gluten-free graham cracker pie crust.
-
Bake the gluten-free pumpkin pie at 350 degrees Fahrenheit (175°C) for 55-65 minutes, or until the edges are set and the center has a slight jiggle. The pie may also begin to pull away from the edges and show small cracks on top.
-
Allow the pie to cool on a wire rack for at least 1 hour, or until it is no longer hot. Then, transfer it to the refrigerator to chill completely for a minimum of 3-4 hours, or ideally overnight, before serving.
-
Slice and serve your perfectly chilled pumpkin pie, topped with a generous dollop of whipped cream.
Notes
Nutrition
Calories: 259kcal, Carbohydrates: 42g, Protein: 5g, Fat: 8g, Saturated Fat: 2g, Polyunsaturated Fat: 1g, Monounsaturated Fat: 4g, Trans Fat: 0.01g, Cholesterol: 63mg, Sodium: 214mg, Potassium: 269mg, Fiber: 3g, Sugar: 25g, Vitamin A: 9648IU, Vitamin C: 3mg, Calcium: 87mg, Iron: 2mg
Loved this recipe? Share your thoughts and successes in the comments below!