Irresistible No-Bake Pumpkin Protein Balls: Your Ultimate Fall Snack
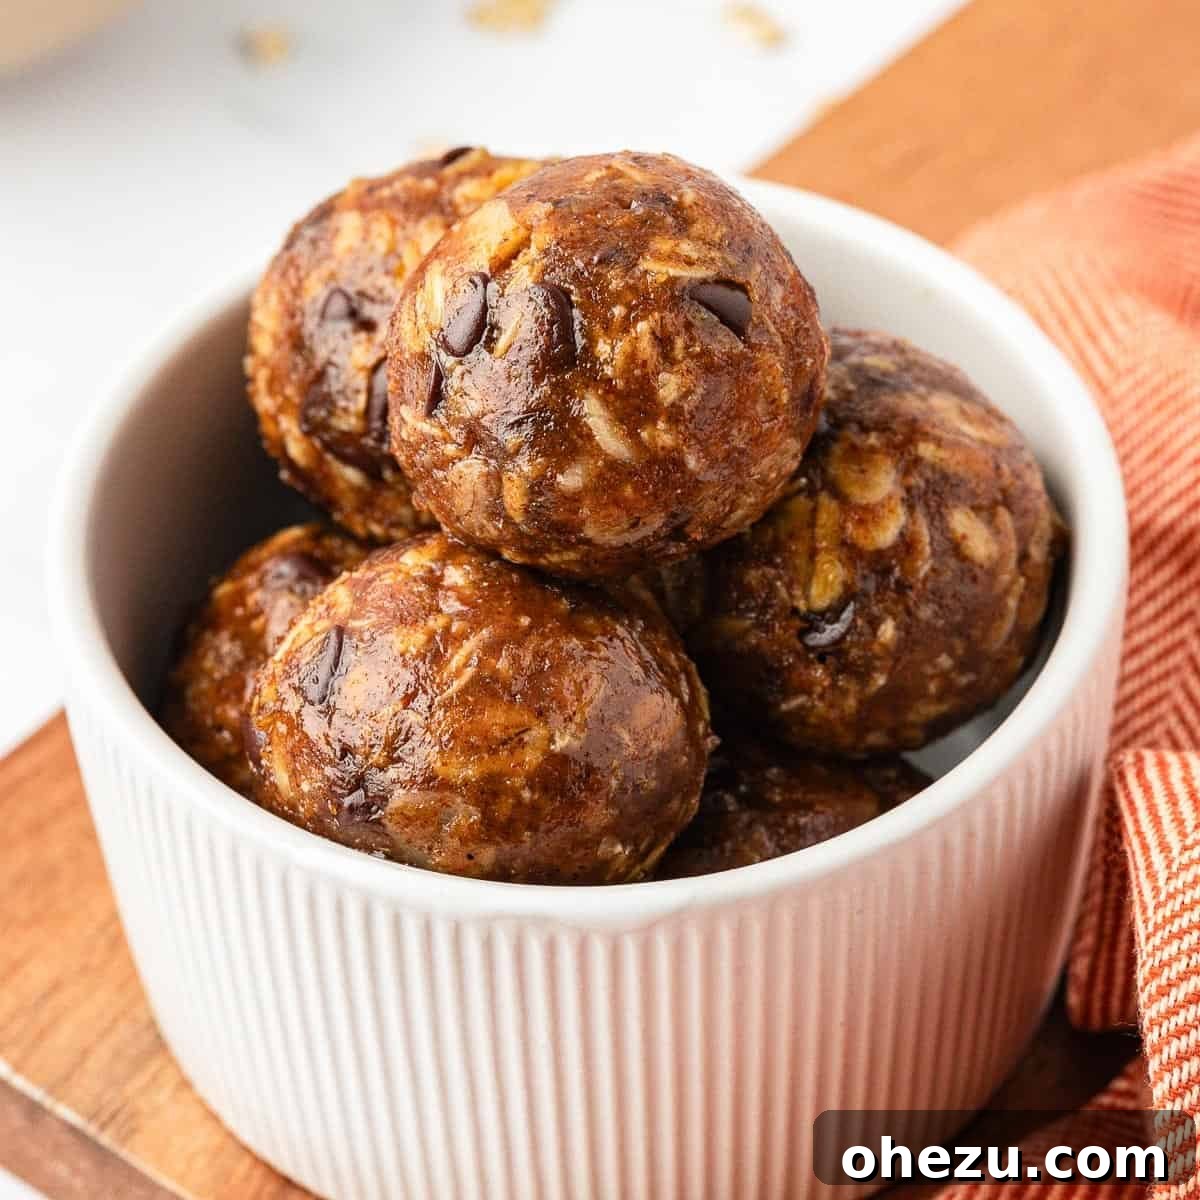
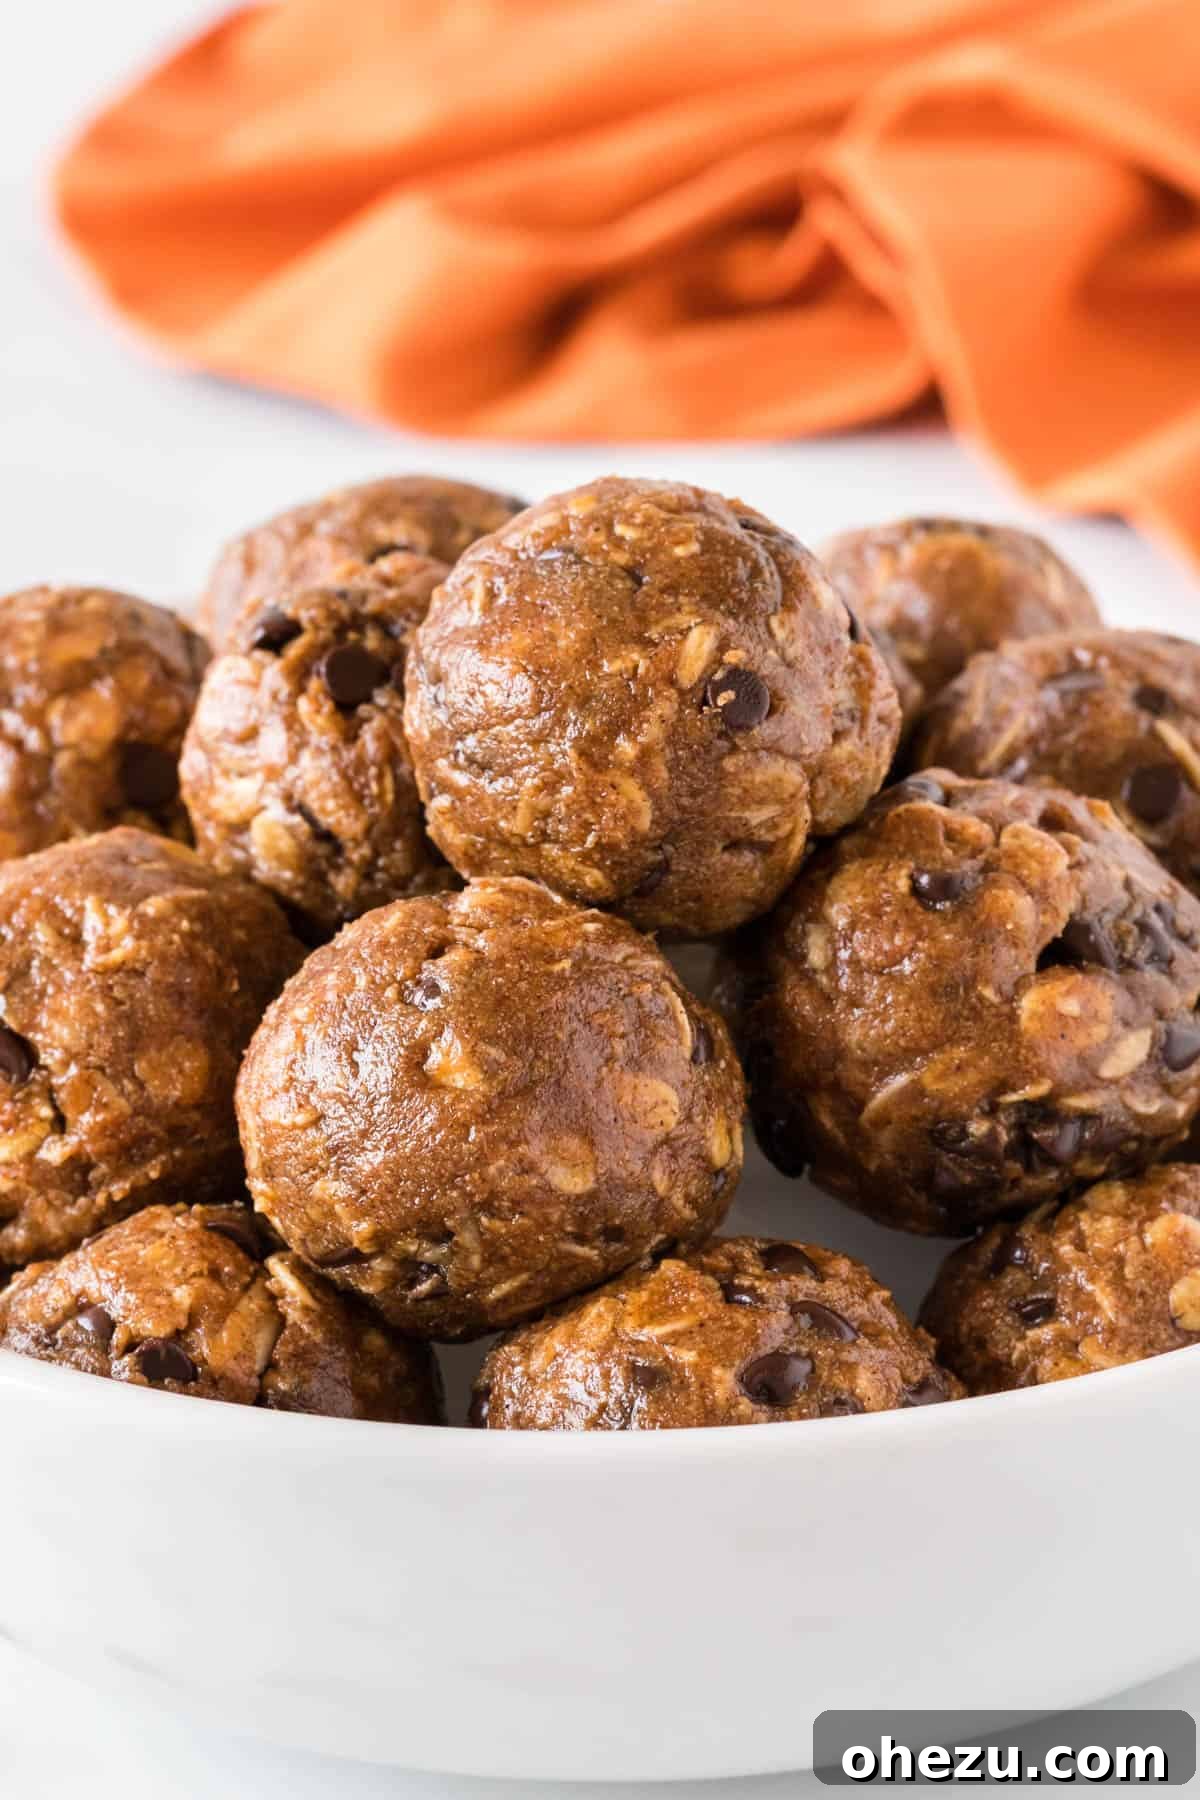
These delightful no-bake Pumpkin Protein Balls are a taste sensation, reminiscent of creamy pumpkin spice cookie dough in every bite! Effortlessly simple to prepare, they serve as a fantastic, healthy snack option perfect for embracing the cozy flavors of fall.
Why These Pumpkin Protein Balls Are Your New Favorite Fall Treat!
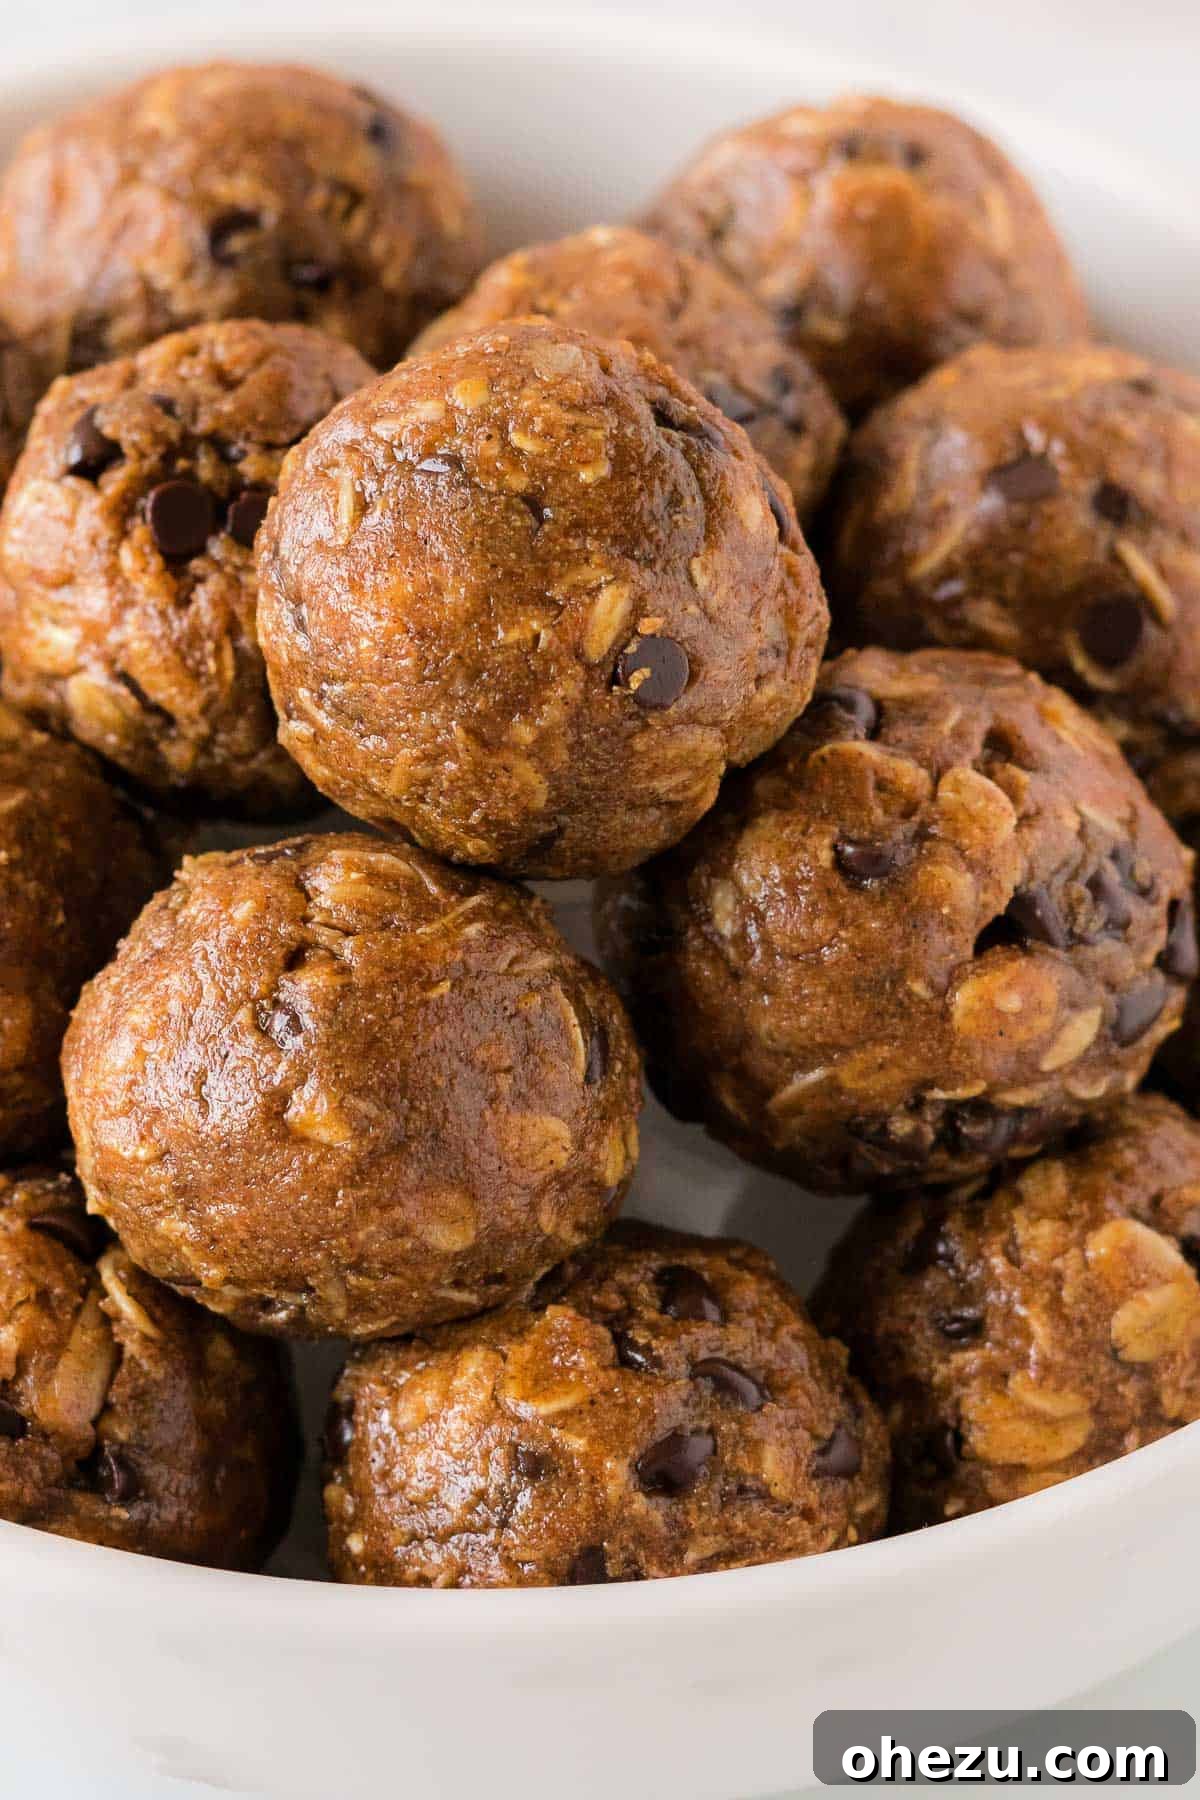
Prepare to be amazed by the incredible flavor of these no-bake pumpkin protein balls. They truly capture the essence of pumpkin spiced cookie dough, but with all the added benefits of a wholesome, protein-packed snack. Imagine indulging in a guilt-free treat that’s not only incredibly delicious but also contributes to your daily nutritional goals.
These delightful energy bites are more than just a sweet indulgence; they are a beacon of convenience and health. Crafted with simple, recognizable ingredients, they are naturally gluten-free and sweetened with honey, making them an excellent choice for a wide range of dietary preferences. When the crisp autumn air arrives, signalling the start of fall, these pumpkin protein balls quickly become a staple in our household. My children adore them, and I love knowing that they’re fueling their bodies with something genuinely good.
Whether you need a quick breakfast on the go, a post-workout refuel, or a satisfying afternoon snack, these pumpkin spice energy balls hit all the right notes. They are designed for ease, requiring no oven time, and can be whipped up in minutes. This recipe is a testament to how healthy eating can be both simple and incredibly flavorful.
Essential Ingredients for Your Healthy Pumpkin Protein Balls
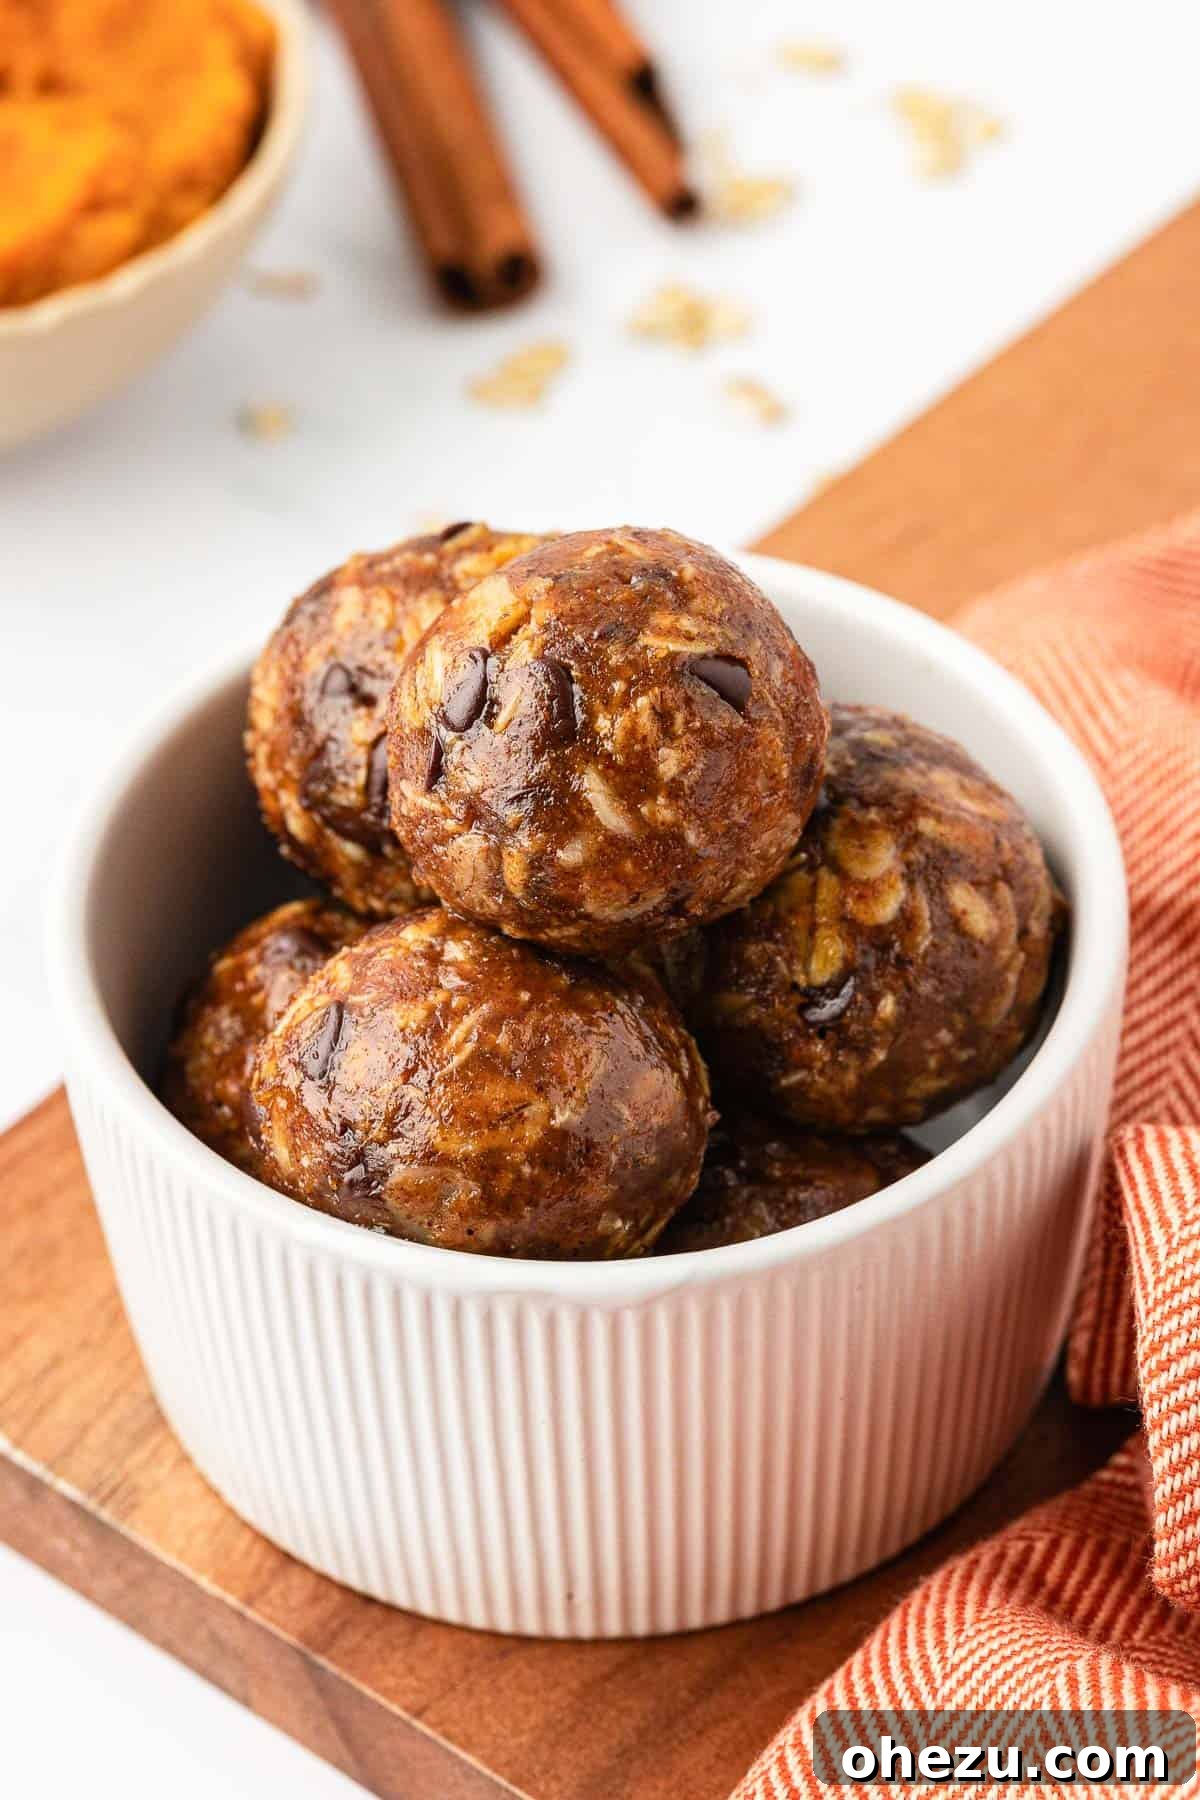
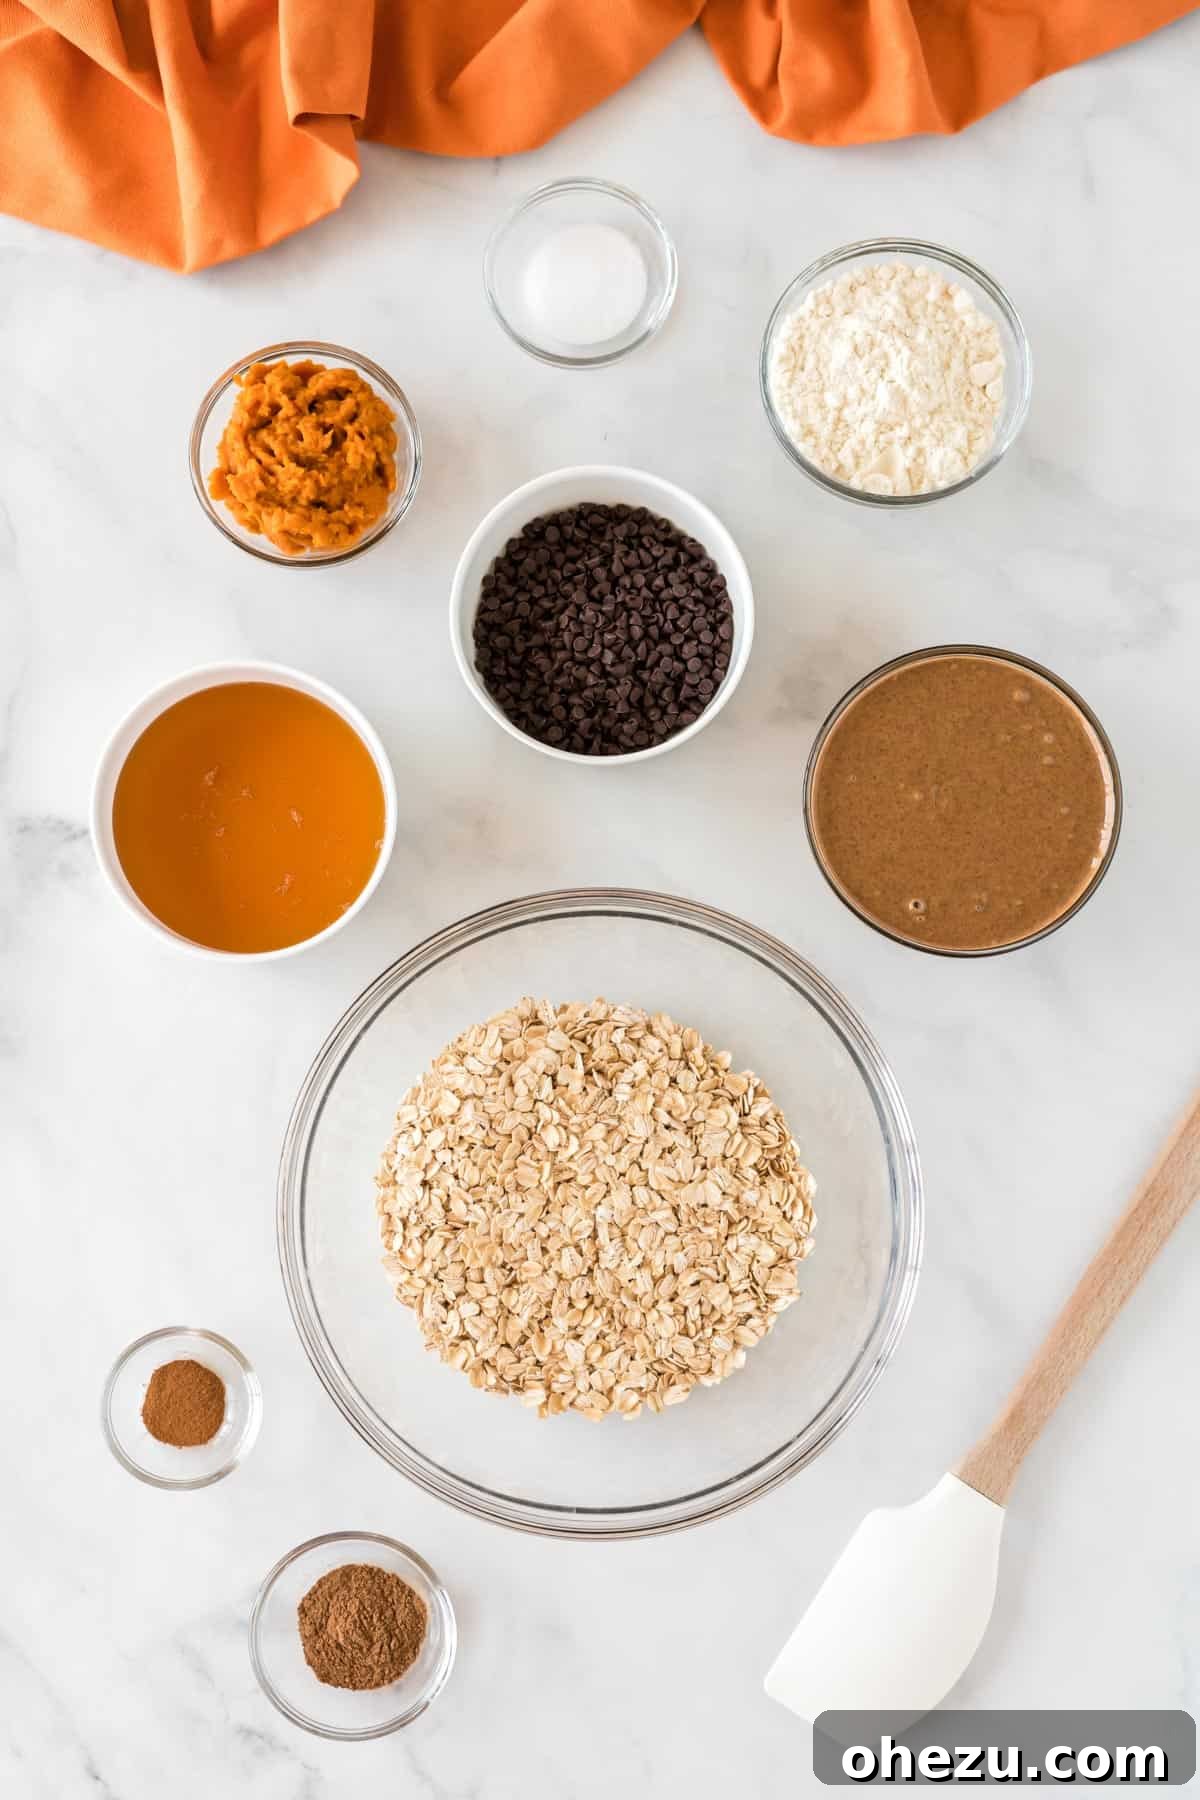
Crafting these delectable no-bake pumpkin protein balls requires a handful of simple, wholesome ingredients you likely already have in your pantry. Each component plays a vital role in achieving that perfect balance of flavor, texture, and nutritional value. Here’s what you’ll need:
Key Ingredients List:
- Almond Butter: We recommend using a creamy, drippy almond butter with no added salt or sugar. This provides a rich, nutty base and acts as a fantastic binder for the balls. Its healthy fats contribute to satiety and give the protein balls their irresistible texture.
- Canned Pumpkin Puree: Ensure you grab 100% pure canned pumpkin, not pumpkin pie filling. The pure pumpkin adds natural sweetness, moisture, and that quintessential fall flavor, along with a boost of vitamins and antioxidants.
- Vanilla Protein Powder: This ingredient is key for making these truly “protein balls.” Vanilla complements the pumpkin spice beautifully, enhancing the overall flavor profile. Feel free to substitute with a chocolate protein powder for a richer, more indulgent variation, or an unflavored protein powder if you prefer.
- Honey: Our natural sweetener of choice! Honey not only provides a lovely sweetness but also helps bind all the ingredients together, ensuring your protein balls hold their shape. Maple syrup is a good alternative if you prefer a vegan option or a different flavor profile.
- Rolled Oats: Also known as old-fashioned oats, these provide structure, fiber, and a satisfying chewiness. They are a complex carbohydrate source that helps keep you full and energized. Quick oats can work in a pinch, but rolled oats offer a better texture.
- Mini Chocolate Chips: These are optional but highly recommended for a touch of delightful sweetness and texture contrast. Dark chocolate chips can add an extra layer of richness and antioxidants.
- Spices: A blend of cinnamon and pumpkin pie spice is crucial for that classic fall taste. A pinch of salt enhances all the flavors, balancing the sweetness and bringing out the depth of the pumpkin and spices.
Step-by-Step Guide: How to Make These Amazing Pumpkin Protein Balls
Making these no-bake pumpkin protein balls is incredibly straightforward and requires minimal effort. In just a few simple steps, you’ll have a batch of delicious and nutritious snacks ready to enjoy. Forget the oven – all you need is a bowl, a spatula, and your hands!
-
Step 1: Combine the Wet and Dry Ingredients
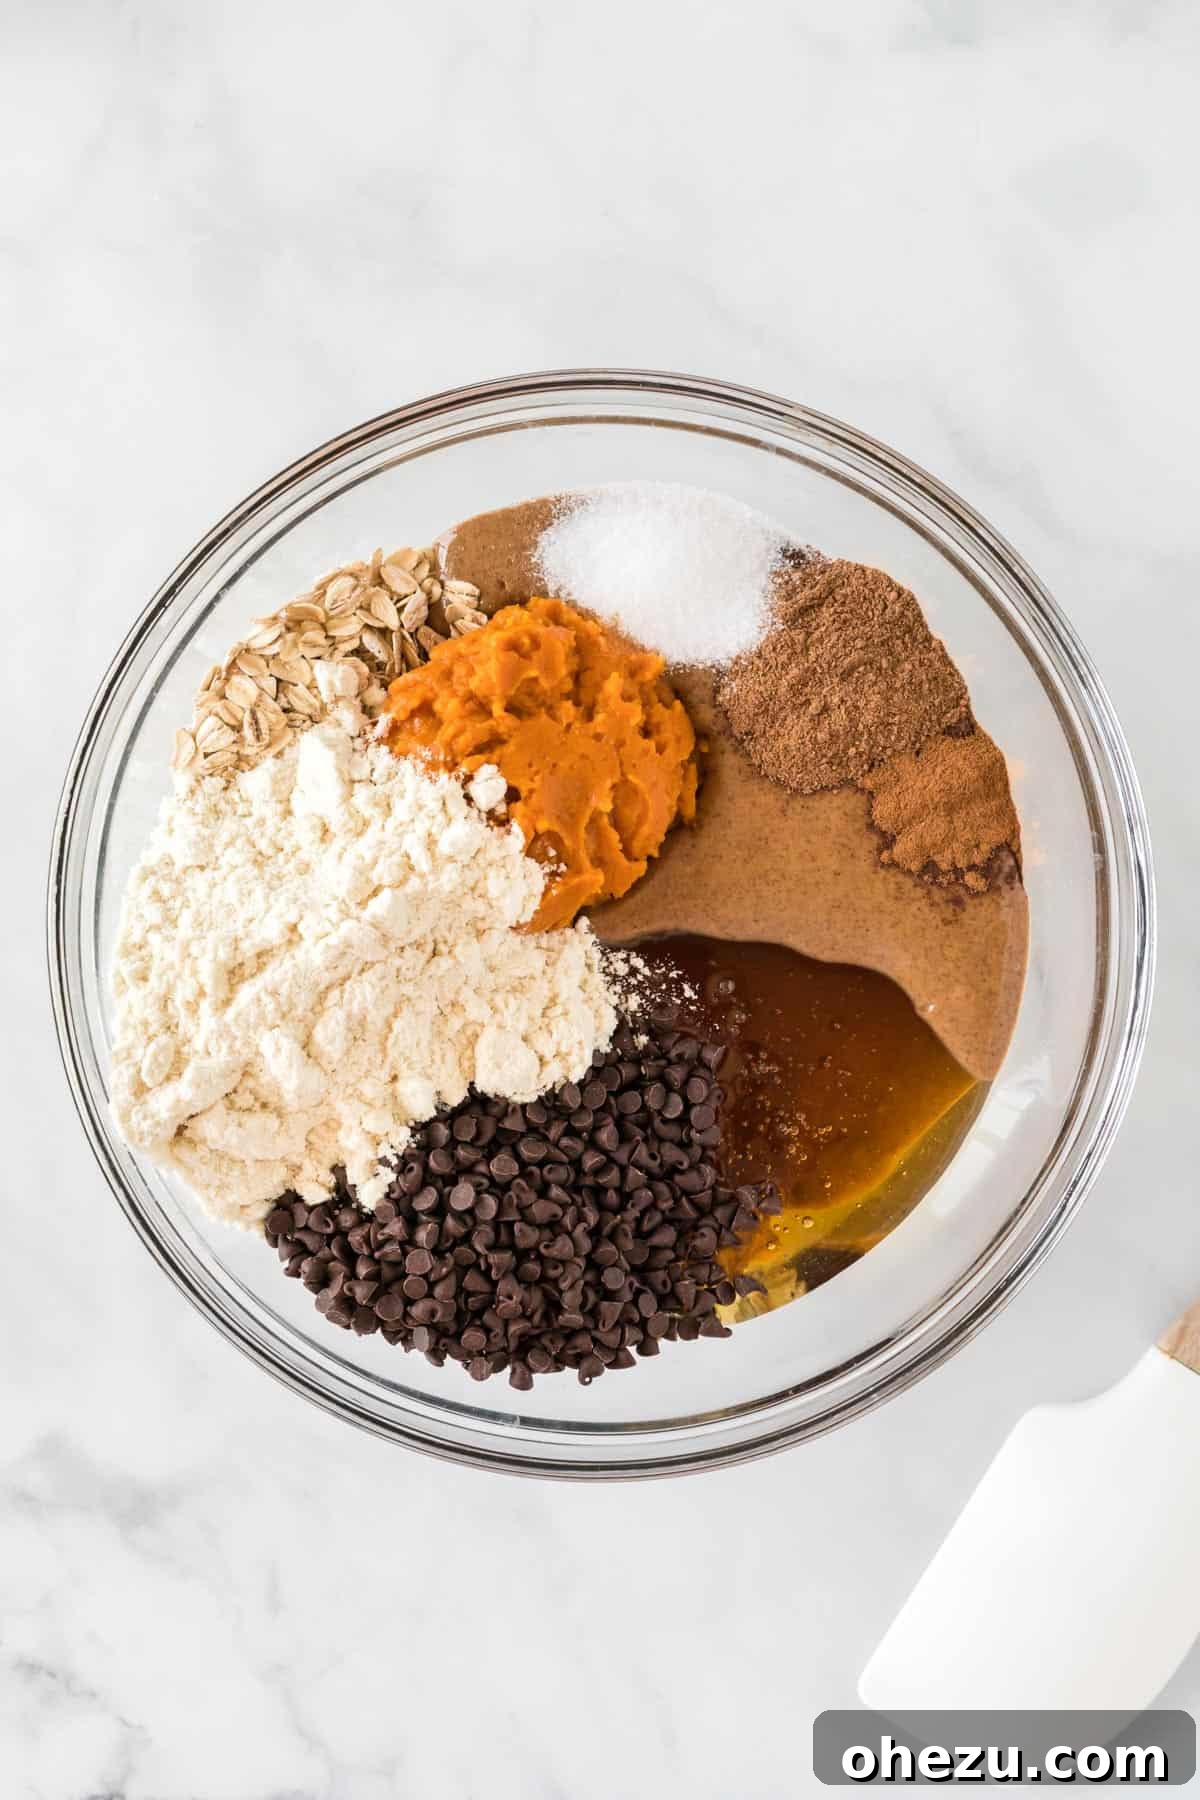
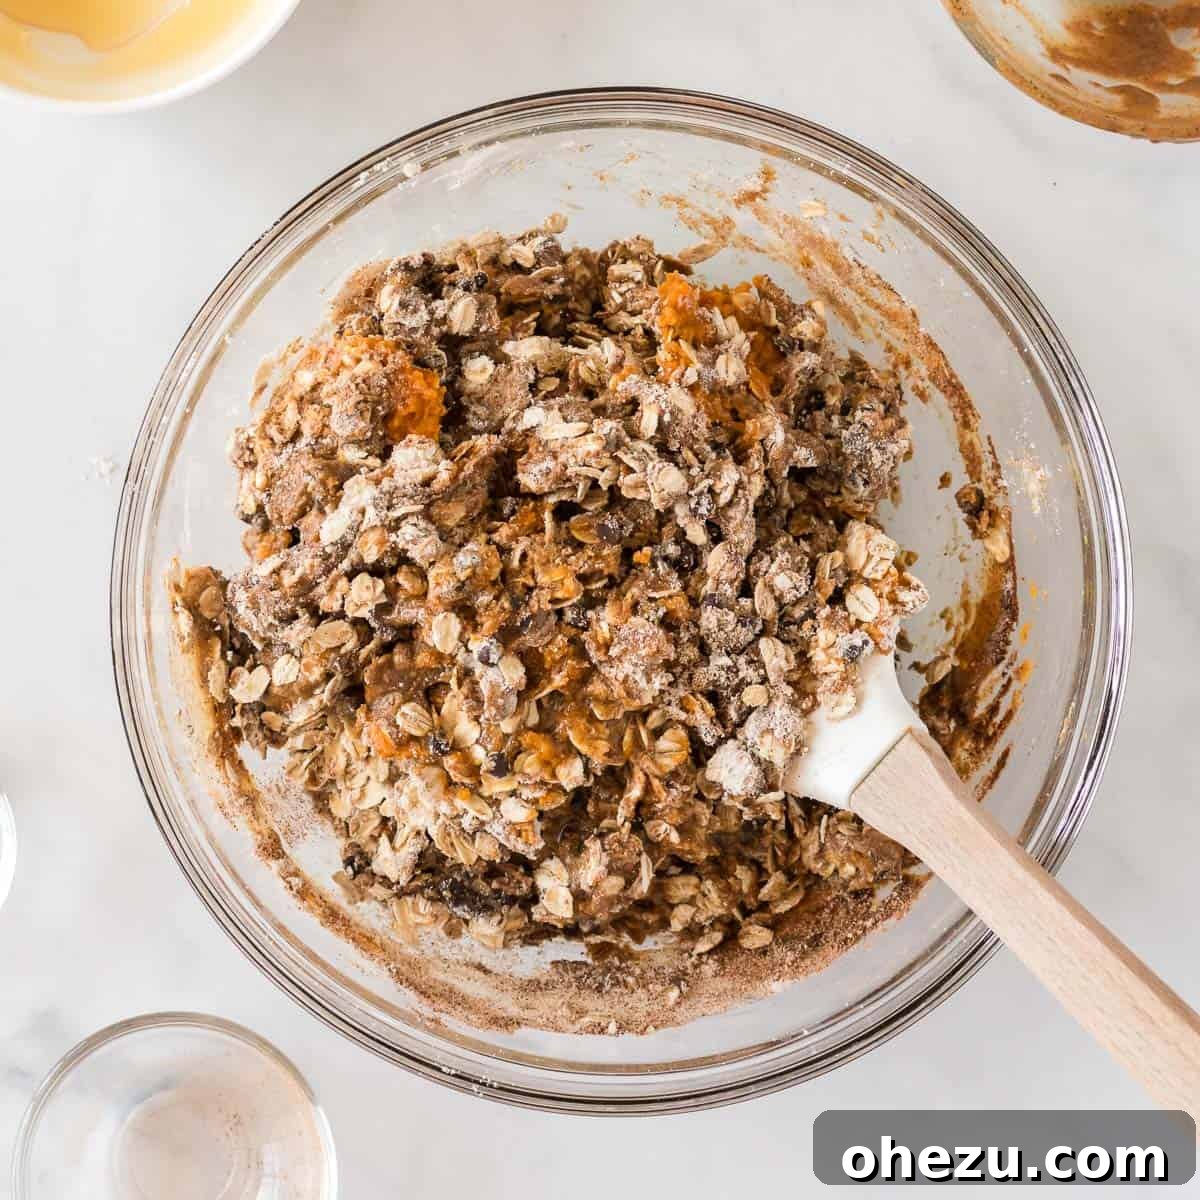
Begin by adding your creamy almond butter, pure canned pumpkin, vanilla protein powder, honey, rolled oats, cinnamon, pumpkin pie spice, and salt into a large mixing bowl. It’s important to stir these ingredients thoroughly until everything is well combined and forms a thick, uniform dough-like consistency. A sturdy rubber spatula is your best friend here, as the mixture can be quite thick and sticky. Apply a little “elbow grease” to ensure all ingredients are fully incorporated – this is key to a consistent texture and flavor throughout your energy bites.
-
Step 2: Fold in Chocolate Chips & Form Your Balls
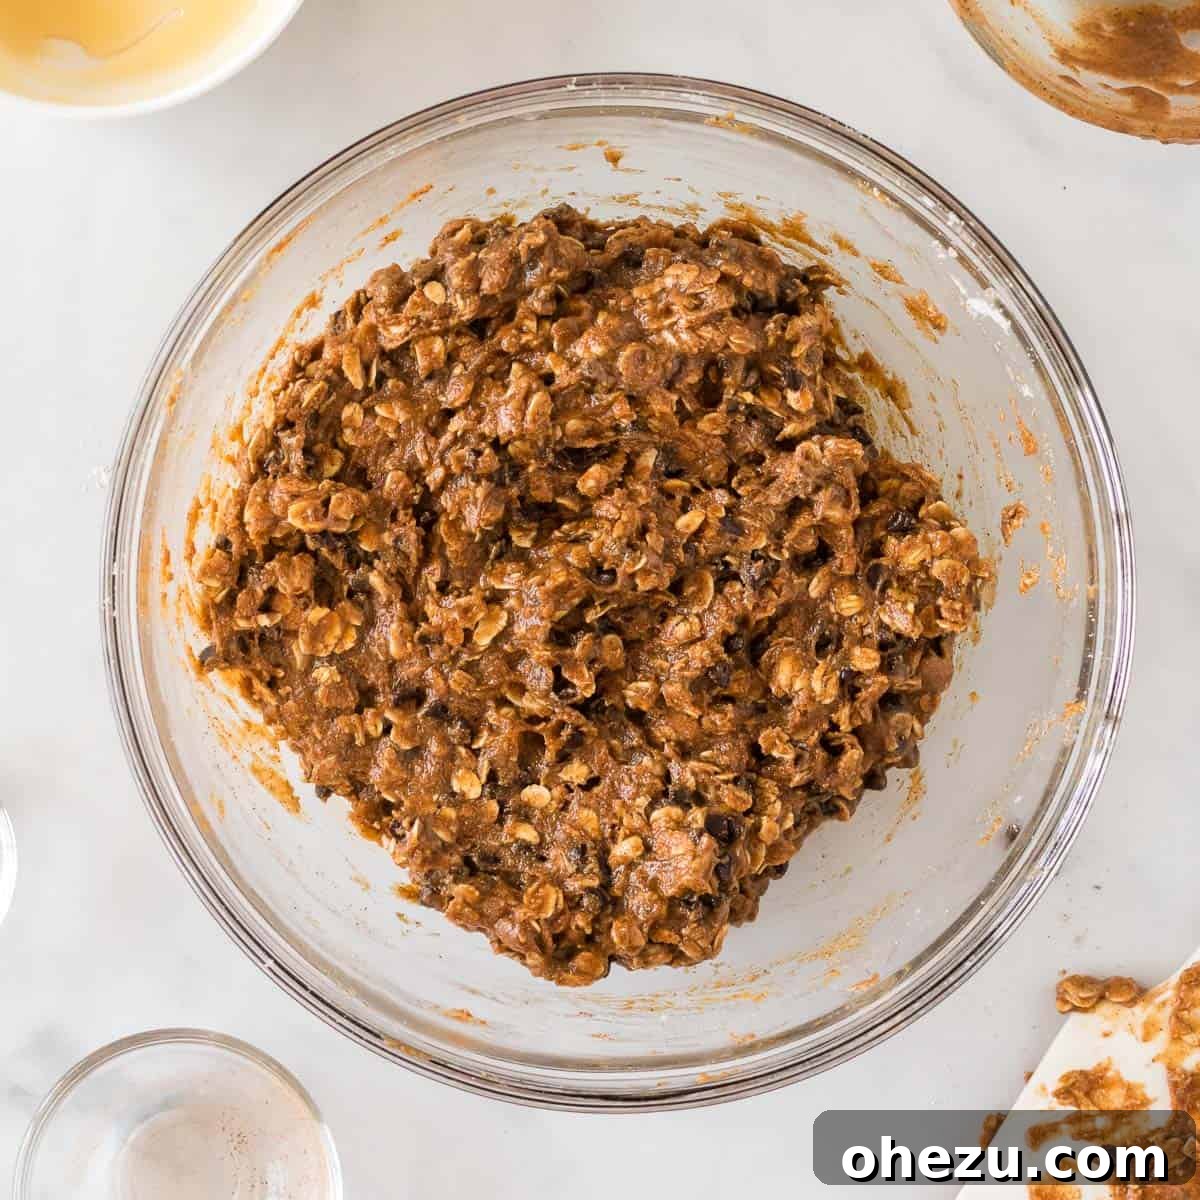
Once your base dough is perfectly mixed, gently fold in the mini chocolate chips. Be careful not to overmix at this stage; just enough to distribute them evenly throughout the pumpkin batter. Now, it’s time to shape your protein balls! Using a cookie scoop is highly recommended for creating evenly sized portions. A 1.5-tablespoon scoop works wonderfully for consistent results.
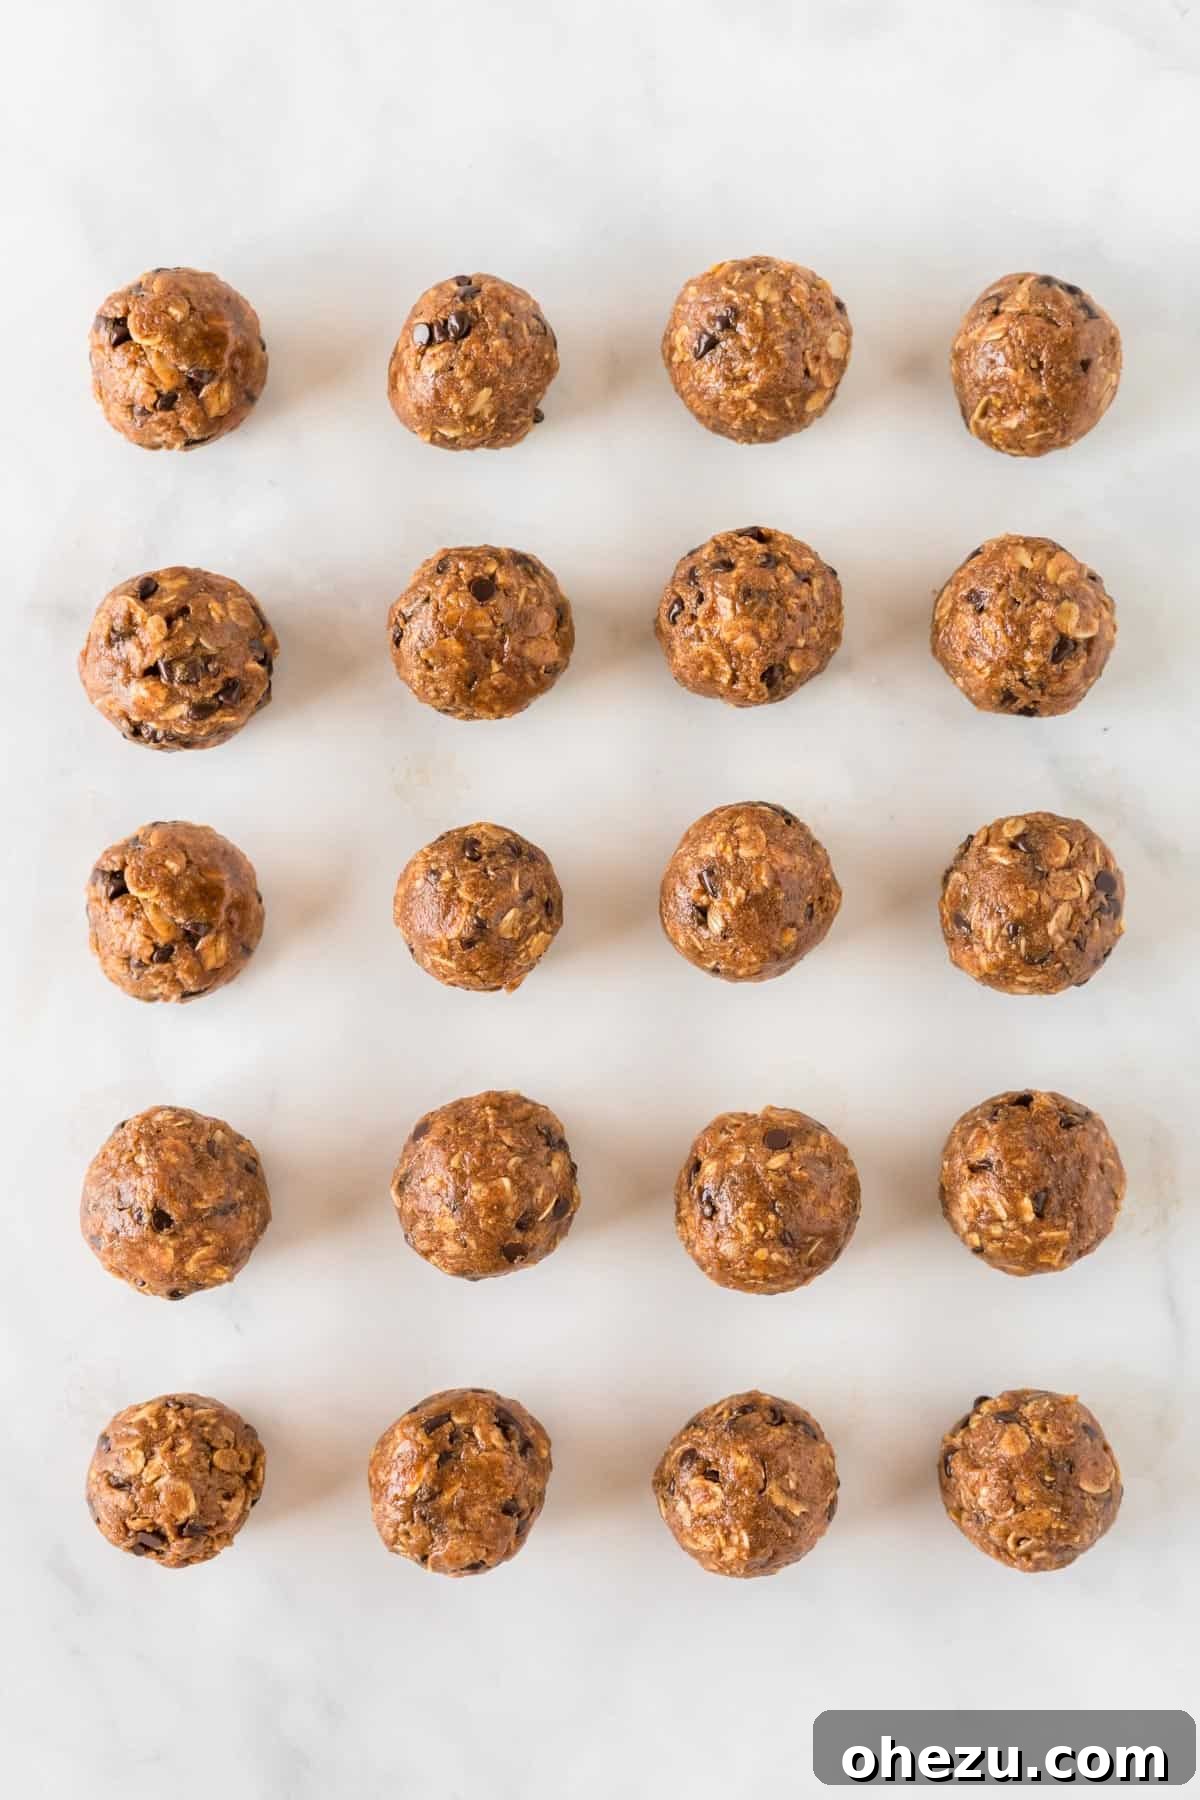
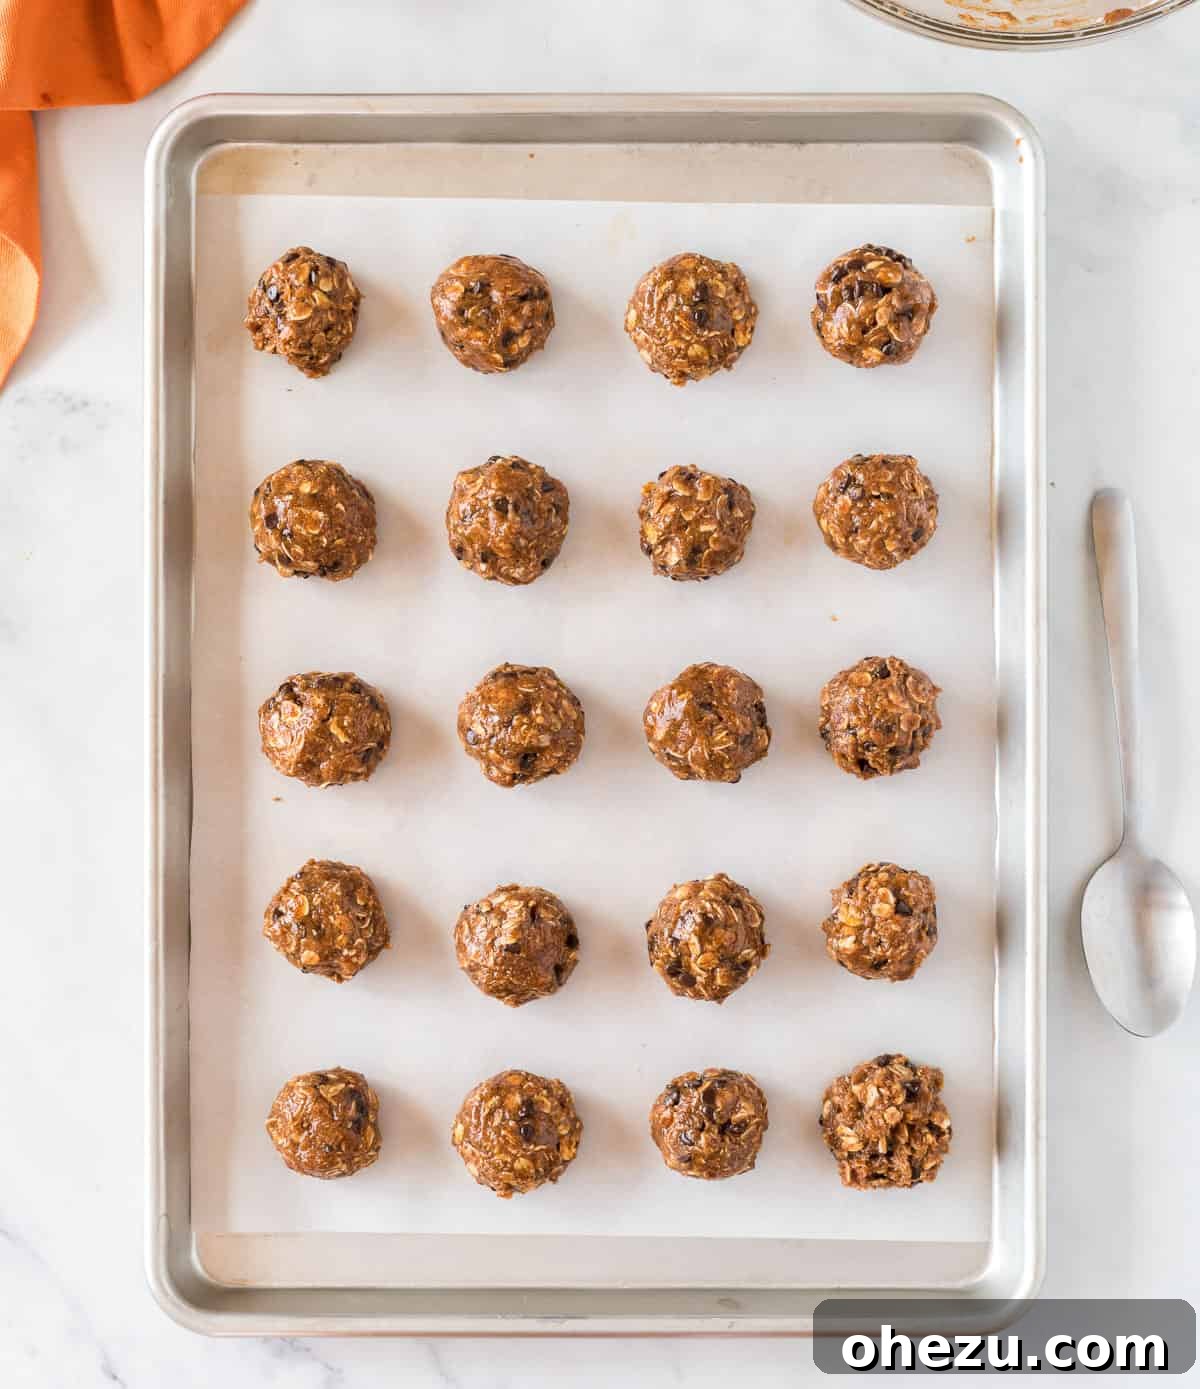
Scoop portions of the batter onto a baking sheet lined with parchment paper. After scooping, use your hands to gently roll each portion into a smooth, round ball. This helps to even out the edges and achieve that classic energy bite shape. You should yield approximately 26 protein balls from this recipe, perfect for meal prepping a week’s worth of snacks!
-
Step 3: Chill Until Firm
Once all your pumpkin protein balls are shaped and placed on the baking sheet, it’s time for a chill session. Transfer the baking sheet to the refrigerator and let them firm up for at least 1-2 hours. This chilling period is crucial; it allows the ingredients to set, preventing the balls from being too soft or sticky. A firm texture also makes them much easier to handle, store, and enjoy without them sticking to each other or your fingers.
Pro Tip: Mixing for Perfection
For the best results when making protein balls, I always rely on a robust rubber spatula. Its flexibility and strength make it the easiest tool to thoroughly mix the thick batter, ensuring no dry spots are left behind. Don’t be shy with your mixing; a well-combined dough leads to perfectly textured protein balls.
Shaping Success: The Magic of a Cookie Scoop
Achieving uniformly sized protein balls is easier than you think! My secret weapon is a 1.5-tablespoon cookie scoop. It ensures each bite is perfectly portioned, which not only looks professional but also helps with consistent cooling and storage. After scooping, a quick roll between your palms makes them perfectly round.
Storage and Make-Ahead Tips for Pumpkin Protein Balls
One of the many benefits of these no-bake pumpkin protein balls is their excellent shelf life and freezer-friendliness, making them ideal for meal prep and grab-and-go snacking. Proper storage ensures they remain fresh, delicious, and convenient whenever a craving strikes.
Optimal Storage Methods:
- In the Refrigerator: After chilling and once firm, transfer your pumpkin protein balls to an airtight container. They will stay fresh and delicious in the refrigerator for 5-7 days. This is perfect for a week’s worth of healthy snacks.
- In the Freezer: For a longer-lasting supply, freezing is our absolute favorite method! Place the chilled protein bites in an airtight freezer-safe container or a large resealable freezer bag. They can be stored in the freezer for up to 3 months. When you’re ready to enjoy one, simply grab a few from the freezer and let them thaw for several minutes at room temperature until they reach your desired consistency. This makes them the ultimate make-ahead snack!
Ensure that the balls are fully firm before transferring them to storage containers to prevent them from sticking together.
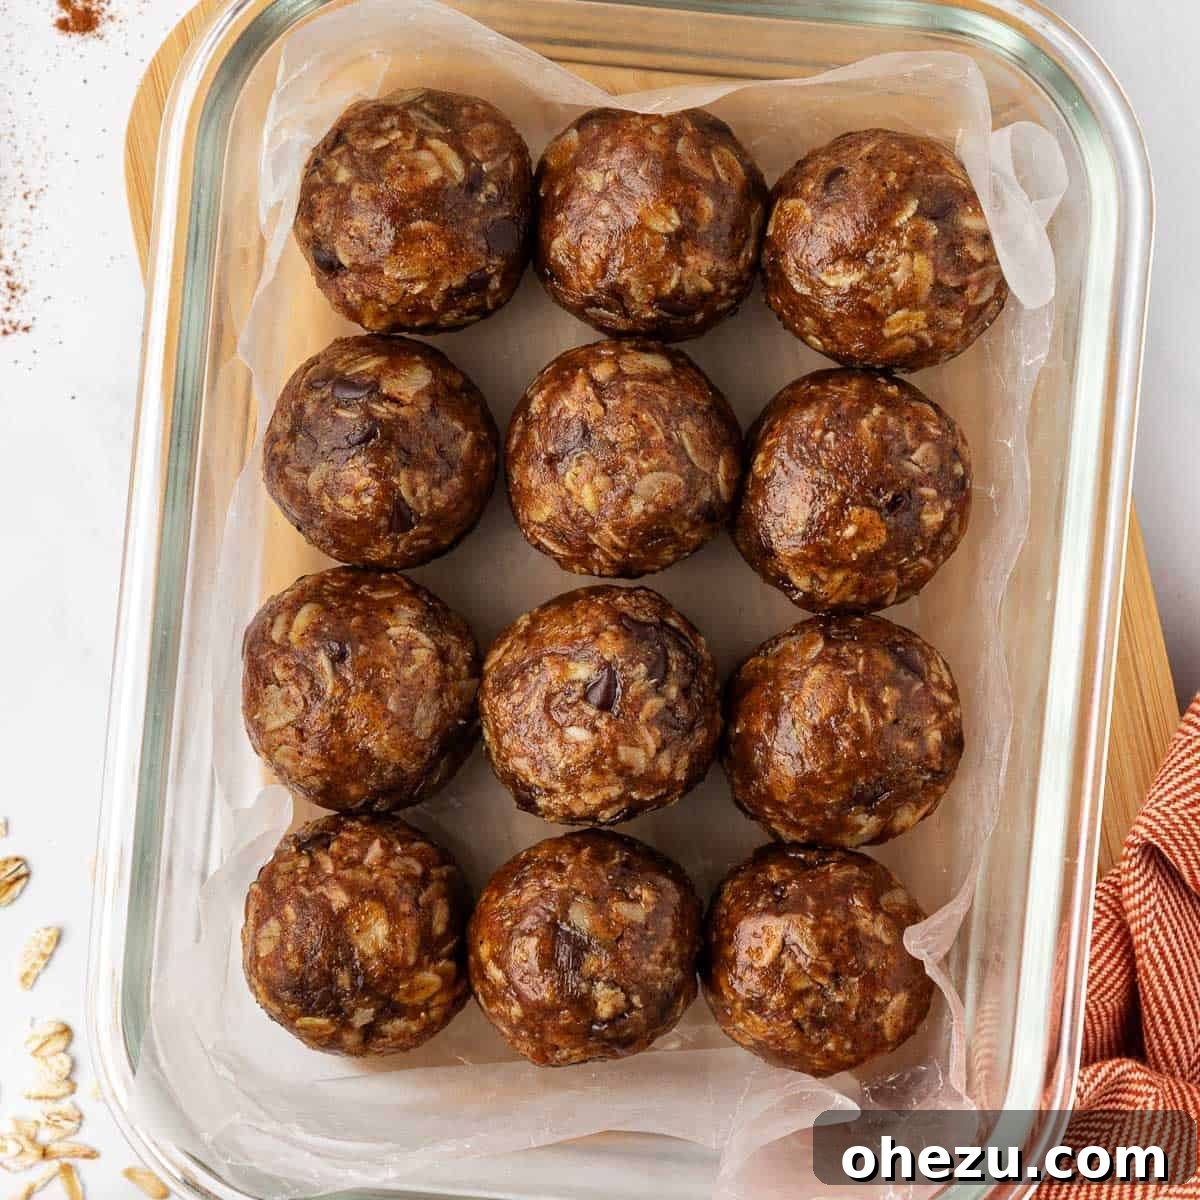
I am genuinely obsessed with these yummy little pumpkin spice protein balls! Their delightful flavor, combined with their healthy ingredients and ease of preparation, makes them a perfect snack for any occasion. My kids can’t get enough of them and frequently request them during snack time, which is a huge win for any parent looking for nutritious options.
Almond Butter Selection: Tips for the Best Results
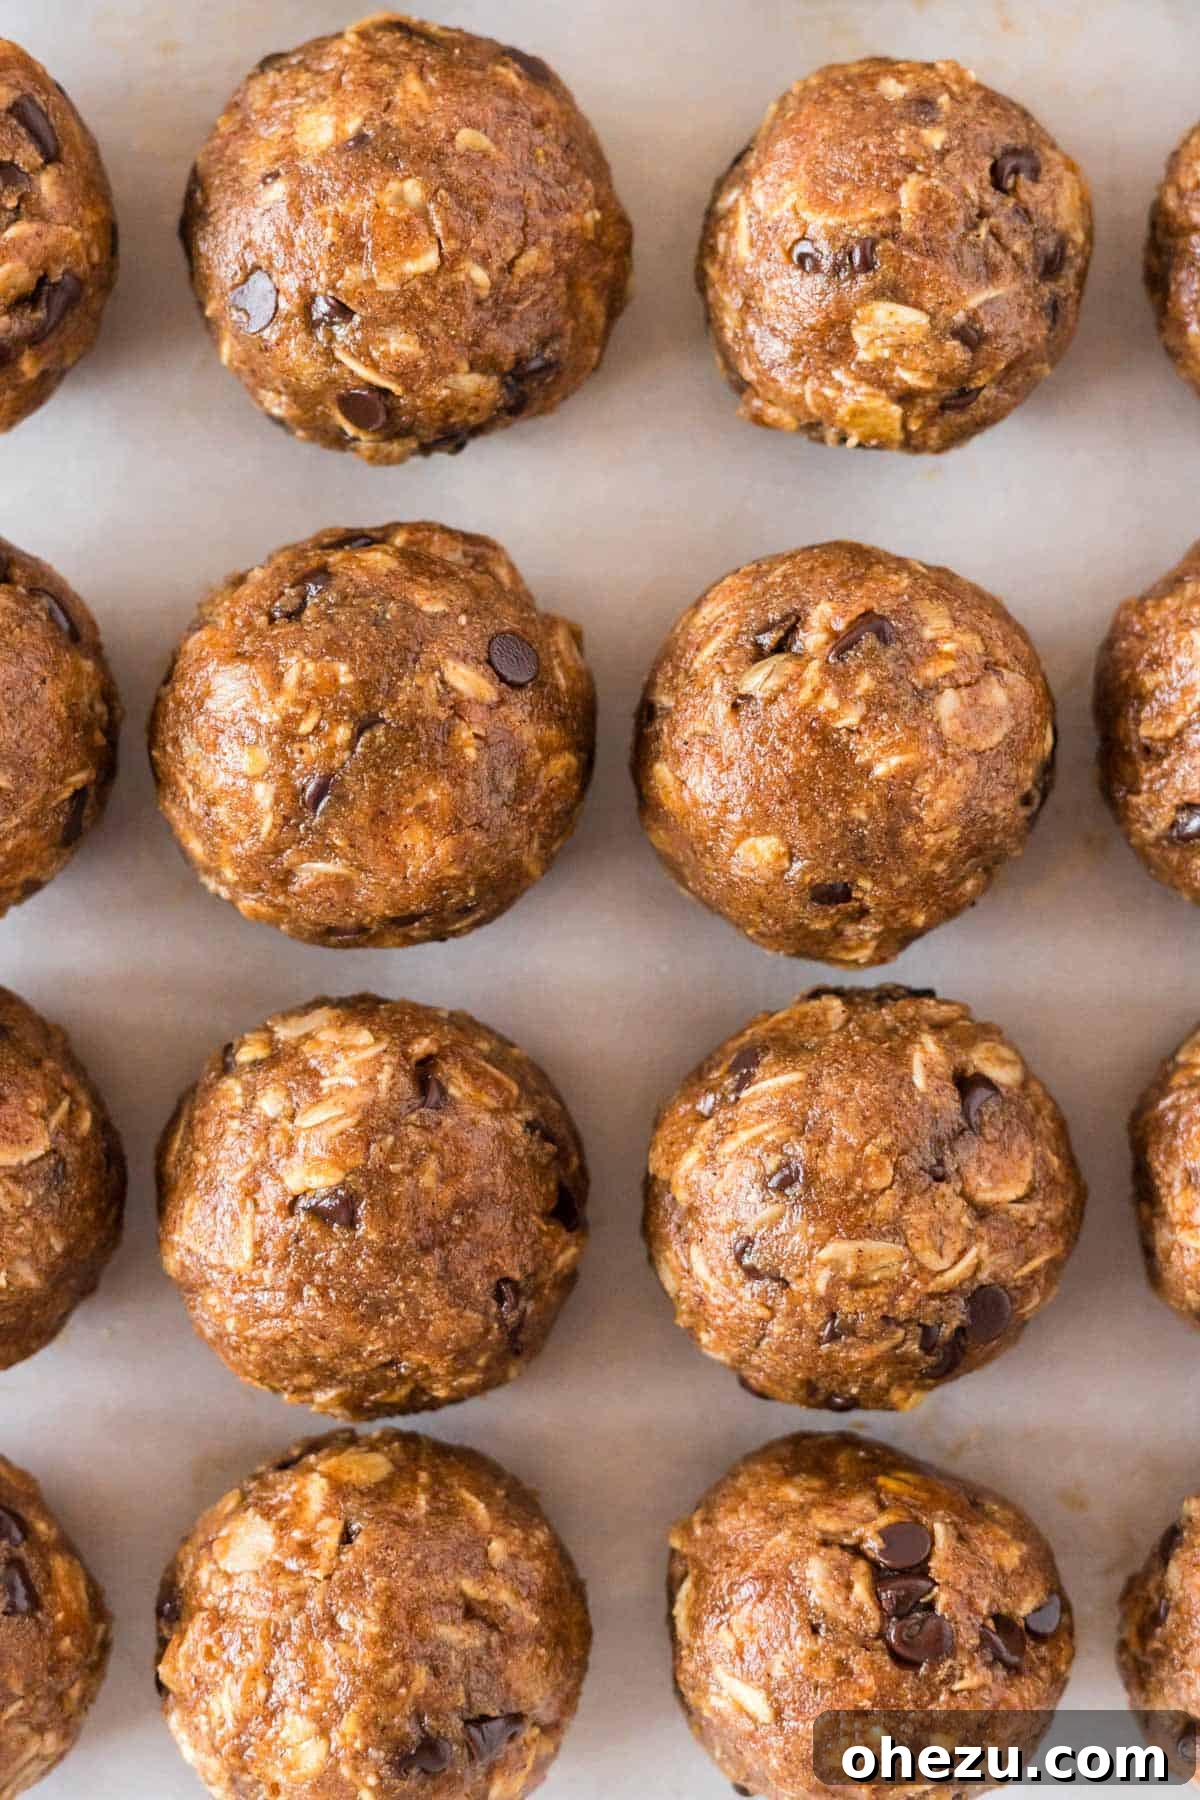
The type of almond butter you choose can significantly impact the texture and flavor of your pumpkin protein balls. Selecting the right one is crucial for achieving the perfect consistency and ensuring optimal taste without unwanted surprises.
Choosing Your Almond Butter Wisely:
For this specific recipe, I personally use a creamy, drippy almond butter that contains no added salt and no added sugar. This allows for maximum control over the sweetness and sodium content of the protein balls, ensuring a truly balanced flavor.
Important Note on Salt Content: If you opt for an almond butter that already contains salt, it is highly recommended to omit the added salt from this recipe initially. Once you’ve mixed all the ingredients together, take a small taste of the dough. At this point, you can adjust and add a pinch of salt if you feel it’s needed to enhance the flavors to your liking. Starting with less salt is always safer, as you can add more, but you can’t take it away!
Natural, unsalted almond butter provides a clean canvas, letting the pumpkin and spice flavors shine through beautifully, while also making these energy bites adaptable for those monitoring their sodium intake.
Customize Your Pumpkin Protein Balls: Variations and Add-ins
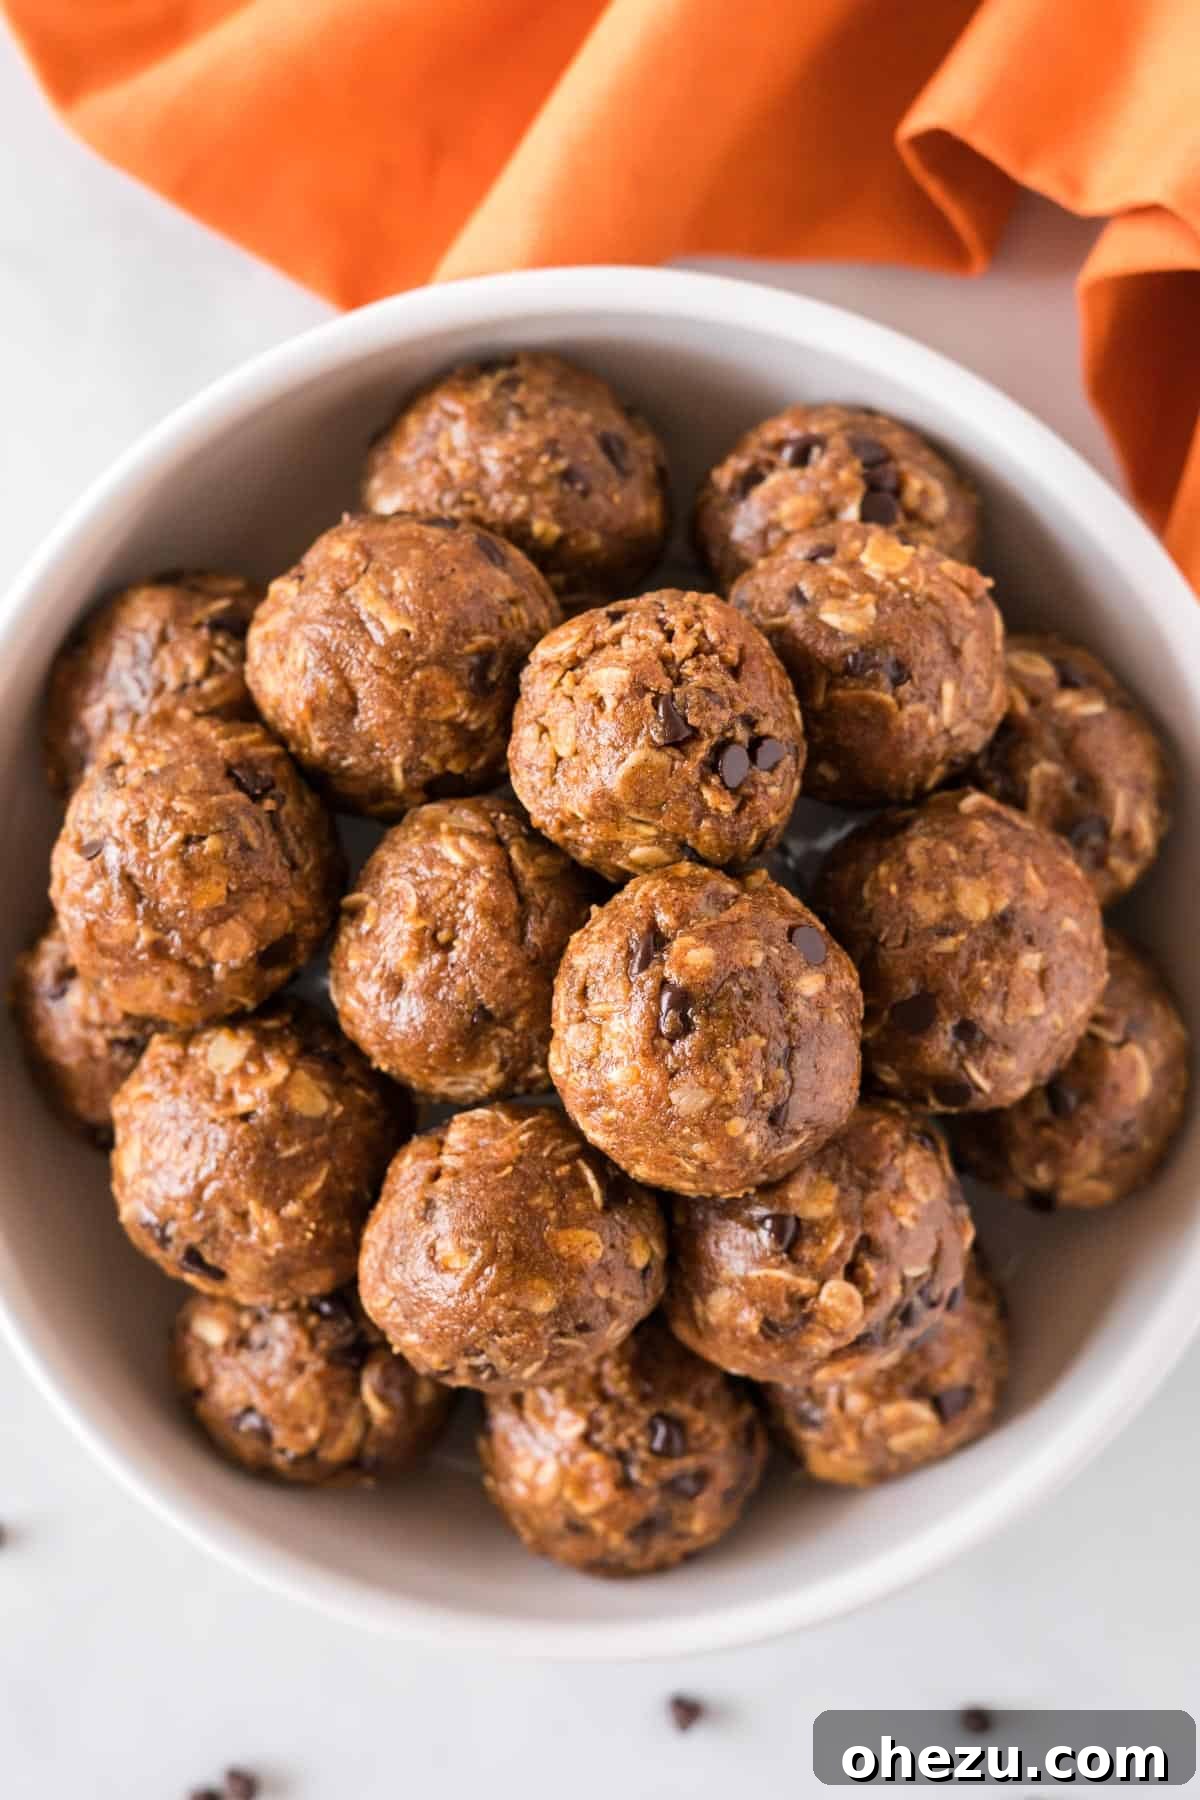
While the classic pumpkin protein ball recipe is a fan favorite, there’s always room for creativity! These energy bites are incredibly versatile, allowing you to experiment with different flavors and textures to suit your preferences or what you have on hand. Here are some ideas to customize your next batch:
- Nut Butter Swaps: Not an almond butter fan? You can easily substitute with peanut butter for a classic peanut butter pumpkin flavor, cashew butter for a milder taste, or sunflower seed butter for a nut-free option (ensure other ingredients are also nut-free if catering to allergies).
- Protein Powder Flavors: While vanilla is excellent, consider using unflavored protein powder and increasing the spices, or trying a seasonal flavor like gingerbread or cinnamon roll protein powder for an extra kick.
- Sweetener Alternatives: If you prefer a different natural sweetener, maple syrup can be used instead of honey (which also makes the recipe vegan). Adjust to taste, as consistency might vary slightly.
- Spice It Up: Love extra spice? Add a pinch of ground ginger, nutmeg, or cloves to your pumpkin pie spice blend for a more complex flavor profile.
- Additional Mix-ins:
- Dried Fruits: Chopped dried cranberries, raisins, or finely diced dried apricots can add a lovely chewiness and natural sweetness.
- Nuts & Seeds: Finely chopped pecans, walnuts, or a sprinkle of chia seeds, flax seeds, or hemp hearts can boost healthy fats and fiber.
- Coconut: Shredded coconut (unsweetened) can add a tropical twist and pleasant texture.
- Zest: A bit of orange or lemon zest can brighten the flavors.
- Coating Options: For an extra touch, roll the finished protein balls in shredded coconut, cocoa powder, or a mix of cinnamon and sugar before chilling.
Don’t be afraid to get creative! These variations allow you to keep your snack routine exciting and ensure you always have a healthy, delicious option that perfectly suits your mood.
The Health Benefits of No-Bake Pumpkin Protein Balls
Beyond their delightful taste, these pumpkin protein balls are packed with nutritional goodness, making them a smart choice for anyone seeking a healthy and energizing snack. Let’s delve into some of the benefits:
- Rich in Protein: The addition of protein powder helps promote muscle repair and growth, keeps you feeling full, and stabilizes blood sugar levels, preventing those mid-afternoon energy crashes.
- Good Source of Fiber: Rolled oats and pumpkin are excellent sources of dietary fiber. Fiber aids in digestion, contributes to gut health, and helps regulate cholesterol levels.
- Healthy Fats: Almond butter provides beneficial monounsaturated and polyunsaturated fats, which are crucial for heart health, brain function, and nutrient absorption.
- Natural Sweetener: Using honey instead of refined sugar offers a natural energy boost and contains antioxidants, aligning with a healthier lifestyle.
- Vitamin and Mineral Boost: Pumpkin is a powerhouse of nutrients, including Vitamin A (beta-carotene), which is vital for vision and immune function, and Vitamin C, potassium, and iron.
- Sustained Energy: The combination of complex carbohydrates (oats), healthy fats (almond butter), and protein ensures a slow and steady release of energy, keeping you fueled for longer without sugar spikes.
- Gluten-Free Friendly: By using certified gluten-free oats, this recipe is naturally suitable for those with gluten sensitivities or celiac disease.
Incorporating these pumpkin protein balls into your diet is an easy and delicious way to boost your nutrient intake and enjoy a satisfying snack that supports your overall well-being. Try a batch of these for fall snacking and let me know how you like them!
More Protein-Packed Recipes to Explore
If you loved these pumpkin protein balls, you’re in for a treat! We have a whole collection of other delicious and healthy protein-rich snacks that are perfect for any time of day. Expand your repertoire of nutritious bites with these fantastic recipes:
- Birthday Cake Protein Balls
- Chocolate Protein Mug Cake
- Peanut Butter Energy Balls
- Cinnamon Roll Energy Bites
- No Bake Protein Bars
- Banana Bread Energy Bites
- Espresso Energy Bites
- Pecan Pie Energy Bites
- Gingerbread Energy Bites
- Chocolate Protein Bars
- Protein Peanut Butter Cups
- Protein Granola Bars
- Almond Butter Protein Balls
- Chocolate Protein Balls
Rated 4.60 out of 5 stars by 30 votes
Pumpkin Protein Balls Recipe
By:
Joy Shull
These no-bake pumpkin protein balls are a delicious fall-inspired snack that’s easy to make and perfect for a healthy treat!
Prep Time:
20 mins
Total Time:
20 mins
Servings:
26 balls
Rate Recipe
Print Recipe
Ingredients
- 1 cup no salt added creamy drippy almond butter (see notes for alternatives)
- ⅓ cup canned pumpkin puree (not pumpkin pie filling)
- ¼ teaspoon ground cinnamon
- ½ cup honey (or maple syrup for vegan option)
- ½ cup vanilla protein powder (or chocolate protein powder for variation)
- 1 ½ cups rolled oats
- Salt, to taste (start with ¼ tsp if using unsalted almond butter)
- 1 ½ teaspoons pumpkin pie spice
- ½ cup mini chocolate chips
Instructions
- Add the almond butter, pumpkin puree, cinnamon, honey, vanilla protein powder, rolled oats, salt, and pumpkin pie spice to a large bowl. Stir well to combine all ingredients using a sturdy rubber spatula until a thick, uniform dough forms.
- Gently fold in the mini chocolate chips until they are evenly distributed throughout the dough.
- Using a 1.5-tablespoon cookie scoop, portion the pumpkin batter and place on a baking sheet lined with parchment paper. Roll each portion with your hands to create smooth, round protein balls. This recipe yields approximately 26 protein balls.
- Place the baking sheet with the formed pumpkin protein balls into the refrigerator. Chill until firm to the touch, typically 1-2 hours. Once firm, transfer the protein balls to an airtight container or a resealable bag for storage in the fridge or freezer.
Video
For a visual guide, watch how these delicious pumpkin protein balls come to life!
(Video content goes here – use a simple static video embed if available, otherwise consider a placeholder image with a link)
Watch the Pumpkin Protein Balls recipe video here.
Notes
- If your almond butter contains added salt, you can omit the salt from the dough initially. After mixing, taste the batter and add a small pinch of salt if needed, adjusting to your preference.
- Always start with a smaller amount of salt (e.g., ¼ teaspoon if using unsalted almond butter) and add more gradually until the flavor is to your liking, as it’s easier to add than remove.
- For a vegan option, substitute honey with maple syrup.
Nutrition Information (per serving)
- Calories: 123 kcal
- Carbohydrates: 13g
- Protein: 4g
- Fat: 7g
- Saturated Fat: 1g
- Polyunsaturated Fat: 1g
- Monounsaturated Fat: 3g
- Trans Fat: 0.01g
- Cholesterol: 5mg
- Sodium: 143mg
- Potassium: 108mg
- Fiber: 2g
- Sugar: 8g
- Vitamin A: 497 IU
- Vitamin C: 0.2mg
- Calcium: 53mg
- Iron: 1mg
Like this recipe? Rate and comment below!