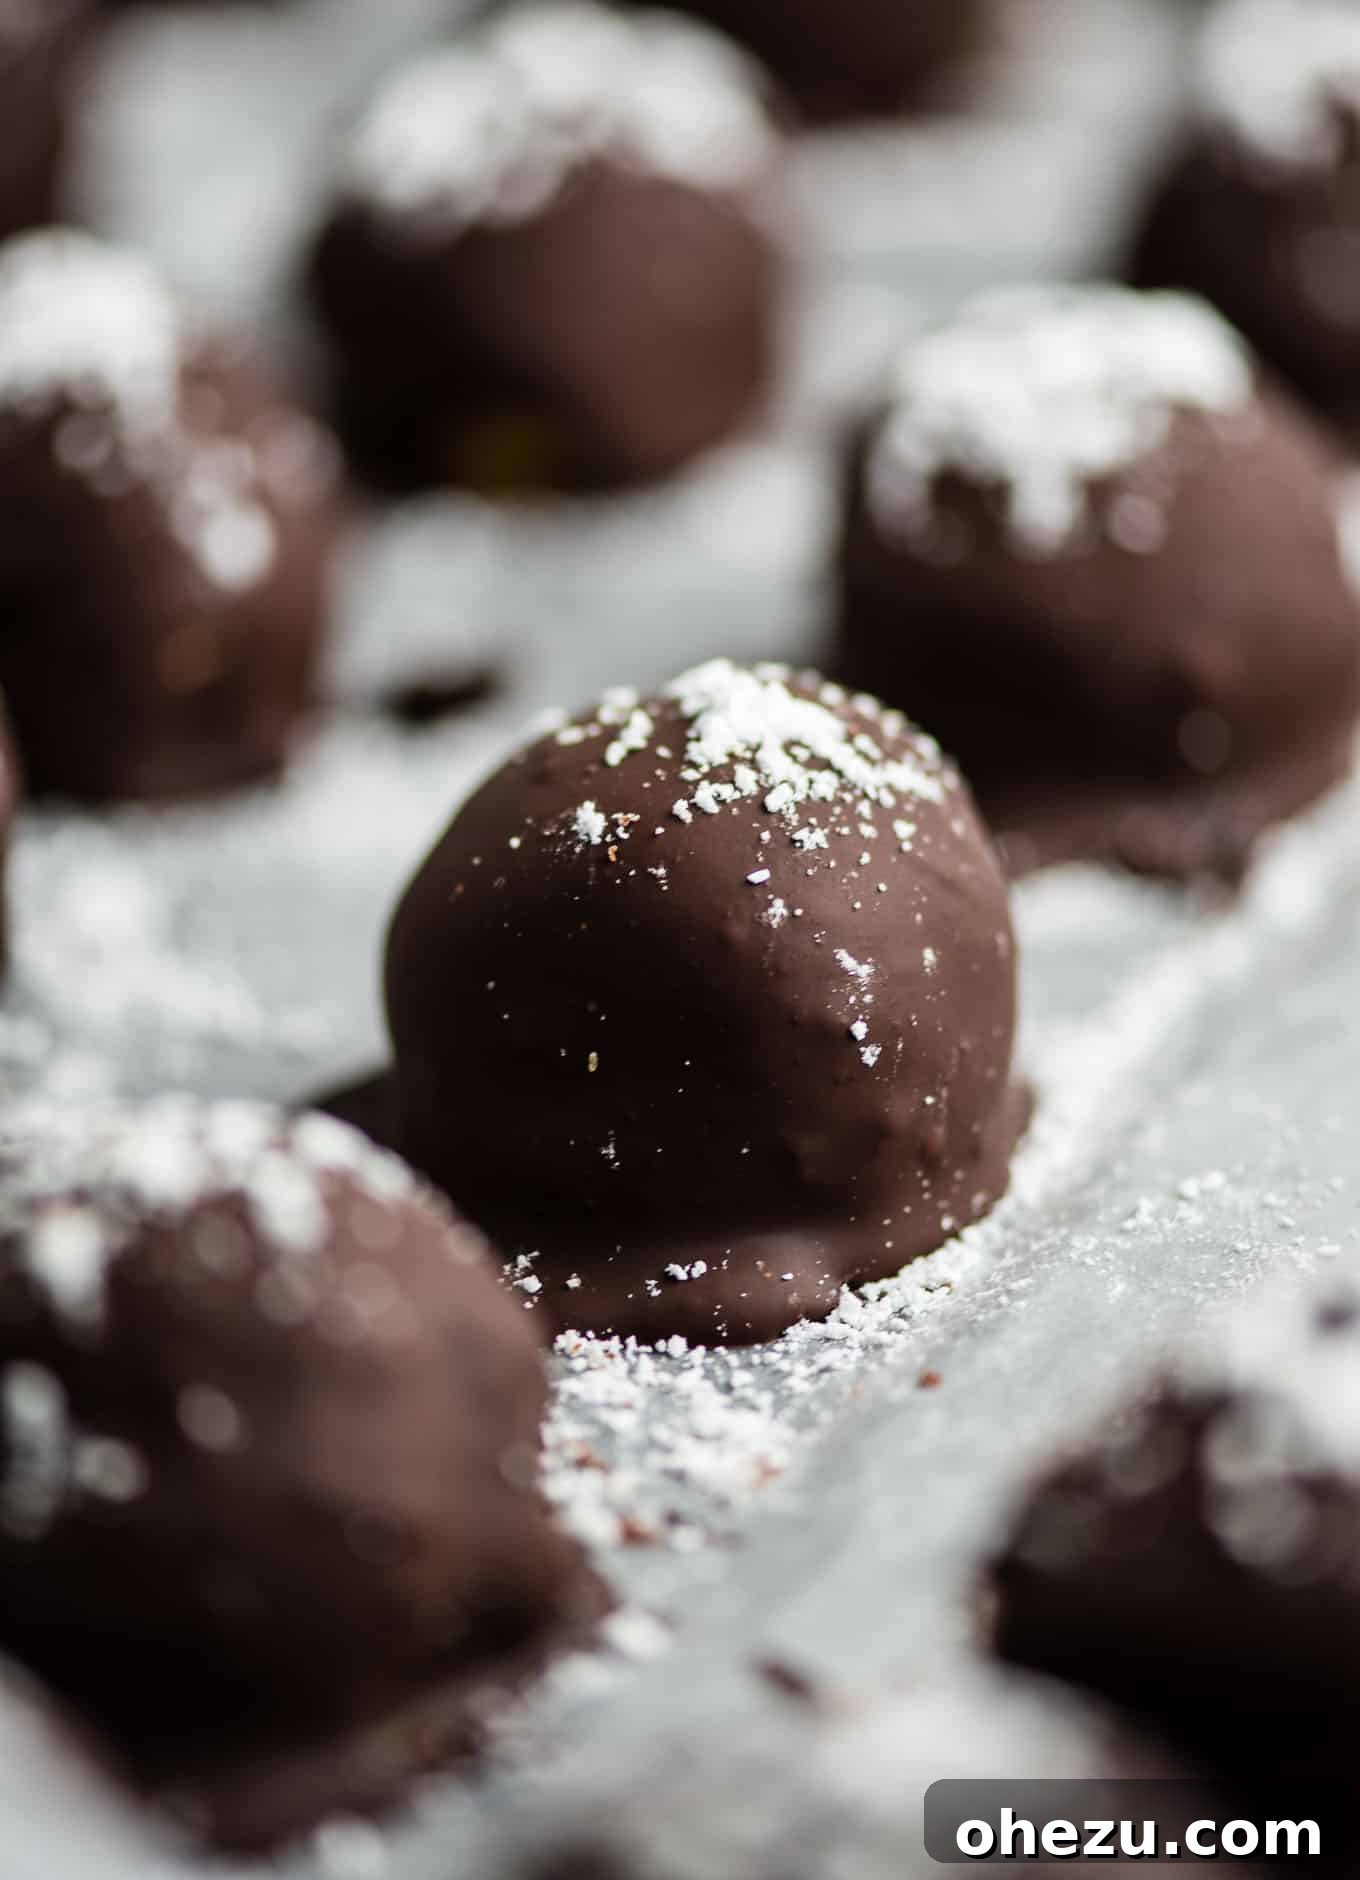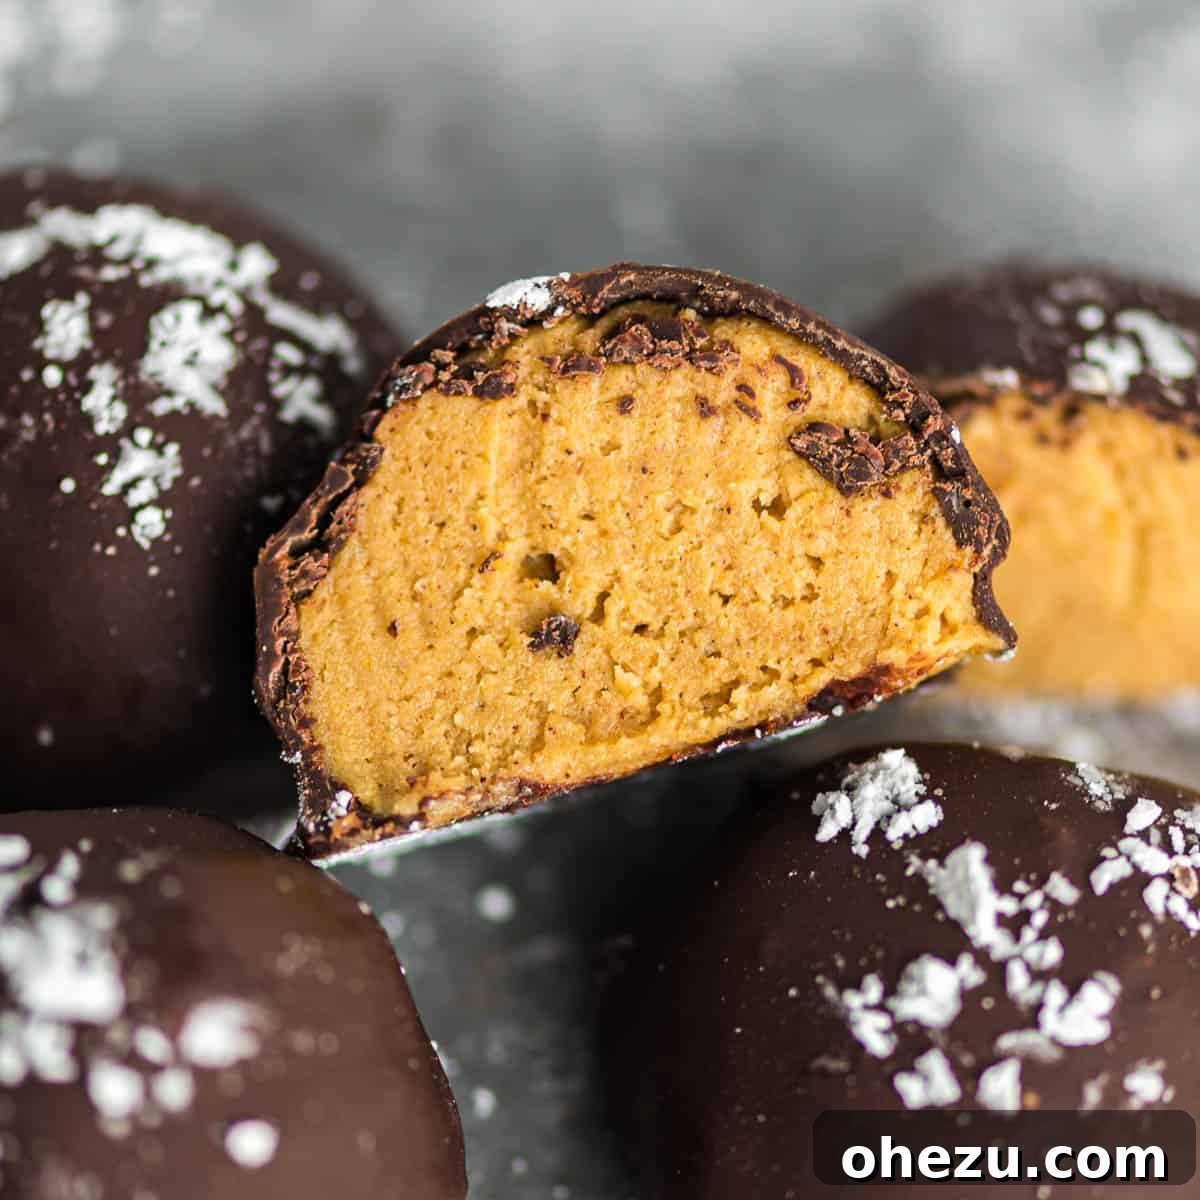
These pumpkin cheesecake balls are the best easy no-bake dessert to make this fall. You won’t be able to stop at just one!
Irresistible No-Bake Pumpkin Cheesecake Balls: Your Ultimate Fall Dessert
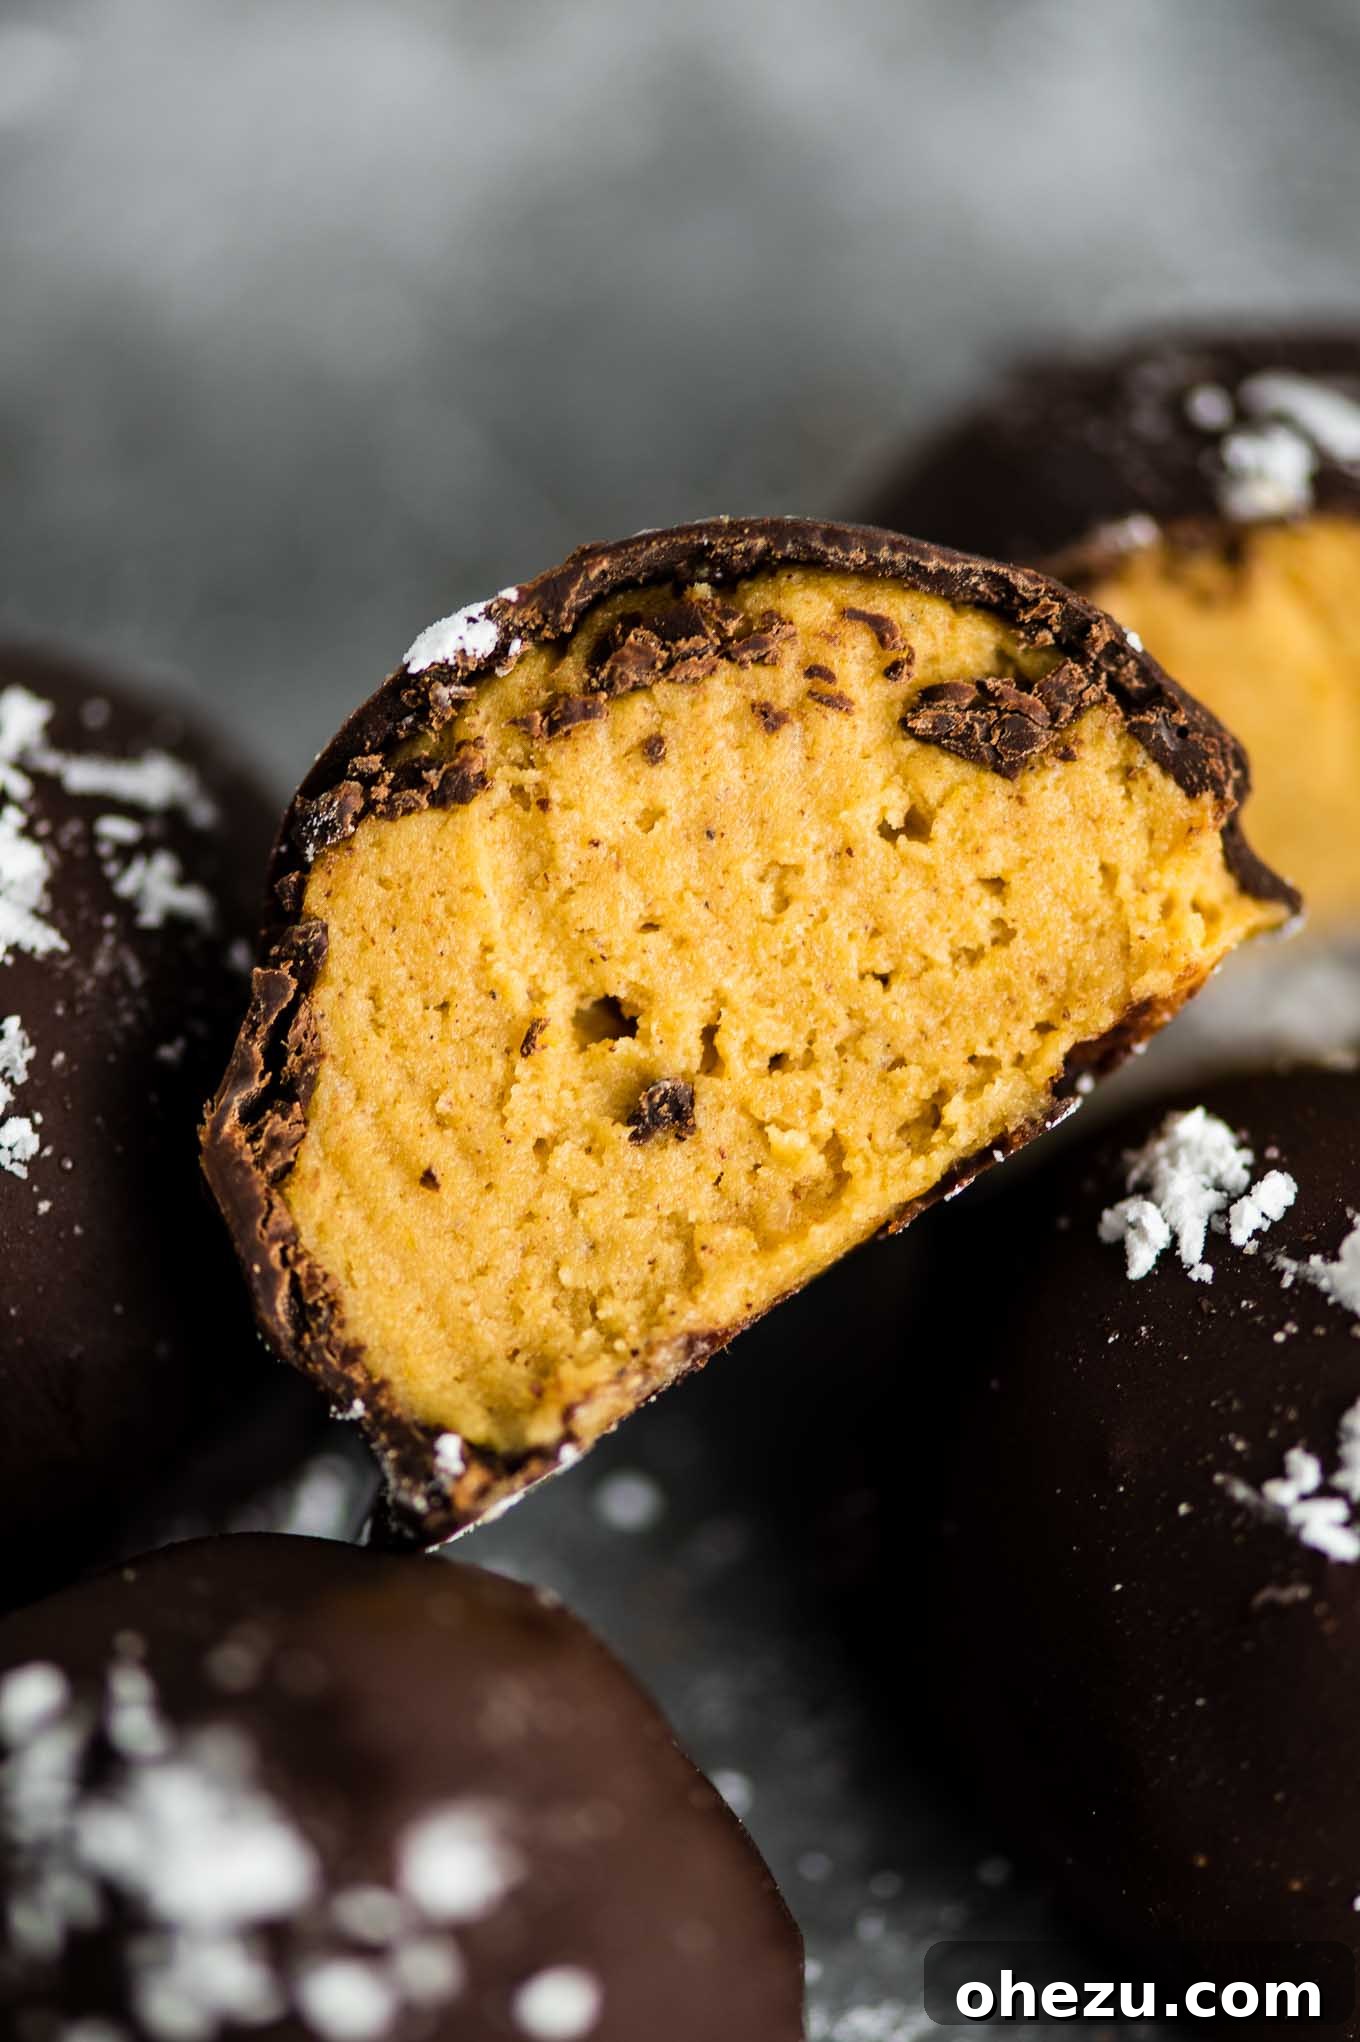
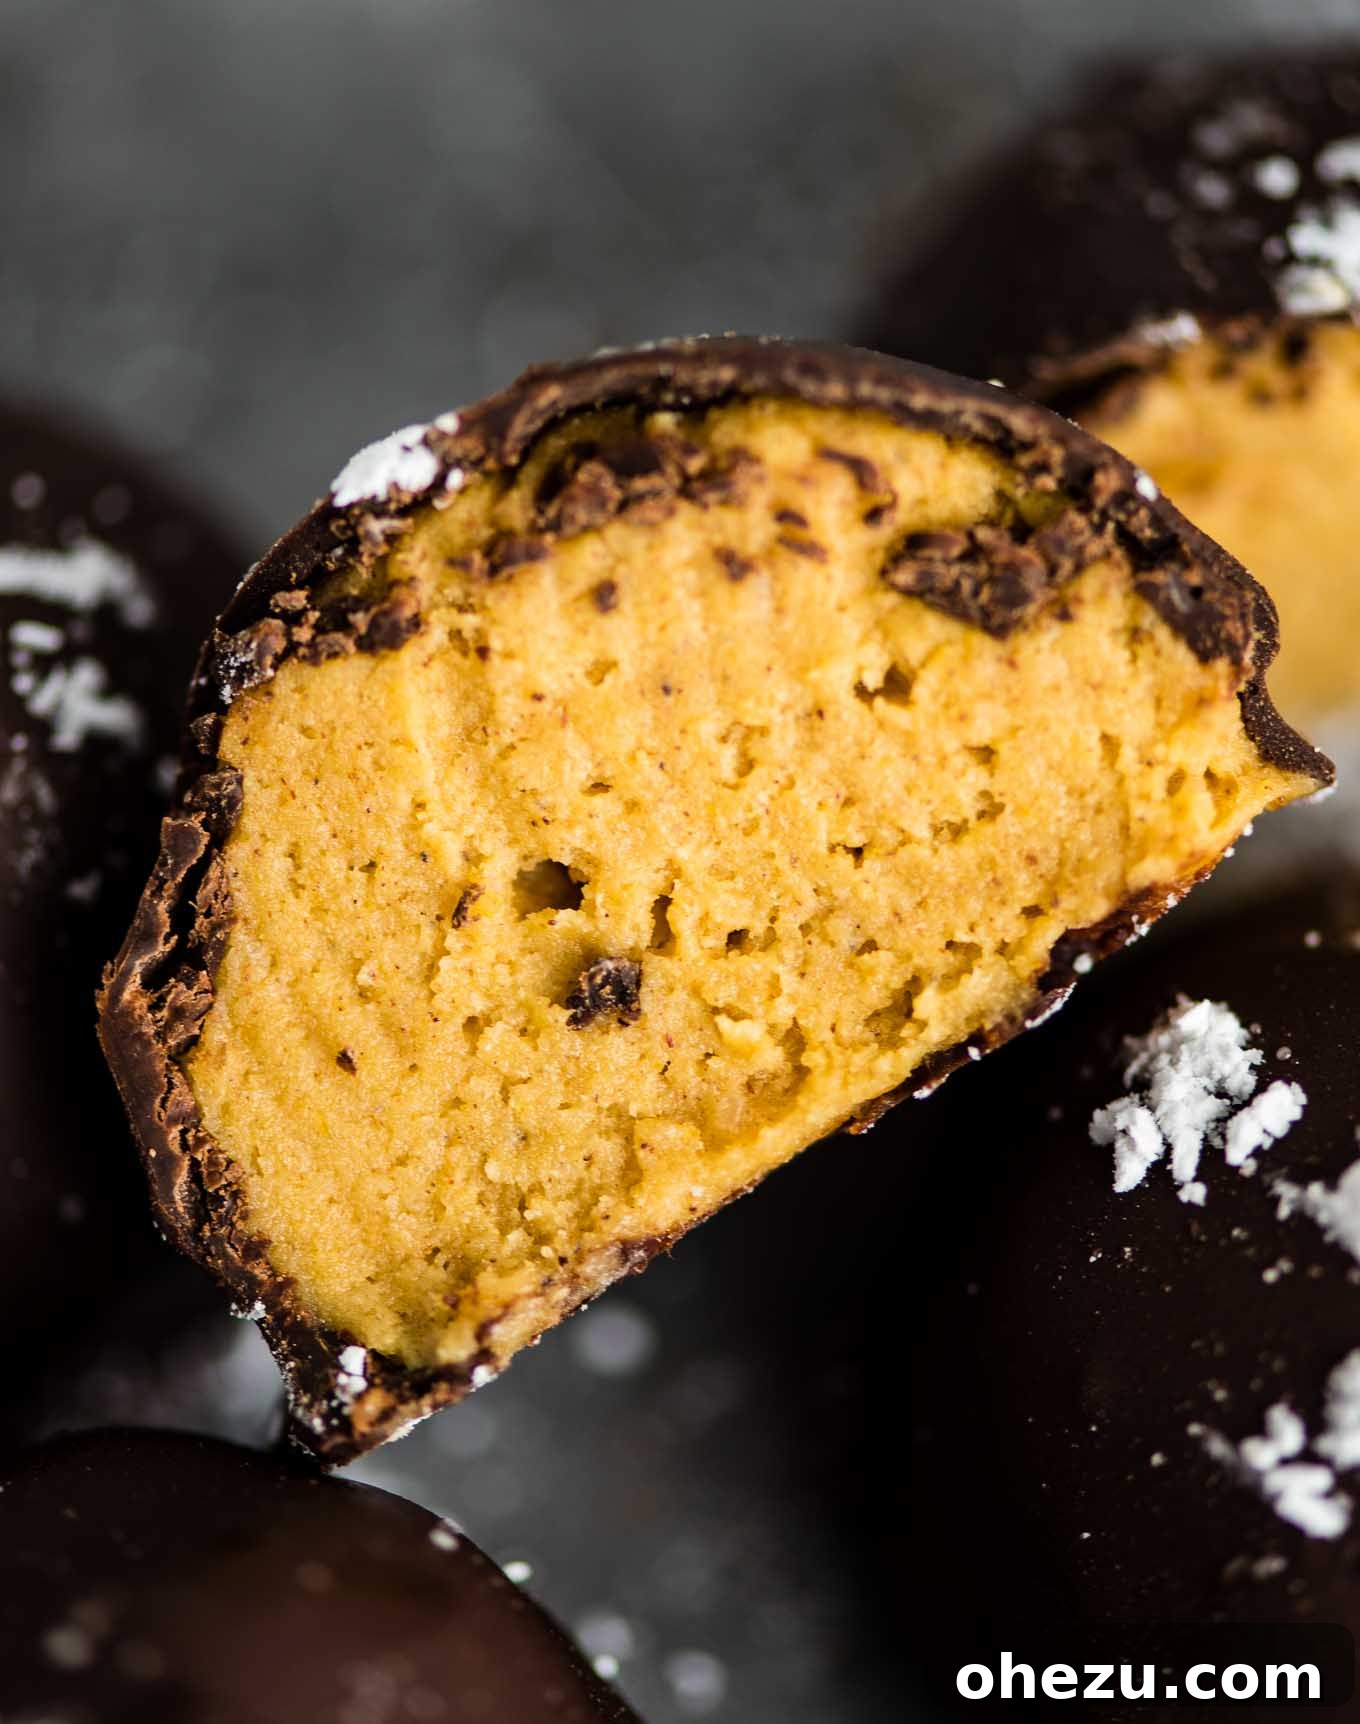
As autumn leaves begin to fall and the air gets crisp, there’s nothing quite like the comforting aroma of pumpkin spice filling your home. While pumpkin pie often steals the show, these delightful no-bake pumpkin cheesecake balls are here to offer a fresh, exciting, and incredibly easy alternative for all your fall cravings. Imagine a rich, spiced pumpkin cheesecake filling, perfectly blended with crunchy graham cracker crumbs, all encased in a smooth, decadent dark chocolate shell and dusted with a delicate sprinkle of powdered sugar. It’s a bite-sized piece of heaven that brings together the best flavors of the season without ever needing to turn on your oven.
Whether you’re hosting a Thanksgiving feast, looking for a unique Halloween treat, or simply want to indulge in a delicious and easy fall recipe, these pumpkin cheesecake truffles are an absolute must-try. They are not only incredibly simple to prepare, requiring no baking whatsoever, but they also offer a sophisticated yet approachable dessert experience that will impress friends and family alike. Get ready to fall in love with your new favorite autumn confection!
Why These No-Bake Pumpkin Cheesecake Balls Are a Fall Favorite
These pumpkin cheesecake balls stand out as an exceptional fall recipe for several compelling reasons:
- Effortlessly Delicious: True to their name, these are “no-bake,” meaning less time in the kitchen and more time enjoying the season. The process is straightforward, making them perfect for novice bakers and seasoned dessert enthusiasts alike.
- Rich, Authentic Pumpkin Flavor: We use real canned pumpkin (not pie filling!) combined with aromatic pumpkin pie spice to create a filling that truly captures the essence of fall.
- Perfect Texture Contrast: The creamy, smooth cheesecake interior is beautifully complemented by the subtle crunch of graham cracker crumbs and the crisp snap of the chocolate shell.
- Versatile for Any Occasion: From casual family gatherings to elegant holiday parties, these truffles fit right in. They’re also fantastic for edible gifts!
- Make-Ahead Friendly: Prepare them in advance, store them in the fridge, and pull them out when you’re ready to serve. This makes party planning a breeze.
- Irresistibly Addictive: Seriously, you’ve been warned! Their delightful taste and perfect bite-size make them incredibly hard to resist.
Essential Ingredients for Perfect Pumpkin Cheesecake Truffles
Crafting these delectable no-bake pumpkin cheesecake balls starts with a selection of simple yet high-quality ingredients. Each plays a crucial role in achieving the perfect flavor and texture.
- Cream Cheese: Opt for full-fat cream cheese, softened to room temperature. This is crucial for a smooth, lump-free mixture and contributes significantly to the rich, tangy cheesecake flavor.
- Canned Pumpkin: Ensure you are using 100% pure canned pumpkin puree, not pumpkin pie filling. Pumpkin pie filling contains added spices and sweeteners that will alter the recipe’s balance.
- Powdered Sugar: Also known as confectioners’ sugar, this fine sugar blends seamlessly into the cream cheese mixture, ensuring a silky-smooth texture without any graininess, and adds the perfect sweetness.
- Powdered Graham Cracker Crumbs: These crumbs are essential for mimicking that classic cheesecake crust flavor and also help to bind the filling. You can buy pre-crushed crumbs or easily make your own by blending whole graham crackers.
- Pumpkin Pie Spice: The signature flavor of fall! This blend of cinnamon, nutmeg, ginger, and cloves elevates the pumpkin’s natural taste. Feel free to adjust the amount to your preference.
- Salt: A pinch of salt brightens all the other flavors, balancing the sweetness and enhancing the depth of the pumpkin and spice.
- Coconut Flour: This unique flour is excellent for absorbing moisture and thickening the truffle mixture without adding extra sugar or a strong flavor. If you don’t have it, don’t worry—you can use additional graham cracker crumbs as a substitute, but the texture might vary slightly.
- Dark Chocolate Chips: These are for creating the crisp outer shell of your truffles. While dark chocolate (around 70% cocoa) provides a lovely contrast to the sweet filling, you can certainly experiment with other types of chocolate.
Step-by-Step Guide to Making Pumpkin Cheesecake Balls
Creating these beautiful no-bake pumpkin cheesecake truffles is a rewarding process. Follow these detailed steps for the best results:
Step 1: Prepare the Cream Cheese Base
In a medium mixing bowl, combine the softened block of cream cheese with the powdered sugar. Using an electric mixer, beat these ingredients together on medium speed until the mixture is light, fluffy, and completely smooth. Scrape down the sides of the bowl as needed to ensure everything is well incorporated. This fluffy base is key to a melt-in-your-mouth truffle.
Step 2: Create Fine Graham Cracker Crumbs
For that signature cheesecake crust flavor and perfect binding, you’ll need finely powdered graham cracker crumbs. Place whole graham crackers into a blender or a food processor. Process until they reach an almost flour-like, very fine consistency. Measure out exactly 1 cup of these finely crushed crumbs. The finer the crumbs, the smoother your truffle filling will be.
Step 3: Combine All Filling Ingredients
To the cream cheese and powdered sugar mixture, add the graham cracker crumbs, canned pumpkin, pumpkin pie spice, salt, and coconut flour. Continue beating with your electric mixer on low to medium speed until all ingredients are thoroughly combined and the mixture is smooth and uniform.
- A Note on Coconut Flour: Coconut flour is fantastic in this recipe for its ability to absorb moisture and thicken the batter without adding extra sweetness or affecting the pumpkin flavor. If you don’t have coconut flour or prefer not to use it, you can substitute it with an equal amount of additional finely crushed graham cracker crumbs. Alternatively, a small amount of oat flour can also work. Just be mindful of the batter’s consistency; you want it firm enough to roll later.
Step 4: Scoop and Chill the Truffle Base
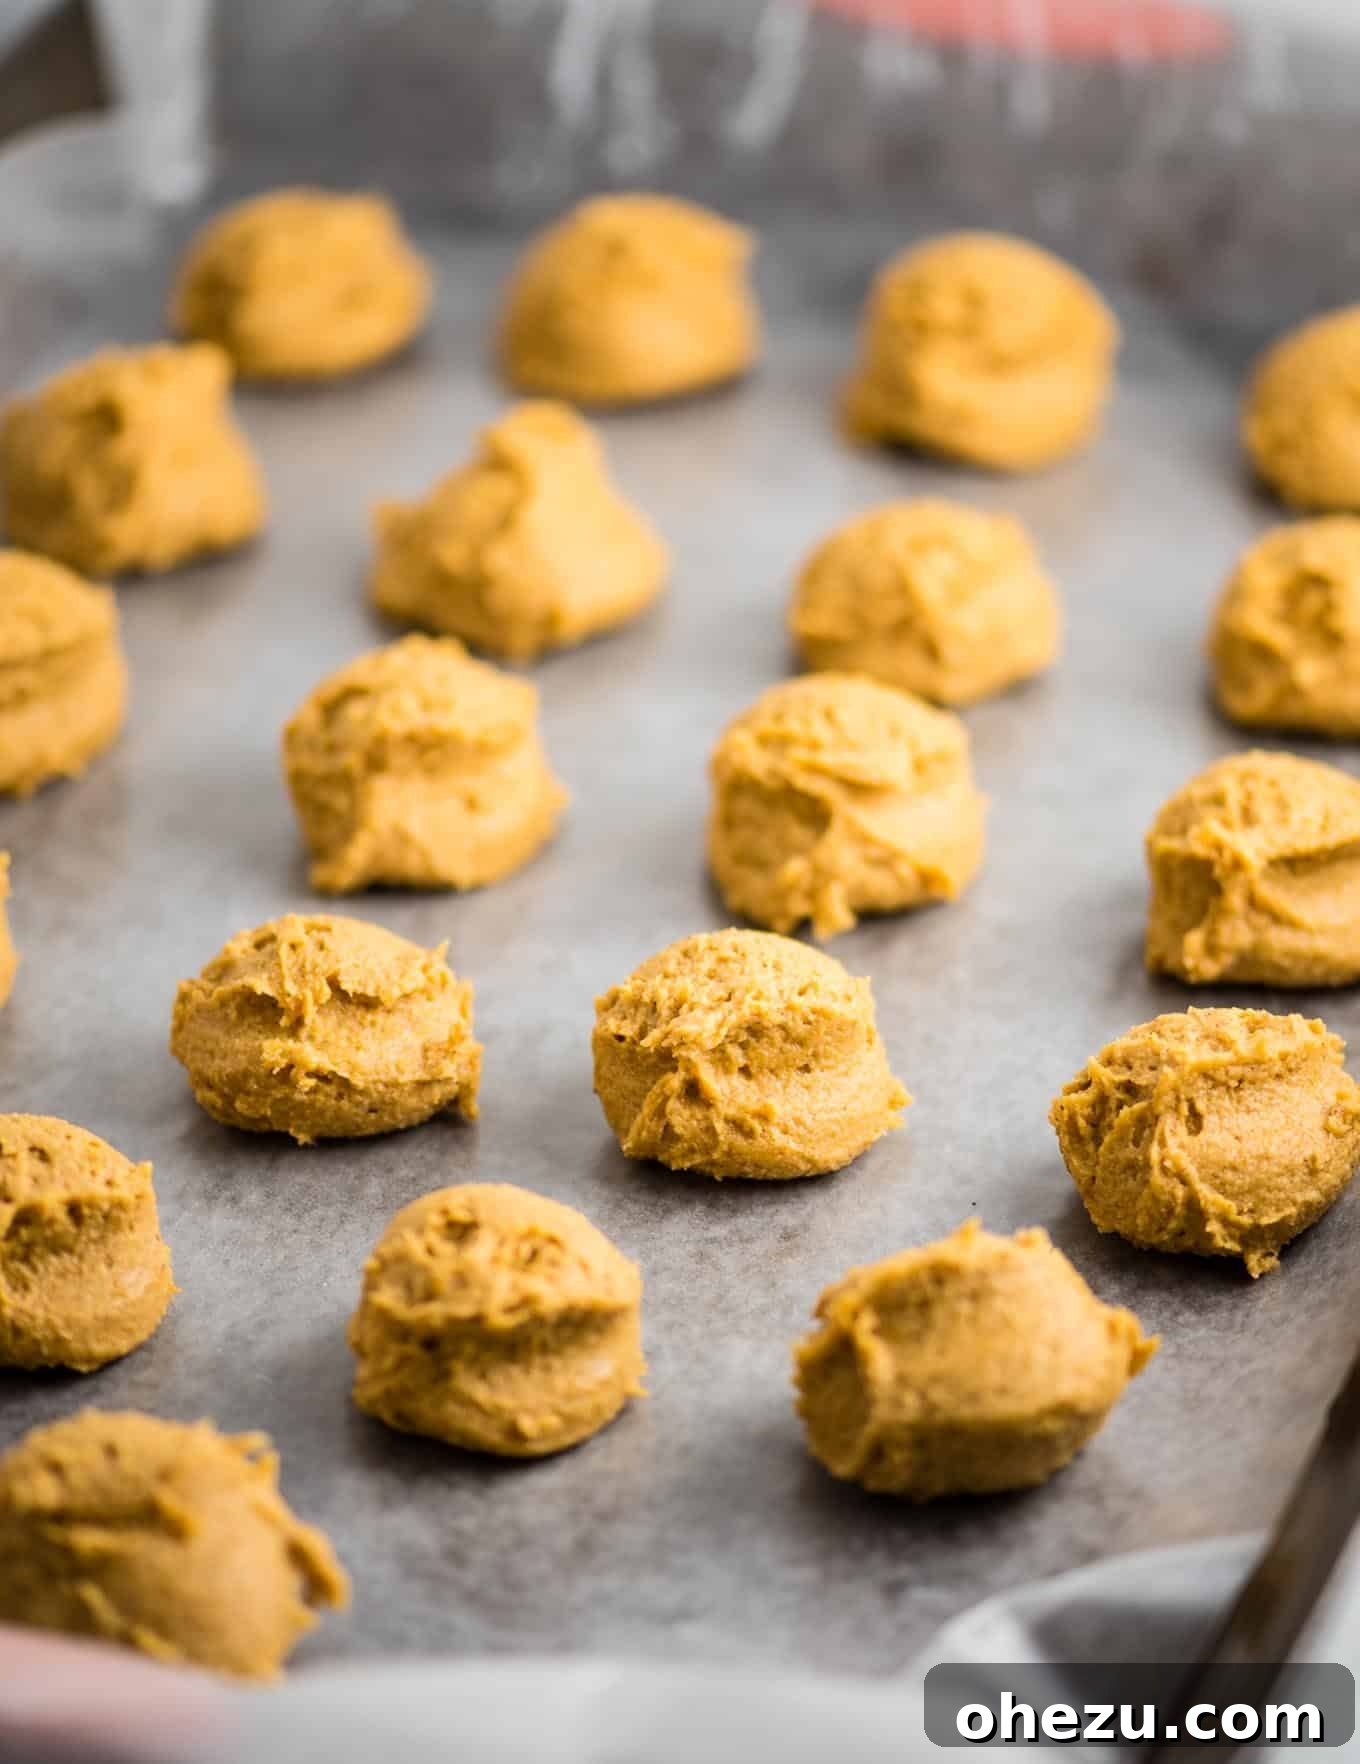
Line a large baking sheet with wax paper or parchment paper. Using a mini cookie scoop (this tool is a game-changer for uniform truffles!), drop small, roughly spherical portions of the pumpkin cheesecake mixture onto the prepared baking sheet.
Pro Tip: At this stage, the dough will be quite sticky, so resist the urge to shape them with your hands directly. The primary goal here is to portion them out. Don’t worry about perfect spheres just yet. Once all the mixture is scooped, place the entire baking sheet into the refrigerator and chill for at least 1 hour, or until the balls are firm enough to handle. This chilling time is absolutely essential for easy shaping and dipping.
Step 5: Shape, Dip, and Decorate
After the truffle batter has thoroughly chilled and firmed up, remove it from the fridge. Now, one by one, pick up each chilled ball and gently roll it between your palms to smooth out any imperfections and create perfectly round truffles.
While you’re shaping, melt your dark chocolate chips until smooth. You can do this using a double boiler method (placing a heatproof bowl over a pot of simmering water) or in the microwave in 30-second intervals, stirring well after each interval until melted and fluid.
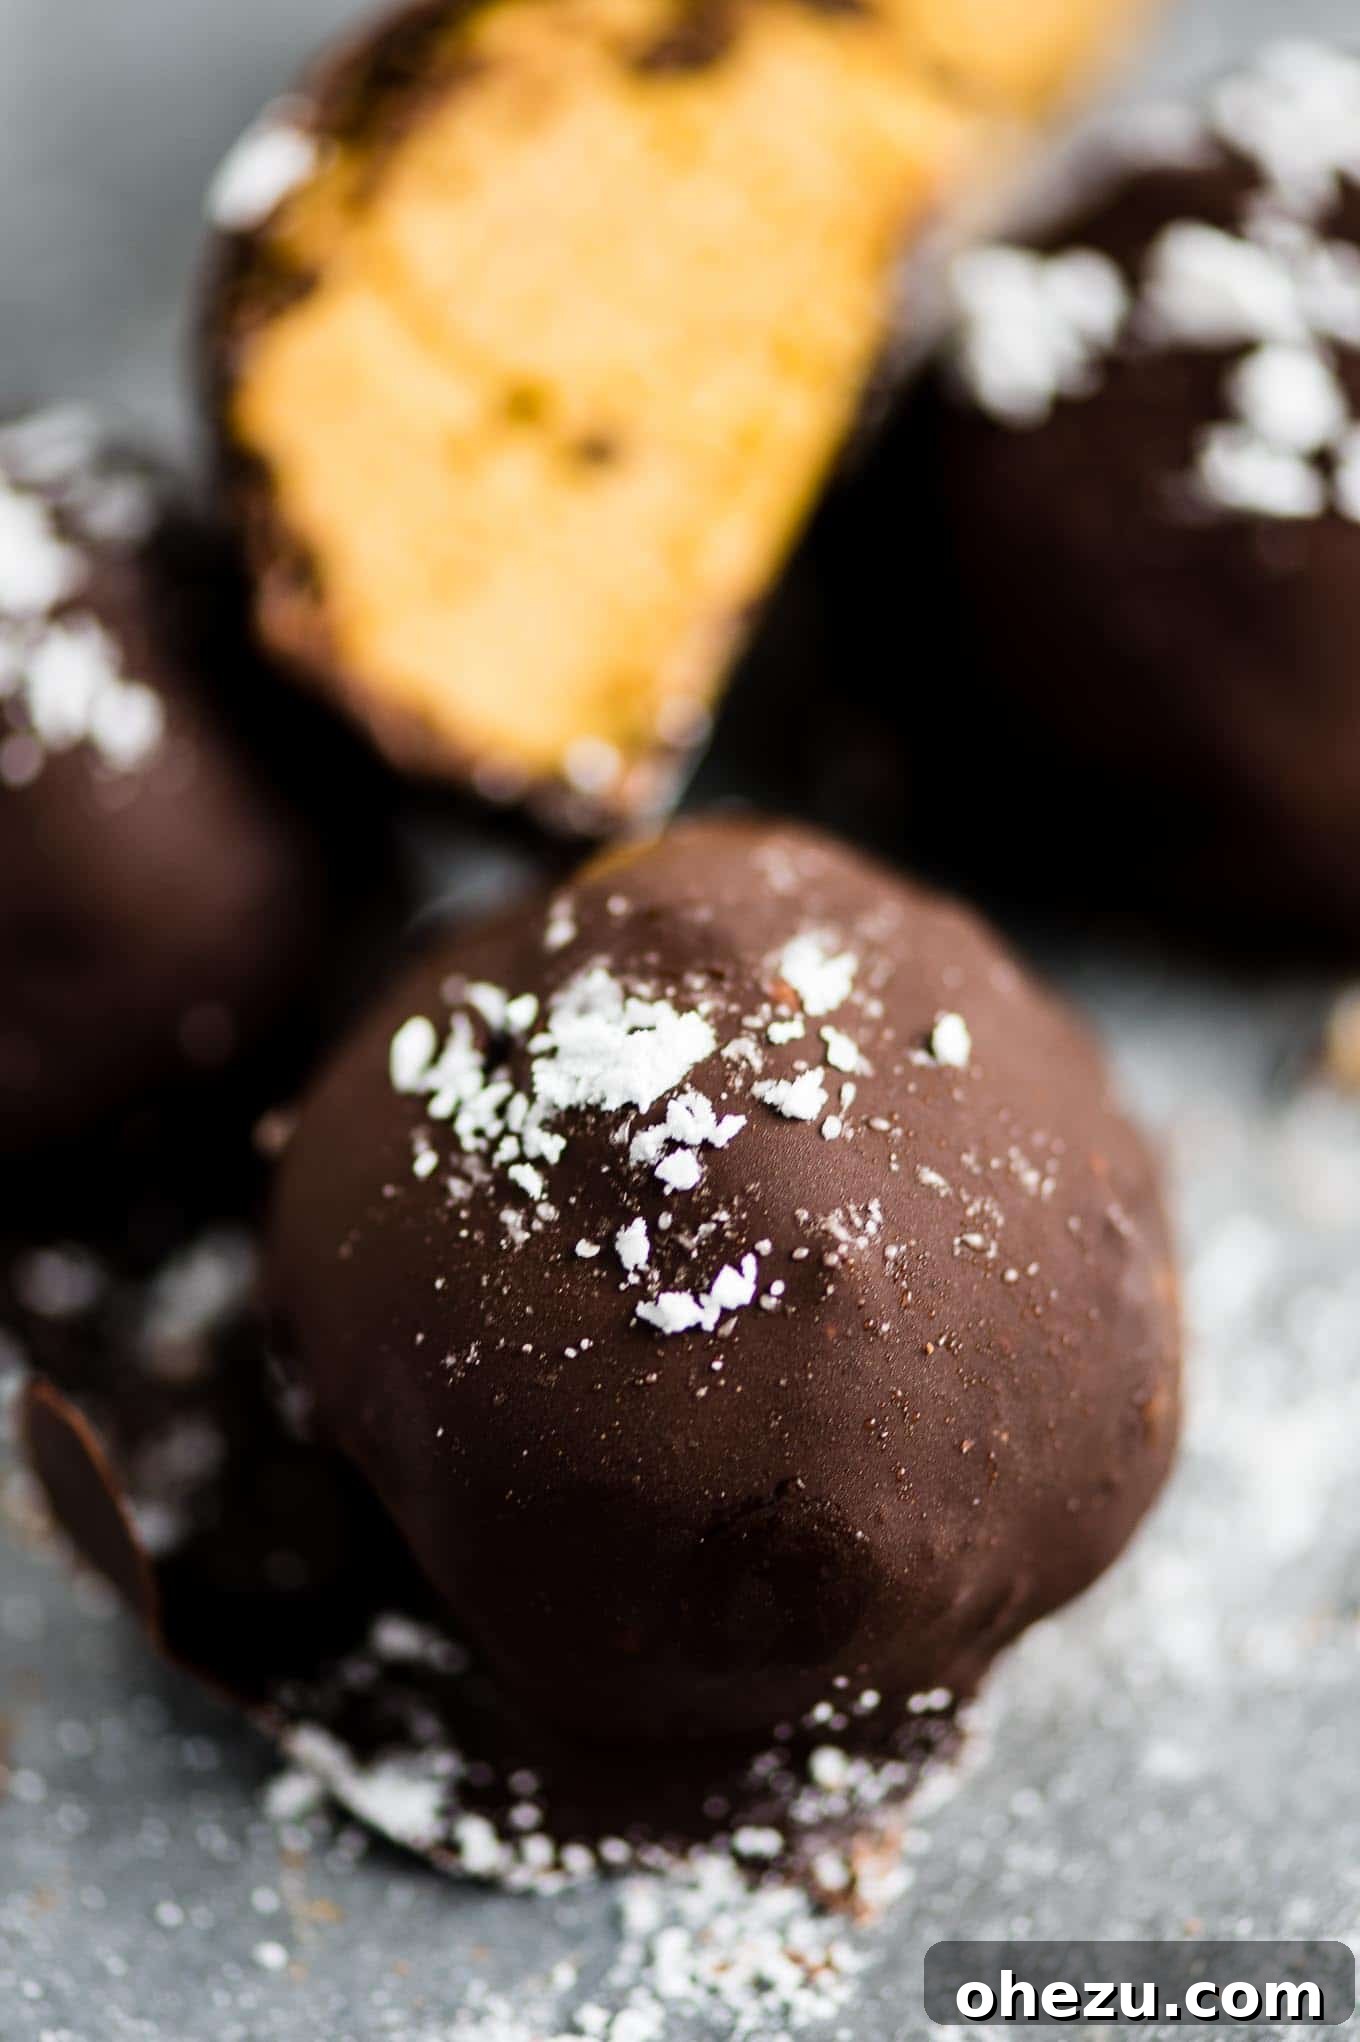
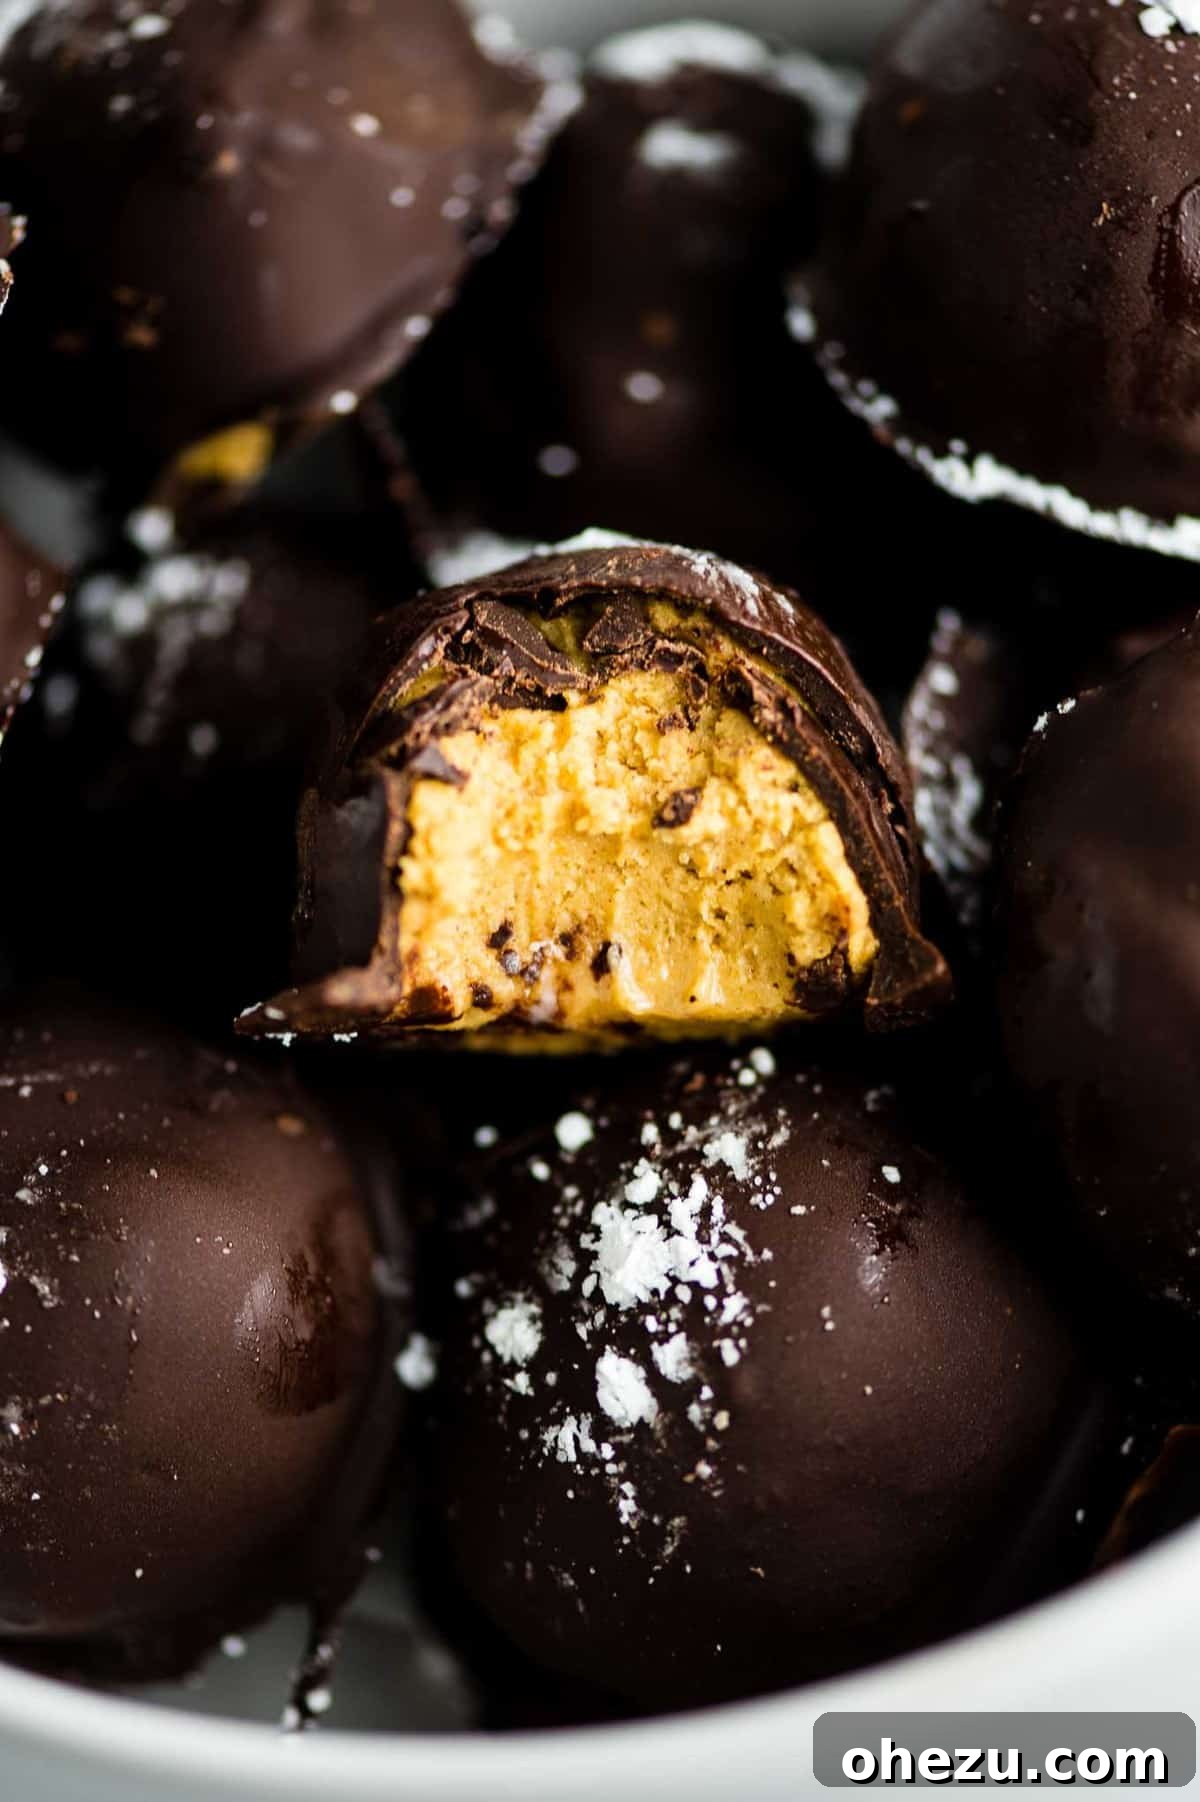
Once the chocolate is melted, carefully drop a shaped truffle into the chocolate. Use a fork to gently turn the truffle to coat it completely. Lift the truffle out with the fork, tapping it against the edge of the bowl to allow any excess chocolate to drip off. This creates a thin, even coating.
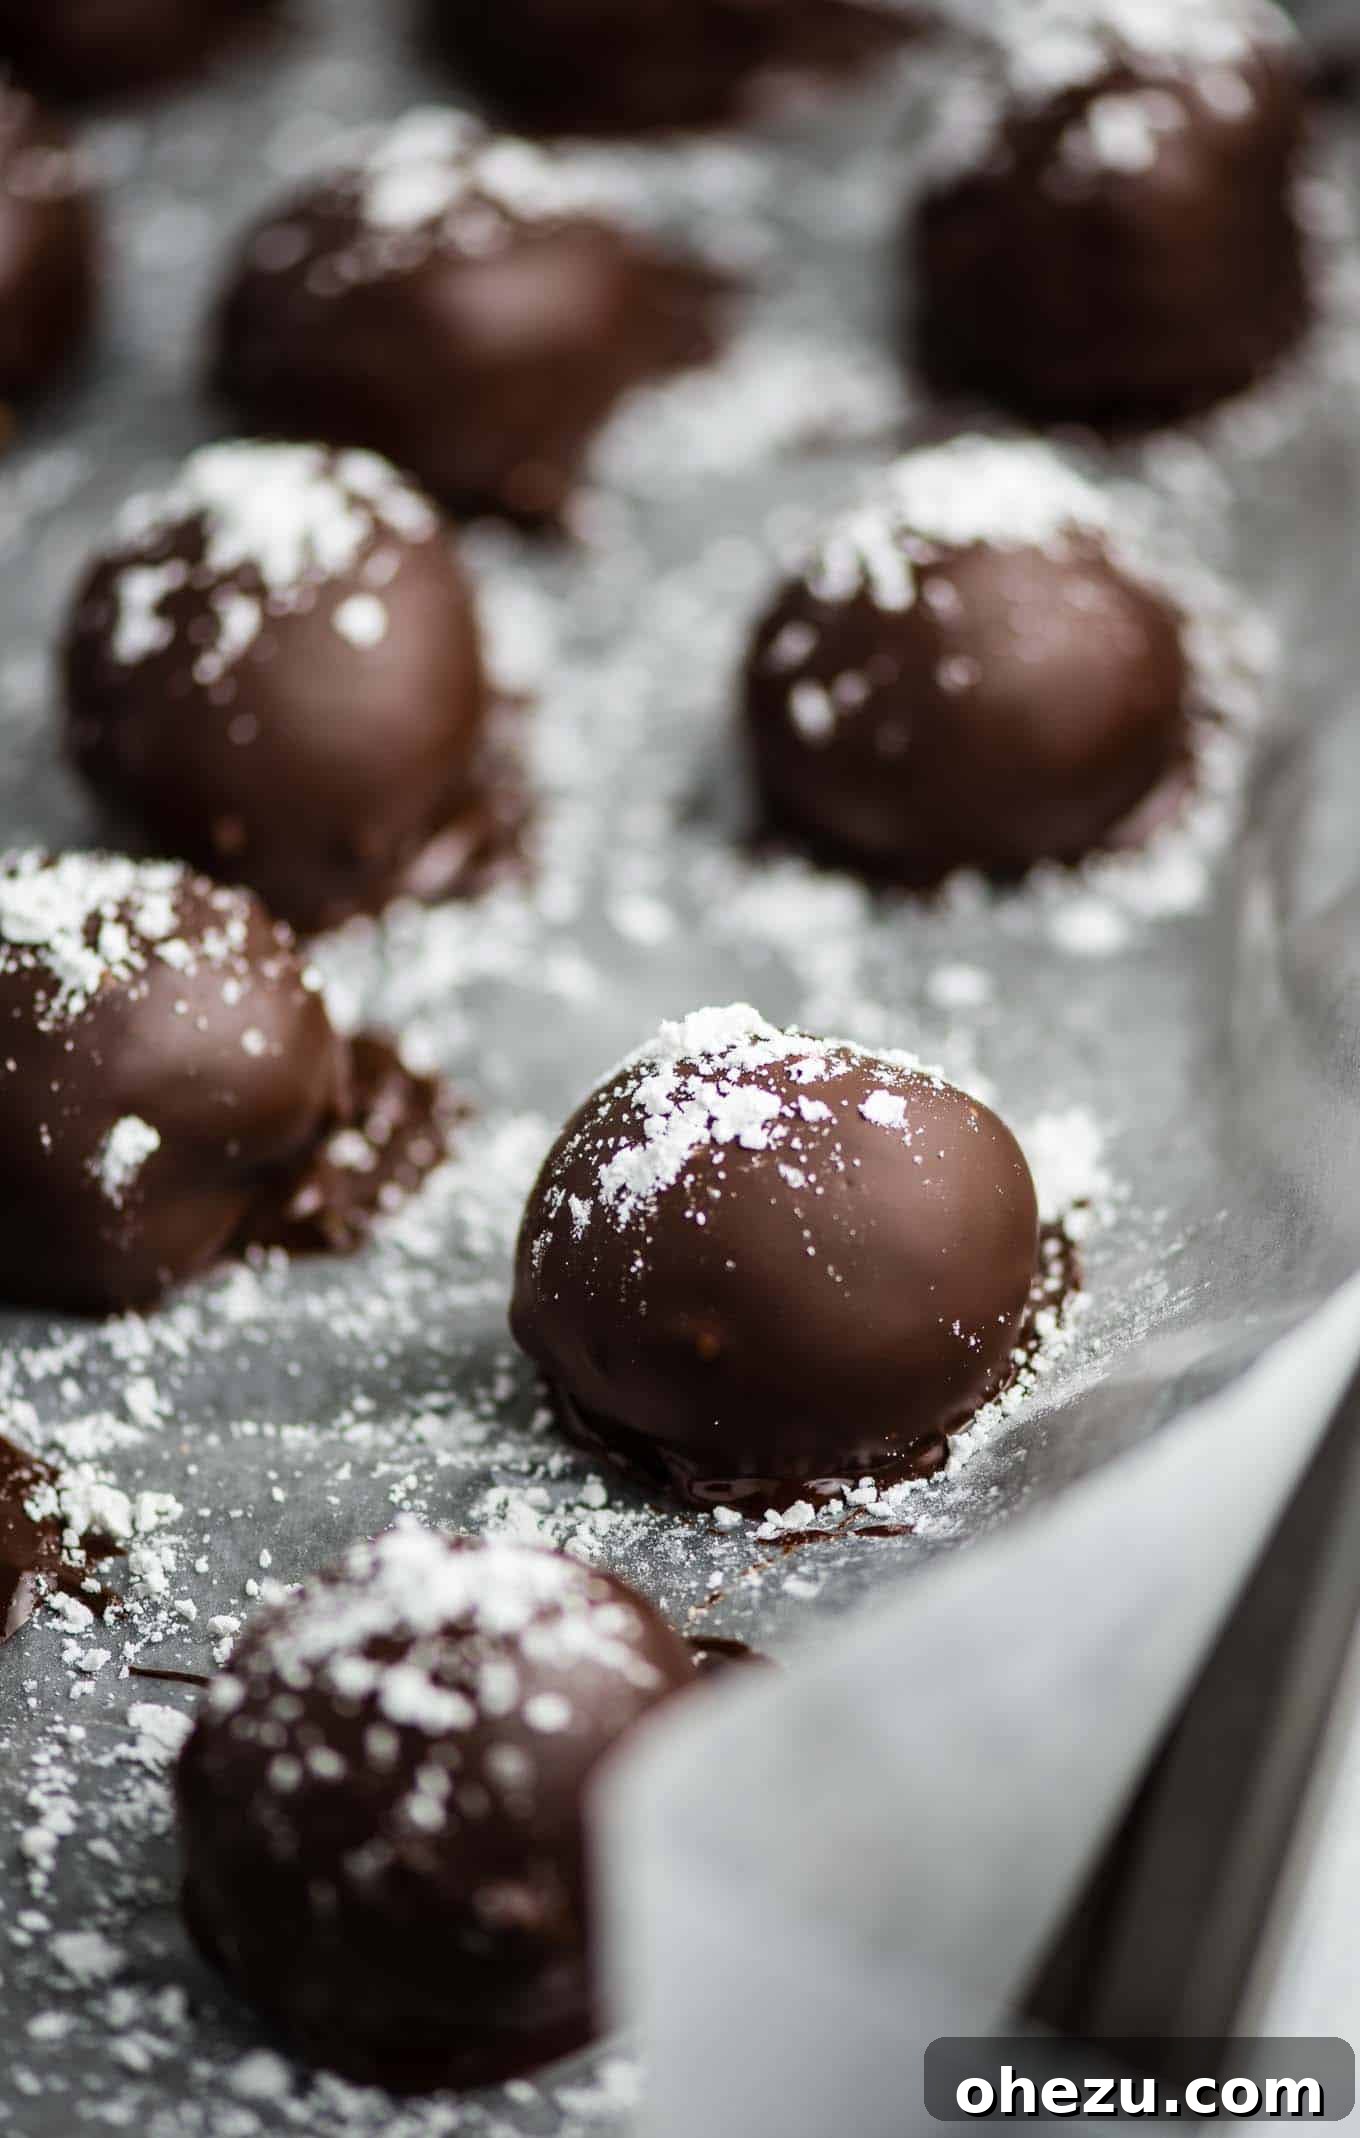
Using a toothpick inserted into the bottom of the truffle (or simply by nudging with another fork), slide the chocolate-covered pumpkin cheesecake ball back onto the wax paper-lined baking sheet. Immediately, while the chocolate is still wet, sprinkle the top with a dusting of powdered sugar for an elegant finish. Repeat this process with all the remaining truffles, working efficiently so the chocolate doesn’t set too quickly.
Choosing the Perfect Chocolate for Dipping
The type of chocolate you choose for dipping can significantly impact the overall flavor profile of your pumpkin cheesecake balls. Since the filling is delightfully sweet, selecting the right chocolate can create a wonderful balance.
- Dark Chocolate Chips (70% Cacao recommended): My personal favorite for this recipe! The slight bitterness of dark chocolate beautifully contrasts the sweet and creamy pumpkin filling, creating a sophisticated flavor experience. It also provides a lovely crisp shell.
- Semi-Sweet Chocolate Chips: A versatile and popular choice, semi-sweet chocolate offers a balanced sweetness that pairs well with the pumpkin. It’s a great middle-ground if you find dark chocolate too intense.
- Milk Chocolate Chips: For those with a sweeter tooth, milk chocolate will provide a classic, creamy, and very sweet coating. Keep in mind it will make the entire truffle quite rich.
- White Chocolate Chips: A fun option for a different flavor profile and visual appeal. White chocolate adds a creamy, vanilla-like sweetness. You could even drizzle it over the dark chocolate-dipped truffles for an elegant two-tone effect.
- Chocolate Melting Wafers/Candy Melts: For ease of melting and a very smooth, easy-to-work-with coating that sets quickly, these are a convenient option. They come in various colors, perfect for festive occasions.
Step 6: Final Chill and Enjoy!
Once all your pumpkin cheesecake balls are dipped and decorated, place the baking sheet back into the refrigerator. Allow them to chill for an additional 1 to 2 hours, or until the chocolate shell is completely firm and set. This final chill ensures the truffles hold their shape perfectly and offers the best eating experience.
Take one out, let it sit for a minute or two to slightly soften the interior, and then savor the incredible combination of pumpkin spice, creamy cheesecake, and rich chocolate.
Tips for Truffle Perfection
Achieving perfect pumpkin cheesecake balls is simple with a few expert tips:
- Room Temperature Cream Cheese: Always start with softened cream cheese. Cold cream cheese will result in a lumpy mixture, no matter how much you beat it.
- Don’t Skip the Chill: Chilling the truffle mixture (twice!) is non-negotiable. It makes shaping effortless and prevents the truffles from falling apart when dipped in warm chocolate.
- Finely Crush Graham Crackers: The goal is a flour-like consistency. Larger crumbs can make the truffles gritty or harder to form smoothly.
- Work Quickly When Dipping: Have all your truffles shaped and your workspace ready before melting the chocolate. Melted chocolate can seize or cool too quickly if you take too long.
- Control Chocolate Temperature: Avoid overheating the chocolate, as it can burn or become too thick. Melt it gently and stir frequently. If it cools and thickens while dipping, gently rewarm it.
- Shake Off Excess Chocolate: Tapping the fork against the side of the bowl after dipping ensures a thin, even coating, preventing thick, clunky shells.
- Immediate Topping: If you’re adding powdered sugar or other toppings, do so immediately after dipping each truffle, while the chocolate is still wet and sticky.
Creative Variations & Serving Suggestions
These pumpkin cheesecake balls are fantastic as is, but don’t be afraid to get creative with variations and how you serve them!
- Alternative Toppings: Instead of just powdered sugar, consider a sprinkle of cinnamon, a dusting of cocoa powder, crushed pecans or walnuts, a drizzle of white chocolate, or even a tiny pinch of sea salt for a sweet and salty kick.
- Spice It Up (or Down): Adjust the pumpkin pie spice to your liking. A tiny pinch of ground ginger or a dash of allspice can also add depth.
- Add a Hint of Maple: A small amount (1/2 teaspoon) of maple extract added to the filling can enhance the fall flavors beautifully.
- Make Them Gluten-Free: Simply swap out regular graham crackers for gluten-free graham crackers, and ensure all other ingredients are certified GF.
- Serving Ideas: Arrange them on a festive platter for holiday gatherings, package them in small decorative boxes as thoughtful homemade gifts, or simply keep a stash in your fridge for a delightful personal treat. They are also excellent served with a cup of coffee or a warm mug of spiced cider.
How to Store Pumpkin Cheesecake Balls
Proper storage is key to keeping your delicious pumpkin cheesecake truffles fresh and firm.
- In the Refrigerator: Store any leftover pumpkin cheesecake balls in an airtight container or a sealed bag. They will stay fresh and delicious in the refrigerator for up to 5 days. Layer them with parchment paper if stacking to prevent sticking.
- In the Freezer: These truffles also freeze beautifully! Place them in a single layer on a baking sheet to freeze solid, then transfer them to an airtight freezer-safe container or bag. They can be stored in the freezer for up to 1 month. When ready to enjoy, thaw them in the refrigerator for a few hours before serving. The texture may soften slightly, but they will still be incredibly tasty.
More Irresistible Pumpkin Recipes for Fall
If you’re as obsessed with pumpkin as we are, you’ll love these other fantastic fall recipes from our collection:
- Classic Pumpkin Bread
- Delightful Pumpkin Mini Muffins
- Vegan Pumpkin Chocolate Chip Cookies
- Decadent Pumpkin Cake with Cream Cheese Frosting
- Wholesome Pumpkin Banana Bread
- Charming Pumpkin Pie Cookies
Are you making this recipe? We’d love to see your creations! Don’t forget to tag us on Instagram @buildyourbite and use the hashtag #buildyourbite with your delicious pumpkin cheesecake ball masterpieces!
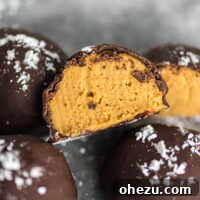
No Bake Pumpkin Cheesecake Balls
Joy Shull
30 mins
1 hr 30 mins
2 hrs
22 truffles
Rate Recipe
Print Recipe
Ingredients
- 8 oz cream cheese, softened
- 1/2 cup canned pumpkin puree (not pie filling)
- 1 cup powdered sugar
- 1 cup powdered graham cracker crumbs
- 2 teaspoons pumpkin pie spice
- 1/4 teaspoon salt
- 1/4 cup coconut flour**
- 2 cups 70% dark chocolate chips (or chocolate of choice)
Instructions
- Beat the softened cream cheese and powdered sugar until light and fluffy.
- In a blender or food processor, crush the graham crackers into a fine, flour-like texture. Measure out 1 cup of these crumbs.
- To the cream cheese mixture, add the pumpkin, graham cracker crumbs, pumpkin pie spice, salt, and coconut flour (or substitute). Beat until well combined and smooth.
- Line a baking sheet with wax paper or parchment paper.
- Using a mini cookie scoop, drop approximately 22 small balls of the sticky batter onto the lined sheet. Do not worry about perfect shapes yet.
- Chill the pumpkin cheesecake balls in the fridge for 1 hour, until firm enough to handle.
- Melt the chocolate chips in a double boiler or microwave until smooth.
- Once chilled, pick up each ball and roll it between your palms to fix any shape imperfections, forming a smooth sphere.
- Drop a truffle into the melted chocolate. Use a fork to turn it and lift it out, tapping off any excess chocolate.
- Carefully slide the truffle back onto the baking sheet using a toothpick or another fork. Immediately sprinkle with powdered sugar or other desired toppings.
- Repeat with the remaining pumpkin cheesecake balls.
- Once all truffles are dipped and topped, refrigerate them for at least 1-2 hours, or until the chocolate is totally firm.
- Store leftover pumpkin cheesecake truffles in an airtight container in the fridge.
Notes
** If you prefer not to use coconut flour, you can substitute it with an equal amount of additional finely crushed graham cracker crumbs.
Nutrition Facts (per truffle, approx.)
Calories: 170 kcal
Carbohydrates: 19g
Protein: 2g
Fat: 9g
Saturated Fat: 7g
Polyunsaturated Fat: 0.2g
Monounsaturated Fat: 1g
Cholesterol: 11mg
Sodium: 105mg
Potassium: 137mg
Fiber: 1g
Sugar: 12g
Vitamin A: 1007 IU
Vitamin C: 0.4mg
Calcium: 65mg
Iron: 1mg
Like this recipe? Rate and comment below!