
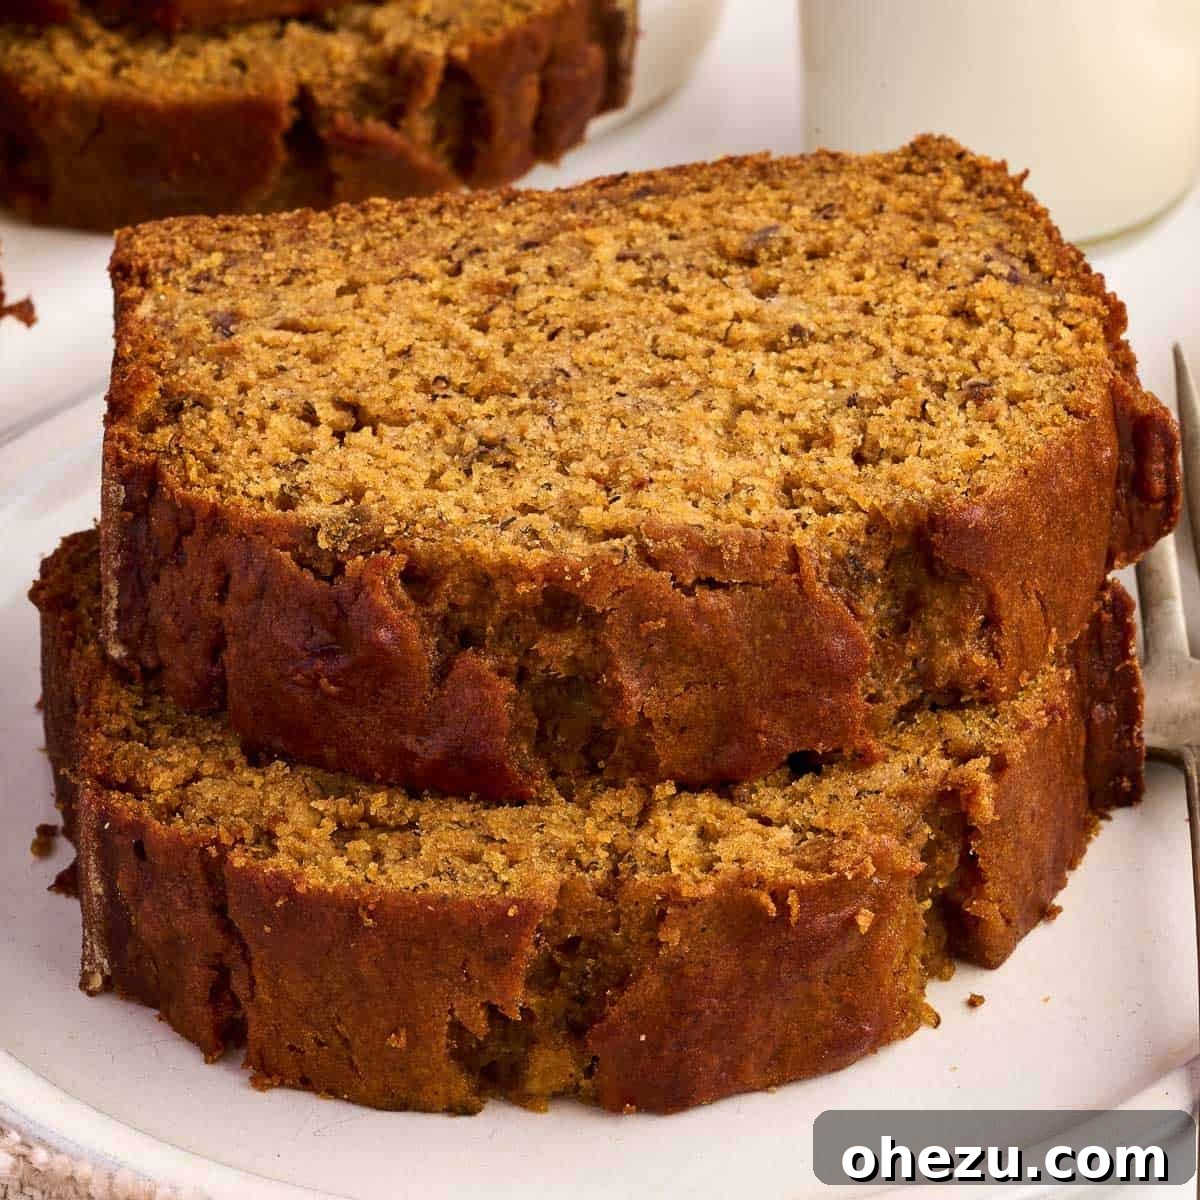
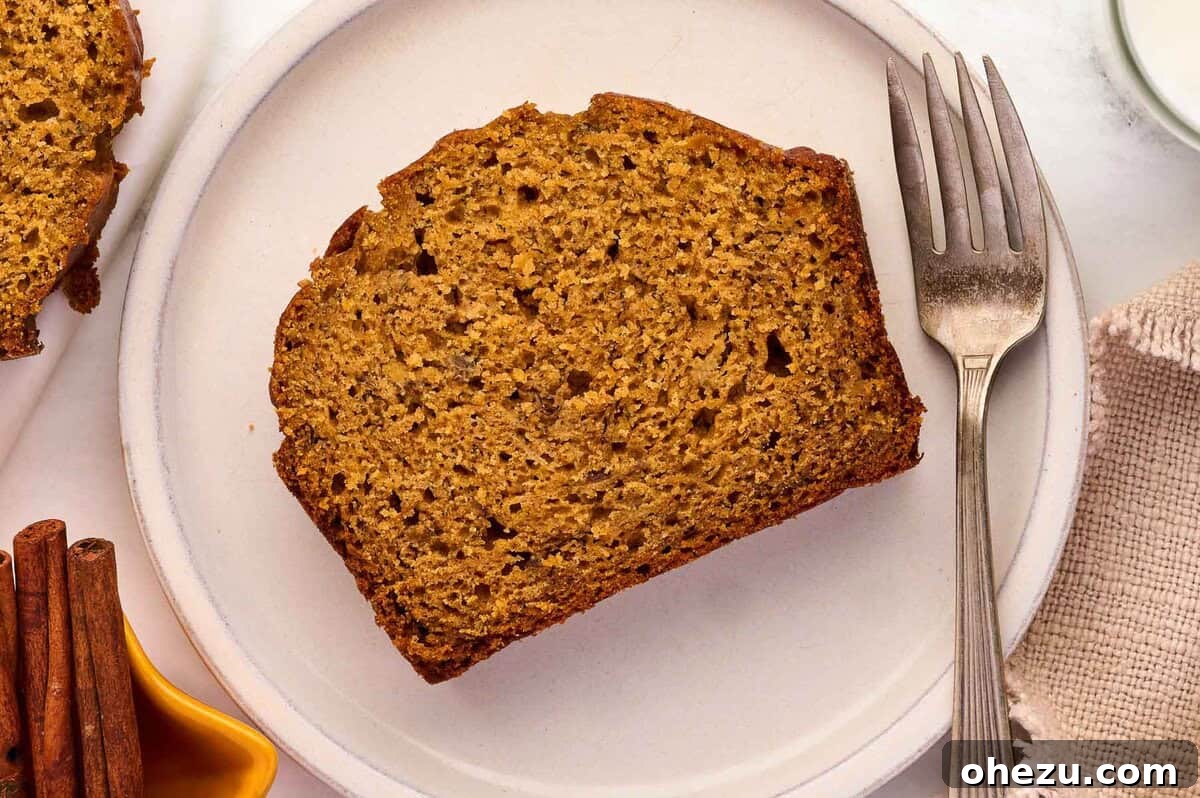
Indulge in the comforting embrace of autumn with this incredible homemade Pumpkin Banana Bread. A perfect fusion of two beloved classics, this moist, flavorful loaf is brimming with the delightful essence of pumpkin and the sweet familiarity of banana, all warmly spiced to perfection. It’s truly the ultimate cozy fall treat!
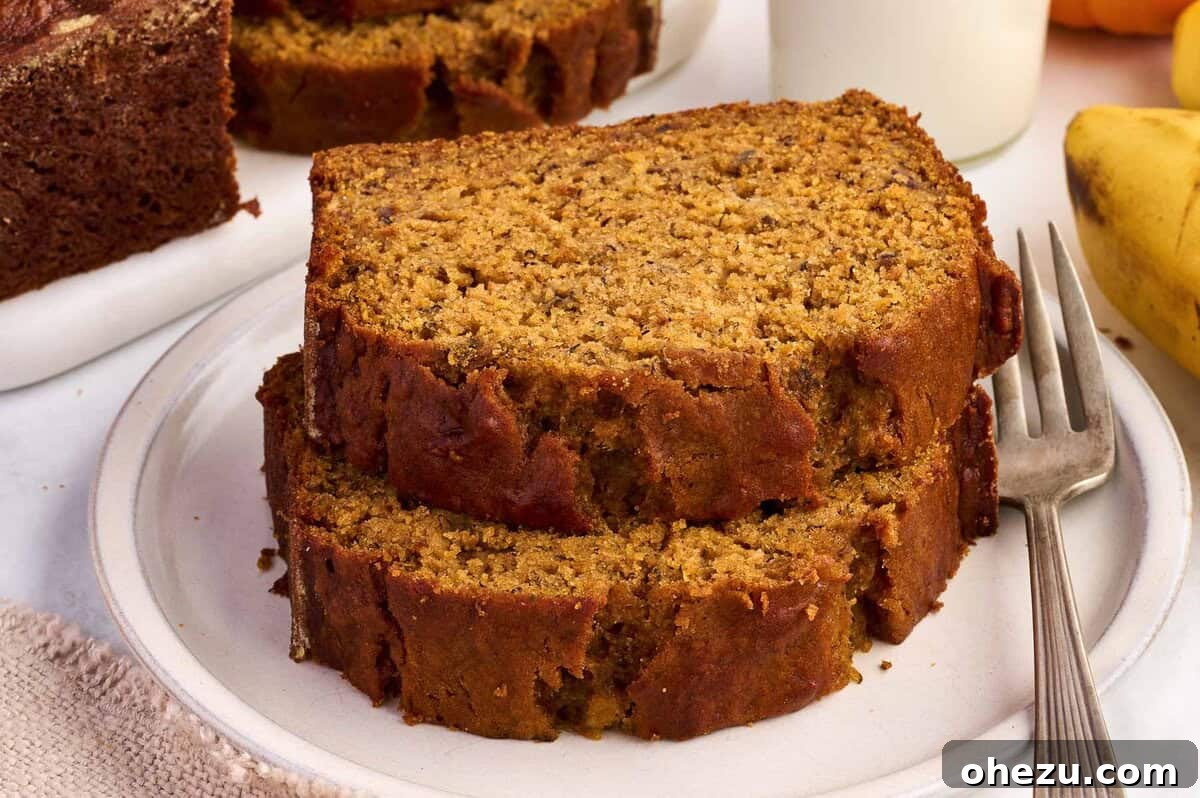
While classic banana bread remains a cherished staple year-round, there’s something truly magical about infusing it with seasonal pumpkin flavors when the crisp air of fall arrives. This exceptional recipe for Pumpkin Banana Bread elevates a simple treat into a culinary experience, transforming your kitchen into an aromatic haven with the irresistible scent of warm spices and freshly baked goodness.
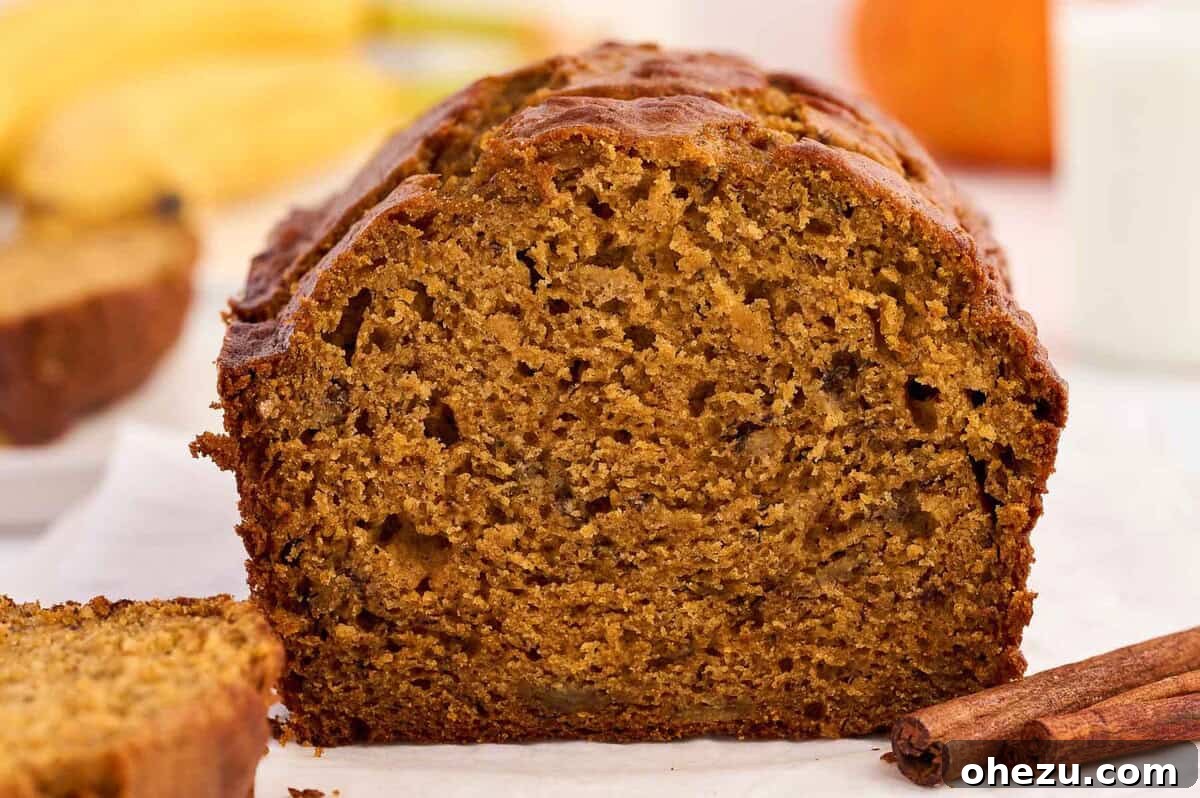
This irresistibly moist bread masterfully blends the comforting sweetness and tender texture of traditional banana bread with the rich, autumnal notes and fragrant spices typically found in a delightful pumpkin bread. The result is an exceptionally moist, tender, and utterly delicious loaf that your entire family will adore. It’s a fantastic way to utilize those overripe bananas sitting on your counter while celebrating the best of fall produce and flavors.
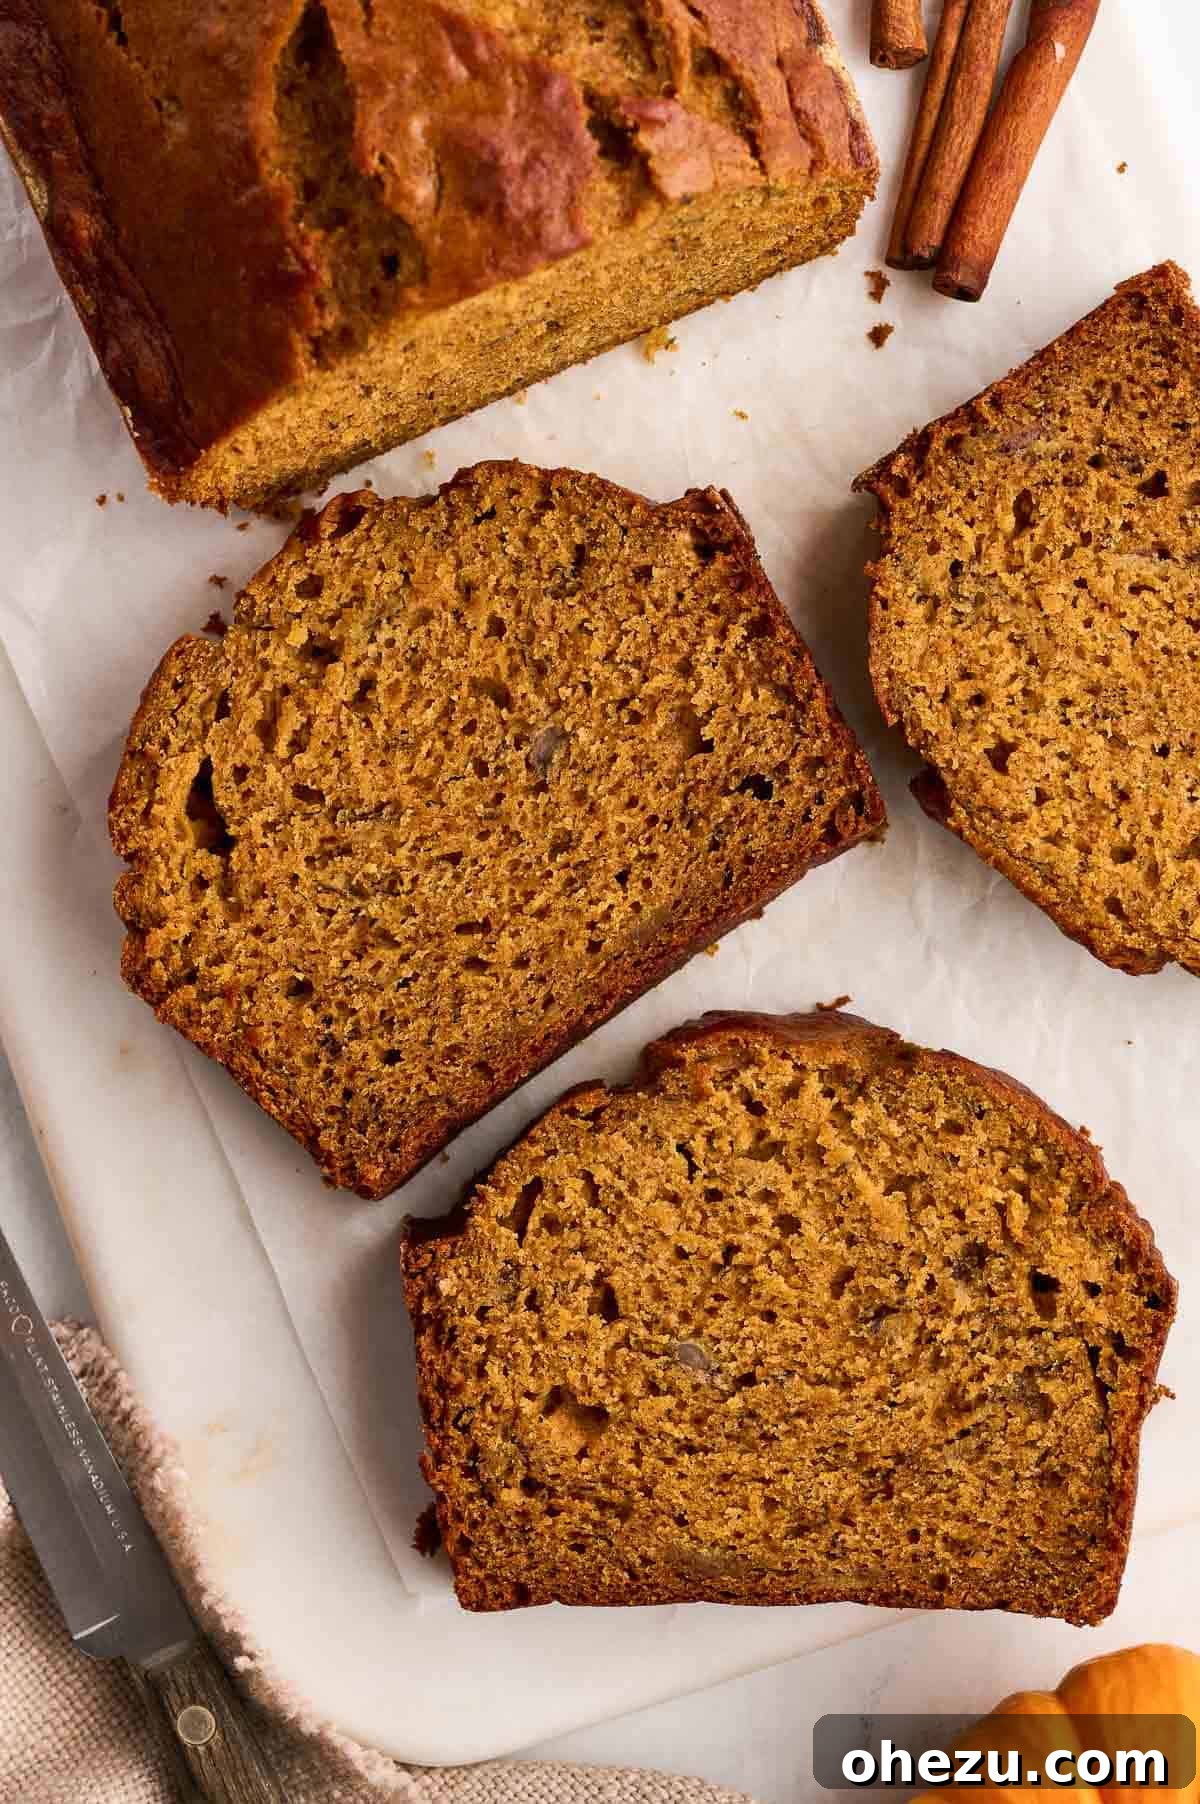
Whether enjoyed warm from the oven, perhaps with a generous dollop of softened butter, or as a delightful cold slice, this pumpkin banana bread is absolutely heavenly. Its complex yet harmonious flavor profile makes it perfect for breakfast, a cozy afternoon snack, or a simple dessert. Best of all, this recipe is surprisingly simple to prepare, requiring just about 10 minutes of active preparation before it’s ready to bake, making it ideal for busy mornings or an impromptu baking session whenever a craving strikes.
Essential Ingredients for Perfect Pumpkin Banana Bread
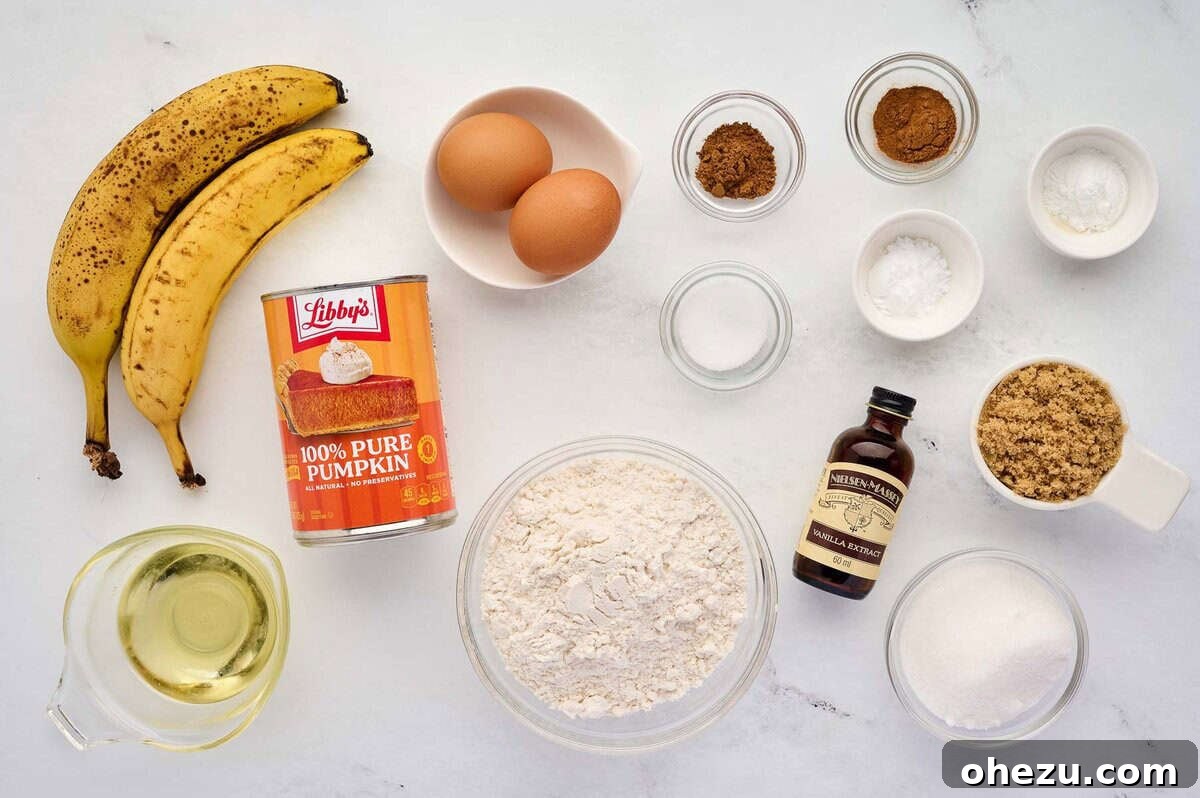
Crafting this delightful Pumpkin Banana Bread begins with a thoughtful selection of readily available ingredients that seamlessly come together to create its signature flavor and remarkably moist texture. The full, detailed recipe, including precise measurements and comprehensive step-by-step instructions, can be found in the recipe card located further down this post. Here’s a quick overview of the key components you’ll need to gather to ensure your loaf turns out perfectly every time:
- Very Ripe Bananas: This is non-negotiable for superior banana bread! Aim for bananas with abundant brown spots or even entirely black peels. These bananas are significantly sweeter and softer, making them effortlessly mashable and ensuring an intensely rich, natural banana flavor throughout your bread. Their inherent moisture also plays a crucial role in the loaf’s tender, non-dry crumb.
- Canned Pumpkin Puree: It is absolutely essential to use plain canned pumpkin puree, not pumpkin pie filling. Pumpkin pie filling contains pre-mixed sugars and spices, which would disrupt the carefully balanced flavor profile of this recipe. Pure pumpkin puree provides the authentic autumnal taste and the necessary moisture without unwanted additives.
- Olive Oil or Vegetable Oil: The choice of oil in this recipe is a key factor in achieving an incredibly moist and tender loaf that retains its freshness for longer. Unlike butter, which can sometimes lead to a slightly denser crumb, oil ensures a consistently soft and delicate texture. Olive oil can impart a subtle, pleasant depth, while vegetable oil is a superb neutral option.
- Eggs: Large eggs are vital in this recipe, serving as an excellent binding agent. They help to structure the bread, prevent it from crumbling, and add a desirable richness to the overall texture.
- Vanilla Extract: A touch of high-quality pure vanilla extract is more than just an afterthought; it’s a flavor enhancer. It harmonizes with and amplifies the sweetness of the bananas and the warmth of the pumpkin, adding aromatic depth to every bite.
- Granulated Sugar and Brown Sugar: This combination of both white granulated sugar and packed brown sugar achieves the perfect balance of sweetness while also contributing significantly to the bread’s moistness and enticing golden-brown crust. Brown sugar, in particular, lends a subtle, rich molasses flavor and an extra layer of tenderness.
- All-Purpose Flour: Standard all-purpose flour provides the foundational structure for the bread, ensuring a classic, comforting, and reliable texture that holds everything together beautifully.
- Leavening Agents: Baking Powder and Baking Soda: These two work synergistically to give the bread its characteristic beautiful rise and wonderfully light texture. Baking soda effectively reacts with the acidic components present in the pumpkin and brown sugar, while baking powder provides additional lifting power, guaranteeing a lofty loaf.
- Warm Fall Spices: Salt, Ground Cinnamon, and Pumpkin Pie Spice: A small but essential amount of salt is added to balance the sweetness and bring out the full spectrum of flavors. Ground cinnamon offers a timeless, warm spice note that is synonymous with comfort baking. Lastly, a generous dose of pumpkin pie spice (a thoughtfully pre-blended mix typically featuring cinnamon, nutmeg, ginger, and cloves) expertly ties all the autumnal flavors together, creating that irresistible cozy aroma and truly authentic fall taste.
With these carefully selected ingredients, you are now perfectly equipped to bake a sensational Pumpkin Banana Bread that is sure to become a cherished new fall favorite in your home!
Mastering the Art of Homemade Pumpkin Banana Bread: Step-by-Step Instructions
Baking this delightful Pumpkin Banana Bread is a surprisingly straightforward process, making it accessible and enjoyable even for novice bakers. By following these simple, clear steps, you’ll create a beautifully moist, fragrant, and perfectly spiced loaf that is guaranteed to impress everyone who tries it. Remember, efficient preparation is key to a smooth baking experience, so ensure all your ingredients are measured and ready before you begin.
Step 1: Combine the Dry Ingredients
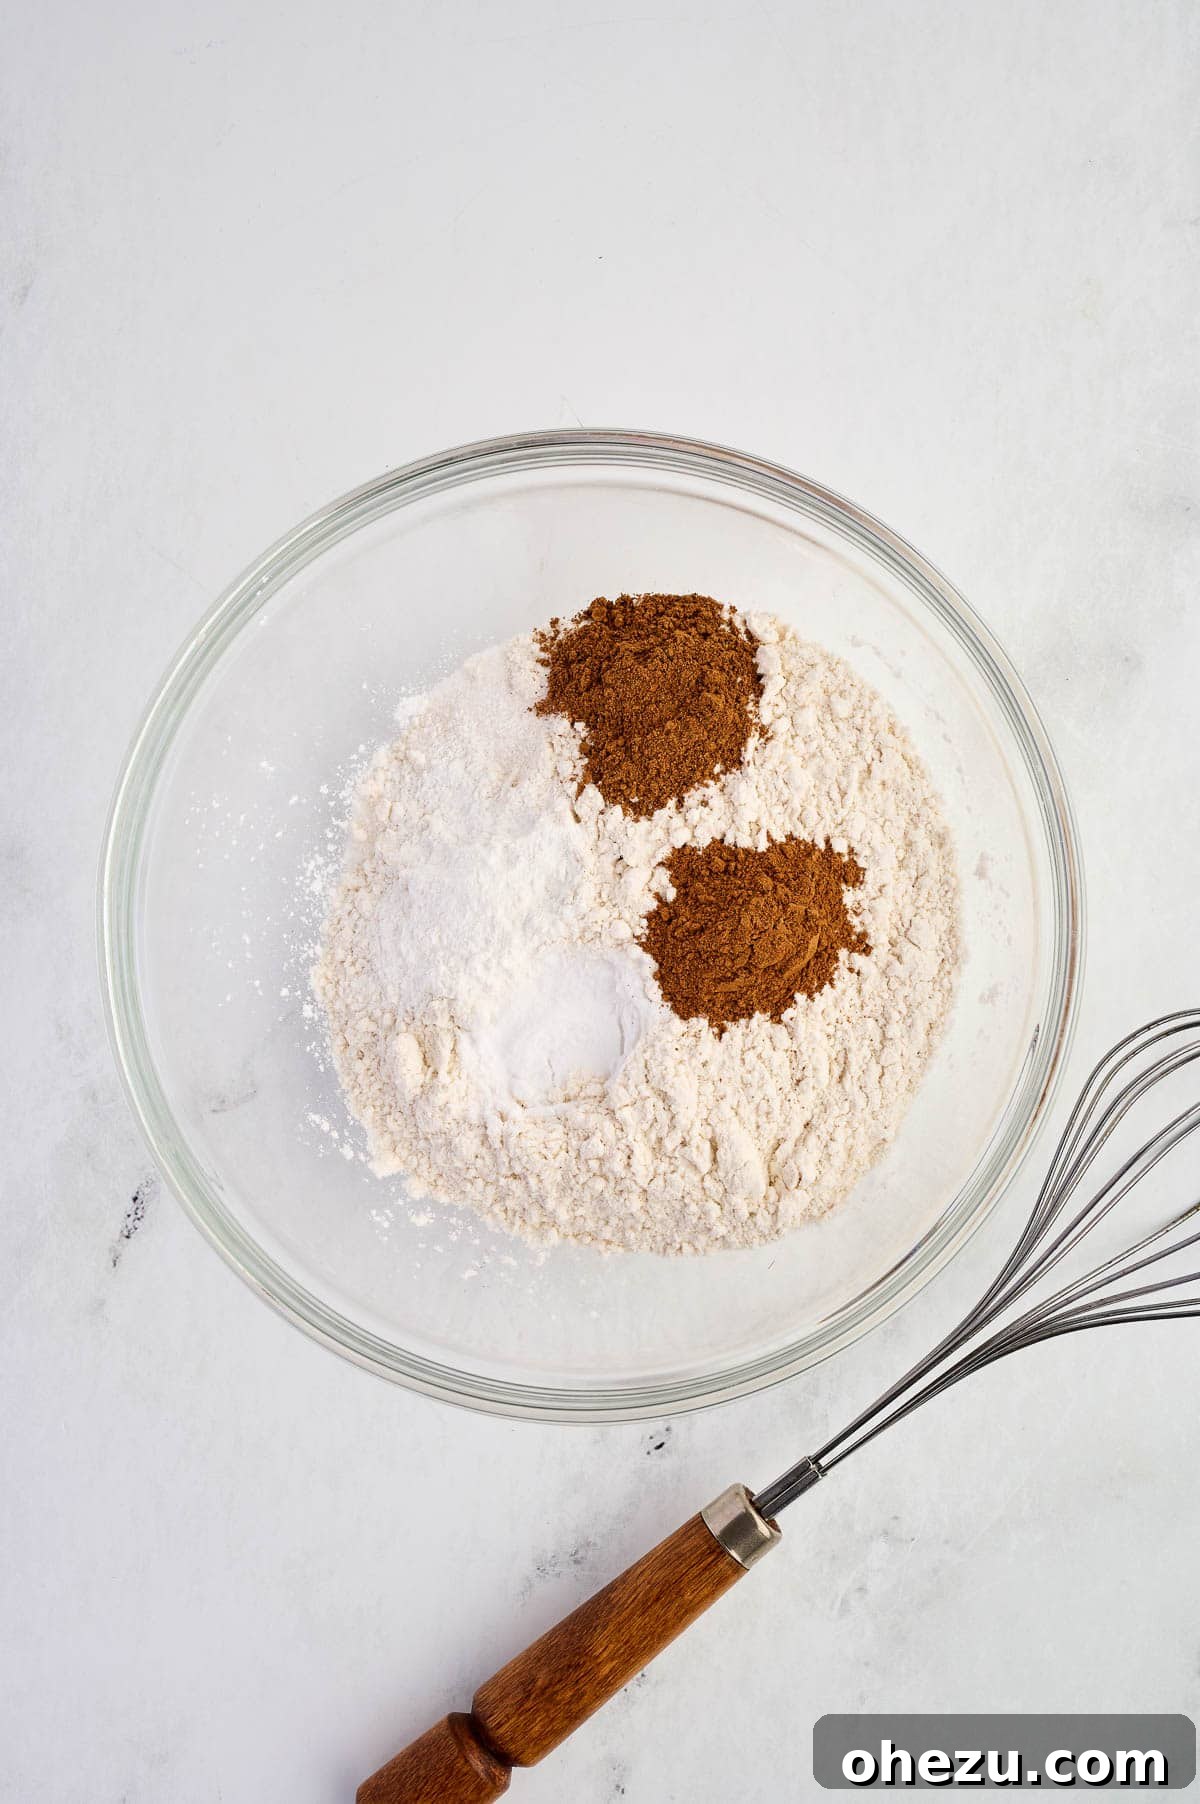
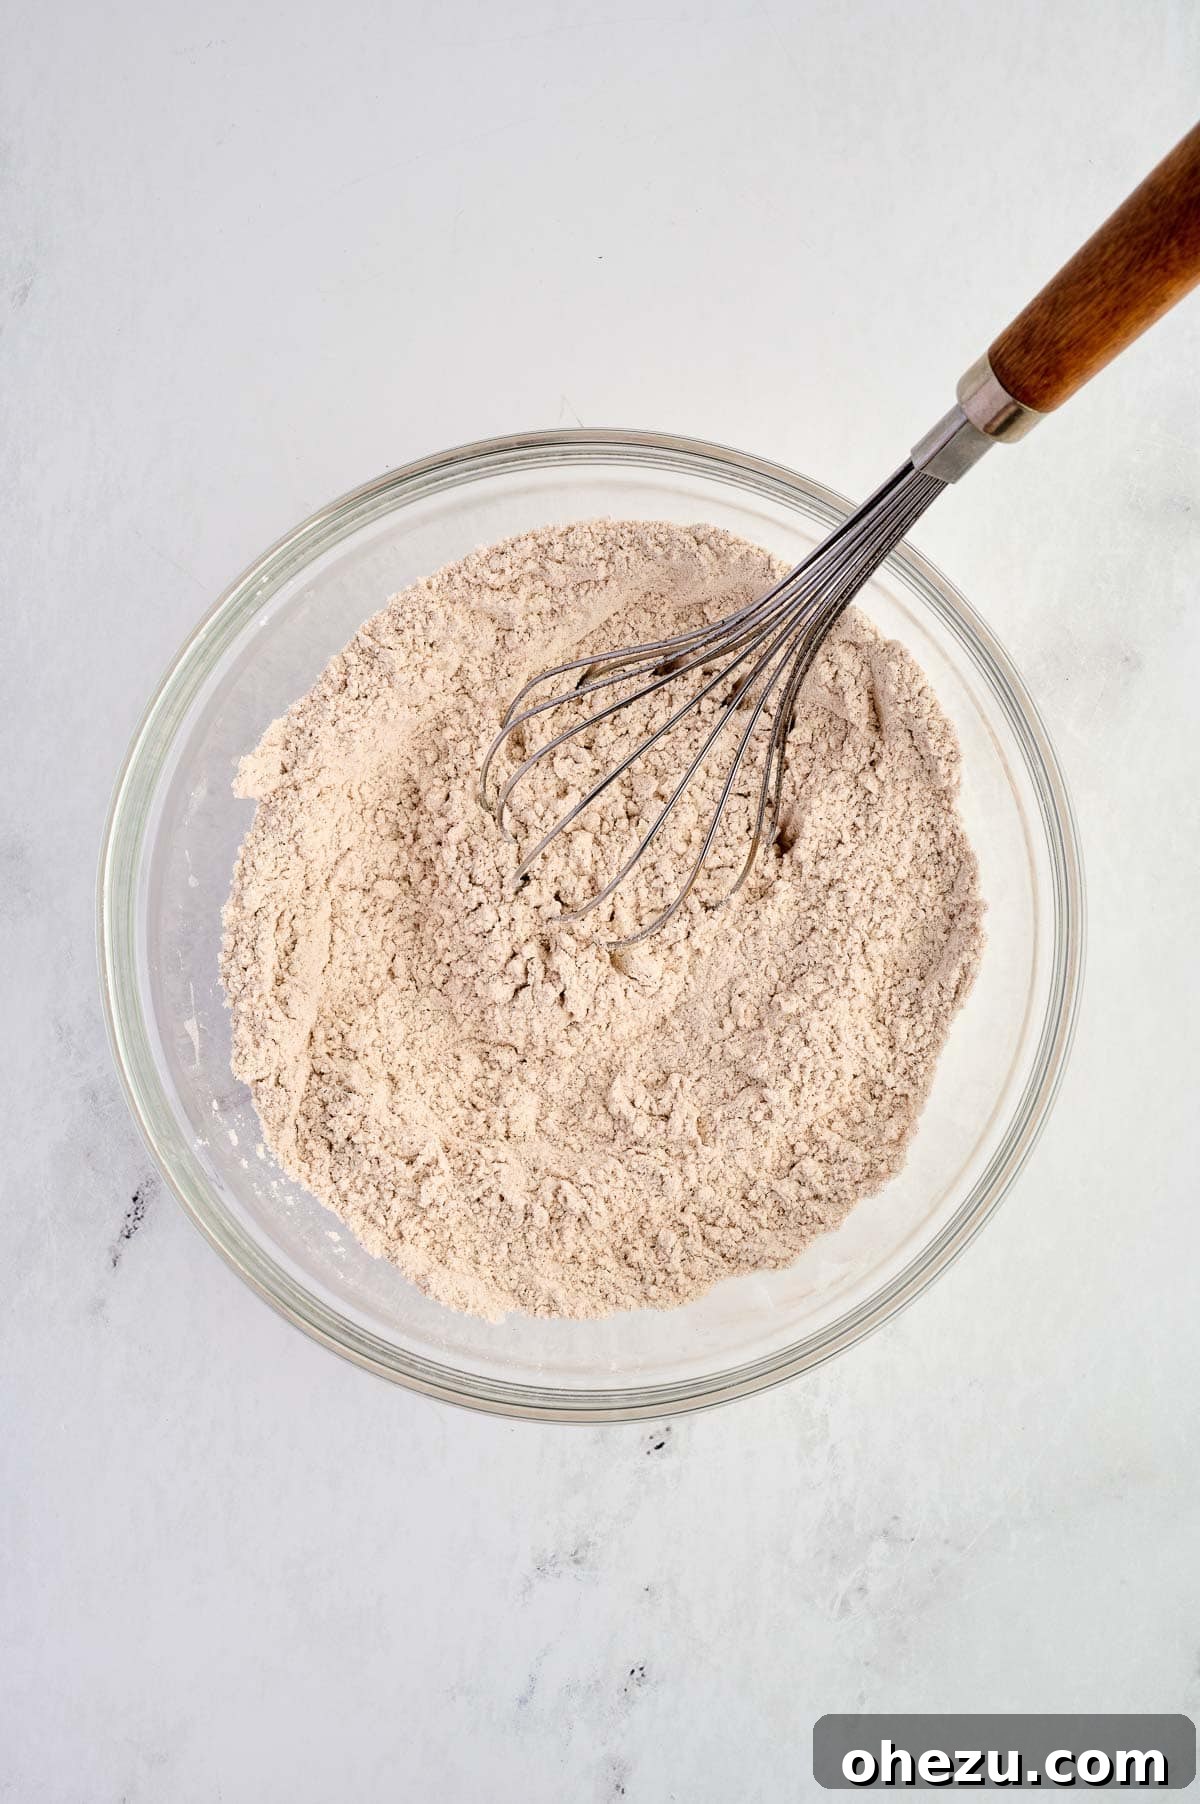
Begin by taking a large mixing bowl. Into this bowl, add all your dry ingredients: the precisely measured all-purpose flour, a pinch of salt to balance the flavors, baking powder, baking soda (your leavening agents for that perfect rise), ground cinnamon, and the aromatic pumpkin pie spice. Using a whisk, thoroughly combine these ingredients. This crucial step ensures that the leavening agents and spices are evenly distributed throughout the flour, preventing any unwelcome pockets of unmixed ingredients in your final baked bread and guaranteeing a uniform rise and consistent flavor in every slice.
Step 2: Prepare the Wet Ingredients
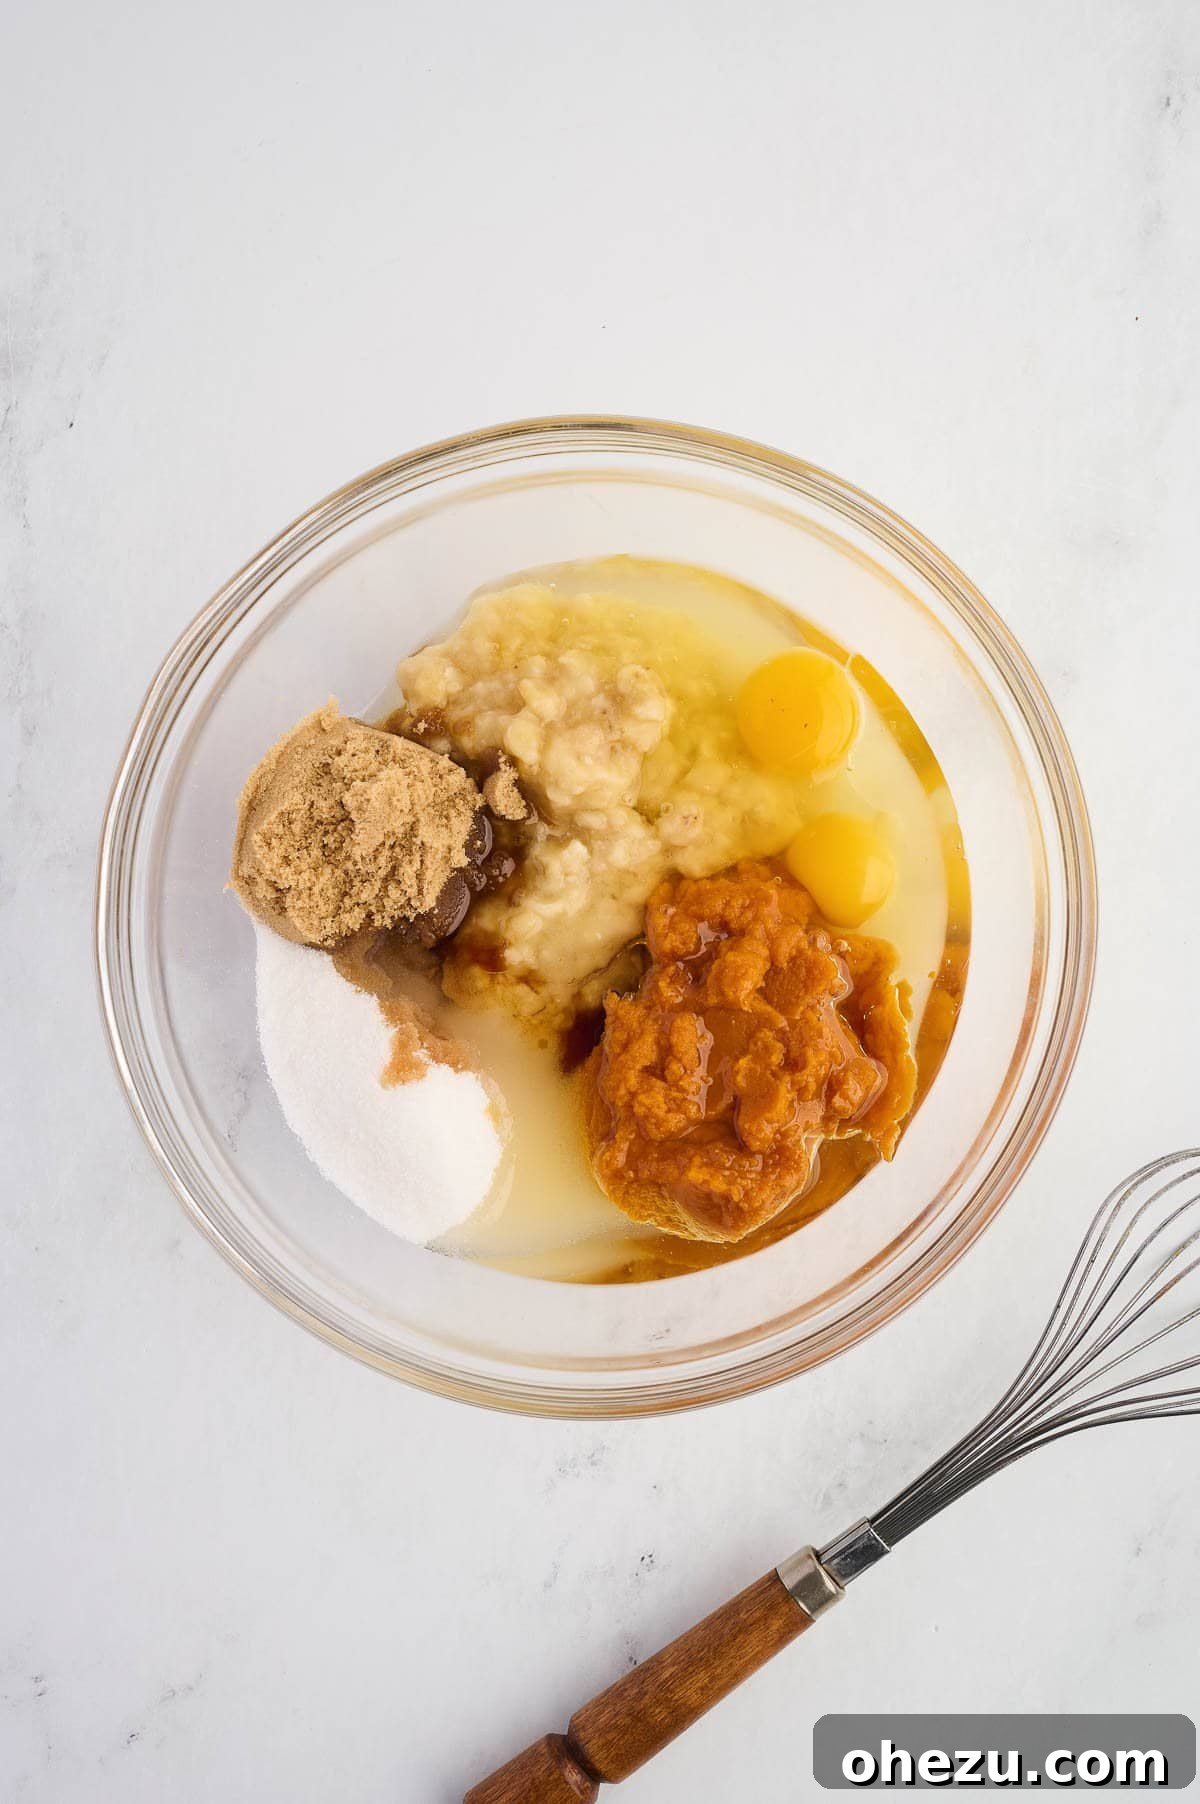
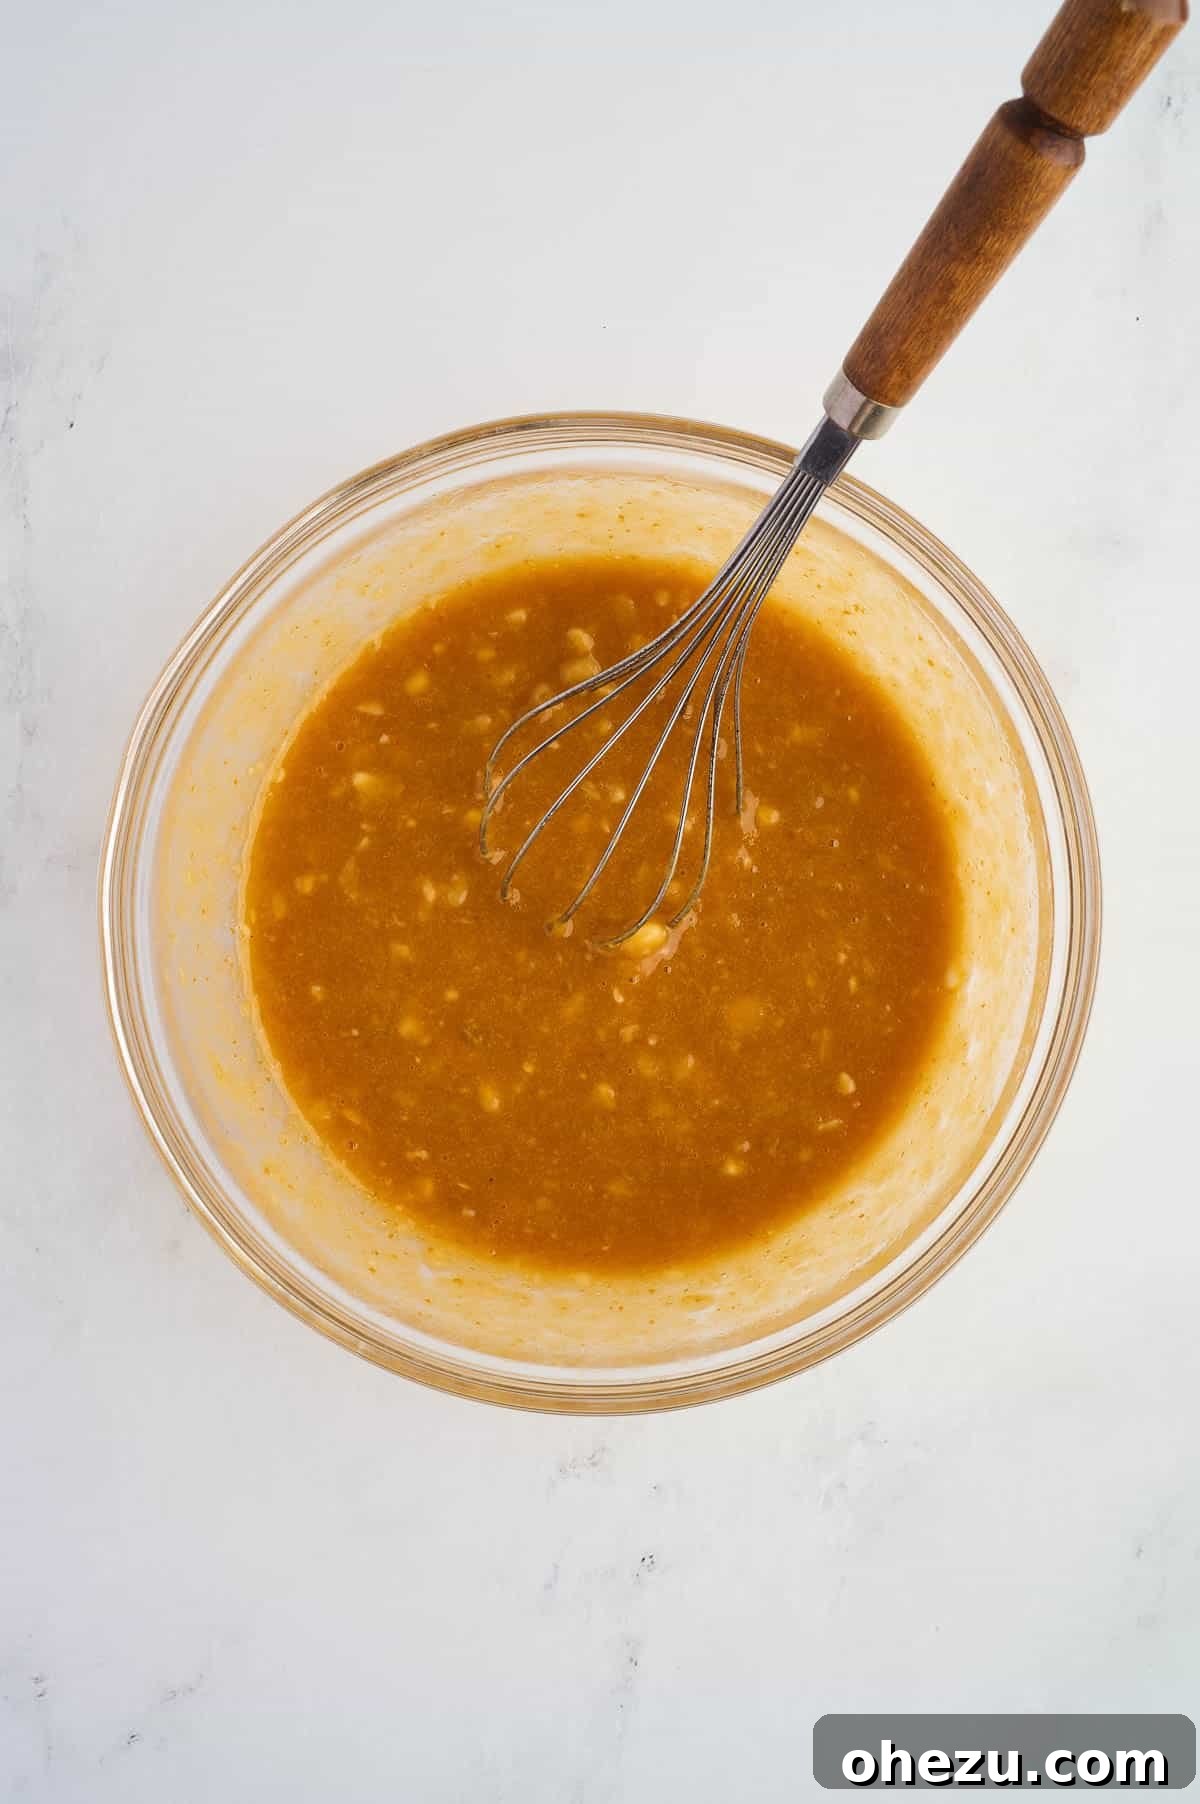
Now, in a separate, medium-sized bowl, it’s time to prepare your wet ingredients. Start by mashing your very ripe bananas until they are mostly smooth. A few small lumps are perfectly acceptable and can even add a pleasing texture to the finished bread. Once the bananas are mashed, add in the canned pumpkin puree (remember, not pie filling!), your chosen olive oil or vegetable oil, the eggs, pure vanilla extract, packed brown sugar, and granulated sugar. Whisk these ingredients together diligently until they are well combined and form a smooth, homogenous mixture. This step ensures that the sugars dissolve properly and all the wet components are uniformly distributed, which is essential for the bread’s consistent moisture and sweetness.
Step 3: Gently Combine Wet and Dry Mixtures
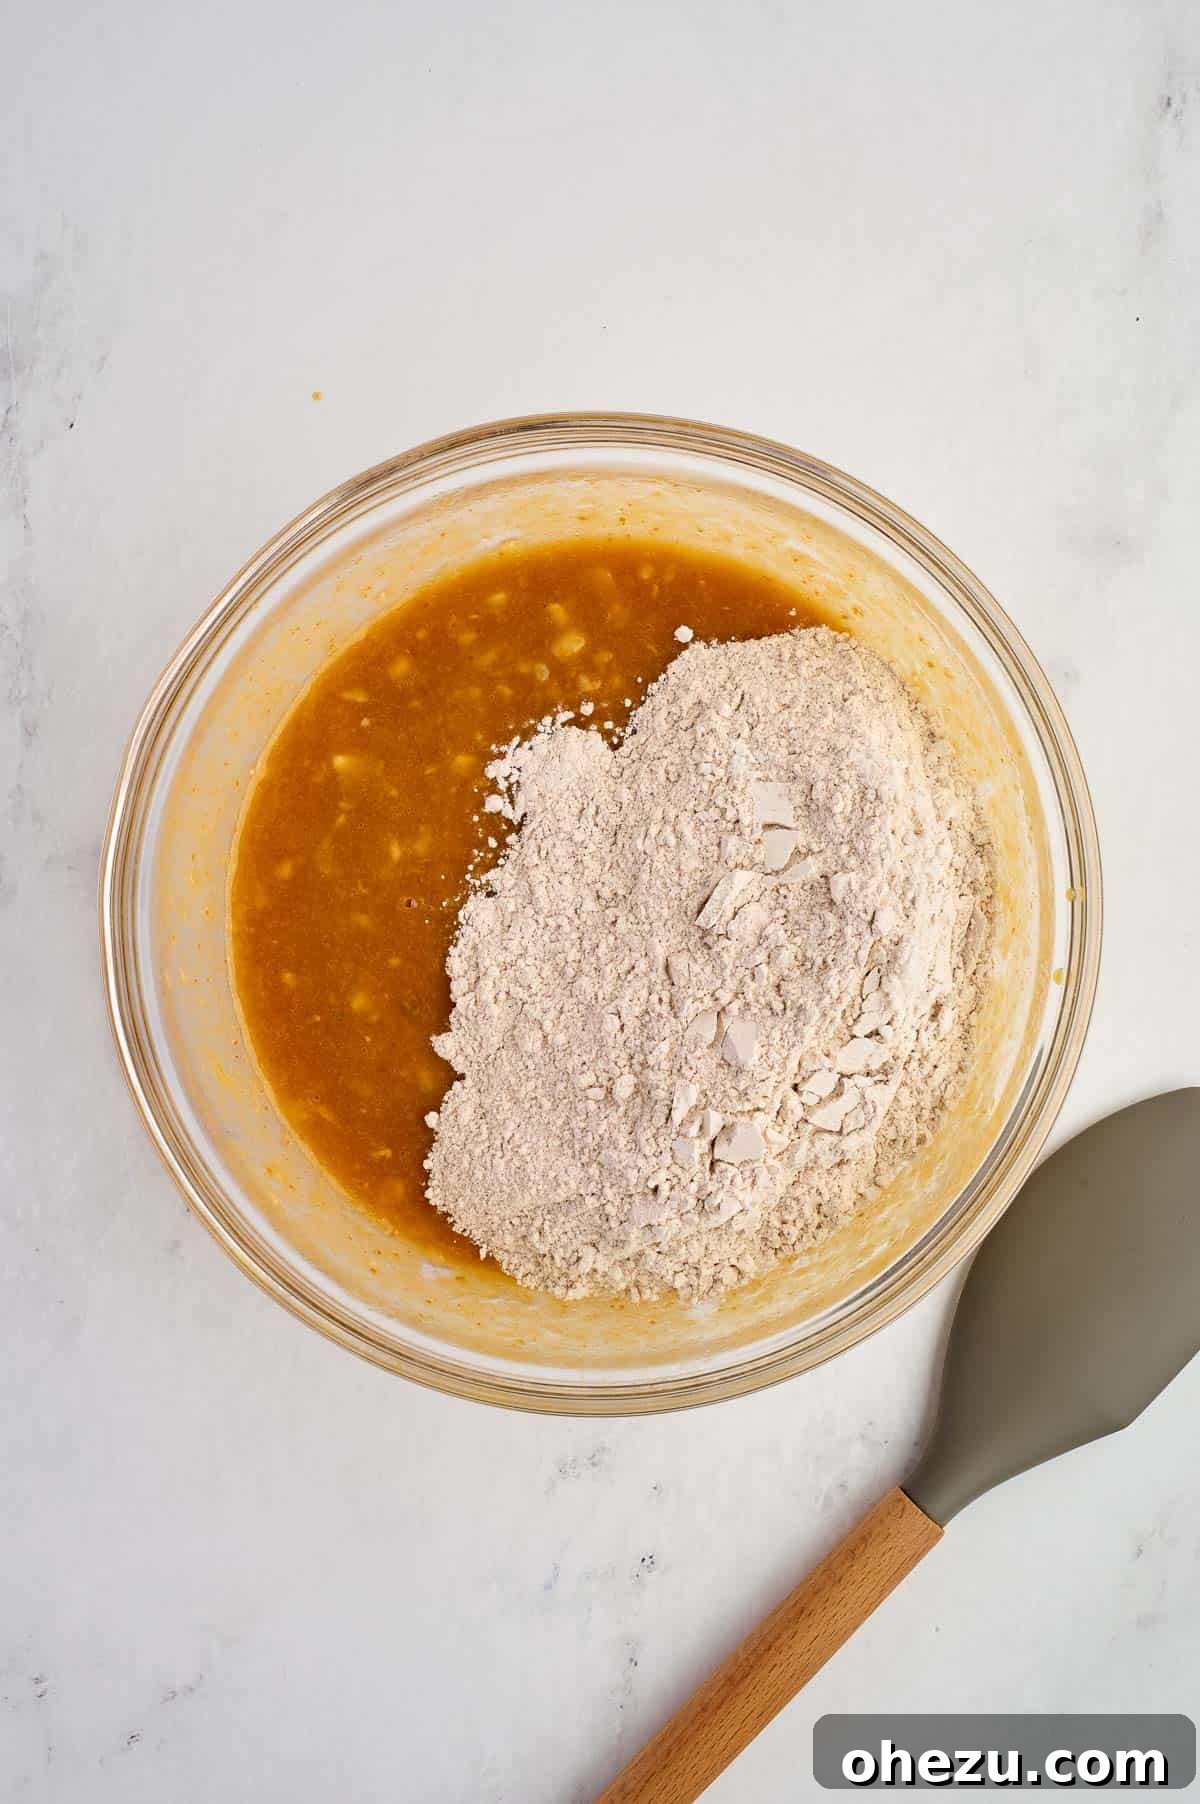
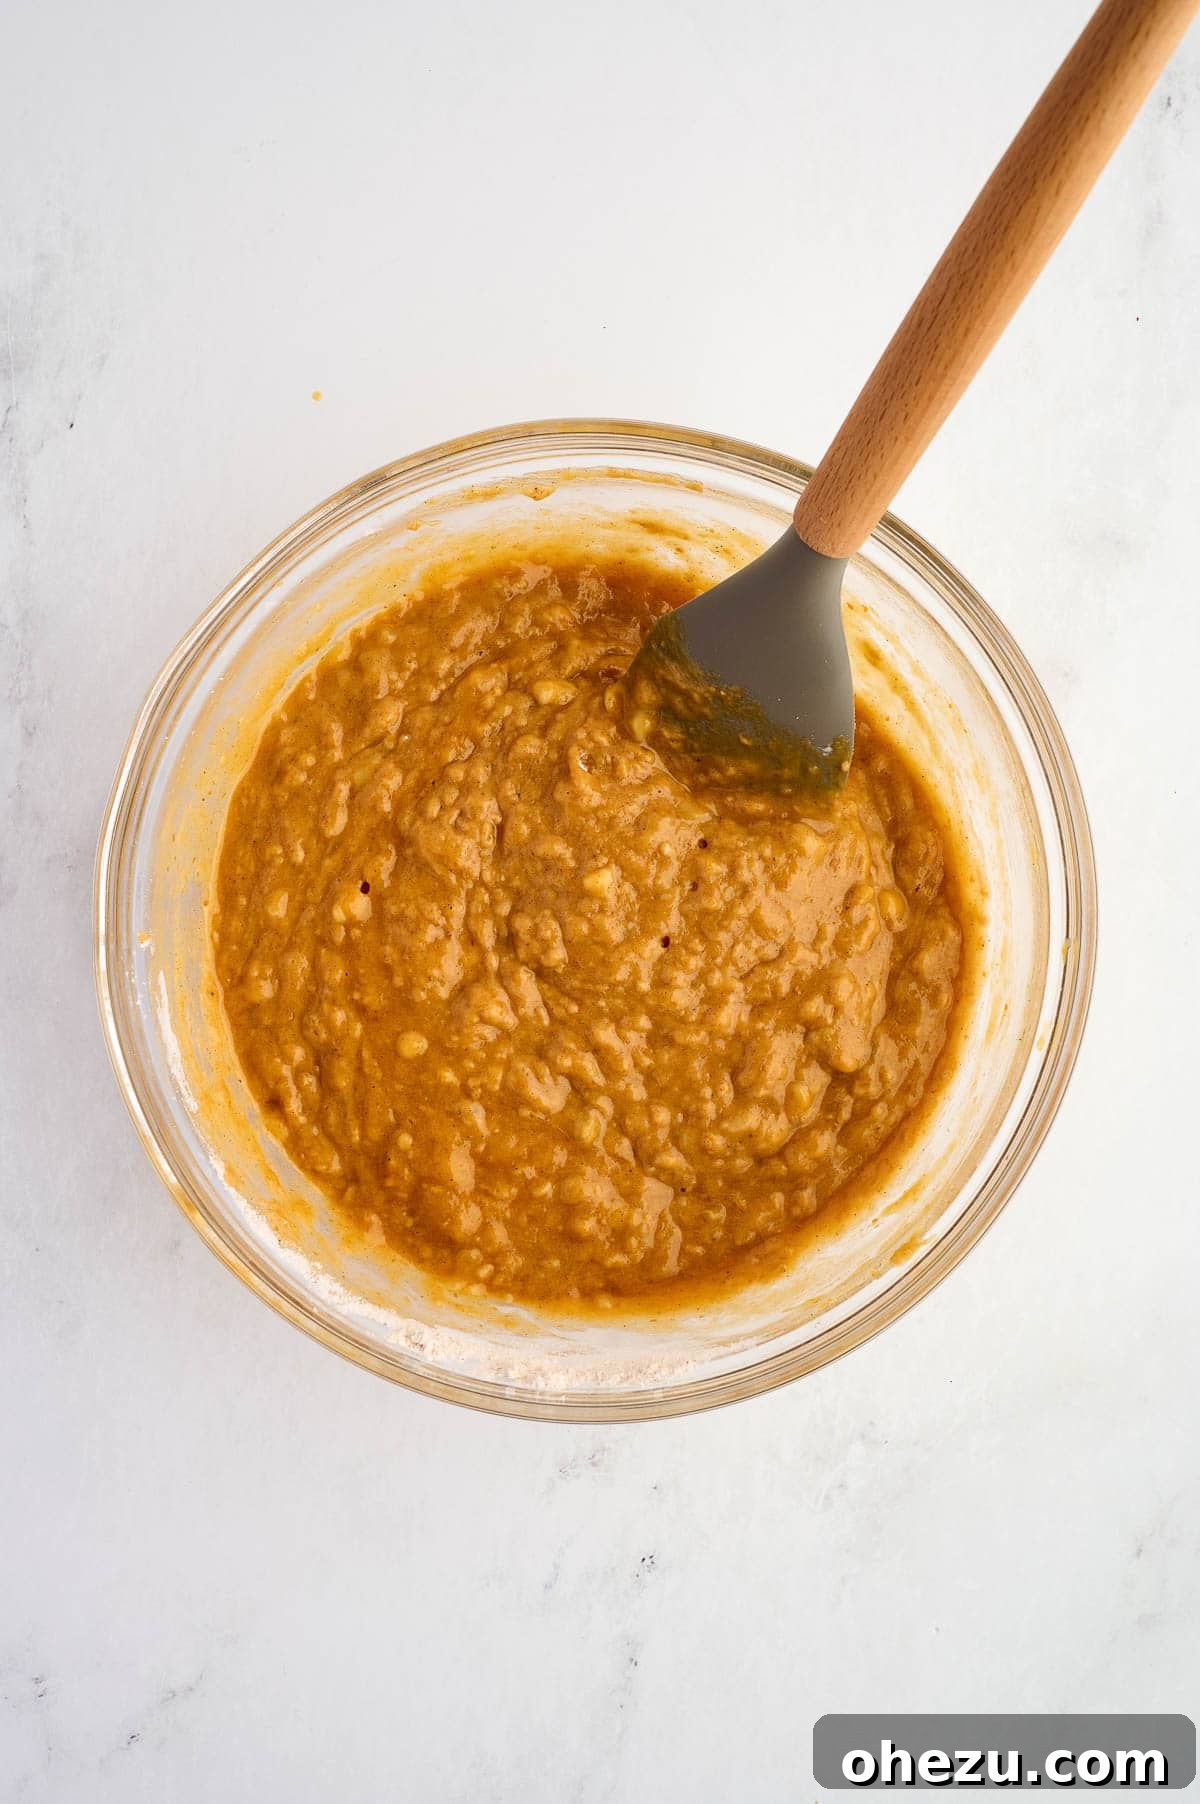
Carefully pour the bowl of whisked dry ingredients into the bowl containing your beautifully prepared wet ingredients. Now, with a rubber spatula, gently fold the ingredients together. The key here is to mix *just* until no visible streaks of dry flour remain in the batter. It’s imperative to avoid overmixing at this stage, as excessive agitation can overdevelop the gluten in the flour, which leads to a tough, dense, and less enjoyable loaf rather than the desired tender and moist texture. A light hand will yield the best results.
Recipe Tip: The Art of Gentle Mixing for a Tender Loaf
For the most wonderfully tender and moist pumpkin banana bread, exercise significant restraint when combining the wet and dry ingredients. Overmixing is often cited as the primary culprit behind tough, chewy quick breads. Your trusty rubber spatula is the ideal tool for this step, allowing you to gently fold the batter just until the last traces of flour disappear. Don’t worry about achieving a perfectly smooth consistency; a few small lumps are not only perfectly acceptable but can even contribute to a pleasant rustic texture in the final bread!
Step 4: Prepare the Loaf Pan and Fill
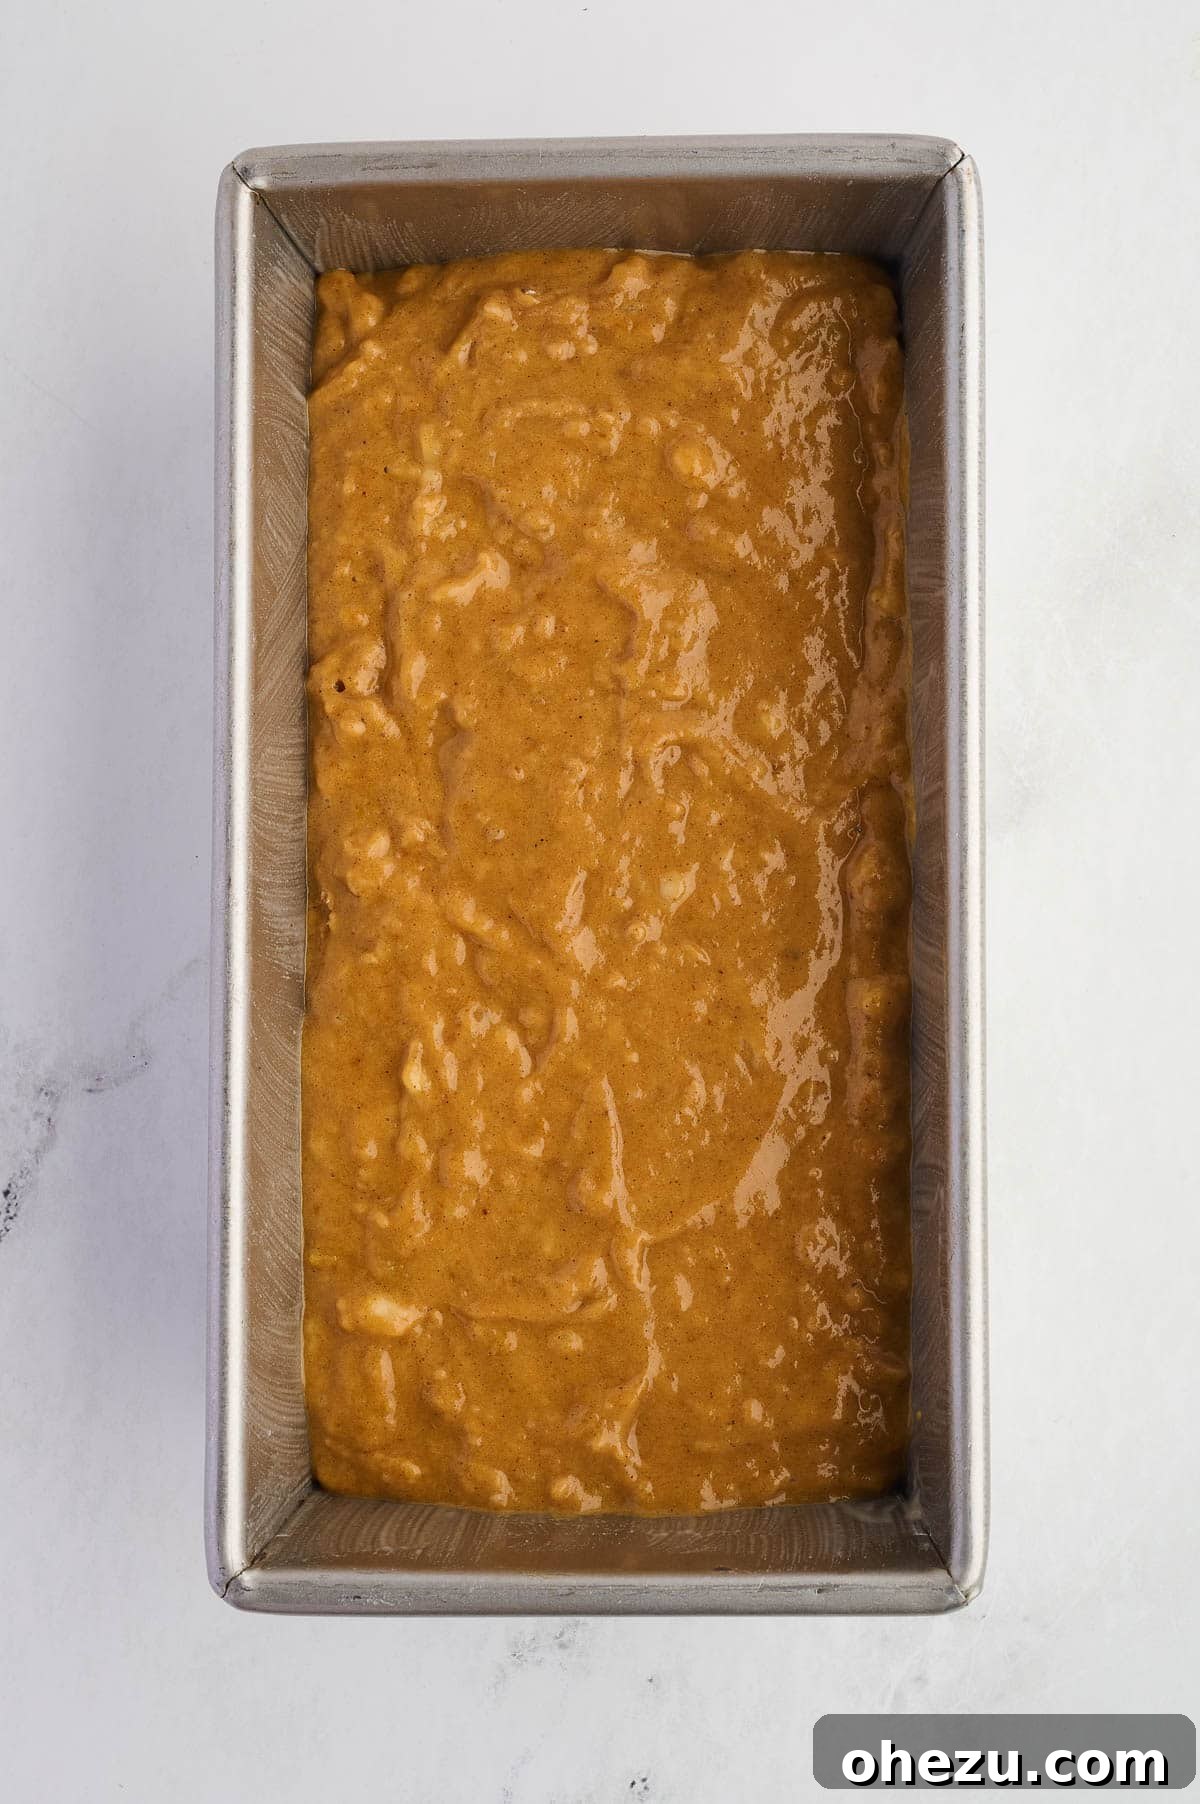
Before introducing the batter, generously prepare a standard 9 by 5-inch loaf pan. You can do this by thoroughly greasing it with cooking spray, butter, or shortening, then lightly dusting it with flour to create a non-stick surface. Alternatively, line the pan with parchment paper, leaving an overhang on the sides to create “handles” for easy removal. Once prepared, pour the pumpkin banana bread batter evenly into the loaf pan, using your spatula to spread it out smoothly. Ensuring the top is relatively even helps promote uniform baking and a beautiful presentation.
Step 5: Bake to Golden Perfection
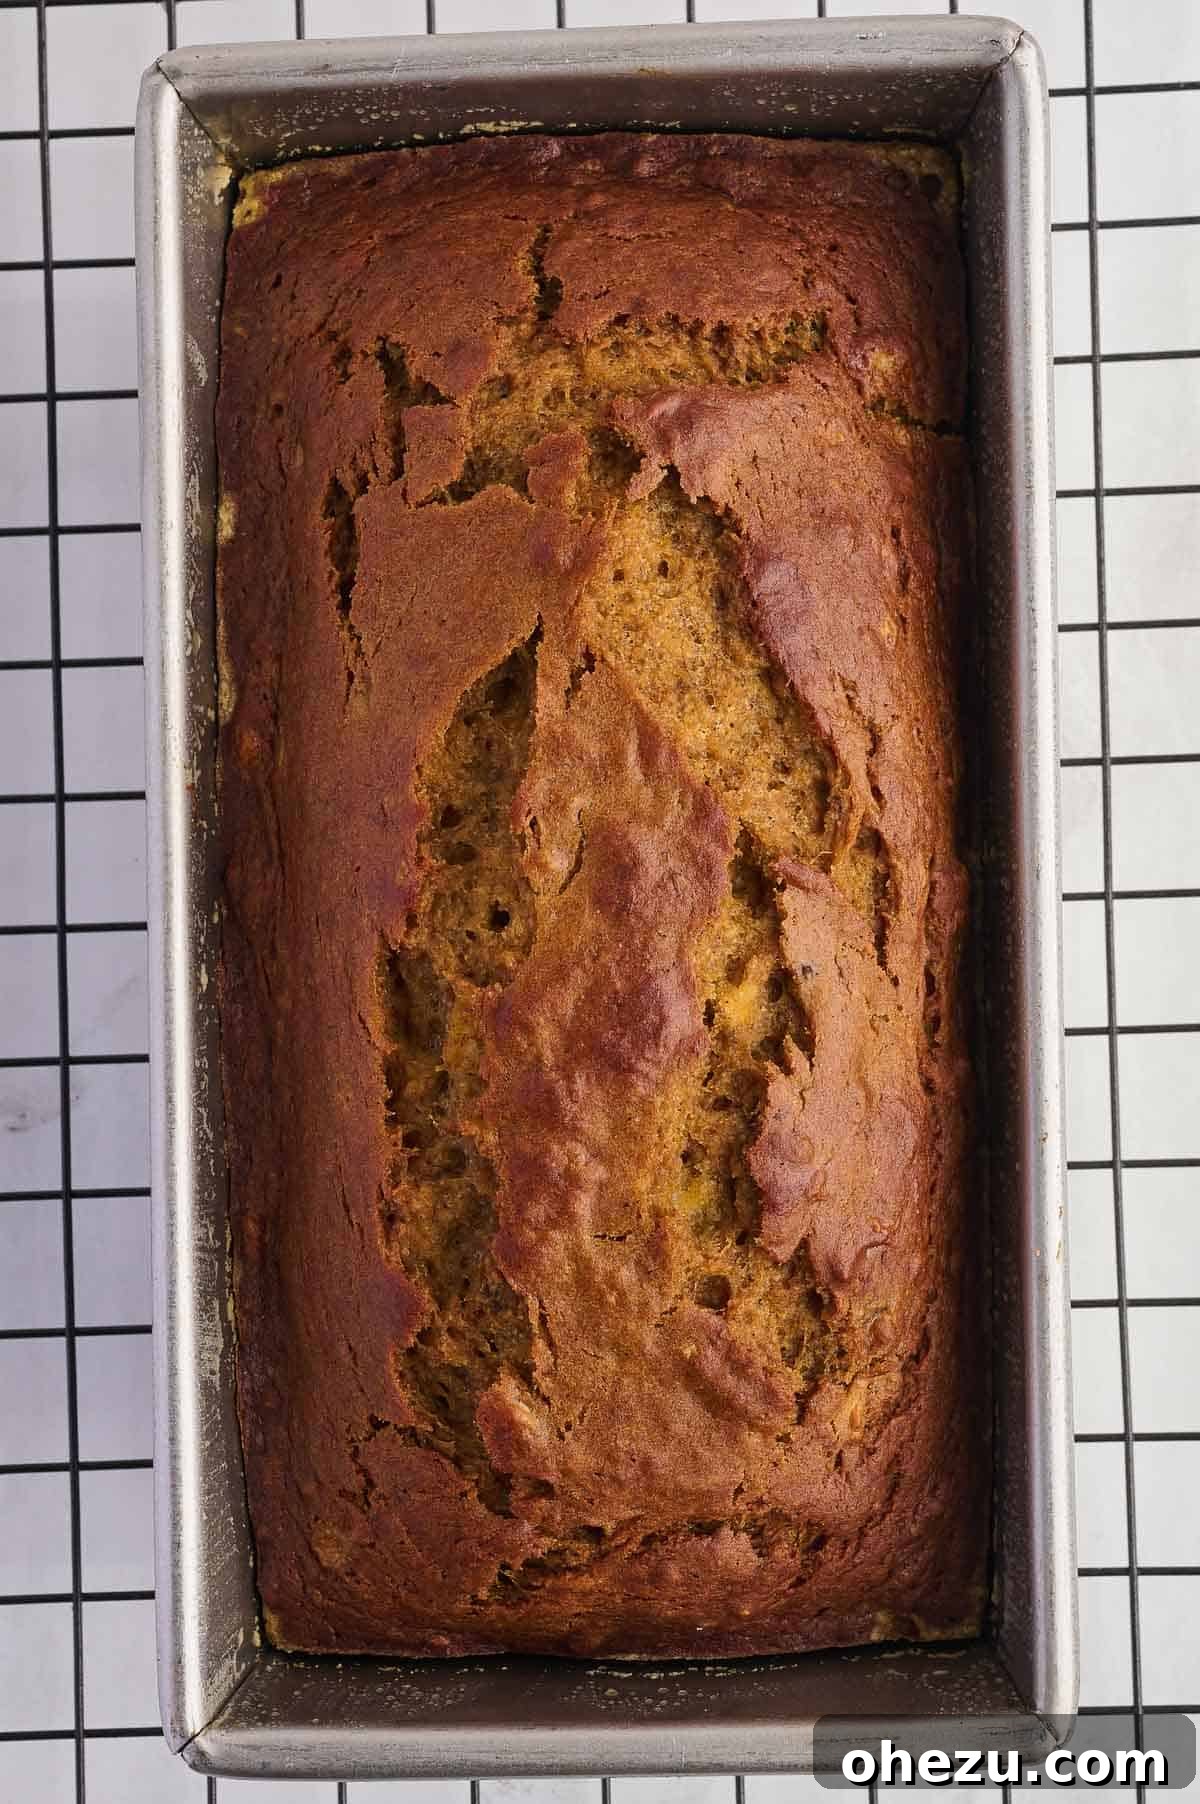
Carefully place the loaf pan in your preheated oven at 350 degrees Fahrenheit (175 degrees Celsius) and allow it to bake for approximately 55-65 minutes. Keep in mind that baking times can fluctuate slightly depending on the specific calibration of your oven, so it’s essential to monitor and check for doneness. The bread is fully baked when a toothpick or a thin wooden skewer inserted directly into the very center of the loaf comes out clean, or with only a few moist crumbs clinging to it. Avoid the temptation to underbake, which can result in a gummy texture, but also be cautious not to overbake, as this can dry out your otherwise delicious and moist loaf.
Joy’s Baking Tip: Preventing Over-Browning for a Perfect Crust
During the longer baking process often required for quick breads, you might notice that the top of your pumpkin banana bread begins to brown much faster than the interior cooks through. If this happens, particularly around the 35-45 minute mark, don’t fret! Simply cover the loaf pan loosely with a piece of aluminum foil for the remainder of the baking time. This clever technique creates a small “tent” that effectively shields the crust from burning or becoming excessively dark, while simultaneously allowing the inside of the bread to finish cooking beautifully and thoroughly without drying out. This ensures an evenly cooked loaf with a lovely golden-brown finish.
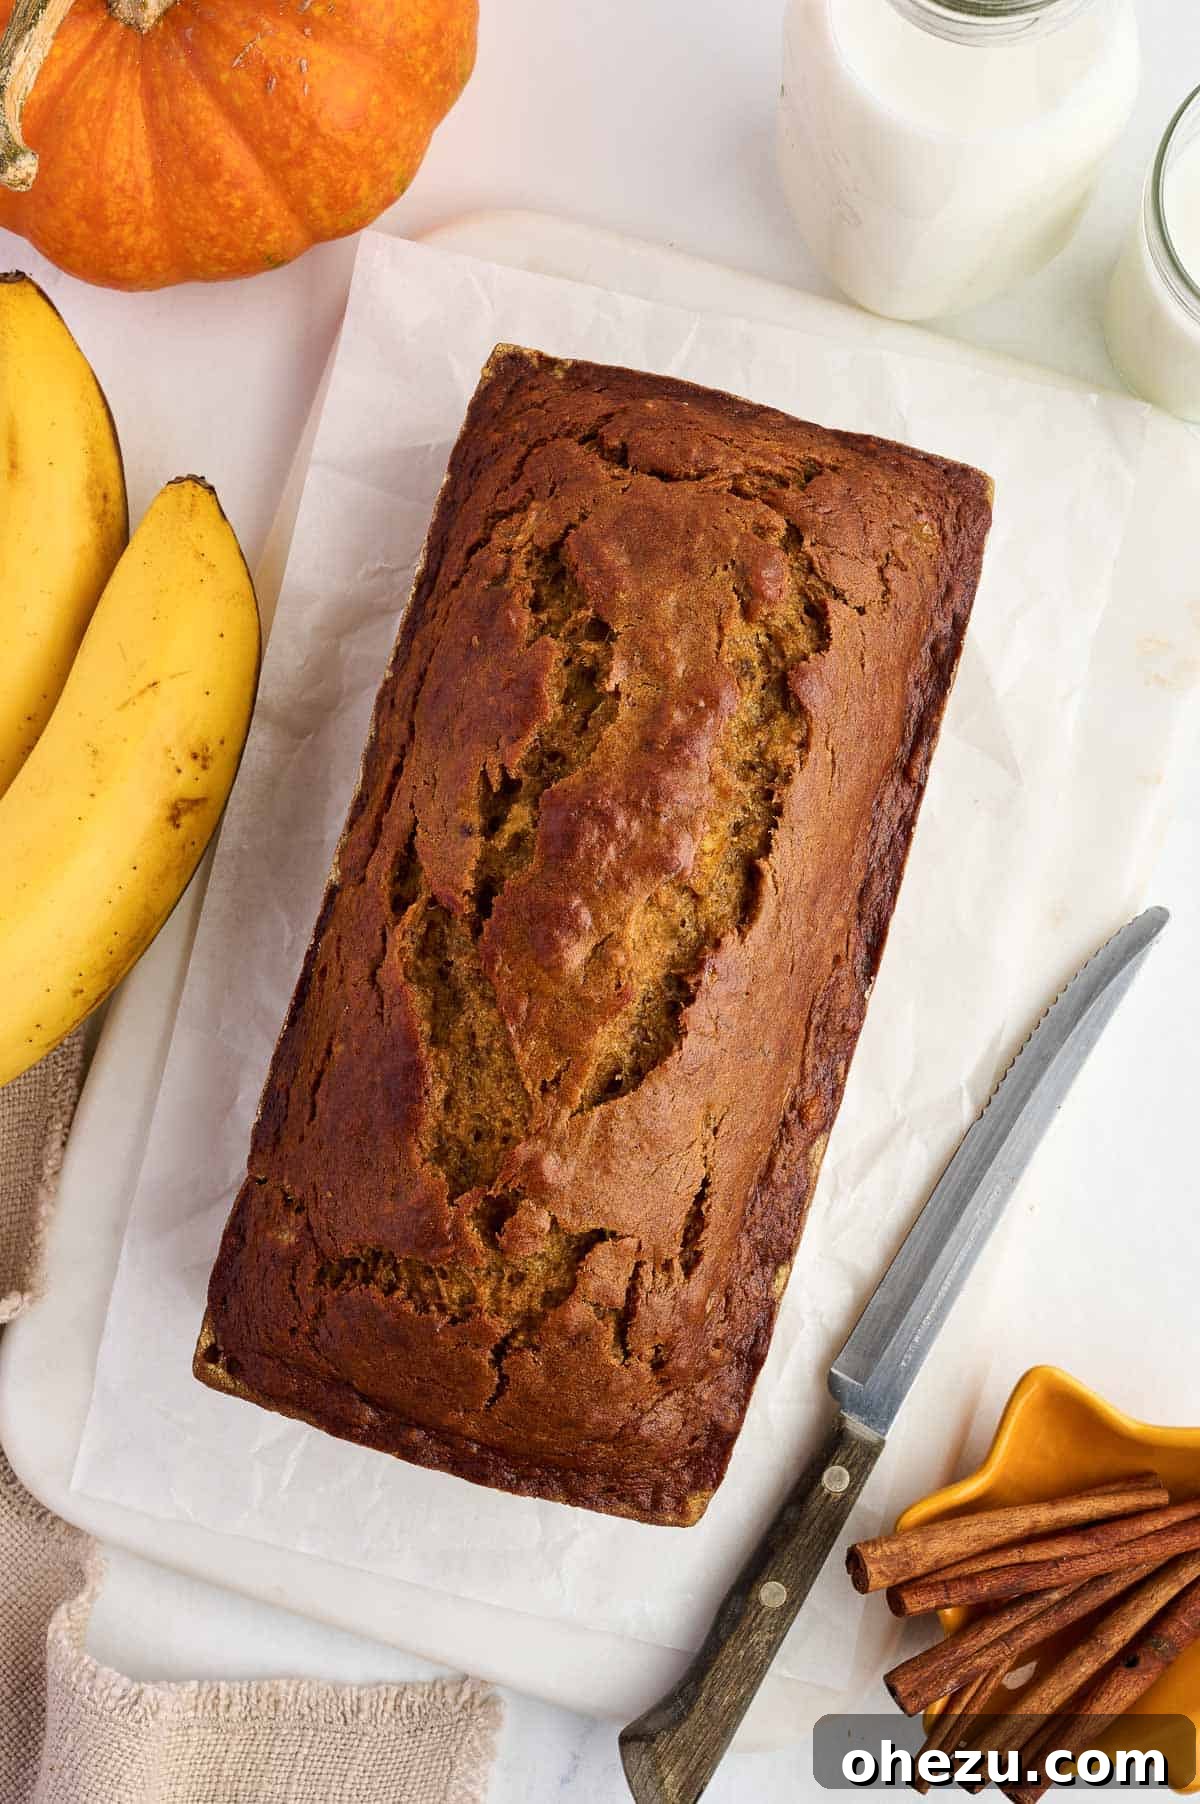
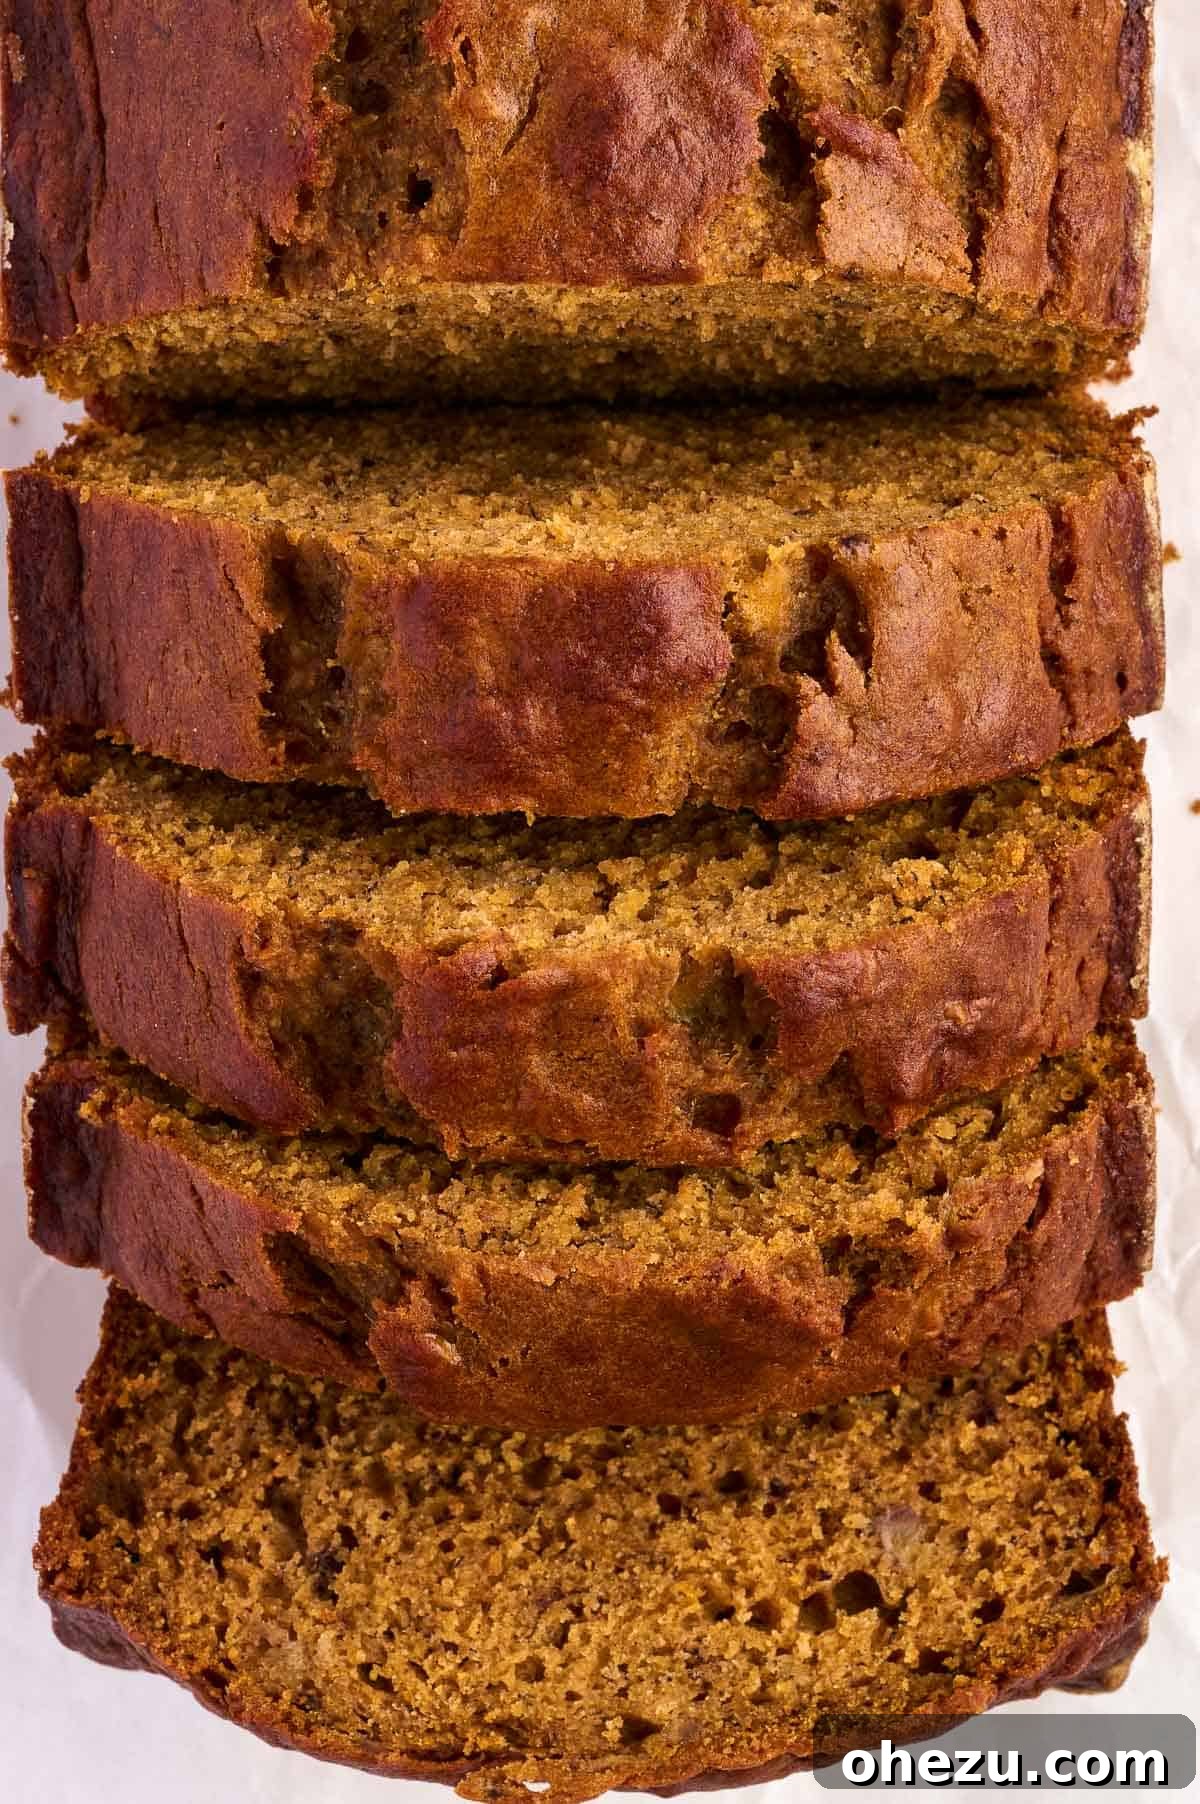
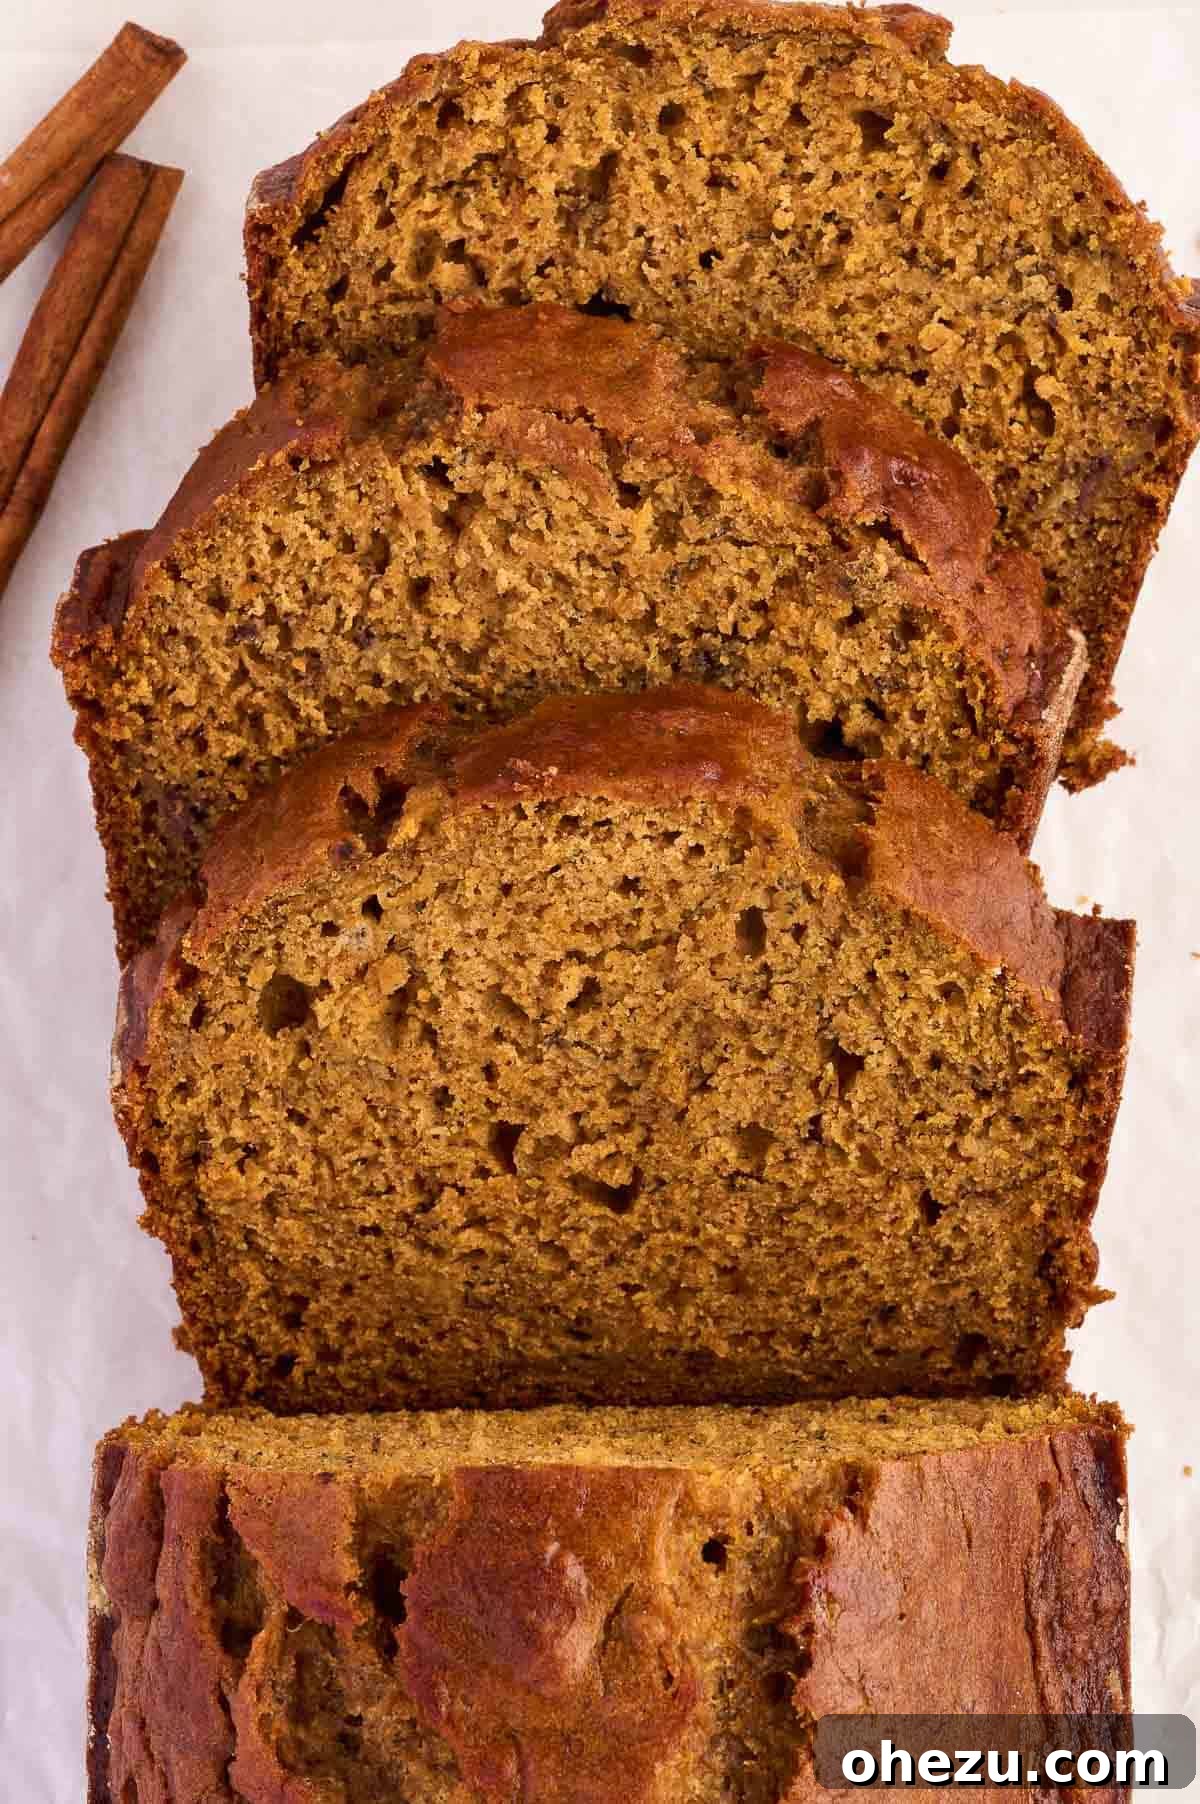
Once baked to perfection, allow the bread to cool in the pan for about 10-15 minutes. This crucial resting period allows the structure of the bread to set before you attempt to move it. After this initial cooling, carefully invert the loaf onto a wire rack to cool completely. While it’s tempting to slice into a warm loaf immediately, patience here will be rewarded with cleaner, more intact slices and a better texture. This cozy fall loaf is not only a delightful blend of sweet and spicy flavors but also fills your entire home with an absolutely heavenly aroma that truly signals autumn has arrived!
Expert Tips for Baking the Best Pumpkin Banana Bread Every Time
Achieving a consistently perfect loaf of Pumpkin Banana Bread is easy when you keep a few simple yet effective tricks in mind. Follow these expert pointers for a reliably delicious and moist outcome every single time you bake:
- Embrace Overripe Bananas: The Sweet Secret Don’t ever shy away from very brown, spotty, or even fully blackened bananas! These seemingly unappealing fruits are actually the secret to an intensely sweet, profoundly moist, and wonderfully flavorful banana bread. Underripe (green or firm yellow) bananas simply won’t offer the same depth of natural sweetness or the easy mashability crucial for this recipe.
- Measure Flour Correctly: Avoid a Dry Loaf For precise and accurate baking results, always spoon your flour into the measuring cup lightly, then level it off with a straight edge (like the back of a knife). Scooping directly from the bag or container can compact the flour significantly, leading to an excessive amount of flour in your batter, which ultimately results in a dry, dense, and heavy bread.
- Do Not Overmix the Batter: The Golden Rule As emphasized in the instructions, overmixing is the arch-nemesis of a tender quick bread. Excessive mixing overdevelops the gluten in the flour, transforming your potentially fluffy loaf into a tough, rubbery, and undesirable texture. Mix only until the dry streaks of flour have just disappeared. Remember, a few small lumps in the batter are perfectly fine and even desirable!
- Utilize Room Temperature Eggs: For Smooth Integration Make sure your eggs are at room temperature before incorporating them into the batter. Room temperature eggs blend more easily and evenly into the other ingredients, creating a smoother, more cohesive mixture. This seamless integration contributes to a better emulsification of fats and liquids, which in turn leads to a superior overall texture in your finished bread.
- Proper Pan Preparation: No More Sticking! Always take the time to generously grease and lightly flour your loaf pan thoroughly. This critical step prevents the bread from sticking to the sides and bottom, ensuring your beautiful, perfectly shaped loaf can be removed cleanly and effortlessly after baking. For added peace of mind, you can also line the pan with parchment paper, leaving an overhang to act as convenient “handles.”
- The Reliable Toothpick Test: Your Best Indicator This classic test remains your most accurate and reliable indicator of doneness. Insert a wooden toothpick, skewer, or even a thin knife into the very center of the loaf. If it comes out clean or with only a few moist crumbs (not wet, uncooked batter) attached, your bread is officially ready.
- Cooling is Crucial: For Structure and Clean Slices Allow the bread to cool in the pan for at least 10-15 minutes after removing it from the oven. This initial cooling period allows the bread’s delicate structure to set and firm up. After this, carefully transfer the loaf to a wire rack to cool completely. Attempting to slice warm bread too soon can sometimes lead to crumbling and messy slices, so a little patience here will be amply rewarded with clean, perfect cuts.
Delightful Ways to Serve Your Pumpkin Banana Bread
This homemade Pumpkin Banana Bread is incredibly versatile and can be enjoyed in a multitude of delicious ways throughout the day, catering to any craving:
- The Classic Way with Butter: A warm slice, perhaps gently reheated, spread with a luscious pat of softened unsalted butter is pure, unadulterated comfort and highlights the bread’s natural flavors beautifully.
- Indulgent Cream Cheese Frosting: For a more decadent and dessert-like treat, elevate your bread with a light and tangy cream cheese frosting. Alternatively, a simple drizzle of glaze made from powdered sugar and a splash of milk or orange juice adds a lovely touch of sweetness.
- Perfect with Your Morning Brew: This bread is the quintessential companion to your morning coffee, a comforting latte, or a soothing afternoon cup of tea. Its robust flavors stand up wonderfully to warm beverages.
- A Hearty Breakfast or Brunch Item: Serve it as part of a more elaborate breakfast or brunch spread, alongside fresh seasonal fruit, creamy Greek yogurt, or even fluffy scrambled eggs for a truly satisfying and well-rounded meal.
- An Effortless Dessert: For a simple yet elegant dessert, warm a slice slightly and serve it with a generous scoop of good quality vanilla bean ice cream. The contrast of warm bread and cold ice cream is absolutely divine.
- Convenient for Lunchboxes: A slice of this flavorful bread makes a wonderful, wholesome, and much-anticipated addition to lunchboxes, perfect for both busy kids and adults alike.
- French Toast Transformation: For a truly unique and indulgent twist, slice slightly stale pumpkin banana bread and use it to make extraordinary French toast. The spiced flavors will create an unforgettable breakfast experience!
Storing Your Delicious Pumpkin Banana Bread for Lasting Freshness
To ensure your homemade Pumpkin Banana Bread remains wonderfully fresh, moist, and flavorful for as long as possible, proper storage techniques are absolutely essential. Here’s how to best store your delicious creation:
- Room Temperature Storage (Short-Term): If you anticipate devouring the bread within 1 to 2 days, you can comfortably store it at room temperature. The key is to wrap the loaf tightly in plastic wrap or aluminum foil, or place it securely in an airtight container. Keep it on your kitchen counter, away from any direct sunlight or heat sources, to maintain its optimal freshness.
- Refrigerator Storage (Medium-Term): For slightly longer storage, perhaps up to 4-5 days, any leftover pumpkin banana bread should be transferred to an airtight container or wrapped tightly and stored in the refrigerator. The cooler environment significantly helps to preserve its moisture and freshness, and it’s especially recommended in warmer climates or if your home is particularly humid, preventing premature spoilage or mold growth.
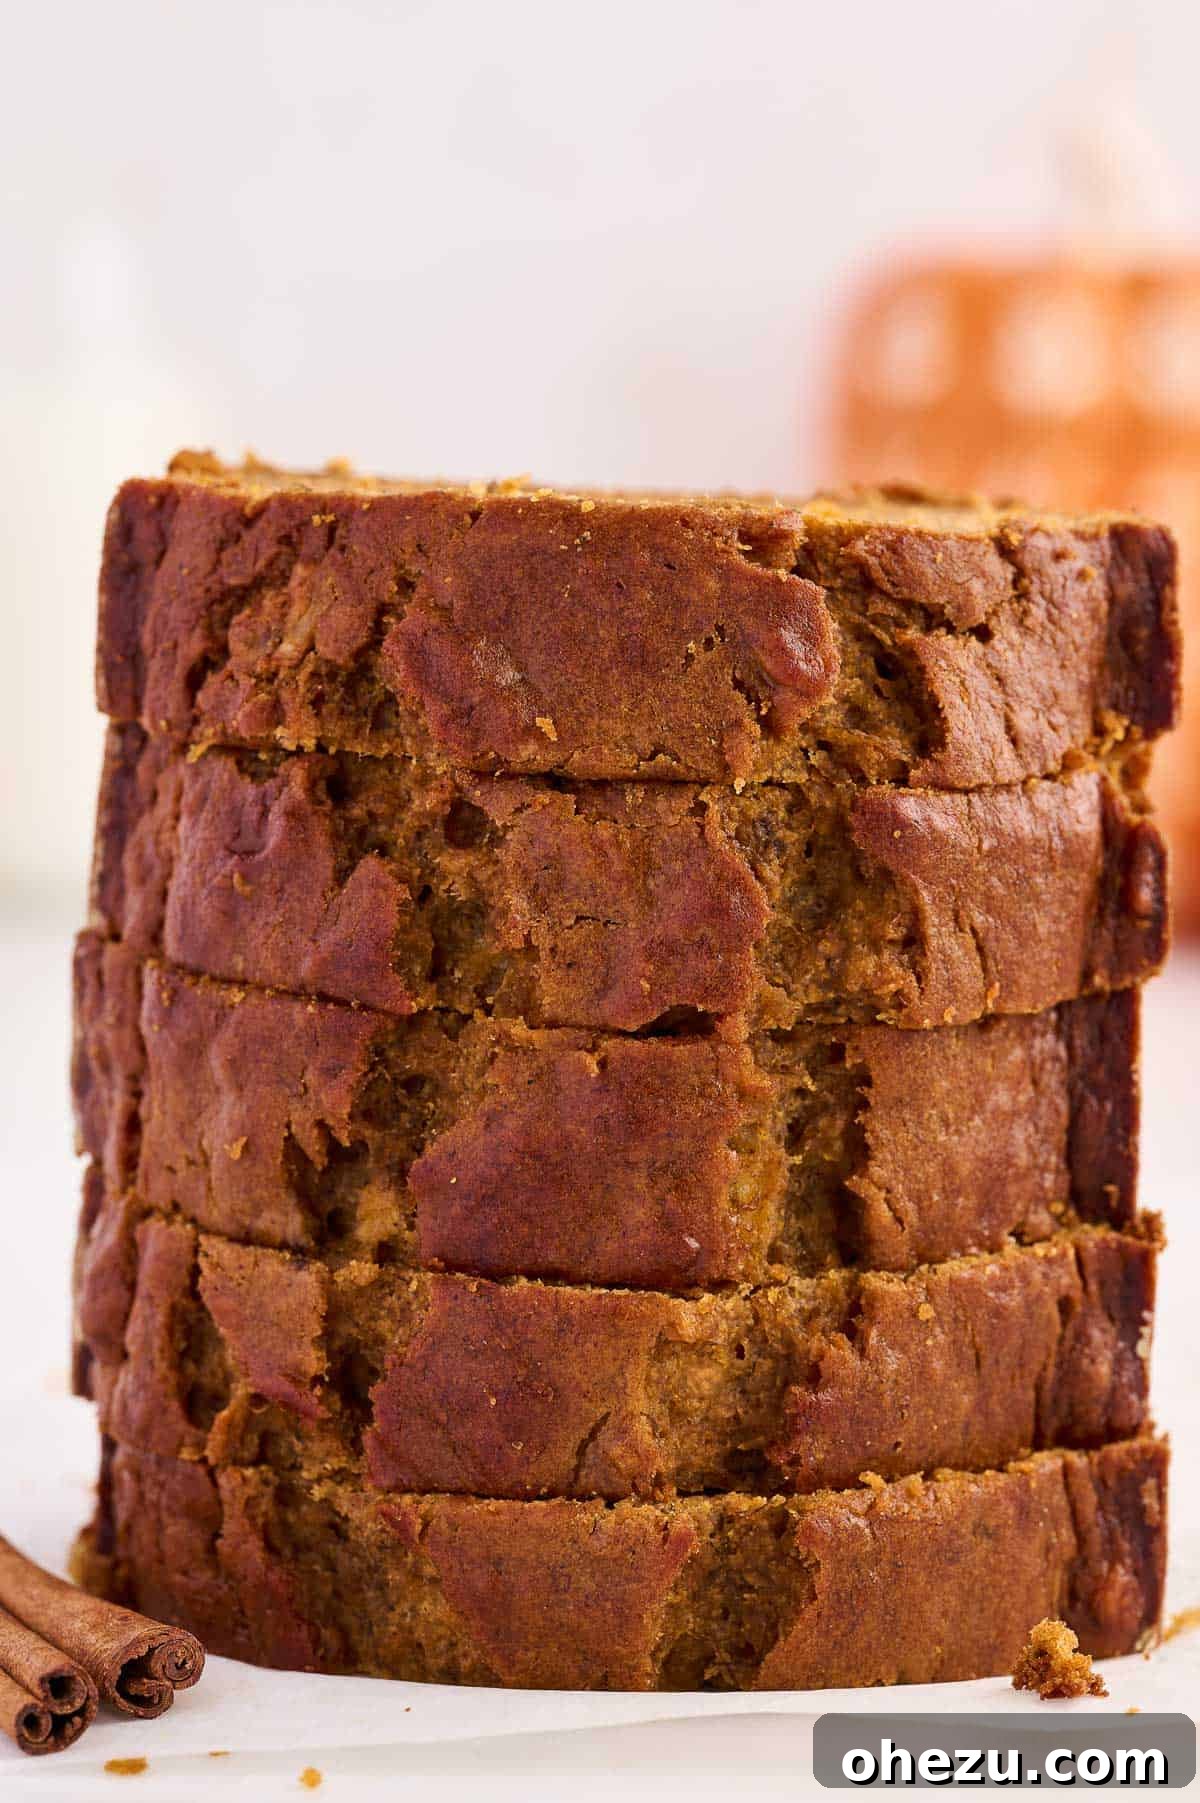
- Freezing for Long-Term Enjoyment: This bread is an excellent candidate for freezing, which means you can enjoy a homemade treat whenever a craving strikes! To freeze, it’s crucial that the loaf is completely cooled down to room temperature first. You have several options for freezing: you can freeze it whole, pre-sliced, or in individual portions. For optimal preservation, wrap the bread tightly in at least two layers of plastic wrap, followed by an additional layer of heavy-duty aluminum foil, or place it inside a freezer-safe bag, expelling as much air as possible. It can be stored effectively in the freezer for up to 2-3 months without compromising its quality. When you’re ready to enjoy, simply thaw it at room temperature, or gently warm individual slices in the microwave or oven for that fresh-baked feel.
Baking Alternatives: Transform Your Batter into Delicious Pumpkin Banana Muffins
This incredibly versatile pumpkin banana bread batter isn’t just for loaves! If you’re looking for individual portions, a quicker bake time, or simply a different presentation, transforming this recipe into delicious muffins is remarkably easy and yields equally fantastic results. Muffins are perfect for grab-and-go breakfasts, school lunchboxes, or a smaller, more controlled treat.
To convert your beloved loaf recipe into a batch of mouth-watering pumpkin banana muffins, simply prepare the batter precisely as directed for the bread, following all the steps up to the point of filling the pan. Instead of pouring the batter into a single loaf pan, spoon it into standard muffin tins. It’s best to use paper liners or thoroughly grease each muffin cup to prevent sticking. Fill each muffin cup about three-quarters of the way full to allow for proper rising. This recipe typically yields a generous batch of around 14 delicious standard-sized muffins.
Bake these muffins in a preheated oven at the same temperature, 350 degrees Fahrenheit (175 degrees Celsius), but adjust the baking duration for the smaller size. Muffins generally require a shorter baking time, usually between 23-25 minutes. As with the bread, the most reliable way to check for doneness is by inserting a toothpick into the center of a muffin; it should come out clean. Once baked, let them cool in the pan for a few minutes before transferring them to a wire rack. Pumpkin banana muffins offer the same wonderful, comforting flavors in a convenient, perfectly portioned size, making them a fantastic alternative for any occasion.
Frequently Asked Questions (FAQ) About Pumpkin Banana Bread
Here are some common questions and helpful answers to ensure your pumpkin banana bread baking experience is a complete success:
- Can I use fresh pumpkin instead of canned puree in this recipe?
- Yes, you absolutely can use fresh pumpkin! You’ll need to cook and puree your fresh pumpkin first. It’s crucial to ensure the puree is thick and has as little excess moisture as possible to prevent a soggy bread. One cup of homemade mashed cooked pumpkin is generally equivalent to one cup of canned pumpkin puree in terms of volume and consistency.
- My bananas aren’t ripe enough for baking. Is there a way to ripen them quickly?
- Yes, there’s a neat trick for that! To quickly ripen underripe bananas, you can bake them unpeeled on a baking sheet in a preheated oven at 300°F (150°C) for approximately 15-30 minutes, or until their peels turn uniformly black and shiny. Let them cool completely, then simply scoop out the wonderfully softened, sweet fruit for mashing.
- Can I add extra ingredients like chocolate chips or nuts to the batter?
- Absolutely! Chocolate chips (whether milk, semi-sweet, or dark) and finely chopped nuts (such as walnuts, pecans, or even a mix) are fantastic additions that complement the flavors beautifully. We recommend folding in about ½ to ¾ cup of your chosen add-ins during Step 3, just before the batter is fully combined, to ensure even distribution.
- Is it possible to make this pumpkin banana bread recipe gluten-free?
- While this specific recipe has been developed and tested with traditional all-purpose flour, you can often substitute it with a high-quality 1:1 gluten-free baking blend that already contains xanthan gum. Please note that results may vary slightly in terms of texture and rise when using gluten-free alternatives.
- What if I don’t have a pre-made pumpkin pie spice blend? Can I make my own?
- Certainly! It’s very easy to create your own pumpkin pie spice mix from individual spices you likely already have. A common and delicious blend is 1 teaspoon ground cinnamon, ¼ teaspoon ground nutmeg, ¼ teaspoon ground ginger, and ⅛ teaspoon ground cloves (or allspice, if you prefer). Feel free to adjust the proportions to perfectly match your personal taste preferences.
- How do I know for sure when the bread is completely done baking?
- The most reliable method for checking doneness is the trusty toothpick test. Gently insert a wooden toothpick or a thin skewer into the very center of the loaf. If it comes out clean or with only a few moist crumbs attached (it should not have any wet, uncooked batter), then your bread is perfectly baked and ready. If it comes out wet, continue baking for additional 5-10 minute intervals until clean.
Explore More Delicious Pumpkin Recipes for Fall and Beyond
If you’ve fallen in love with the warm, comforting, and exquisitely spiced flavors of pumpkin, then you’re truly in for a treat! The versatility of pumpkin makes it a star ingredient in countless dishes, perfect for embracing the vibrant fall season or enjoying its unique taste year-round. Here are some other fantastic pumpkin-inspired recipes from our collection that we highly recommend you try next:
- Pumpkin Snack Cake: A delightfully simple and wonderfully flavorful cake that’s perfect for any time of day, whether as a dessert or a comforting treat.
- Pumpkin Banana Muffins: The convenient and perfectly portioned muffin version of this very recipe, offering all the same incredible flavors in a quick, on-the-go format.
- Pumpkin Donut Mini Muffins: Bite-sized delights that capture the essence of a warm, spiced donut, perfect for a sweet breakfast or a delightful snack.
- Pumpkin Chocolate Chip Cookies: A perennial cookie classic enhanced with the soft, chewy texture and rich flavors of pumpkin, making them an instant fall favorite.
- Pumpkin Cream Pie: A rich, smooth, and incredibly creamy dessert that’s ideal for festive gatherings, holiday meals, or simply when you crave something special.
- No Bake Pumpkin Cheesecake Bars: An easy, refreshing, and surprisingly quick dessert that allows you to enjoy the flavors of pumpkin cheesecake without even needing to turn on the oven.
- Greek Yogurt Pumpkin Bread: A delightfully healthier twist on classic pumpkin bread, offering a wonderfully moist texture and a subtle tangy note from the Greek yogurt.
- Pumpkin Protein Balls: A nutritious and incredibly delicious snack option, perfect for a quick energy boost or a healthy treat on the go.
- Mini Pumpkin Muffins: Adorable and perfectly sized for little hands or for when you desire a smaller portion of spiced pumpkin goodness.
- Pumpkin Chocolate Chip Muffins: Another delightful muffin variation that brilliantly combines the comforting flavors of pumpkin with the irresistible sweetness of chocolate chips.
Pumpkin Banana Bread Recipe
Print Recipe
Ingredients
- 1 cup ripe mashed bananas (approximately 2-3 medium bananas)
- 2/3 cup canned pumpkin puree (ensure it’s not pumpkin pie filling)
- ¼ cup olive oil, or any neutral vegetable oil
- 2 large eggs
- 1 teaspoon vanilla extract (pure vanilla is recommended)
- 1/3 cup granulated sugar
- 1/3 cup packed brown sugar
- 1 ½ cups all-purpose flour
- ½ teaspoon salt
- 1 teaspoon baking powder
- 1 teaspoon baking soda
- 1 teaspoon ground cinnamon
- 1 teaspoon pumpkin pie spice (homemade or store-bought)
Instructions
- In a large mixing bowl, thoroughly whisk together the all-purpose flour, salt, baking powder, baking soda, ground cinnamon, and pumpkin pie spice until all dry ingredients are uniformly combined.
- In a separate medium bowl, whisk together the mashed ripe bananas, canned pumpkin puree, olive or vegetable oil, eggs, pure vanilla extract, packed brown sugar, and granulated sugar until the mixture is smooth and well integrated.
- Add the bowl of dry ingredients to the bowl of wet ingredients. Using a rubber spatula, gently fold the ingredients together until they are just combined and no streaks of dry flour remain. Avoid overmixing the batter, as this can lead to a dense and tough bread.
- Generously grease a standard 9 by 5-inch loaf pan with cooking spray or butter, and lightly dust with flour. Pour the prepared batter evenly into the pan, smoothing the top with your spatula.
- Bake in a preheated oven at 350°F (175°C) for 55-65 minutes. To check for doneness, insert a toothpick into the very center of the loaf; it should come out clean or with only a few moist crumbs attached. If the top browns too quickly, loosely tent the loaf with aluminum foil for the remainder of the baking time.
- Once baked, remove the bread from the oven and allow it to cool in the pan for 10-15 minutes. Then, carefully transfer the loaf to a wire rack to cool completely before slicing and serving. Enjoy warm or at room temperature.
Nutrition Information (Approximate)
Calories: 263kcal
Carbohydrates: 44g
Protein: 4g
Fat: 8g
Saturated Fat: 1g
Polyunsaturated Fat: 1g
Monounsaturated Fat: 5g
Trans Fat: 0.004g
Cholesterol: 41mg
Sodium: 356mg
Potassium: 199mg
Fiber: 2g
Sugar: 22g
Vitamin A: 3257IU
Vitamin C: 3mg
Calcium: 58mg
Iron: 2mg
*Nutrition information is an estimate based on standard ingredient calculations and may vary.
We sincerely hope this recipe brings warmth, comfort, and joy to your home this fall season and beyond. Happy baking!