
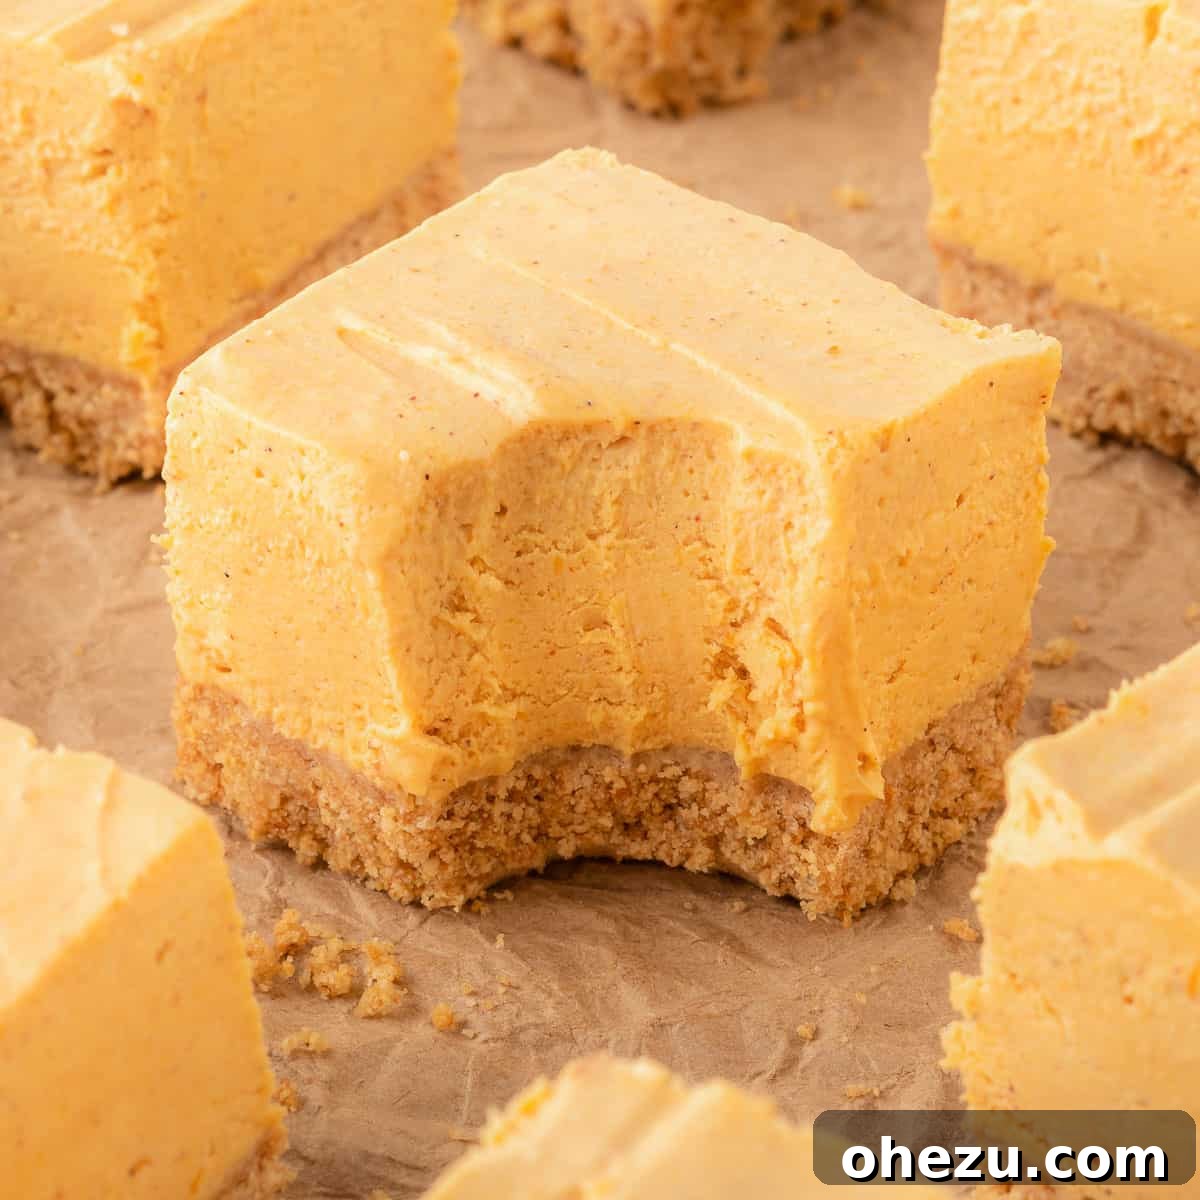
These No-Bake Pumpkin Cheesecake Bars are an absolute dream come true for fall dessert lovers! Imagine a perfectly golden, buttery graham cracker crust topped with an irresistibly smooth, spiced, and creamy pumpkin cheesecake filling. Pure autumn bliss in every bite.
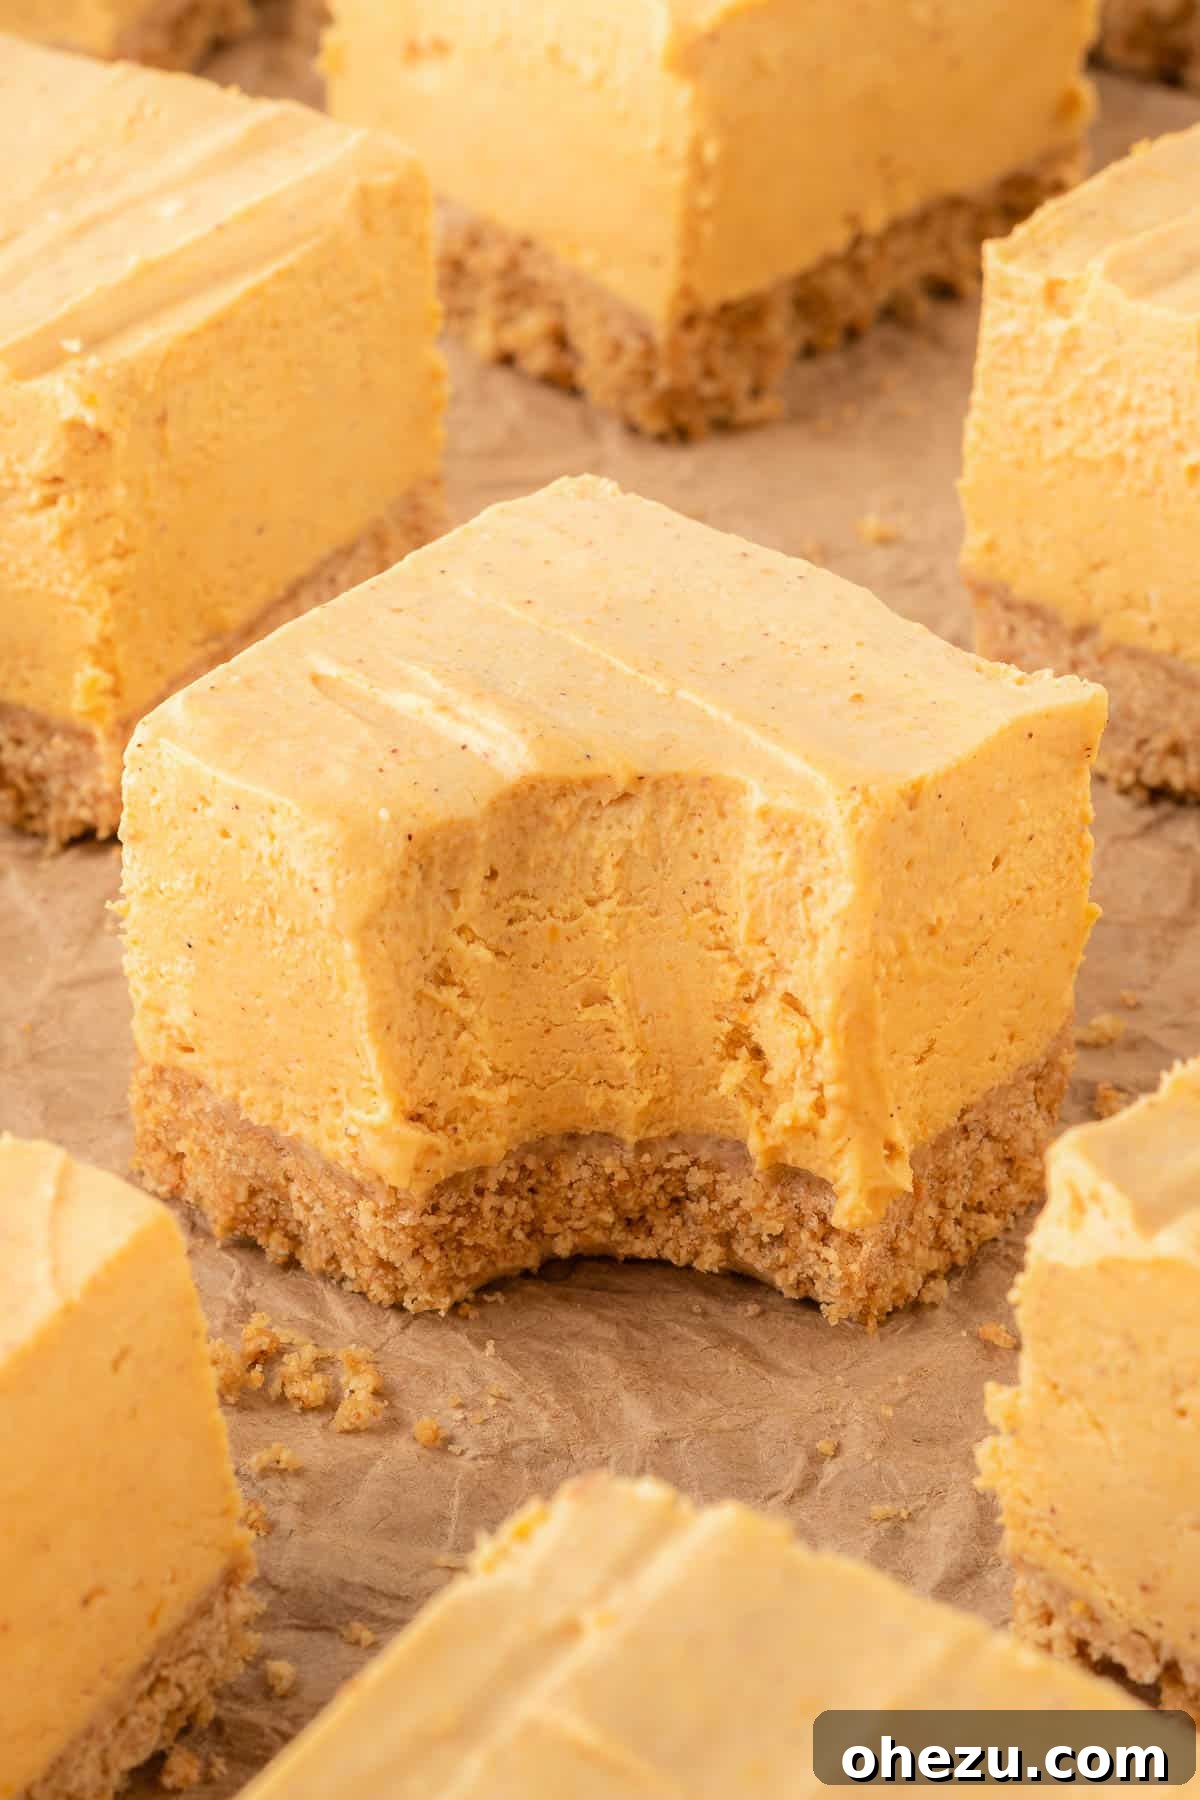
Indulge in the Magic of No-Bake Pumpkin Cheesecake Bars This Fall
As the leaves turn golden and the air gets crisp, there’s a certain magic that pumpkin brings to our kitchens. This year, elevate your fall dessert game with these incredible No-Bake Pumpkin Cheesecake Bars. Forget about turning on the oven for hours; this recipe delivers maximum flavor with minimal effort, making it a must-make for anyone craving that classic pumpkin spice goodness.
From the moment I first perfected my classic no-bake cheesecake bars, I knew I had to adapt the method to create a seasonal masterpiece. And what better flavor for autumn than pumpkin? These bars are designed to melt in your mouth, boasting a velvety pumpkin cream cheese filling, delicately spiced, sitting atop a wonderfully easy and perfectly balanced salty-sweet graham cracker crust. It’s the ideal harmony of textures and flavors that will have everyone asking for the recipe.
The beauty of this dessert lies in its simplicity. You don’t need to be an experienced baker to achieve impressive results. In fact, even a beginner can whip up these decadent pumpkin cheesecake bars with confidence. They require no special techniques or complicated steps, just a few key ingredients and some chilling time to allow the flavors to meld and the bars to set perfectly.
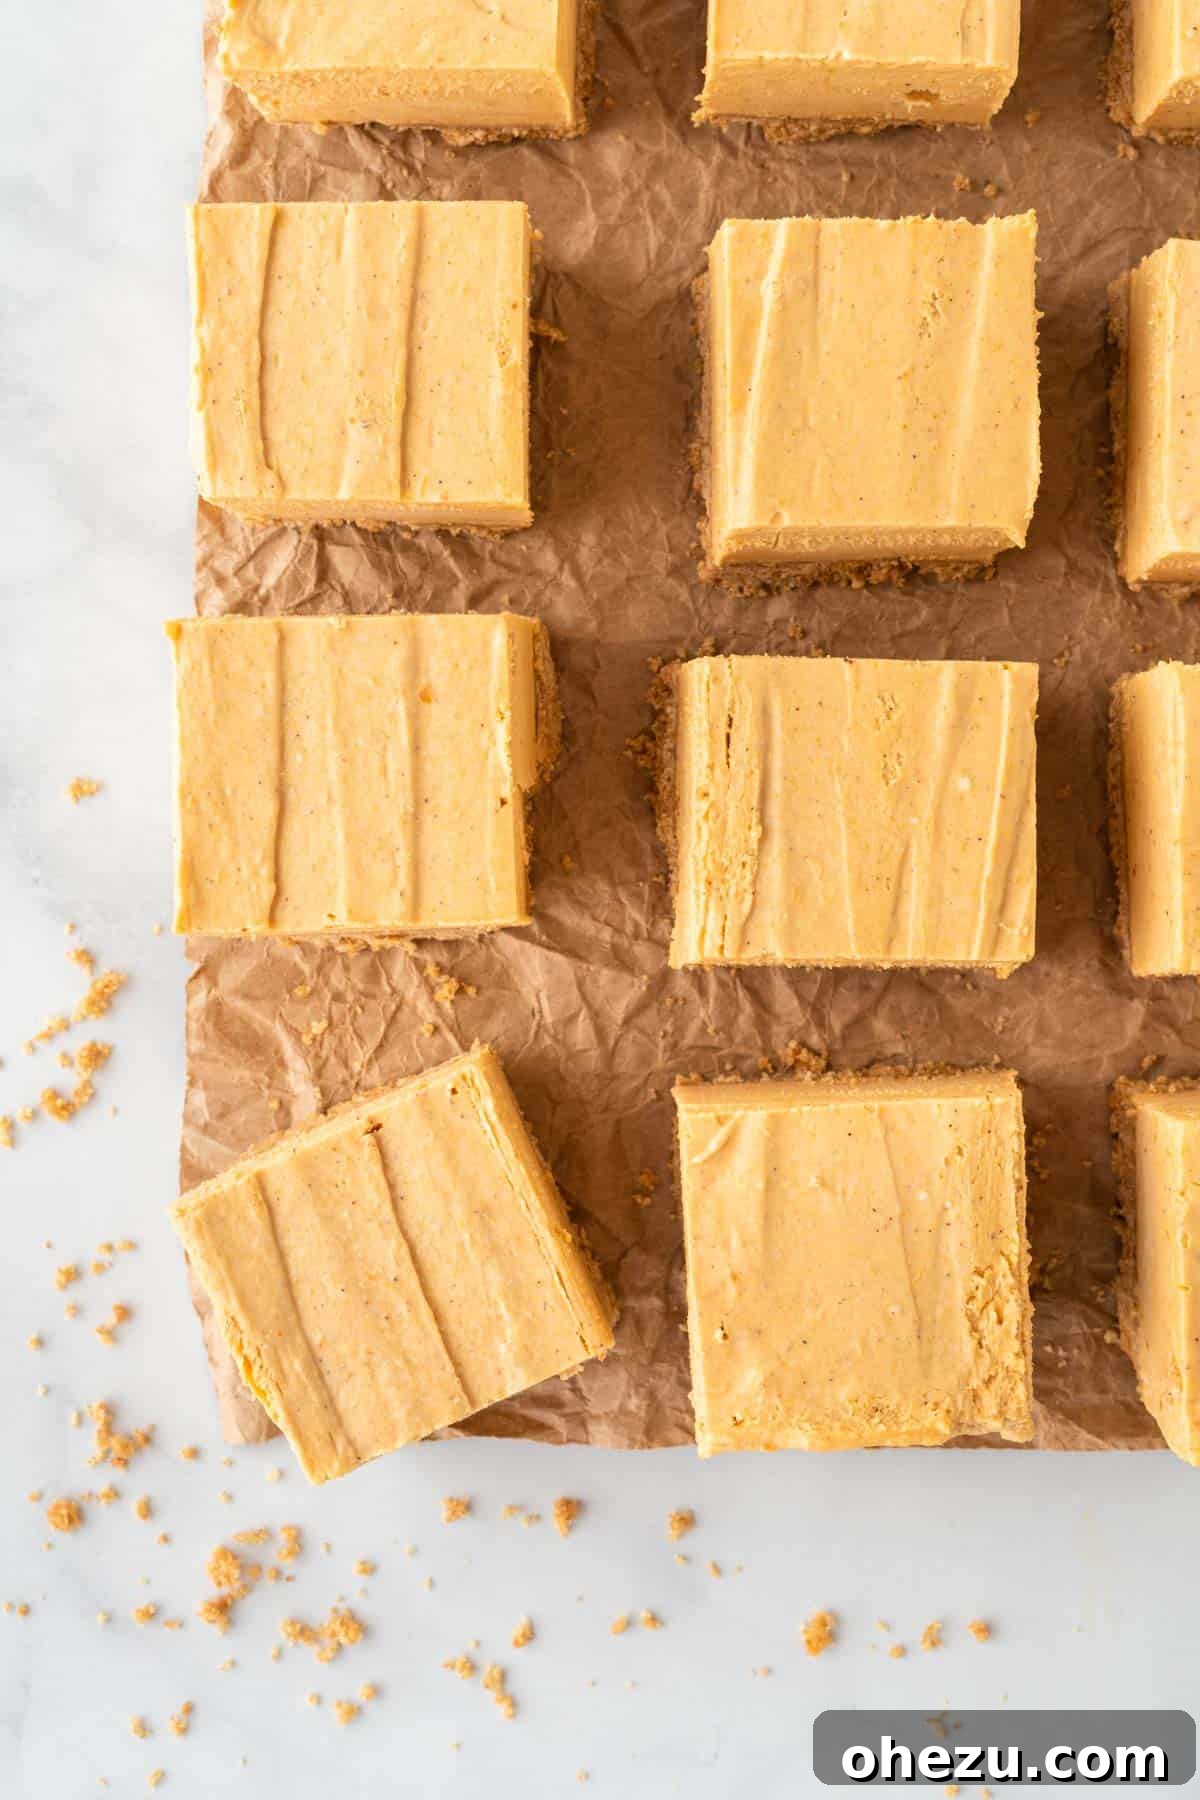
Why These No-Bake Pumpkin Cheesecake Bars Are a Fall Essential
There are countless reasons why these No-Bake Pumpkin Cheesecake Bars should be on your fall baking (or rather, no-baking) list. Here are just a few:
- Effortlessly Delicious: The biggest advantage of a no-bake dessert is the sheer ease. No oven required means less heat in your kitchen, faster prep, and a stress-free dessert experience, perfect for busy holiday preparations or weeknight cravings.
- Rich Fall Flavors: Every bite is a celebration of autumn. Packed with pure pumpkin puree and a generous amount of warming pumpkin pie spice, these bars deliver that quintessential, comforting taste and aroma of the fall season.
- Perfect Texture Harmony: Experience a delightful contrast between textures. The cheesecake filling is unbelievably creamy and smooth, almost like a cloud, which pairs beautifully with the sturdy, crunchy, and buttery graham cracker crust. It’s a textural dream.
- Guaranteed Crowd-Pleaser: Whether you’re hosting a Thanksgiving feast, a Halloween gathering, a casual potluck, or simply enjoying a cozy evening at home, these bars are universally loved. Their inviting pumpkin flavor appeals to all ages.
- Make-Ahead Friendly: Planning ahead is a breeze with this recipe. These bars require chilling, making them an ideal dessert to prepare a day or even two in advance. This frees up your time on the day of your event, allowing you to relax and enjoy.
- Simple, Accessible Ingredients: You won’t need to hunt for exotic items. This recipe uses common pantry staples readily available at any local grocery store, making it convenient and budget-friendly.
Essential Ingredients for Your Pumpkin Cheesecake Bars
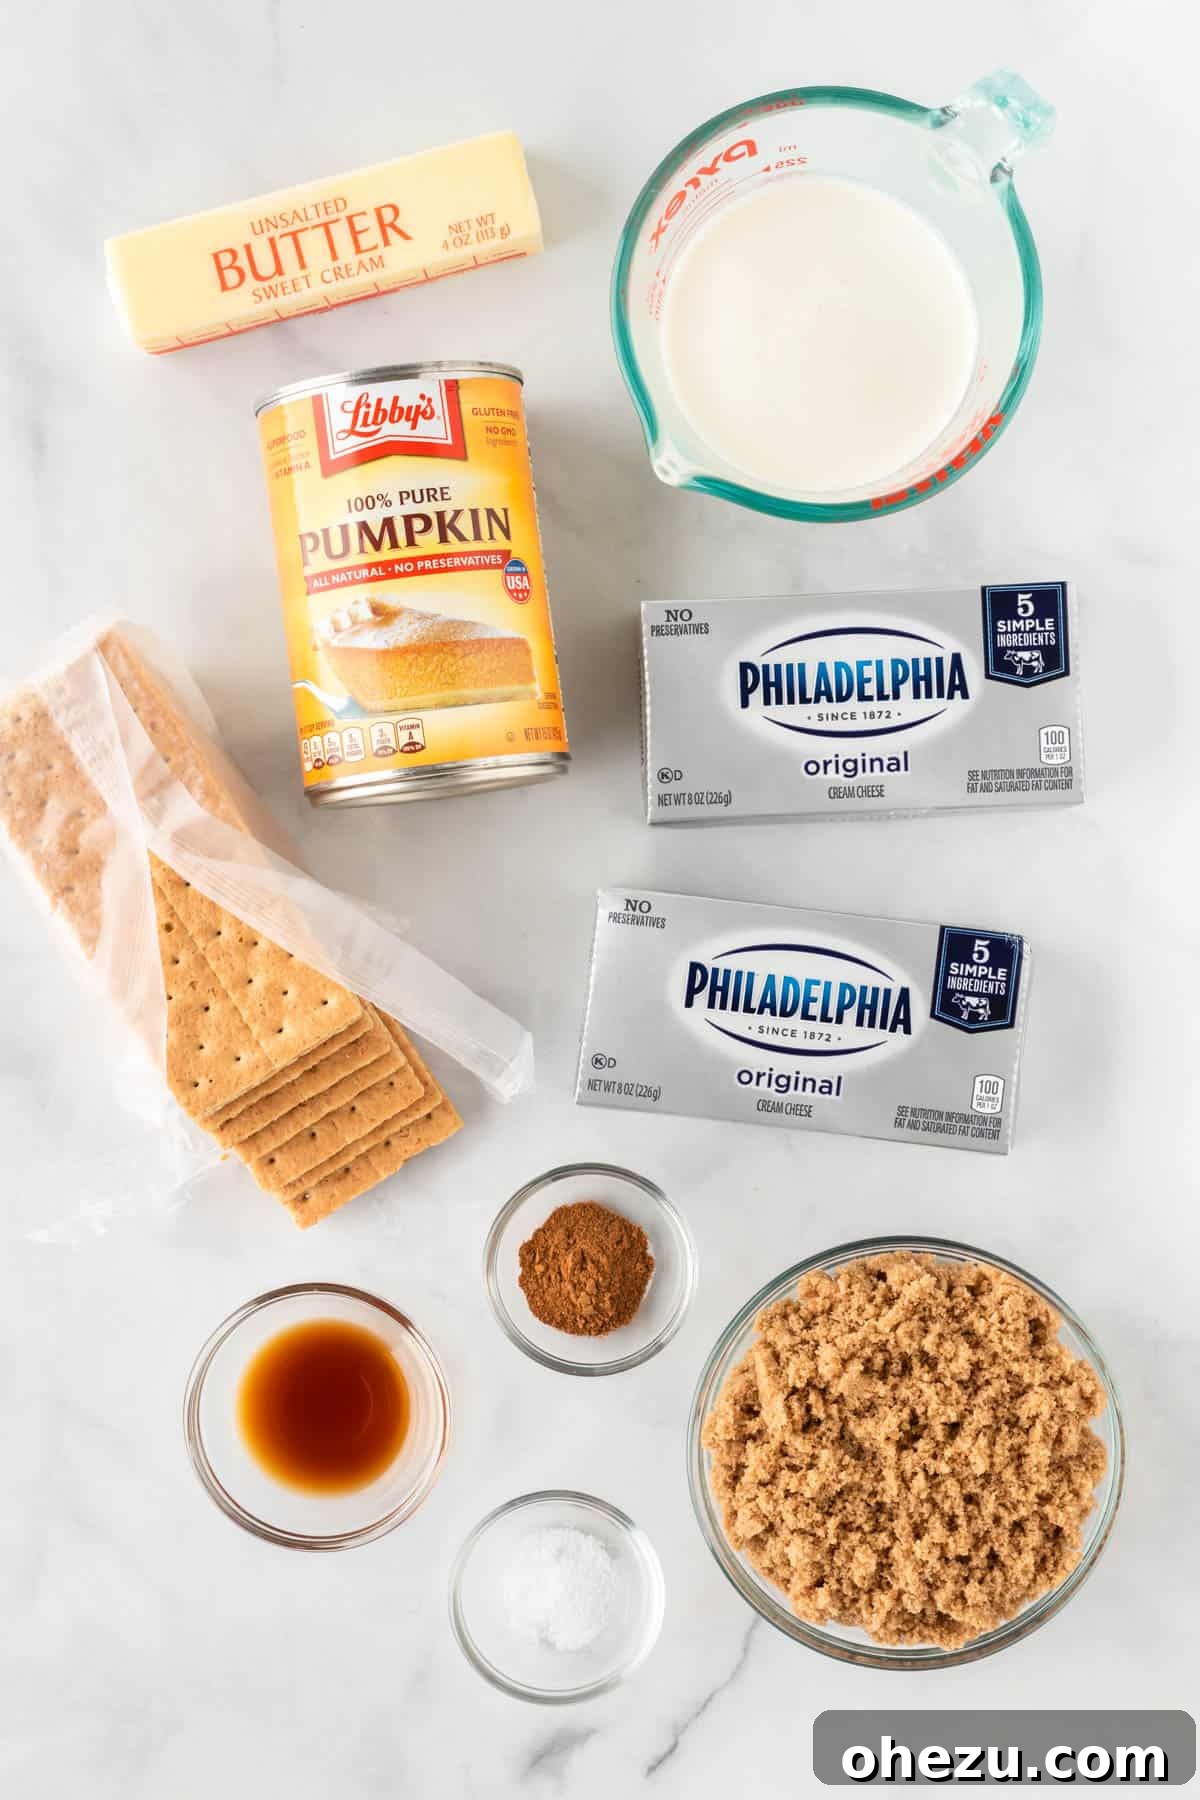
Crafting these delectable no-bake pumpkin cheesecake bars starts with selecting the right ingredients. Each component plays a vital role in achieving that perfect balance of flavor and texture. Here’s a closer look at what you’ll need, along with a few tips for selection:
For the Buttery Graham Cracker Crust:
- Graham Crackers: The foundation of our crust. They provide a wonderful sweetness and crisp texture. You’ll need about 15 full sheets, which, once finely ground, will yield roughly 1 ½ cups of crumbs. Any brand of plain graham crackers will work perfectly.
- Unsalted Butter (Melted): This is the crucial binding agent that holds the graham cracker crumbs together, creating a firm and flavorful base. Using unsalted butter allows you to precisely control the overall saltiness of the crust. Ensure it’s fully melted but not boiling hot.
- Brown Sugar: A touch of brown sugar not only sweetens the crust but also adds a subtle molasses flavor and a slight caramel note, enhancing the overall depth and complementing the pumpkin filling beautifully.
- Salt: Just a pinch of fine salt helps to balance the sweetness of the crust and brings out the nutty flavor of the graham crackers. Don’t skip it, as it genuinely elevates the flavor profile.
For the Velvety Pumpkin Cheesecake Filling:
- Cream Cheese (Softened): This is the undisputed star of any cheesecake. For the creamiest, richest texture and to prevent any lumps, it’s imperative to use full-fat cream cheese, softened completely to room temperature. This makes it easier to beat until smooth.
- Canned Pumpkin Puree: Pay close attention here! Ensure you use 100% pure canned pumpkin, often found in the baking aisle. It is crucial *not* to use pumpkin pie filling, as pie filling already contains spices, sugar, and sometimes thickeners, which would significantly alter the recipe’s intended flavor and consistency.
- Vanilla Extract: A classic flavor enhancer, good quality pure vanilla extract brightens and rounds out the flavors of both the pumpkin and cream cheese, adding a subtle warmth.
- Heavy Cream: When whipped into stiff peaks, heavy cream provides the light, airy, and luscious texture that makes this cheesecake filling so incredibly divine and truly “melt-in-your-mouth.” Make sure it’s very cold before whipping for best results.
- Brown Sugar: This adds sweetness and a beautiful, deep caramelized note to the pumpkin filling, contributing to its rich, autumnal character. You can adjust the amount slightly to your preference.
- Pumpkin Pie Spice: The essential blend of cinnamon, nutmeg, ginger, and cloves that delivers that signature autumnal warmth, aroma, and beloved flavor profile. Ensure your spice blend is fresh for maximum impact.
Step-by-Step Guide: Crafting Your No-Bake Pumpkin Cheesecake Bars
Making these no-bake bars is surprisingly straightforward and immensely enjoyable. Follow these simple, detailed steps for a dessert that looks and tastes like it came straight from a professional bakery, but with minimal fuss!
-
Step 1: Prepare the Graham Cracker Crumbs
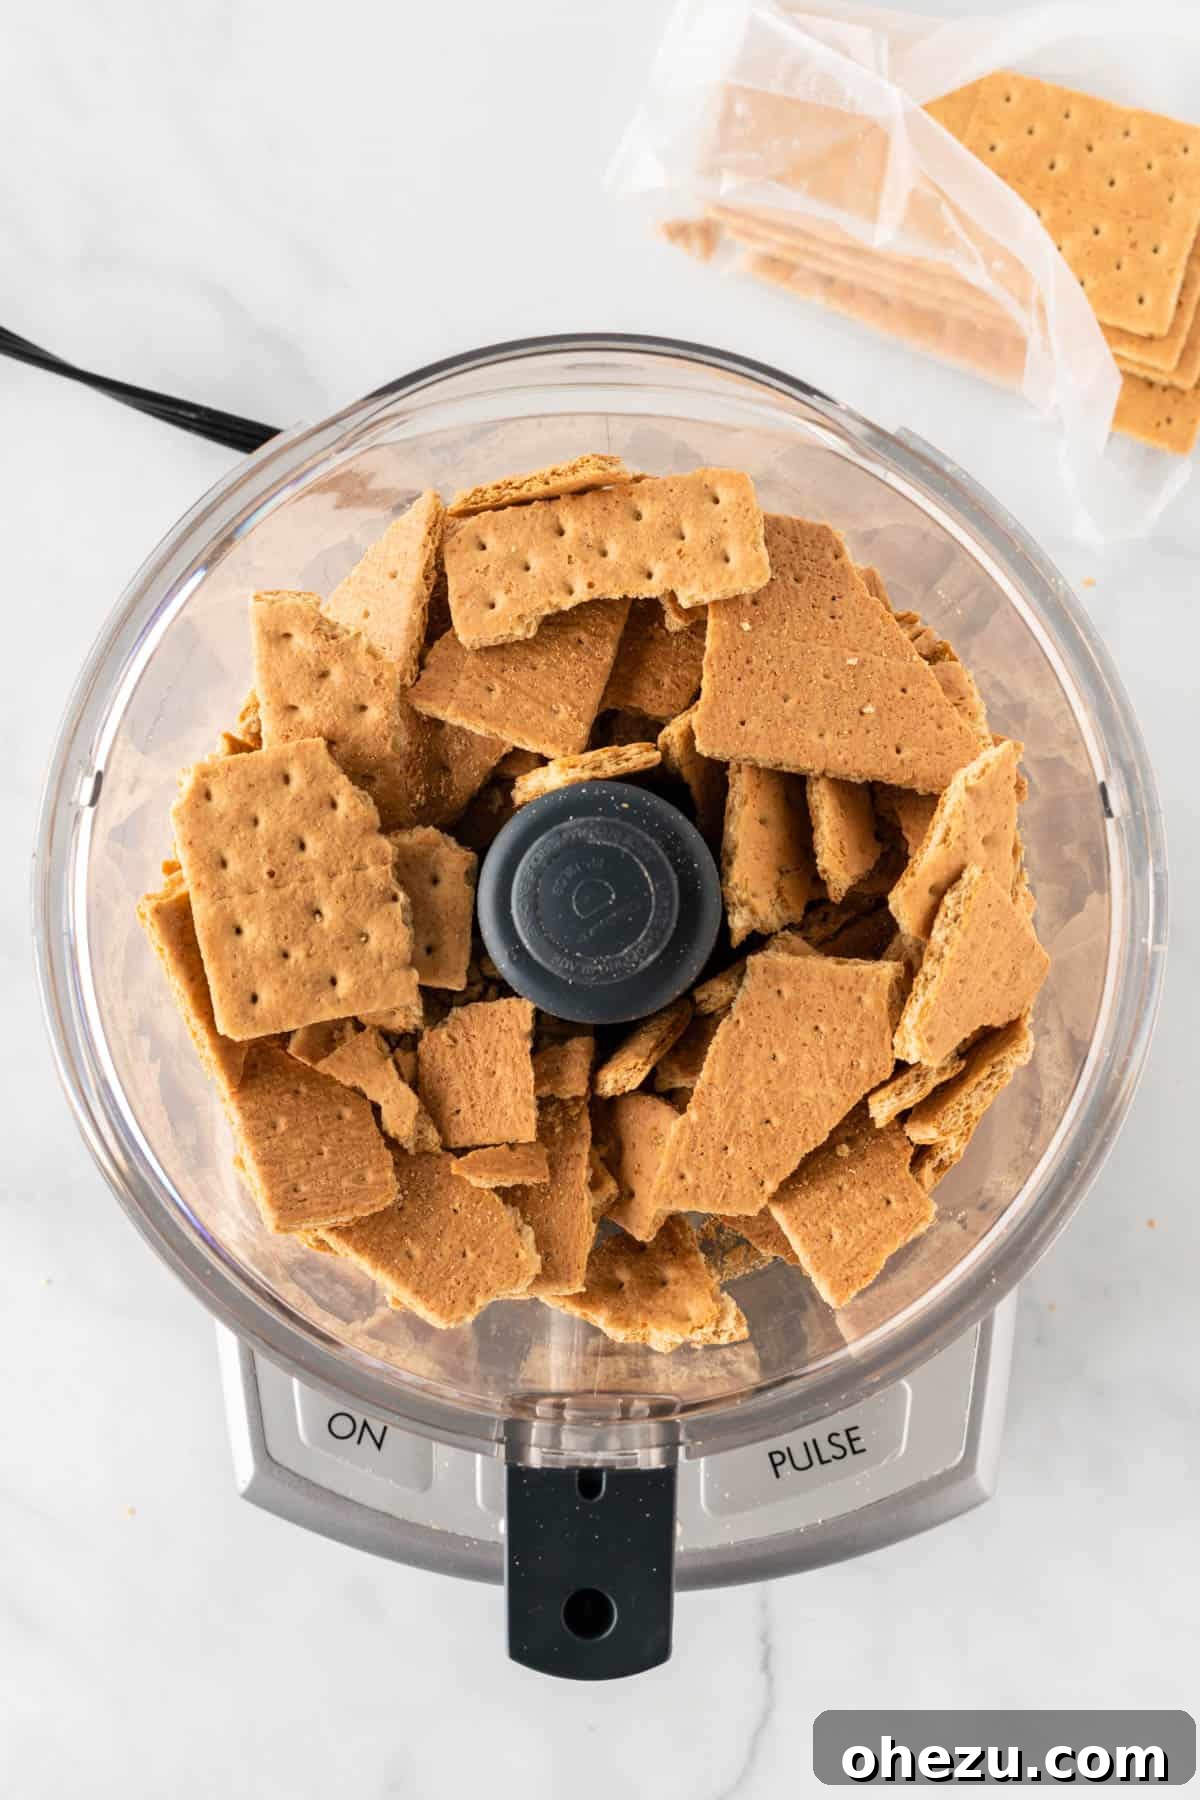
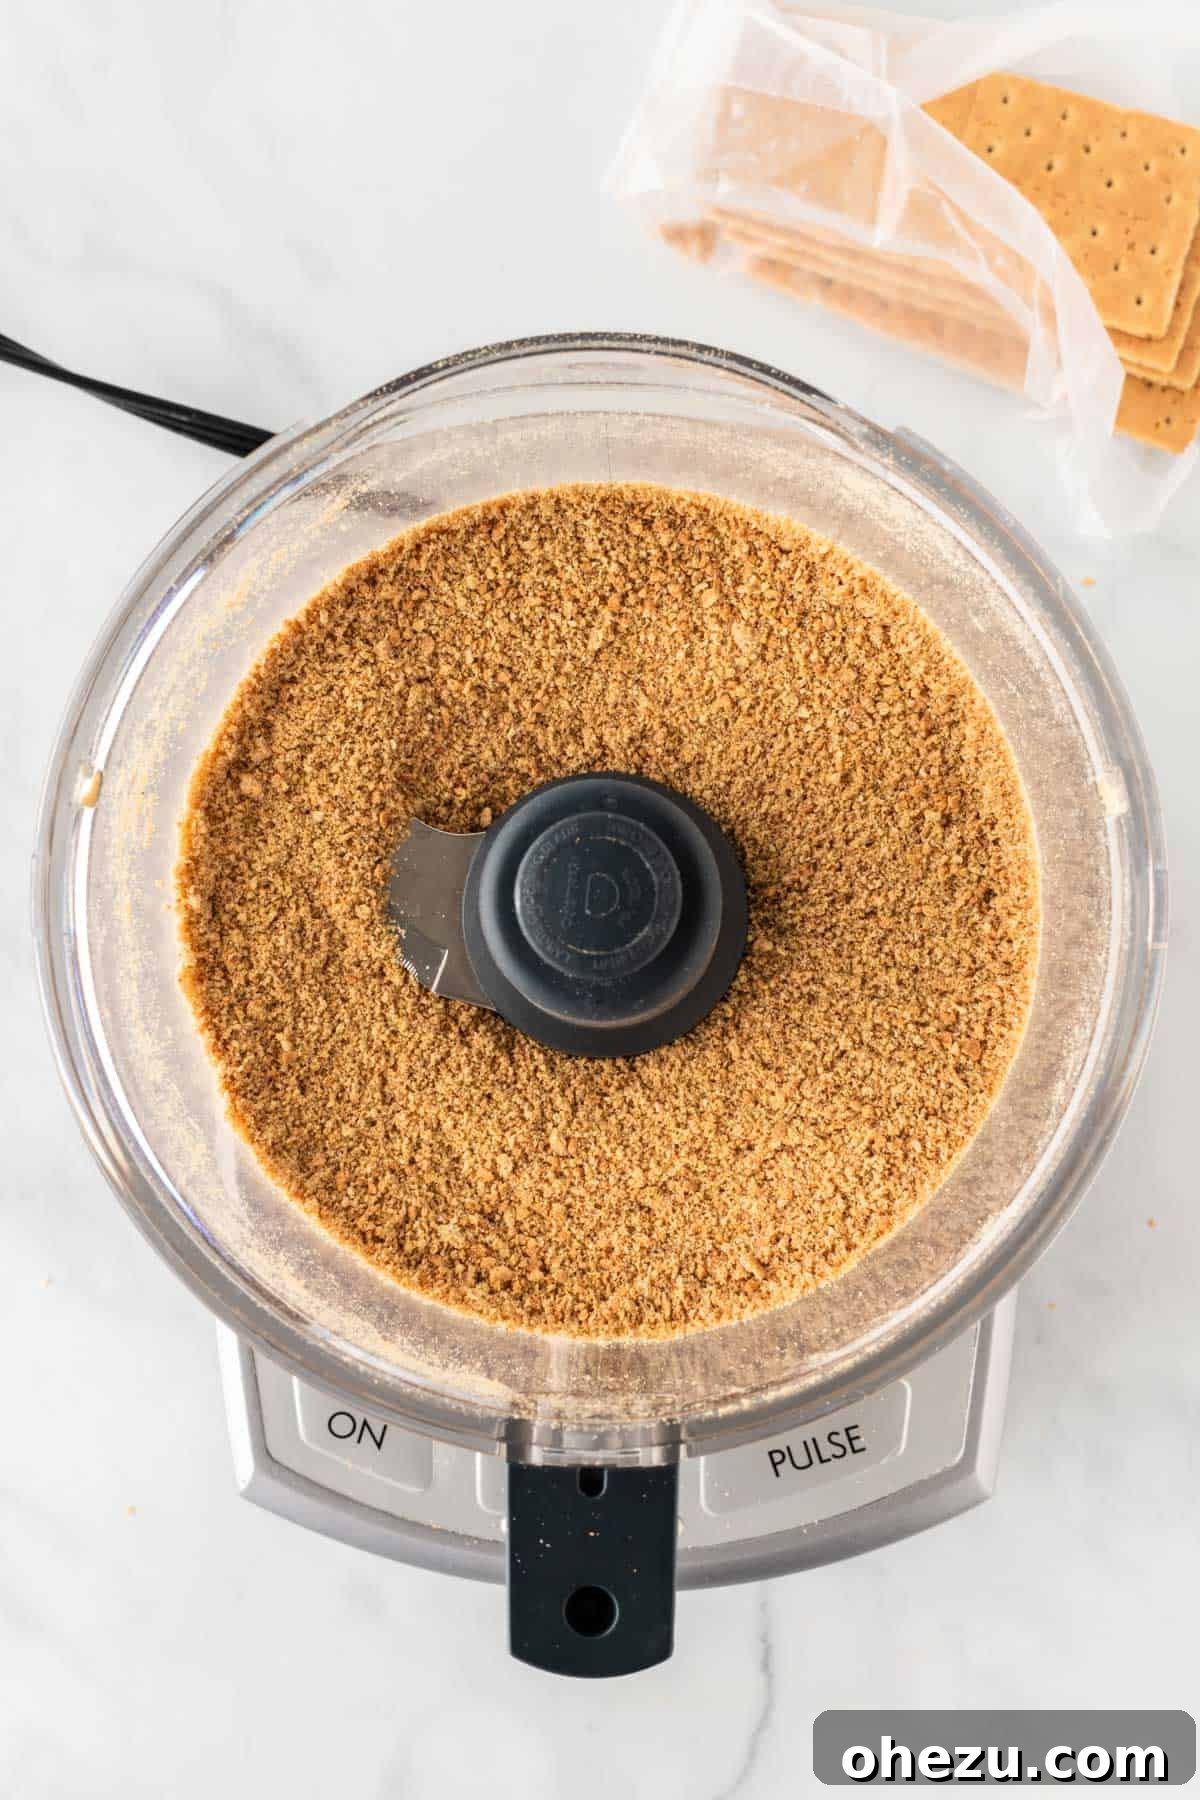
Start by preparing your graham cracker crumbs. Place the approximately 15 full sheets of graham crackers into a food processor. Pulse the processor until the crackers are finely ground into even crumbs, resembling coarse sand. This fine consistency is key for a uniform and well-packed crust. If you don’t have a food processor, a high-speed blender works just as well. Alternatively, you can place the crackers in a sturdy Ziploc bag and crush them with a rolling pin until they are thoroughly fine. The goal is consistent, fine crumbs.

-
Step 2: Assemble the Crust Mixture
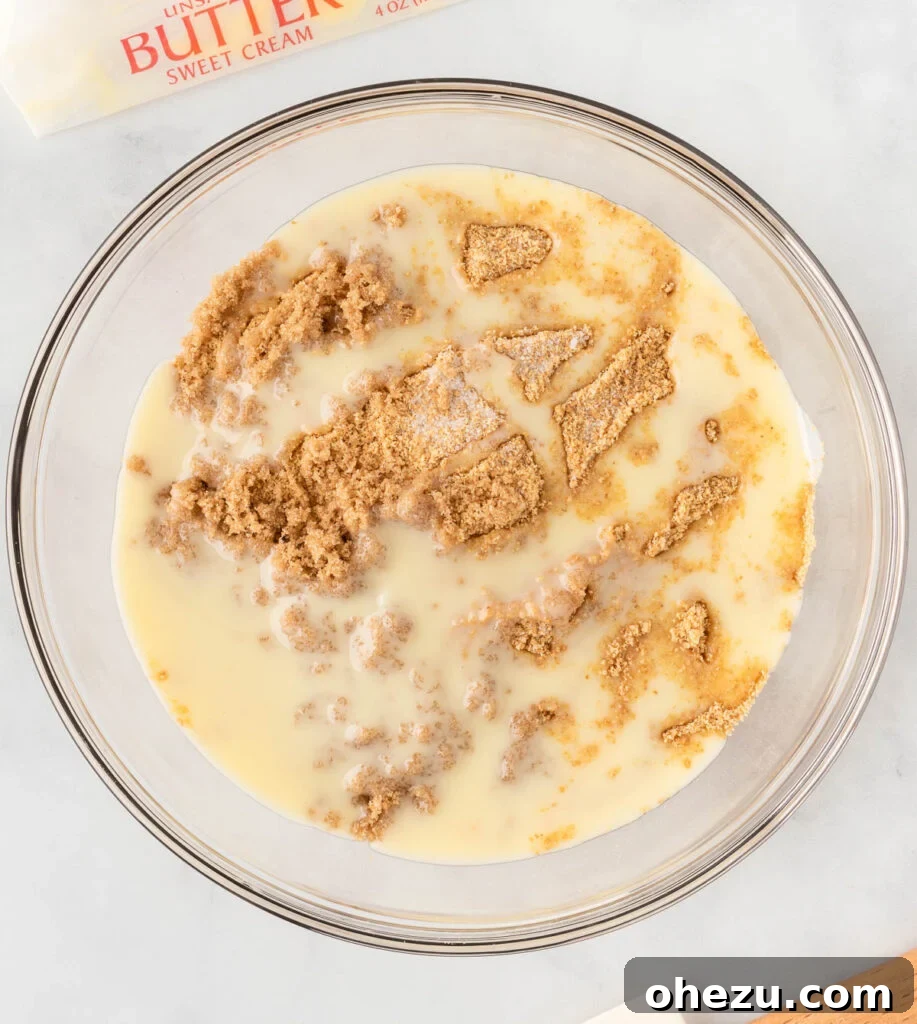
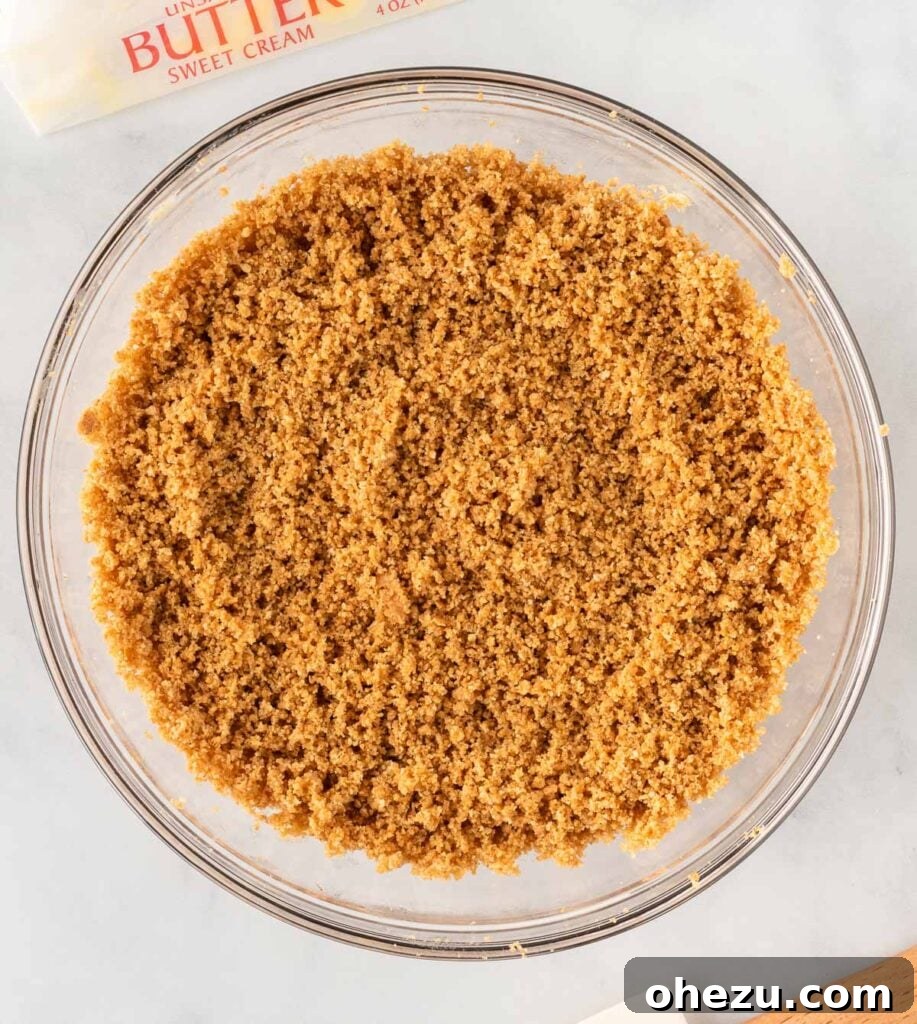
In a medium-sized mixing bowl, combine the finely crushed graham cracker crumbs with the 7 tablespoons of melted unsalted butter, 1 tablespoon of brown sugar, and ¼ teaspoon of salt. Mix thoroughly with a fork or spatula until all the crumbs are evenly moistened and resemble wet sand. Every crumb should be coated with butter to ensure the crust holds together beautifully when chilled. This mixture forms the delicious base of your cheesecake bars.
-
Step 3: Beat the Cream Cheese Base
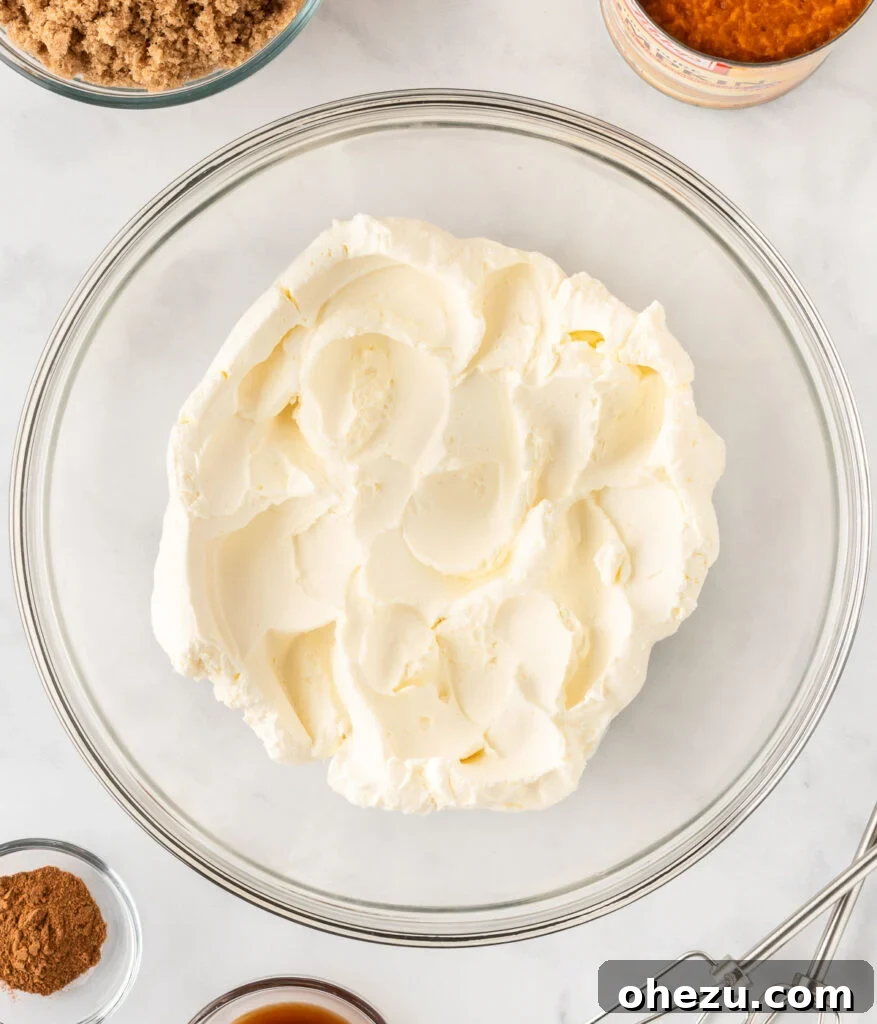
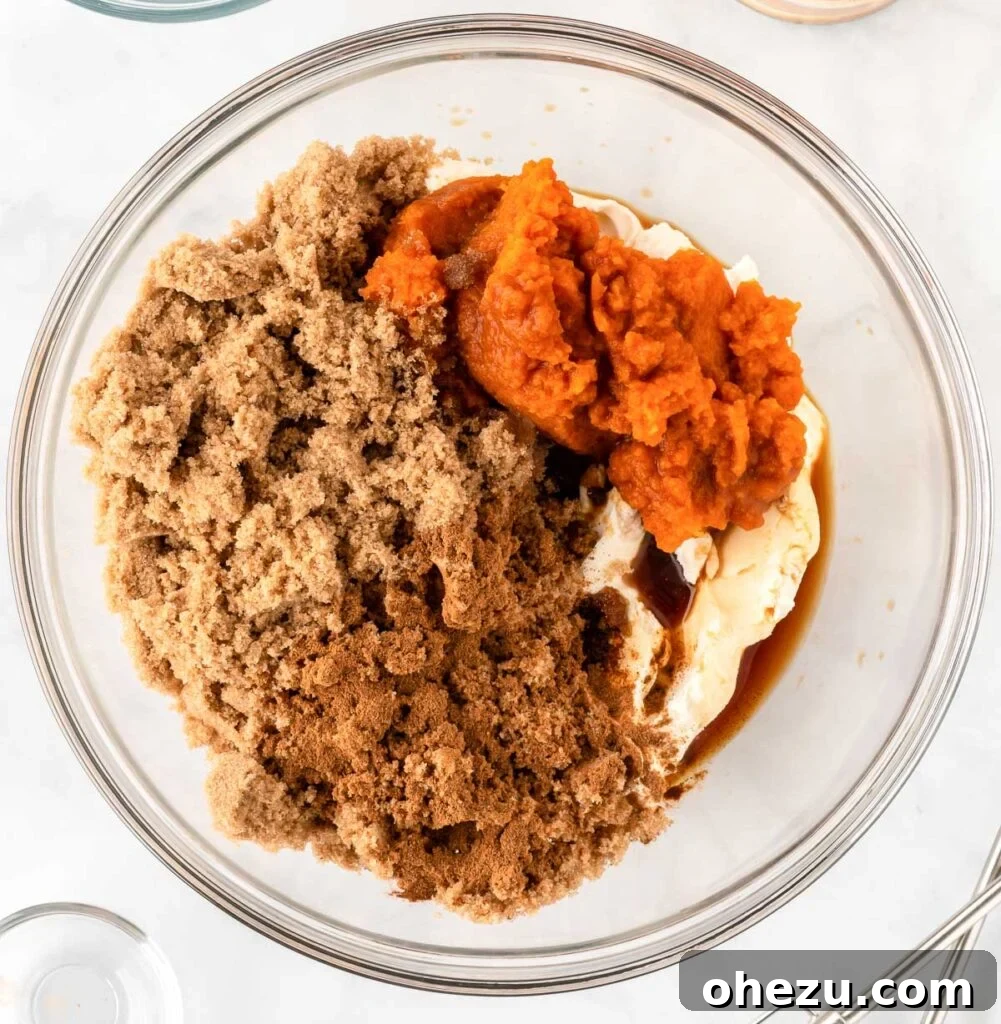
In a large mixing bowl, using either a stand mixer fitted with a paddle attachment or a hand mixer, beat the softened cream cheese on medium speed until it’s wonderfully light, smooth, and fluffy. Ensure there are no lumps remaining. Scrape down the sides of the bowl as needed to incorporate everything. Next, add the ¾ cup of pure canned pumpkin, ⅔ cup of brown sugar, 1 teaspoon of pumpkin pie spice, and 2 teaspoons of vanilla extract. Continue beating again until all ingredients are well combined, and the mixture is completely homogenous and lusciously creamy. Avoid overmixing at this stage, as it can incorporate too much air.
-
Step 4: Whip the Heavy Cream
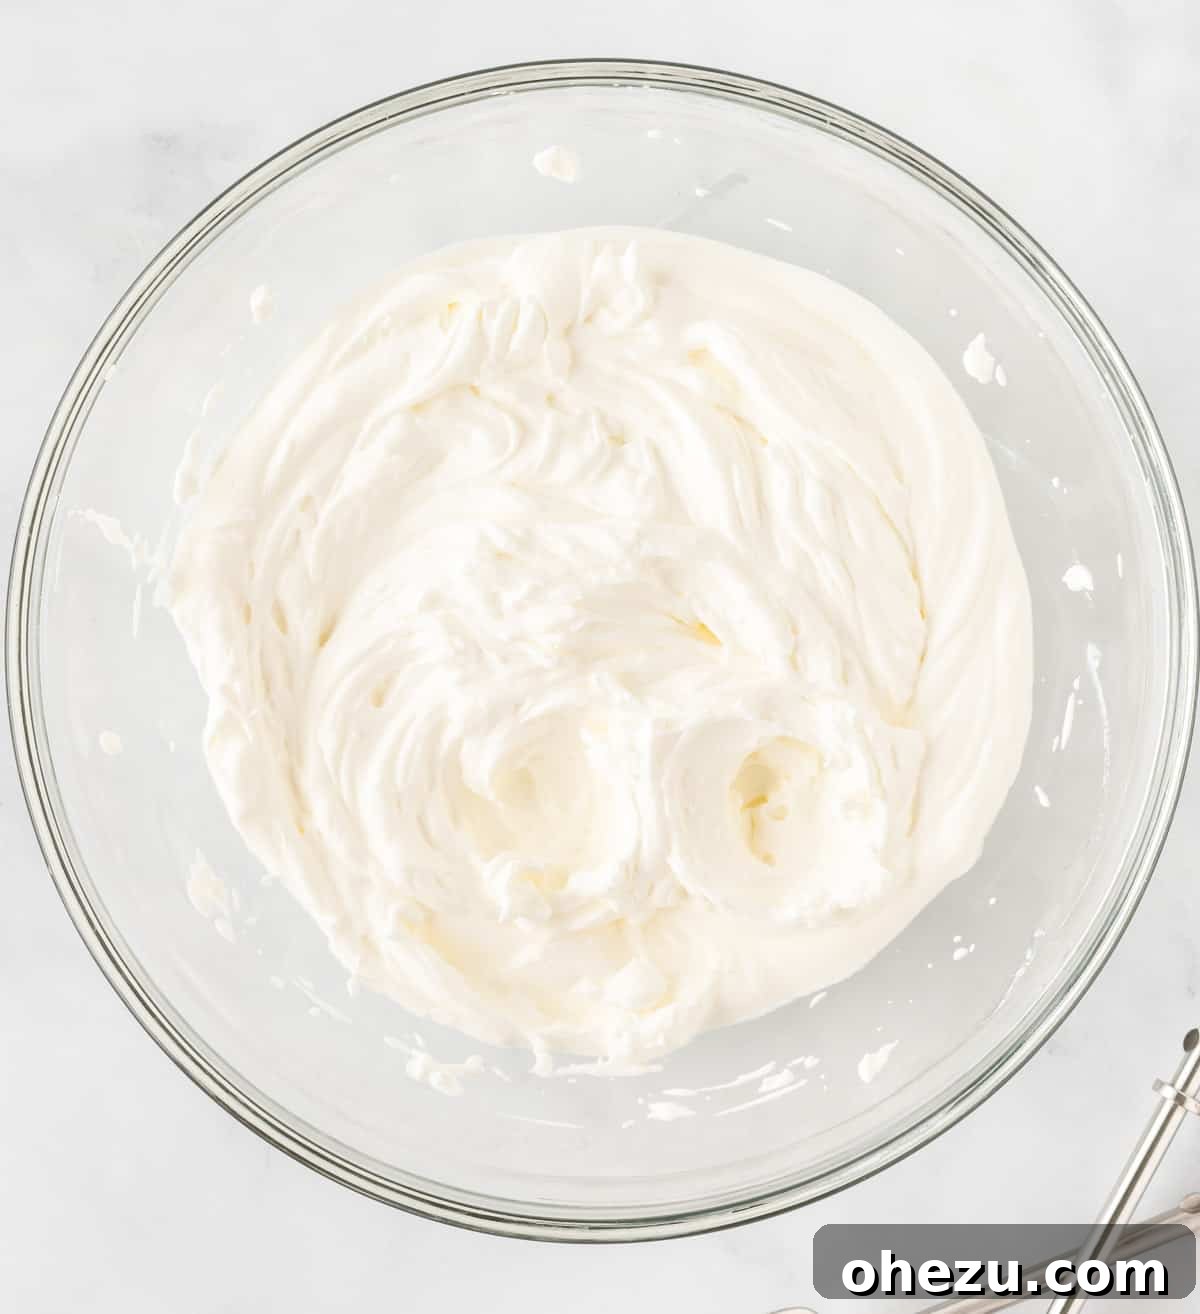
In a separate, meticulously clean, and preferably chilled mixing bowl, pour the ¾ cup of heavy cream. Using an electric mixer (either a stand mixer with a whisk attachment or a hand mixer), whip the heavy cream on high speed until stiff peaks form. The cream should be thick, airy, and hold its shape firmly when you lift the whisk. This step is absolutely crucial for creating the light, airy, and luscious texture that defines this no-bake cheesecake filling. Do not under-whip, but also be careful not to over-whip into butter.
-
Step 5: Gently Fold in Whipped Cream
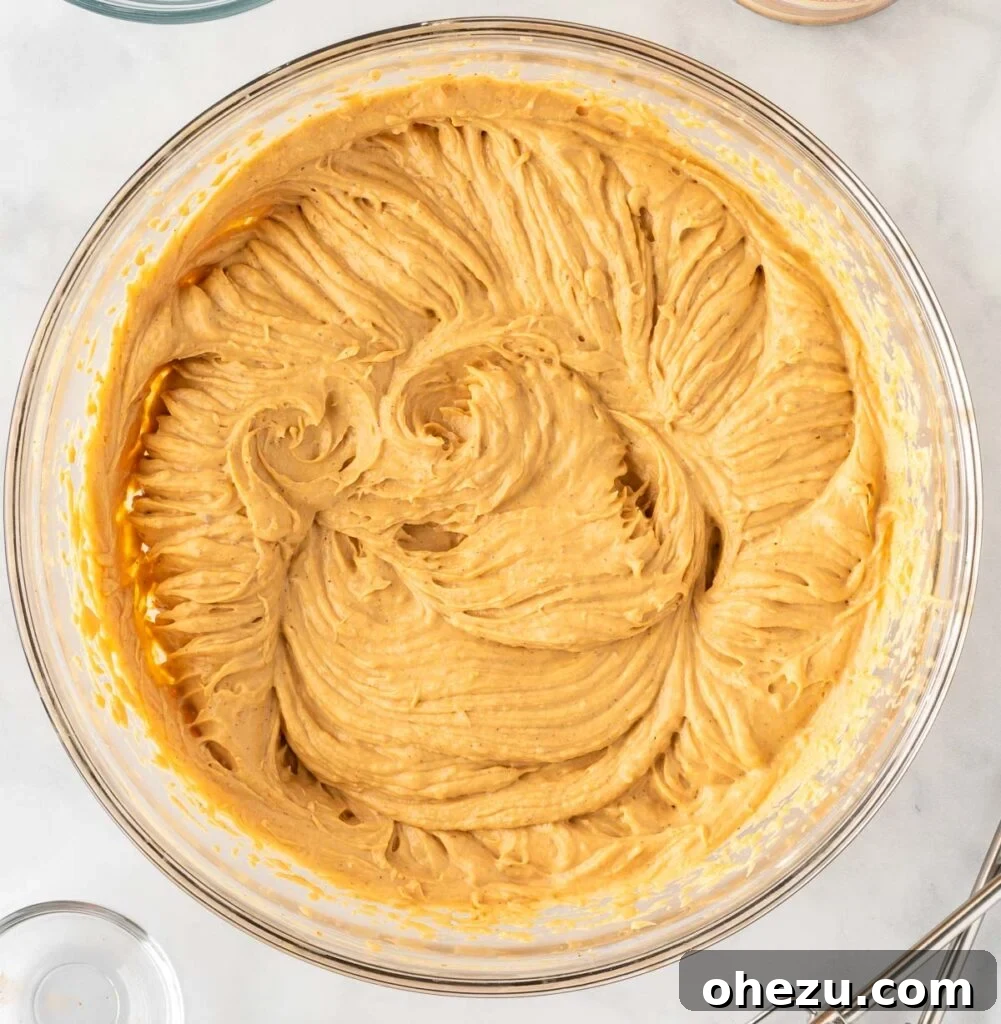
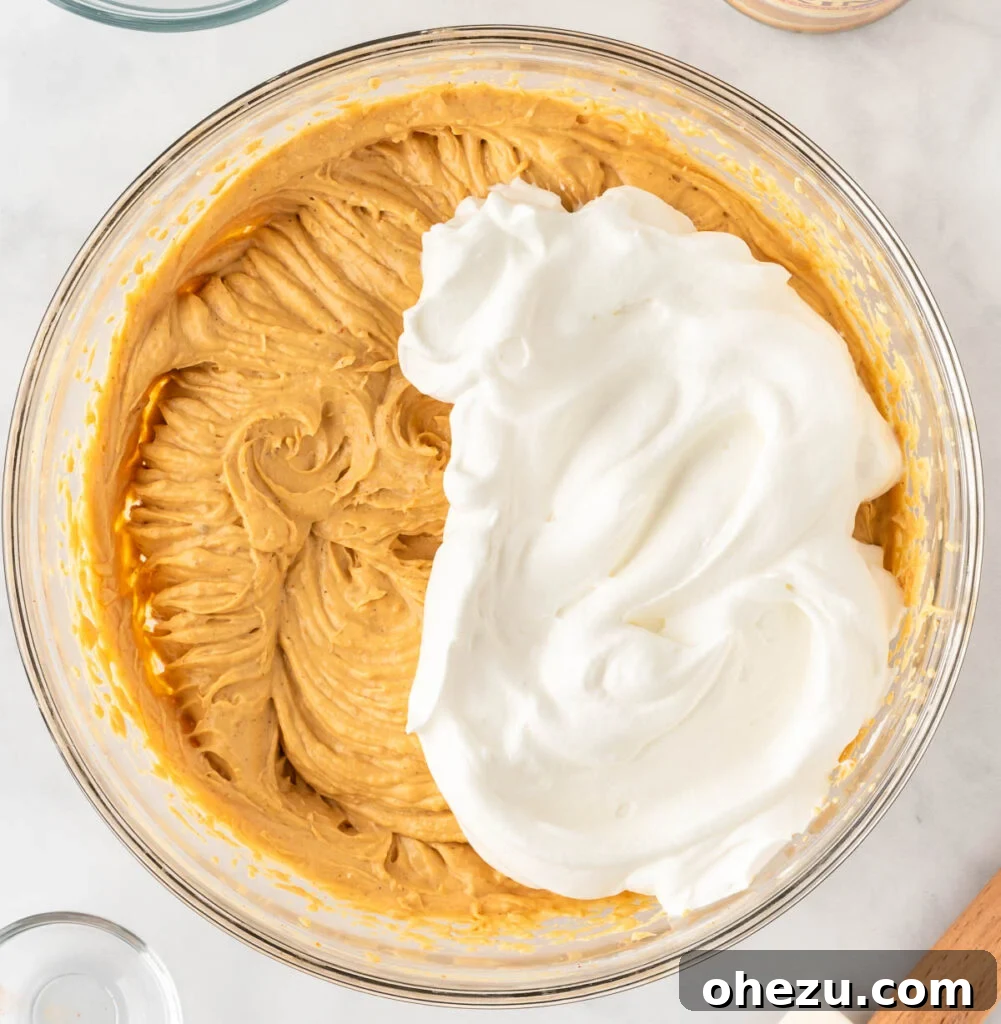
Once your heavy cream is perfectly whipped, it’s time to combine the two mixtures. Carefully and gently fold the freshly whipped cream into the pumpkin cream cheese mixture. Use a rubber spatula and a delicate hand, incorporating the whipped cream in two or three additions. The key is to maintain as much of the airiness from the whipped cream as possible while ensuring it is fully combined with the pumpkin mixture until it is completely smooth and uniform in color and texture. This creates the signature fluffy, “melt-in-your-mouth” texture of these bars.
-
Step 6: Press the Crust into the Pan
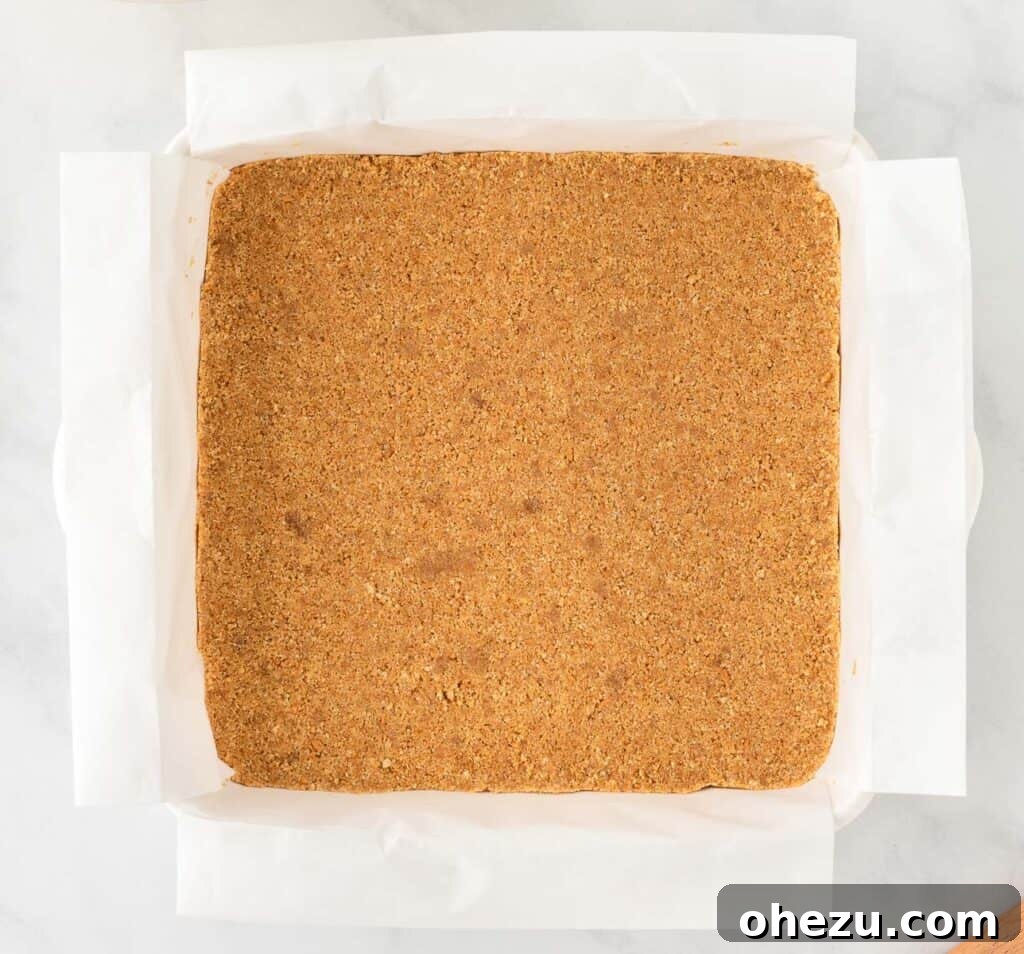
Line an 8×8-inch (or a 9×9-inch pan for slightly thinner bars) baking pan with parchment paper. Crucially, allow a generous overhang of parchment paper on two opposite sides. This “sling” will be immensely helpful for easily removing the finished, chilled bars from the pan. Now, evenly press the graham cracker crust mixture into the bottom of the prepared pan. Use the back of a spoon, a flat-bottomed glass, or your hands to press it down very firmly and compactly. A well-compacted crust is essential for achieving clean and neat slices later.
Pro Tip for Easy Removal!
Ensuring your parchment paper overhang is sufficient is a game-changer! This simple trick creates handles that allow you to lift the entire block of chilled cheesecake bars out of the pan effortlessly. This not only makes removing them a breeze but also facilitates perfectly clean and even cuts, drastically improving presentation.
-
Step 7: Add the Cheesecake Filling and Chill
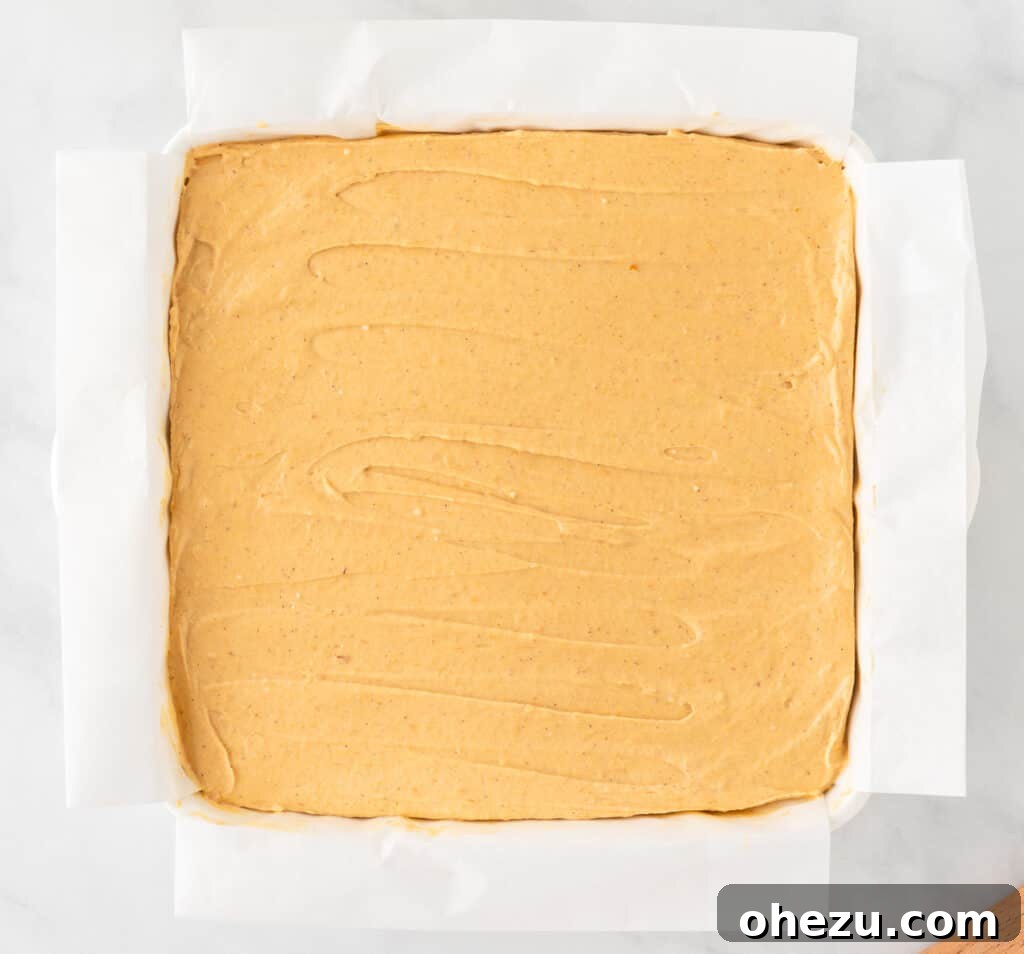
Carefully pour the creamy pumpkin cheesecake filling over the pressed graham cracker crust in the prepared pan. Use a rubber spatula to gently spread the filling into an even layer, ensuring it is smooth and level across the top. Once leveled, cover the pan tightly with plastic wrap. This prevents any odors from the refrigerator from being absorbed by the cheesecake and keeps the surface pristine. Now, comes the waiting game!
How Long to Chill for Perfectly Firm Slices?
For the absolute best results and perfectly firm, clean-cut bars, I highly recommend chilling these no-bake pumpkin cheesecake bars in the refrigerator overnight. While 6 hours is the minimum recommended time to allow them to set enough for cutting, an overnight chill truly allows the flavors to deepen, the textures to meld, and the bars to firm up completely. This extended chilling period makes them incredibly easy to slice into neat, impressive squares. Patience here truly pays off with a superior dessert!
-
Step 8: Cut and Serve
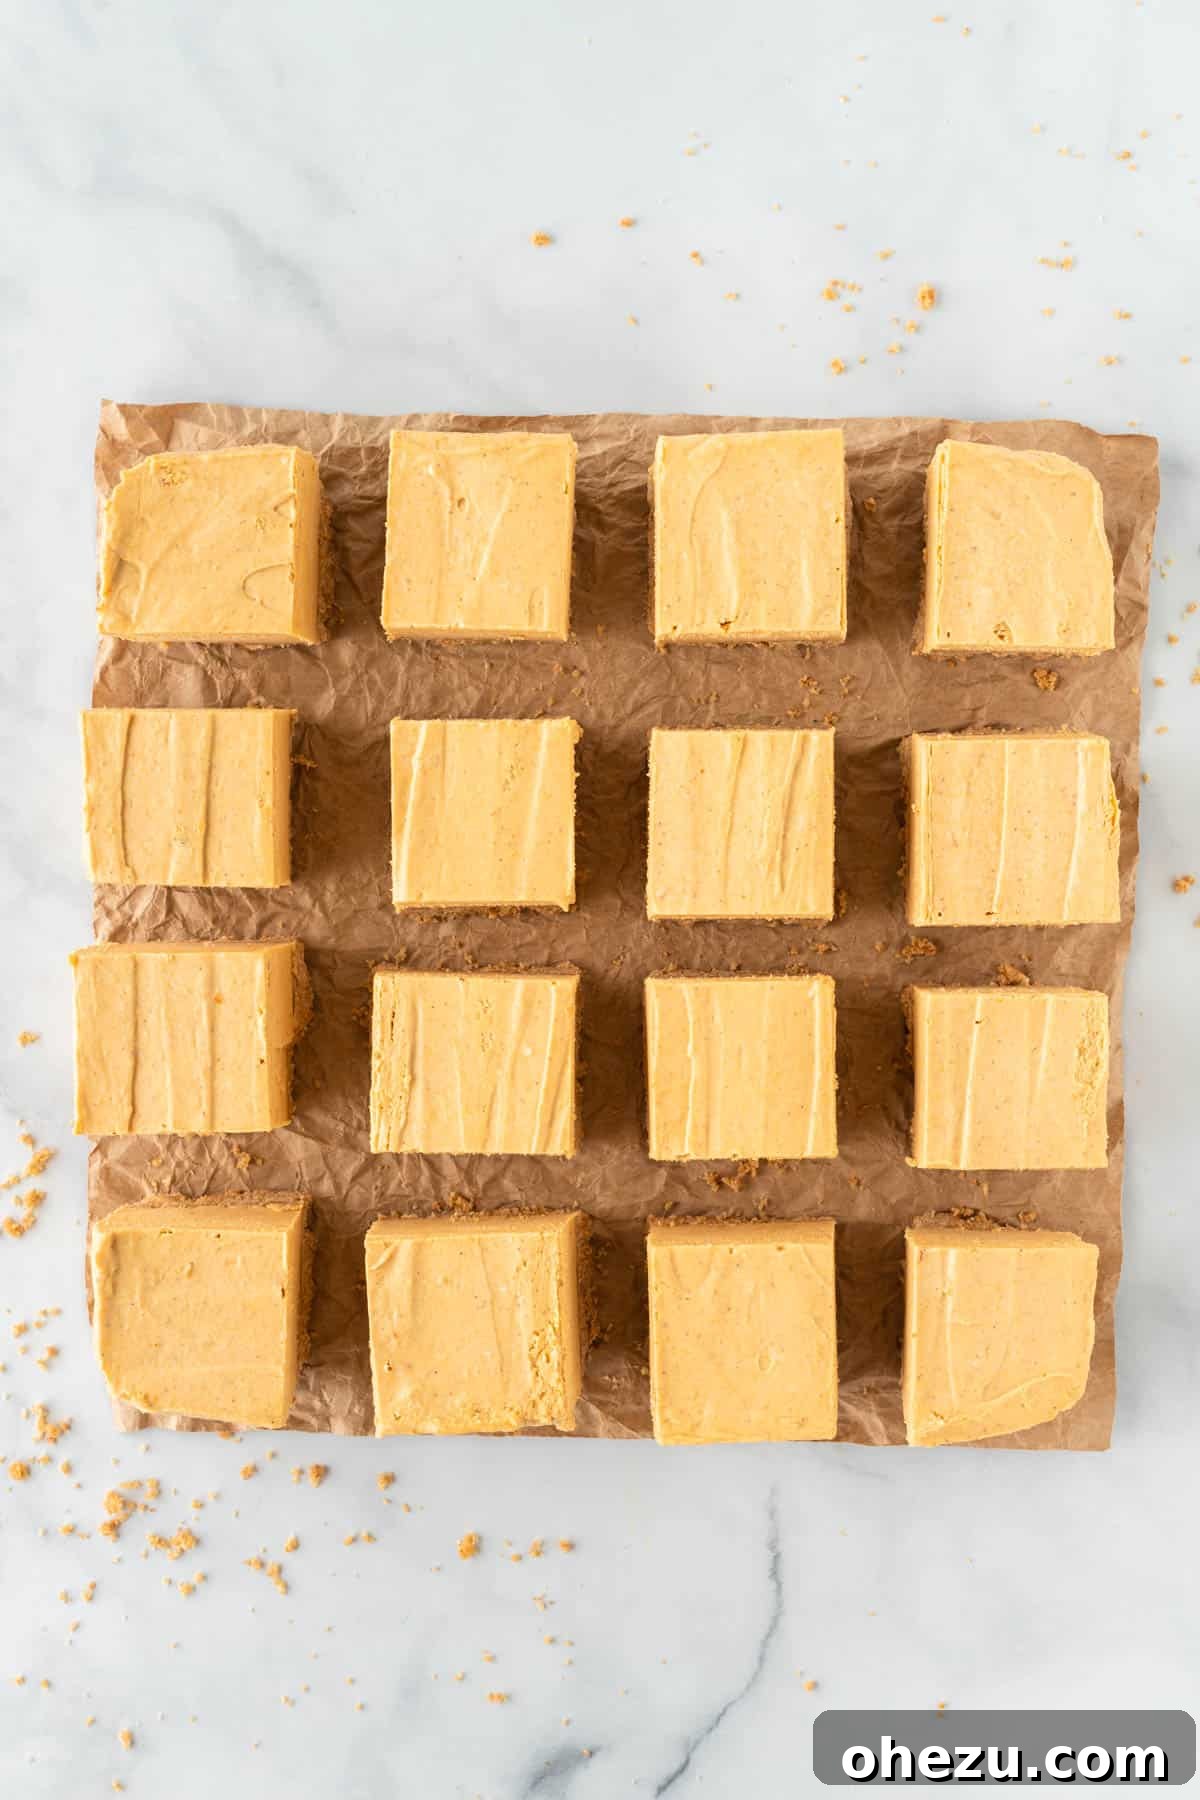
Once the pumpkin cheesecake bars are thoroughly chilled and firm, grab the parchment paper overhang and gently lift the entire block of cheesecake out of the pan onto a clean cutting board. Using a very sharp knife that has been run under hot water and wiped clean between each cut, slice the pumpkin cheesecake into 16 uniform squares. If you’re serving a larger crowd or prefer smaller portions, you can certainly cut more pieces. These bars are so incredibly delicious and perfectly portioned; you’ll find it incredibly hard to stop at just one! Serve them as is or with your favorite toppings.
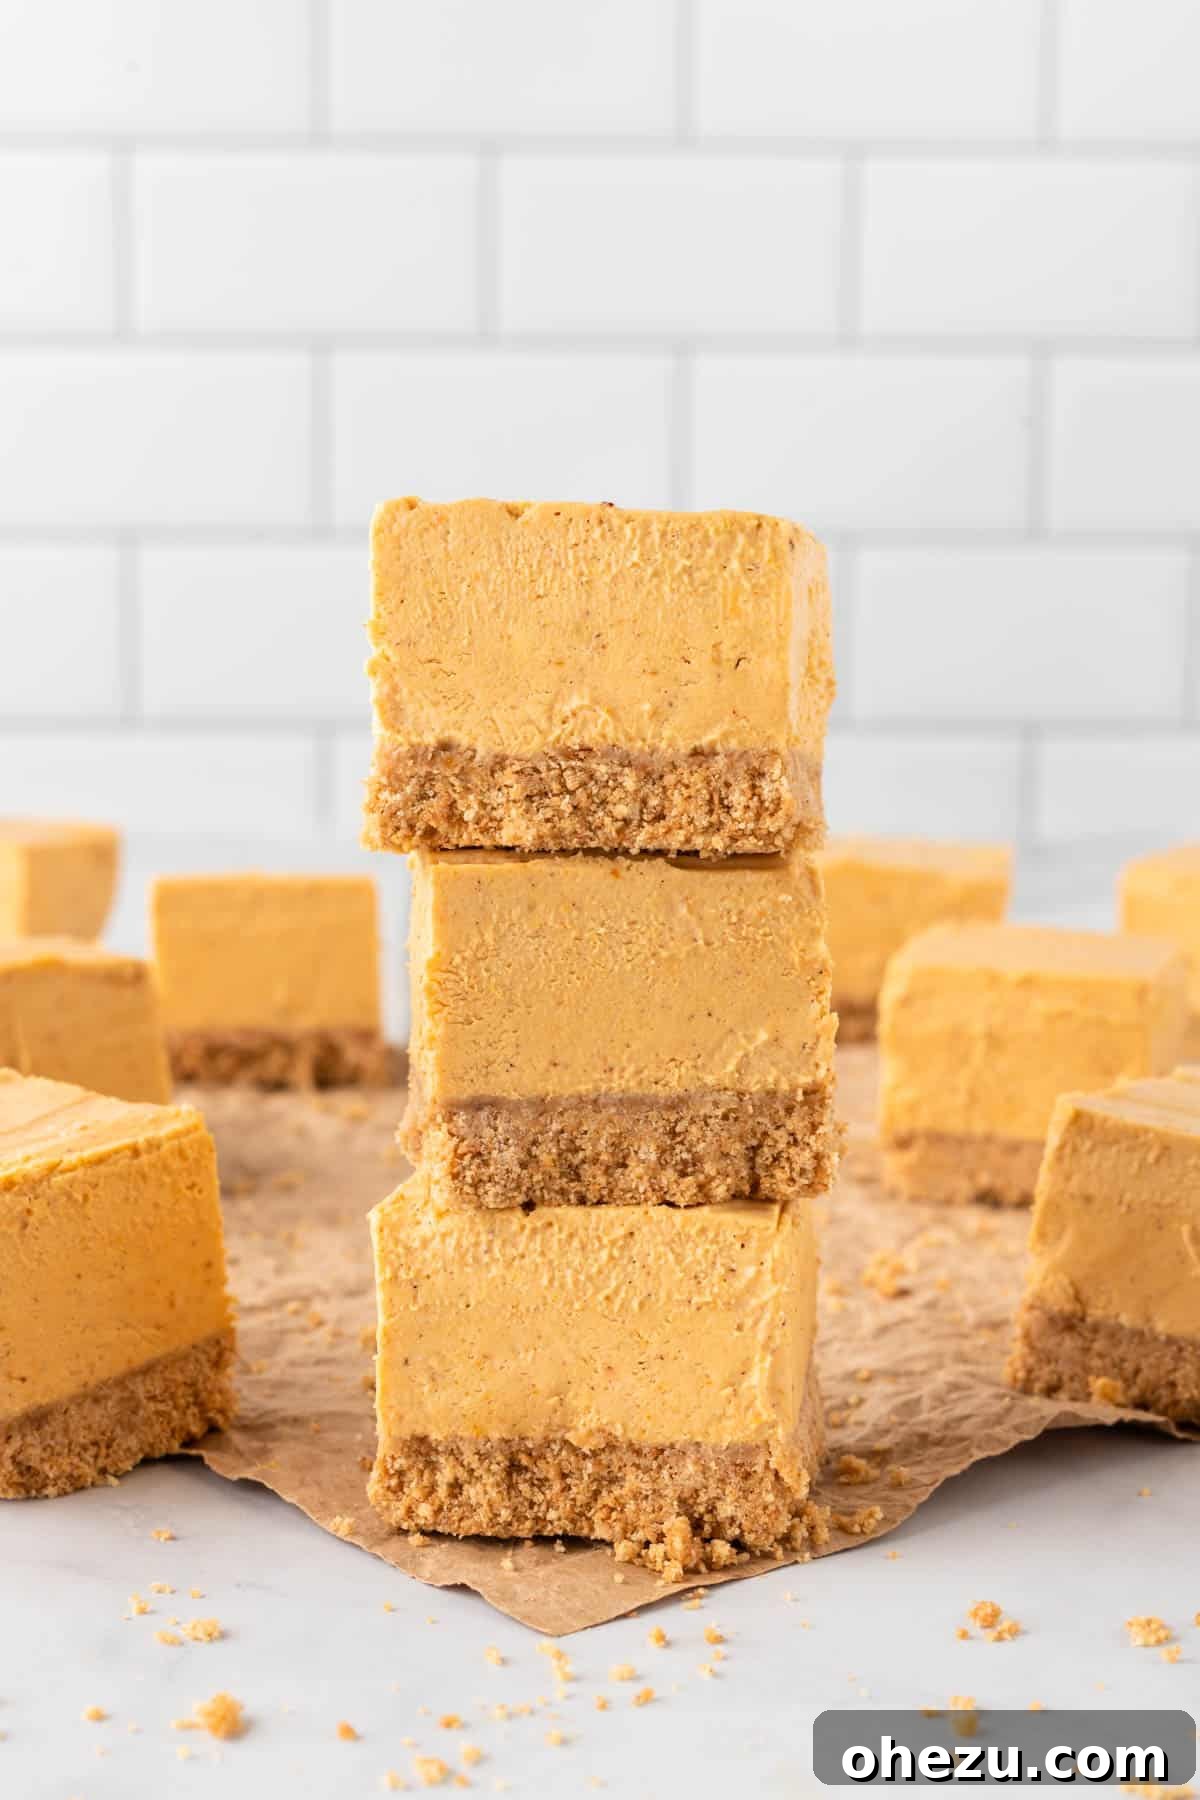
One bite of these no-bake pumpkin cheesecake bars, and you’ll be transported to a realm of autumnal dessert heaven! The filling is not just creamy; it’s luxuriously smooth, delivering a perfect burst of that warming pumpkin spice flavor we eagerly anticipate all year. Each spoonful or bite is an indulgence, a celebration of fall’s finest ingredients.
The graham cracker crust provides the ideal counterpoint – its salty-sweet crunch beautifully complements the rich, sweet filling, creating a harmonious symphony of flavors and textures that will tantalize your taste buds. It’s truly a match made in dessert paradise, a treat that encapsulates the very essence of fall.
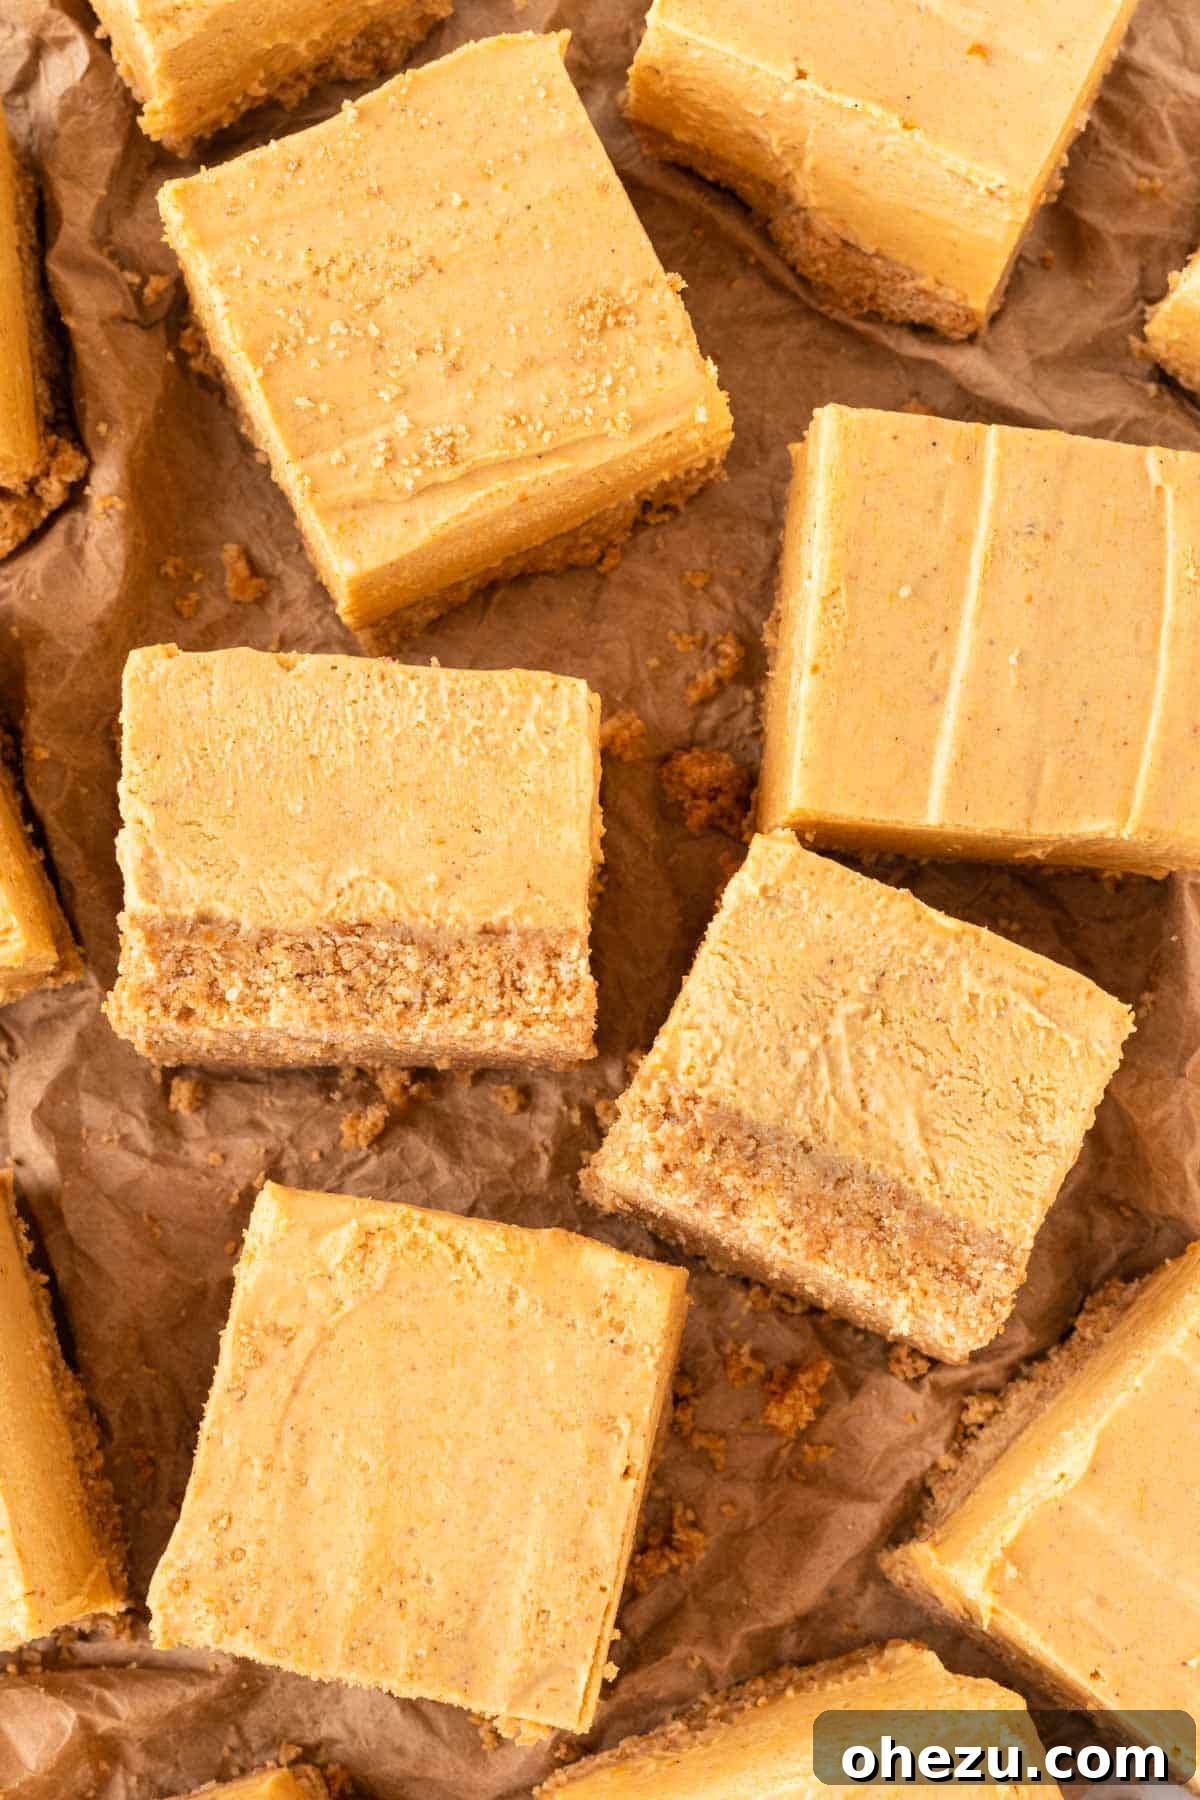
Perfect for Any Occasion: Fall Gatherings and Holiday Desserts
Searching for an effortlessly impressive dessert to bring to Thanksgiving dinner, a Halloween party, a cozy Friendsgiving, or any fall celebration this year? Look no further! These pumpkin cheesecake bars are not only stunning in appearance but also incredibly practical and convenient for entertaining. Their make-ahead nature is a true blessing, meaning less stress and more time to enjoy with family and friends on the day of your event.
I can personally guarantee that these no-bake pumpkin cheesecake bars will be an undeniable hit with anyone fortunate enough to try them. Their widespread appeal, combining the beloved flavors of pumpkin pie and creamy cheesecake with the ease of preparation, makes them a go-to recipe for any autumnal gathering. Prepare for a flood of compliments and requests for the recipe!
How to Store Your No-Bake Pumpkin Cheesecake Bars
To keep your leftover no-bake pumpkin cheesecake bars as fresh and delicious as the day they were made, ensure they are stored properly. Place the cut bars in an airtight container in the refrigerator. They will maintain their quality, delightful texture, and vibrant flavor for up to 4 days. This makes them an excellent candidate for meal prepping your desserts or enjoying them throughout the week!
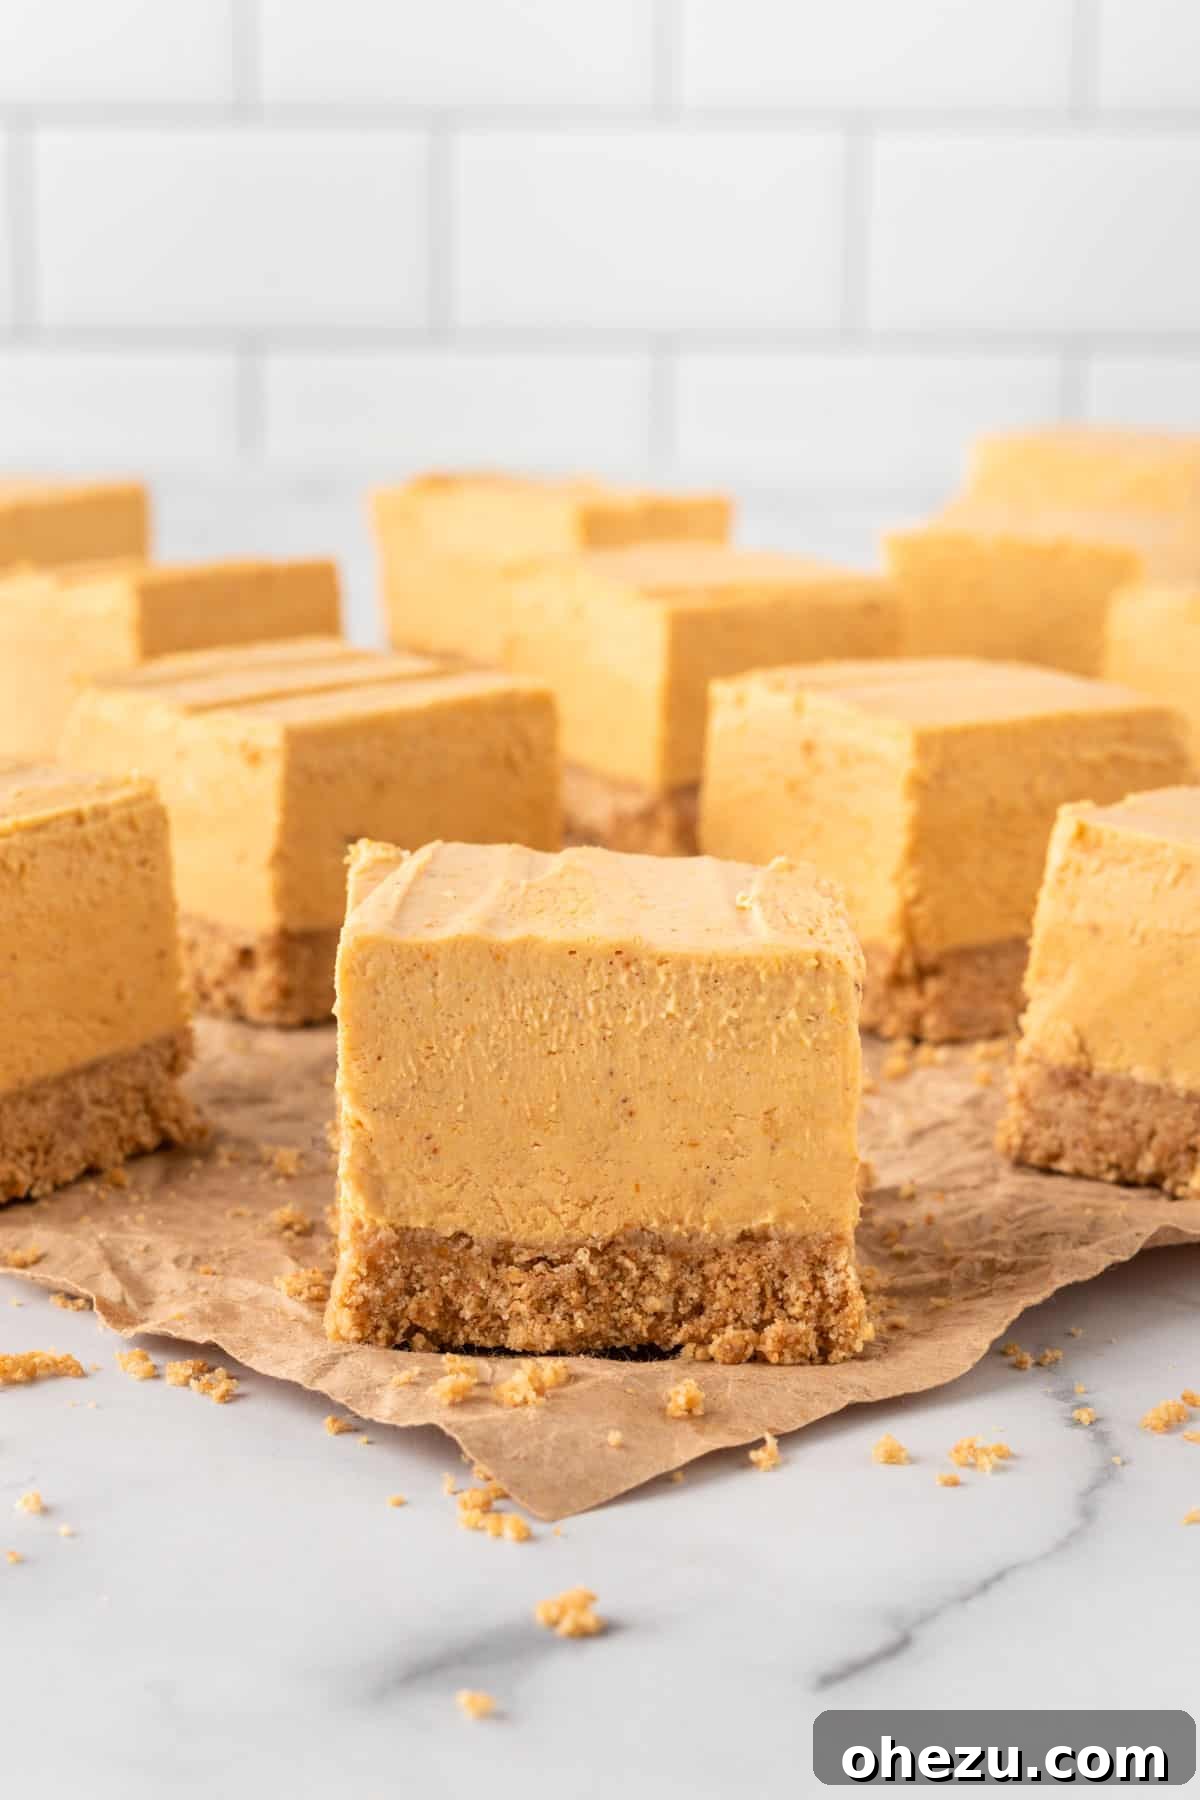
Frequently Asked Questions & Expert Tips
Here are some common questions and additional tips to help you master these delightful no-bake pumpkin cheesecake bars:
Can I use Cool Whip instead of heavy cream?
While some no-bake recipes might suggest using Cool Whip for convenience, this specific recipe has been meticulously developed and tested exclusively with homemade whipped heavy cream. Whipping your own heavy cream is surprisingly simple and yields a significantly superior result in terms of both flavor and texture. The fresh whipped cream provides an unparalleled light, airy, and truly luscious quality that simply cannot be replicated by store-bought alternatives. It is this fresh whipped cream that contributes to the signature “melt-in-your-mouth” quality of the pumpkin cheesecake filling, elevating it to an unparalleled level of deliciousness. For the best possible outcome and to achieve the intended rich, yet airy, consistency, I highly recommend sticking to heavy cream!
Can I make this recipe in a different size pan?
Yes, you certainly can! The recipe calls for an 8×8-inch baking pan, which yields thicker bars. If you opt for a 9×13-inch pan, your bars will naturally be thinner. For a 9×13-inch pan, you might want to increase the crust ingredients by about 50% to ensure adequate coverage and a sufficiently thick base. You could also consider a slightly larger quantity for the filling if you prefer thicker bars in a larger pan. Adjust chilling time accordingly; thinner bars might set a bit faster, but allowing them to chill overnight is always the best practice for optimal firmness and ease of cutting.
What are some topping suggestions for these bars?
These no-bake pumpkin cheesecake bars are absolutely fantastic on their own, but if you wish to dress them up and add an extra layer of flair, there are many delicious options! Consider adding a dollop of extra homemade whipped cream just before serving, perhaps with a sprinkle of ground cinnamon or additional pumpkin pie spice. A drizzle of warm caramel sauce, a scattering of chopped pecans or walnuts, or even a light dusting of powdered sugar can add elegance and extra flavor. For a different twist, a light sprinkle of mini chocolate chips on top would also be a delicious and visually appealing addition!
Can these bars be frozen for longer storage?
Absolutely! For longer storage, you can conveniently freeze these no-bake pumpkin cheesecake bars. Once they are fully chilled and firm from their time in the refrigerator, cut them into individual squares. Arrange the cut bars in a single layer on a baking sheet lined with parchment paper and place them in the freezer until they are solid (this usually takes about 2-3 hours). Once fully frozen, transfer the solid bars to an airtight freezer-safe container or a heavy-duty freezer bag, making sure to separate layers with parchment paper to prevent sticking. They can be stored in the freezer for up to 1 month without compromising quality. To serve, simply thaw them in the refrigerator for a few hours until softened to your desired consistency.
Explore More Delicious Pumpkin Recipes
If you’re as big a fan of pumpkin as we are, then you’re truly in for a treat! The versatility of pumpkin means there’s always a new way to enjoy its comforting flavor. Discover more delightful ways to incorporate this quintessential fall ingredient into your baking repertoire. From comforting pies to scrumptious muffins and wholesome snacks, there’s a pumpkin recipe here for every craving and occasion. Dive in and find your next fall favorite!
- Pumpkin Cream Pie: A lighter, ethereal take on classic pumpkin pie, perfect for any dessert table.
- Cake Mix Pumpkin Muffins: An incredibly easy and super moist muffin recipe, ideal for beginner bakers.
- Pumpkin Snack Cake: A simple, comforting, and perfectly spiced cake that’s wonderful for any time of day.
- Pumpkin Banana Muffins: A delicious fusion of two beloved fall flavors, resulting in extra moist muffins.
- Greek Yogurt Pumpkin Bread: A wonderfully moist and flavorful bread, with a healthy twist from Greek yogurt.
- Pumpkin Donut Mini Muffins: Bite-sized treats that capture the essence of fall donuts, perfect for snacking.
- Mini Pumpkin Muffins: Perfectly sized muffins, ideal for little hands or for serving at brunch.
- Pumpkin Energy Balls: A healthy, no-bake option that provides a quick and flavorful energy boost.
- Pumpkin Chocolate Chip Cookies: A classic cookie reinvented with the comforting warmth of pumpkin and chocolate.
- Pumpkin Bread: The quintessential loaf for autumn mornings, fragrant and utterly delicious.
- Pumpkin Chocolate Chip Muffins: The best of both worlds – pumpkin spice and chocolate chips – in a soft, satisfying muffin!
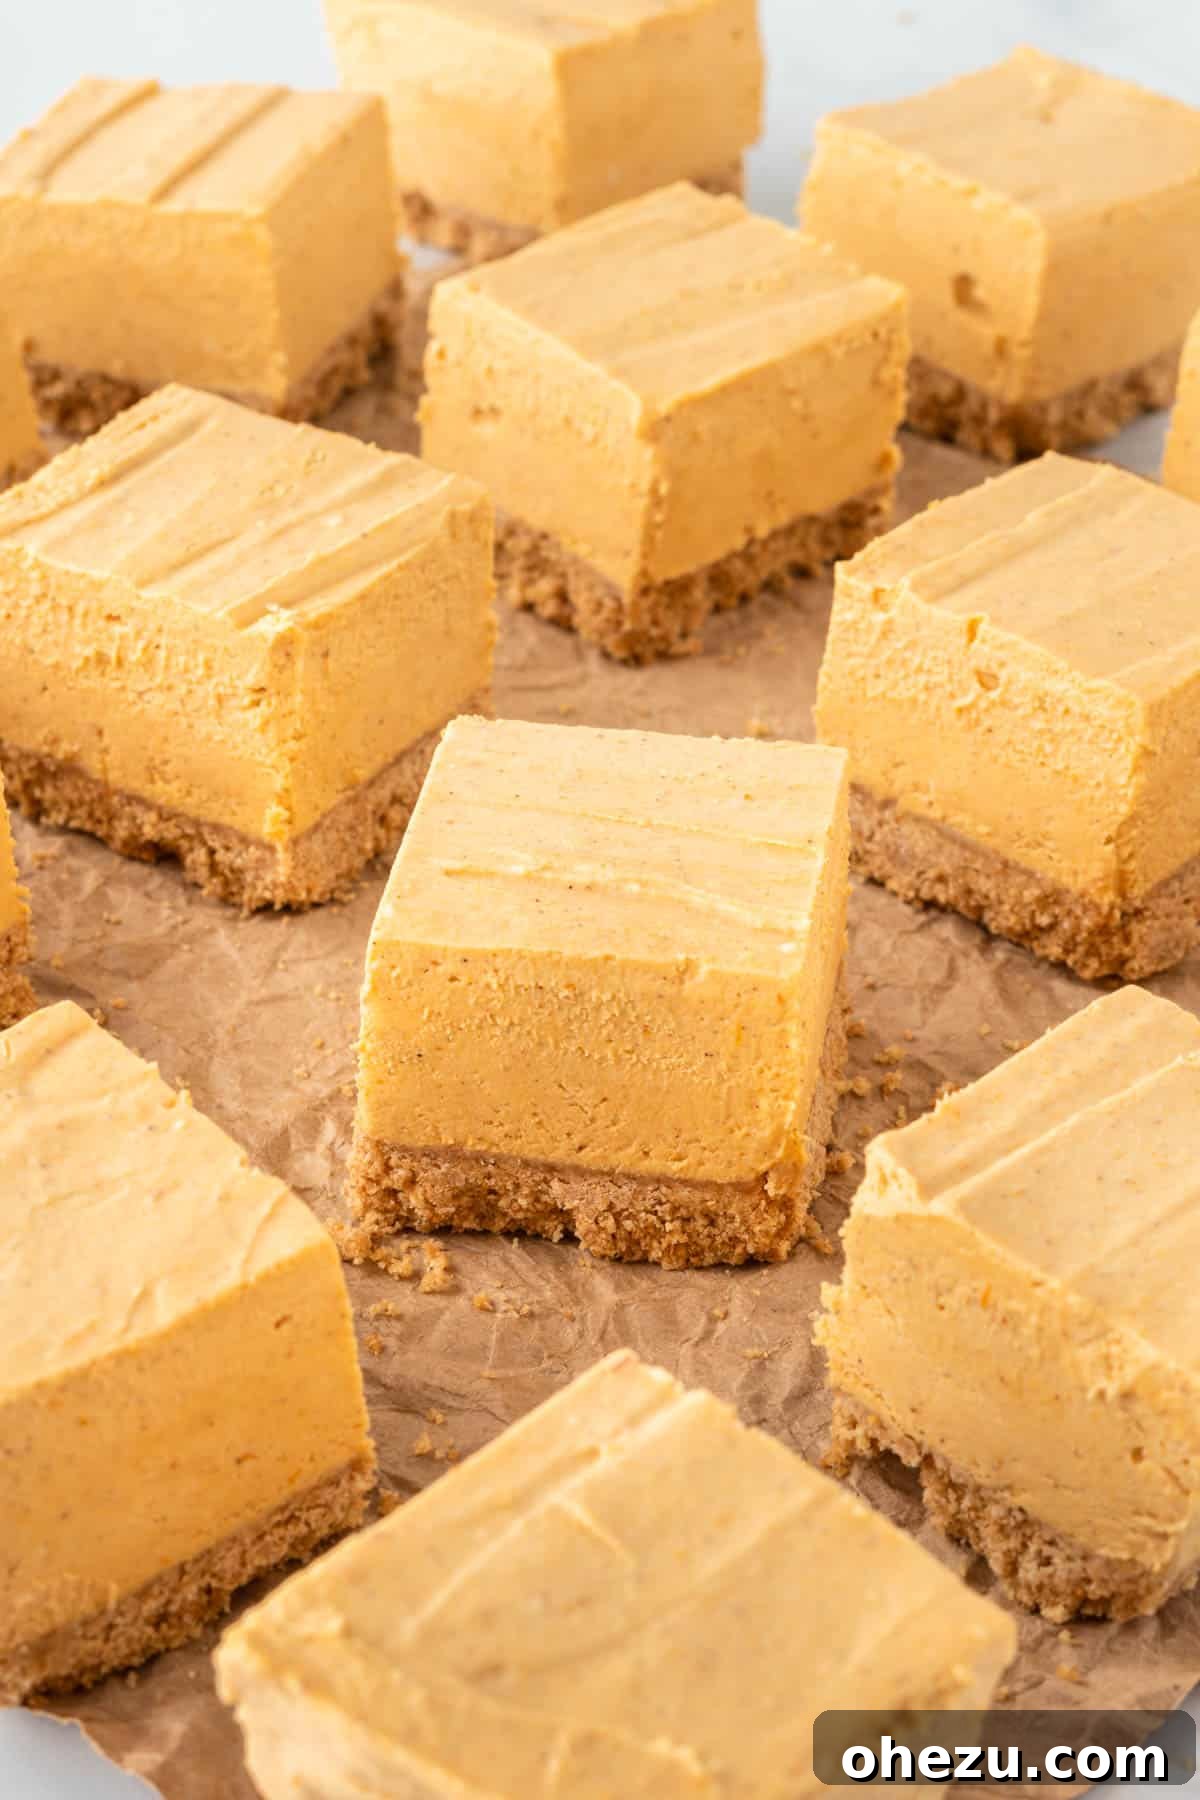
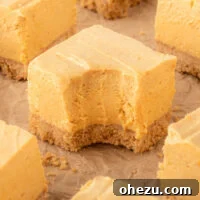
No Bake Pumpkin Cheesecake Bars
By: Joy Shull
No Bake Pumpkin Cheesecake Bars are the best easy fall dessert. Featuring a creamy pumpkin filling with a melt-in-your-mouth graham cracker crust.
Prep Time: 25 mins
Additional Chill Time: 6 hrs (minimum)
Total Time: 6 hrs 25 mins
Servings: 16 bars
Print Recipe
Ingredients
For the Graham Cracker Crust:
- 15 graham crackers
- 7 tablespoons unsalted butter, melted
- ¼ teaspoon salt
- 1 tablespoon brown sugar
For the Pumpkin Cheesecake Filling:
- 16 oz cream cheese, softened
- ¾ cup canned pumpkin puree (not pie filling)
- 2 teaspoons vanilla extract
- ¾ cup heavy cream
- ⅔ cup brown sugar
- 1 teaspoon pumpkin pie spice
Instructions
- Process graham crackers in a food processor until fine crumbs form.
- In a bowl, mix graham cracker crumbs, melted butter, salt, and brown sugar until combined.
- Line an 8×8 baking pan with parchment paper, leaving an overhang. Press the crust firmly into the bottom.
- In a large bowl, beat softened cream cheese until fluffy. Add pumpkin, brown sugar, pumpkin pie spice, and vanilla extract; beat until combined and smooth.
- In a separate, chilled bowl, whip heavy cream until stiff peaks form.
- Gently fold the whipped cream into the pumpkin cream cheese mixture until smooth and fully incorporated.
- Pour the cheesecake filling over the crust and spread evenly with a rubber spatula.
- Cover and chill the bars in the refrigerator overnight (minimum 6 hours) for best setting.
- Using the parchment paper overhang, lift the bars from the pan. Cut into 16 squares and serve.
Notes
For the firmest and easiest-to-cut bars, allow them to chill overnight in the refrigerator. While 6 hours is the minimum for setting, an extended chill significantly improves texture and cutting precision.
Nutrition Information (per serving)
- Calories: 280 kcal
- Carbohydrates: 23g
- Protein: 3g
- Fat: 20g
- Saturated Fat: 12g
- Polyunsaturated Fat: 1g
- Monounsaturated Fat: 5g
- Trans Fat: 0.2g
- Cholesterol: 54mg
- Sodium: 219mg
- Potassium: 111mg
- Fiber: 1g
- Sugar: 14g
- Vitamin A: 2485 IU
- Vitamin C: 1mg
- Calcium: 59mg
- Iron: 1mg