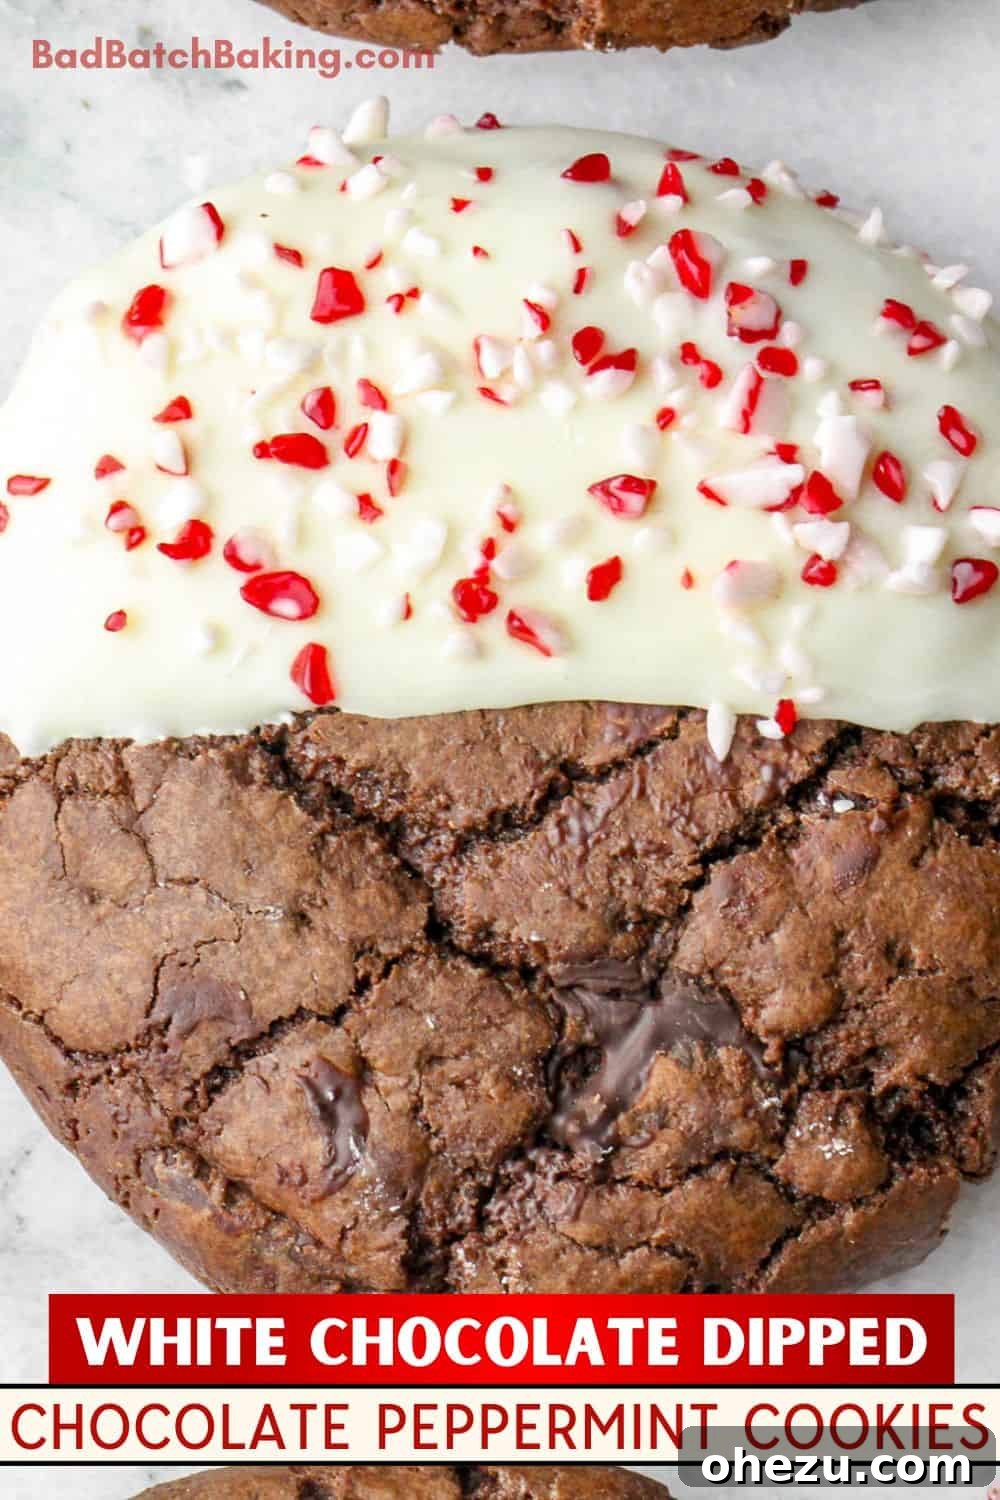
Irresistible Chewy Chocolate Peppermint Cookies: Your Holiday Baking Essential
Dive into the festive spirit with our incredible Chewy Chocolate Peppermint Cookies. These luxurious soft-batch chocolate cookies are a true holiday delight, generously dipped in a vibrant peppermint-spiked white chocolate shell and artfully garnished with a sprinkle of crunchy crushed peppermints. Prepare to enchant your taste buds and impress your guests with this seasonal masterpiece!

As you embark on your holiday baking adventures, don’t forget to explore our other festive favorites like Zesty Buttery Orange Cranberry Muffins, Brown Butter Pecan Cookies, Soft-Batch Double Chocolate Sea Salt Cookies, and our Easy Bakery-Style Pistachio Muffins. Each recipe is designed to add a special touch to your holiday spread.
Why These Chewy Chocolate Peppermint Cookies Will Be Your New Favorite Holiday Treat
For all chocolate enthusiasts and lovers of cookies with an exceptionally soft and chewy texture, this recipe is crafted especially for you! Our Chewy Chocolate Peppermint Cookies are not just any ordinary cookie; they are a decadent experience. Each bite delivers an intensely luscious chocolate flavor, perfectly complemented by a refreshing kick of peppermint. This dynamic duo instantly elevates the festive holiday vibes and creates an unforgettable taste sensation.
But the indulgence doesn’t stop there. As if the rich chocolate base studded with melt-in-your-mouth chocolate chunks wasn’t enough, these cookies are partially dipped into a beautifully tempered white chocolate shell. This shell hardens to a satisfying crispness as it sets, adding another layer of texture and flavor. Beyond their delightful taste and texture, the hardened white chocolate makes these cookies incredibly practical for holiday gifting. Stacking them in festive boxes or shipping them to loved ones becomes an absolute breeze, ensuring they arrive in perfect condition, ready to be enjoyed.

Essential Ingredients for Perfect Chewy Chocolate Peppermint Cookies
Crafting these delicious chewy chocolate peppermint cookies requires a thoughtful selection of ingredients, each playing a crucial role in achieving their signature taste and texture. Here’s a detailed look at what you’ll need to make this holiday season extra special:
- Dry Ingredients: We use a precise blend of all-purpose flour to provide the cookie’s structure, rich unsweetened cocoa powder for deep chocolate flavor, baking powder for a subtle lift, and a touch of salt to enhance all the sweet notes.
- Sugars: A combination of both granulated sugar and light brown sugar is essential. Granulated sugar contributes to crisp edges and overall sweetness, while brown sugar adds moisture, chewiness, and a delightful caramel-like depth.
- Chocolate (Double the Delight!): For an intense chocolate experience, we incorporate two forms of chocolate. Semi-sweet chocolate chips are melted directly into the batter, creating a rich, fudgy base. Additionally, larger bittersweet chocolate chunks are folded into the dough, providing pockets of molten chocolate in every bite.
- Butter, Eggs, and Milk: These are the foundational wet ingredients in most exceptional cookie recipes. High-quality unsalted butter provides richness and helps carry flavors. Large eggs at room temperature are crucial for emulsifying the batter, ensuring a smooth, cohesive dough and a tender crumb. A splash of whole milk adds extra moisture and helps achieve that desirable soft, chewy texture.
- Peppermint Extract: This is the star of the holiday flavor profile! A good quality peppermint extract delivers that crisp, cool, and invigorating taste that defines these festive cookies. Ensure you use pure extract for the best flavor.
- White Chocolate Melting Wafers (or Tempered White Chocolate): For the dipping, white chocolate melting wafers (like Ghirardelli) offer the easiest method as they melt smoothly and set firmly without complex tempering. However, for those seeking a superior snap and shine, I’ve included instructions below on how to properly temper real white chocolate chips. The choice is yours, but both will yield a beautiful finish.
- Crushed Candy Canes & Flaky Sea Salt: These are the perfect garnishes. Crushed candy canes or peppermint candies add a vibrant color, extra peppermint punch, and a satisfying crunch. A sprinkle of flaky sea salt on top might seem unconventional, but it beautifully cuts through the sweetness of the white chocolate, balancing the flavors and enhancing the overall experience.

Mastering the Art of Chewy Chocolate Peppermint Cookies
Creating these delightful holiday cookies is a straightforward process, but a few key techniques will ensure they turn out perfectly fudgy, chewy, and beautifully coated. Follow these steps for an unforgettable baking experience:
Part 1: Crafting and Baking the Perfect Chocolate Cookies
- Preparation is Key: Begin by preheating your oven to 325 degrees Fahrenheit (160°C). Line a sturdy baking sheet with parchment paper or lightly grease it with non-stick spray. This prevents sticking and ensures easy removal. Set it aside.
- Combine Dry Ingredients: In a medium-sized bowl, or even a large zip-top bag for easy mixing, thoroughly whisk together the all-purpose flour, unsweetened cocoa powder, baking powder, and salt. Whisking ensures these ingredients are evenly distributed, preventing pockets of leavening agents or salt in your cookies. Set this dry mixture aside.
- Melt Chocolate and Butter: In a large, microwave-safe bowl, combine the semi-sweet chocolate chips and the unsalted butter (cut into pieces for quicker melting). Heat them gently in the microwave on low power, using 20-second intervals. After each interval, stir the mixture thoroughly. Continue this process until both the butter and chocolate are fully melted and smooth. Allow this rich chocolate mixture to cool slightly for about 5 minutes. This cooling step is important to prevent cooking the eggs in the next step.
- Integrate Sugars and Eggs: Using a hand mixer (or stand mixer with paddle attachment), beat both the granulated sugar and light brown sugar into the cooled melted chocolate mixture until well combined. This creates a beautifully glossy base. Next, add the large eggs, one at a time, beating well after each addition until fully incorporated. Finally, beat in the peppermint extract and whole milk until the mixture is smooth and fully blended.
- Combine Wet and Dry: Gradually add the reserved dry ingredients into the wet chocolate mixture. Use a spatula to gently stir and fold them together until just combined. Be careful not to over-mix, as this can develop the gluten in the flour too much, leading to tough cookies. Less mixing means a more tender cookie!
- Fold in Chocolate Chunks: Gently fold in the bittersweet chocolate chunks. Mix just enough to distribute them throughout the dough, ensuring every cookie gets its share of extra chocolatey goodness.
- Scoop and Shape: Use a cookie scoop (a 1.5-inch or 2-inch scoop works well for uniform cookies) to measure out portions of the sticky dough. Shape them into uniform balls and arrange them about 2 inches apart on your prepared baking sheet. The dough will be quite sticky, so a scoop helps maintain shape and size consistency.
- Bake and Flatten: Bake the cookies for 7 minutes. After this initial bake time, remove the tray from the oven. Using the back of a measuring cup or a small glass, gently press down on the center of each cookie in a circular motion to slightly flatten them. This helps create those desirable crinkly edges and a perfect chewy center. If desired, you can press additional chocolate chunks onto the tops of each cookie for a more visual appeal. Return the tray to the oven and bake for another 3 minutes, or until the edges are set but the centers still look a little gooey – this indicates a perfectly soft and chewy cookie.
- Cool Completely: Allow the baked cookies to cool on the baking tray for at least 10 minutes before carefully transferring them to a wire rack. It is absolutely crucial that the cookies cool completely to room temperature before you attempt to dip them in white chocolate. Dipping warm cookies will cause the white chocolate to melt and slide off.
Part 2: Coating in Peppermint White Chocolate
- Set Up Your Dipping Station: Prepare a clean work surface by lining it with fresh parchment paper. Have your bowl of crushed peppermints and a small dish of flaky sea salt (if using) readily accessible.
- Melt the White Chocolate: Melt the white chocolate melting wafers according to the package instructions. For the easiest dipping experience, I highly recommend using a deep glass container, such as a wide-mouth mason jar. This allows you to dip the cookies deeply without making a mess.
- Dip the Cookies: Hold a cooled chocolate cookie and carefully dip it halfway into the melted white chocolate. Lift the cookie, allowing any excess chocolate to drip back into the jar. Gently scrape the bottom edge of the cookie against the rim of the dish to remove any large globs of chocolate, ensuring a clean line.
- Garnish and Set: Immediately place the dipped cookie onto the clean parchment paper. While the white chocolate is still wet, liberally sprinkle it with the crushed peppermint and a tiny pinch of flaky sea salt. Repeat this process with the remaining cookies. Allow the white chocolate to set completely at room temperature or, for quicker setting, place the tray in the refrigerator for 10-15 minutes.

Unveiling the Unique Texture of These Chewy Chocolate Peppermint Cookies
The texture of these cookies is truly what sets them apart and contributes significantly to their irresistible appeal. I often refer to them as “ganache-style cookies” because their preparation diverges from a traditional cookie recipe. Instead of beginning with the usual creaming of butter and sugar until light and fluffy, our recipe starts by melting butter and chocolate together. This foundational step is akin to making a rich ganache or a decadent chocolate frosting, creating a base that is inherently more dense and intensely chocolatey.
The result is a cookie that is gloriously thick, incredibly chewy, and wonderfully fudgy, yet masterfully balanced so it’s not overpoweringly rich. For me, they strike the perfect note between indulgence and satisfaction. The refreshing zing of peppermint extract plays a crucial role here, cutting through and balancing the deep richness of the chocolate, preventing it from being too heavy.
Adding another dimension to this texture symphony is the crisp white chocolate shell. Once hardened, this outer layer provides a delightful crunch that beautifully contrasts with and magnifies the soft, fudgy chewiness of the chocolate cookie beneath. It’s a multi-textured experience that makes each bite complex and utterly delightful.
Ingredient Substitutions and Flavor Variations
While peppermint extract is central to the festive flavor of these cookies, you might be looking for alternatives or simply prefer a different profile. Here are some options:
- Finding Peppermint Extract: If you’re having trouble locating peppermint extract at your local supermarket, it’s readily available online. You can often find high-quality options on Amazon.
- Peppermint Schnapps (Untested): Some sources suggest using 1 ounce of peppermint schnapps as a replacement for the extract. While this could add a lovely flavor, I haven’t personally tested this substitution, so proceed with caution and be aware it might slightly alter the liquid content and baking properties.
- No Peppermint? No Problem!: If you don’t have peppermint extract, or simply aren’t a fan of peppermint in your cookies, you can easily omit this ingredient altogether.
- Vanilla Classic: Substitute the peppermint extract with 1 teaspoon of high-quality vanilla extract for a timeless, comforting chocolate cookie.
- Café Mocha Style: For a sophisticated twist, add 1 tablespoon of espresso powder to the dry ingredients (or dissolve in the milk) to create a rich, café-style chocolate cookie. The coffee will enhance the chocolate flavor beautifully.
- Almond Delight: Try 1 teaspoon of almond extract for a nutty, subtle flavor that pairs wonderfully with chocolate.

Tips for Success & Frequently Asked Questions (FAQs)
To ensure your Chewy Chocolate Peppermint Cookies turn out perfectly every time, consider these helpful tips and answers to common questions:
Achieving the Perfect Soft-Batch Texture
- Don’t Over-Mix: Once you add the dry ingredients to the wet, mix only until just combined. Over-mixing develops gluten, which can lead to tough cookies rather than tender, chewy ones.
- Room Temperature Ingredients: Ensure your eggs and milk are at room temperature. This helps them incorporate more smoothly into the batter, creating a uniform emulsion and a better texture.
- Don’t Overbake: For that signature chewy and slightly gooey center, pull the cookies from the oven when the edges are set but the center still looks a bit underdone. They will continue to bake and set on the hot baking sheet.
Storage and Make-Ahead Options
- Storing Baked Cookies: Store these cookies in an airtight container at room temperature for up to 3-4 days. Because of the peppermint’s strong aroma, it’s best to store them separately from other cookie varieties to prevent flavor transfer.
- Freezing Baked Cookies: These cookies freeze beautifully! Once the white chocolate has fully set, place them in a single layer on a baking sheet and freeze until firm. Then, transfer them to a freezer-safe airtight container or bag. They can be stored for up to 3 months. Thaw at room temperature before serving.
- Freezing Dough: You can also prepare the cookie dough ahead of time and freeze it. Scoop the dough into balls, then freeze them on a baking sheet. Once solid, transfer the dough balls to a freezer-safe bag. When ready to bake, place the frozen dough balls on a prepared baking sheet and bake for an additional 2-4 minutes, or until cooked through.
Gifting and Presentation
- Prevent Flavor Transfer in Gift Boxes: The strong peppermint flavor can easily seep into other cookies in a mixed gift box. To prevent this, I highly recommend individually sealing these cookies using cellophane wrappers and a heat press. This not only preserves their freshness but also protects the unique flavors of all your holiday treats.
- Decorative Flair: Don’t underestimate the power of a final sprinkle! A fresh dash of crushed peppermints and a touch of flaky sea salt just before the white chocolate fully sets adds visual appeal and a burst of flavor.
Explore More Delicious Dessert Recipes
If you’ve enjoyed these Chewy Chocolate Peppermint Cookies, you’ll love our other popular dessert recipes:
- Soft-Batch Triple Chocolate Peppermint Cookies (a close relative with even more chocolate!)
- The Ultimate Chewy Chocolate Chip Cookies
- Soft-Batch Double Chocolate Sea Salt Cookies
- Reese’s Pieces Chocolate Peanut Butter Cookies
- Zesty Buttery Orange Cranberry Muffins
- Brown Butter Pecan Cookies
I eagerly anticipate your questions and feedback below in the comments section! If you make this recipe, please be sure to tag me @BadBatchBaking and use the hashtag #badbatchbaking. I absolutely love seeing your baking accomplishments and will be thrilled to feature your creations on my story!
Chewy Chocolate Peppermint Cookies Recipe
Festive soft-batch chocolate cookies are dipped in a peppermint spiked white chocolate then garnished with crushed peppermints in this Chewy Chocolate Peppermint Cookies recipe.

By Mallory Austin
Prep time: 15 mins
Cook time: 10 mins
Decorating time: 30 mins
Total time: 55 mins
Servings: 14 cookies
Ingredients
For the Chocolate Peppermint Cookies:
- 1 cup plus 2 tablespoons all-purpose flour
- 1/4 cup unsweetened cocoa powder
- 1 teaspoon baking powder
- 1/2 teaspoon salt
- 1 cup semi-sweet chocolate chips (to be melted with butter)
- 2 tbsp unsalted butter (cut/broken into pieces for even incorporation)
- 1 teaspoon peppermint extract
- 1/2 cup granulated sugar
- 1/3 cup light brown sugar, packed
- 2 large eggs, at room temperature
- 2 tbsp whole milk
- 1 cup bittersweet chocolate chunks (for mixing into the batter)
For the White Chocolate Coating:
- 10 ounces Ghirardelli white melting wafers or similar (see notes for tempering real white chocolate chips)
- 1/3 cup crushed candy canes or peppermint candy
- Flaky sea salt for garnishing (helps cut the sweetness from the white chocolate)
Instructions
Make and Bake Chocolate Cookies:
- Preheat oven to 325 degrees F (160°C). Line a baking sheet with parchment paper or spray with non-stick spray and set aside.
- In a medium-sized bowl or zip-top bag, whisk together all dry ingredients: flour, cocoa powder, baking powder, and salt; set aside.
- In a large microwave-safe bowl, combine the chocolate chips and butter. Heat them in the microwave on low-power for 20-second increments, mixing each time until butter and chocolate are fully melted. Let cool for 5 minutes.
- Use a hand mixer to beat in both sugars to the melted chocolate mixture. Add in the eggs one at a time, mixing to incorporate each one. Add in peppermint extract and milk, beating until incorporated.
- Add the dry ingredients into the wet ingredients, and stir to combine with a spatula so you don’t over-mix. Fold in chocolate chunks, mixing until just combined.
- Use a cookie scoop to measure batter, shape into uniform balls, and place onto the prepared baking sheet. *Batter will be sticky*
- Bake for 7 minutes. Pull the tray from the oven and use the back of a measuring cup to slightly flatten the cookies. Press additional chocolate chunks to the tops of each cookie if desired. Return to oven and bake for another 3 minutes or until the cookies are set but a little gooey in the middle.
- Allow cookies to cool completely on the tray before proceeding.
Coat in White Chocolate:
- Prepare a clean surface lined with parchment paper. Have the bowl of crushed peppermints nearby along with the flaky sea salt if using.
- Melt the white chocolate melting wafers according to the package instructions. A deep glass container like a wide-mouth mason jar is ideal for easy dipping.
- Dip the cookies halfway down into the melted white chocolate, lift and allow excess to drip off. Gently scrape the bottom against the dish to remove any large globs of chocolate.
- Place cookies on the clean parchment and sprinkle with crushed peppermint and a sprinkle of flaky sea salt. Allow the white chocolate to fully set.
Notes
Be sure to store these cookies separately from any other holiday cookies as the peppermint flavor will creep into other cookie varieties. I like to individually seal my cookies using cellophane wrappers and a heat press. This ensures the cookie flavors don’t seep into others in a gift box or holiday cookie tray.
How to Temper Real White Chocolate (Alternative to Melting Wafers):
If you prefer real white chocolate over melting wafers, here is a simple method to temper it for a perfect snap and shine:
- Add 1 1/2 cups of high-quality white chocolate chips into a medium bowl.
- Microwave at 50% power in 20-second intervals, stirring thoroughly between each interval until about two-thirds of the chocolate is melted and smooth.
- Remove the bowl from the microwave. Add the remaining 1/2 cup white chocolate chips into the melted chocolate. Stir continuously until all the chocolate is melted and the mixture is smooth. This process can take a few minutes as the residual heat melts the remaining chips while also lowering the overall temperature to a tempered state.
- To test if it’s properly tempered, coat the back of a spoon with the white chocolate and place it in the freezer for 5 minutes. If it sets up hard, shiny, and with a satisfying snap, it’s perfectly tempered and ready for dipping.
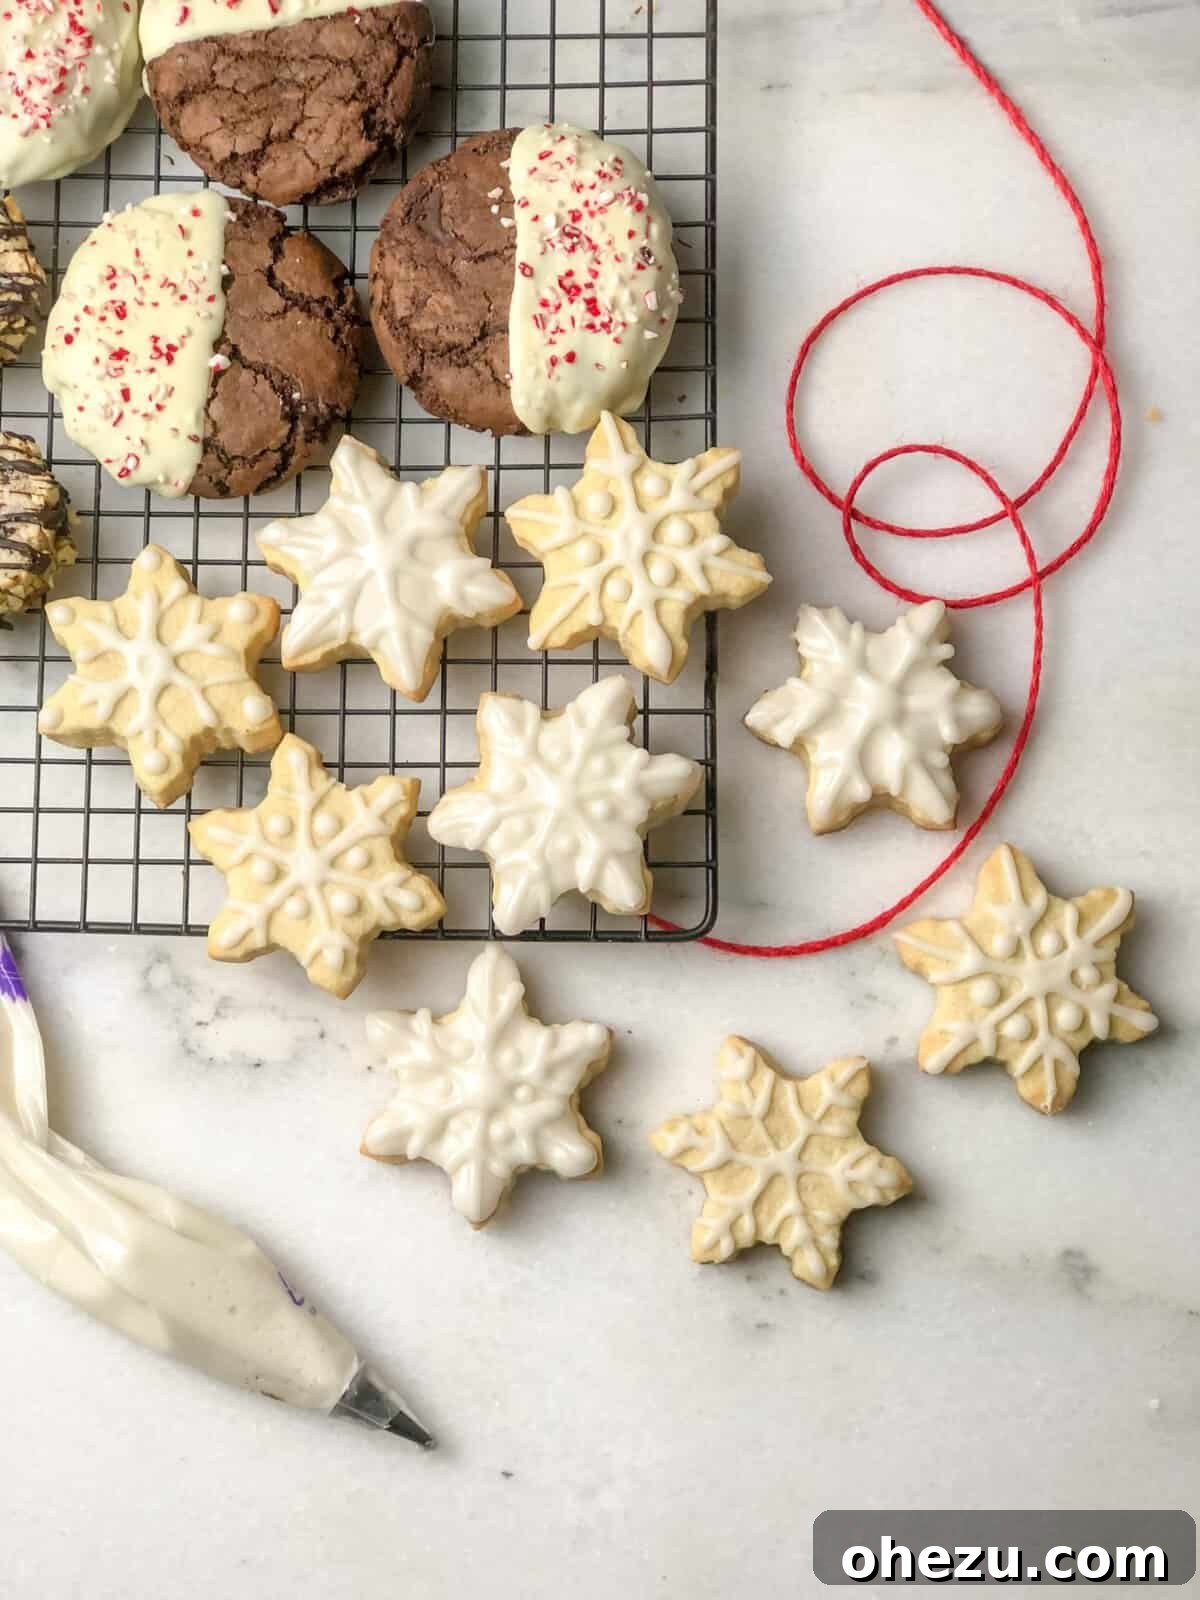
Here are some inspiring photos for your Pinterest boards: