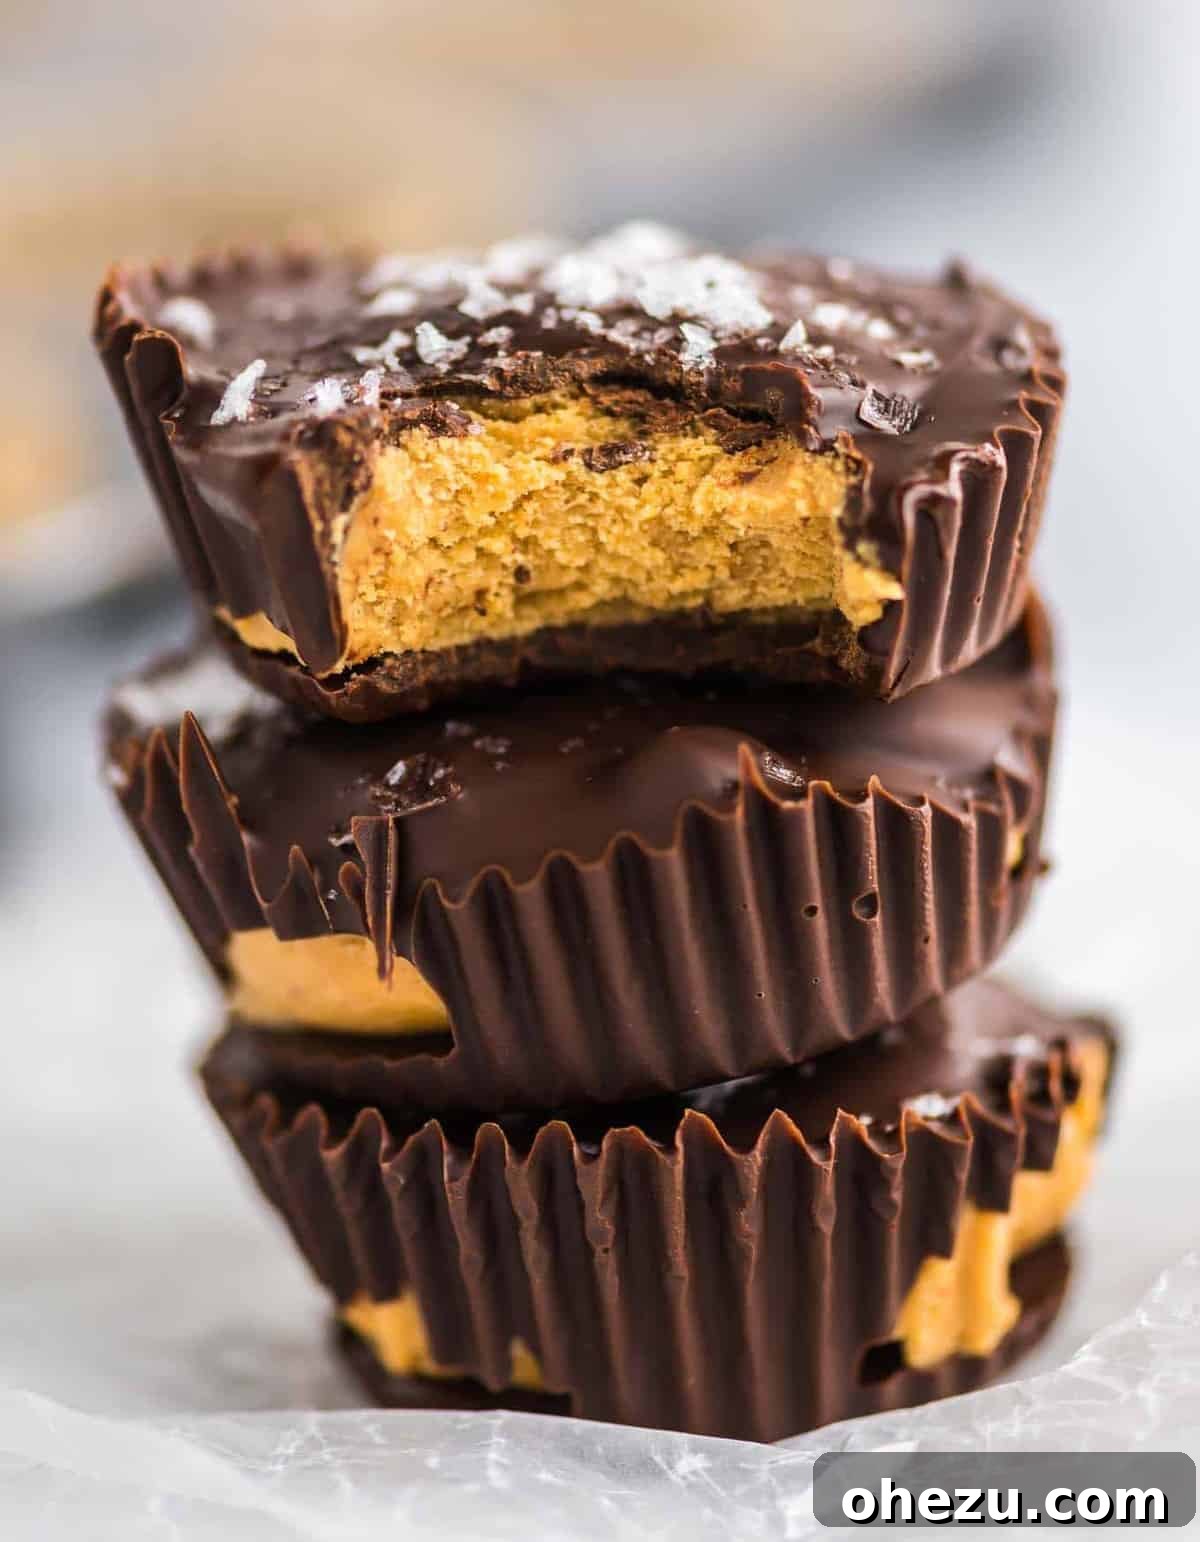
Protein Peanut Butter Cups: Your Guilt-Free Reese’s Alternative
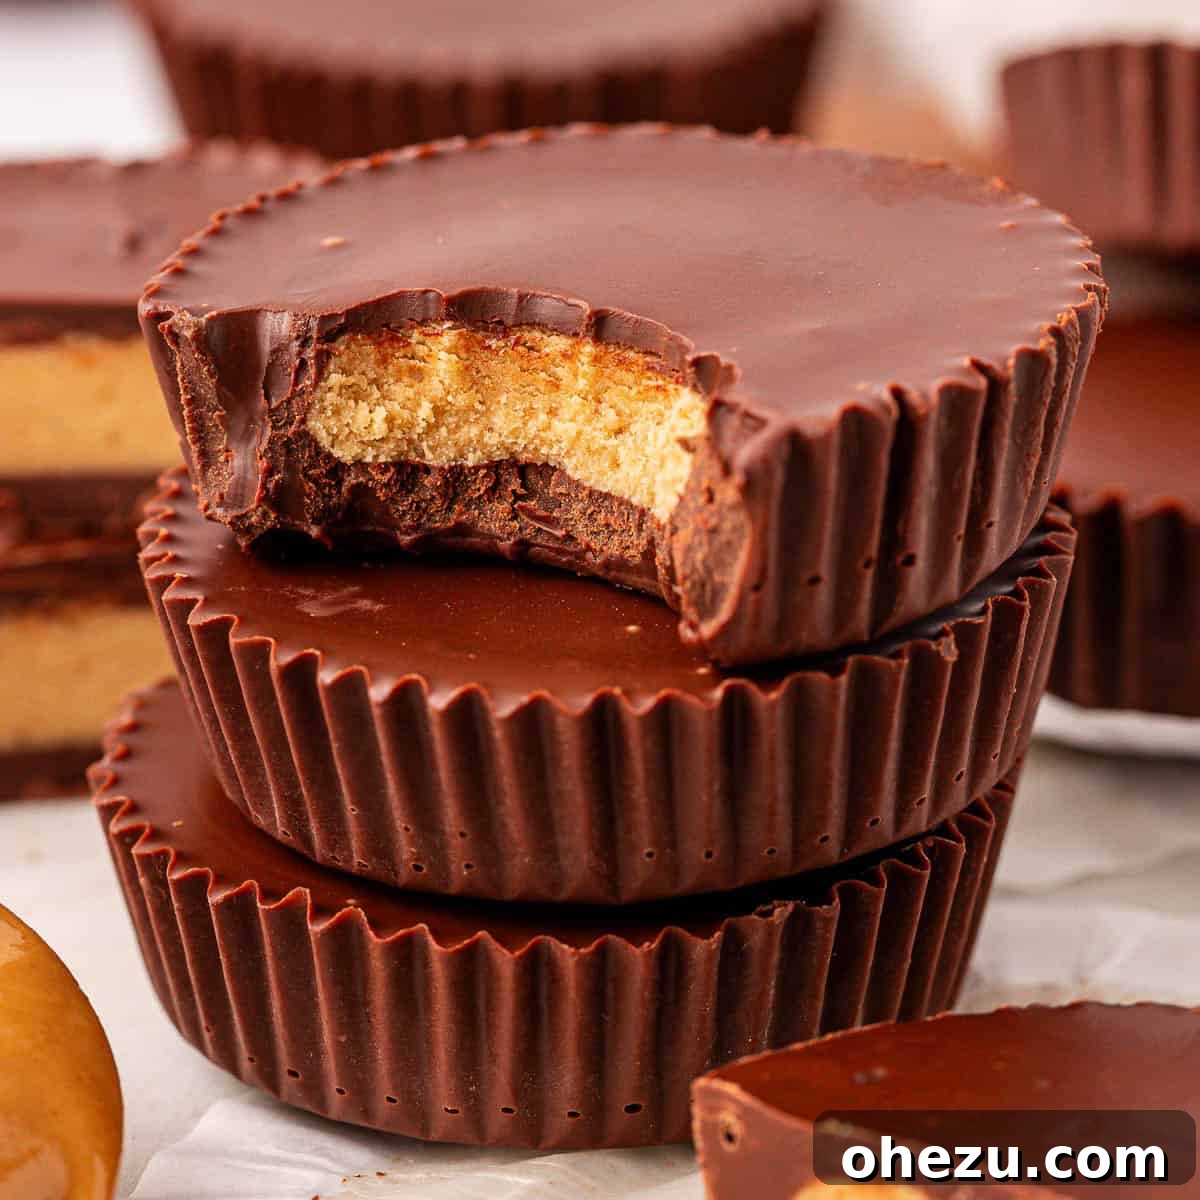
Craving that classic chocolate and peanut butter combination but looking for a healthier, protein-packed option? These Protein Peanut Butter Cups are your answer! They taste remarkably like your favorite Reese’s Cup, offering all the indulgence with an added boost of protein, making them a perfect guilt-free treat.
The Ultimate Chocolate Peanut Butter Duo
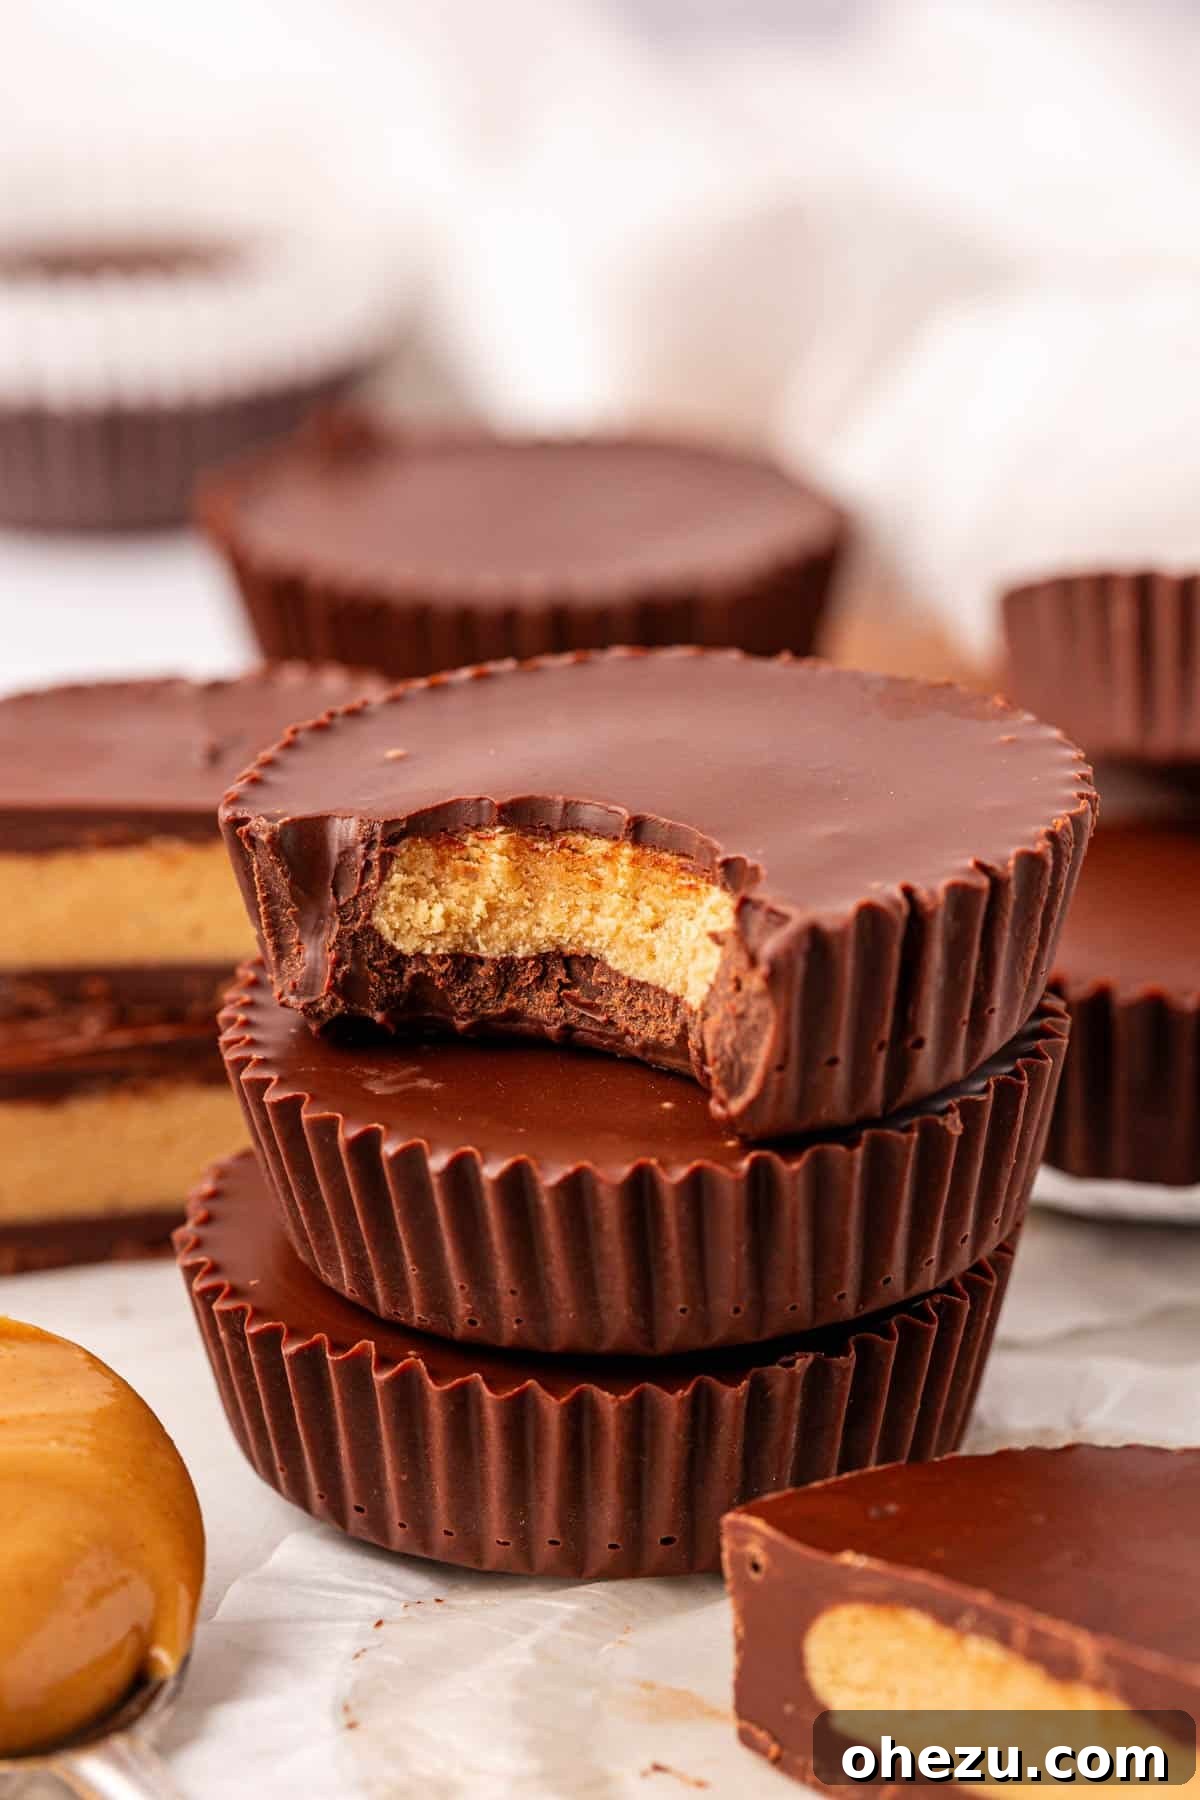
There’s simply no denying the irresistible allure of chocolate and peanut butter. It’s a culinary match made in heaven that has captivated taste buds for generations. If you’re anything like me, this iconic duo holds a special place in your heart, especially when it comes to satisfying a sweet craving. But what if you could enjoy that beloved flavor profile while also supporting your health goals?
Enter these incredible protein-infused peanut butter cups. These aren’t just any dessert; they’re quite possibly one of the most satisfying no-bake treats you’ll ever encounter. Forget complicated recipes or hours in the kitchen – these cups come together effortlessly, delivering maximum flavor with minimal fuss.
My freezer is often stocked with homemade healthy snacks like energy balls or no-bake protein bars for those moments when a sweet tooth strikes. However, sometimes you need something truly special, something that transports you back to childhood while still aligning with an adult’s nutritional awareness. That’s precisely why I developed this protein-packed rendition of a timeless candy classic: the Reese’s Cup. Prepare to be amazed by how closely these healthy alternatives mimic the original, offering a rich, creamy, and utterly delicious experience without the added guilt.
Why You’ll Love These Protein Peanut Butter Cups
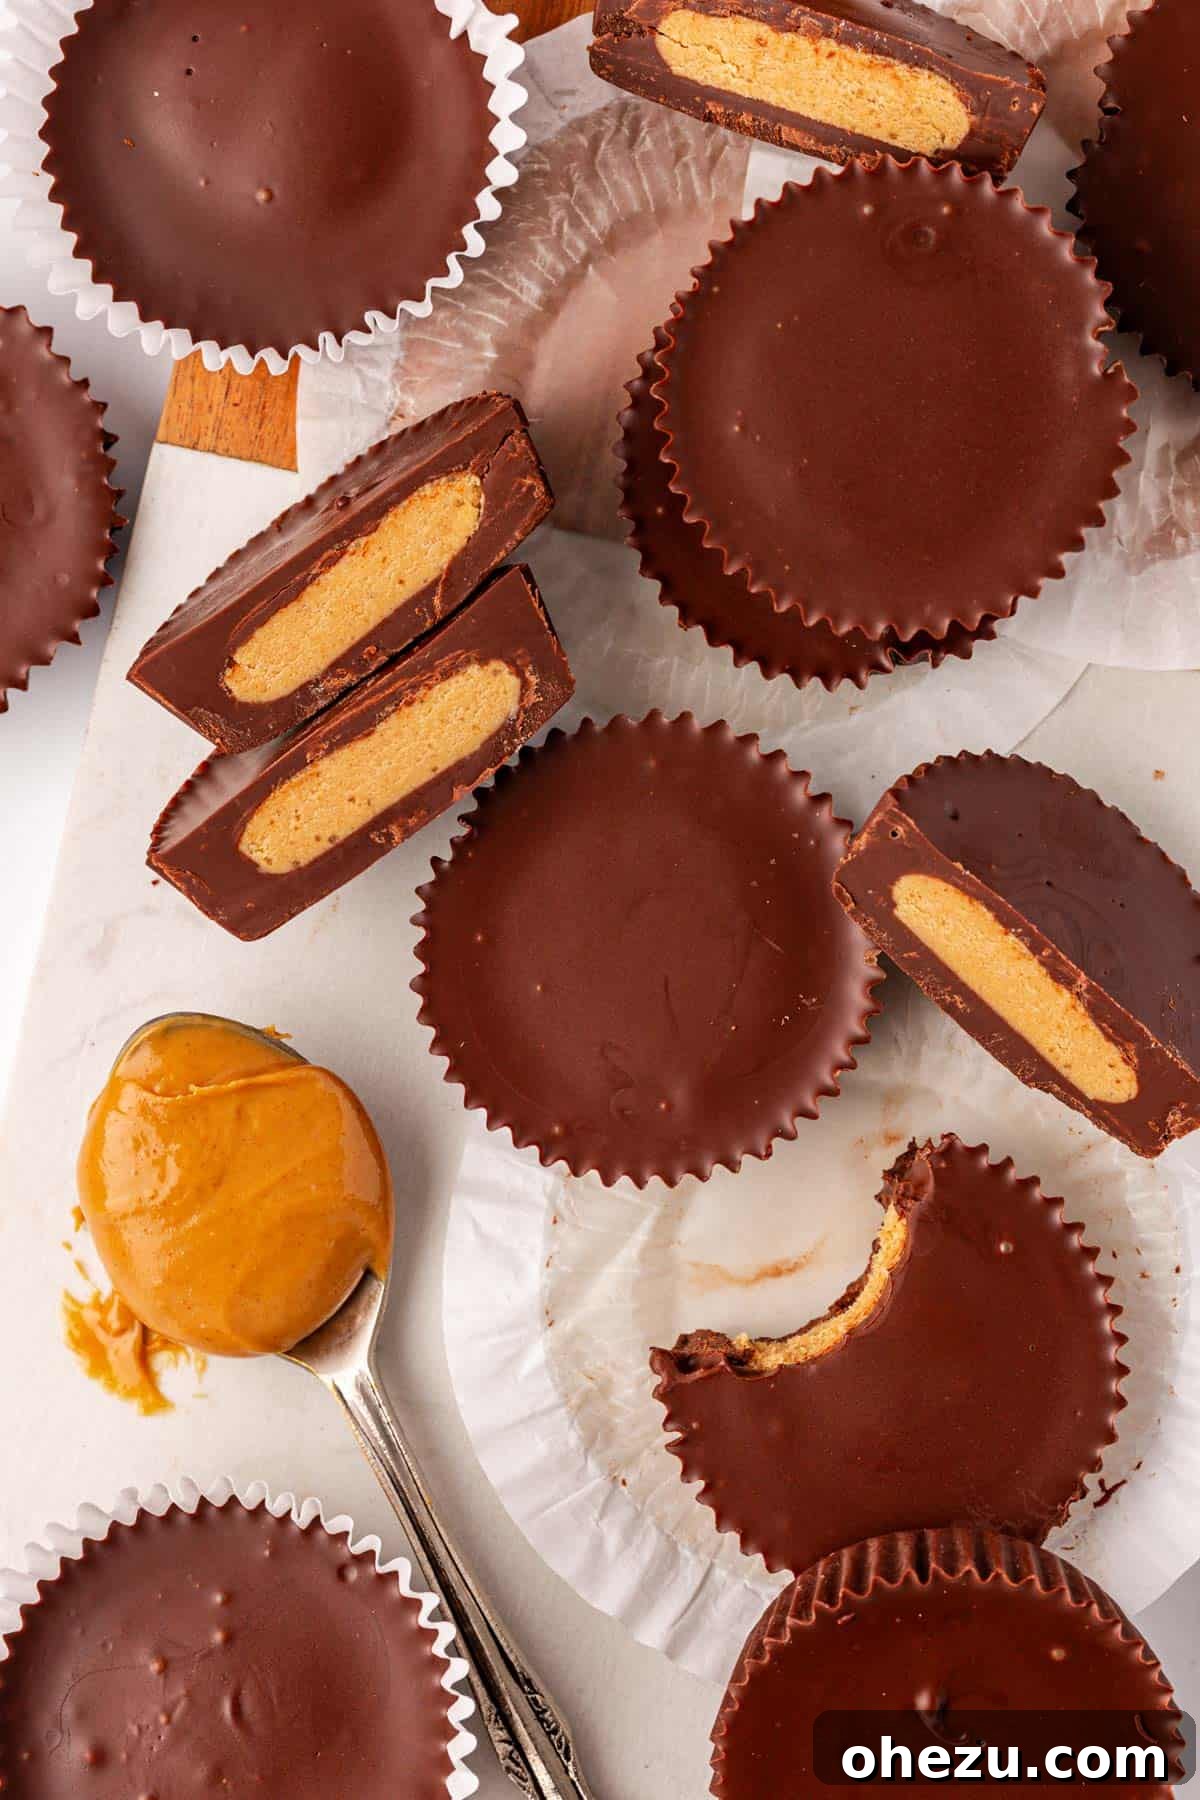
These protein peanut butter cups aren’t just delicious; they’re also incredibly versatile and beneficial for anyone looking for a healthier dessert option. Here’s why they’ll become your new favorite:
- Authentic Flavor: They genuinely taste like a Reese’s Cup, delivering that perfect balance of sweet chocolate and savory peanut butter. You won’t believe they’re a healthier version!
- Protein Powerhouse: Infused with vanilla protein powder, these cups help keep you feeling full and satisfied, making them an excellent post-workout snack or a smart way to curb cravings.
- Effortlessly No-Bake: No oven required! This recipe is incredibly simple and quick to assemble, perfect for busy schedules or when you want a delicious treat without heating up the kitchen.
- Customizable for Any Taste: Easily switch to dark chocolate for a richer flavor, use a different nut butter, or even a vegan protein powder to fit your dietary preferences.
- Meal Prep Friendly: Make a batch at the beginning of the week and store them in the fridge or freezer for convenient, grab-and-go snacks whenever a craving strikes.
- Minimal Ingredients: You likely have most of the necessary components in your pantry right now, making this a budget-friendly and accessible recipe.
Essential Ingredients and Helpful Notes
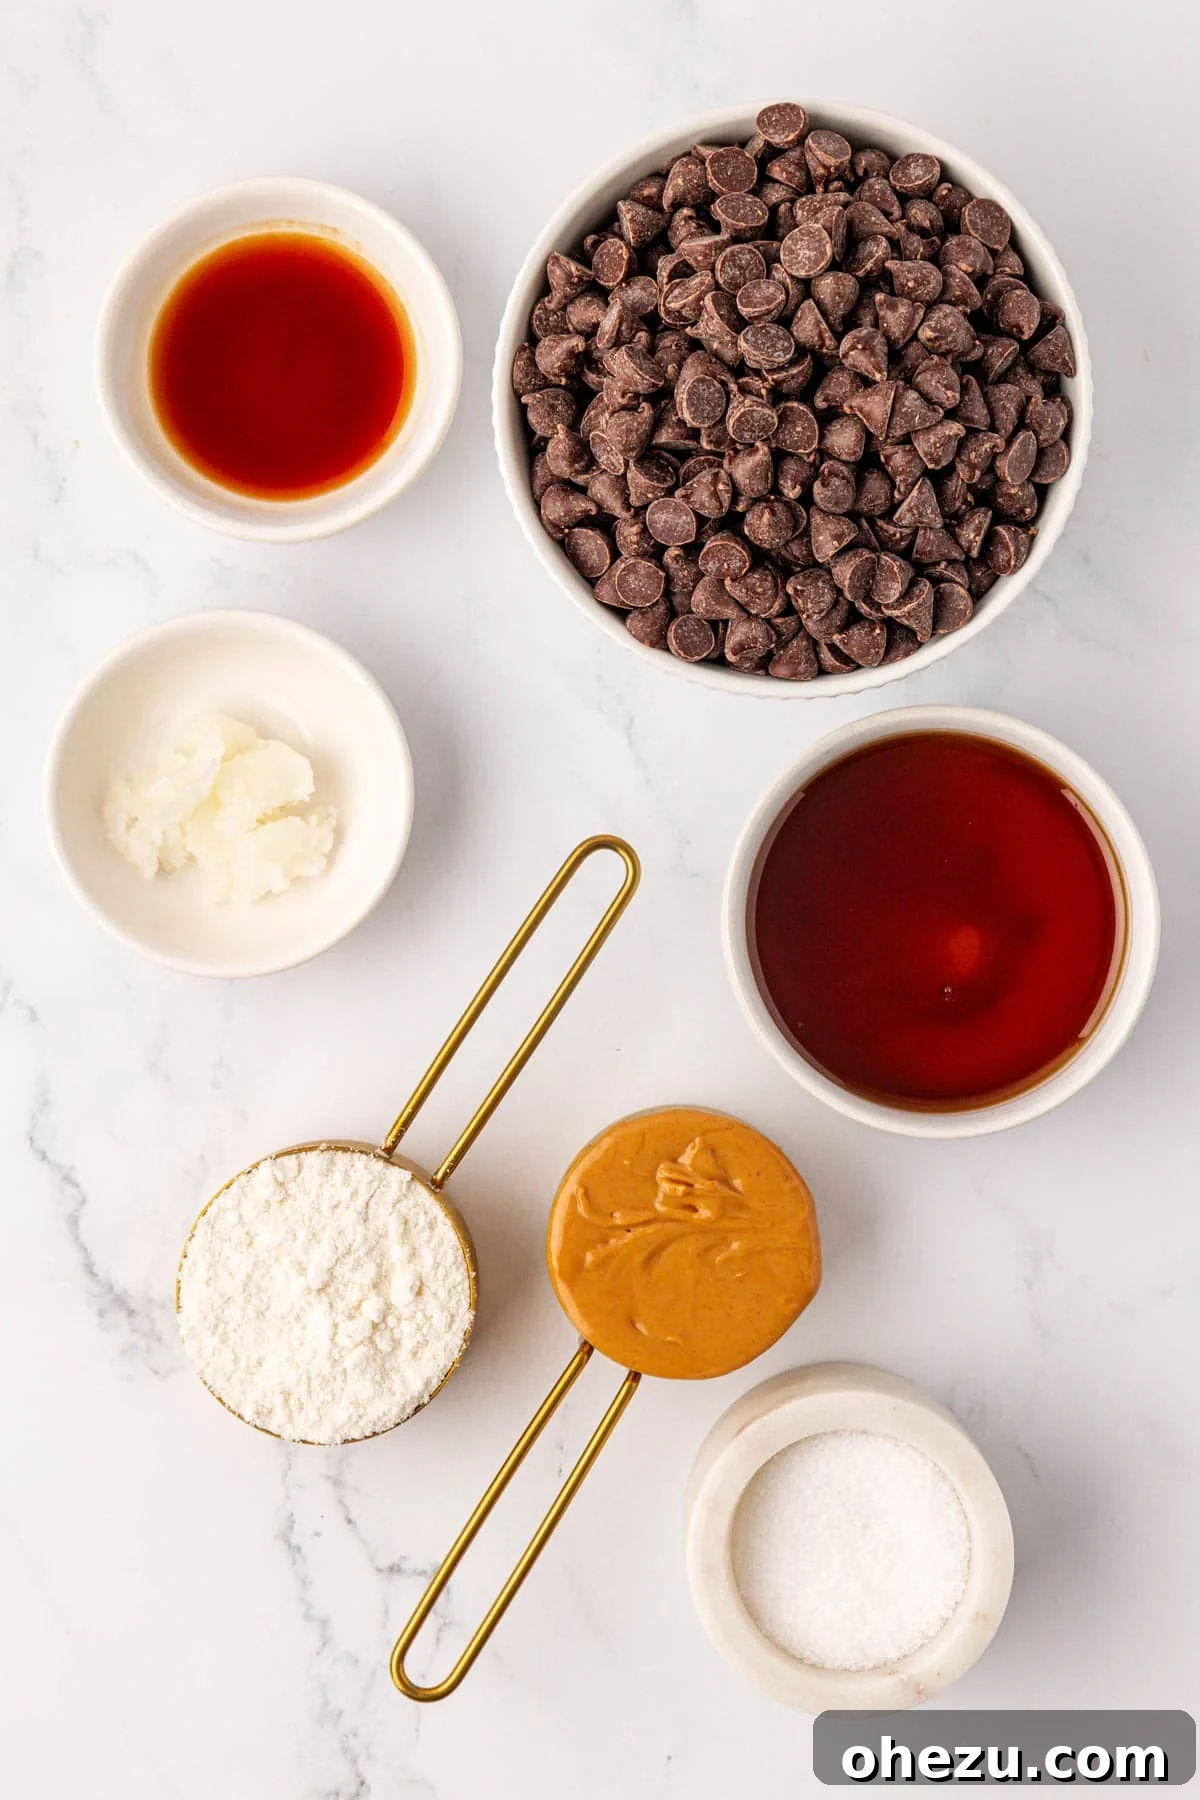
Crafting these delectable protein peanut butter cups is surprisingly simple, often utilizing ingredients you already have on hand. The full, detailed recipe can be found at the bottom of this article, but let’s dive into the key components and some important tips to ensure your success:
- Semi-Sweet Chocolate Chips: These form the sweet, classic shell of your cups. For those who adore a more intense, less sugary profile, feel free to substitute with dark chocolate chips. The higher cocoa content will offer a richer depth of flavor.
- Coconut Oil: A crucial ingredient for achieving that perfectly smooth, melt-in-your-mouth chocolate coating. Coconut oil helps to thin the melted chocolate, making it easy to spread and ensuring a glossy finish that sets beautifully.
- Vanilla Extract: A touch of vanilla enhances the overall flavor of both the chocolate and peanut butter layers, adding a subtle warmth and complexity.
- Natural Creamy Peanut Butter: This is key! Opt for natural peanut butter where the only ingredients listed are peanuts and salt. Processed peanut butters often contain added sugars, oils, and stabilizers that can alter the texture and flavor of your filling, making it too stiff or greasy. The natural, runny consistency is ideal for mixing with protein powder.
- Vanilla Protein Powder: The star of our healthier twist! Vanilla protein powder not only adds a significant protein boost but also contributes a lovely flavor that complements the peanut butter. Whey protein works wonderfully, but if you’re looking for a vegan option, be sure to use a plant-based vanilla protein powder. The type of protein powder can affect the texture slightly, so you might need to adjust the maple syrup slightly to reach the desired consistency.
- Salt: A pinch of salt in the peanut butter filling is vital. It balances the sweetness of the chocolate and maple syrup, elevating the rich flavor of the peanut butter and creating that addictive salty-sweet contrast.
- Maple Syrup: This natural sweetener adds moisture and sweetness to the peanut butter filling. You can adjust the amount to your taste preference, or even experiment with other liquid sweeteners like agave nectar or honey (though honey is not vegan).
Step-by-Step Guide: How to Make Protein Peanut Butter Cups
Making these protein-packed peanut butter cups is a straightforward and enjoyable process. Follow these easy steps to create your own batch of delicious, healthy treats:
Step 1: Prepare the Chocolate Base
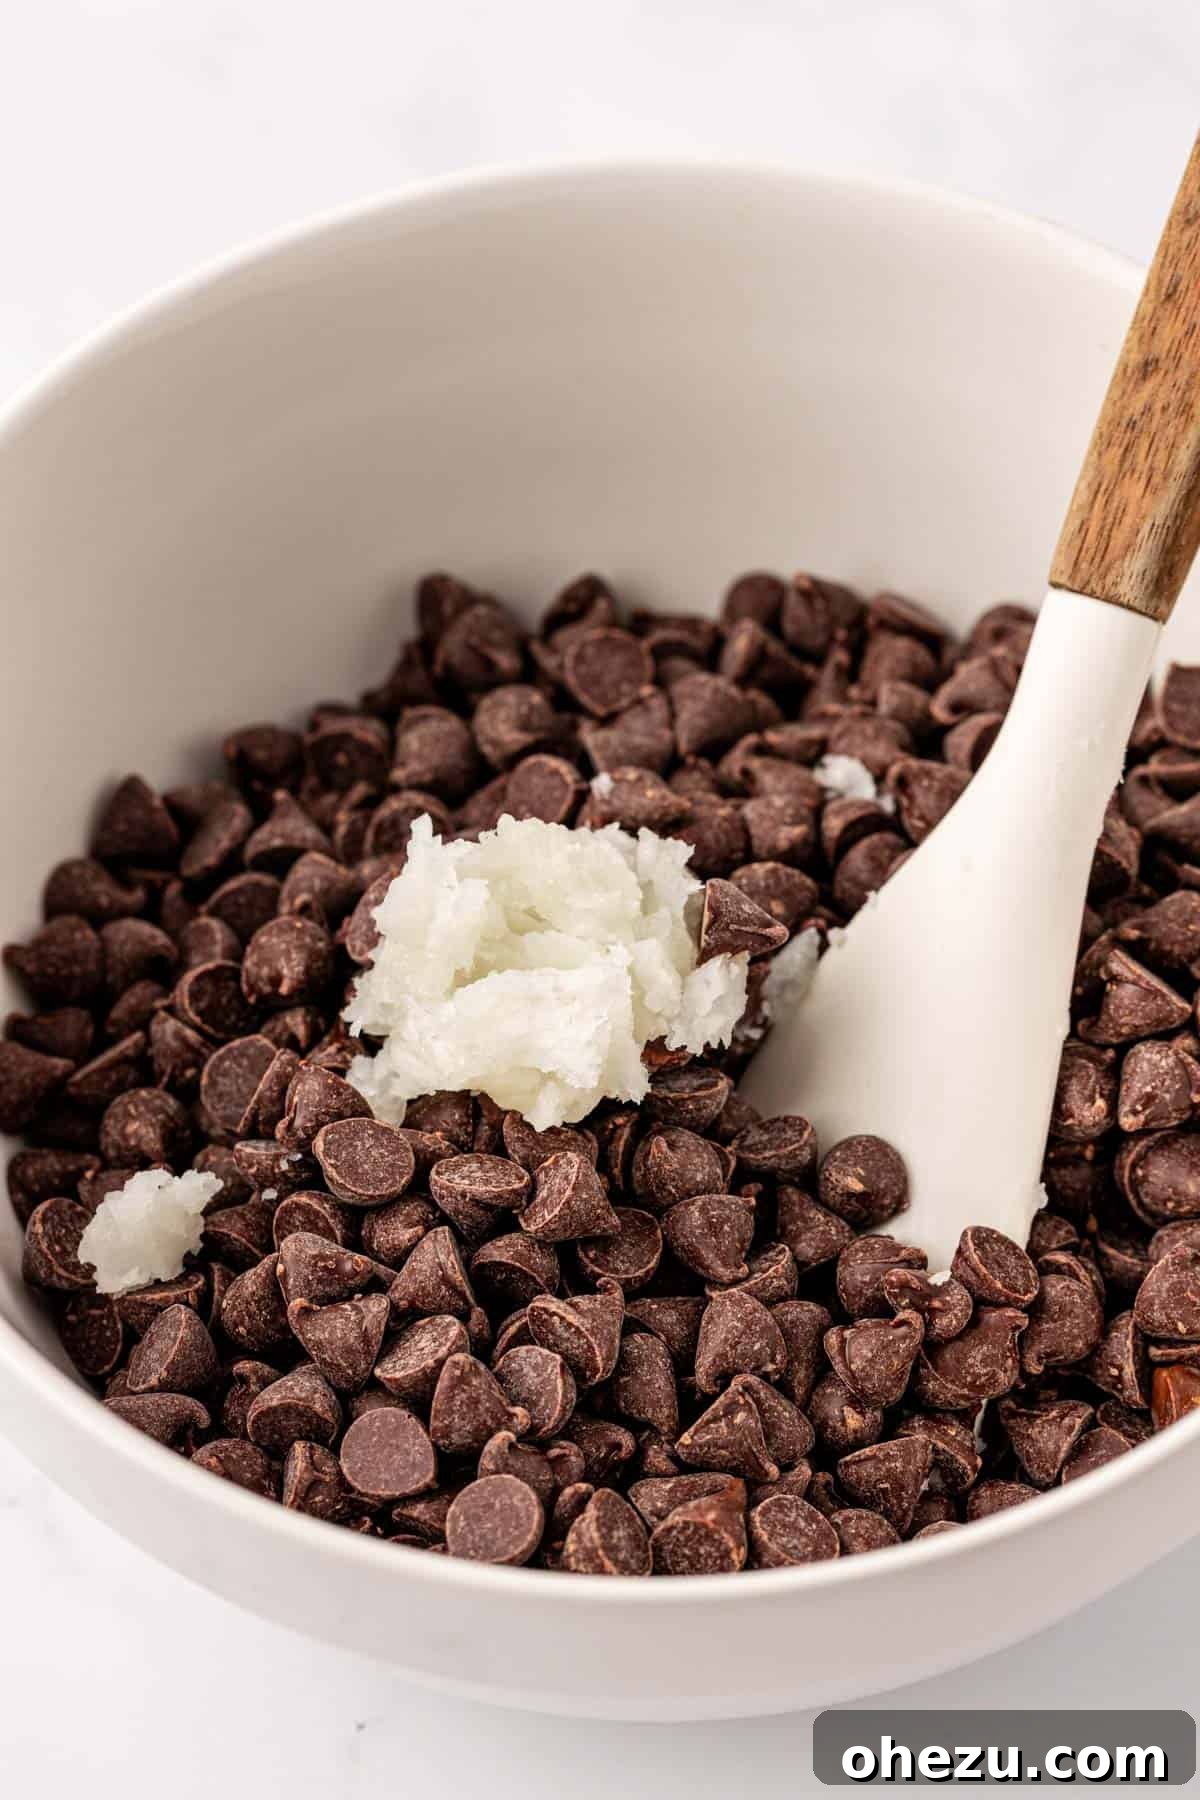
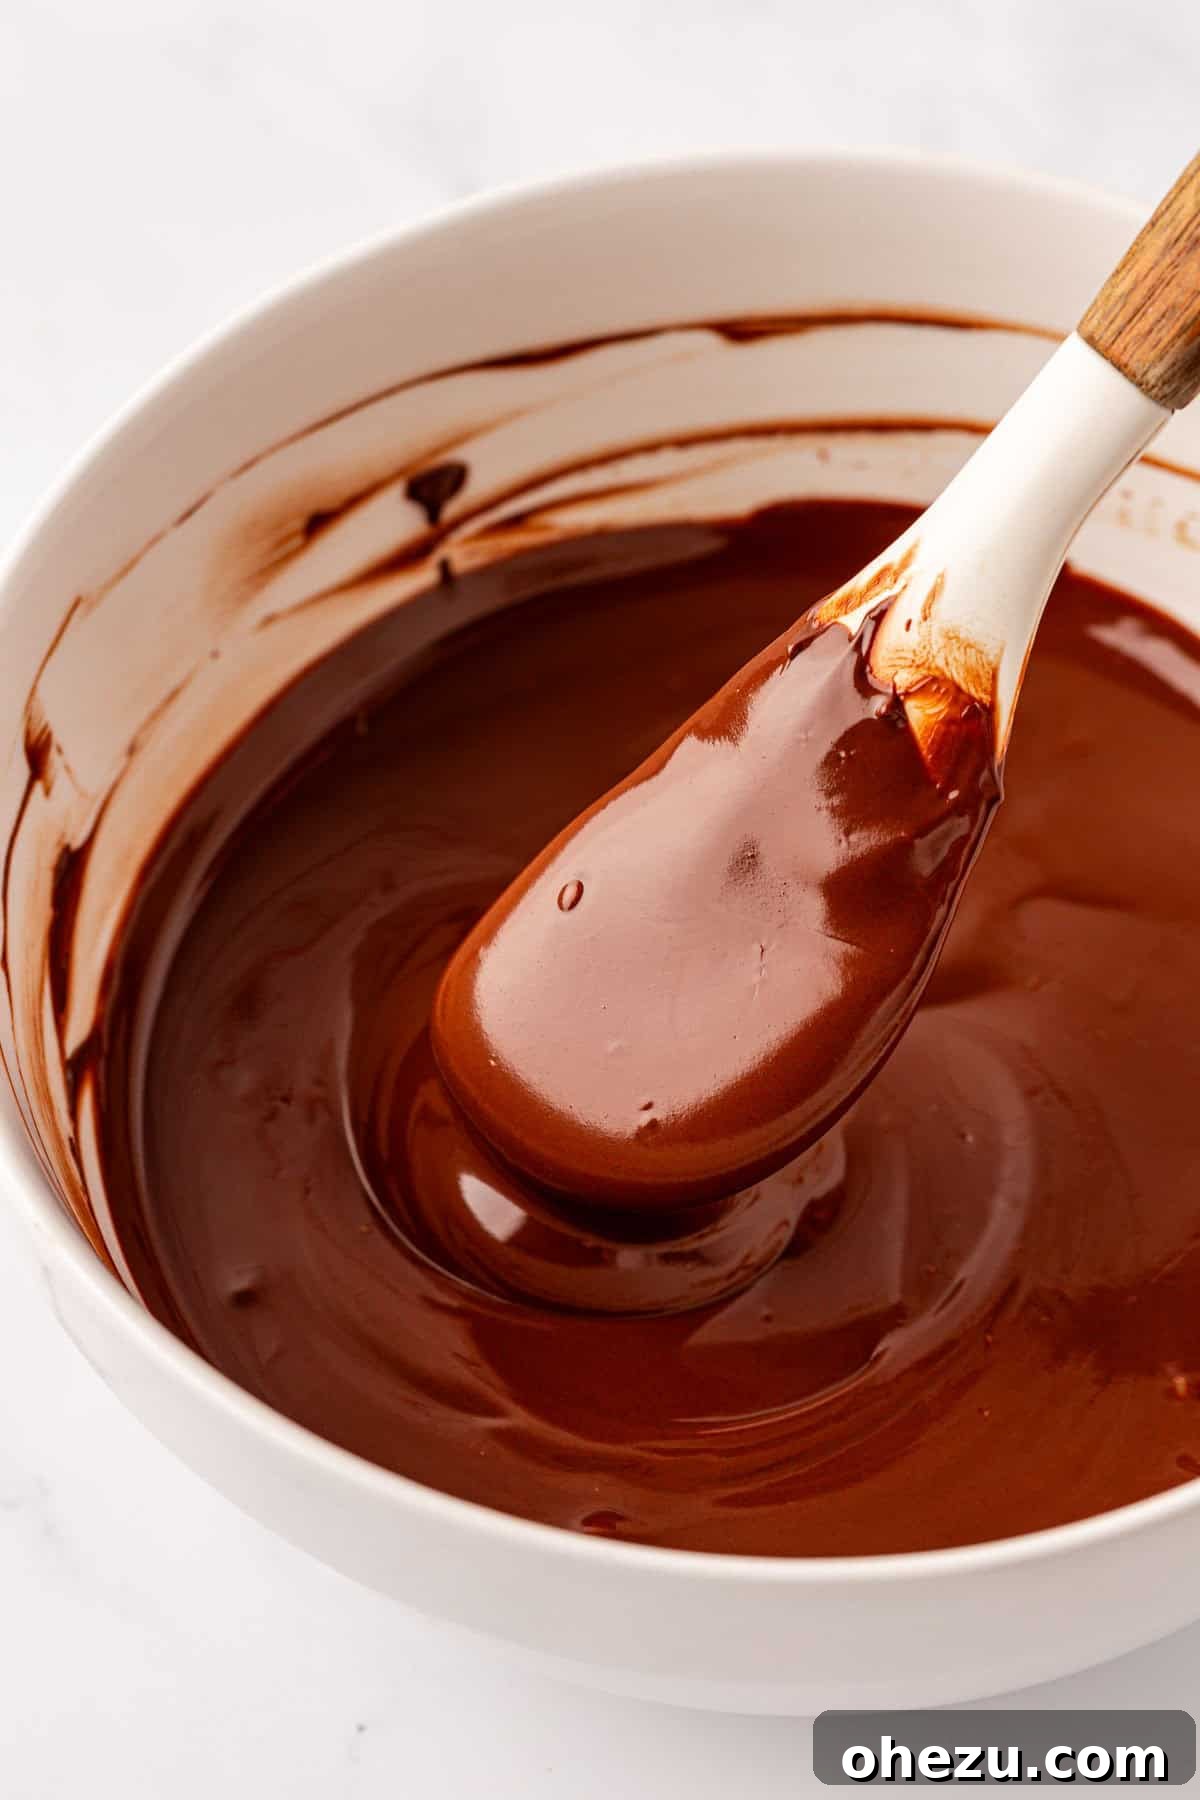
Begin by combining your chosen chocolate chips (semi-sweet or dark) and coconut oil in a microwave-safe bowl. Heat the mixture in 30-second intervals in the microwave, stirring thoroughly after each interval. Continue this process until the chocolate is completely melted and beautifully smooth. This gentle melting prevents scorching and ensures a silky texture. Once melted, stir in the vanilla extract for an added layer of flavor.
Step 2: Create the Chocolate Liners
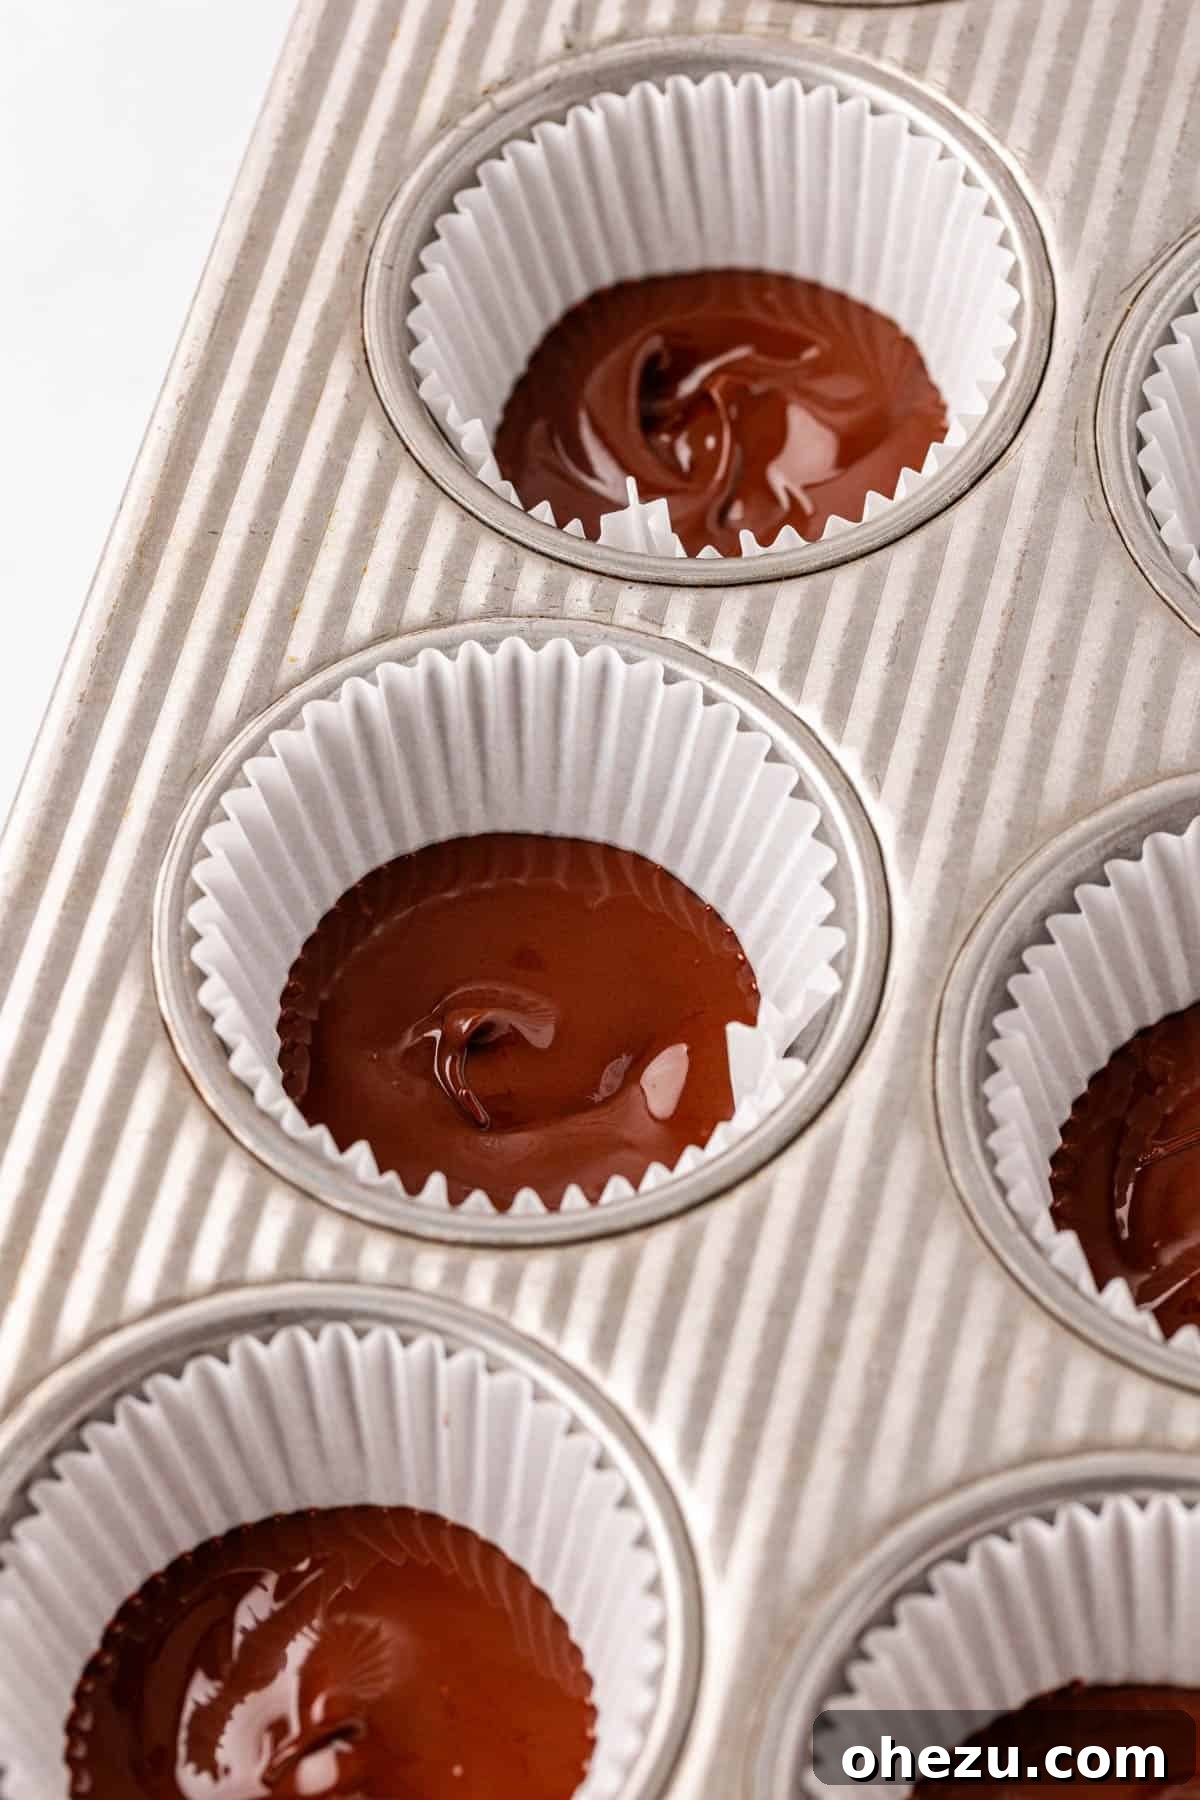
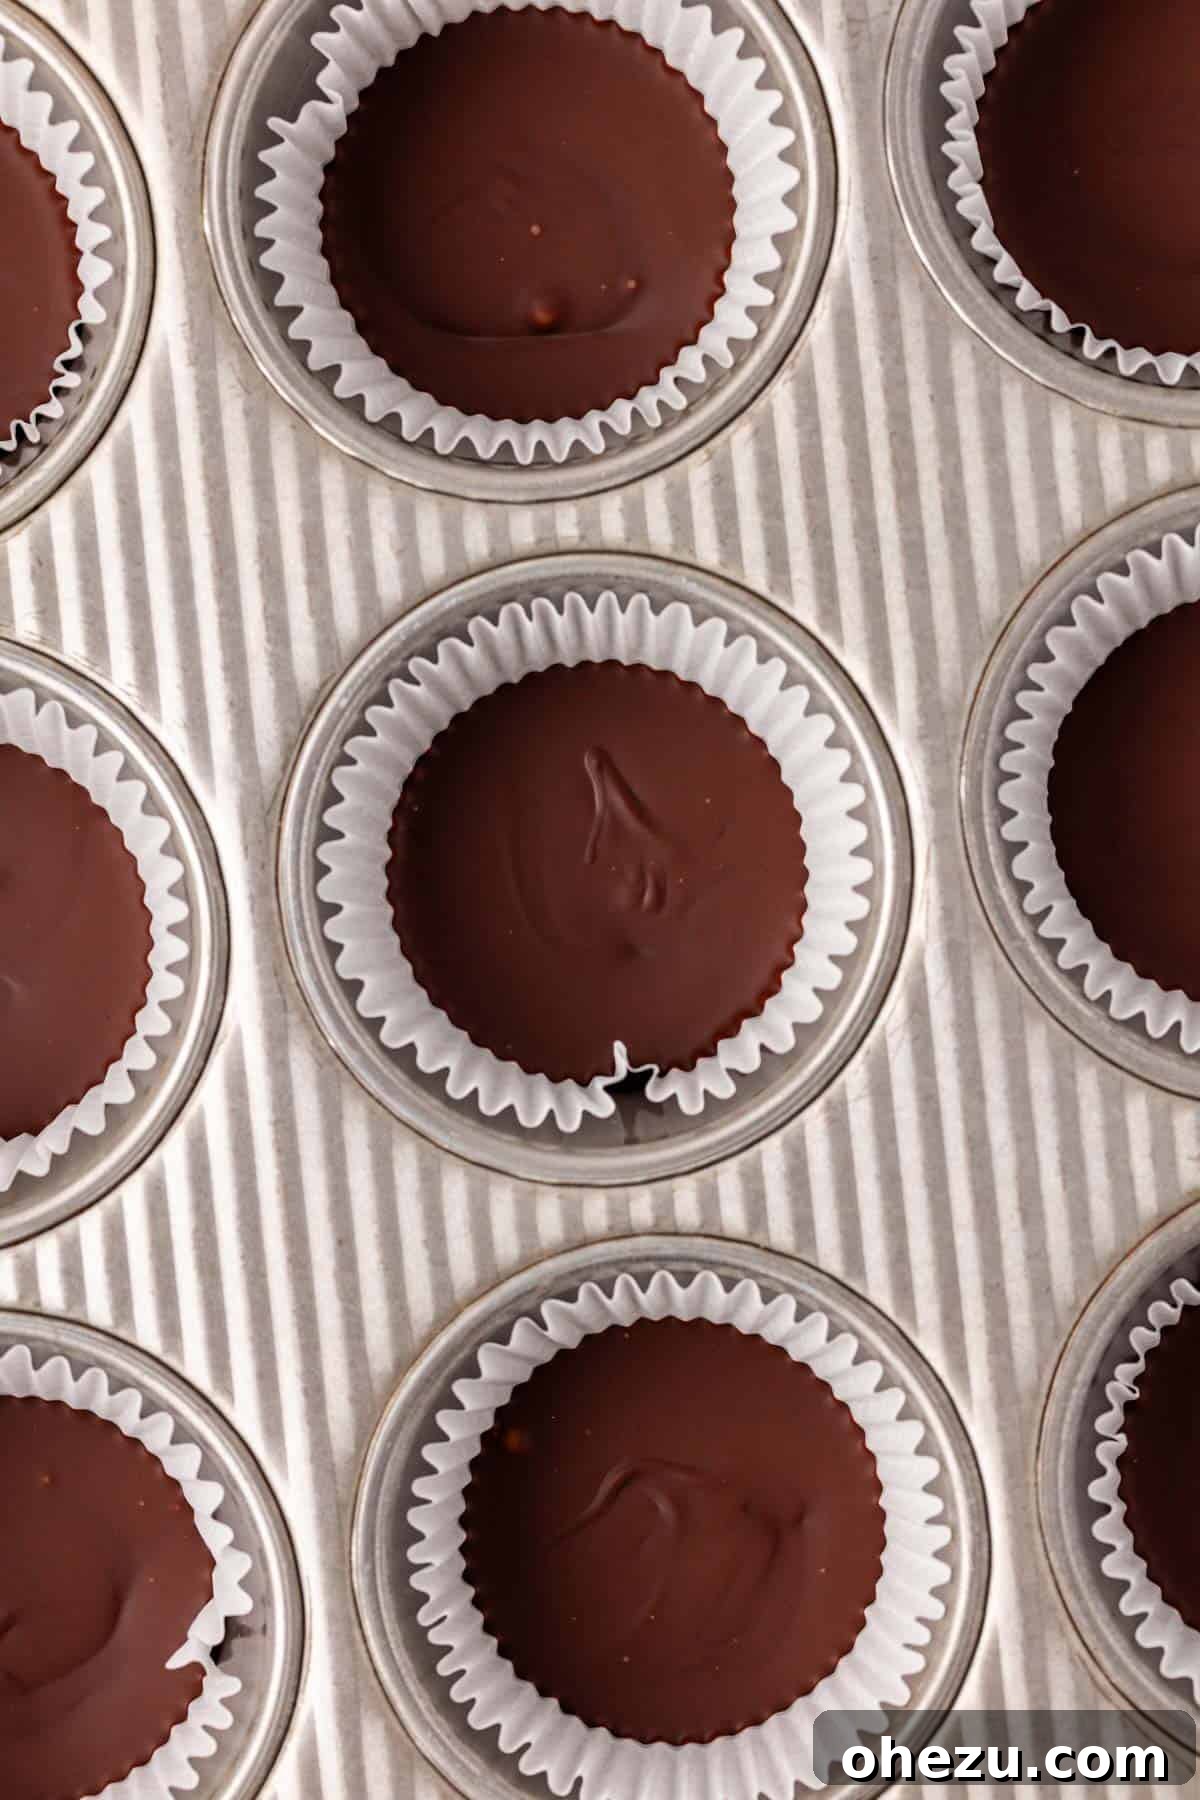
Line a standard 12-cup muffin tin with parchment paper muffin liners. These are crucial for easy removal of your finished cups. Pour about 1 heaping teaspoon of the melted chocolate into the bottom of each liner. Using the back of the spoon or gently tapping the muffin tin on your countertop, spread the chocolate evenly to cover the entire base of the liner. Repeat this for all 12 muffin cups. Place the muffin tin into the refrigerator to allow the chocolate bases to set while you prepare the peanut butter filling.
Recipe Tip
To ensure a flawless and complete chocolate bottom, don’t skimp on spreading the chocolate to the very edges of the muffin liner. A simple trick is to gently tap the muffin pan on a flat surface or countertop. This action helps to settle the chocolate and eliminates any air bubbles, creating a smooth and even base for your peanut butter filling.
Step 3: Prepare the Protein Peanut Butter Filling
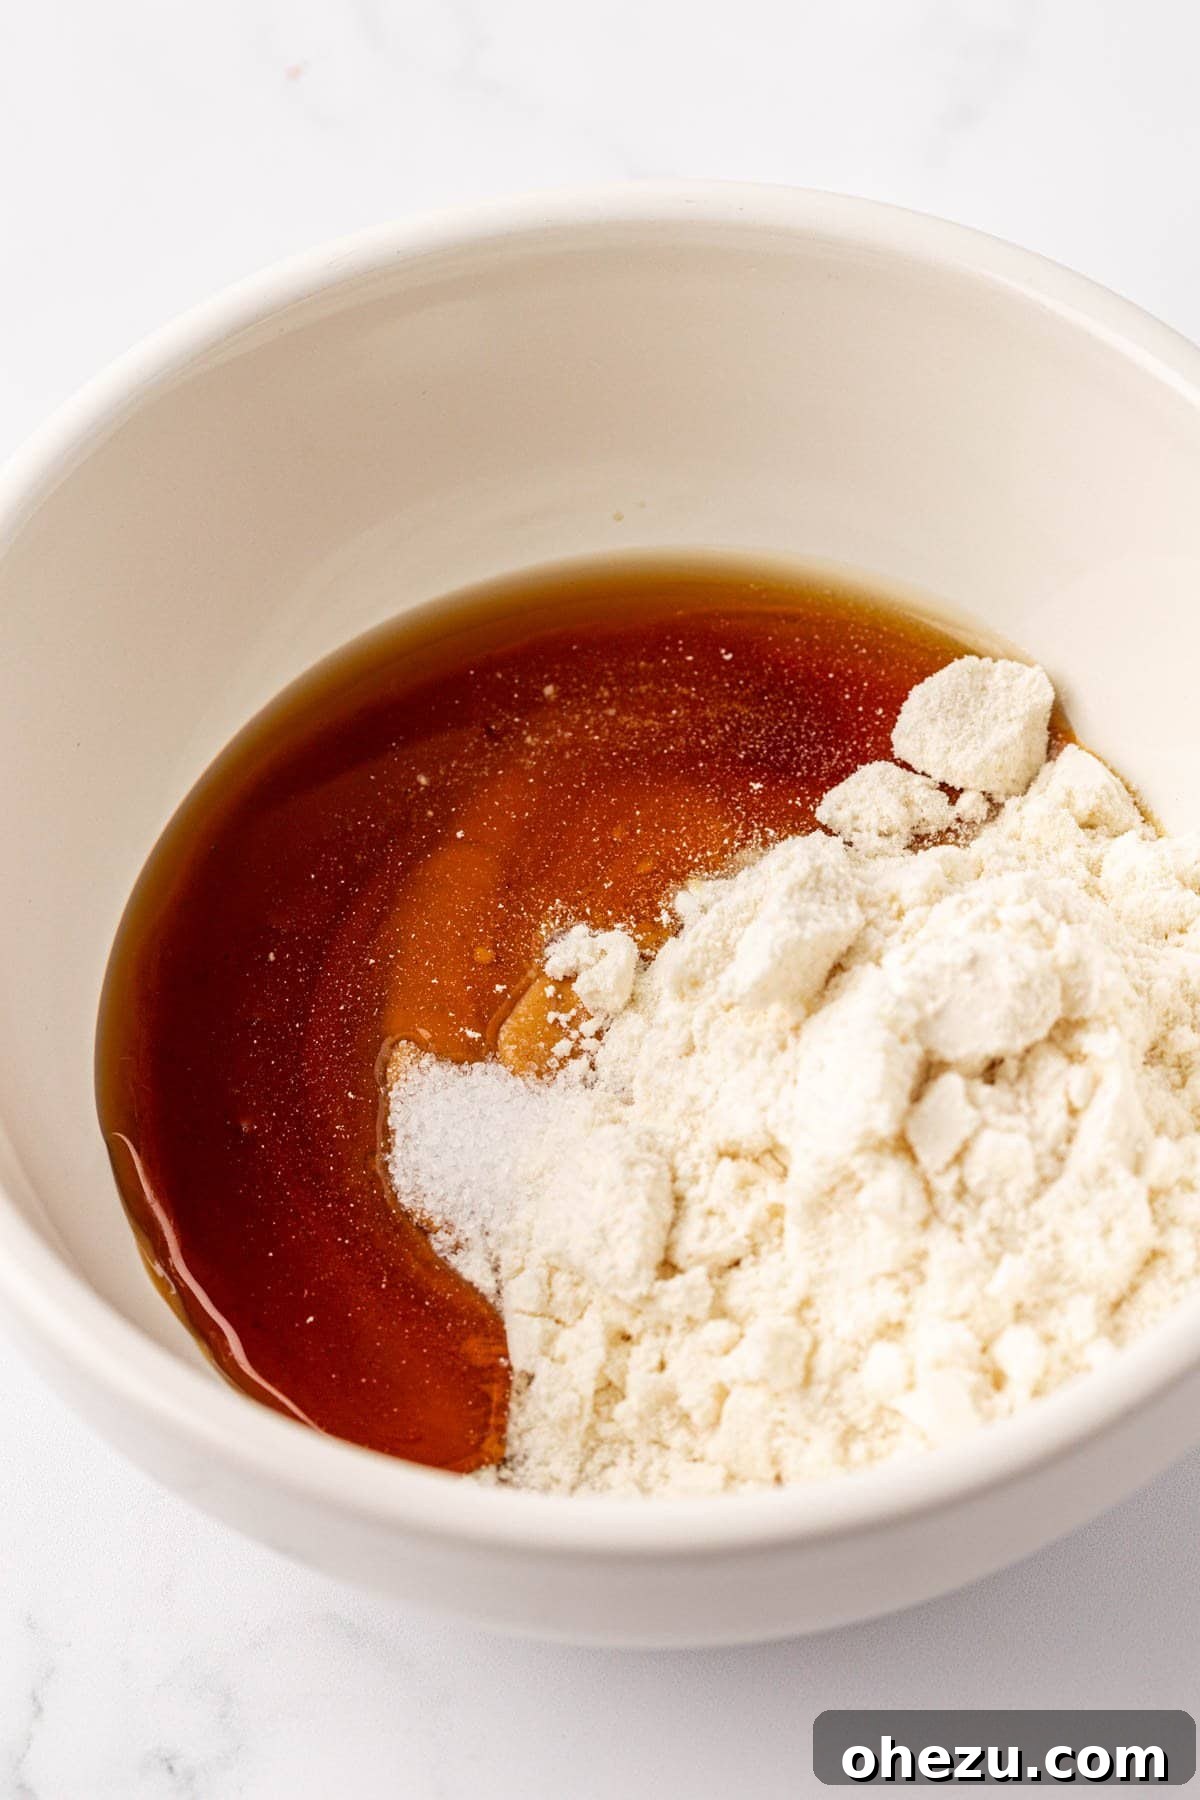
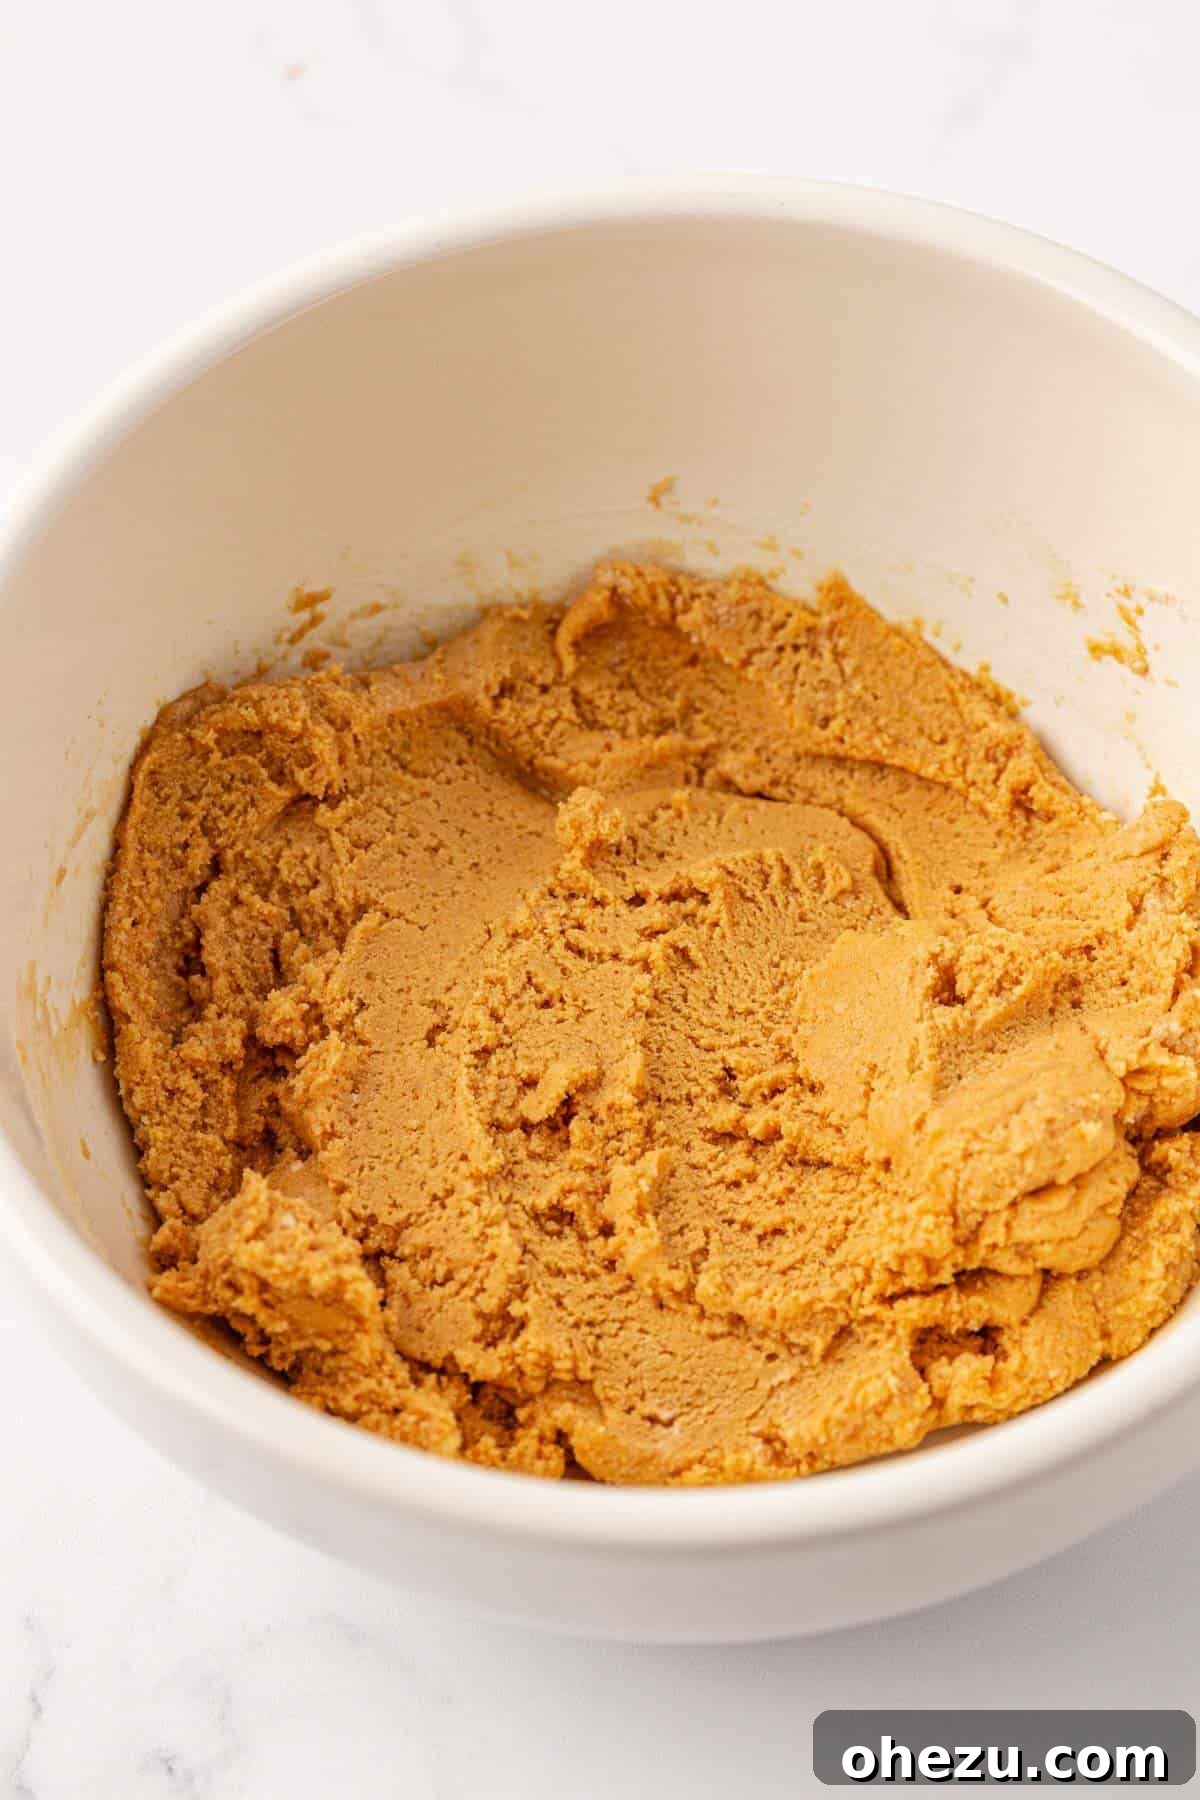
In another microwave-safe bowl, place your natural creamy peanut butter. Microwave it for 15-20 seconds until it becomes slightly runny and easier to mix. This step helps achieve a smooth, uniform filling. Once warmed, stir in the vanilla protein powder, salt, and maple syrup. Mix vigorously until all ingredients are thoroughly combined and you have a thick, consistent peanut butter mixture. The texture should be firm enough to shape but still pliable.
Step 4: Shape the Peanut Butter Discs
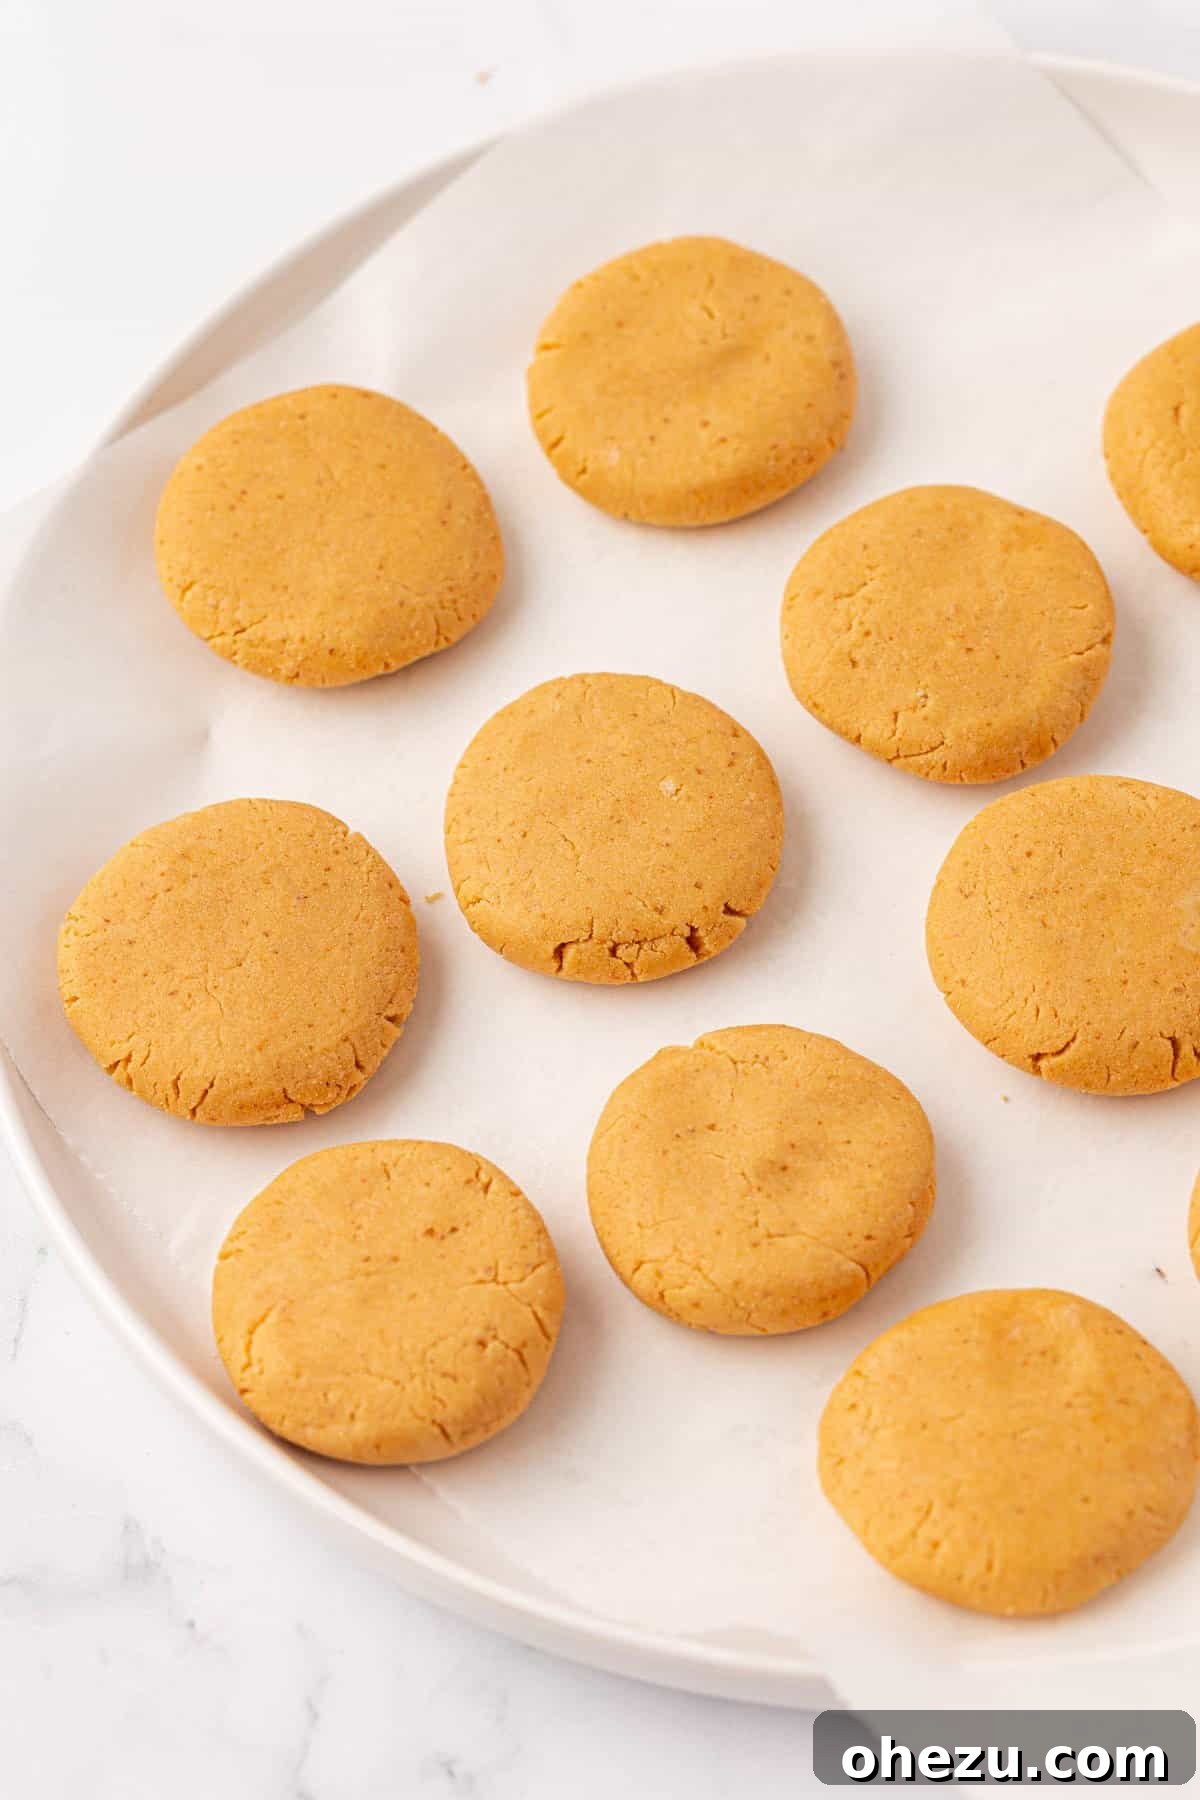
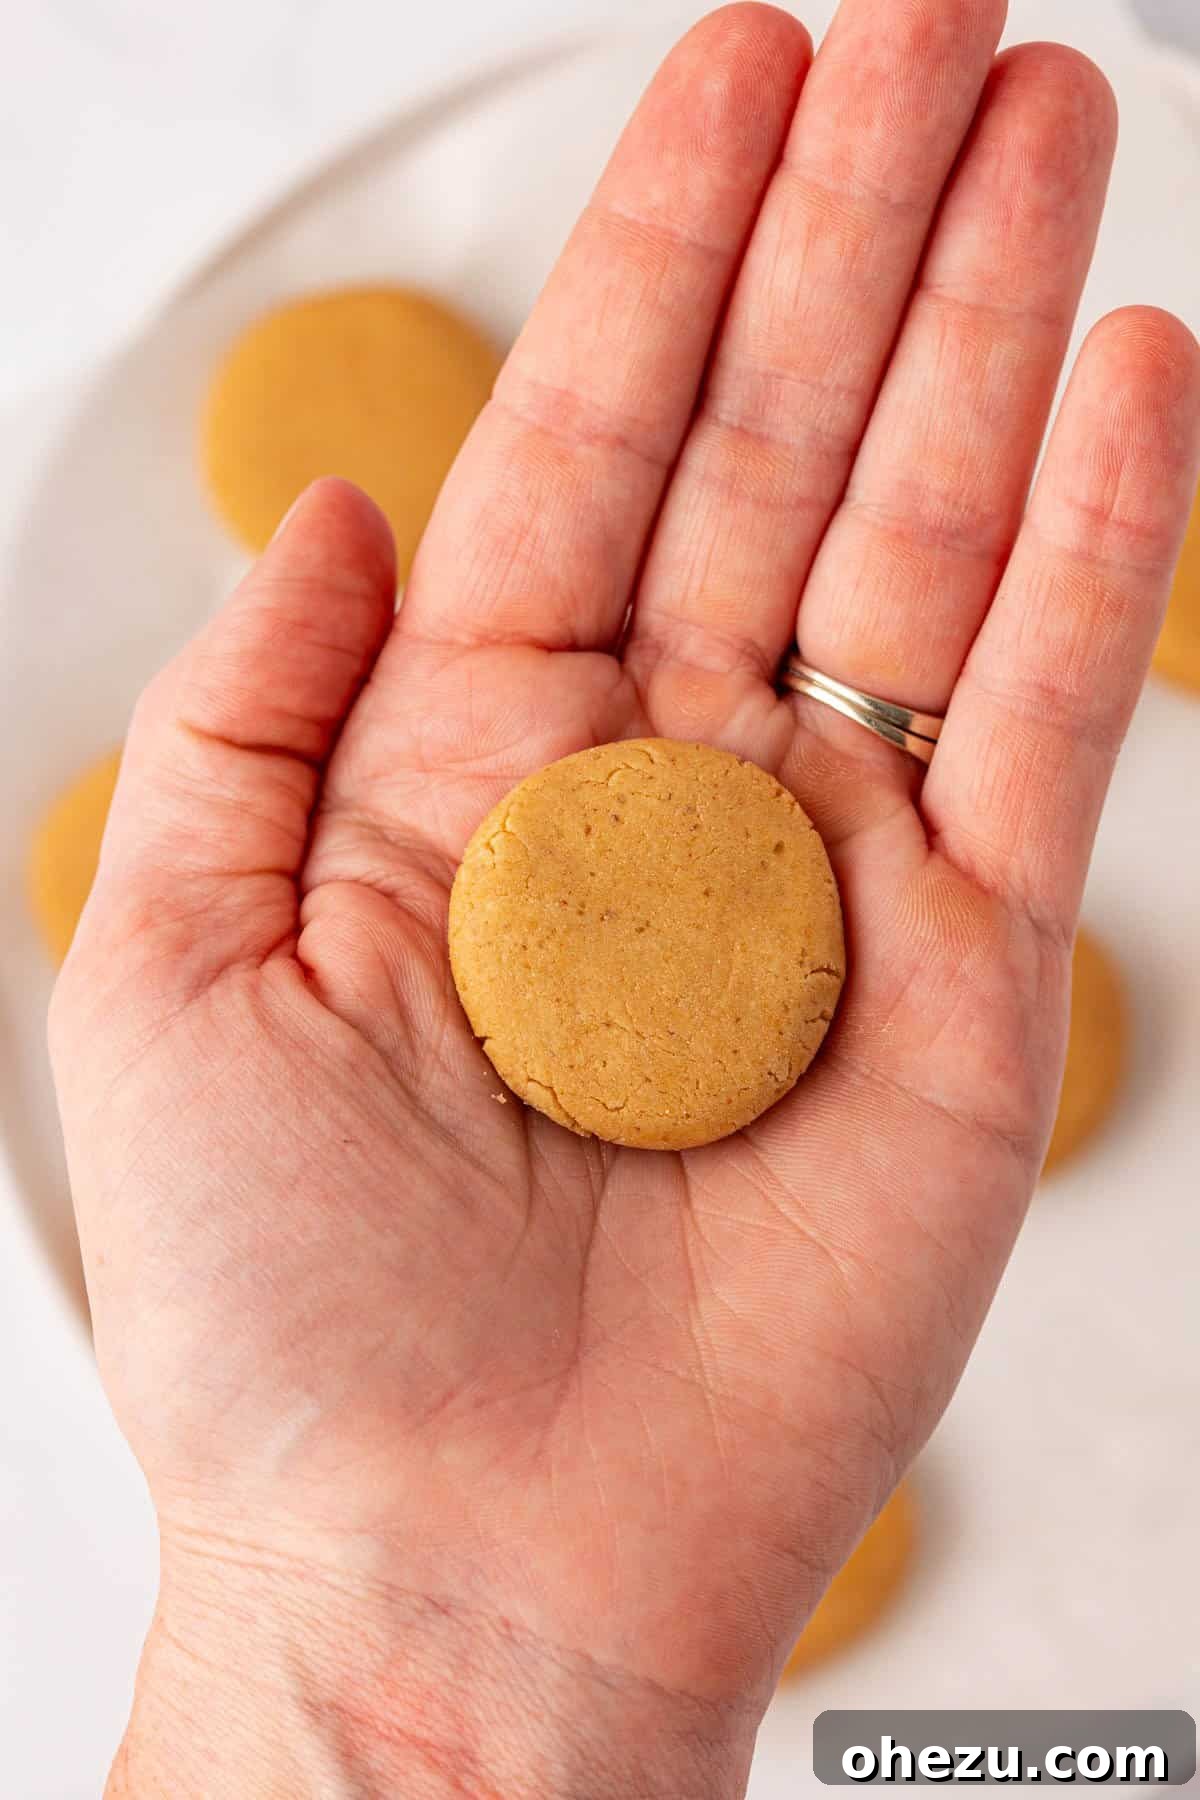
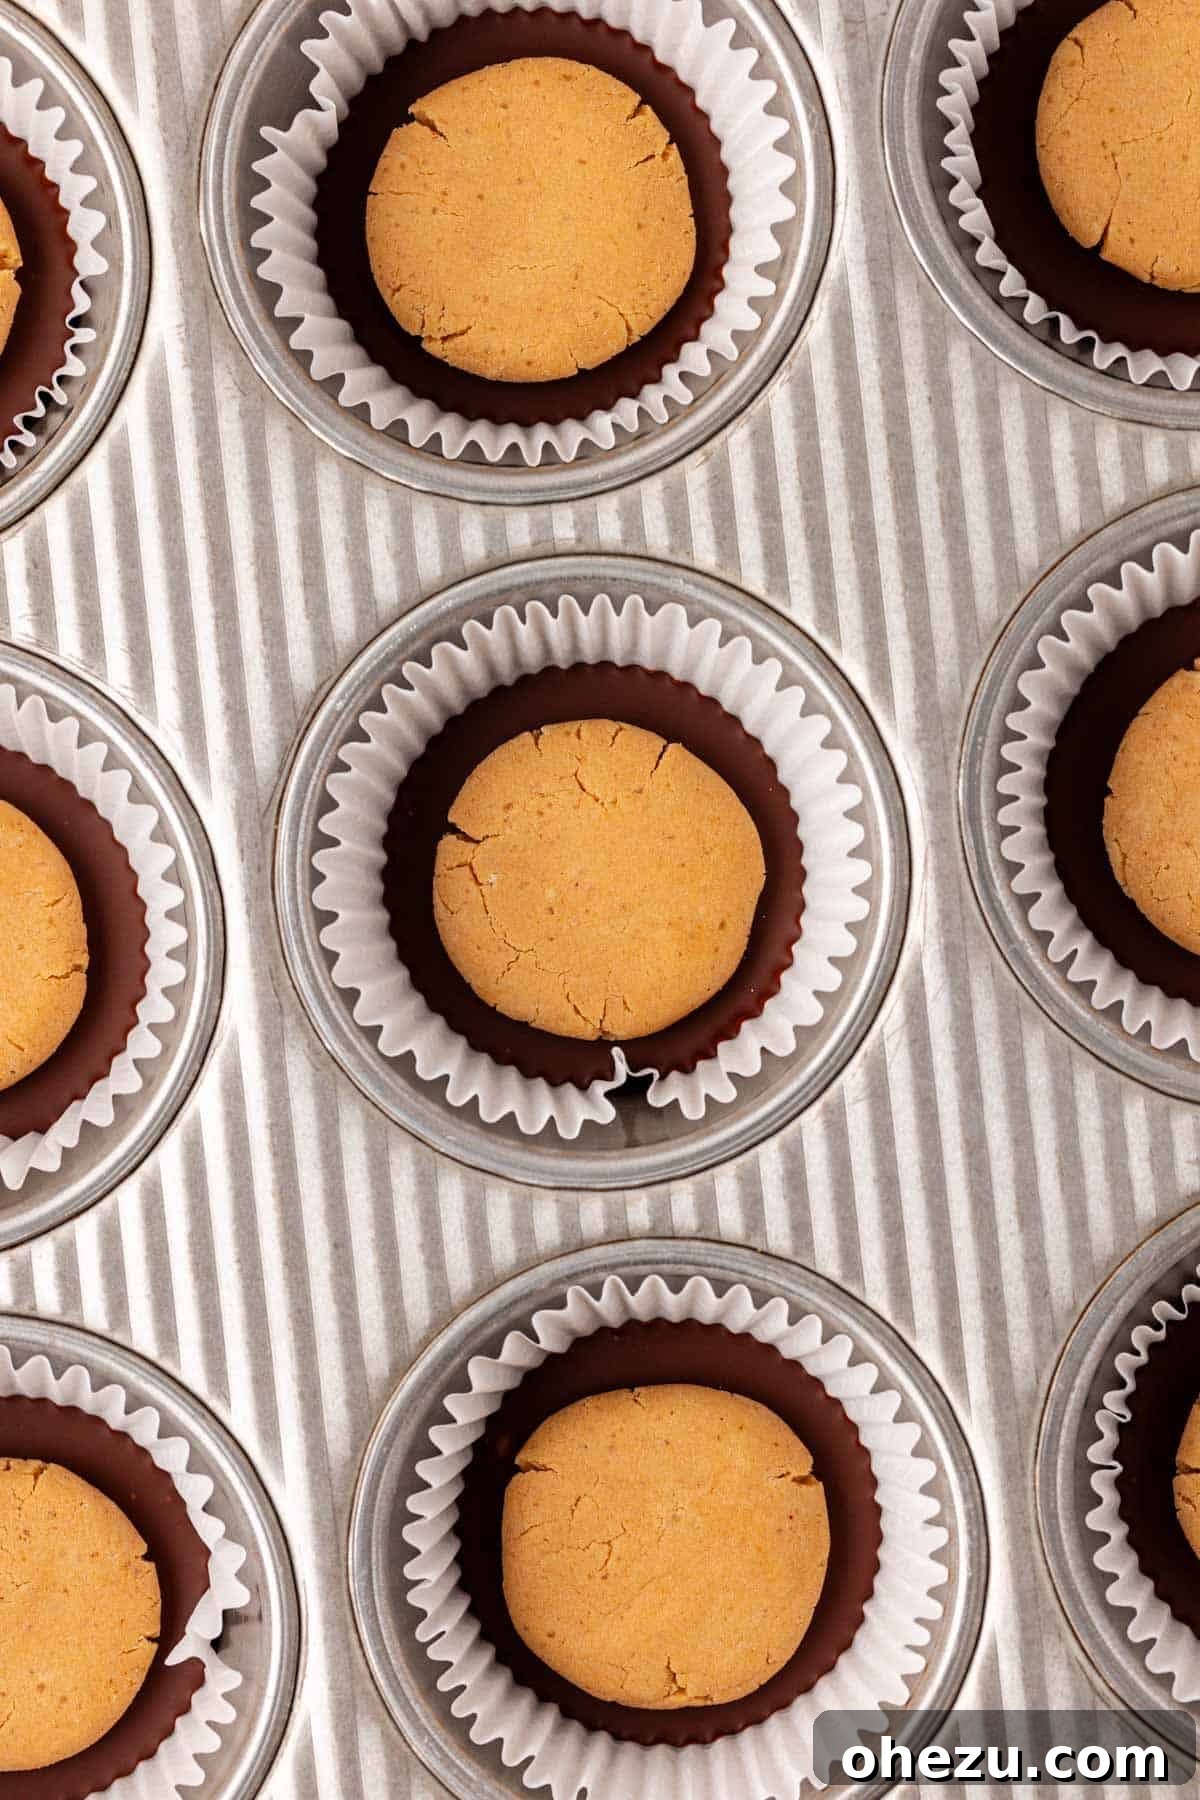
Divide the peanut butter filling evenly into 12 portions. Roll each portion into a small ball, then gently flatten it into a disc. These discs should be slightly smaller in width than your muffin liners to ensure they fit snugly inside the chocolate cups without touching the edges. This allows for a clean chocolate border around the filling.
Step 5: Assemble the Layers
Retrieve the muffin tin from the refrigerator. Carefully place one peanut butter disc on top of each hardened chocolate base in the liners. Press down gently to ensure it adheres to the chocolate layer without deforming the disc. The slight gap around the edge will allow the final chocolate layer to seal the cup.
Step 6: Top with Chocolate and Chill
Check your leftover melted chocolate. If it has hardened, microwave it for another 15-20 seconds to bring it back to a pourable consistency. Drizzle the remaining melted chocolate over the tops of the peanut butter discs, ensuring each disc is fully covered. Use a spoon or the back of a knife to gently spread the chocolate into an even layer, reaching the edges of the liner to completely encase the peanut butter filling.
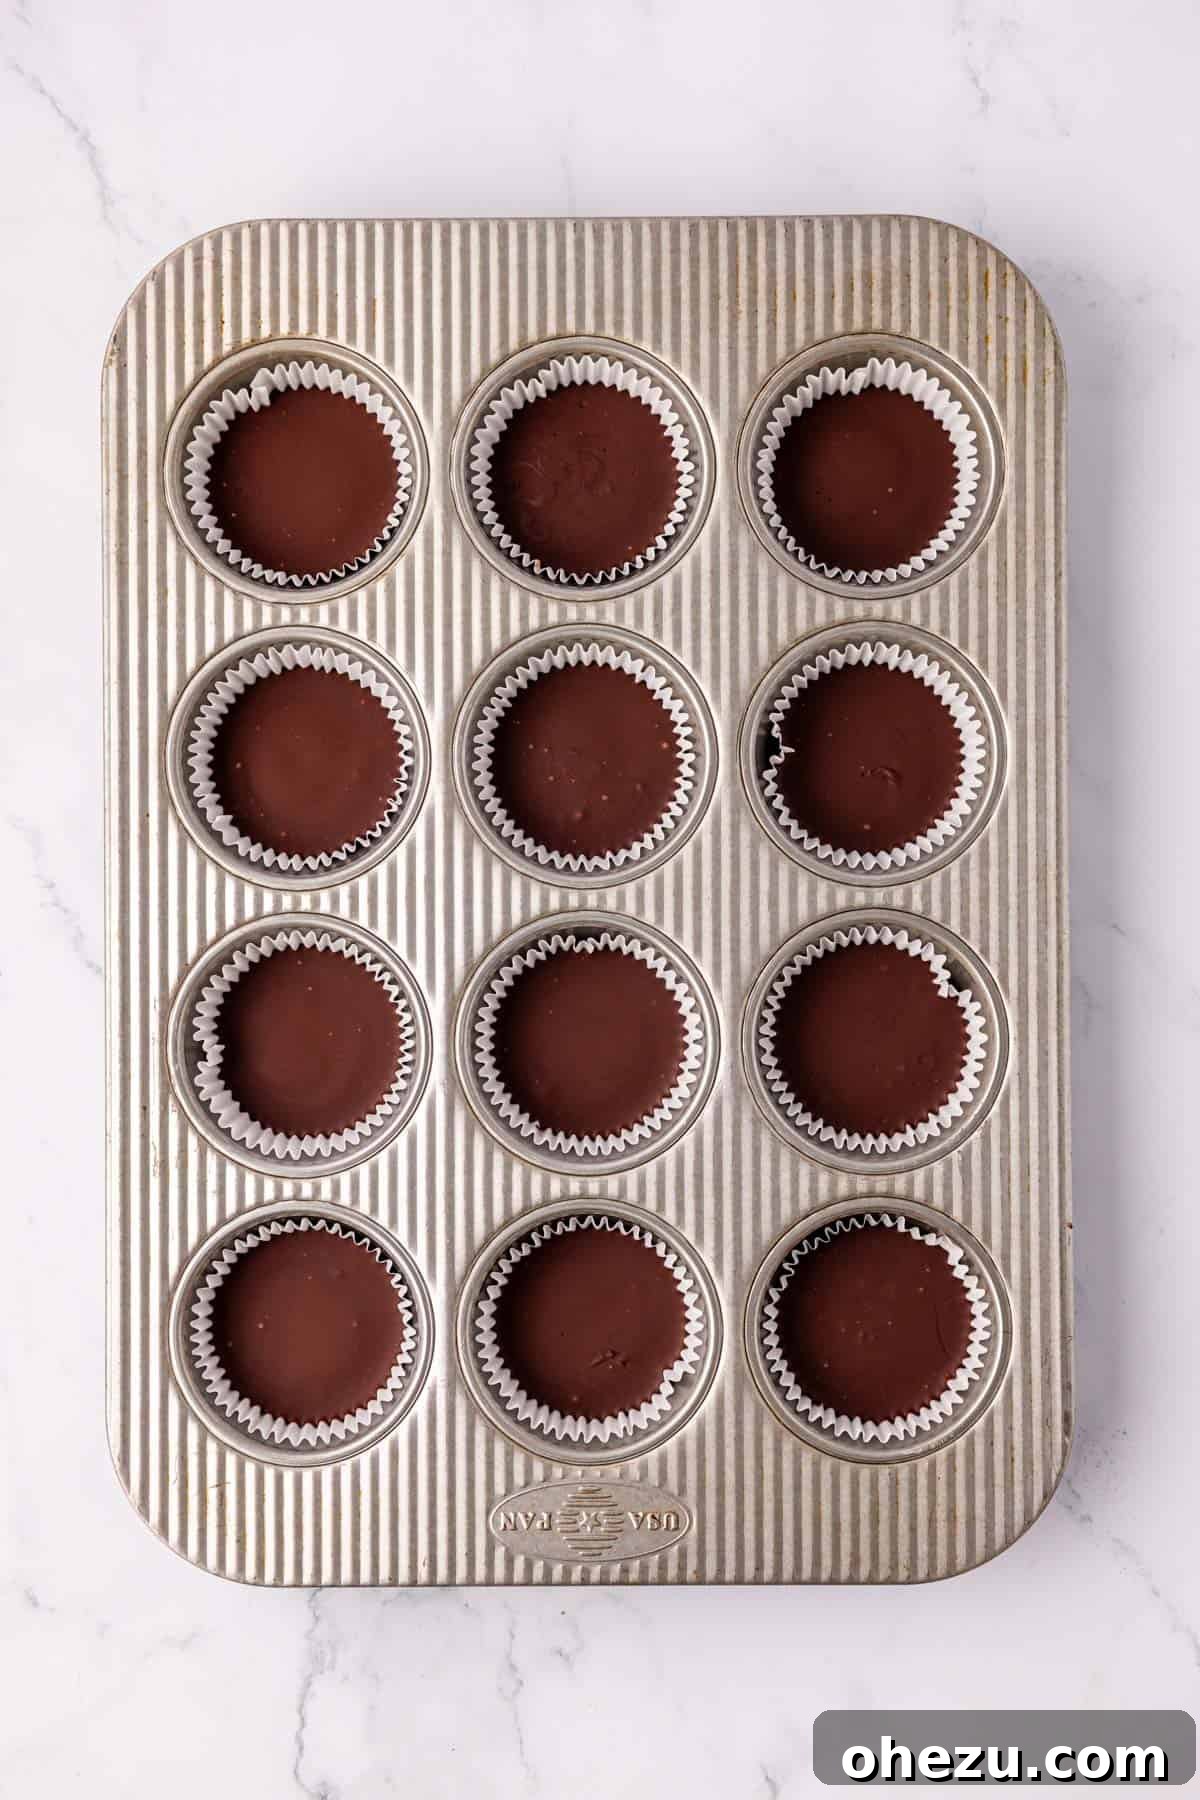
Once all cups are topped, place the muffin tin back into the refrigerator. Allow them to chill for at least one hour, or until the chocolate is completely set and firm. This step is crucial for achieving that satisfying snap when you bite into your homemade protein peanut butter cups.
Joy’s Tip
For those who, like me, adore the irresistible combination of salty and sweet, here’s a game-changing tip: before the final chocolate layer completely hardens, sprinkle a pinch of flaky sea salt over the tops of your Reese’s cups. This simple addition elevates the flavors, creating a gourmet touch and an incredible textural contrast that takes these protein peanut butter cups to an even higher level of deliciousness!
Storing Your Protein Peanut Butter Cups
Proper storage is essential to maintain the freshness, texture, and deliciousness of your homemade protein peanut butter cups. Due to the ingredients, particularly the chocolate and natural peanut butter, they are best kept cool.
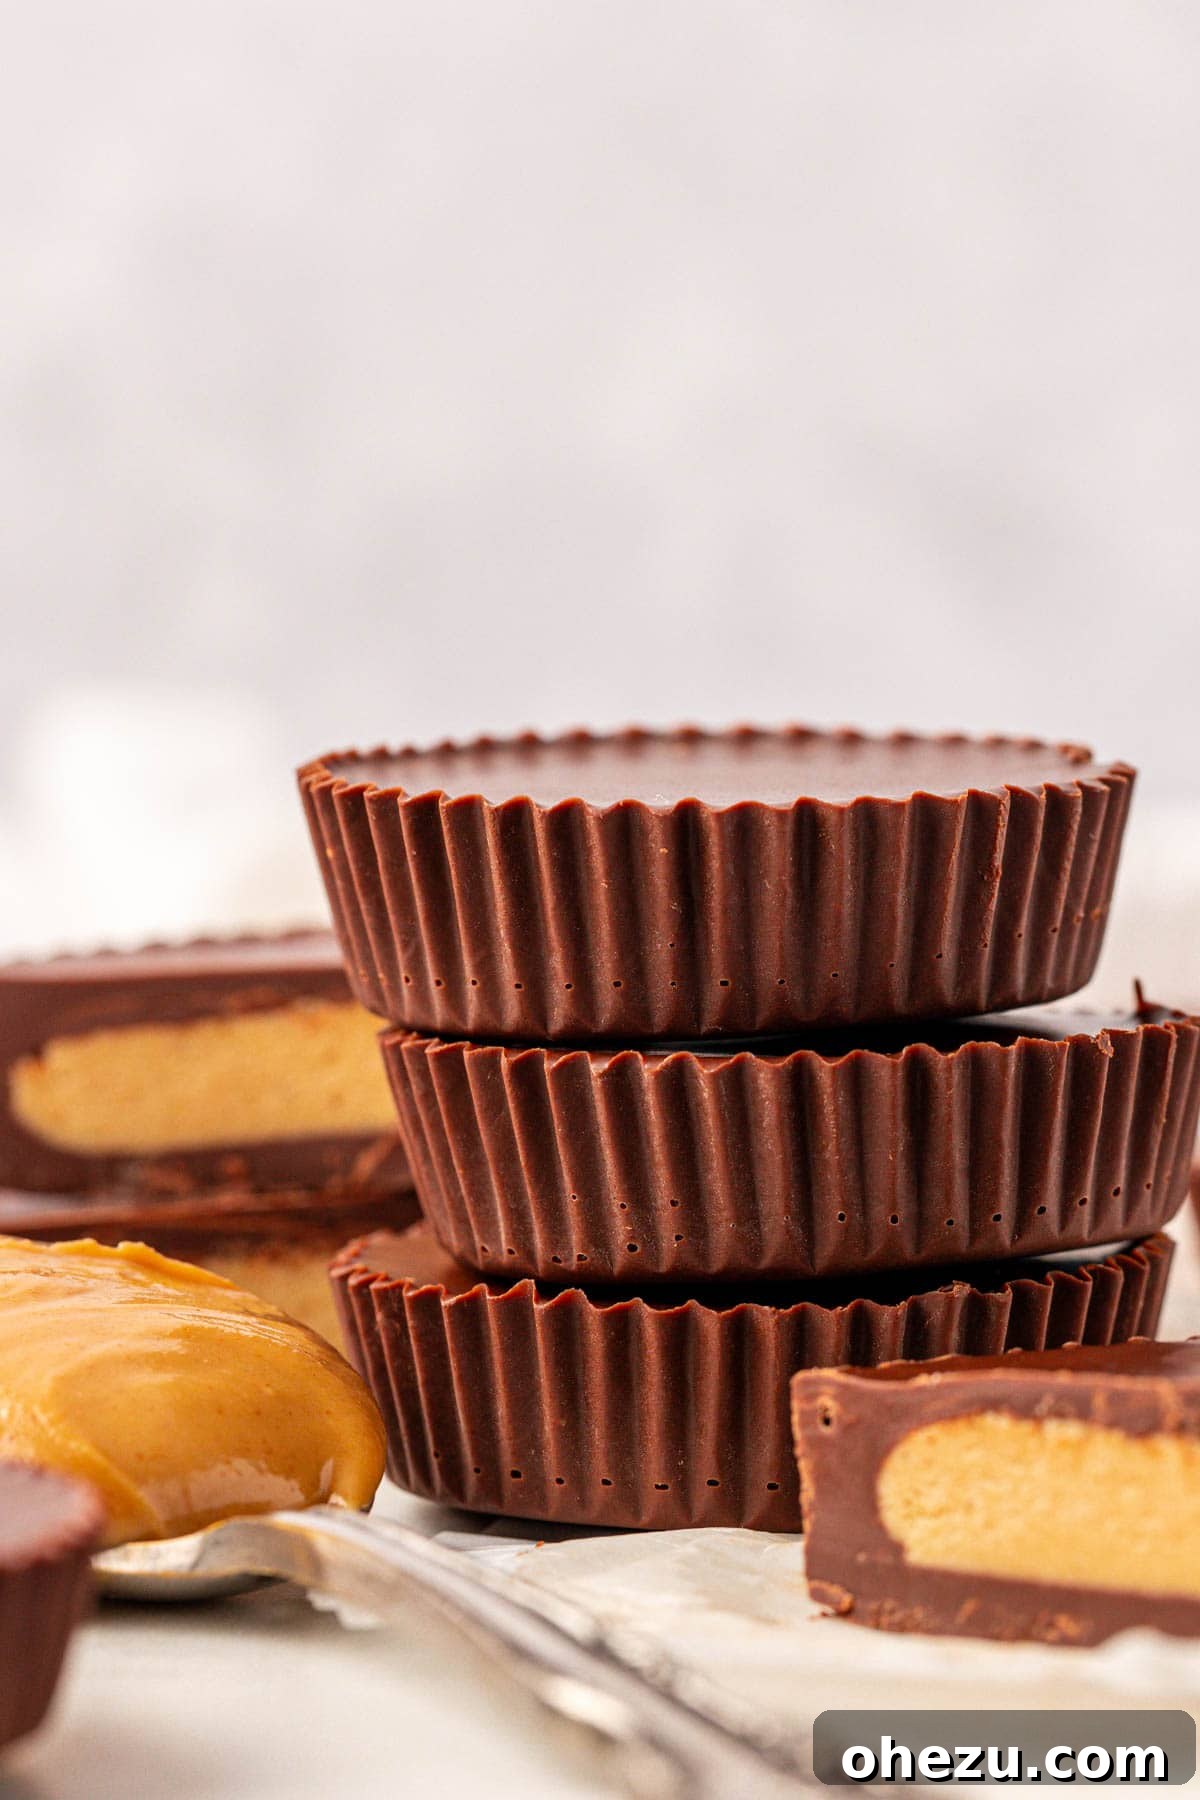
Store any leftover peanut butter cups in an airtight container to prevent them from absorbing odors or drying out. They will keep beautifully in the refrigerator for about one week. For longer-term storage, which I highly recommend for a quick grab-and-go snack, place them in the freezer. When stored in the freezer, these delightful treats can last for 1-2 months. I personally love enjoying them straight from the freezer for an extra firm, refreshing bite! Just pull one out when a craving hits, and let it thaw for a few minutes if desired, or enjoy it frozen for a firmer texture.
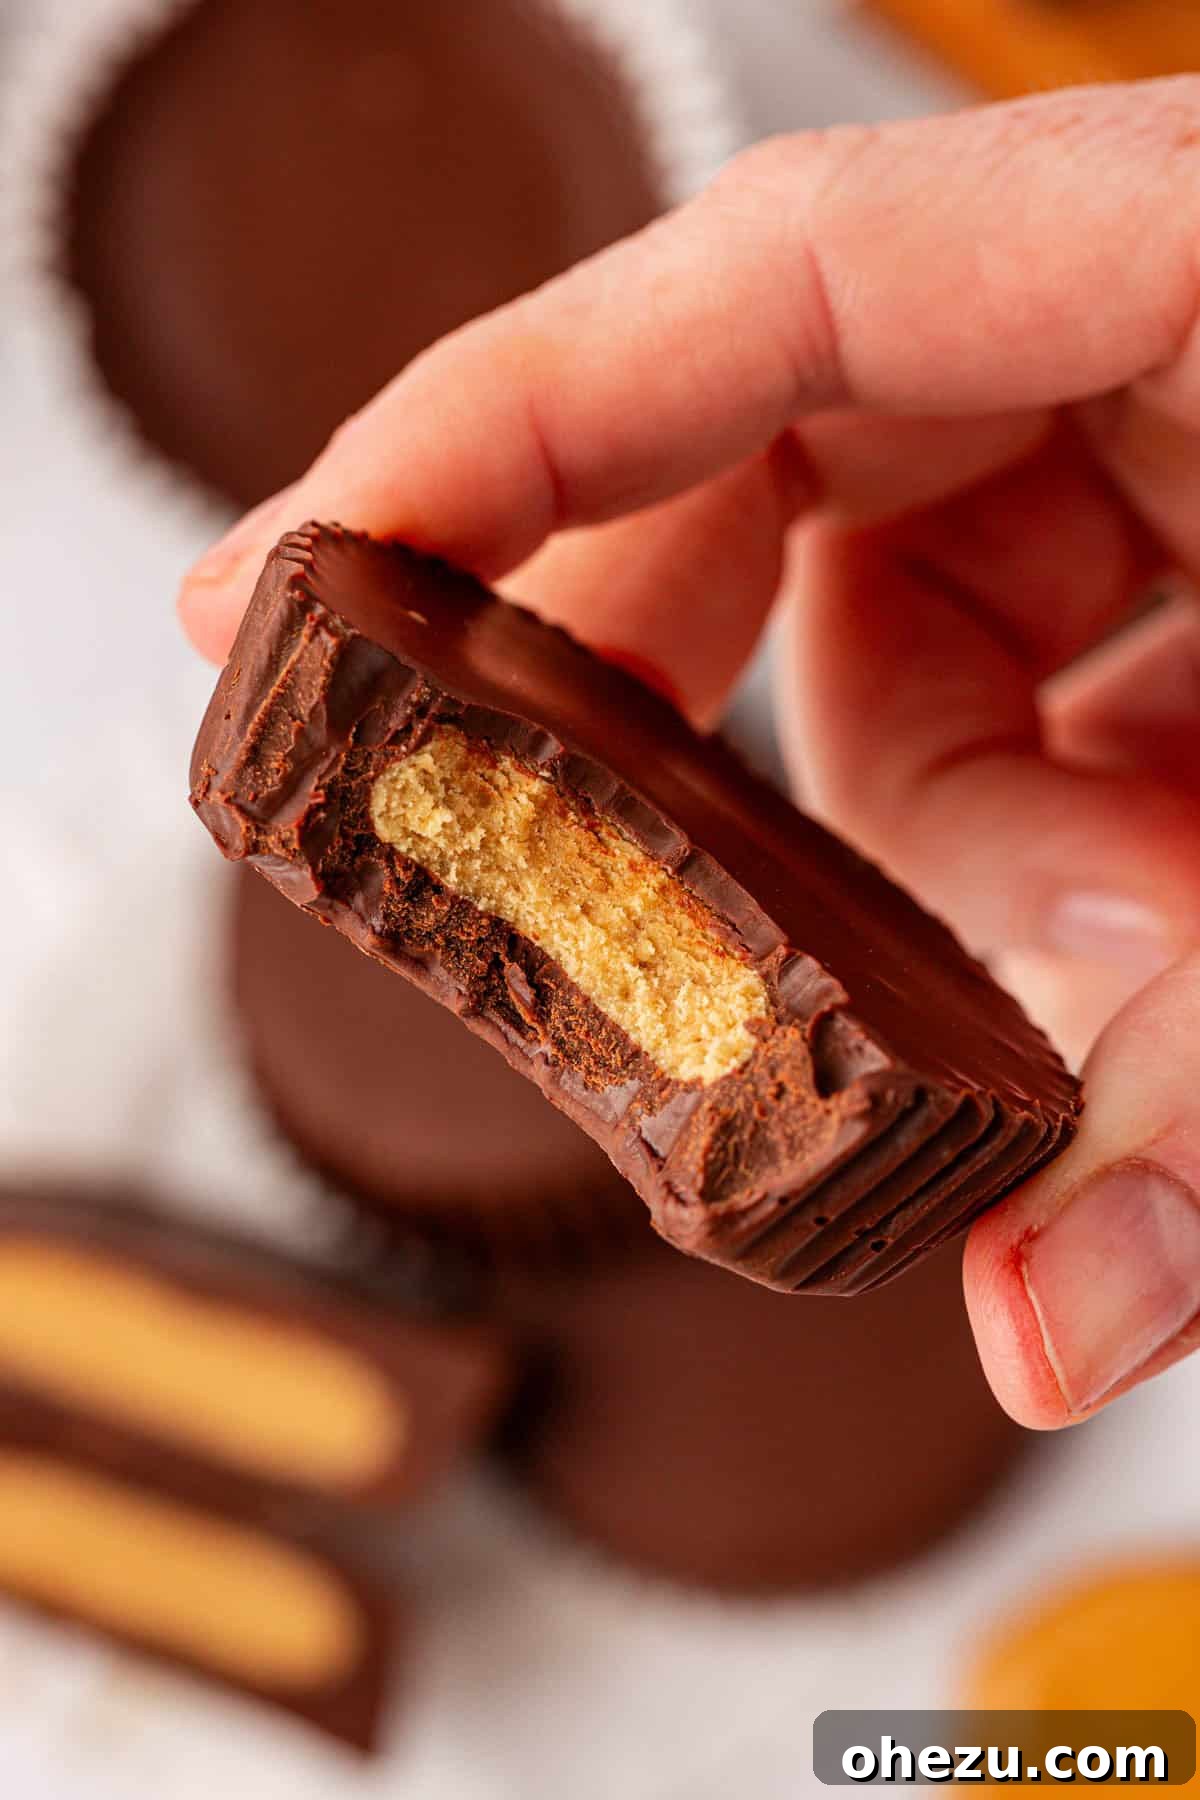
There is truly nothing better than pulling a homemade, protein-packed peanut butter cup out of your freezer precisely when your sweet tooth begins to call. These aren’t just snacks; they are one of my absolute favorite protein-rich sweet treats that truly hit the spot.
These protein peanut butter cups are not only indulgent-tasting but also so incredibly delicious that you will find yourself craving them regularly. They prove that healthy eating doesn’t mean sacrificing flavor or satisfaction.
Don’t just take my word for it—give these fantastic treats a try and experience the magic for yourself! I’d love to hear what you think in the comments below.
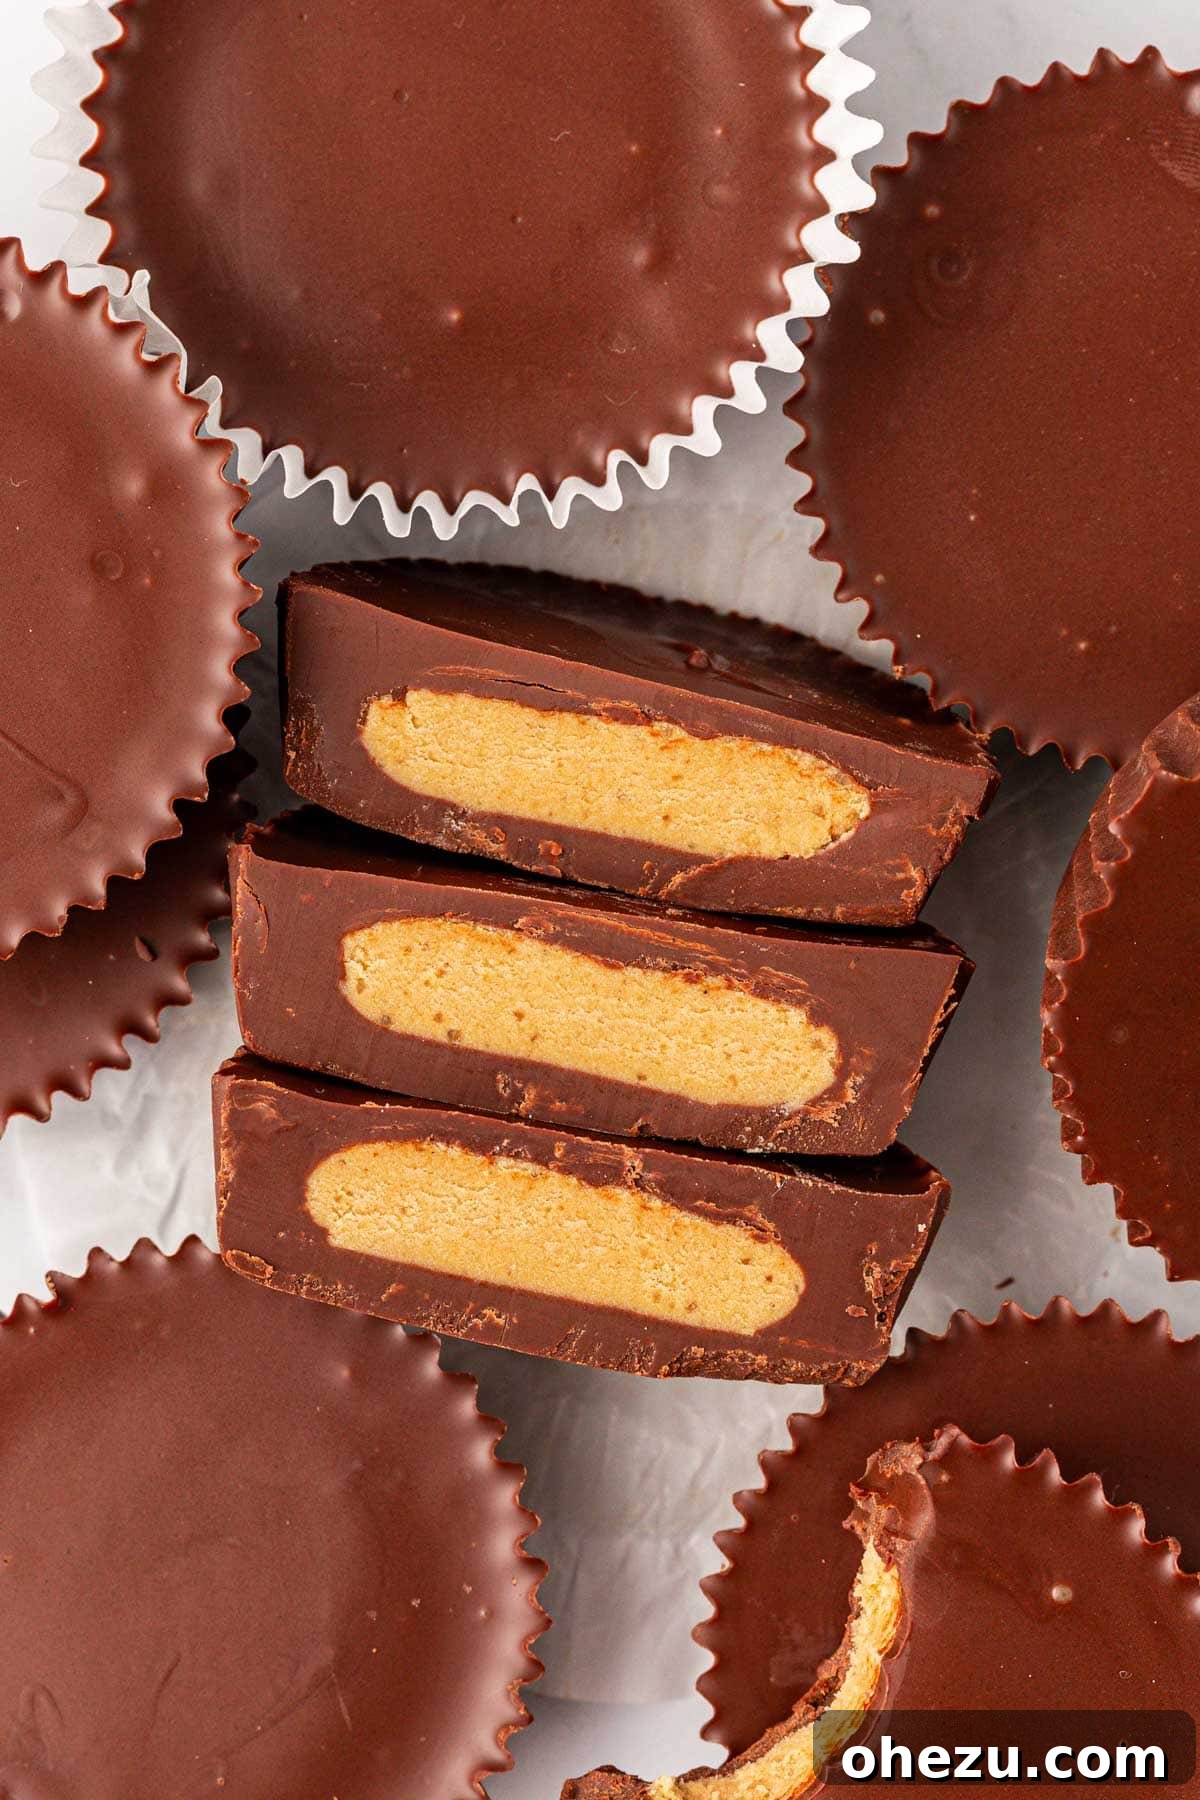
Variations and Customizations
One of the best things about this protein peanut butter cup recipe is how easily it can be adapted to suit your taste and dietary needs:
- Chocolate Choices: Experiment with different types of chocolate! Beyond semi-sweet, try dark chocolate for a more intense flavor, milk chocolate for extra sweetness, or even white chocolate for a unique twist.
- Nut Butter Alternatives: While peanut butter is classic, feel free to substitute with almond butter, cashew butter, or even sunflower seed butter for a nut-free option. Just ensure they are natural, creamy varieties.
- Flavor Enhancers: Add a tiny drop of peppermint extract to the chocolate or a pinch of cinnamon to the peanut butter for seasonal variations. A little orange zest can also brighten the flavors.
- Crunchy Add-Ins: Fold in some chopped roasted peanuts, mini chocolate chips, or even a sprinkle of Rice Krispies into the peanut butter filling for an added textural element.
- Make it Vegan: To ensure your protein peanut butter cups are 100% vegan, use a plant-based vanilla protein powder and verify that your chocolate chips are dairy-free. Many brands offer excellent vegan chocolate options now.
Frequently Asked Questions (FAQ)
- Can I use a different flavor of protein powder? Yes, absolutely! While vanilla protein powder complements the peanut butter beautifully, you can experiment with chocolate protein powder for a double chocolate effect, or even an unflavored protein powder if you prefer the pure peanut butter taste. Just be aware that different protein powders can affect the texture, so you might need to adjust the maple syrup slightly.
- Are these protein peanut butter cups gluten-free? Yes, this recipe is naturally gluten-free, assuming your protein powder, chocolate chips, and peanut butter are certified gluten-free. Always check the labels to be sure.
- How long do these take to set in the refrigerator? Typically, these cups need at least one hour in the refrigerator to fully set. If you’re in a hurry, you can place them in the freezer for about 20-30 minutes, but be careful not to freeze them solid if you prefer a softer texture.
- Can I make these without protein powder? Yes, you can! If you omit the protein powder, you might need to reduce the amount of peanut butter or add a tablespoon or two of powdered sugar or oat flour to achieve the desired firm consistency for the filling. The “protein” aspect will be gone, but they’ll still be delicious peanut butter cups.
- Why is natural peanut butter important? Natural peanut butter, usually just peanuts and salt, has a runnier consistency without added sugars and oils. This is crucial for mixing smoothly with the protein powder and maple syrup to create a creamy, pliable filling. Conventional peanut butters are often too thick and can make the filling crumbly.
More Protein Recipes You’ll Love
If you’re a fan of these protein-packed delights, be sure to explore some of my other favorite recipes designed to keep you energized and satisfied:
- Peanut Butter Chocolate Chip Protein Bars
- Peanut Butter Pretzel Energy Bites
- Protein Overnight Oats
- Chocolate Protein Bars
- Protein Mug Cake
- Oatmeal Cookie Energy Bites
- Almond Butter Protein Balls
- Chocolate Protein Balls
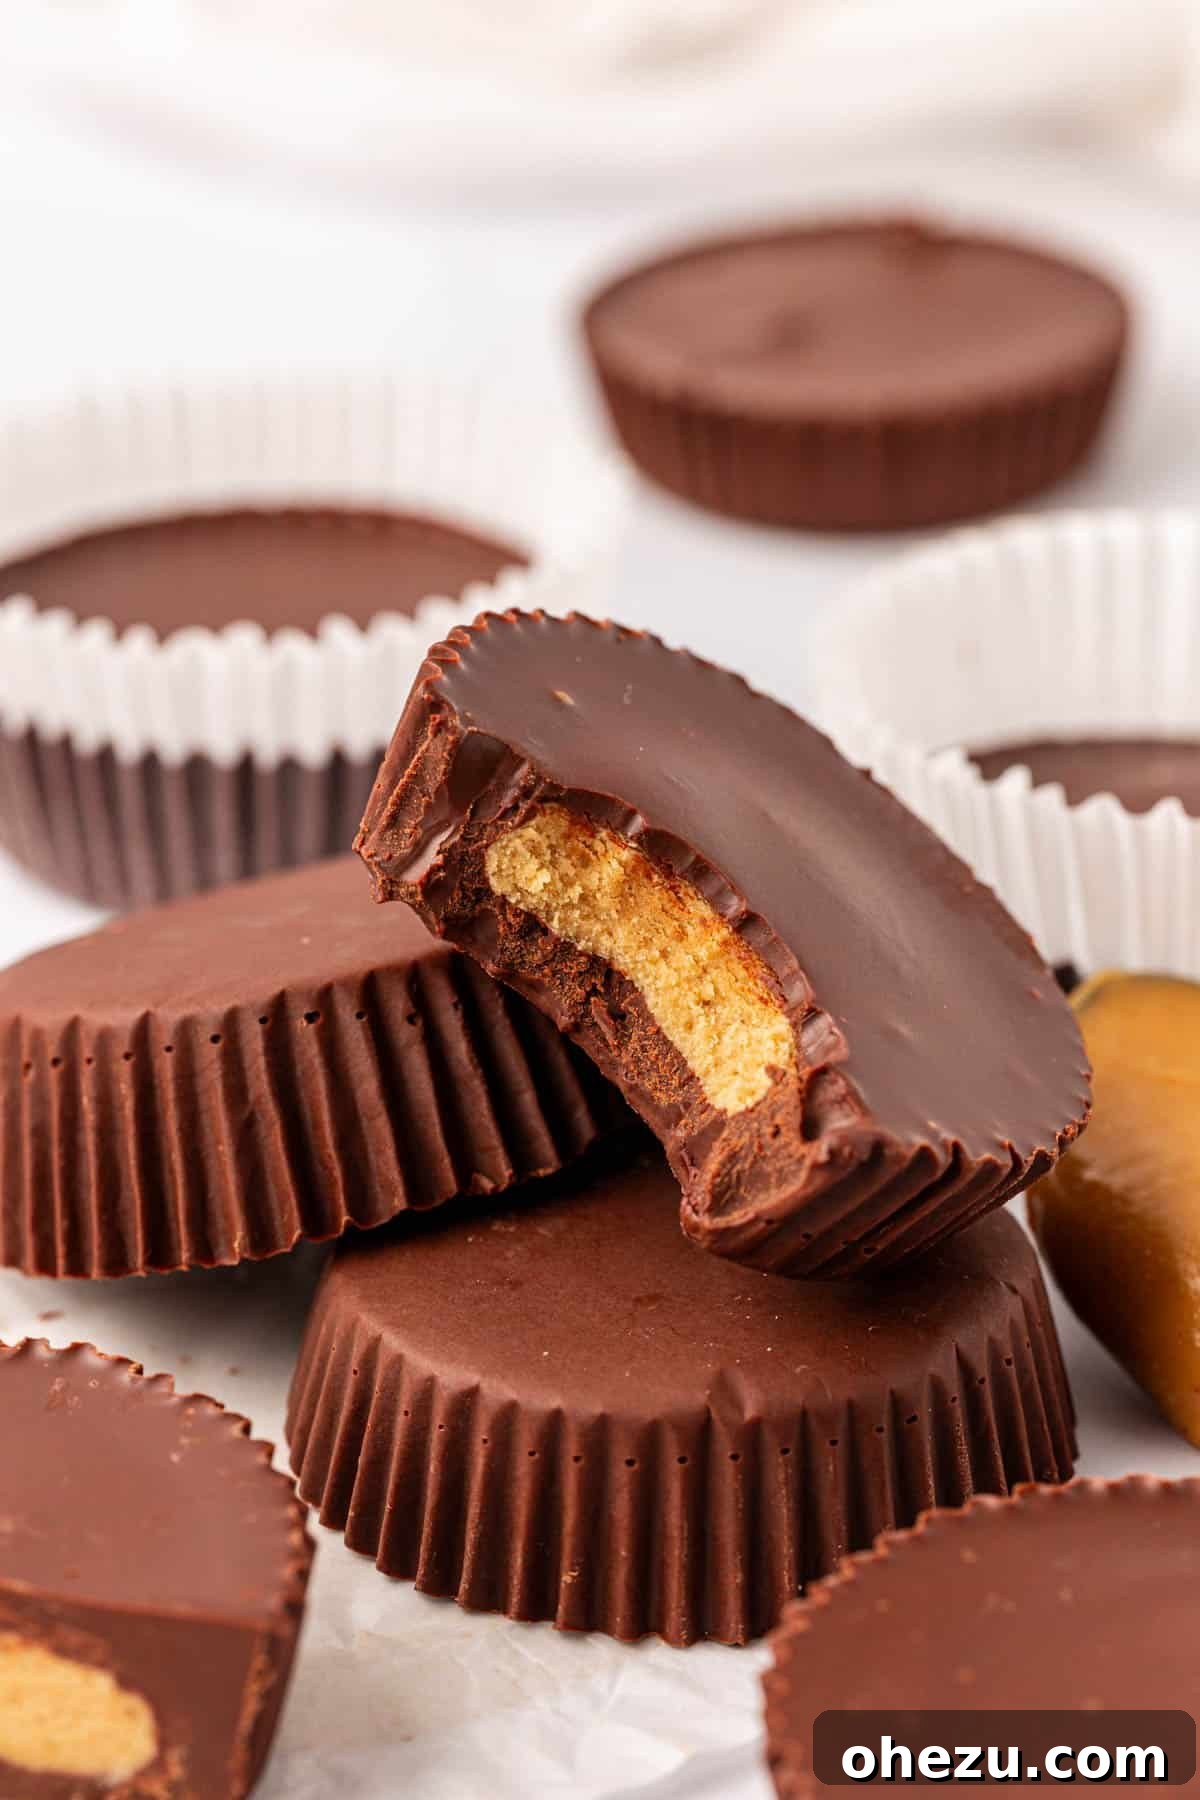
Protein Peanut Butter Cups
Joy Shull
20 minutes
1 hour
1 hour
20 minutes
12
Print Recipe
Ingredients
For the Chocolate Layers
- 12 oz semi-sweet chocolate chips (or dark chocolate for a richer flavor)
- 1 teaspoon coconut oil, measured solid
- 1/4 teaspoon vanilla extract
For the Protein Peanut Butter Filling
- 1/4 cup natural creamy peanut butter, ensure ingredients are just peanuts + salt
- 2 tablespoons pure maple syrup
- 1/3 cup vanilla protein powder
- 1/4 teaspoon salt (optional, adjust to taste)
Instructions
-
Line a muffin tin with parchment paper muffin liners.
-
Add the chocolate chips and coconut oil to a microwave-safe bowl. Microwave the chocolate chips in 30-second intervals, stirring each time, until melted and smooth.
-
Once the chocolate is melted, stir in the vanilla extract.
-
Pour 1 heaping teaspoon of the melted chocolate into the bottom of each muffin liner, then spread it out to the edges until it is in a flat, even layer. Repeat this for all 12 muffin cups.
-
Place the muffin tin in the refrigerator while you prepare the peanut butter filling.
-
Place the natural peanut butter in a microwave-safe bowl and microwave for 15-20 seconds, until it is slightly runny.
-
Stir in the vanilla protein powder, salt, and maple syrup until thoroughly combined into a thick, uniform filling.
-
Divide the peanut butter filling into 12 equal portions. Roll each portion into a disc that is slightly smaller than the width of the muffin liner.
-
Remove the muffin tin from the refrigerator and carefully place one peanut butter disc onto the top of each hardened chocolate cup base.
-
If your leftover melted chocolate has hardened, microwave it for another 15-20 seconds to loosen it up.
-
Drizzle the remaining chocolate over the tops of the peanut butter discs, smoothing the chocolate out over the top in an even layer to the edges, fully encasing the filling.
-
Place the peanut butter cups back into the refrigerator for one hour, or until completely set and firm.
-
Store leftover peanut butter cups in an airtight container in the refrigerator or freezer.
Notes
To make these vegan:
To make these protein peanut butter cups suitable for a vegan diet, ensure you use a vegan protein powder and verify that your chosen chocolate chips are dairy-free. There are many delicious plant-based options available for both.
Storing:
Store any leftover protein peanut butter cups in the refrigerator or freezer within an airtight container. They will maintain their quality for approximately one week in the refrigerator, or 1-2 months when kept in the freezer. I personally prefer the texture and refreshing chill when eating them straight from the freezer!
Nutrition
Calories:
220kcal
Carbohydrates:
19g
Protein:
5g
Fat:
14g
Saturated Fat:
7g
Polyunsaturated Fat:
1g
Monounsaturated Fat:
5g
Trans Fat:
0.02g
Cholesterol:
7mg
Sodium:
79mg
Potassium:
208mg
Fiber:
3g
Sugar:
13g
Vitamin A:
22IU
Calcium:
34mg
Iron:
2mg
Like this recipe? We’d love to hear from you!
Share your thoughts and rate it below!