
The Ultimate Guide to Making Irresistible No-Bake Oreo Balls
These classic Oreo balls are a timeless favorite no-bake dessert, effortlessly bringing smiles to any occasion!
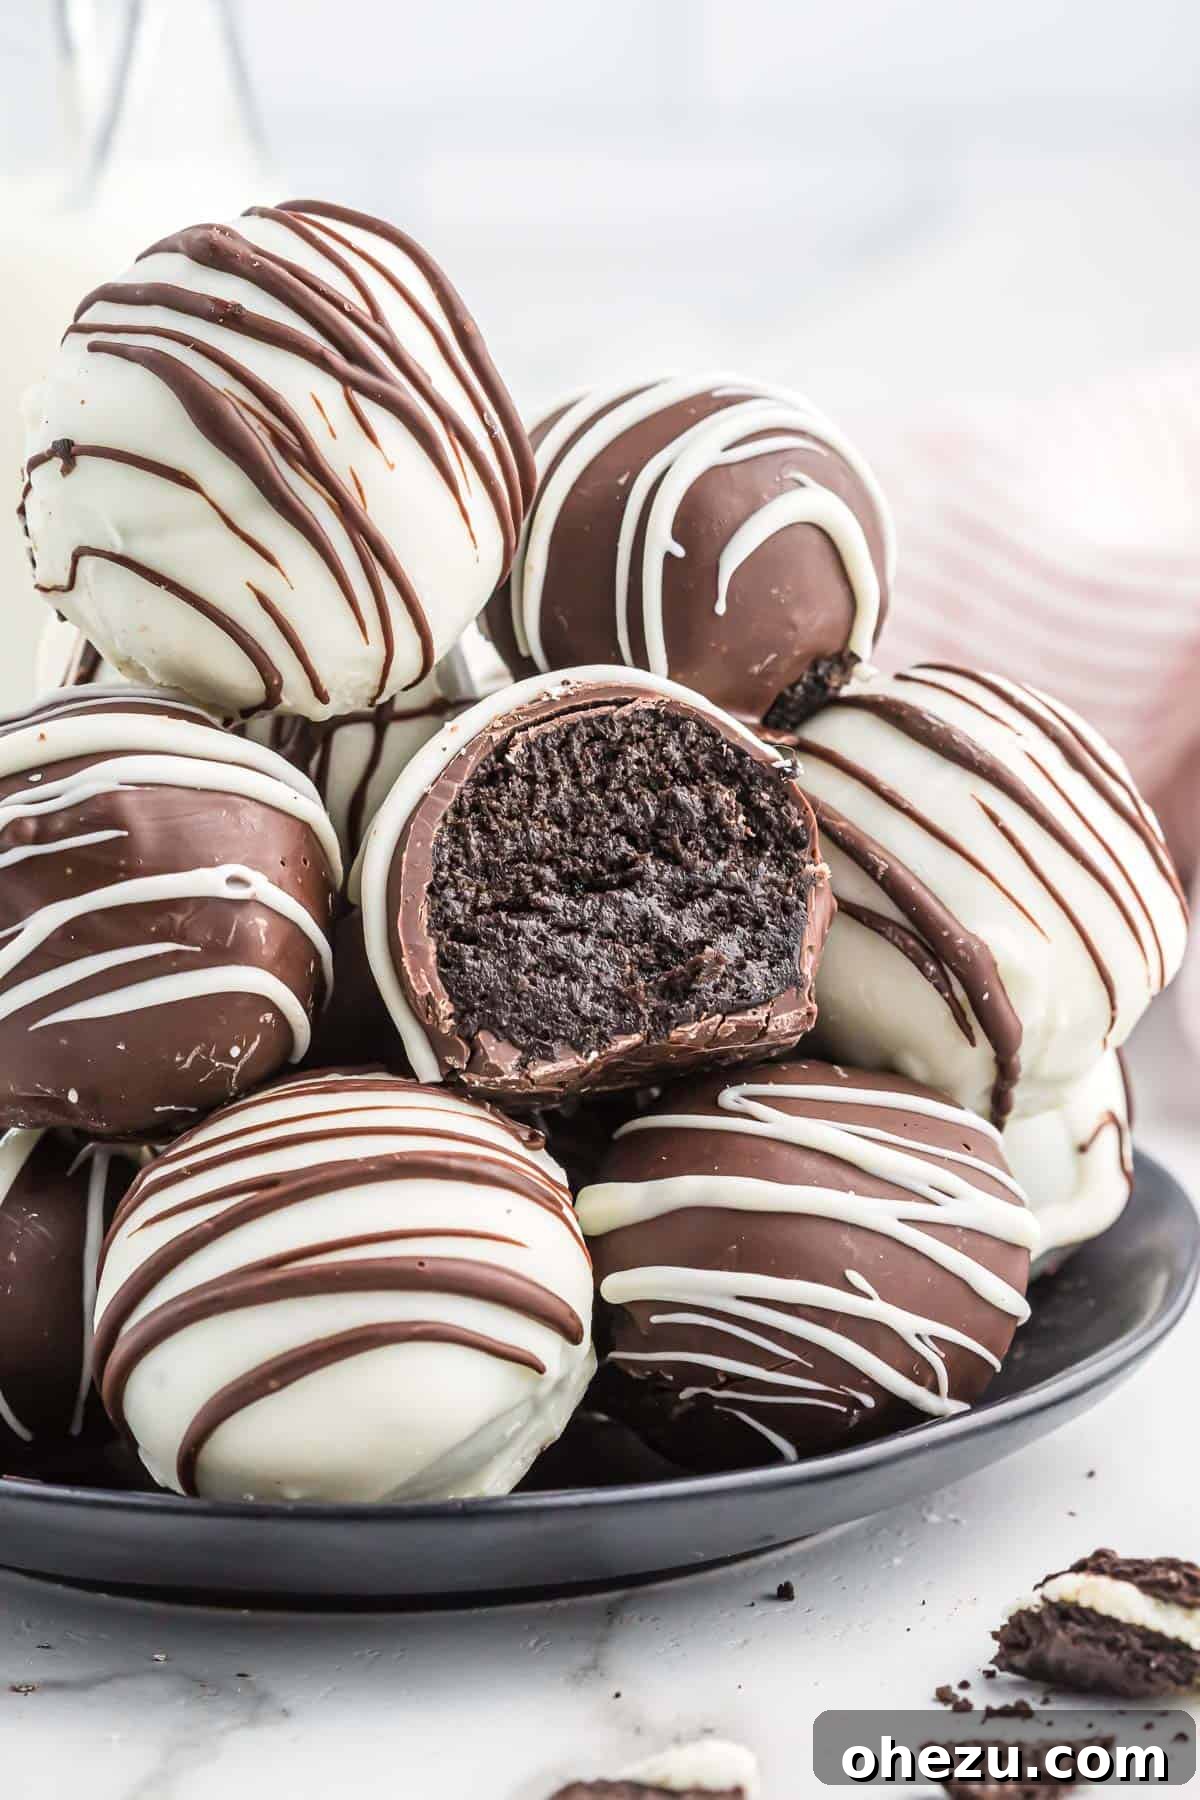
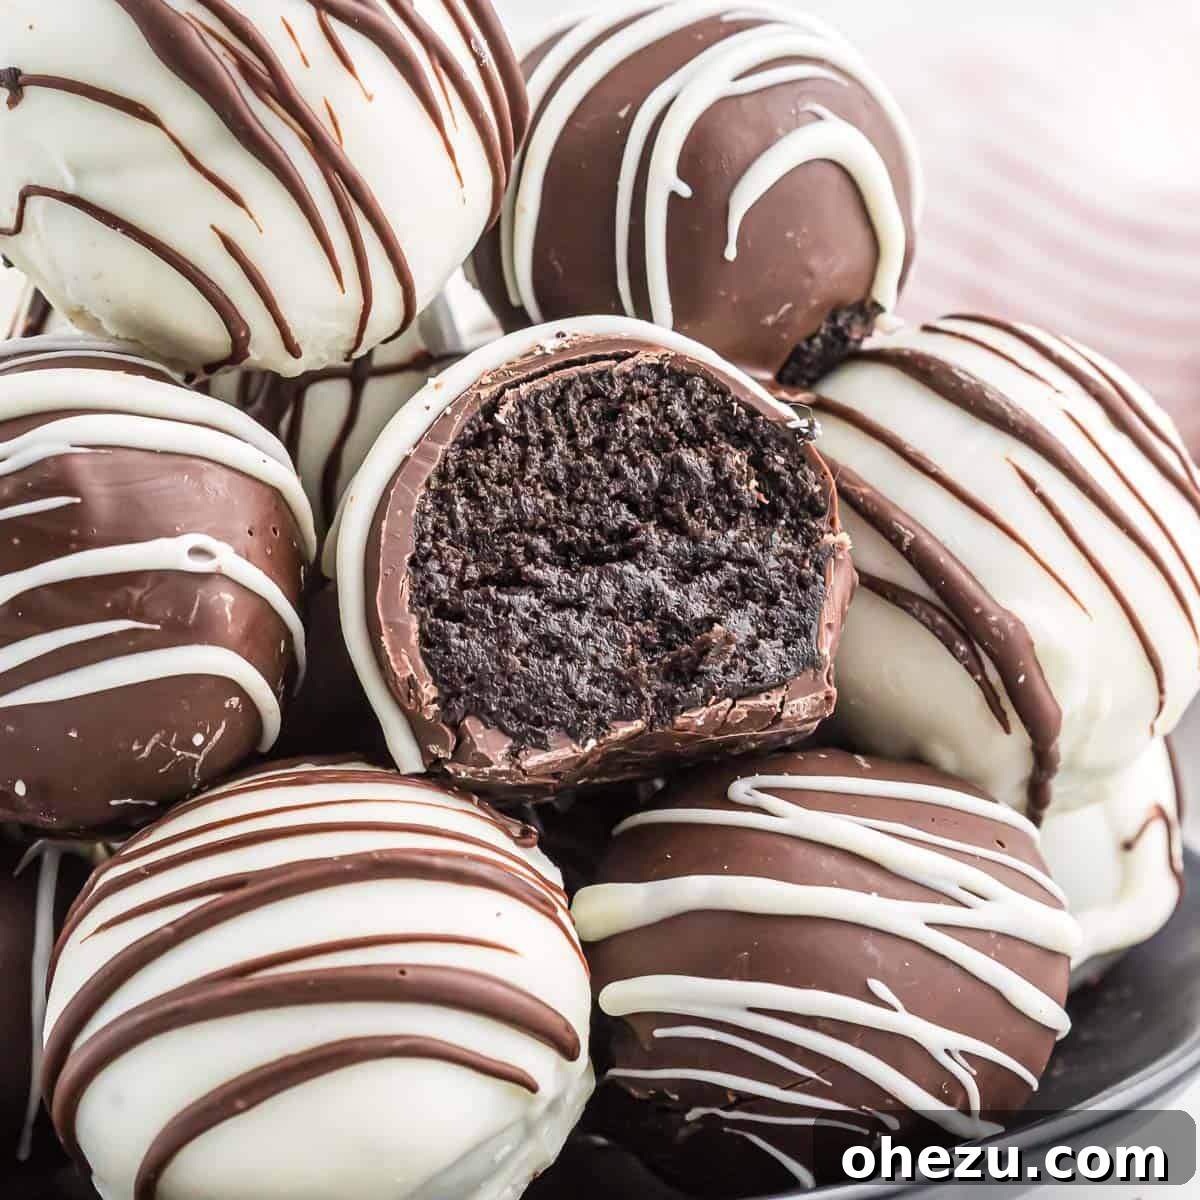
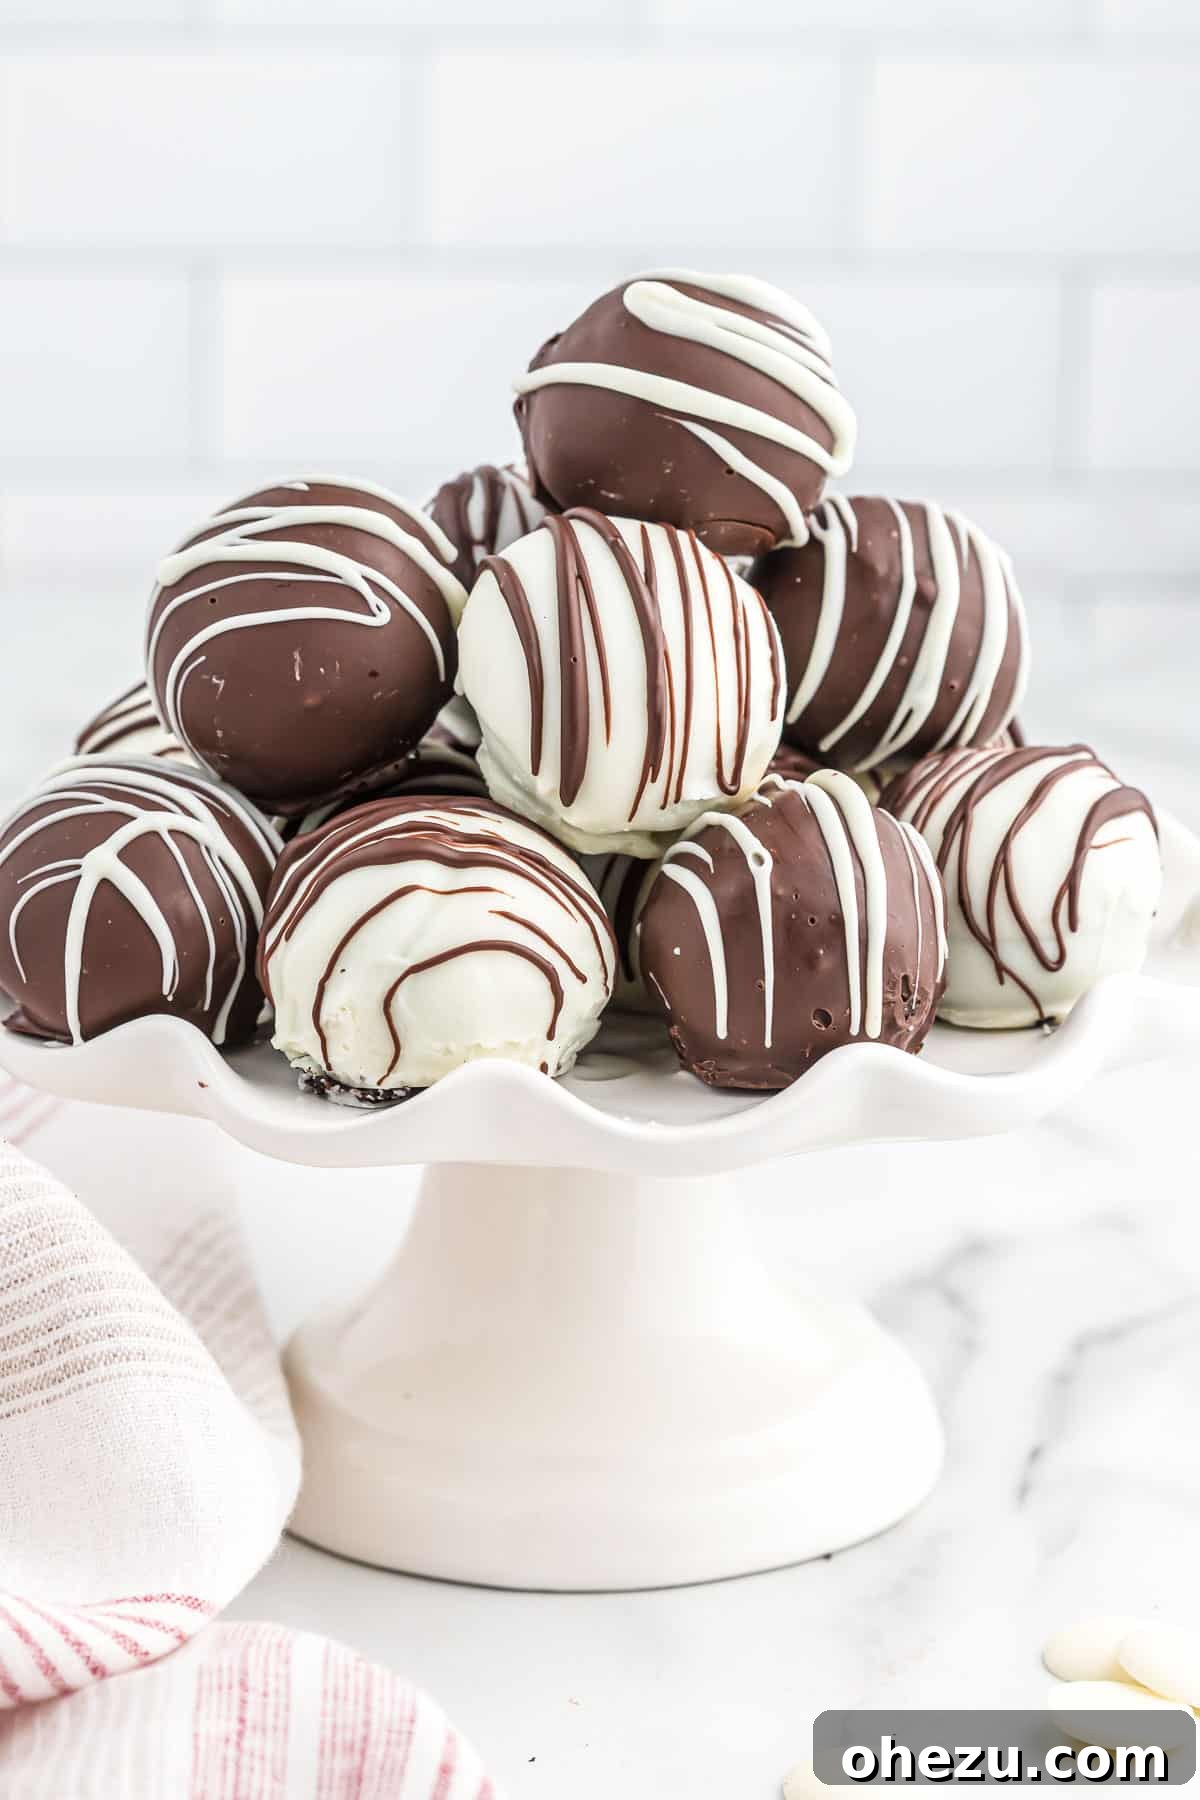
Few desserts capture hearts quite like classic Oreo Balls. These delightful, bite-sized treats, also known as Oreo Truffles, are the epitome of simple indulgence. Imagine the rich, unmistakable flavor of America’s favorite cookie blended with creamy, tangy cream cheese, all enveloped in a smooth, decadent chocolate shell. It’s a match made in dessert heaven, requiring no baking whatsoever!
Making these irresistible truffles is surprisingly straightforward. With just a handful of ingredients and a few simple steps, you can create a show-stopping dessert that tastes incredibly gourmet. Whether you’re a seasoned baker or a complete novice in the kitchen, this Oreo ball recipe is virtually foolproof, guaranteeing a seriously delicious outcome every time. Once dipped in melted chocolate and adorned with your favorite decorations, these sweet spheres transform into perfect confections for any celebration.
Why You’ll Love This No-Bake Oreo Truffle Recipe
There are countless reasons why Oreo balls have become a staple in homes and at parties. Their popularity stems from a perfect blend of simplicity, flavor, and versatility:
- Effortlessly Easy: Forget turning on the oven! This is a true no-bake marvel, ideal for hot days or when you just want a quick sweet fix.
- Minimal Ingredients: You only need three core ingredients – Oreos, cream cheese, and chocolate. It’s a testament to how incredible simple combinations can be.
- Quick to Prepare: The hands-on time is surprisingly short, making it perfect for last-minute treats or when you’re pressed for time.
- Crowd-Pleasing Favorite: From kids to adults, everyone adores the familiar taste of Oreos combined with rich chocolate and a creamy center.
- Infinitely Customizable: These truffles are a blank canvas for creativity. Change the Oreo flavor, chocolate coating, or sprinkles to match any theme or holiday.
- Perfect for Any Occasion: Elegant enough for special events yet simple enough for a casual gathering, Oreo balls are always a welcome addition. They’re especially fantastic for Halloween Oreo Balls and Christmas Oreo Balls, allowing you to use seasonal sprinkles to add a festive touch every year. They are also wonderful for Valentine’s Day, birthday parties, graduations, and other special occasions.
Essential Ingredients for Oreo Truffles
The magic of Oreo balls lies in their simplicity, requiring only a few readily available ingredients:
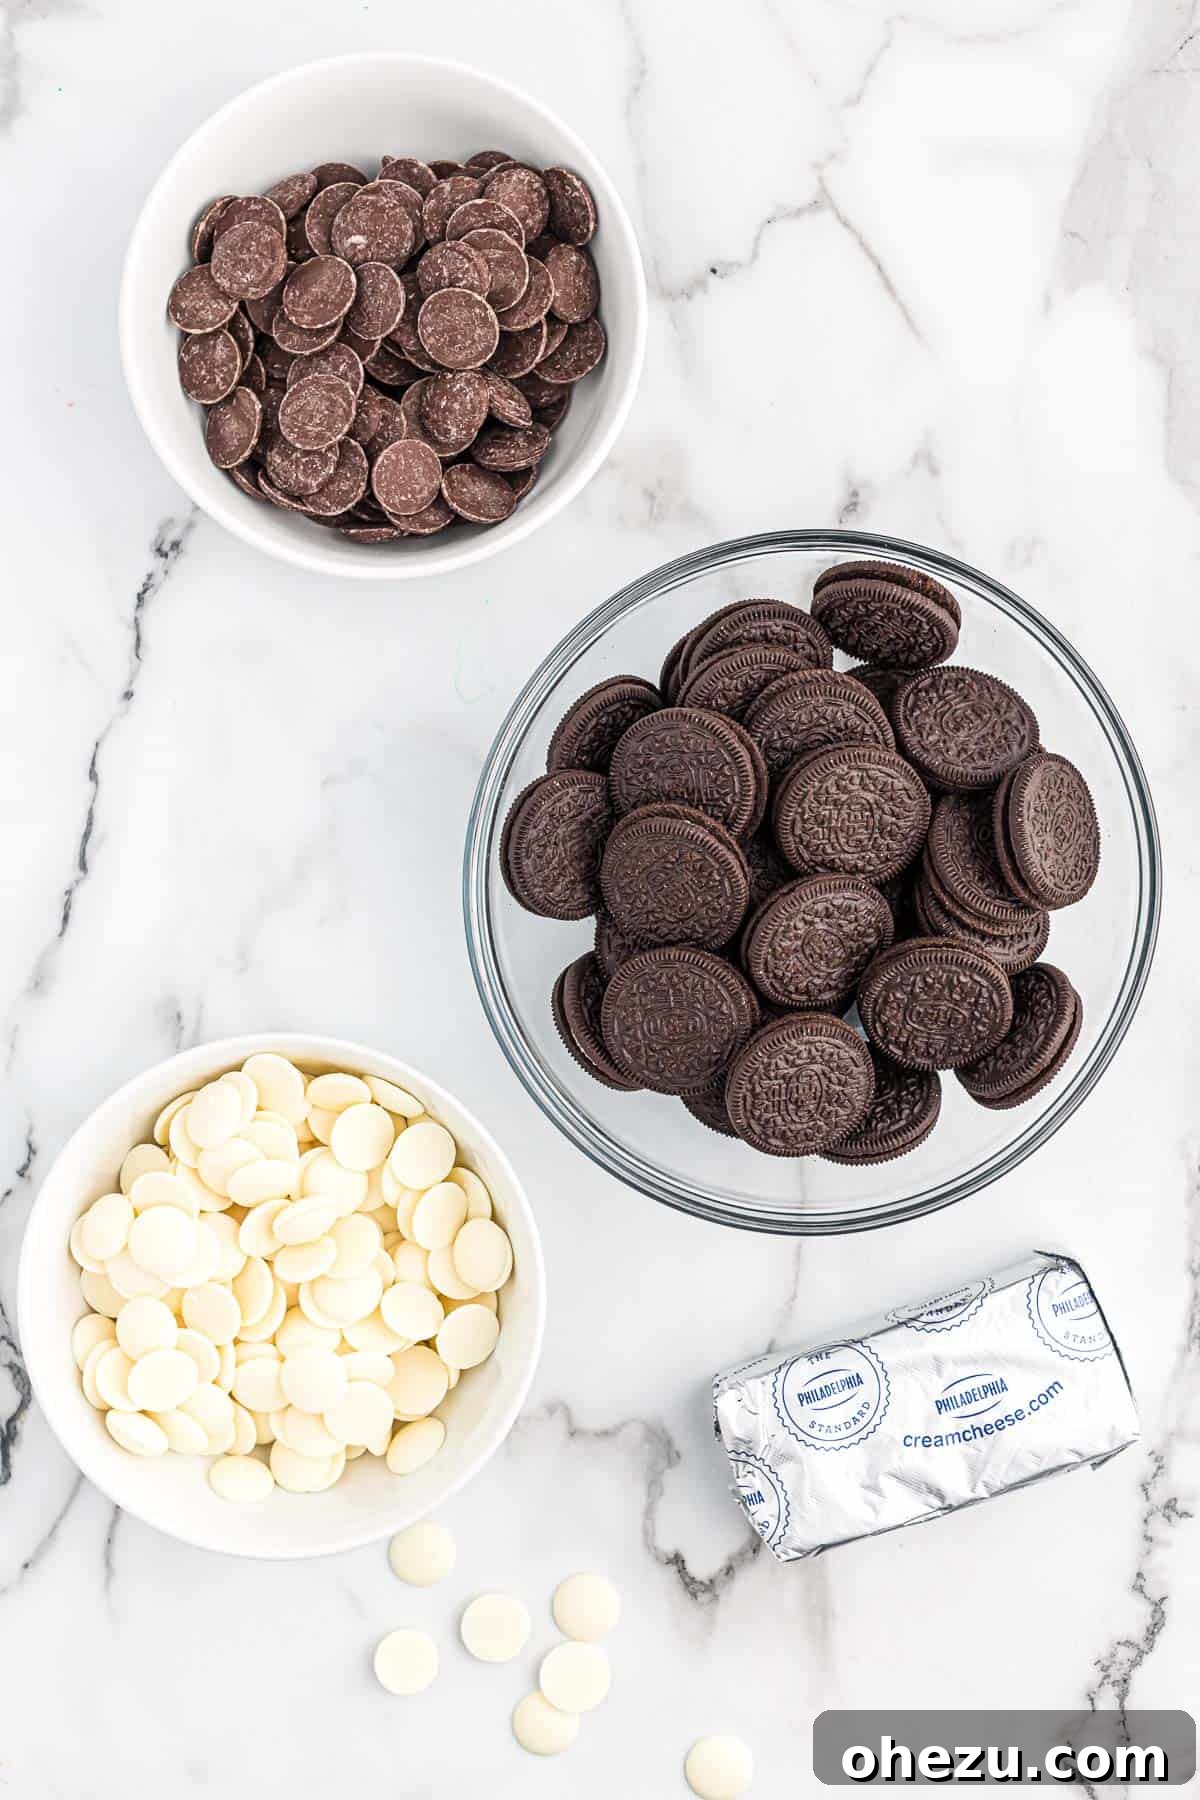
- Oreos: The star of our show! A standard package of classic Oreos (approximately 36 cookies) is ideal. While classic Oreos provide the quintessential flavor, feel free to experiment with different varieties like Mint Oreos, Peanut Butter Oreos, or even Golden Oreos for unique twists. Ensure you use the entire cookie, cream filling and all, for the perfect consistency and flavor.
- Cream Cheese: A block of full-fat cream cheese (8 oz) is crucial for binding the Oreo crumbs and providing that delightful tangy creaminess. It’s essential that the cream cheese is softened to room temperature. This makes it much easier to blend smoothly with the crushed Oreos, preventing lumps and ensuring a uniform truffle mixture.
- Dark Chocolate Melting Wafers: For the outer coating, high-quality melting wafers are recommended over standard chocolate chips. Wafers, like Ghirardelli Dark Chocolate Melting Wafers, are specifically designed to melt smoothly and set quickly without tempering, giving your truffles a beautiful, glossy finish and a satisfying snap.
- White Vanilla Melting Wafers: Similarly, white vanilla melting wafers provide a smooth, complementary coating option. These are excellent for contrast, decorating, or if you simply prefer white chocolate. Again, Ghirardelli wafers are a great choice for their ease of use and superior results.
- Optional Decorations: Don’t forget the fun part! Sprinkles (seasonal or colorful), extra crushed Oreos, finely chopped nuts, or even drizzles of contrasting melted chocolate can elevate your truffles from simple to spectacular.
Step-by-Step Guide: Crafting Your Perfect Oreo Balls
Follow these simple instructions to create flawless, decadent Oreo Truffles:
Step 1: Crush Your Oreos into Fine Crumbs.
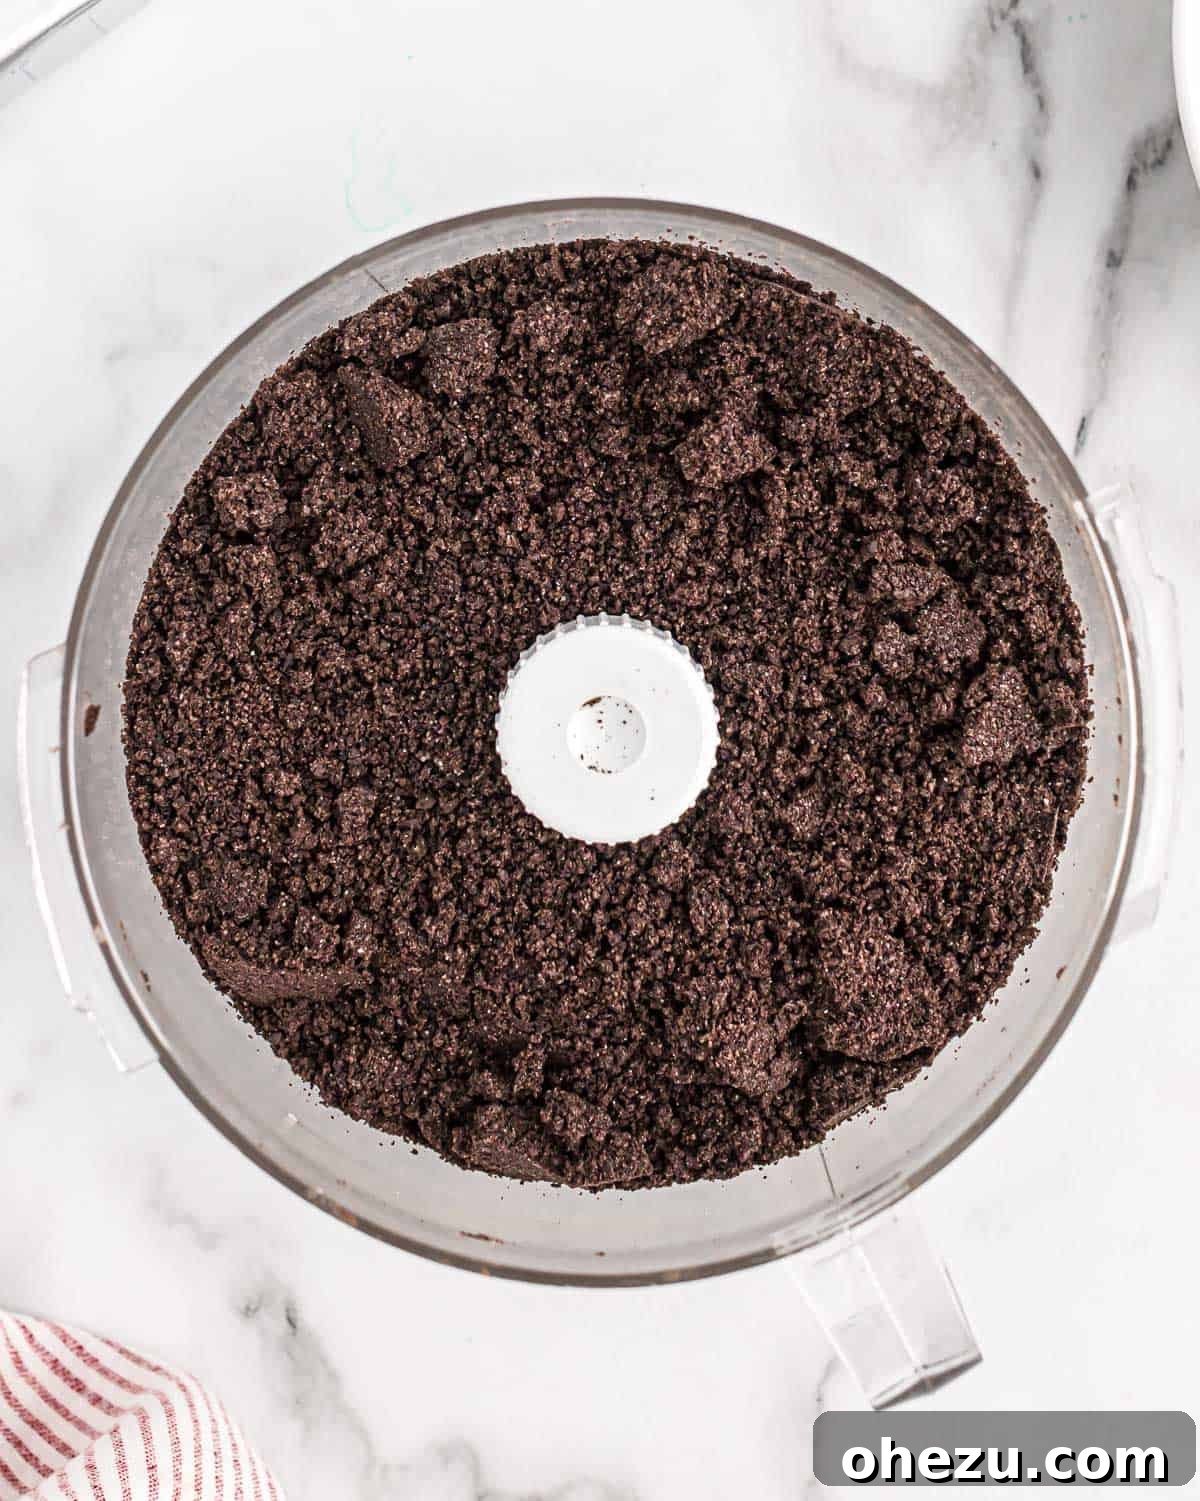
Begin by adding the entire package of Oreos (cookies and cream filling) to a food processor. Process them until they form very fine, uniform crumbs. The finer the crumbs, the smoother your truffle mixture will be. If you don’t have a food processor, you can place the Oreos in a sturdy zip-top bag and crush them with a rolling pin or the bottom of a heavy glass. Aim for a sand-like consistency.
Step 2: Combine Oreos and Cream Cheese.
Add the softened cream cheese directly to the food processor with the Oreo crumbs. Pulse the mixture a few times until a thick, uniform dough begins to form. The mixture should be well combined and easily press together. If you crushed your Oreos manually, transfer the crumbs to a large mixing bowl, add the softened cream cheese, and mix thoroughly with a sturdy rubber spatula or electric mixer until no streaks of cream cheese remain and a cohesive “dough” is formed.
Step 3: Scoop, Roll, and Chill Your Truffles.
Line a baking sheet with parchment paper or wax paper. Using a small cookie scoop (about 1-inch diameter) or a tablespoon, portion out the Oreo ball mixture onto the lined baking sheet. Once scooped, gently roll each portion between your palms to form a smooth, perfectly circular ball. This step creates a more appealing, professional-looking truffle. After rolling, place the baking sheet with the formed truffles into the refrigerator or freezer for at least one hour. This chilling time is critical; it helps the balls firm up, making them much easier to dip in chocolate without falling apart.
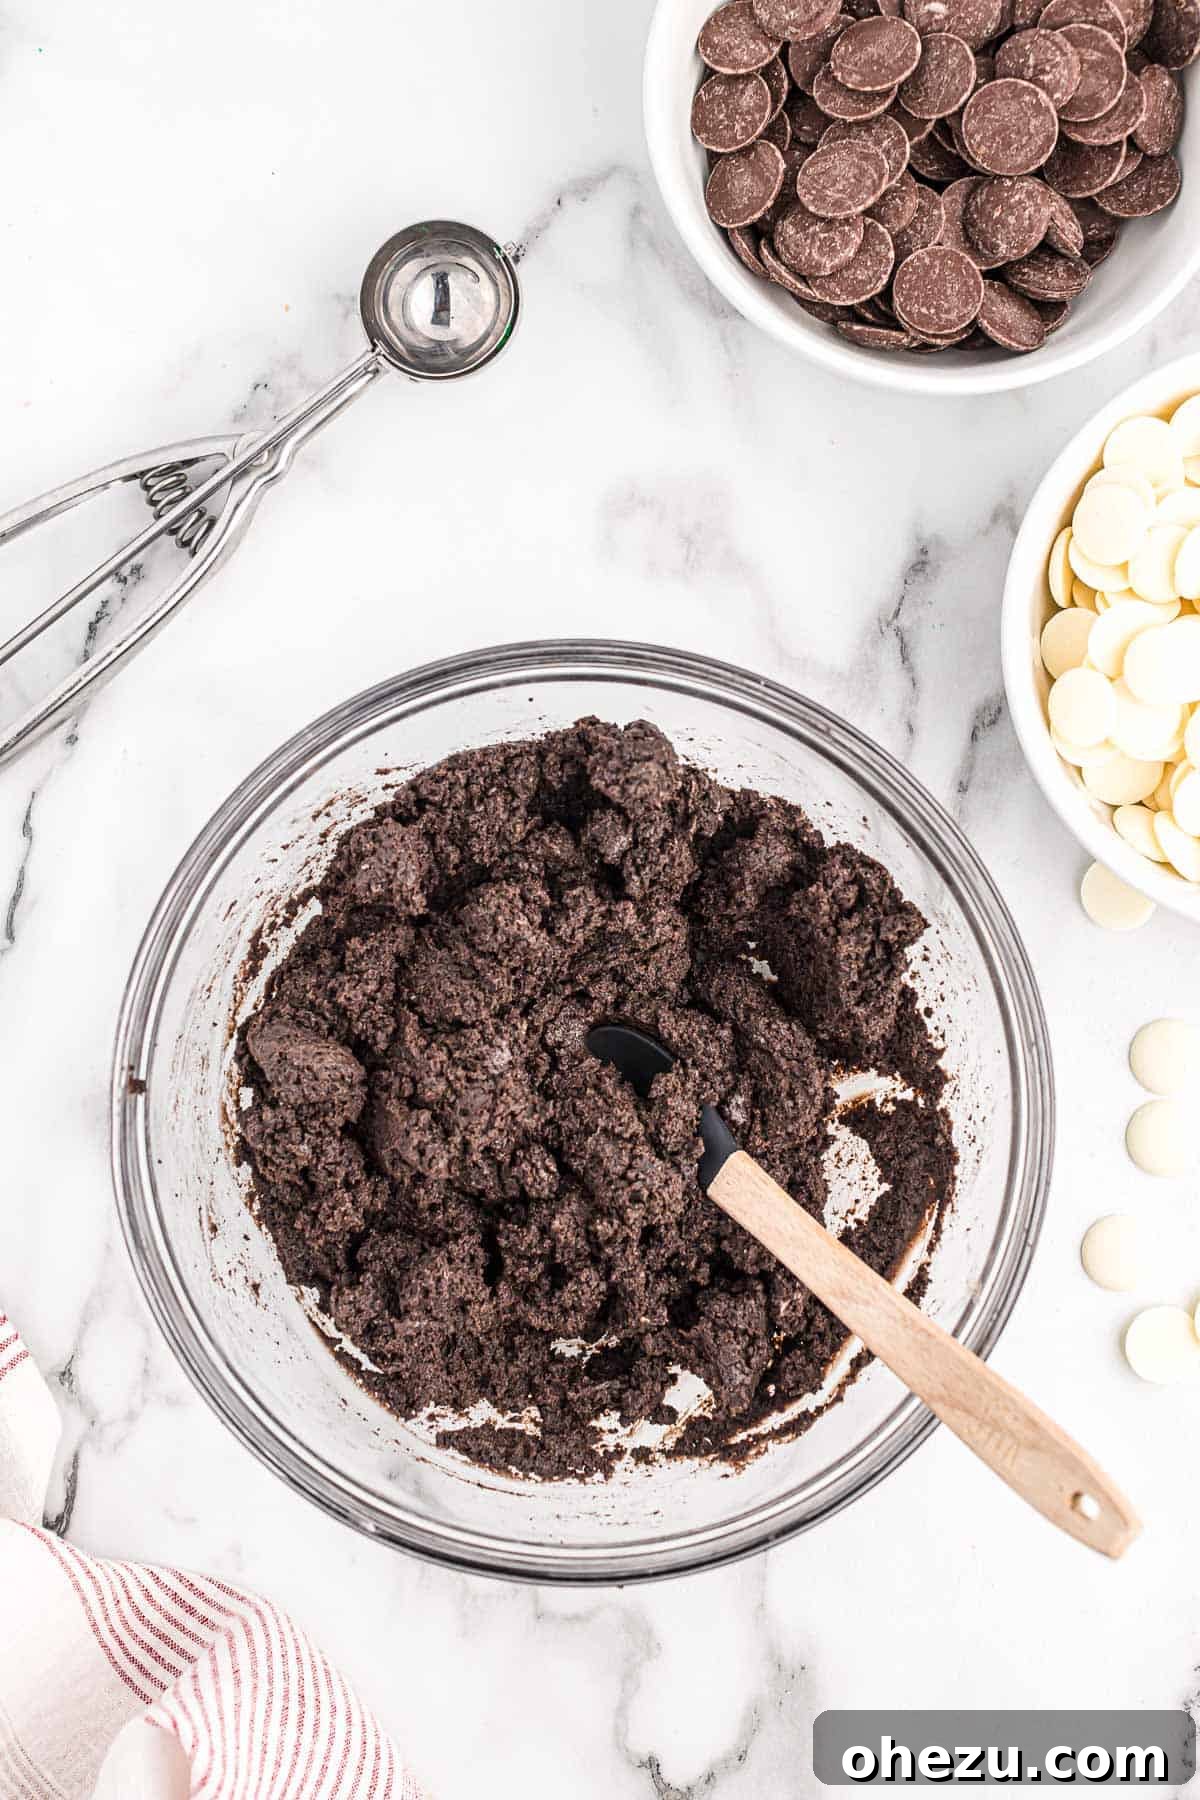
Step 4: Dip Half the Truffles in Dark Chocolate.
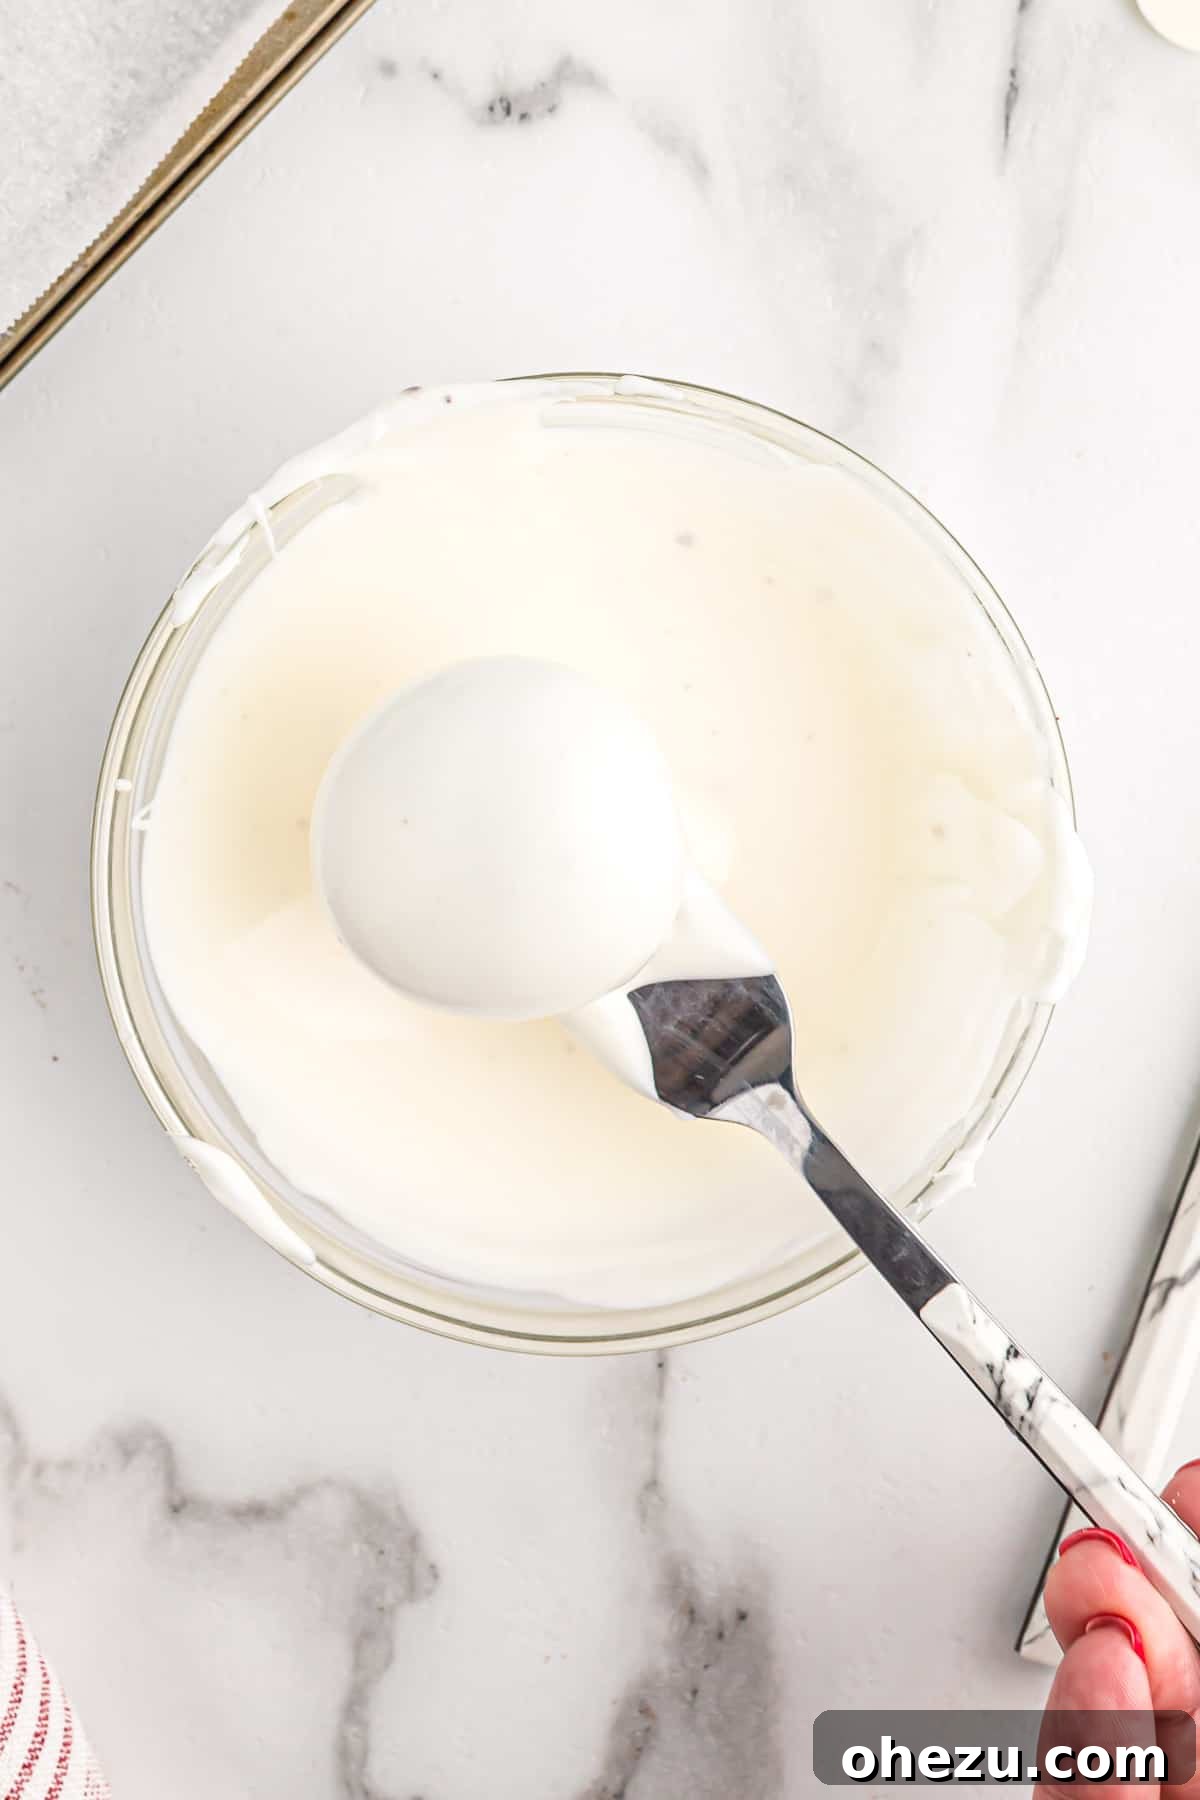
Once the Oreo balls are thoroughly chilled, it’s time for dipping! Reserve about ¼ cup of the dark chocolate melting wafers for drizzling later (keep them in their bag). Melt the remaining dark chocolate wafers according to package directions, typically in the microwave at 30-second intervals, stirring in between, or using a double boiler, until completely smooth and fluid. Take half of your chilled Oreo balls and, using a fork or a dipping tool, carefully immerse each one into the melted dark chocolate. Lift the ball, tap off any excess chocolate against the side of the bowl, and then place it back onto the parchment-lined baking sheet.
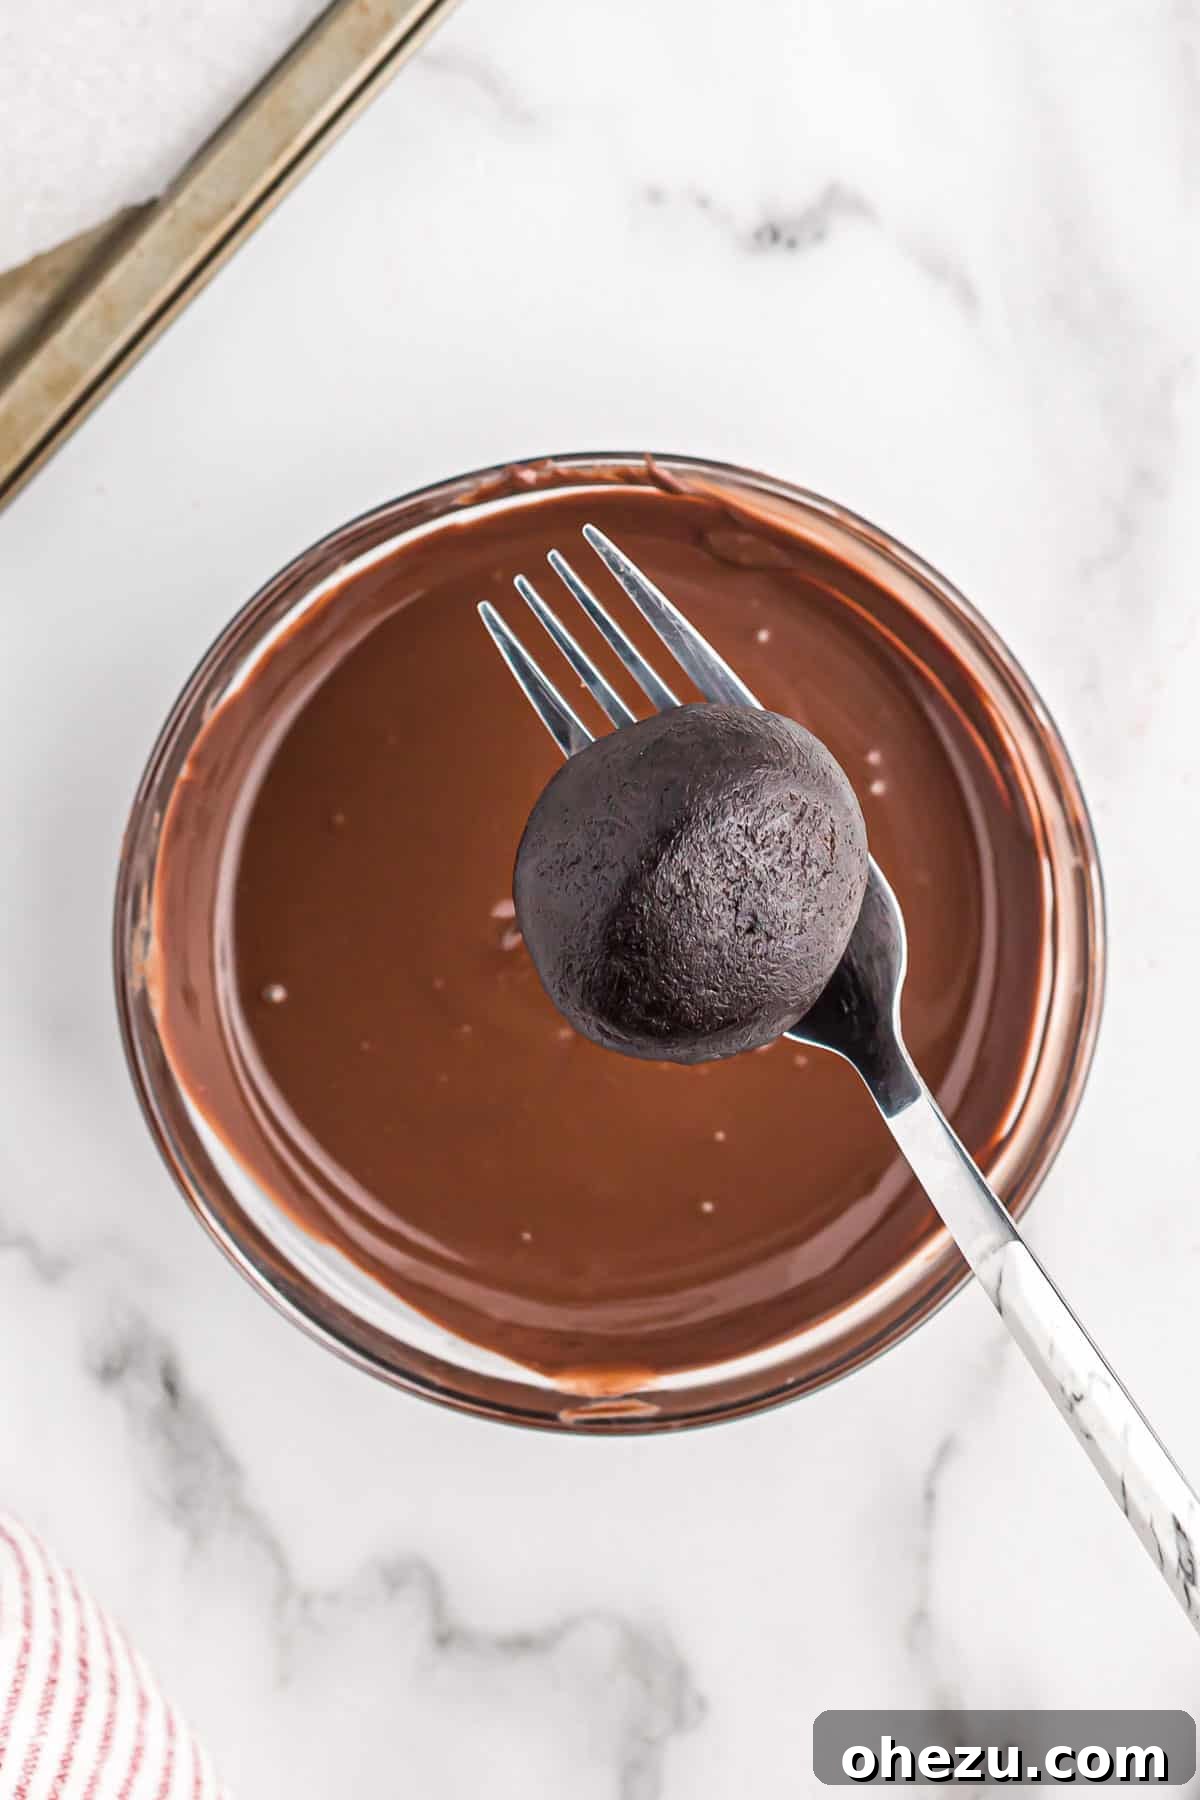
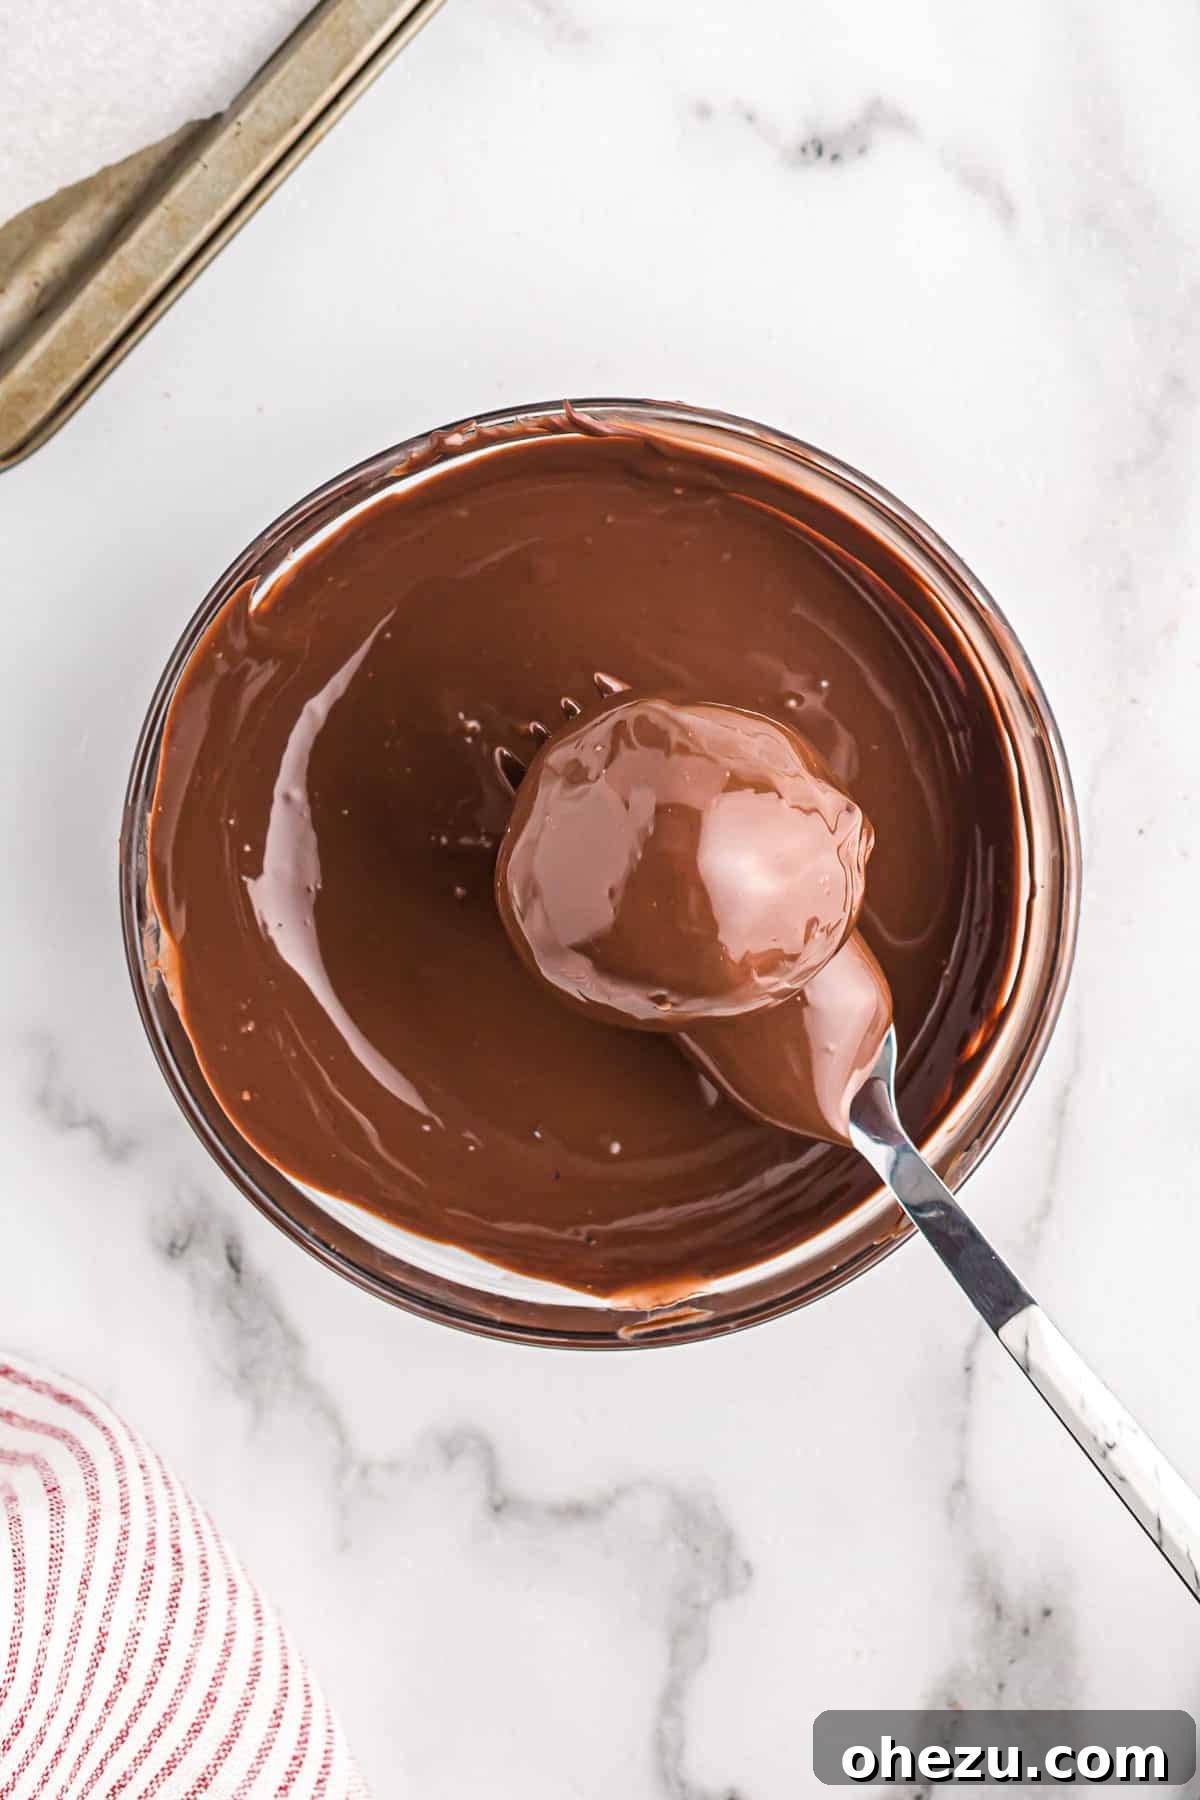
Step 5: Dip the Remaining Truffles in White Vanilla Chocolate.
Similar to the dark chocolate, reserve ¼ cup of the white vanilla melting wafers for later drizzling. Melt the remaining white vanilla wafers until smooth and fluid. Dip the other half of your Oreo balls into the melted white chocolate, ensuring an even coat, and tapping off any excess. Place these white chocolate-dipped truffles back onto the same parchment-lined baking sheet.
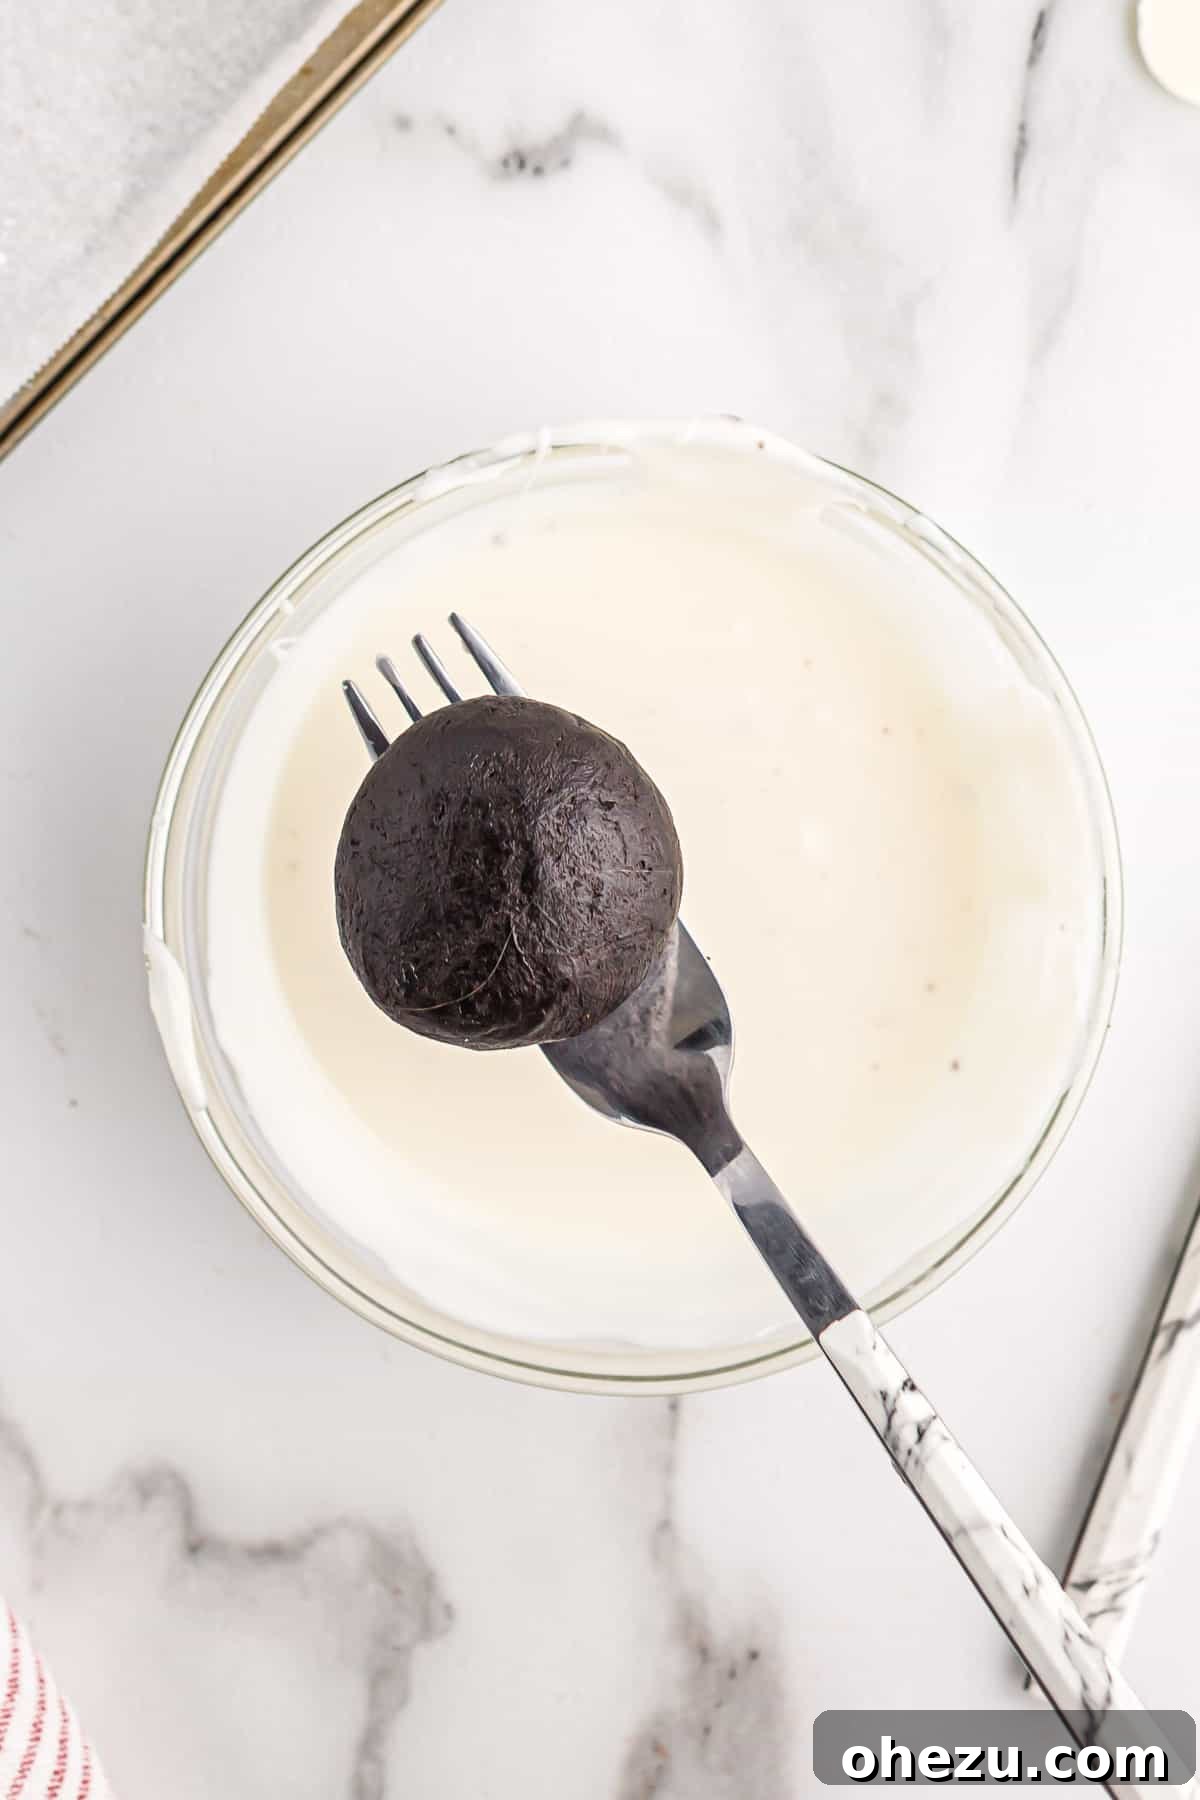
Step 6: Chill Until Hardened.
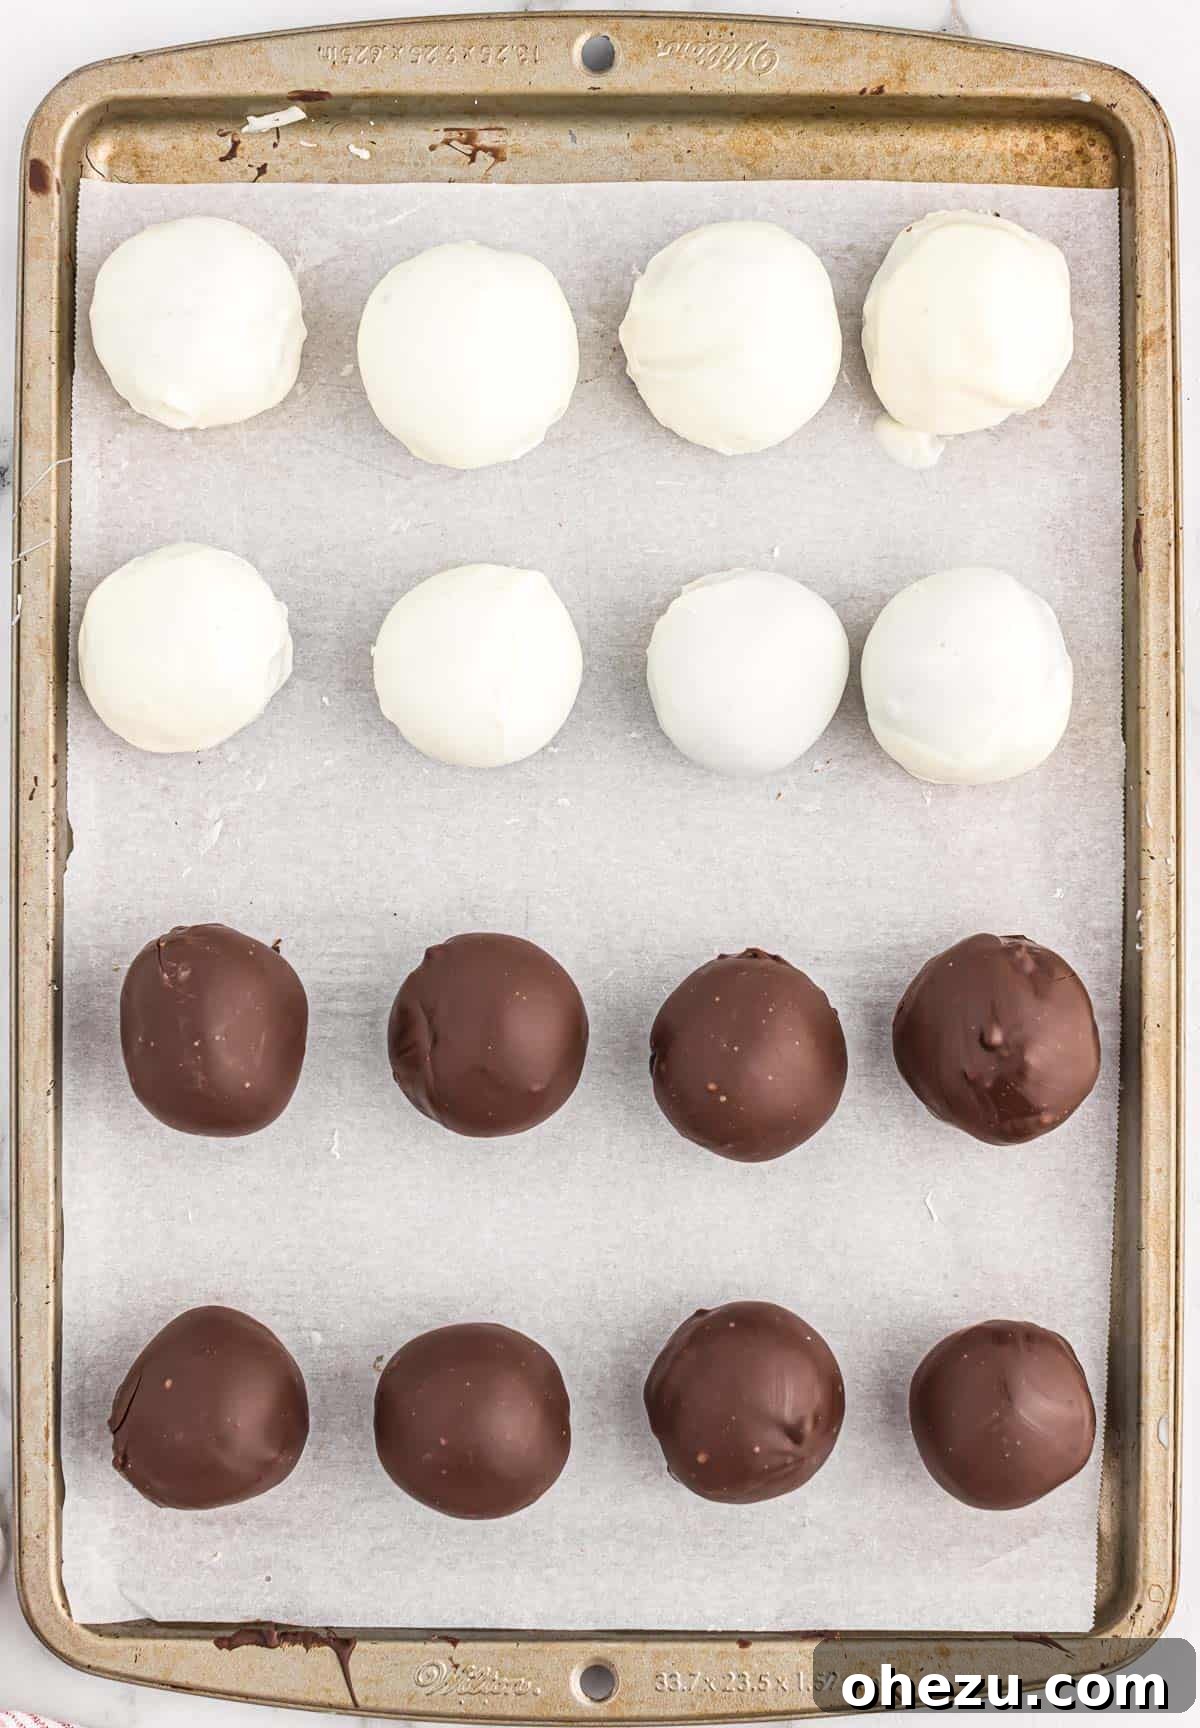
Once all the Oreo balls are dipped, return the baking sheet to the fridge. Chill them until the chocolate coating has completely hardened, which usually takes about 15-30 minutes. A firm chocolate shell is key for a good bite.
Step 7: Decorate with Drizzles and Chill Again.
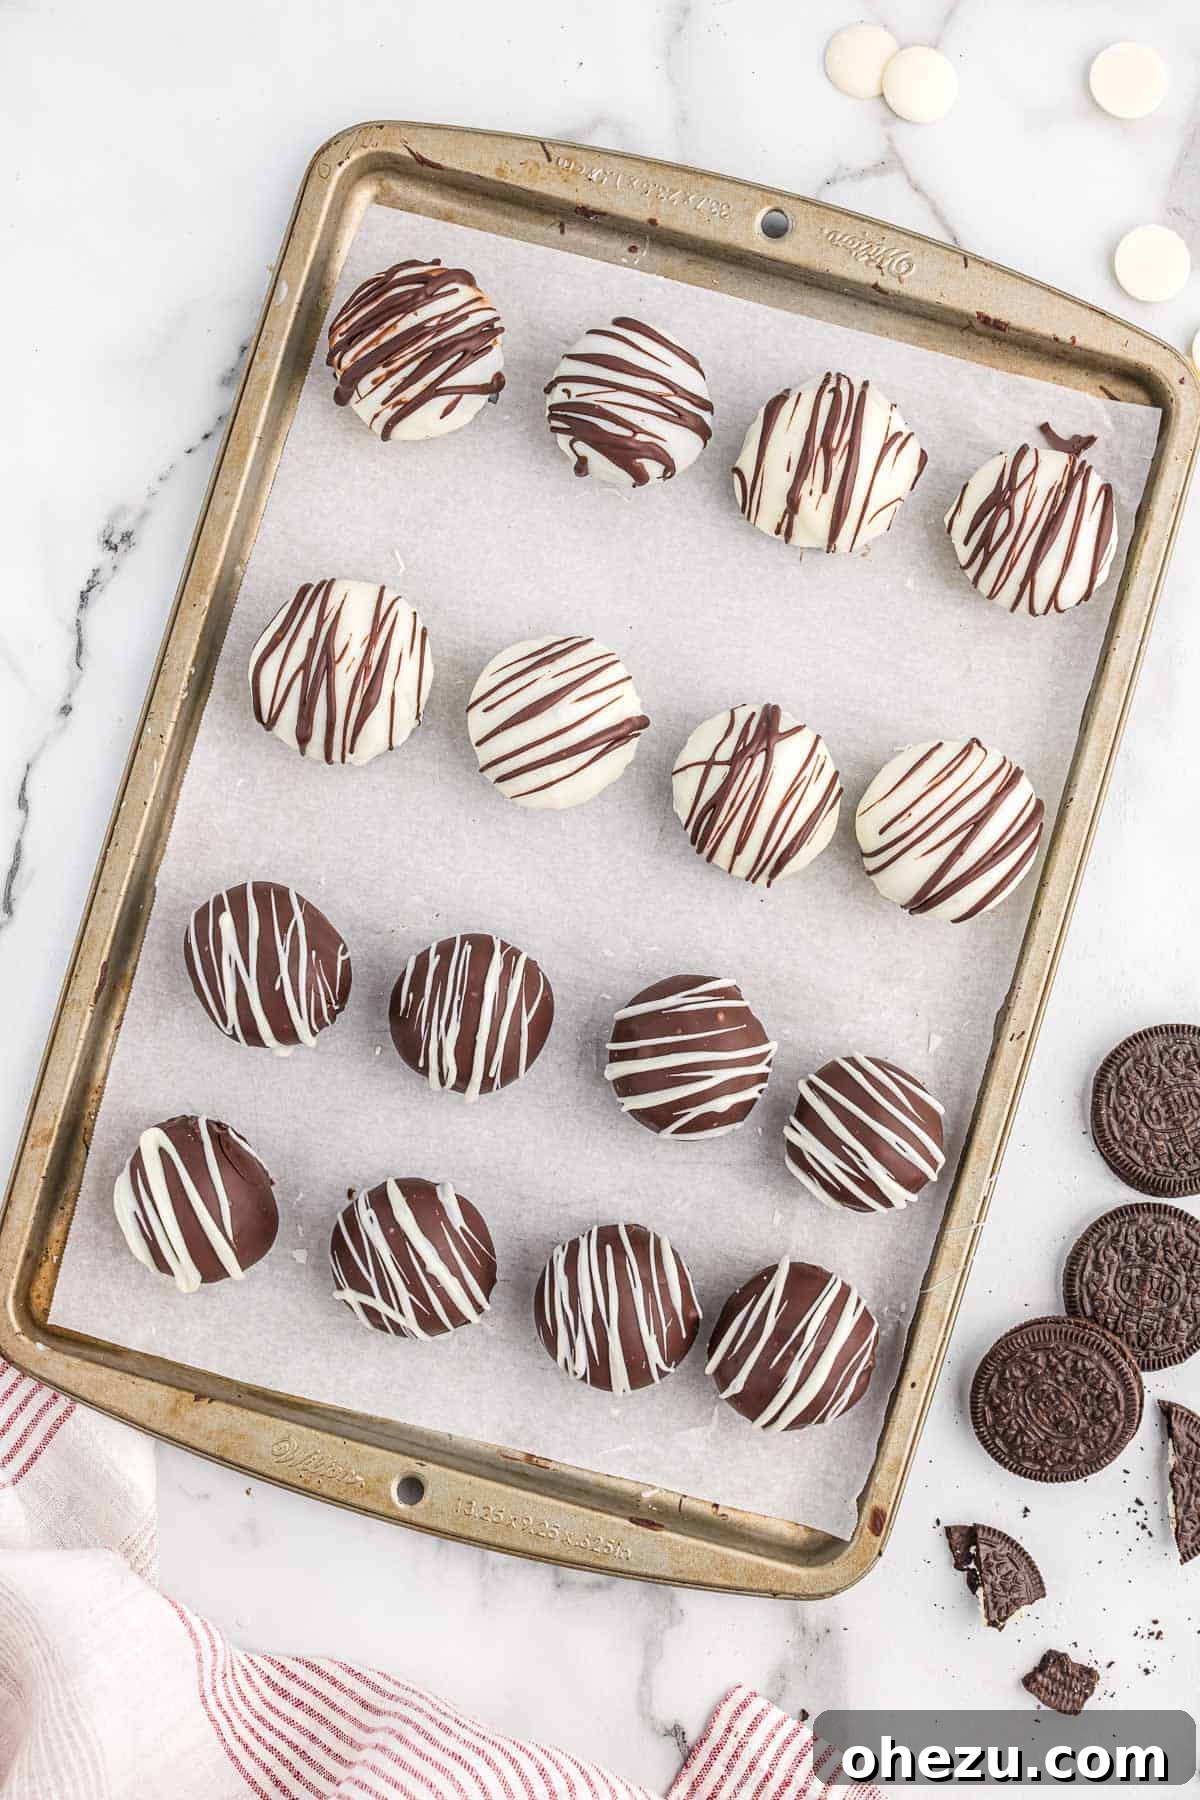
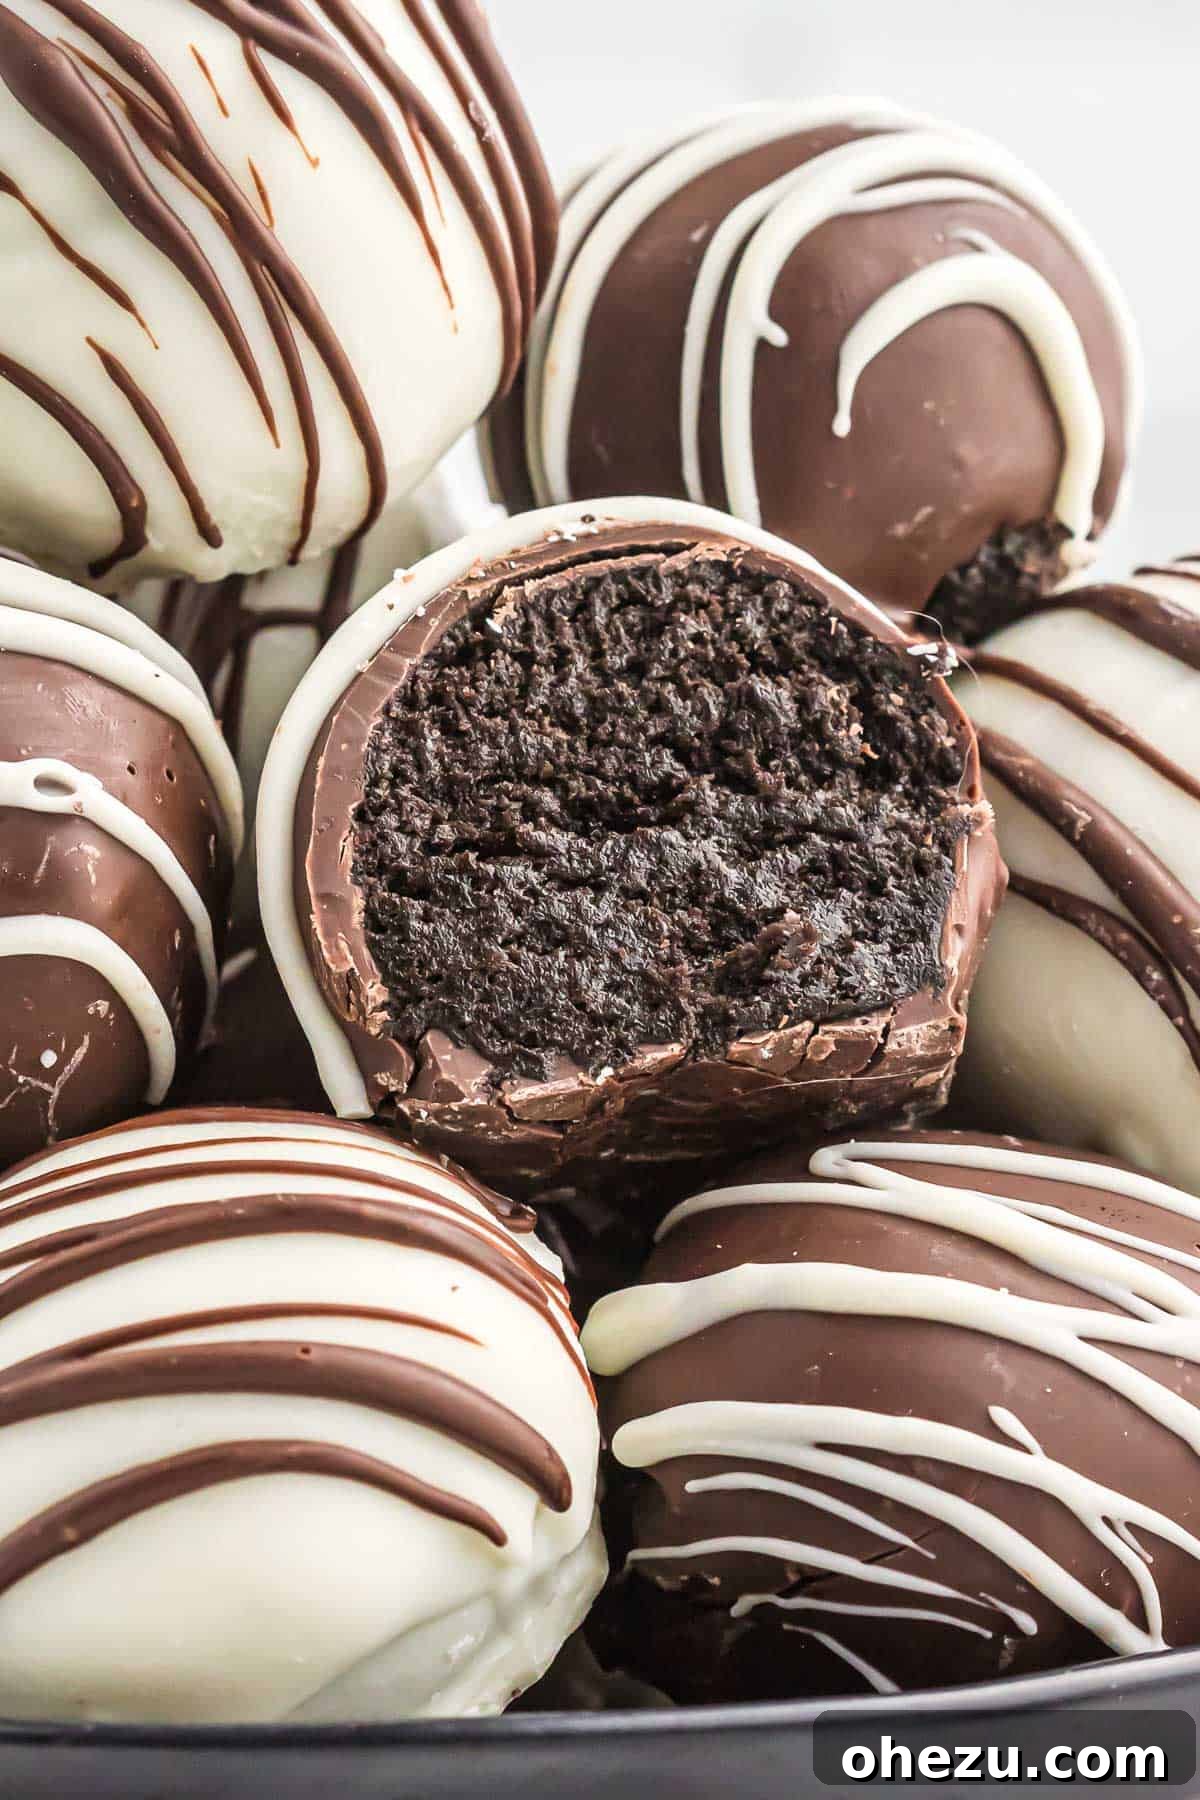
Now for the decorative flourish! Take the reserved ¼ cup of dark chocolate wafers and melt them. Drizzle this melted dark chocolate decoratively over the white chocolate-coated Oreo balls. Next, melt the reserved white chocolate wafers and drizzle them over the dark chocolate-coated balls. For extra flair, you can sprinkle them with colorful sprinkles, extra Oreo crumbs, or finely chopped nuts while the drizzle is still wet. Place the balls back into the fridge one last time until all the drizzles are set and firm. These truffles are now ready to impress with their fudgy, rich interior and satisfying hard chocolate shell, delivering a burst of intense chocolate flavor with every bite!
Pro Tips for Perfect Oreo Truffles
While the recipe is simple, a few expert tips can elevate your Oreo balls from good to absolutely phenomenal:
- Ensure Cream Cheese is Softened: This cannot be stressed enough! Cold cream cheese will result in a lumpy mixture that’s difficult to combine smoothly. Let it sit at room temperature for at least 30-60 minutes before mixing.
- Fine Oreo Crumbs are Key: For the best texture, process your Oreos until they resemble fine sand. Larger chunks can make the truffles crumbly and harder to form.
- Don’t Skimp on Chilling: Chilling the truffle mixture (Step 3) is essential. It makes the balls firm and easier to handle for dipping, preventing them from melting or breaking apart in the warm chocolate.
- Melt Chocolate Carefully: Whether using a microwave or double boiler, melt chocolate slowly and stir frequently. Overheated chocolate can seize (become thick and clumpy) or burn. If using a microwave, use 30-second bursts, stirring vigorously after each.
- Thinning Chocolate (If Needed): If your melted chocolate seems too thick for dipping, you can add a small amount of coconut oil or vegetable shortening (about ½-1 teaspoon per cup of chocolate) and stir until smooth. This will thin it out and make dipping easier, resulting in a thinner, more even coat.
- Dipping Technique Matters: Use a fork or a specialized dipping tool. Avoid using a spoon, as it holds too much chocolate. Allow excess chocolate to drip off by tapping the fork gently against the side of the bowl.
- Decorate While Wet: If adding sprinkles, crushed Oreos, or other toppings, apply them immediately after dipping and before the chocolate sets, for best adhesion.
- Use Good Quality Chocolate: While chocolate chips can work in a pinch, melting wafers (like Ghirardelli or Wilton Candy Melts) are formulated to melt smoothly and set firmly, giving you a superior, professional-looking finish.
Creative Oreo Truffle Variations and Customization
The beauty of Oreo Balls is their adaptability. Get creative with these ideas:
- Flavorful Oreo Swaps:
- Mint Oreo Truffles: Use Mint Oreos and dip in dark chocolate.
- Peanut Butter Oreo Balls: Substitute regular Oreos with Peanut Butter Oreos, or add a tablespoon of creamy peanut butter to the cream cheese mixture.
- Golden Oreo Truffles: For a vanilla-forward treat, use Golden Oreos and coat them in white chocolate.
- Seasonal Oreos: Look for limited-edition Oreo flavors around holidays (e.g., pumpkin spice, red velvet) to make themed truffles.
- Exciting Add-ins:
- Stir in mini chocolate chips, finely chopped nuts (pecans, walnuts), or shredded coconut into the Oreo-cream cheese mixture.
- A few drops of peppermint extract, almond extract, or vanilla extract can enhance the flavor profile.
- Diverse Coatings:
- Milk Chocolate: For a sweeter, milder chocolate flavor.
- Colored Candy Melts: Use red for Valentine’s Day, green for Christmas, orange for Halloween, or blue/pink for baby showers.
- Compound Coatings: Experiment with butterscotch or peanut butter flavored melting wafers.
- Unique Toppings and Decorations:
- Crushed Nuts: Pistachios, almonds, or pecans.
- Toasted Coconut: Adds a tropical flair.
- Mini Chocolate Chips: Press them into the wet chocolate coating.
- Powdered Sugar or Cocoa Powder: For a rustic, dusted look (best for non-chocolate coated truffles).
- Edible Glitter or Sprinkles: Always a festive choice.
Serving and Storage Tips
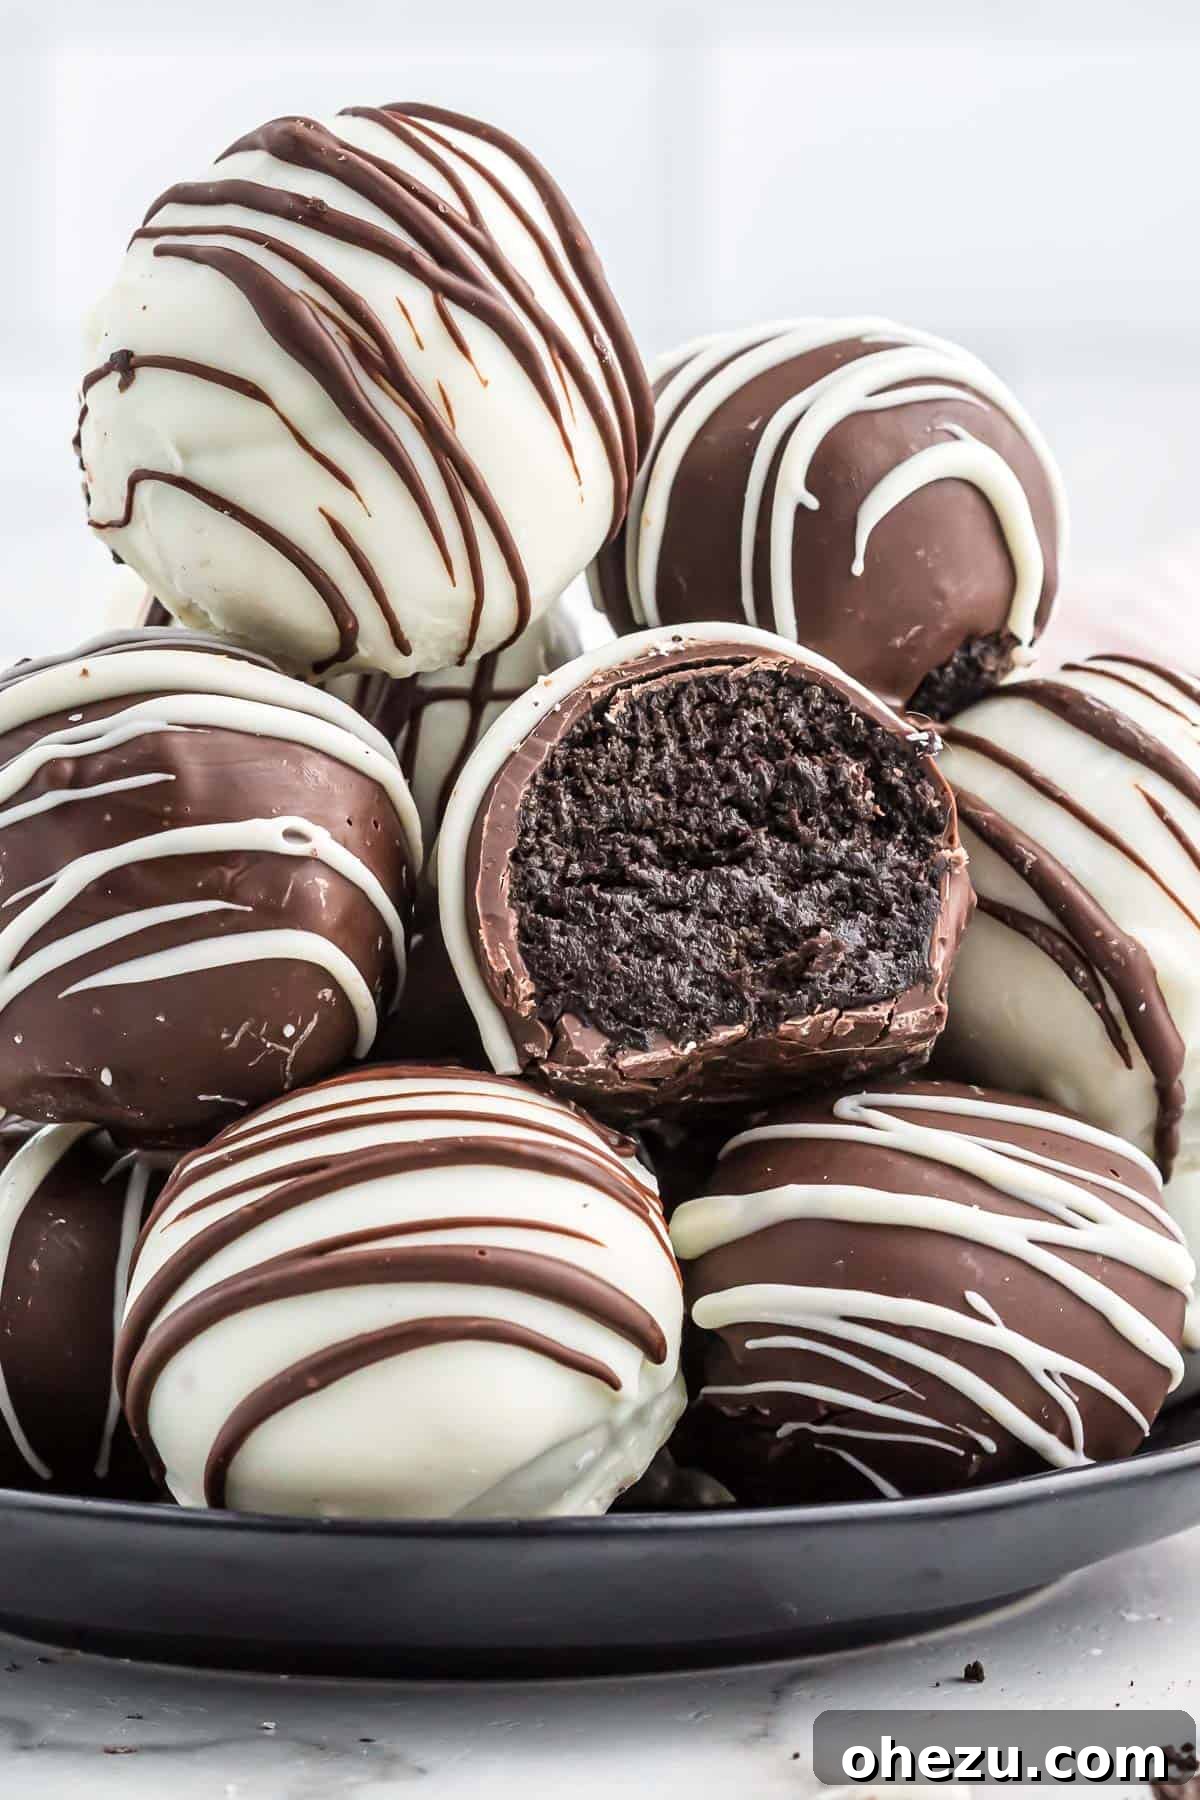
These delightful Oreo Truffles are perfect for just about any occasion that calls for a dessert. Arrange them on a festive platter for holiday parties, pack them into cute gift boxes for friends and family, or simply enjoy them as an after-dinner treat with a cup of coffee or a cold glass of milk. Their rich, fudgy texture and intense flavor make them incredibly satisfying.
- Storage: Store your finished Oreo balls in an airtight container in the refrigerator. They will remain fresh and delicious for up to 2 weeks.
- Freezing: For longer storage, you can freeze Oreo balls for up to 2 months. Place them in a single layer on a baking sheet until frozen solid, then transfer them to a freezer-safe bag or container. Thaw in the refrigerator before serving.
More Decadent Oreo Recipes
If you’re a fan of these classic Oreo Truffles, you’ll love exploring other creative ways to use America’s favorite cookie. We also adore other truffle recipes, including peanut butter balls with rice krispies and pecan pie balls. Here are some more fantastic Oreo-inspired treats:
- No Bake Oreo Pie
- Mint Oreo Truffles
- Chocolate Covered Oreos
- Oreo Dip
- White Chocolate Covered Oreos
- Oreo Spiders
Ready to make a batch of these for your next holiday party, a casual get-together, or simply to satisfy your sweet tooth? This simple treat is perfect for just about any occasion that calls for a dessert. Their ease of preparation and universally loved flavor make them a guaranteed hit!

Oreo Balls
Joy Shull
30 mins
30 mins
20 Oreo Truffles
Rate Recipe
Print Recipe
Ingredients
- 36 Oreos
- 8 oz cream cheese, softened
- 10 oz Ghirardelli Dark chocolate melting wafers
- 10 oz Ghirardelli White vanilla melting wafers
Instructions
-
Add the Oreos to a food processor and process into fine crumbs.
-
Add the softened cream cheese to the food processor and pulse to combine the truffle filling until a smooth, cohesive mixture forms.
-
Transfer the Oreo ball mixture to a bowl and use a rubber spatula to ensure all Oreos are fully combined with the cream cheese.
-
Line a baking sheet with parchment paper.
-
Use a cookie scoop to portion Oreo balls onto the lined baking sheet.
-
Roll the scooped portions with your hands to form perfect circular shapes.
-
Chill the Oreo balls for at least one hour in the fridge or freezer until firm.
-
Reserve ¼ cup of dark chocolate wafers (keep in the bag). Melt the remaining dark chocolate melting wafers until smooth and fluid.
-
Dip half of the chilled Oreo balls in the melted dark chocolate, tapping off excess, then place them back onto the lined baking sheet.
-
Reserve ¼ cup of white vanilla wafers. Melt the remaining vanilla melting wafers and dip the other half of the Oreo balls. Place them back onto the lined baking sheet.
-
Chill all the dipped Oreo balls in the fridge until the chocolate coating has completely hardened.
-
Melt the reserved dark chocolate wafers and drizzle them artistically over the white chocolate Oreo balls.
-
Melt the reserved white chocolate wafers and drizzle them over the dark chocolate Oreo balls.
-
Place the balls in the fridge again until the drizzles are fully set.
Nutrition Information (per truffle, estimated)
Calories:
202kcal
,
Carbohydrates:
24g
,
Protein:
2g
,
Fat:
11g
,
Saturated Fat:
7g
,
Polyunsaturated Fat:
1g
,
Monounsaturated Fat:
3g
,
Trans Fat:
0.01g
,
Cholesterol:
11mg
,
Sodium:
132mg
,
Potassium:
66mg
,
Fiber:
1g
,
Sugar:
17g
,
Vitamin A:
153IU
,
Calcium:
16mg
,
Iron:
3mg
*Nutrition information is an estimate and will vary based on ingredients and specific brands used.
Like this recipe? Rate and comment below!