
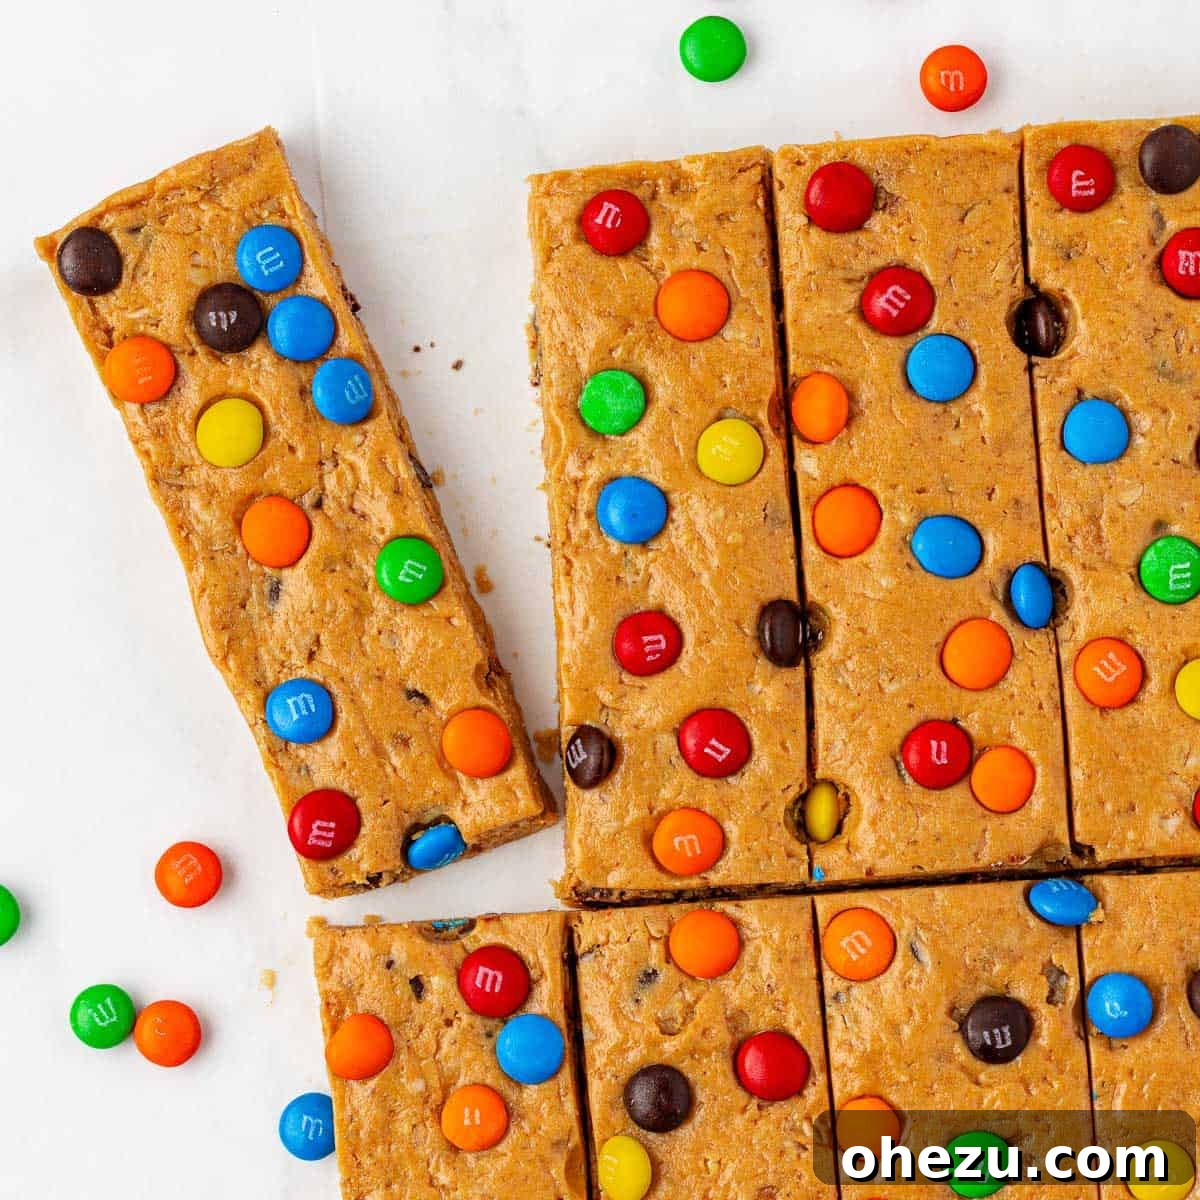
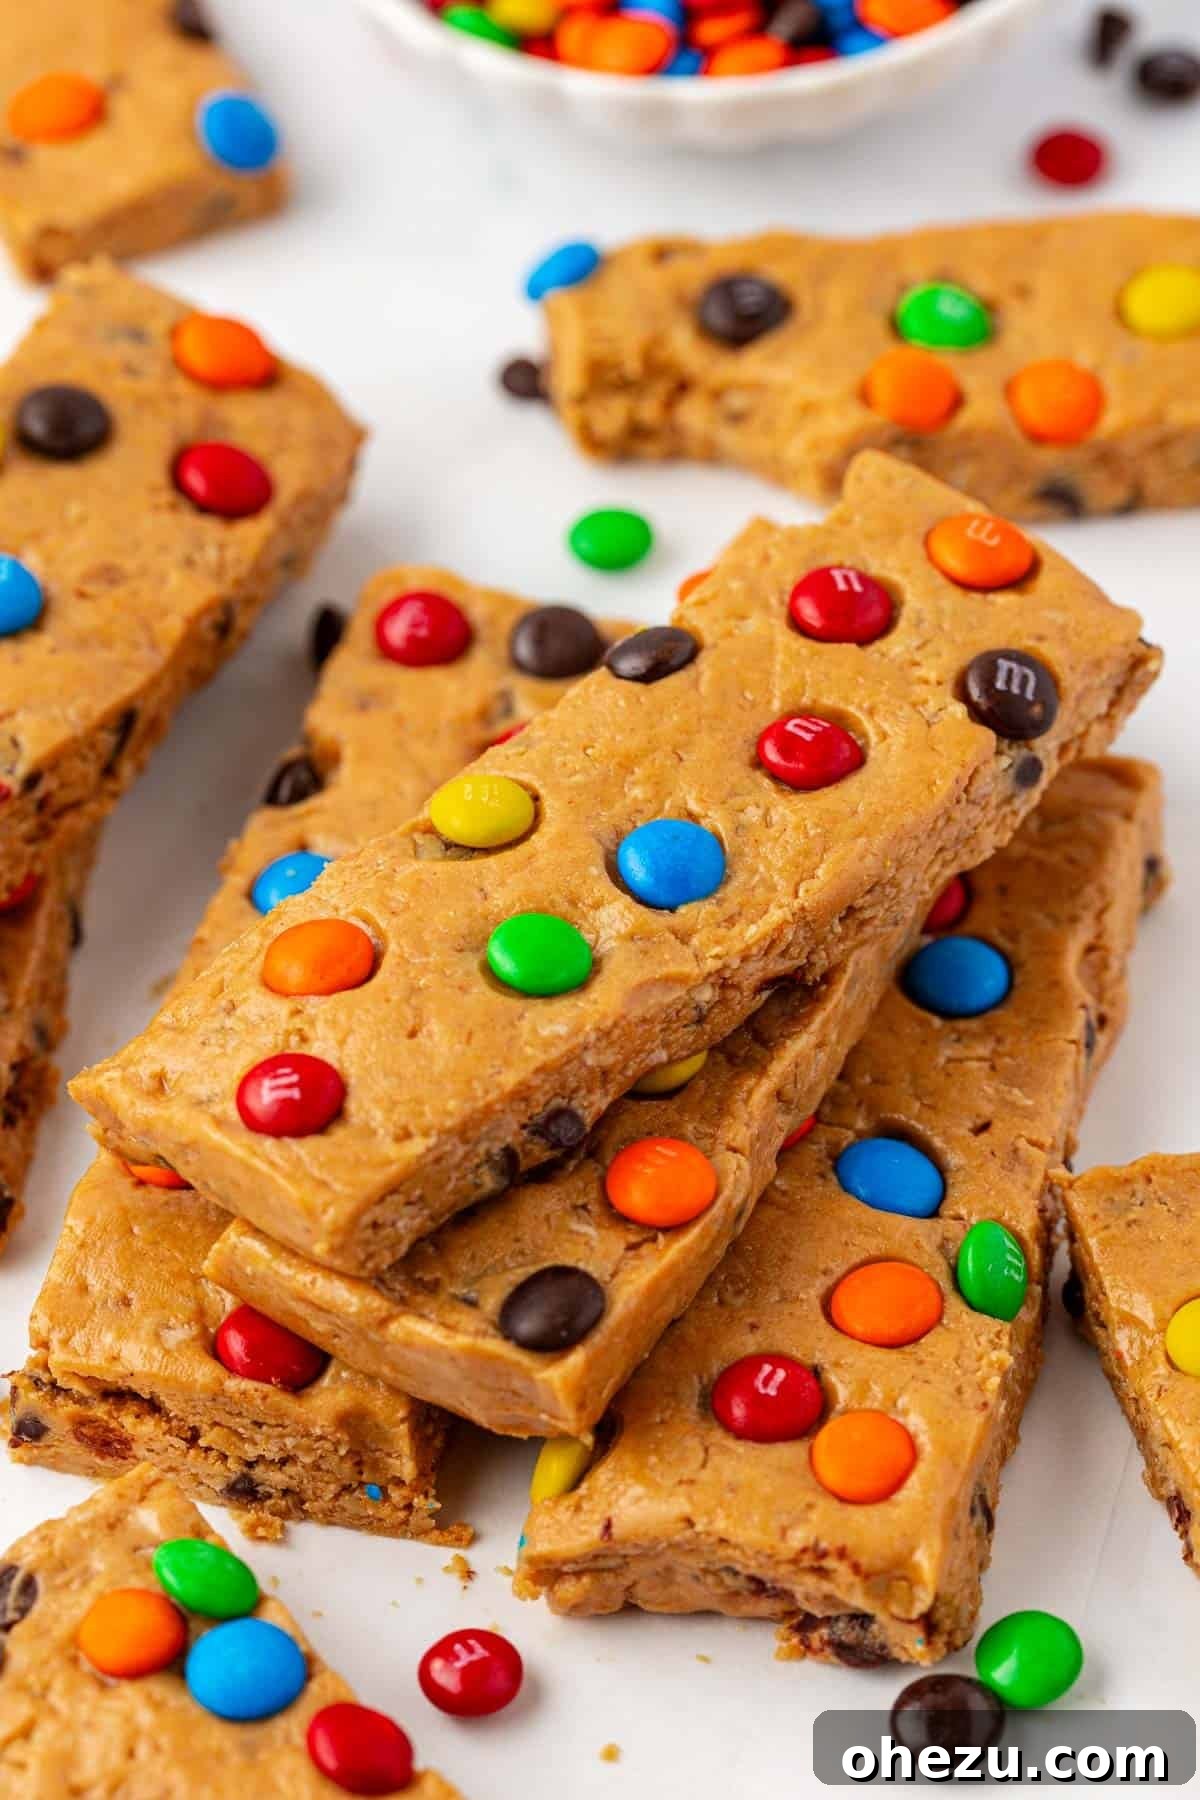
Say goodbye to processed snacks and hello to homemade goodness! These incredibly easy no-bake Monster Cookie Protein Bars are a guaranteed family favorite. Each delightful bar offers a substantial 10 grams of protein and tastes just like your favorite monster cookies, making healthy eating a true treat!
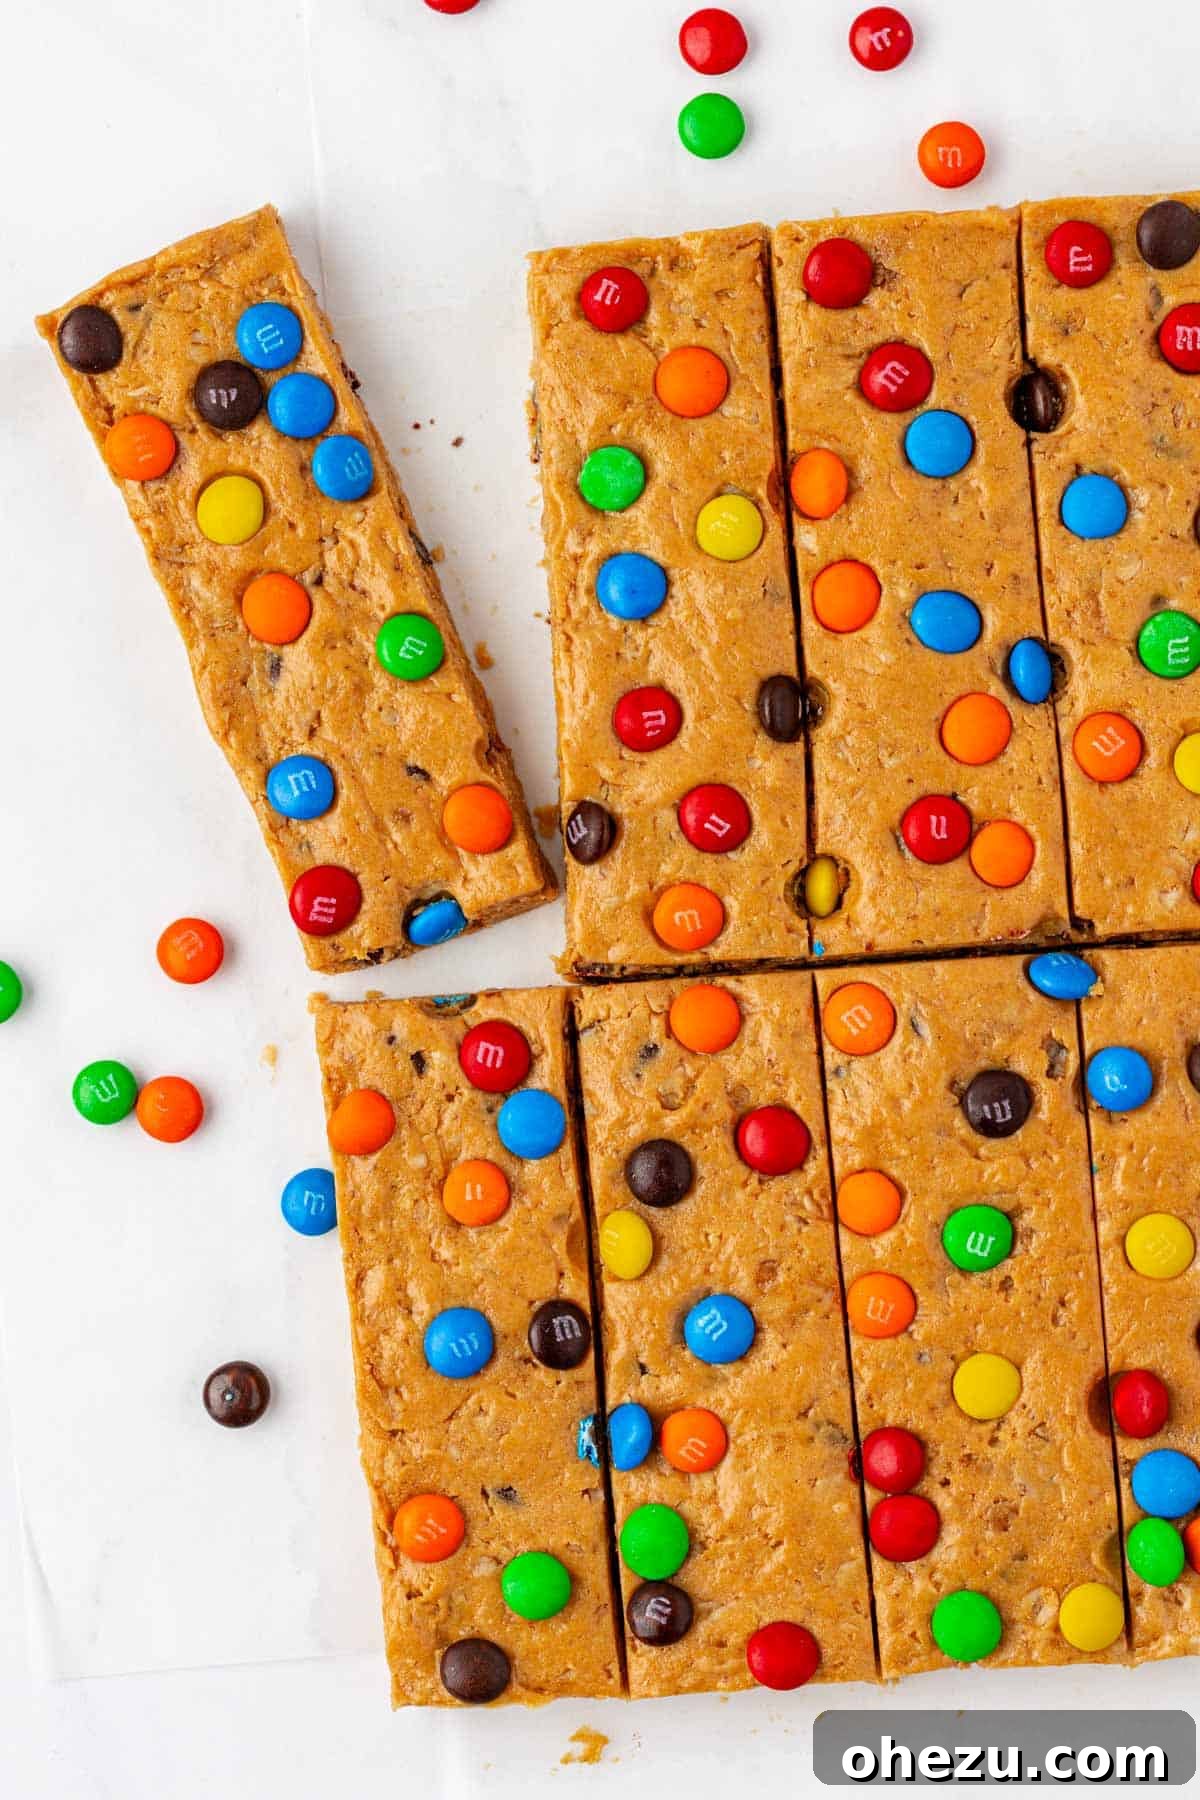
Crafting Your Own Healthy Homemade Protein Bars
In our bustling lives, finding snacks that are both nutritious and delicious can be a challenge. That’s why we’re firm believers in the power of homemade protein bars. Beyond their undeniable convenience, crafting your own allows for complete control over the ingredients, ensuring you’re fueling your body with wholesome goodness free from the artificial additives and excessive sugars often found in store-bought options.
These Monster Cookie Protein Bars are our latest creation, inspired by the classic dessert but reimagined as a powerhouse snack. The vibrant colors and irresistible flavor instantly won over my kids, and I’m confident they’ll be a hit with your family too! Preparing a batch takes minimal effort, and once cut, they become the ultimate grab-and-go solution for busy mornings, post-workout fuel, or a satisfying afternoon pick-me-up. Warning: they tend to disappear quickly!
Essential Ingredients for Your Monster Cookie Protein Bars
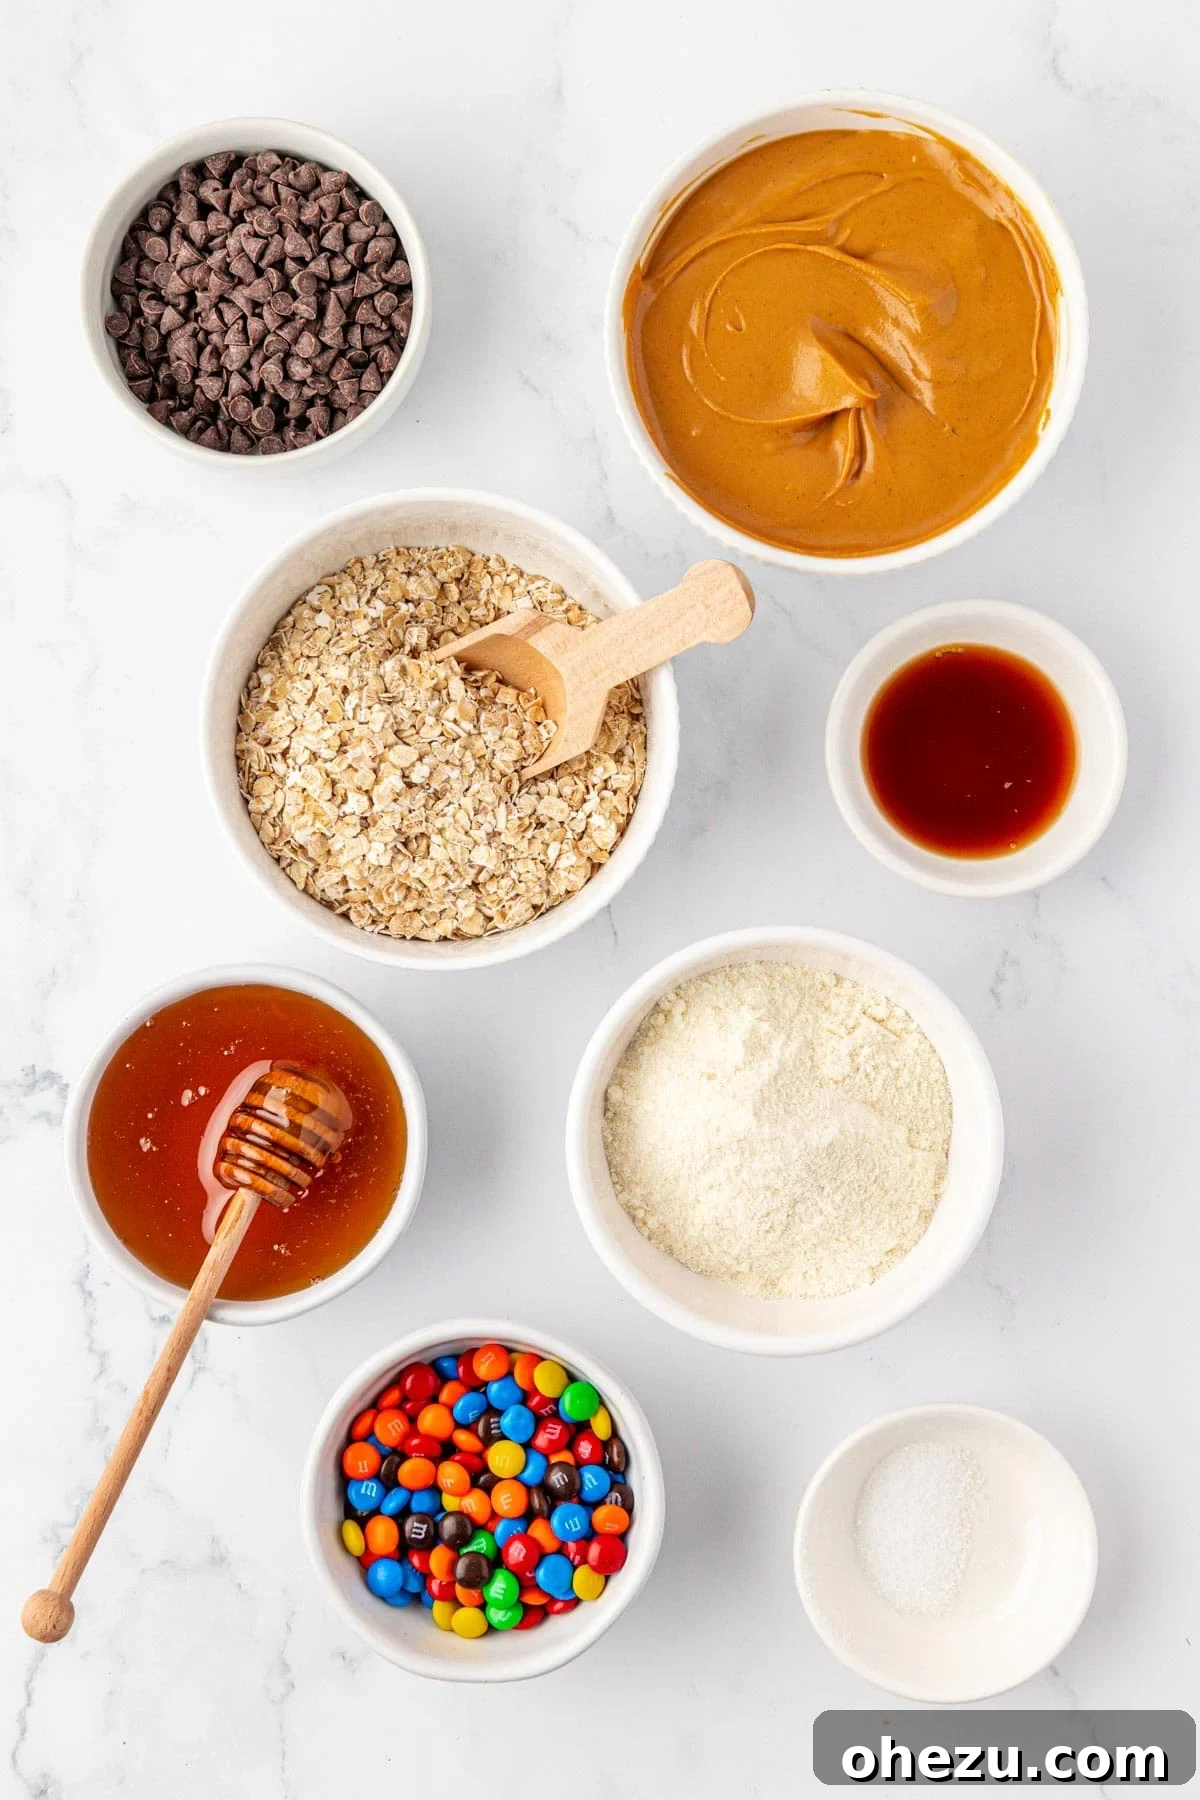
Crafting these protein bars requires a handful of simple, readily available ingredients. You’ll love how easy it is to whip up a batch with items you likely already have in your pantry. The complete recipe with precise measurements can be found at the bottom of this post, but here’s a closer look at what you’ll need and why each component is key:
- No-Stir Creamy Peanut Butter: This is the foundation of our bars, providing rich flavor and crucial binding properties. We recommend “no-stir” varieties, which typically contain a small amount of added sugar and oil to prevent separation, resulting in a consistent, easy-to-work-with texture. Ingredients usually list peanuts, oil, salt, and sugar. This consistency is vital for the no-bake method.
- Honey: A natural sweetener and a powerful binder, honey helps hold all the ingredients together, giving the bars their desirable chewy texture. For a vegan alternative, pure maple syrup can be used, though you might need a slight adjustment in other dry ingredients to achieve the perfect consistency.
- Quick Oats: These oats are perfect for achieving that classic chewy monster cookie texture. Their finer consistency blends seamlessly into the mixture. While quick oats are preferred, rolled oats (old-fashioned oats) can also be used, though they might yield a slightly coarser texture. If using rolled oats, a quick pulse in a food processor can help break them down slightly.
- Vanilla Protein Powder: This is where the “protein” in protein bars comes from! Vanilla flavor complements the other ingredients beautifully, offering a subtle sweetness. Feel free to use your preferred brand and type of protein powder, whether it’s whey, casein, or a plant-based option like pea or brown rice protein. Adjustments might be needed depending on how absorbent your specific protein powder is.
- Vanilla Extract: A touch of vanilla extract enhances all the other flavors, adding depth and a comforting aroma that elevates the “cookie” experience. Don’t skip this!
- Salt: A pinch of salt is essential to balance the sweetness and bring out the rich flavors of the peanut butter and chocolate. It acts as a natural flavor enhancer.
- Mini Chocolate Chips: What’s a monster cookie without chocolate? Mini chocolate chips are ideal here because they ensure you get a delightful burst of chocolate in every single bite, truly making these bars feel like a decadent dessert. You can use milk, dark, or semi-sweet varieties.
- Mini M&M’s: These are not just for show! Mini M&M’s provide the signature colorful speckled look of monster cookies and add a satisfying crunch and extra sweetness. You’ll press these into the top of the bars to complete their iconic appearance and flavor profile.
Effortless Steps to Prepare Your Monster Cookie Protein Bars
Creating these delightful no-bake protein bars is incredibly straightforward. With just a few steps, you’ll have a batch of healthy, high-protein snacks ready to enjoy.
Step 1: Combine the Wet and Dry Ingredients
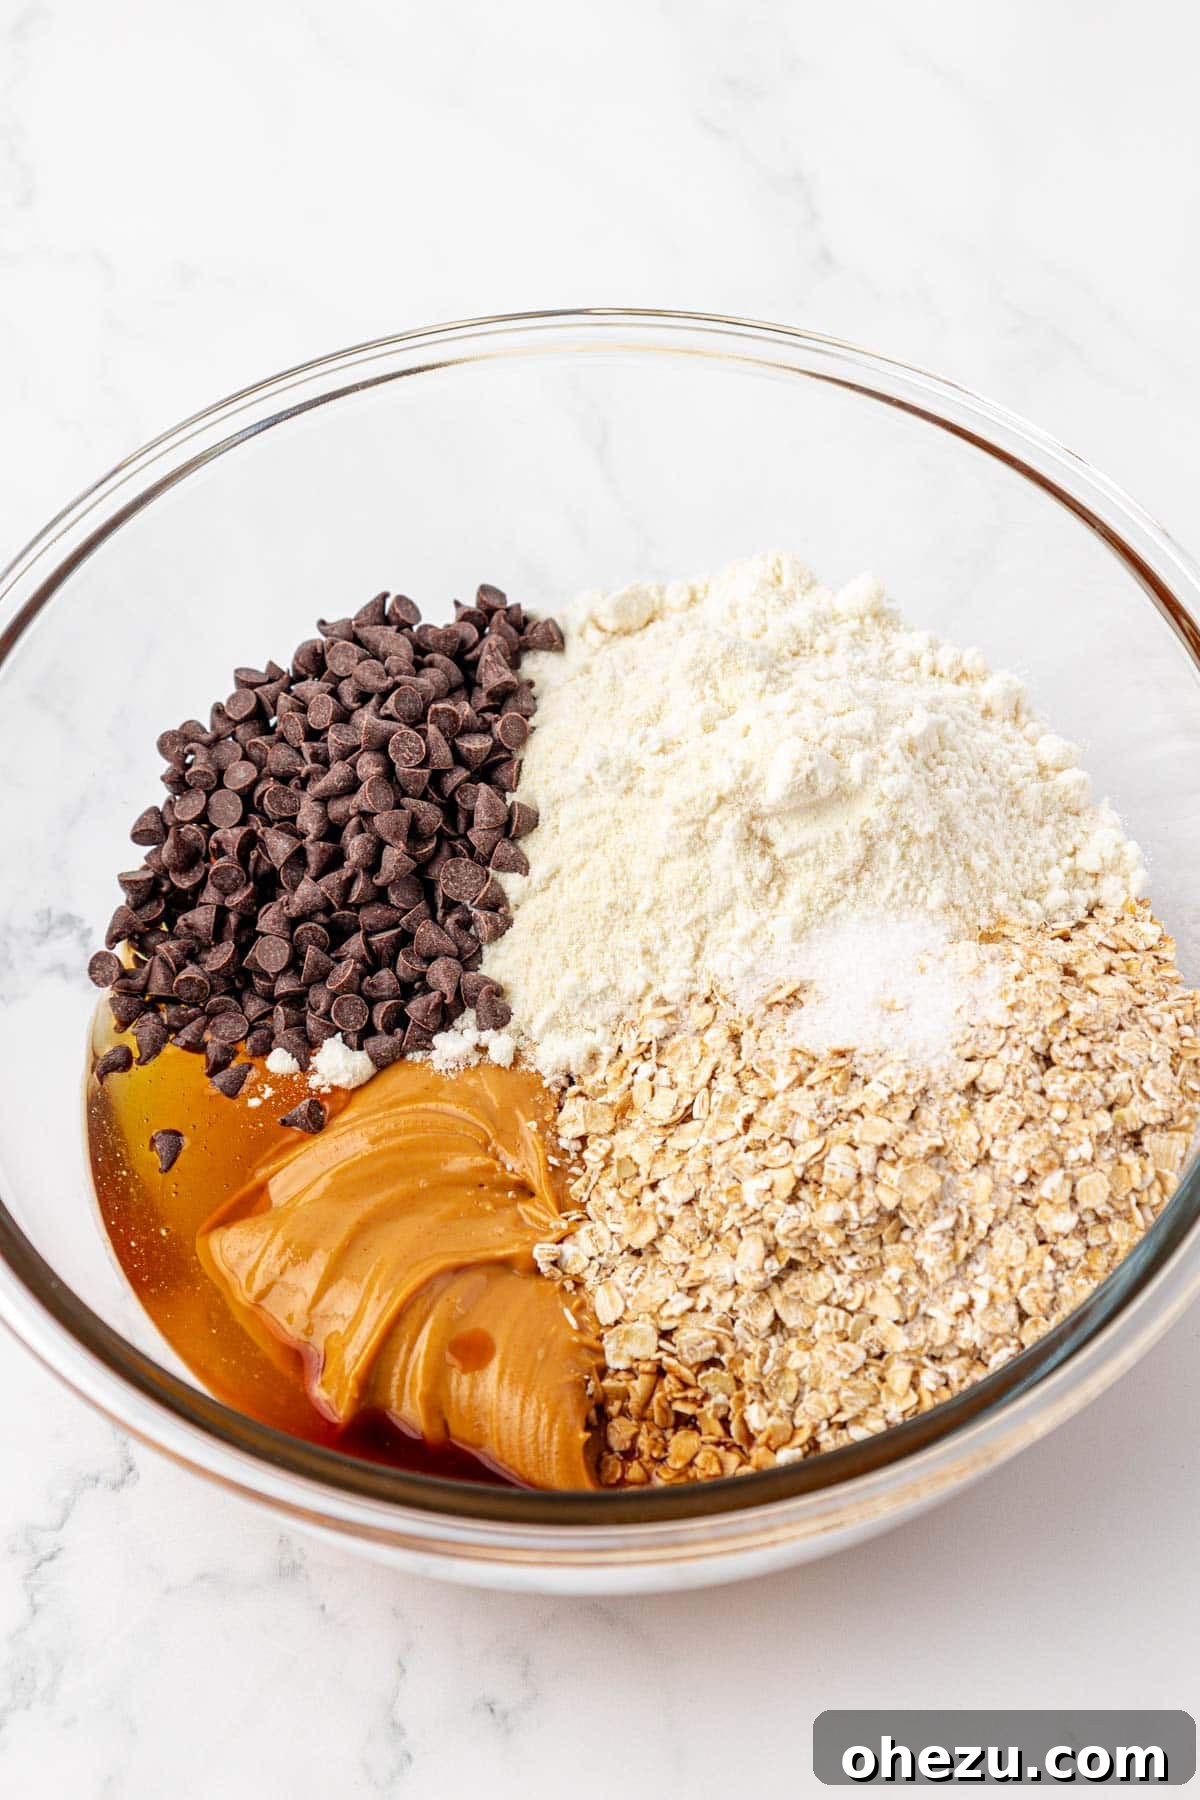
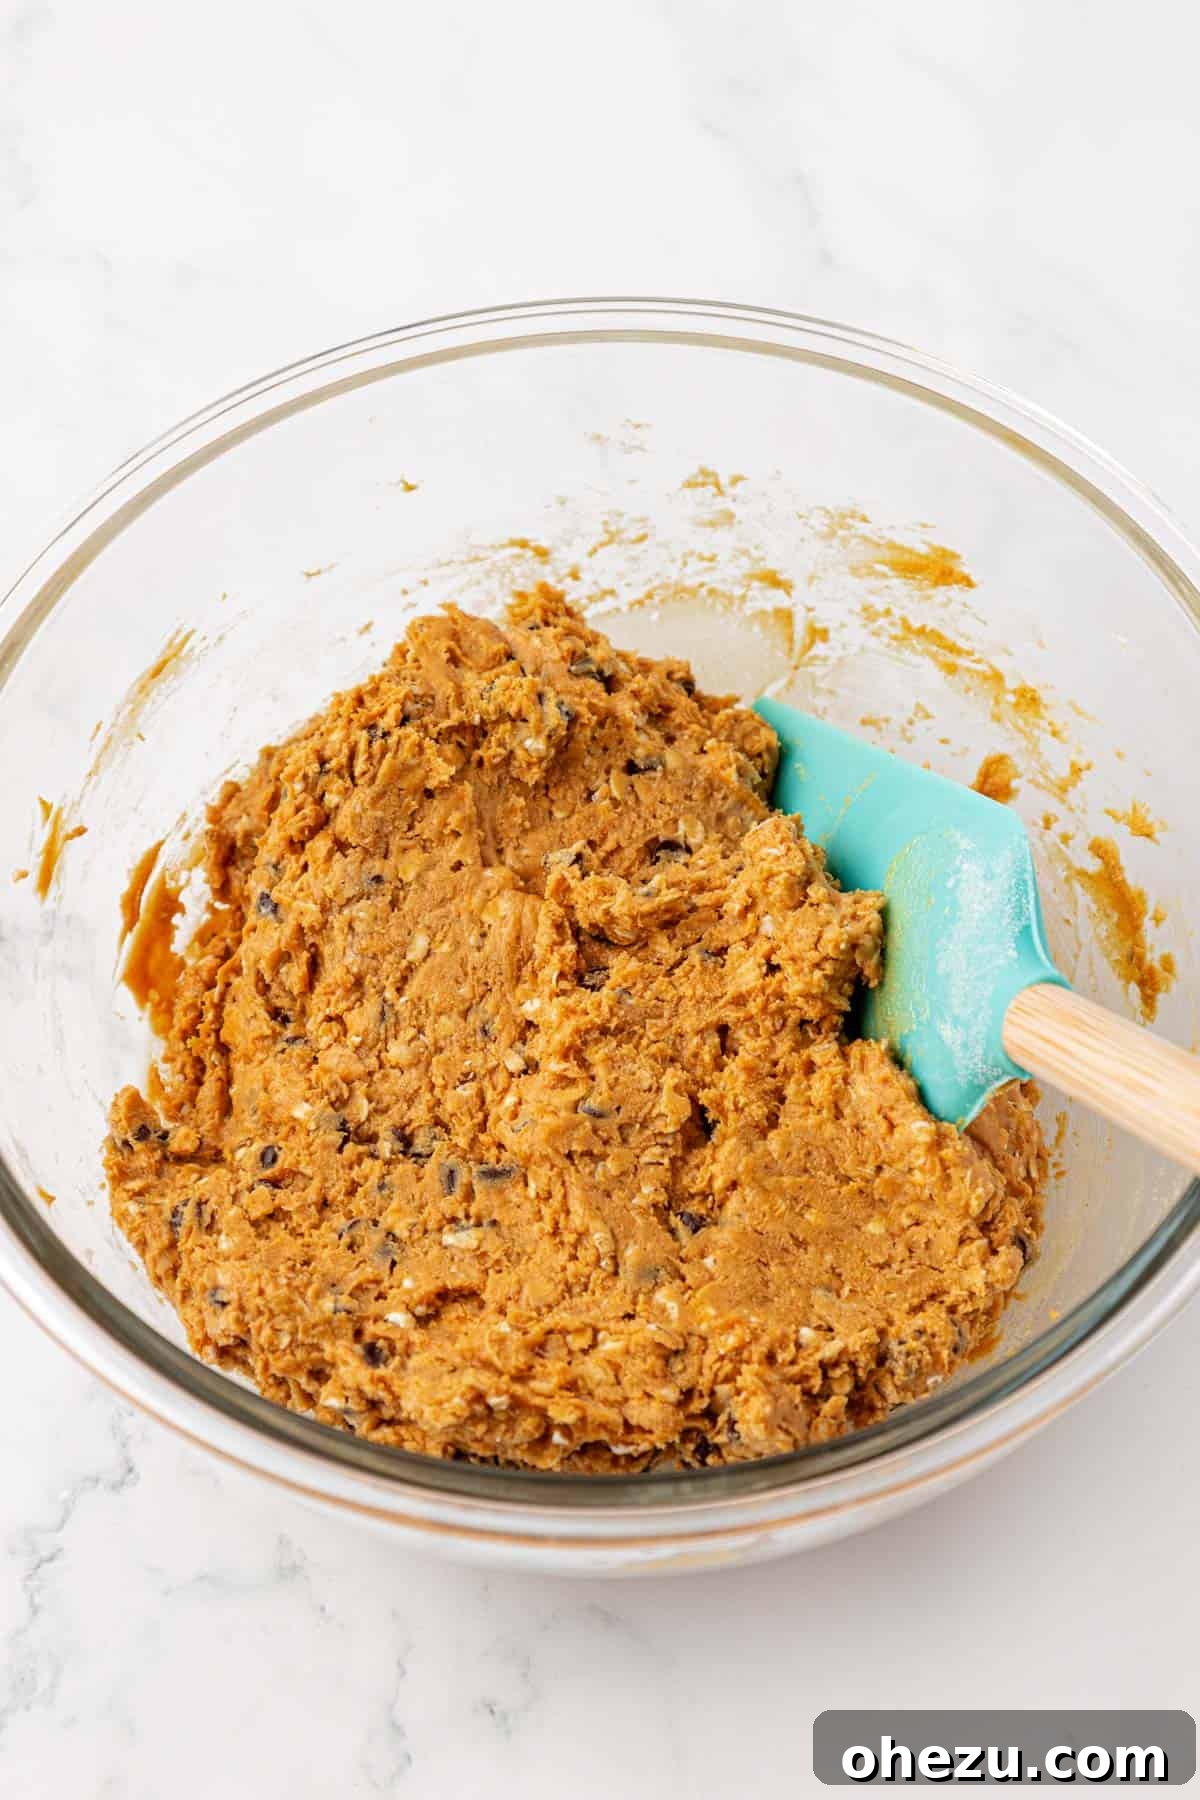
In a large mixing bowl, combine the no-stir creamy peanut butter, honey, quick oats, vanilla protein powder, vanilla extract, salt, and mini chocolate chips. Using a sturdy rubber spatula or a strong spoon, mix all the ingredients thoroughly. This will require some effort as the mixture thickens. Continue mixing until a thick, cohesive batter forms. The batter should be well combined, with no dry spots of protein powder or oats.
Chef’s Tip for Perfect Consistency
The success of these no-bake bars hinges on the right peanut butter. This recipe specifically calls for “no-stir creamy peanut butter” due to its consistent texture. Natural peanut butter, which often separates and requires stirring, has a different oil content and can significantly alter the bar’s texture, potentially making it too crumbly or too oily. If you opt for natural peanut butter, be prepared to adjust the recipe by adding a little more dry ingredient (like oats or protein powder) if it’s too wet, or a tiny bit more honey if it’s too dry, until you achieve the desired pliable consistency.
The ideal batter should be thick and moldable, resembling a dense cookie dough. It should be firm enough to press into a pan without being overly sticky to your hands. If it’s too sticky, try adding a tablespoon more oats or protein powder. If it’s too dry, a tiny drizzle of honey can help.
Step 2: Prepare the Pan and Press the Batter
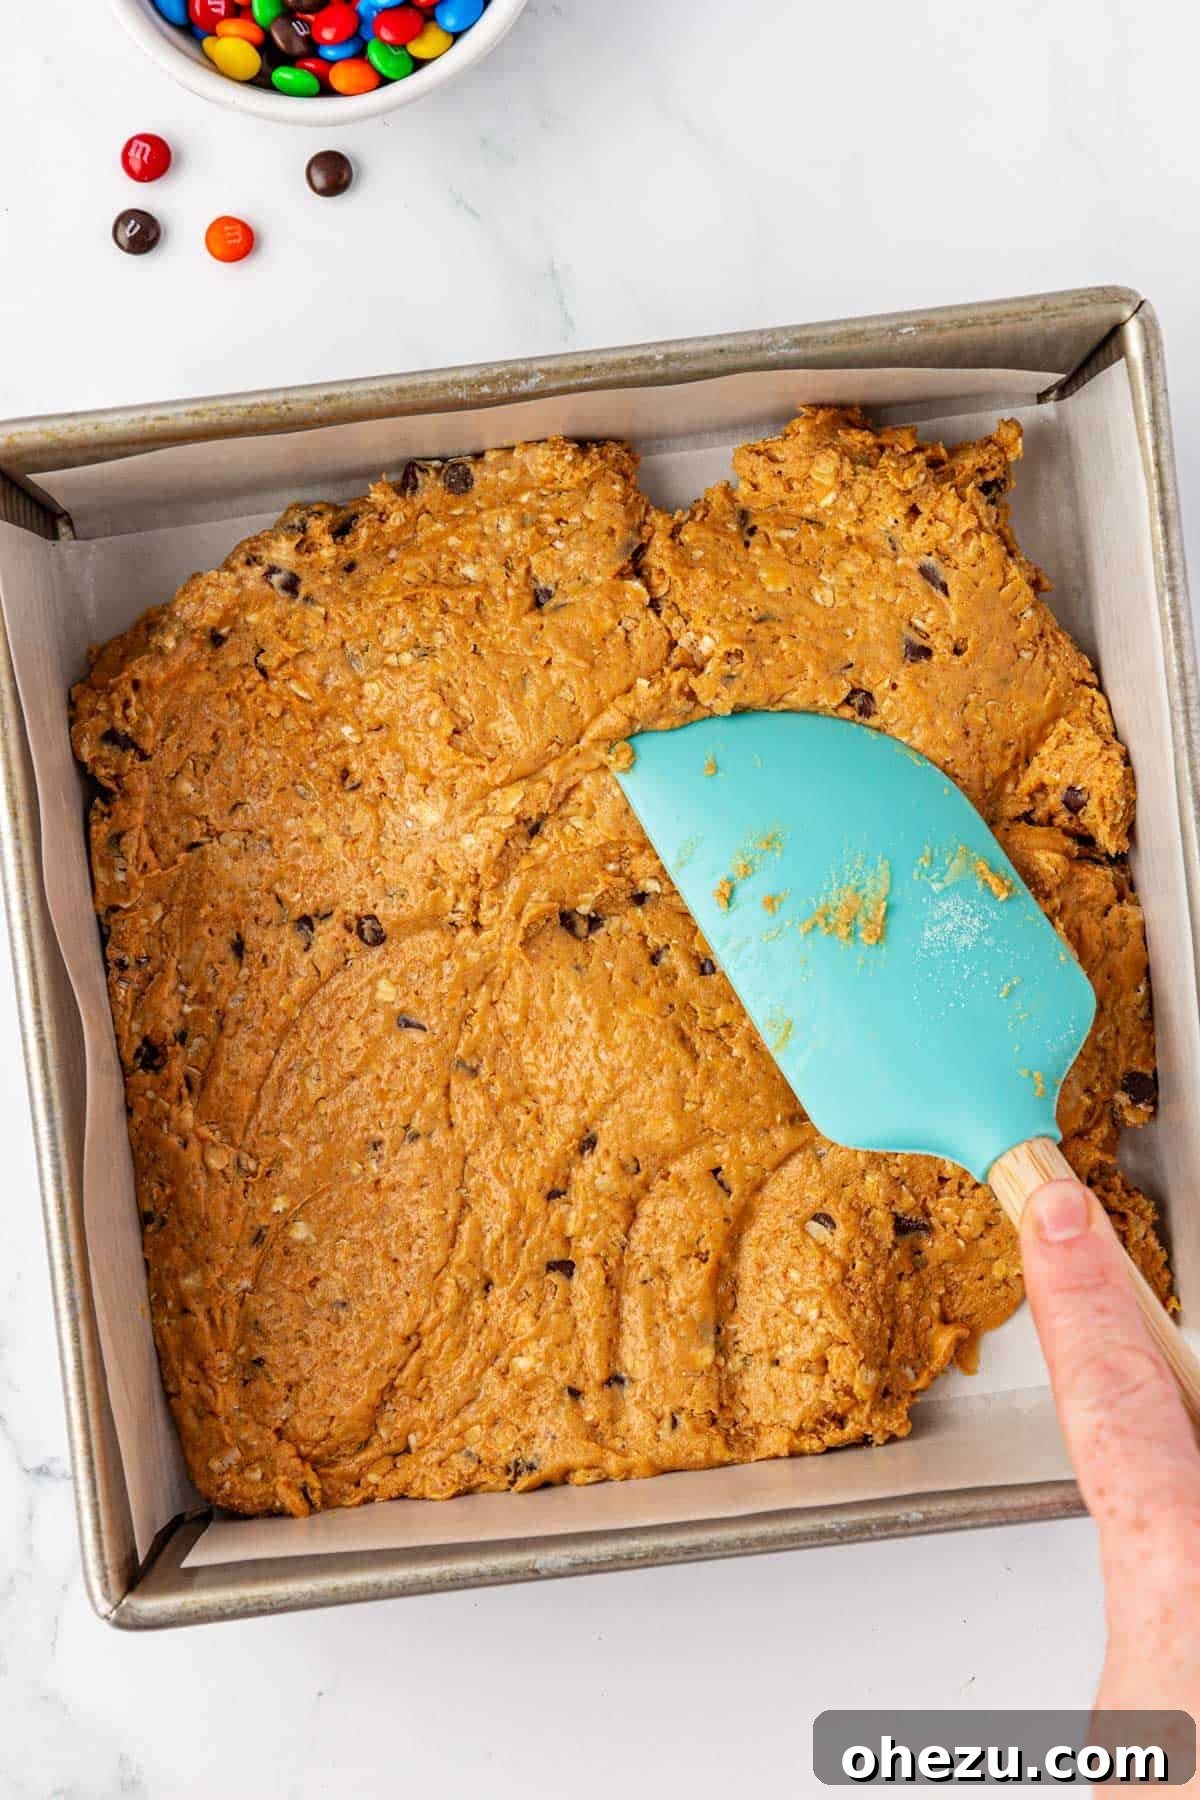
Line an 8×8 inch baking dish with parchment paper, leaving an overhang on the sides. This overhang will act as handles, making it incredibly easy to lift the set bars out of the pan later. Transfer the thick batter into the prepared pan. Using the back of your rubber spatula, a flat bottomed glass, or even slightly damp hands, press the batter down firmly and evenly into the pan. Ensure it’s spread from edge to edge and has a consistent thickness for uniform bars.
Step 3: Add the Signature M&M’s
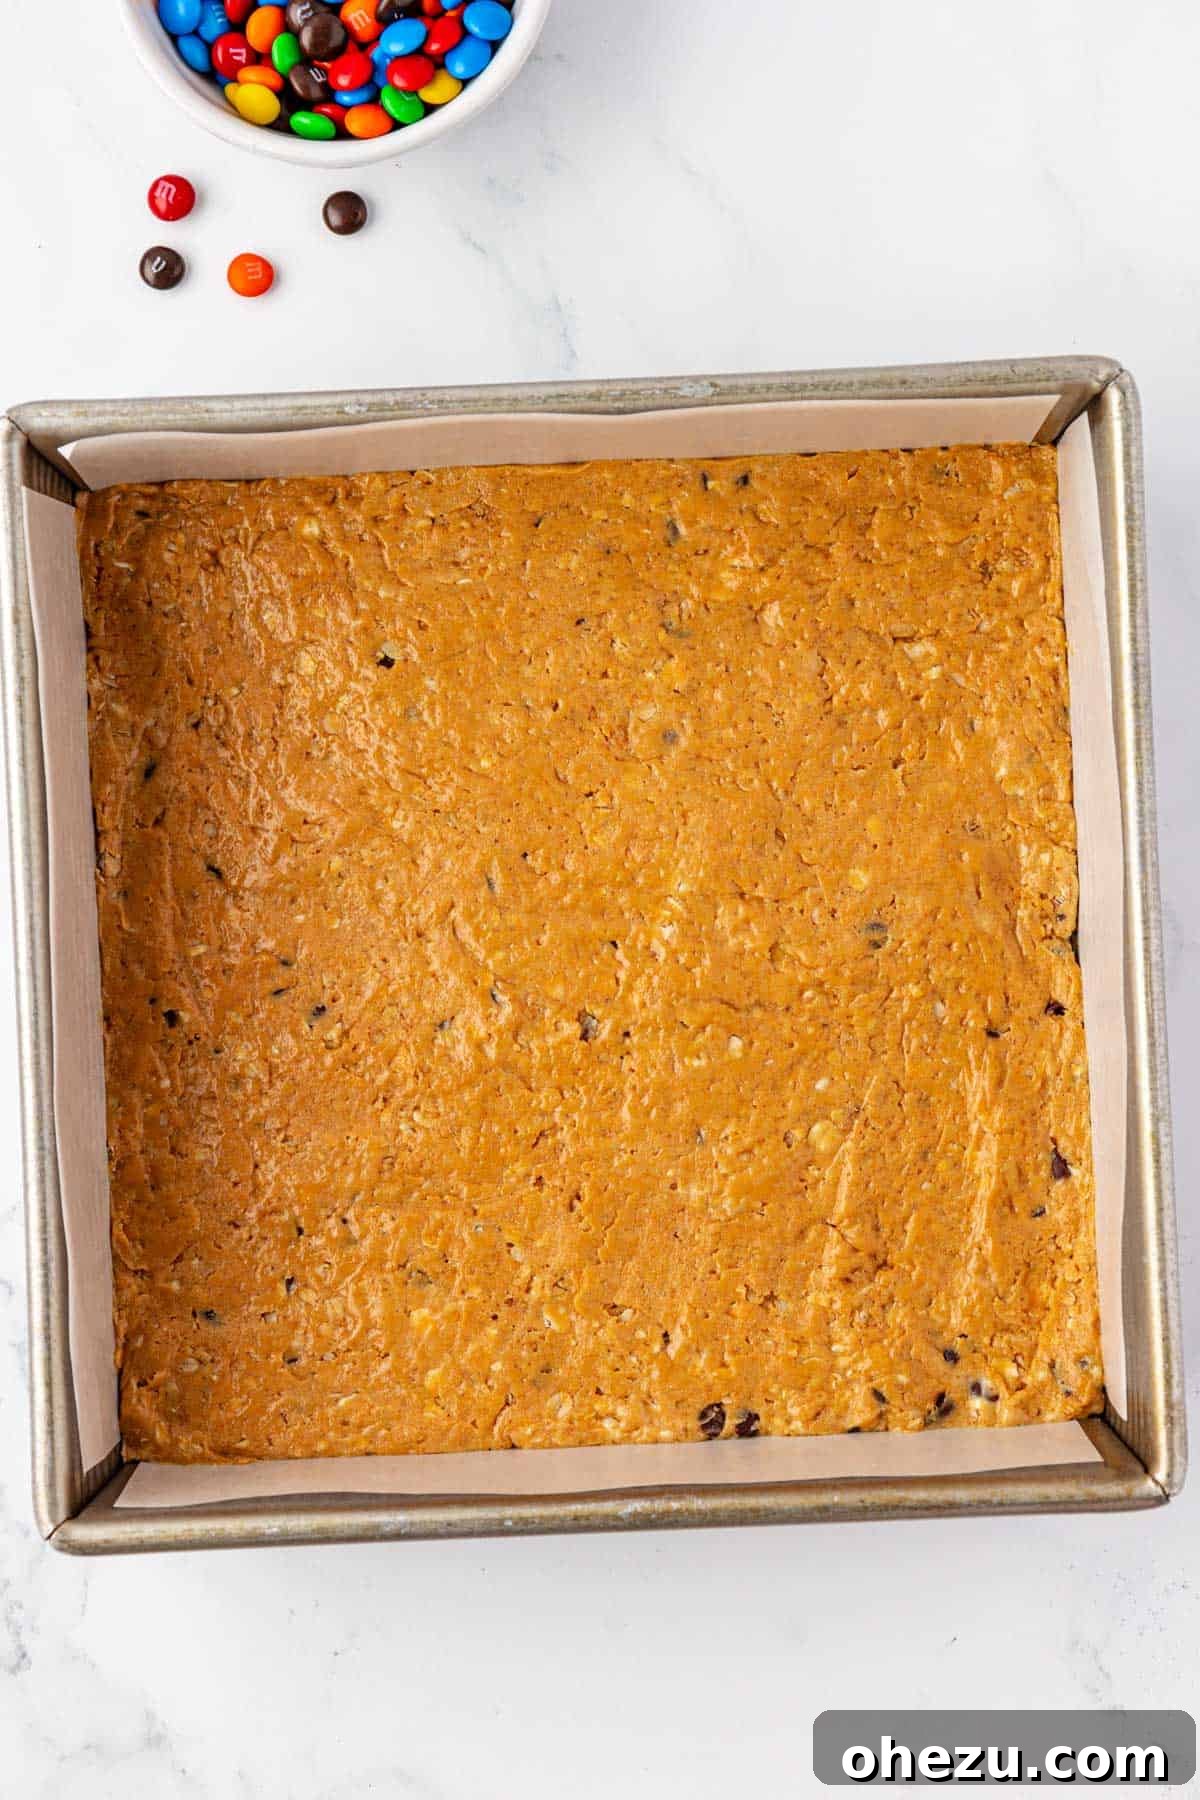
Sprinkle the mini M&M’s evenly over the top of the pressed batter. Gently press them into the surface with your fingers or the back of a spoon to ensure they adhere and don’t fall off once the bars are cut.
Step 4: Chill to Perfection
Place the entire pan into the refrigerator and chill for a minimum of 1-2 hours, or until the bars are completely firm. Chilling is a crucial step for no-bake bars, as it allows the ingredients to set and solidify, making the bars easy to cut and handle.
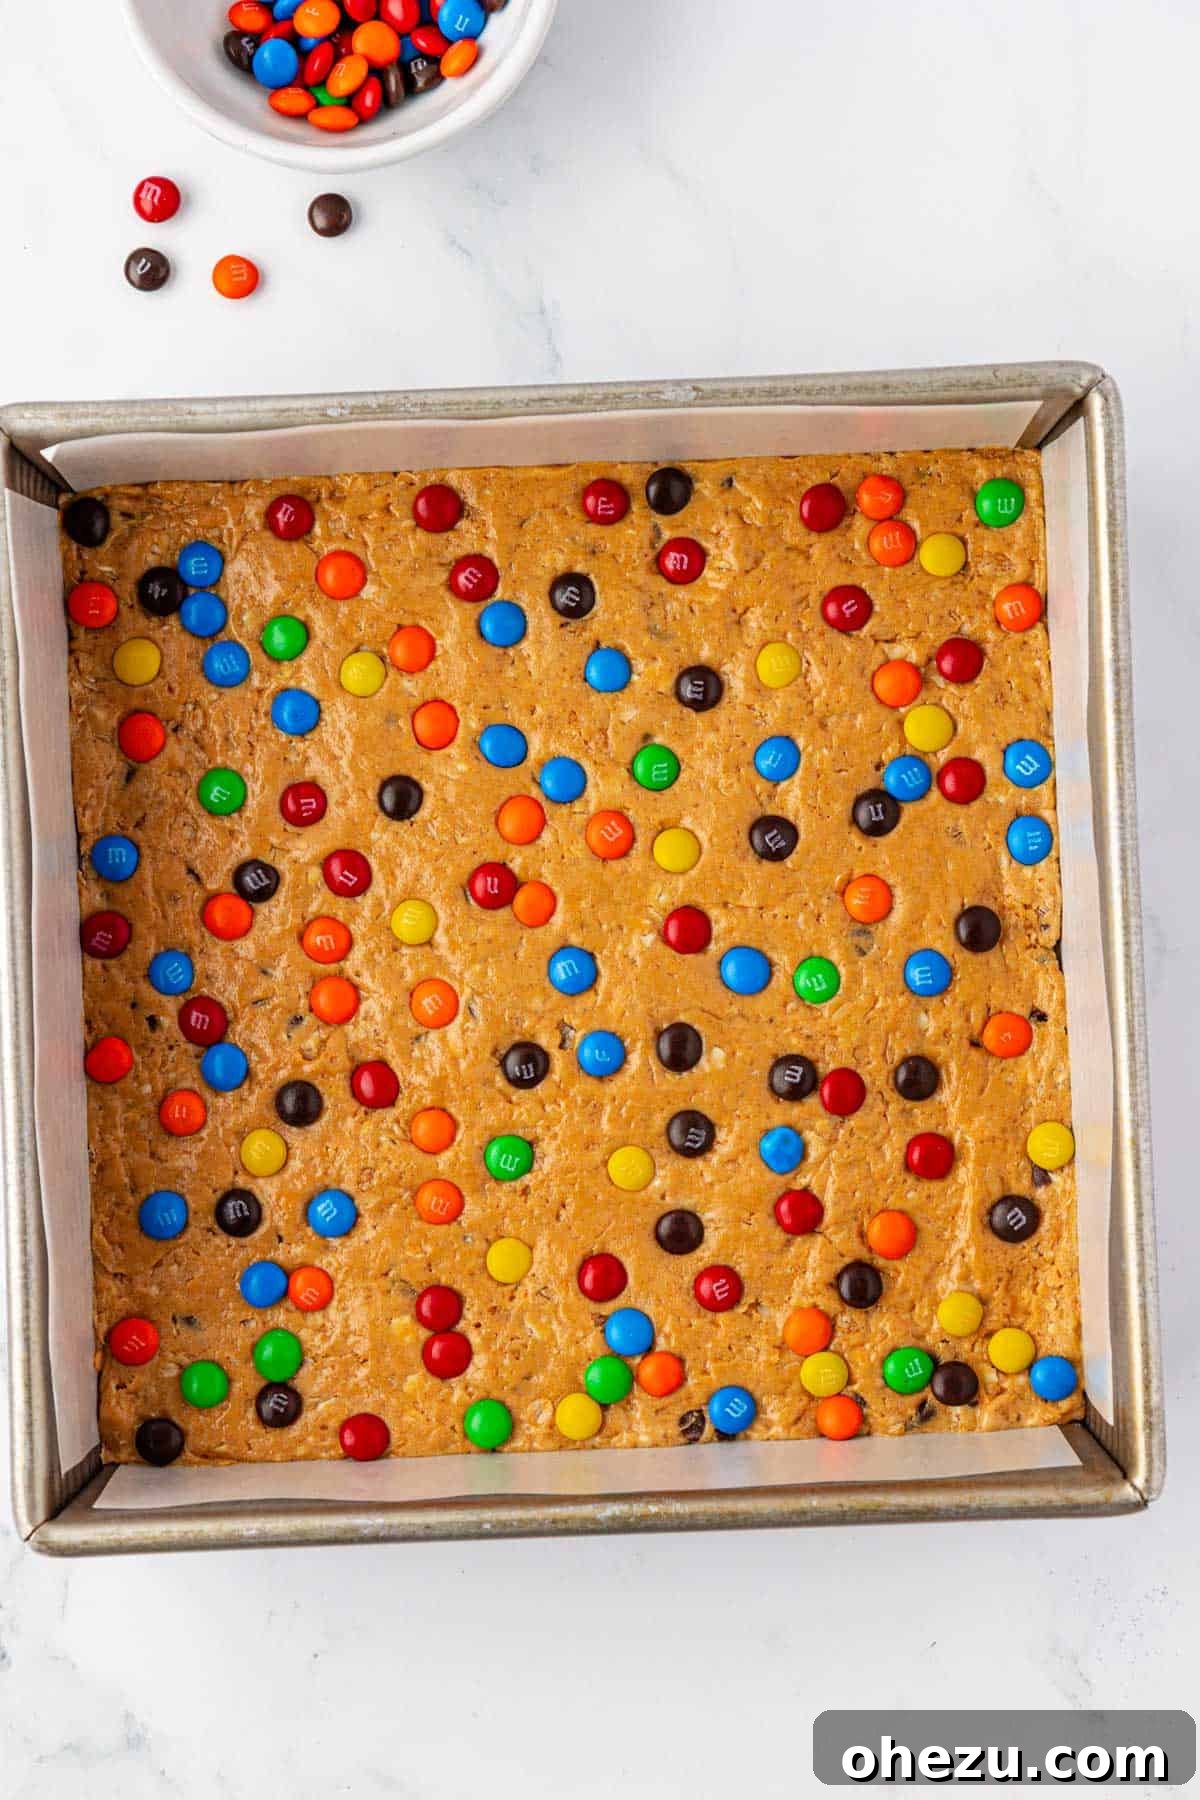
Step 5: Cut and Serve Your Delicious Bars
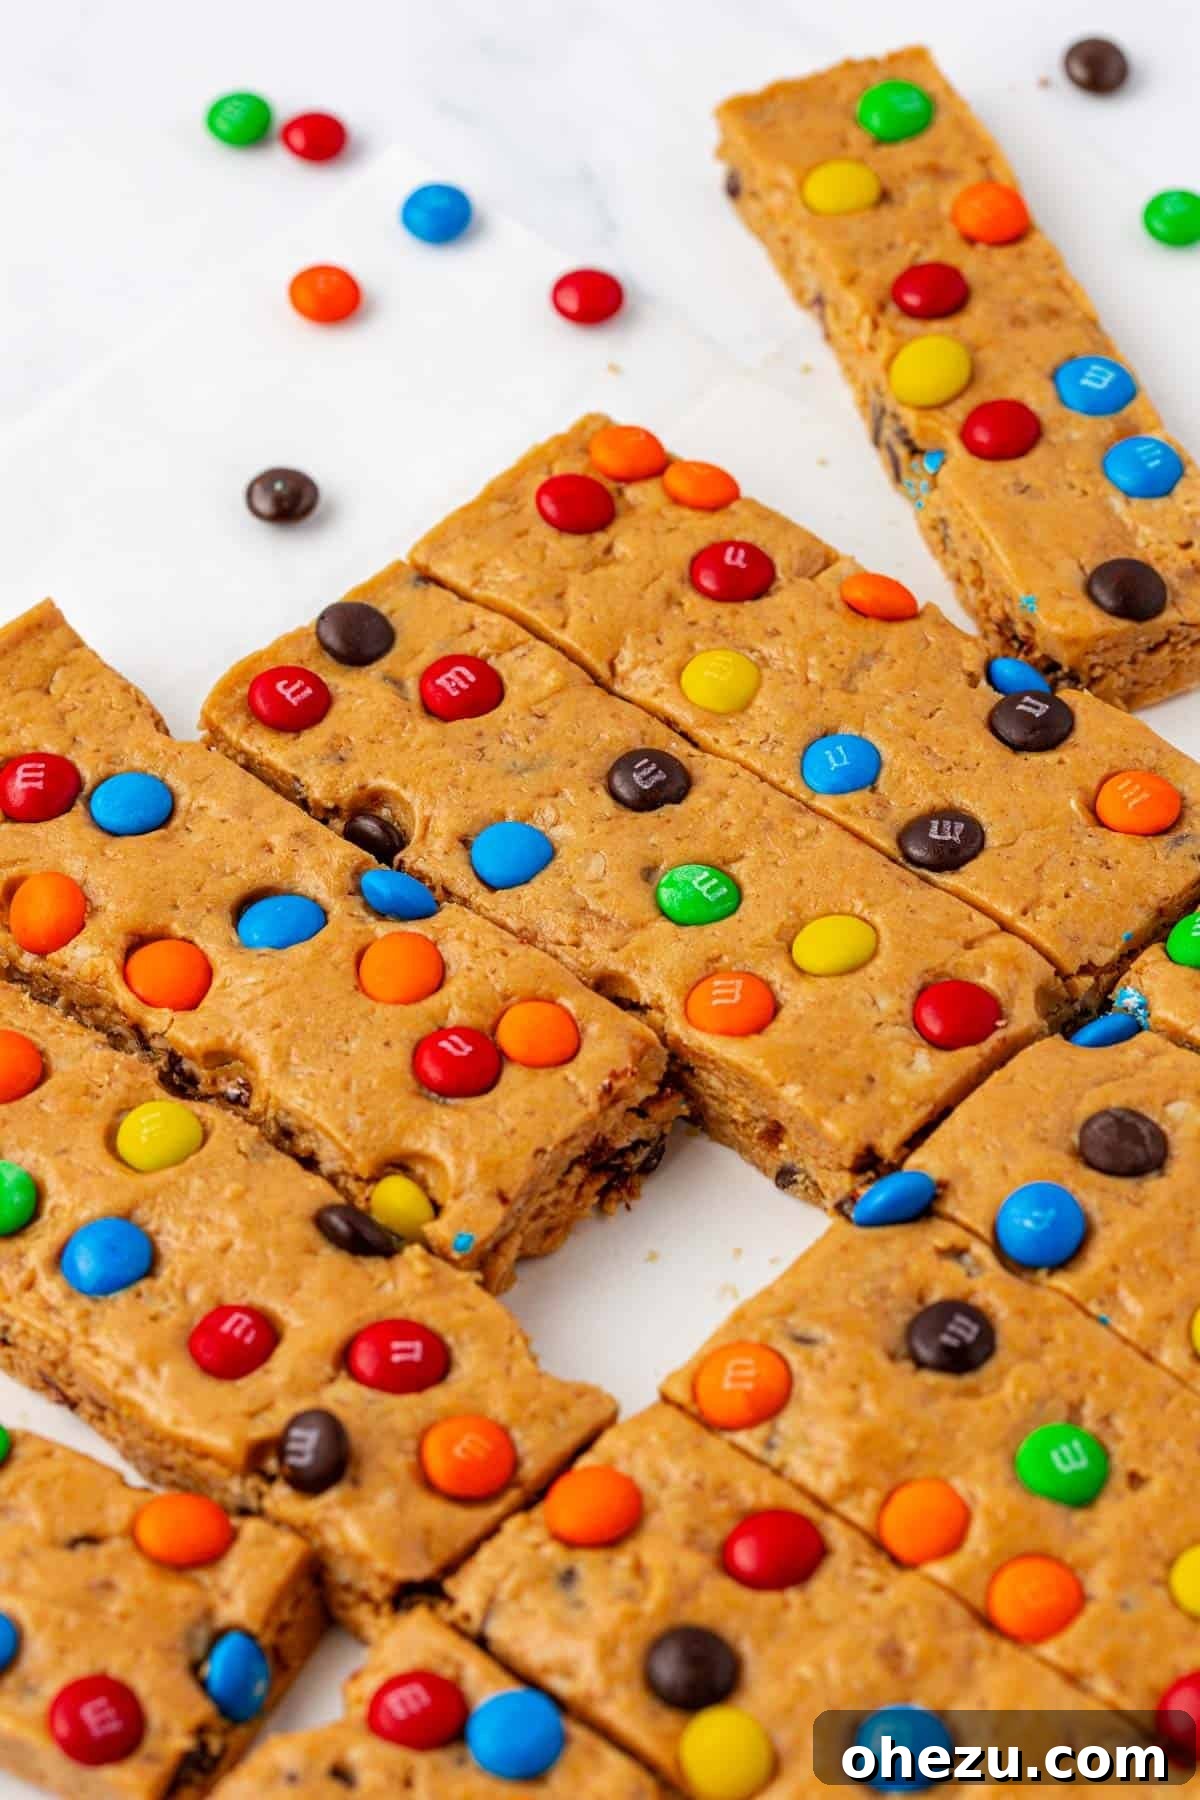
Once firm, remove the pan from the refrigerator. Grasp the parchment paper overhang and gently lift the entire slab of bars out of the baking dish and onto a cutting board. Using a sharp knife, cut the square into 12 equally sized rectangular bars. For smaller appetites or for little ones, you can even cut these rectangular bars in half again to create mini protein bites.
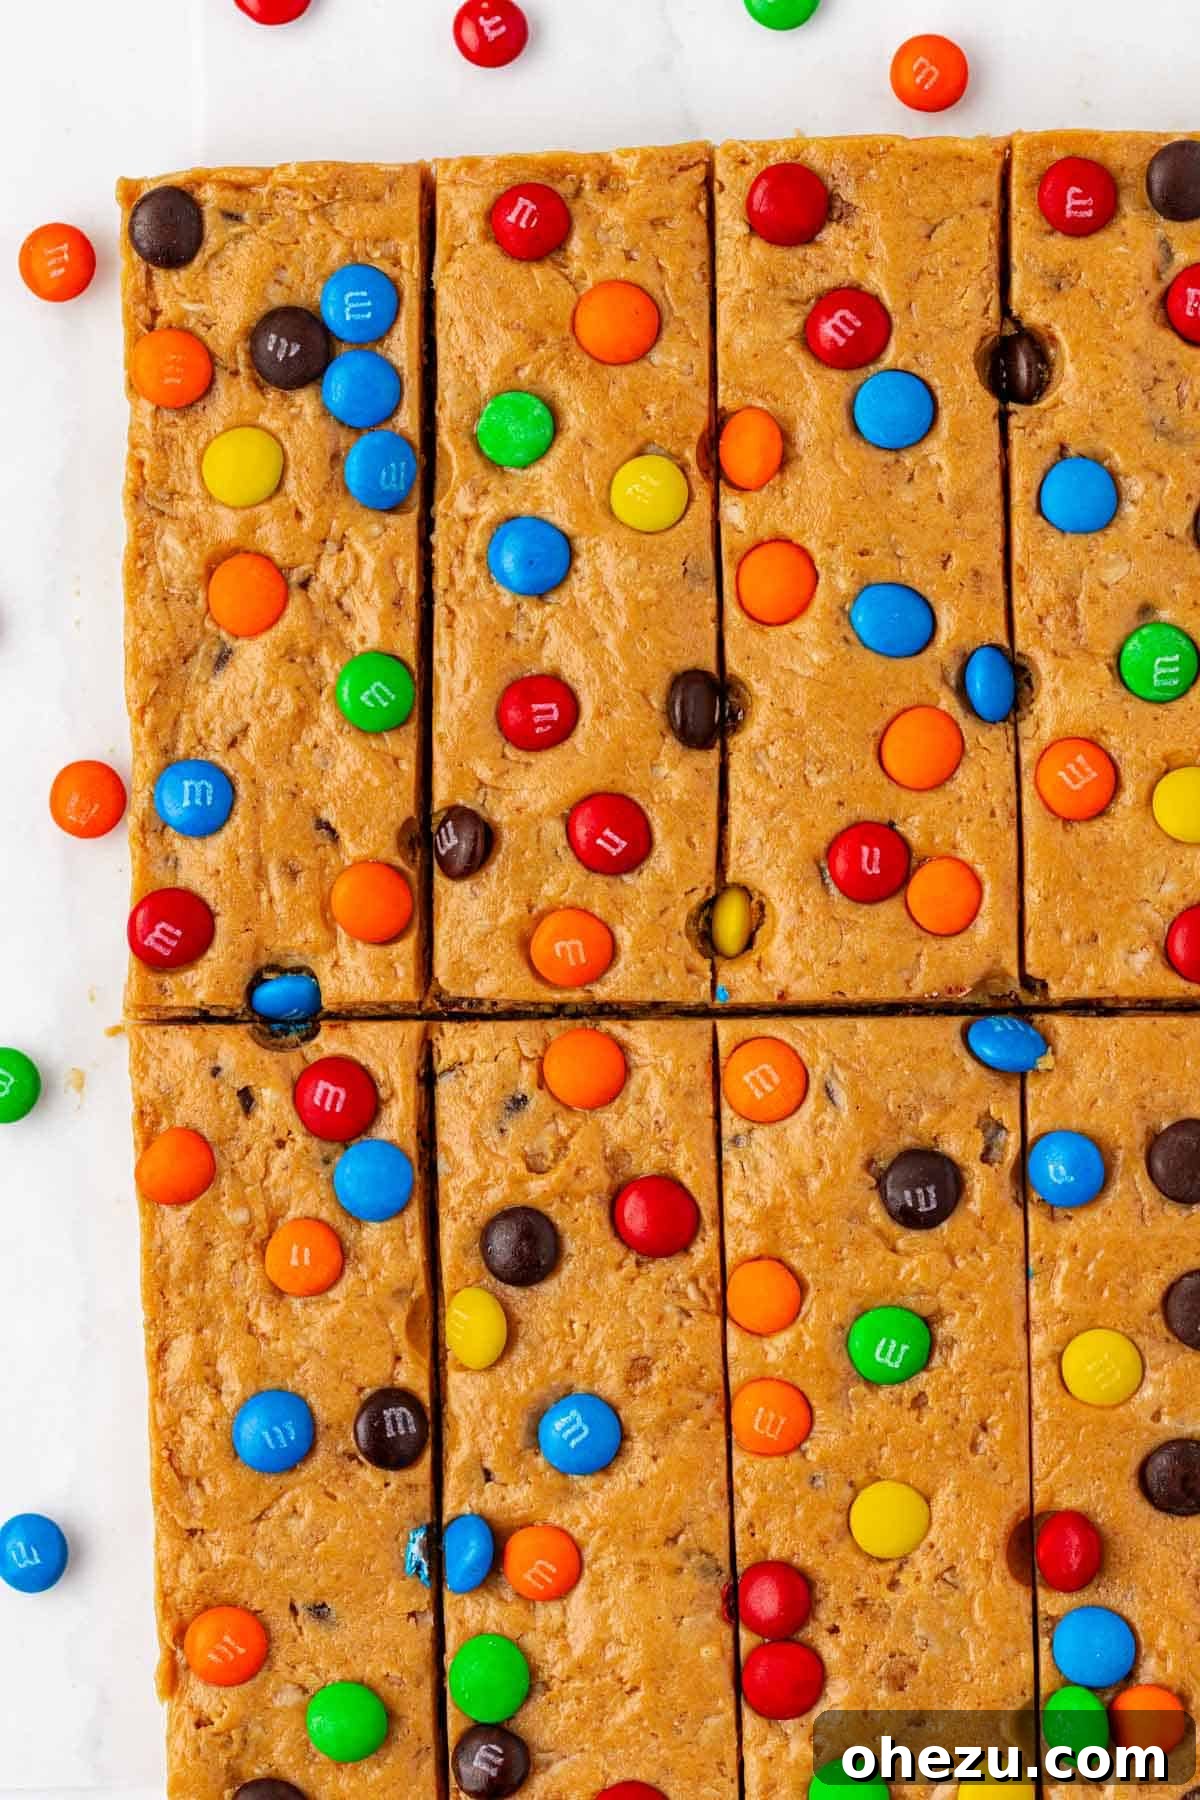
If you’ve never ventured into making homemade protein bars, now is the time! This recipe is incredibly forgiving and requires no special equipment or advanced culinary skills. It’s a fantastic way to introduce healthier, protein-rich snacks into your diet without compromising on flavor or fun.
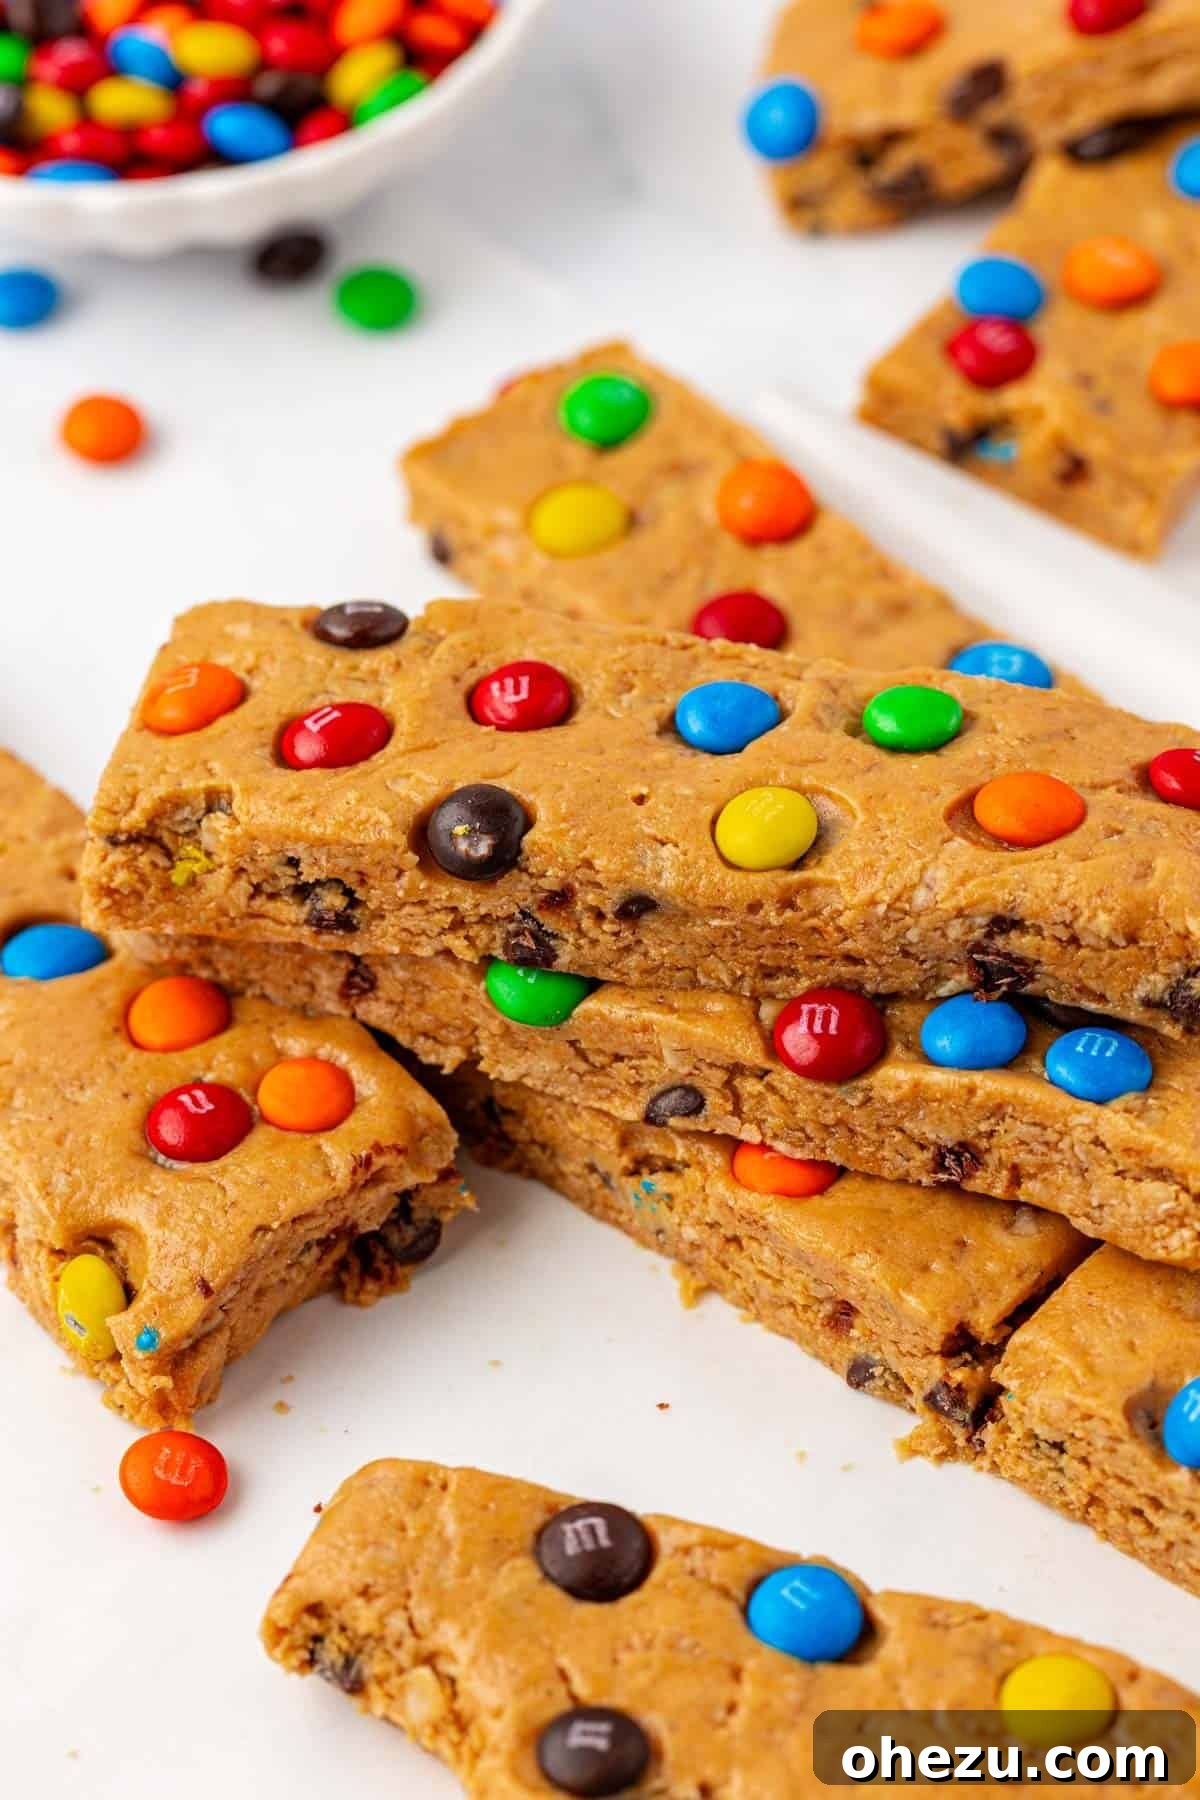
Storing Your Protein Bar Stash for Lasting Freshness
Proper storage is key to enjoying your homemade Monster Cookie Protein Bars for days or even months. Leftover bars should be stored in an airtight container to maintain their freshness and prevent them from drying out or absorbing other refrigerator odors. You have a couple of excellent options:
- Refrigeration: Keep your protein bars in the refrigerator for up to 5-7 days. The cold temperature helps them maintain their firm texture and extends their shelf life, making them a perfect meal prep item for the week ahead.
- Freezing: For longer storage, these bars freeze beautifully! Wrap individual bars tightly in plastic wrap or place them in a freezer-safe airtight container. They will stay fresh in the freezer for 2-3 months. Simply pull one out and let it thaw at room temperature for a few minutes or enjoy it straight from the freezer for a delightful frosty treat.
In our experience, these delicious bars rarely last more than a couple of days in the fridge or freezer. They are simply too tempting to resist!
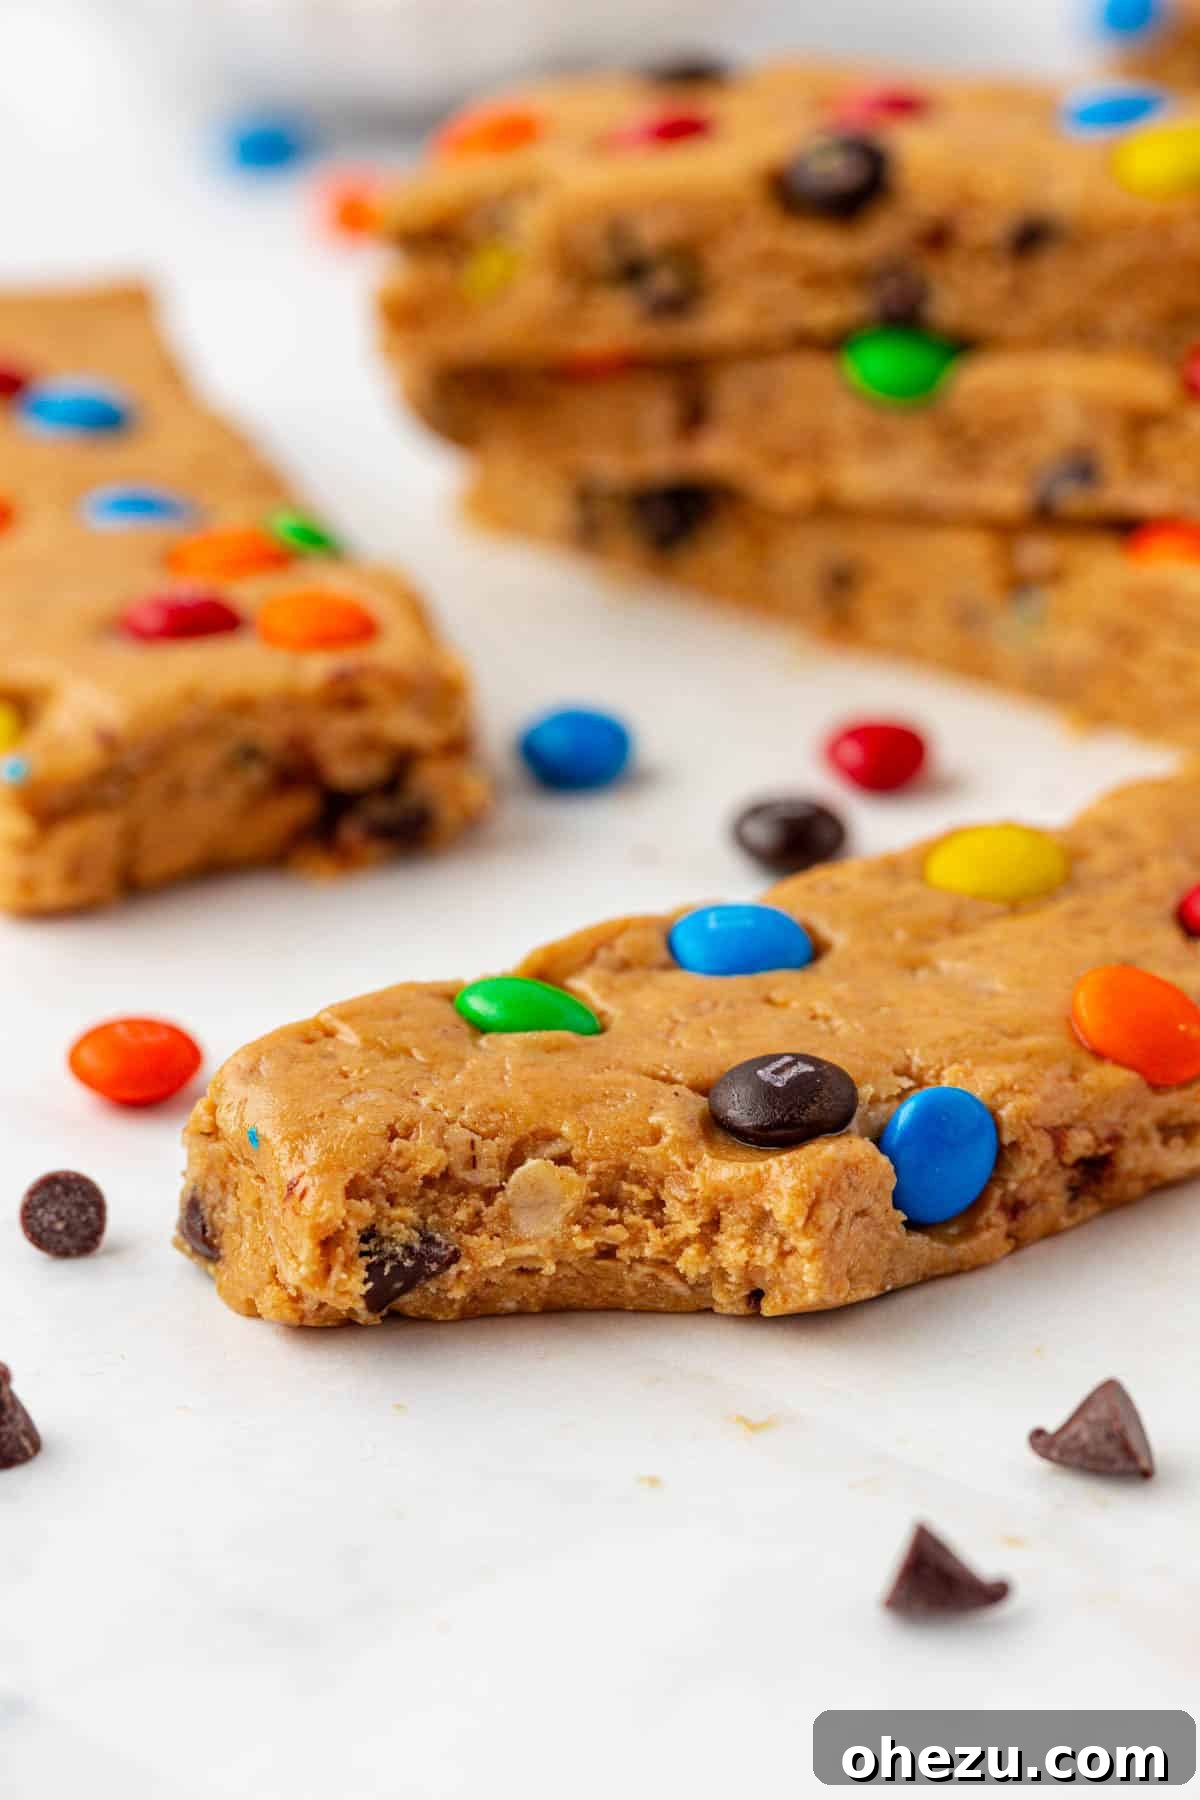
Why These Monster Cookie Protein Bars Are a Must-Try
Beyond their incredible flavor and ease of preparation, these protein bars offer a wealth of benefits that make them a standout in the world of healthy snacking:
- High Protein Content: Each bar delivers 10 grams of protein, making them an excellent choice for supporting muscle recovery, promoting satiety, and keeping you energized throughout your day.
- No-Bake Convenience: Skip the oven and the extensive cleanup! These bars are ideal for hot days or when you simply don’t have time for complicated baking.
- Wholesome Ingredients: Made with recognizable, nutritious ingredients, you can feel good about what you’re fueling your body with. No mystery ingredients or artificial flavors here.
- Kid-Friendly & Delicious: The familiar and fun “monster cookie” flavor, complete with chocolate chips and M&M’s, makes these bars irresistible to kids and adults alike. It’s a healthy snack that tastes like a treat!
- Perfect for Meal Prep: Whip up a batch on the weekend, and you’ll have healthy, portion-controlled snacks ready for the entire week. They’re ideal for busy schedules, school lunches, or post-gym fuel.
- Customizable: Easily adapt the recipe to suit your dietary needs or flavor preferences. See our ‘Variations’ section below for inspiration!
Unleash Your Creativity: Customizing Your Protein Bars
One of the best things about homemade protein bars is their versatility. Don’t be afraid to experiment with these ideas to make them uniquely yours:
- Nut Butter Alternatives: While peanut butter is classic, you can swap it for almond butter, cashew butter, or even sunflower seed butter (for a nut-free option) to change the flavor profile. Be mindful that different nut butters have varying consistencies, so slight adjustments to other ingredients might be needed.
- Different Protein Powders: Experiment with chocolate protein powder for a double chocolate monster cookie bar, or unflavored protein powder if you prefer to let the other flavors shine.
- Add-ins Galore:
- Dried Fruits: Chopped raisins, cranberries, or finely diced apricots can add a lovely chewiness and natural sweetness.
- Shredded Coconut: For a tropical twist, mix in some unsweetened shredded coconut.
- Seeds: Boost nutrition with a tablespoon or two of chia seeds, flax seeds, or hemp hearts. They also help with binding!
- Other Chocolates: White chocolate chips, butterscotch chips, or chopped candy bars can add new dimensions of flavor.
- Gluten-Free Option: Ensure your oats are certified gluten-free if you have dietary restrictions.
- Vegan Option: Use a plant-based protein powder and swap honey for maple syrup or agave nectar.
Explore More Delicious Protein Bar Recipes
If you loved these Monster Cookie Protein Bars, you’re in for a treat! We have a wide array of other protein bar recipes designed to keep your snacking healthy, exciting, and full of flavor. Check out some of our other favorites:
- Classic No-Bake Protein Bars
- Hearty Protein Granola Bars
- Rich Chocolate Protein Bars
- Indulgent Peanut Butter Chocolate Chip Protein Bars
- Creamy Chocolate Cashew Protein Bars
Monster Cookie Protein Bars
By: Joy Shull
These easy no-bake monster cookie protein bars are simple to make and provide 10 grams of protein each – a perfect healthy treat!
Servings: 12
Rate Recipe
Print Recipe
Ingredients
- 1 cup no-stir creamy peanut butter
- 1/3 cup honey
- 2/3 cup quick oats
- ½ cup vanilla protein powder
- 1 teaspoon vanilla extract
- ¼ teaspoon salt
- ¼ cup mini chocolate chips
- 2 tablespoons mini M&M’s
Instructions
- Add the peanut butter, honey, oats, protein powder, vanilla extract, salt, and mini chocolate chips to a mixing bowl.
- Use a rubber spatula to mix it all together until a thick batter forms.
- Line an 8×8 inch baking dish with parchment paper.
- Spread the batter evenly into the pan.
- Press the mini M&M’s into the tops of the bars.
- Refrigerate the pan for 1-2 hours, until firm.
- Remove the bars from the pan by lifting the sides of the parchment paper.
- Cut the square into 12 rectangular bars.
Notes
Store leftover bars in an airtight container in the refrigerator or freezer. They will keep for 5-7 days in the refrigerator or 2-3 months in the freezer.
Nutrition
Calories: 224kcal,
Carbohydrates: 20g,
Protein: 10g,
Fat: 13g,
Saturated Fat: 3g,
Polyunsaturated Fat: 3g,
Monounsaturated Fat: 6g,
Trans Fat: 0.01g,
Cholesterol: 8mg,
Sodium: 152mg,
Potassium: 156mg,
Fiber: 2g,
Sugar: 14g,
Vitamin A: 26IU,
Vitamin C: 0.1mg,
Calcium: 35mg,
Iron: 1mg
Loved this recipe? Share your thoughts and rate it below!