
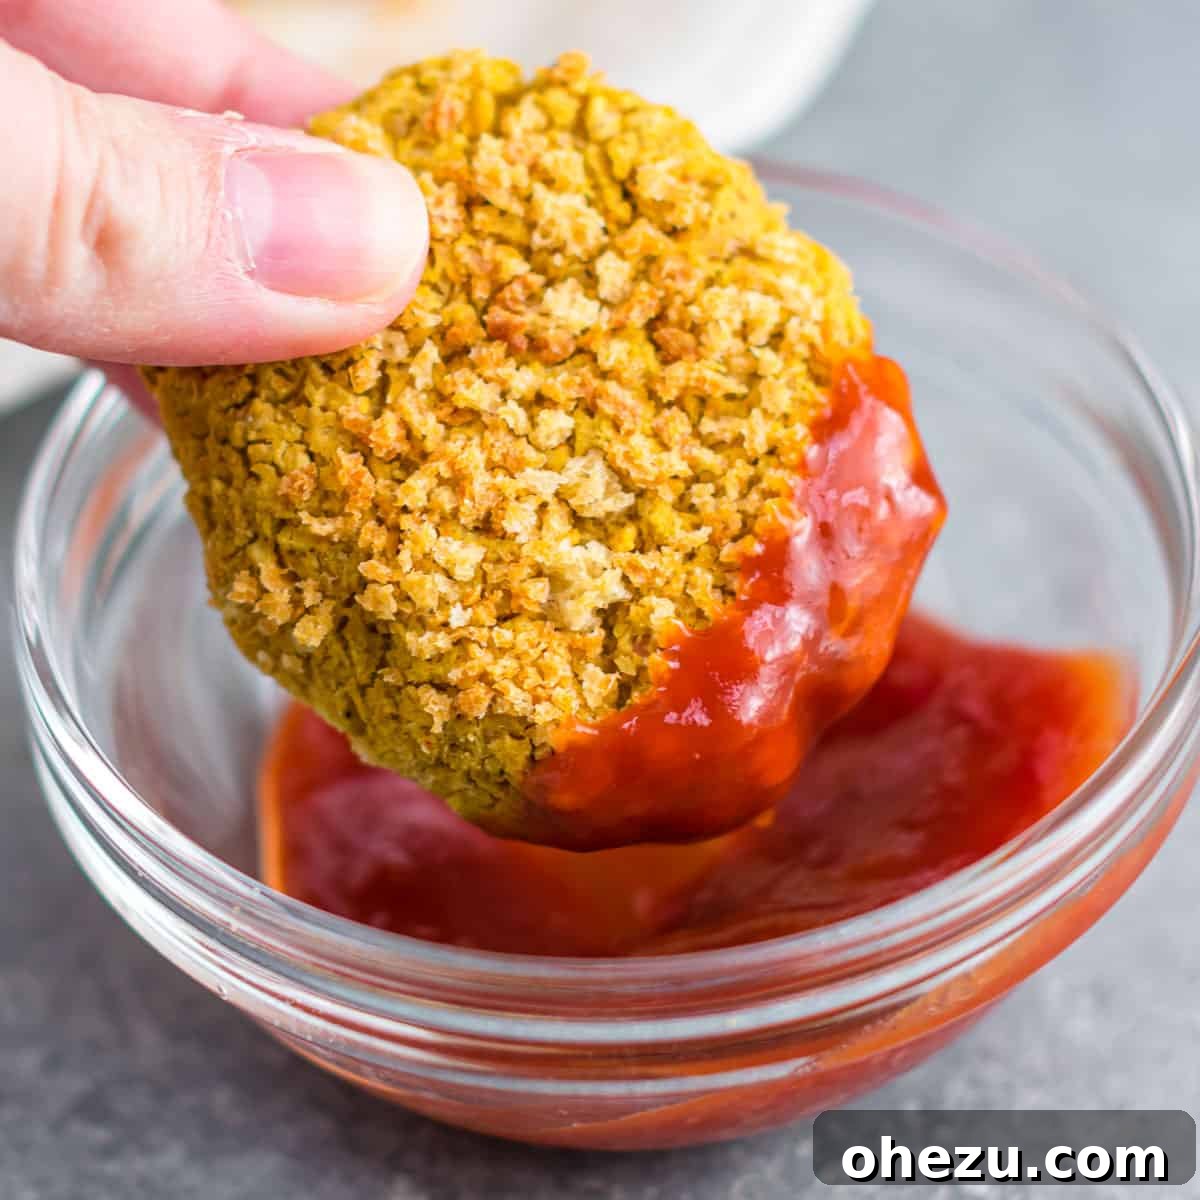
Craving the nostalgic comfort of chicken nuggets but seeking a plant-based alternative? Look no further! These irresistible chickpea nuggets are not only an easy vegetarian recipe but also incredibly simple to make at home. Delight your taste buds with this wholesome, meatless option, perfect for pairing with your favorite dipping sauce for a truly satisfying plant-based meal or snack.
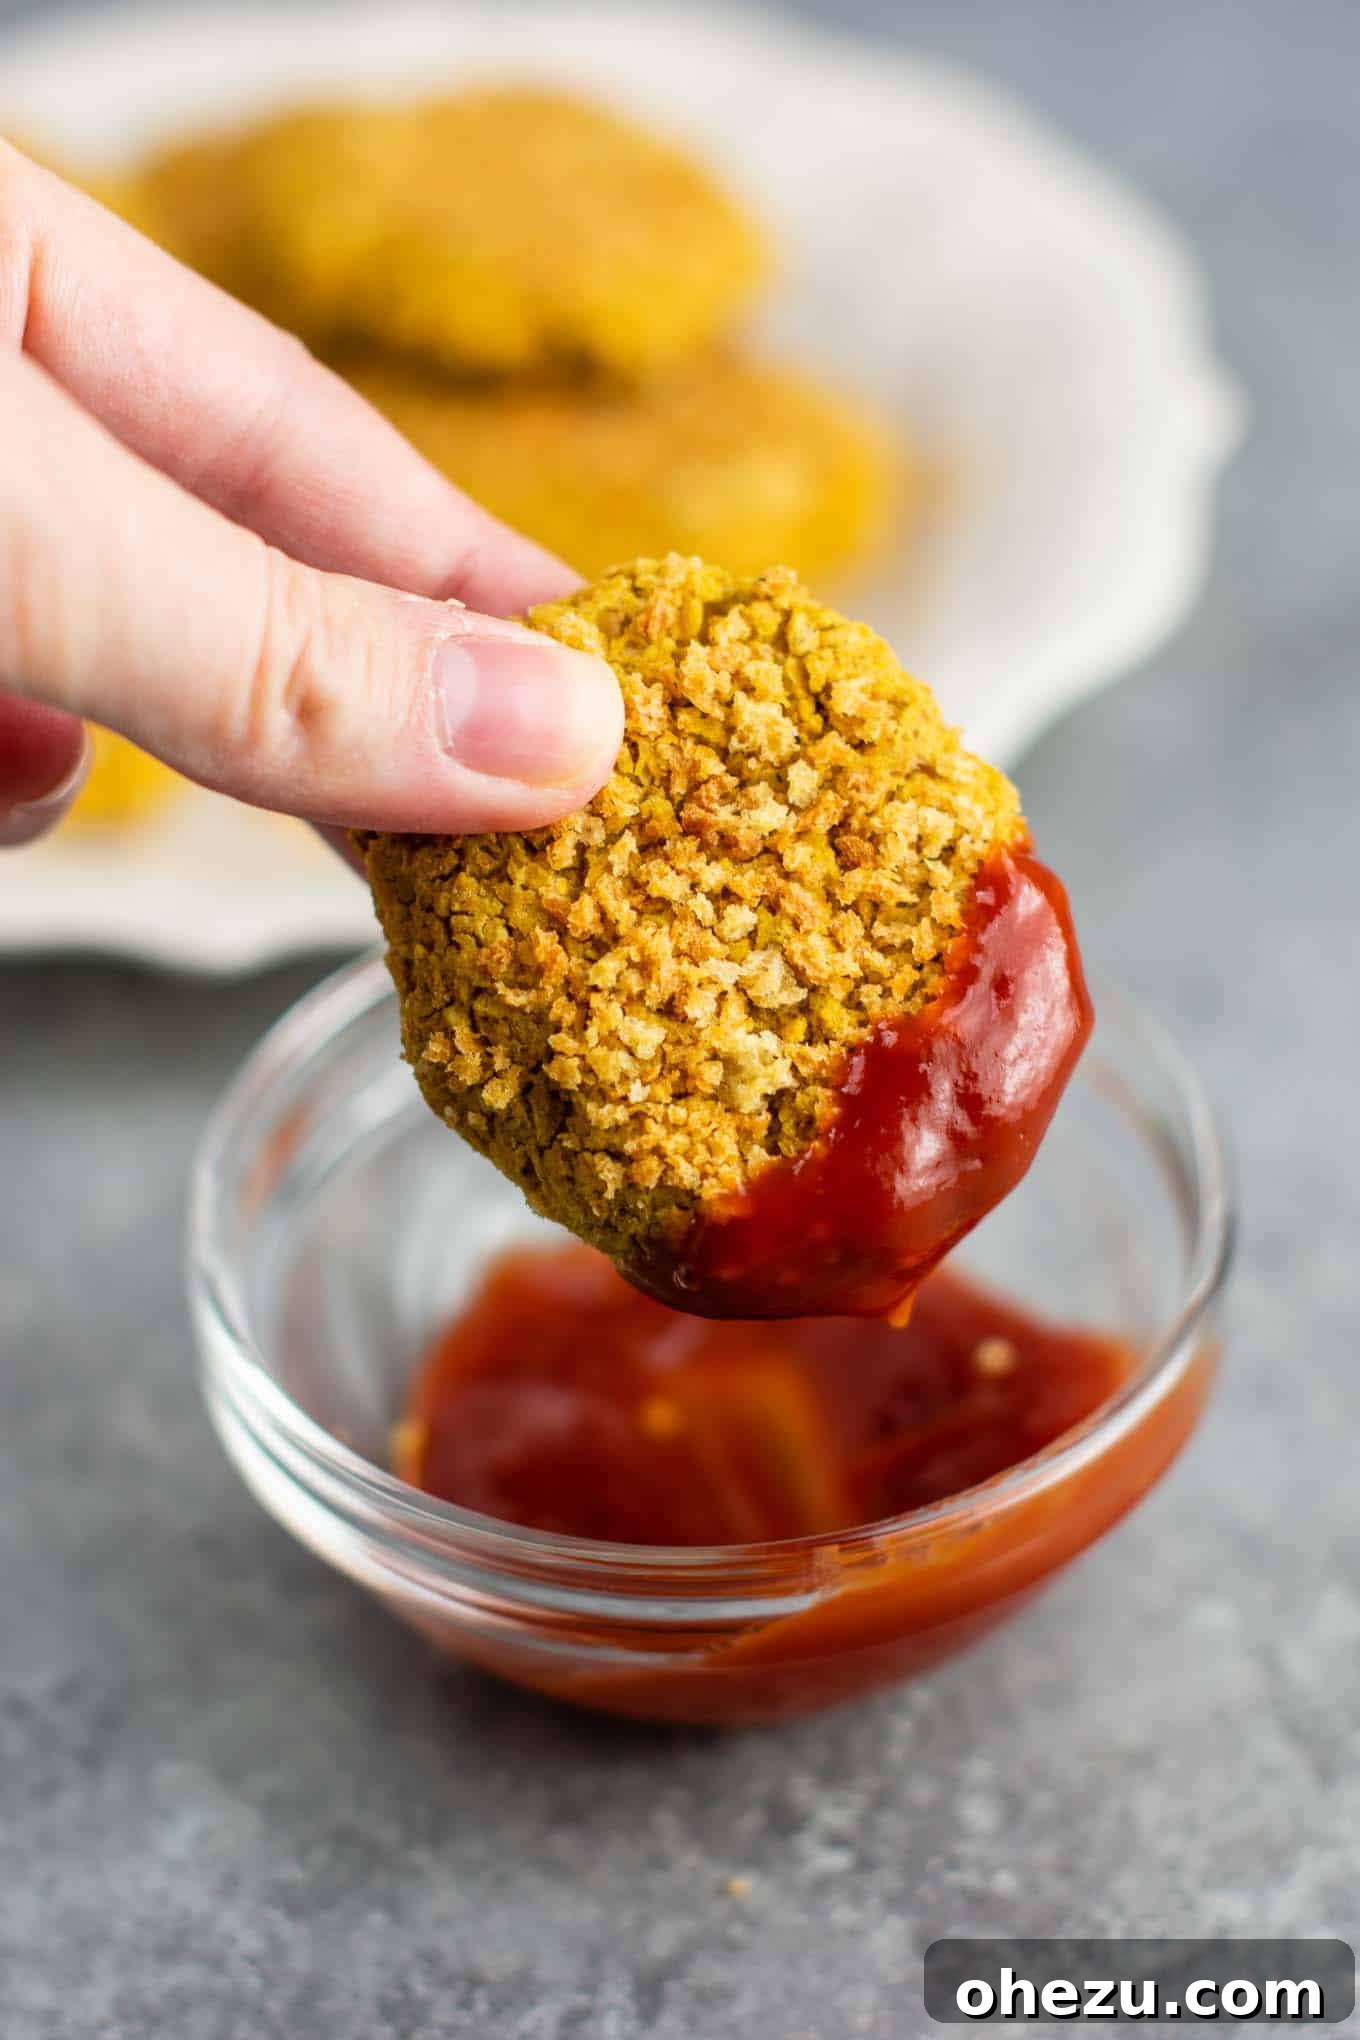
Unleash the Flavor: Crafting the Perfect Homemade Chickpea Nuggets
For many of us, chicken nuggets were a staple of childhood, a go-to treat that always hit the spot. As our dietary preferences evolve, whether for health, ethical, or environmental reasons, saying goodbye to those beloved bites can be tough. But what if you didn’t have to? Enter the magnificent world of vegetarian and vegan chicken nuggets!
While the convenience of store-bought meatless nuggets is undeniable, there’s a unique joy and satisfaction in crafting your own at home. Not only does it allow you to control the ingredients, ensuring a healthier meal free from unwanted additives, but it’s also a wonderfully fun and rewarding culinary adventure. Our easy chickpea nugget recipe offers a fantastic plant-based alternative that captures the essence of classic nuggets, delivering a crispy exterior and a tender, flavorful interior.
These homemade chickpea nuggets are incredibly versatile, making them a fantastic addition to any meal. Serve them as a playful appetizer, a main course alongside a fresh salad, or as a fun, protein-packed snack for both kids and adults. The secret to their universal appeal often lies in the accompaniment: a fantastic dipping sauce that elevates every bite.
How to Make Irresistible Chickpea Nuggets: A Step-by-Step Guide
Creating these delightful chickpea nuggets is surprisingly straightforward, even for novice cooks. The process involves a few simple steps, culminating in golden, crispy bites that are bursting with flavor. Let’s walk through it together.
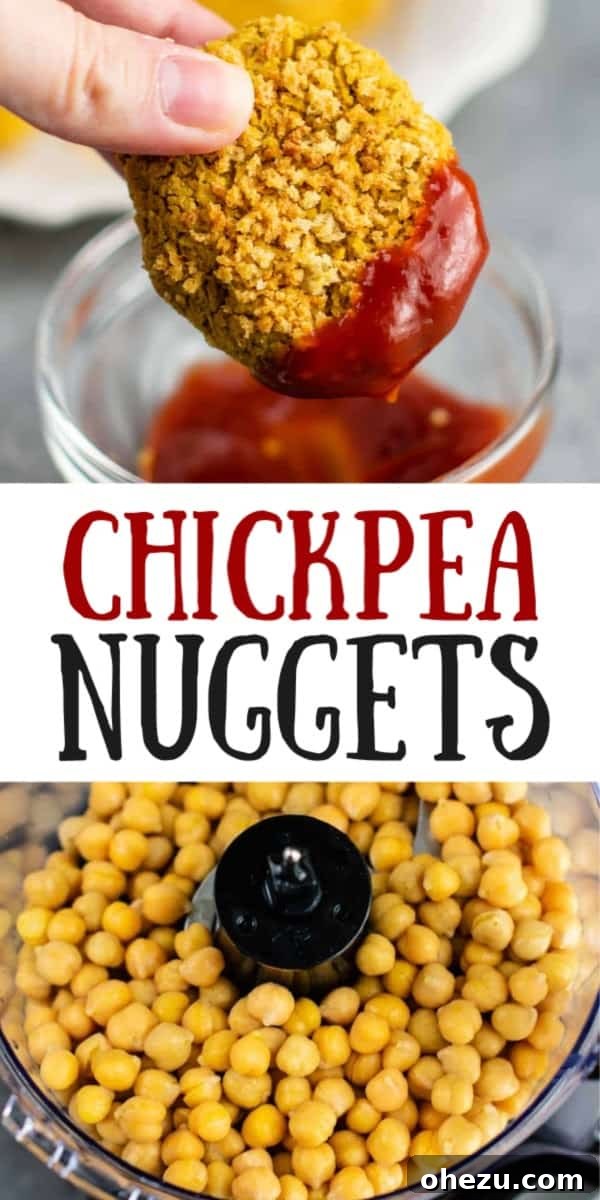
The journey begins with the star ingredient: chickpeas. First, thoroughly drain and rinse two cans of chickpeas. This step is crucial for removing excess sodium and the aquafaba (chickpea liquid), which can affect the final texture. Once rinsed, transfer them into your food processor. You won’t need the chickpea liquid for this recipe, so it can be discarded.
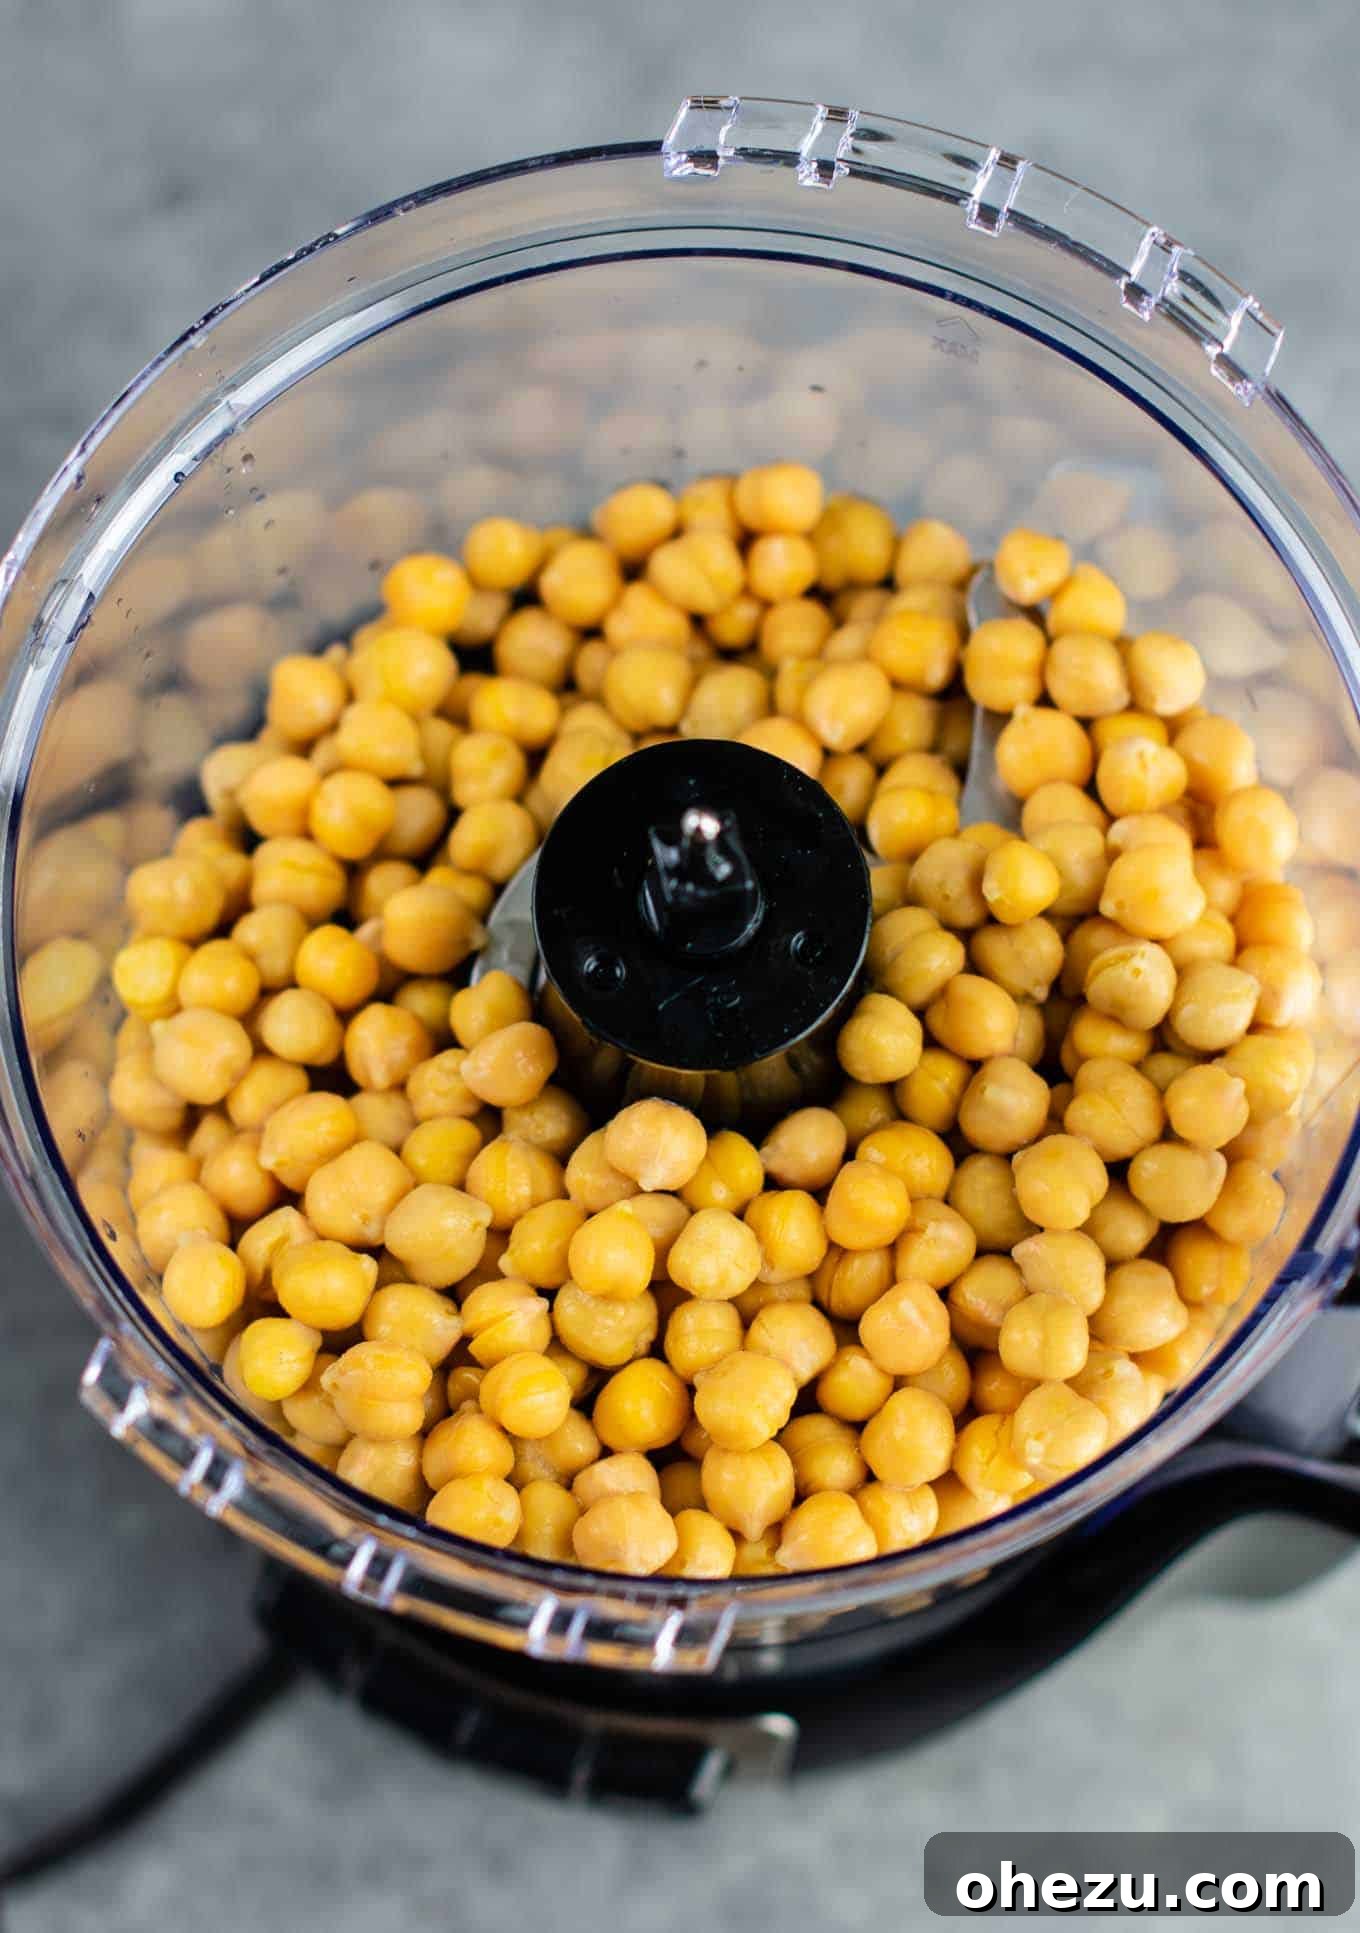
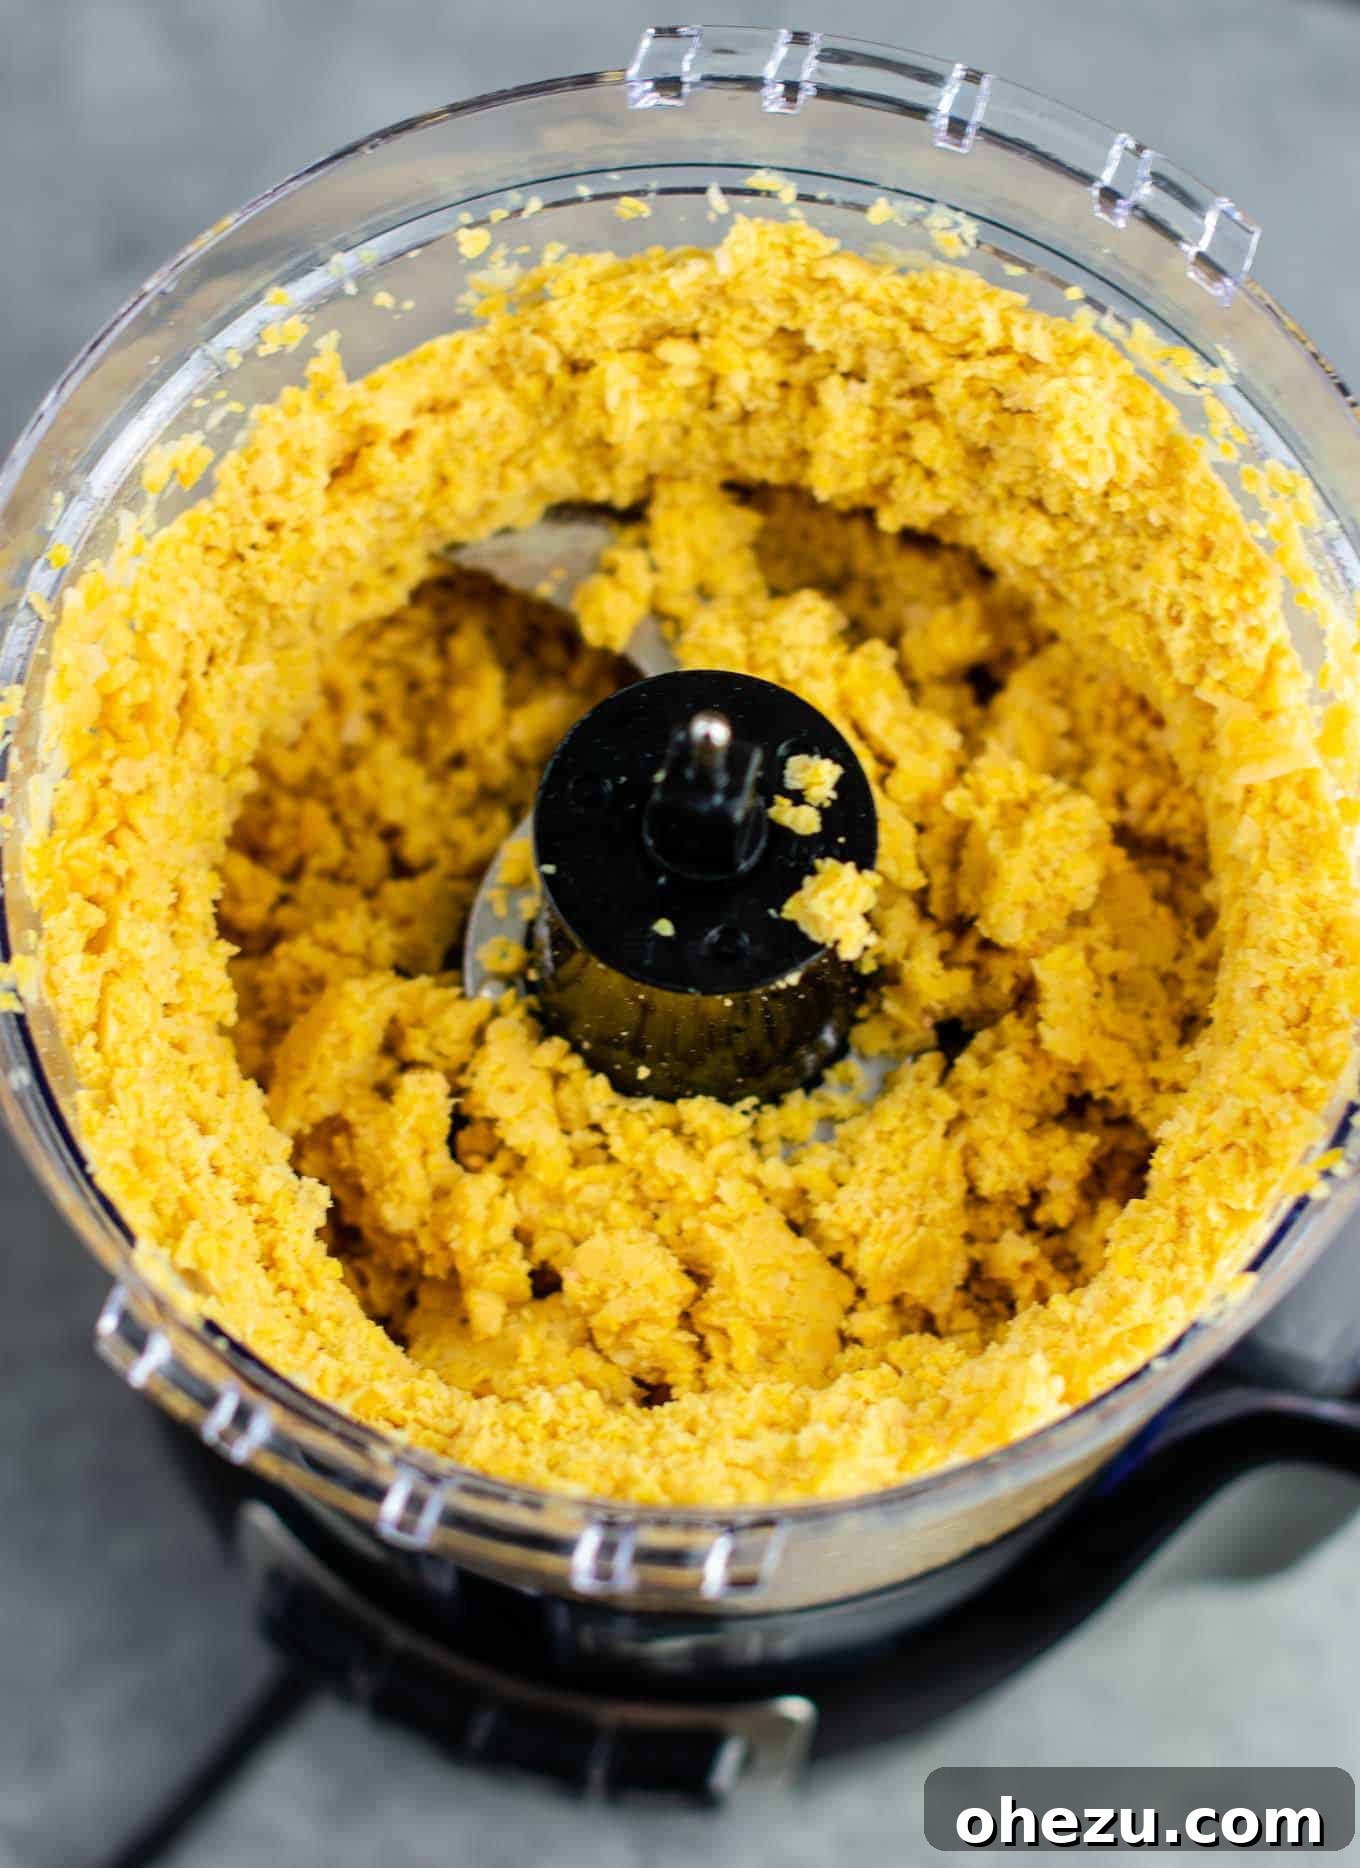
Next, process the chickpeas until they achieve a flaky, crumbly consistency. The goal here is to break down the chickpeas sufficiently so they can bind together, but without turning them into a smooth paste. A flaky texture is ideal because it provides structural integrity for forming the nuggets and allows for a more satisfying mouthfeel, mimicking the slightly textured interior of traditional chicken nuggets. Avoid over-processing, as too much moisture can make the mixture difficult to handle.
At this stage, your processed chickpeas should have a uniform, flaky consistency with very few large chunks remaining. This texture is paramount for easily forming the individual nuggets, ensuring they hold their shape beautifully during baking.
Once your chickpeas are perfectly processed, transfer them to a large mixing bowl. Now comes the exciting part: adding the binding and flavoring agents. Incorporate the egg (or egg replacer for a vegan version), oat flour, a portion of the breadcrumbs, and your chosen array of spices. The oat flour acts as an excellent binder, helping the nuggets maintain their shape, while the spices infuse them with a delicious, savory character.
Using your hands is the most effective way to mix everything together, ensuring all ingredients are thoroughly combined and evenly distributed. Knead the mixture until it forms a cohesive “dough” that is sticky but doesn’t excessively adhere to your hands. This hands-on approach guarantees a uniform consistency, which is vital for the nuggets’ structure and taste.
Before shaping, let’s prepare the outer coating. Toast your panko-style breadcrumbs in the oven until they are beautifully golden brown and crispy. This step significantly enhances the texture and flavor of the finished nuggets, providing that coveted crunch. Keep a close eye on them to prevent burning, as breadcrumbs can toast quickly.
With your mixture ready and breadcrumbs toasted, it’s time to form the nuggets. This is often the most enjoyable part! Take small portions of the chickpea mixture and shape them into traditional nugget forms – whether round, oval, or mimicking classic chicken nugget shapes. Aim for relatively uniform sizes to ensure even cooking.
Next, gently dip each formed chickpea nugget into the toasted breadcrumbs, ensuring both sides are thoroughly coated. This layer of seasoned breadcrumbs will become wonderfully crispy and golden during baking. Arrange the coated nuggets neatly on a parchment paper-lined baking sheet, leaving a small space between each one for optimal air circulation. If you have any leftover toasted breadcrumbs, generously sprinkle them over the tops of the nuggets for extra crunch and flavor.
Finally, bake your vegetarian chicken nuggets for approximately 15 to 20 minutes, or until they reach your desired level of crispiness and a beautiful golden-brown color. The exact baking time may vary depending on your oven and the size of your nuggets, so keep an eye on them towards the end. The result will be perfectly baked, wholesome nuggets ready to be devoured!
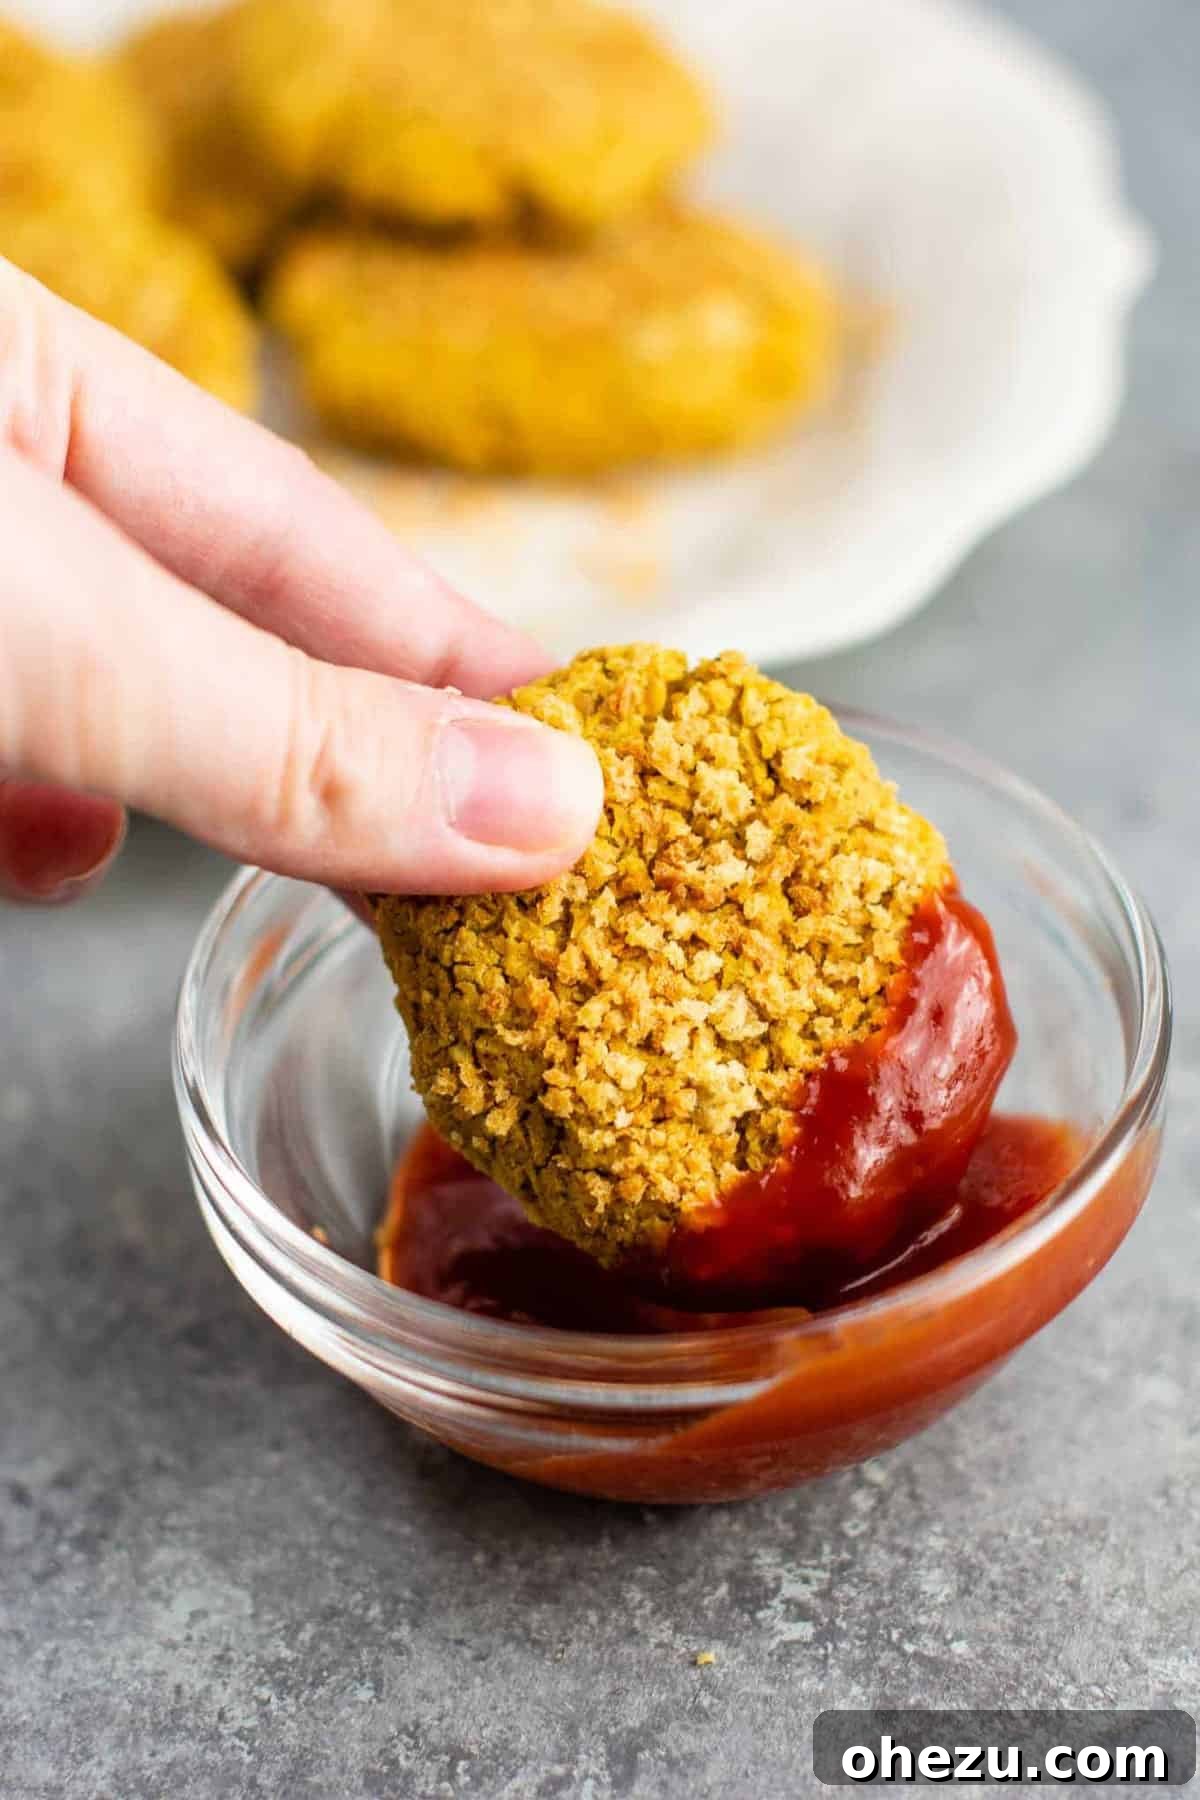
Serve these fantastic homemade chickpea nuggets hot with a generous side of your favorite dipping sauce. They are truly a canvas for flavor, and the right sauce can transform them into an unforgettable meal or snack!
Pro Tips & Variations: Mastering Your Vegetarian Chickpea Nuggets
While this recipe is designed to be simple and delicious, a few key insights can help you perfect your chickpea nuggets and tailor them to your preferences. If you’re generally not a fan of chickpeas, this recipe might not convert you entirely, as chickpeas are undoubtedly the star! However, for those who appreciate the versatility and earthy flavor of chickpeas, these nuggets offer a delightful experience. Think of them as a sophisticated, flavorful cousin to falafel, offering a similar, satisfying texture and spice profile.
The Power of Flavor: Spices & Seasoning
The combination of salt, pepper, garlic powder, onion powder, and paprika provides a classic, comforting base. However, don’t hesitate to experiment! A pinch of smoked paprika can add a wonderful depth, while a dash of cayenne pepper or red pepper flakes can introduce a subtle kick. For an Italian twist, consider adding dried oregano and basil. Nutritional yeast is a fantastic addition, imparting a subtle, cheesy, umami flavor that rounds out the profile beautifully. For a “chicken-like” flavor, some vegetarians add a tiny amount of poultry seasoning (ensure it’s vegetarian/vegan as some brands contain chicken stock).
Making These Chickpea Nuggets Completely Vegan
This original recipe includes one egg, which serves as a binder. For those following a vegan diet, converting this recipe is incredibly easy. A flax egg (1 tablespoon ground flaxseed mixed with 3 tablespoons water, allowed to sit for 5 minutes until gel-like) or a commercial egg replacer can be used successfully in place of the chicken egg. The oat flour and chickpea mixture already provide good binding properties, so the egg replacer simply helps ensure a perfect, cohesive texture. Since the recipe is already dairy-free, making it vegan is a breeze!
Gluten-Free Options
For individuals with gluten sensitivities or those following a gluten-free diet, this recipe is easily adaptable. Oat flour is naturally gluten-free (just ensure you’re using certified gluten-free oat flour if cross-contamination is a concern). For the breadcrumbs, simply substitute standard panko with certified gluten-free breadcrumbs. The rest of the ingredients are inherently gluten-free, making these chickpea nuggets a wonderfully inclusive dish.
The Undeniable Importance of Sauce
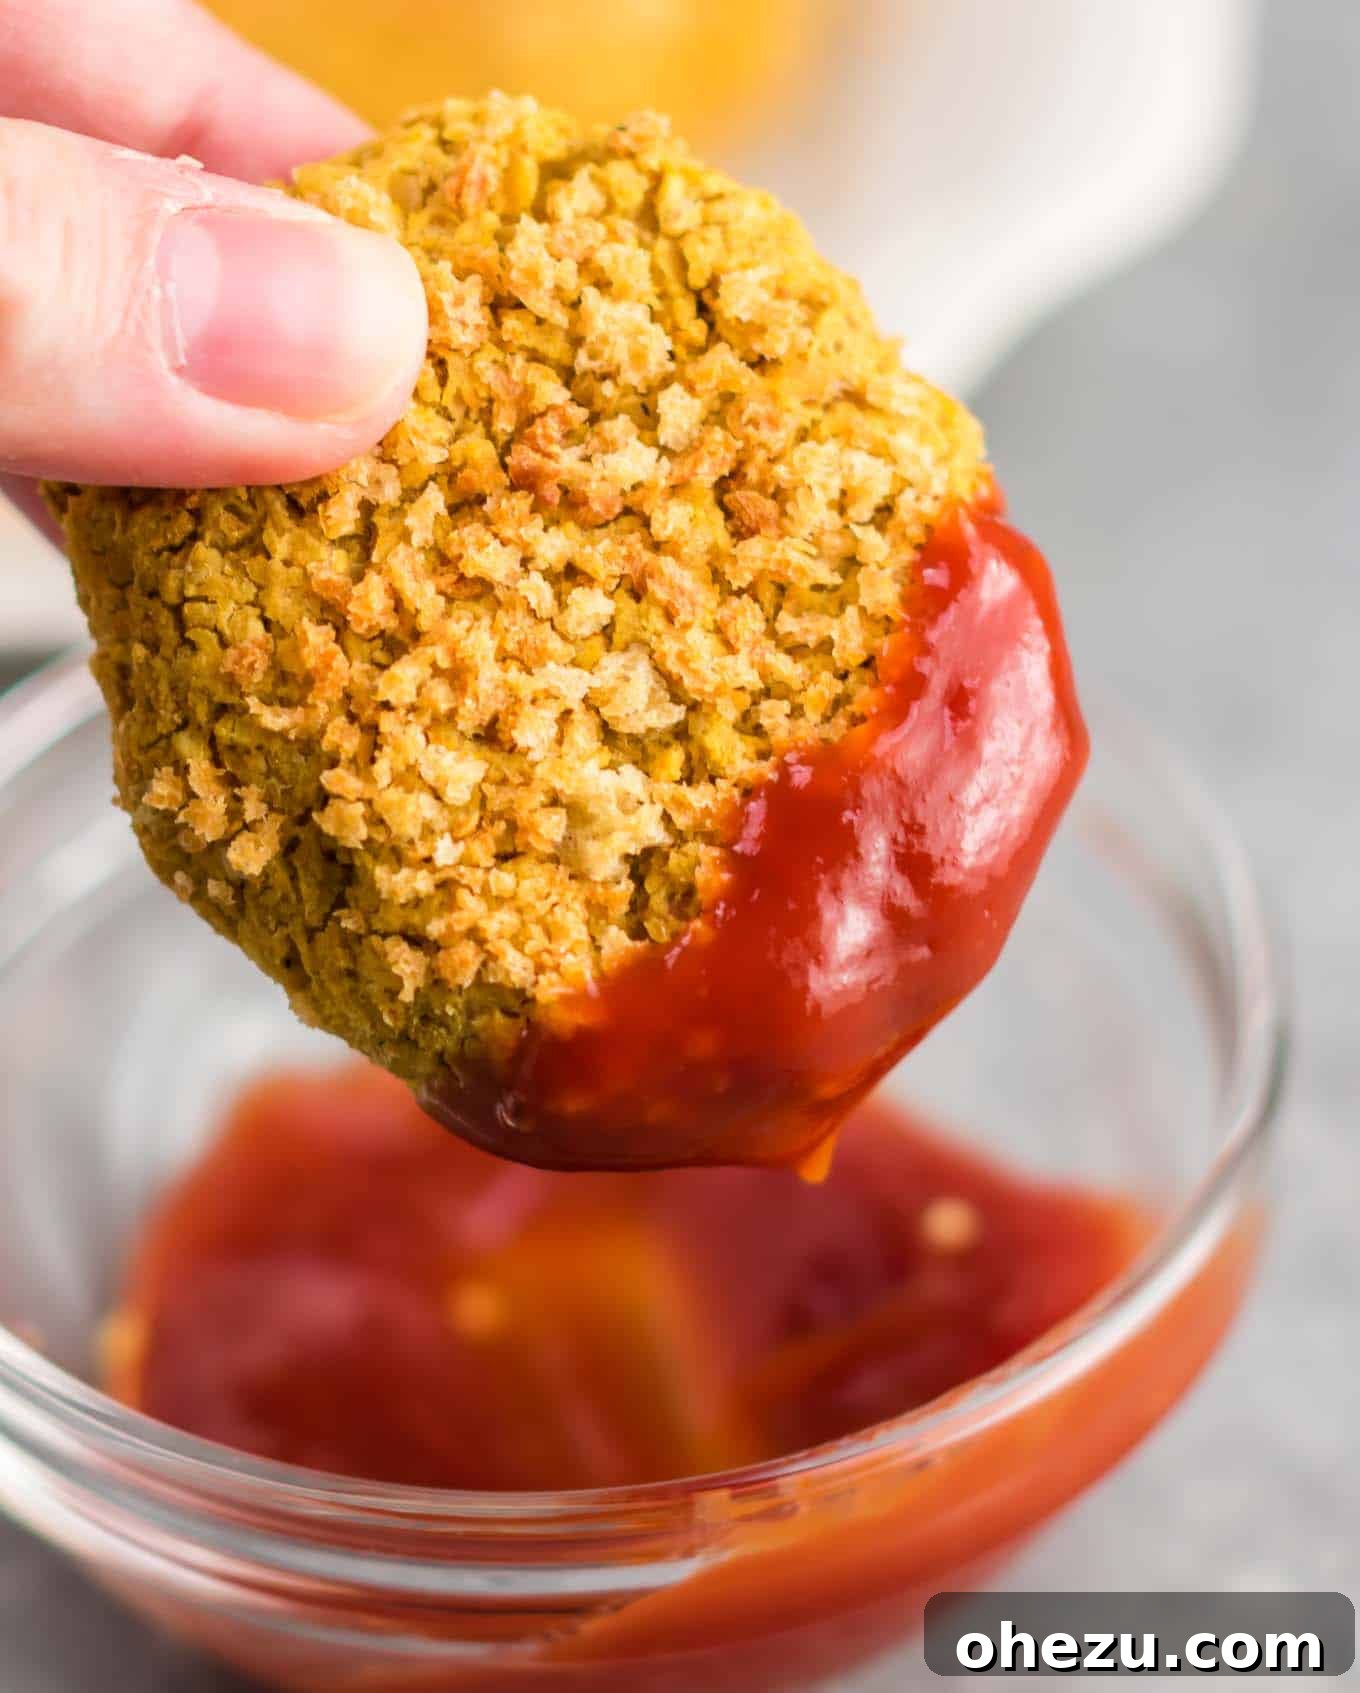
Much like their poultry counterparts, chickpea nuggets truly shine when paired with the right dipping sauce. By themselves, the nuggets have a wholesome, savory flavor that acts as an excellent base. They are designed to be complemented by the vibrant flavors of your favorite condiments. The choices are truly endless!
- Classic Combos: Ketchup, BBQ sauce, honey mustard, and ranch dressing are timeless favorites that always work well.
- Creamy Delights: A rich vegan aioli, a cooling tzatziki, or a creamy sriracha mayo can add a luxurious texture and tangy kick.
- Spicy Enhancements: Hot sauce, sweet chili sauce, or a spicy peanut dip can elevate the heat and complexity.
- Unique Pairings: Try a chimichurri, a mango salsa, or even a simple lemon-tahini dressing for a gourmet touch.
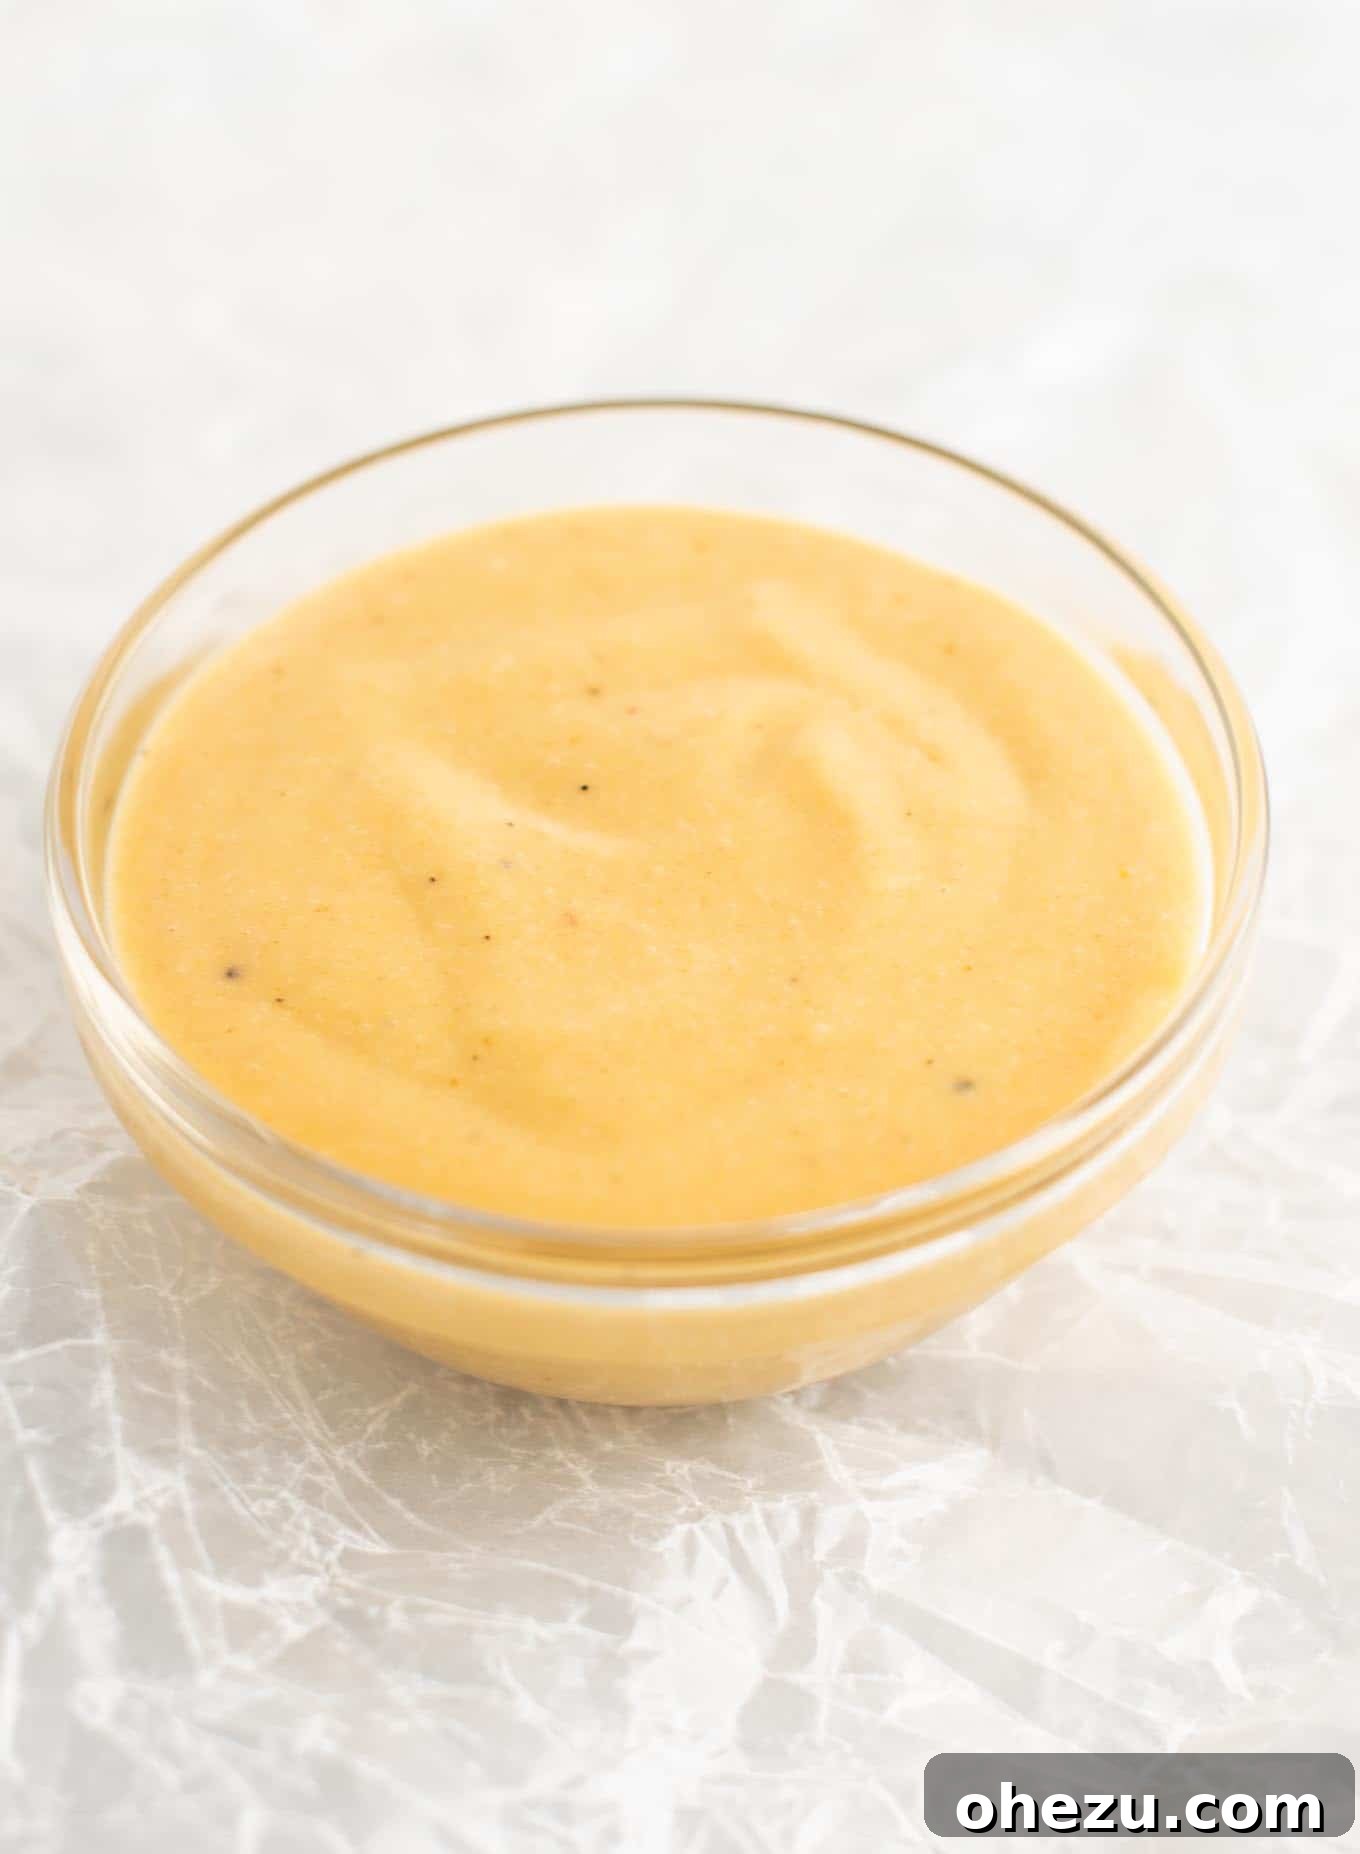
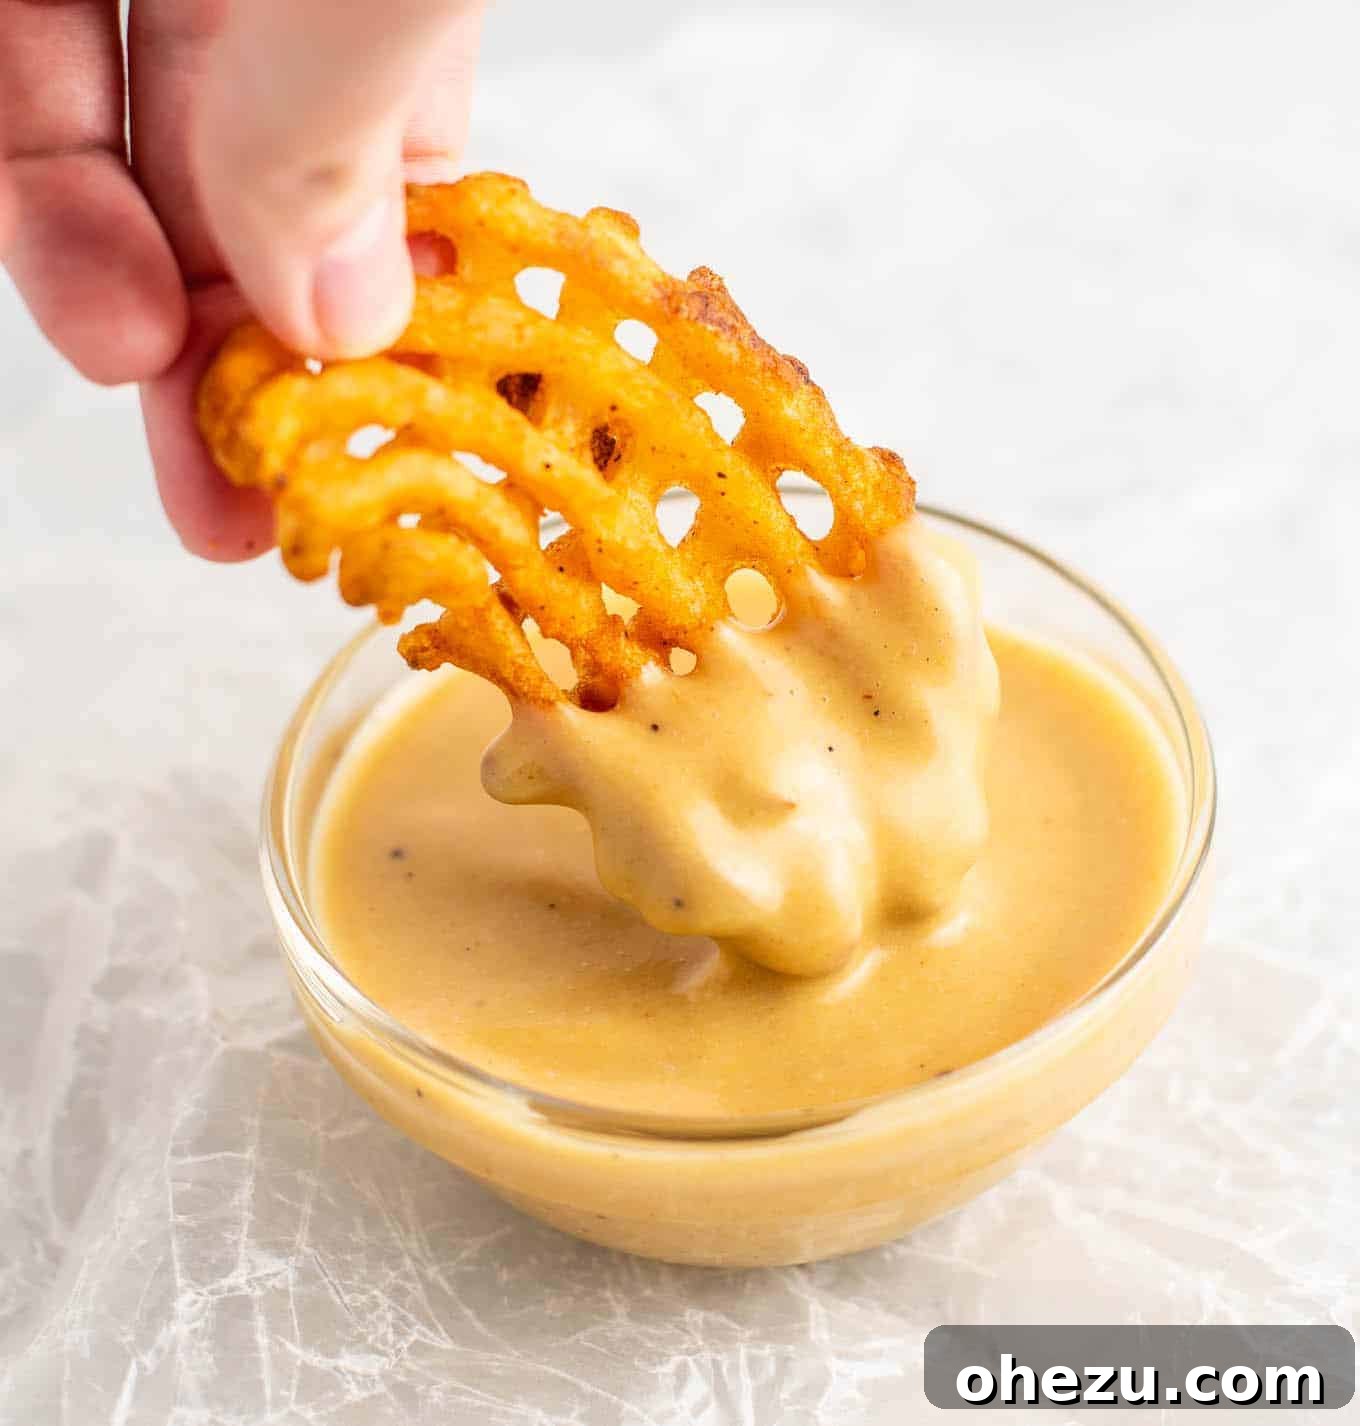
Whether you’re making a vegetarian BBQ chicken sandwich with these nuggets, dipping them into a zesty honey mustard, or enjoying them with my homemade copycat Chick-fil-A sauce (as pictured below), each bite becomes an explosion of customizable flavor. Don’t underestimate the power of a great dip to transform your nugget experience!
If you’re looking to explore more meatless nugget options, be sure to check out these super crispy air fryer tofu nuggets for another delicious plant-based treat!
Perfect for Little Ones (and Big Ones Too!)
These delightful chickpea nuggets are a fantastic option for kids! Their familiar shape, mild yet savory flavor profile, and dippable nature make them an instant hit with picky eaters. It’s a wonderful way to introduce plant-based protein and fiber into their diet in a fun and appealing format. Plus, getting kids involved in the shaping process can make them even more excited to try their homemade creations!
Storage and Reheating
Have leftovers? No problem! Cooked chickpea nuggets can be stored in an airtight container in the refrigerator for up to 3-4 days. For best results, reheat them in the oven or an air fryer to restore their crispiness. A microwave can be used, but the texture might be softer. These nuggets also freeze well: lay cooked and cooled nuggets on a baking sheet, freeze until solid, then transfer to a freezer-safe bag for up to 2-3 months. Reheat directly from frozen in the oven or air fryer until heated through and crispy.
Chickpea Nuggets
Rate Recipe
Print Recipe
Ingredients
- 2 cans of chickpeas, drained and rinsed
- 1 egg (or flax egg for vegan)
- 1/2 cup oat flour (gluten-free if needed)
- 3/4 cup panko style bread crumbs (gluten-free if needed)
- 3/4 teaspoon salt
- 1/2 teaspoon pepper
- 1/2 teaspoon garlic powder
- 1/2 teaspoon onion powder
- 1/2 teaspoon paprika
- 2 teaspoons nutritional yeast
Instructions
-
Preheat your oven to 400 degrees Fahrenheit (200°C).
-
Spread the panko-style breadcrumbs evenly on a small baking sheet.
-
Bake the breadcrumbs for 3-4 minutes at 400 degrees F, or until lightly browned and fragrant. Watch them carefully to prevent burning. Set aside to cool.
-
Drain and rinse the chickpeas thoroughly, then add them to a food processor. Pulse until the chickpeas are flaky but not completely smooth – a slightly coarse, crumbly texture is ideal.
-
Transfer the processed chickpeas to a large mixing bowl.
-
Add the egg (or vegan egg replacer), oat flour, salt, pepper, garlic powder, onion powder, paprika, and nutritional yeast to the bowl with the chickpeas.
-
Use your hands to thoroughly mix and knead the dough until all ingredients are well combined. The mixture should be sticky but manageable, not overly wet.
-
Take small portions of the chickpea mixture and form them into your desired chicken nugget shapes. Then, dip each nugget into the toasted breadcrumbs, pressing gently to ensure an even coating on all sides.
-
Place the coated nuggets on a baking sheet lined with parchment paper, leaving a small space between each nugget.
-
If you have any remaining toasted breadcrumbs, sprinkle them over the tops of the formed nuggets for an extra crispy crust.
-
Bake the chickpea nuggets at 400 degrees F (200°C) for 15-20 minutes, or until they are golden brown and crispy to your liking. Flip them halfway through for even browning.
-
Serve your delicious homemade chickpea nuggets immediately with your favorite dipping sauce and enjoy!
Nutrition
Like this recipe? Rate and comment below!