
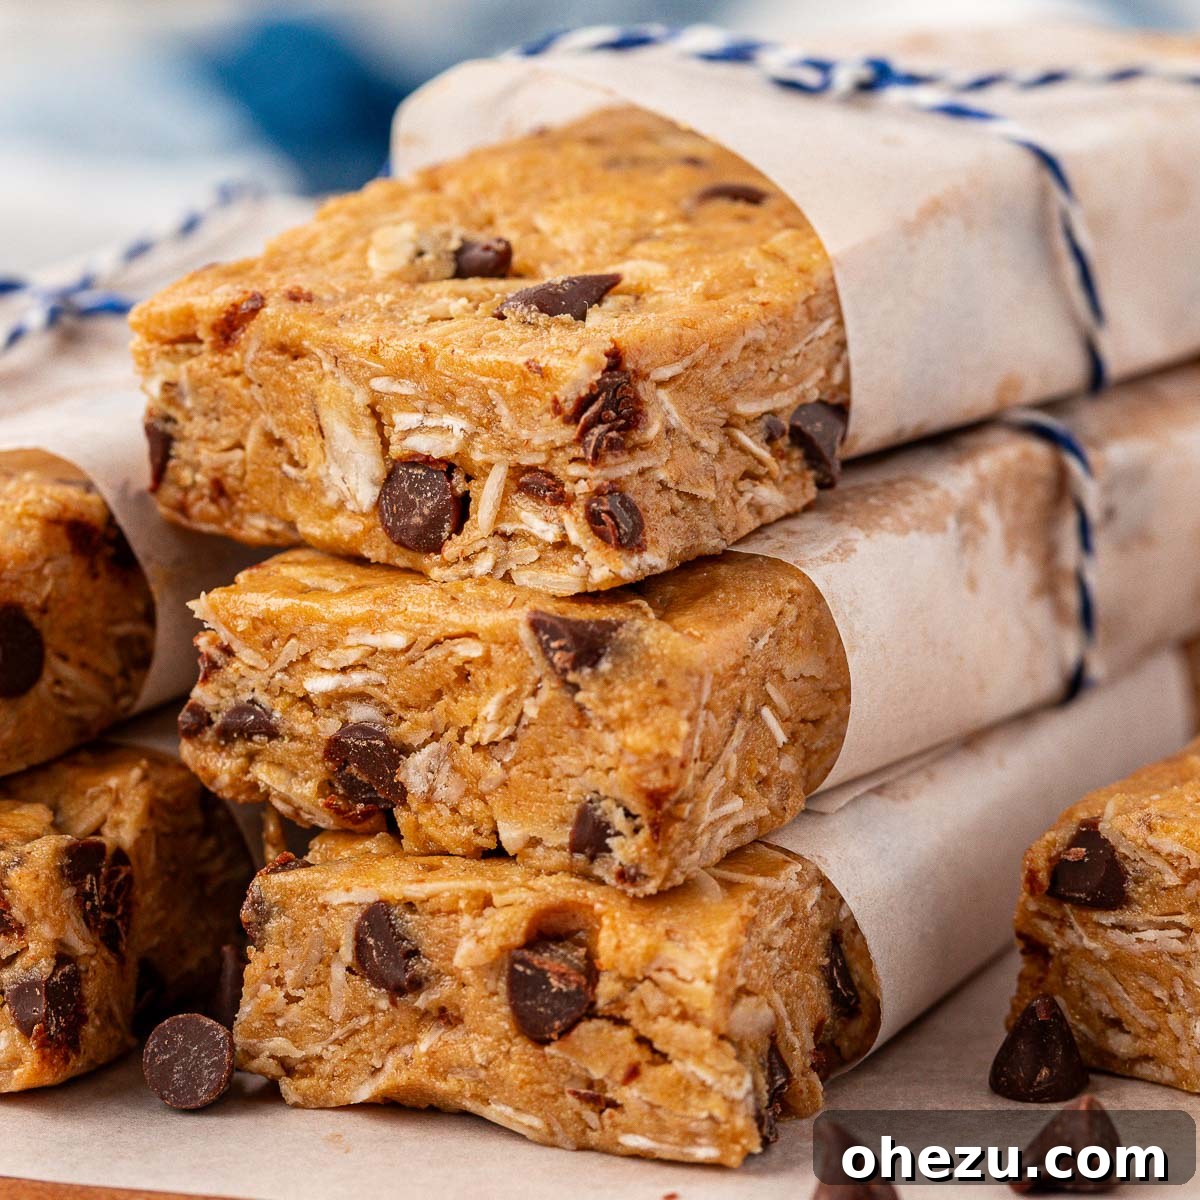
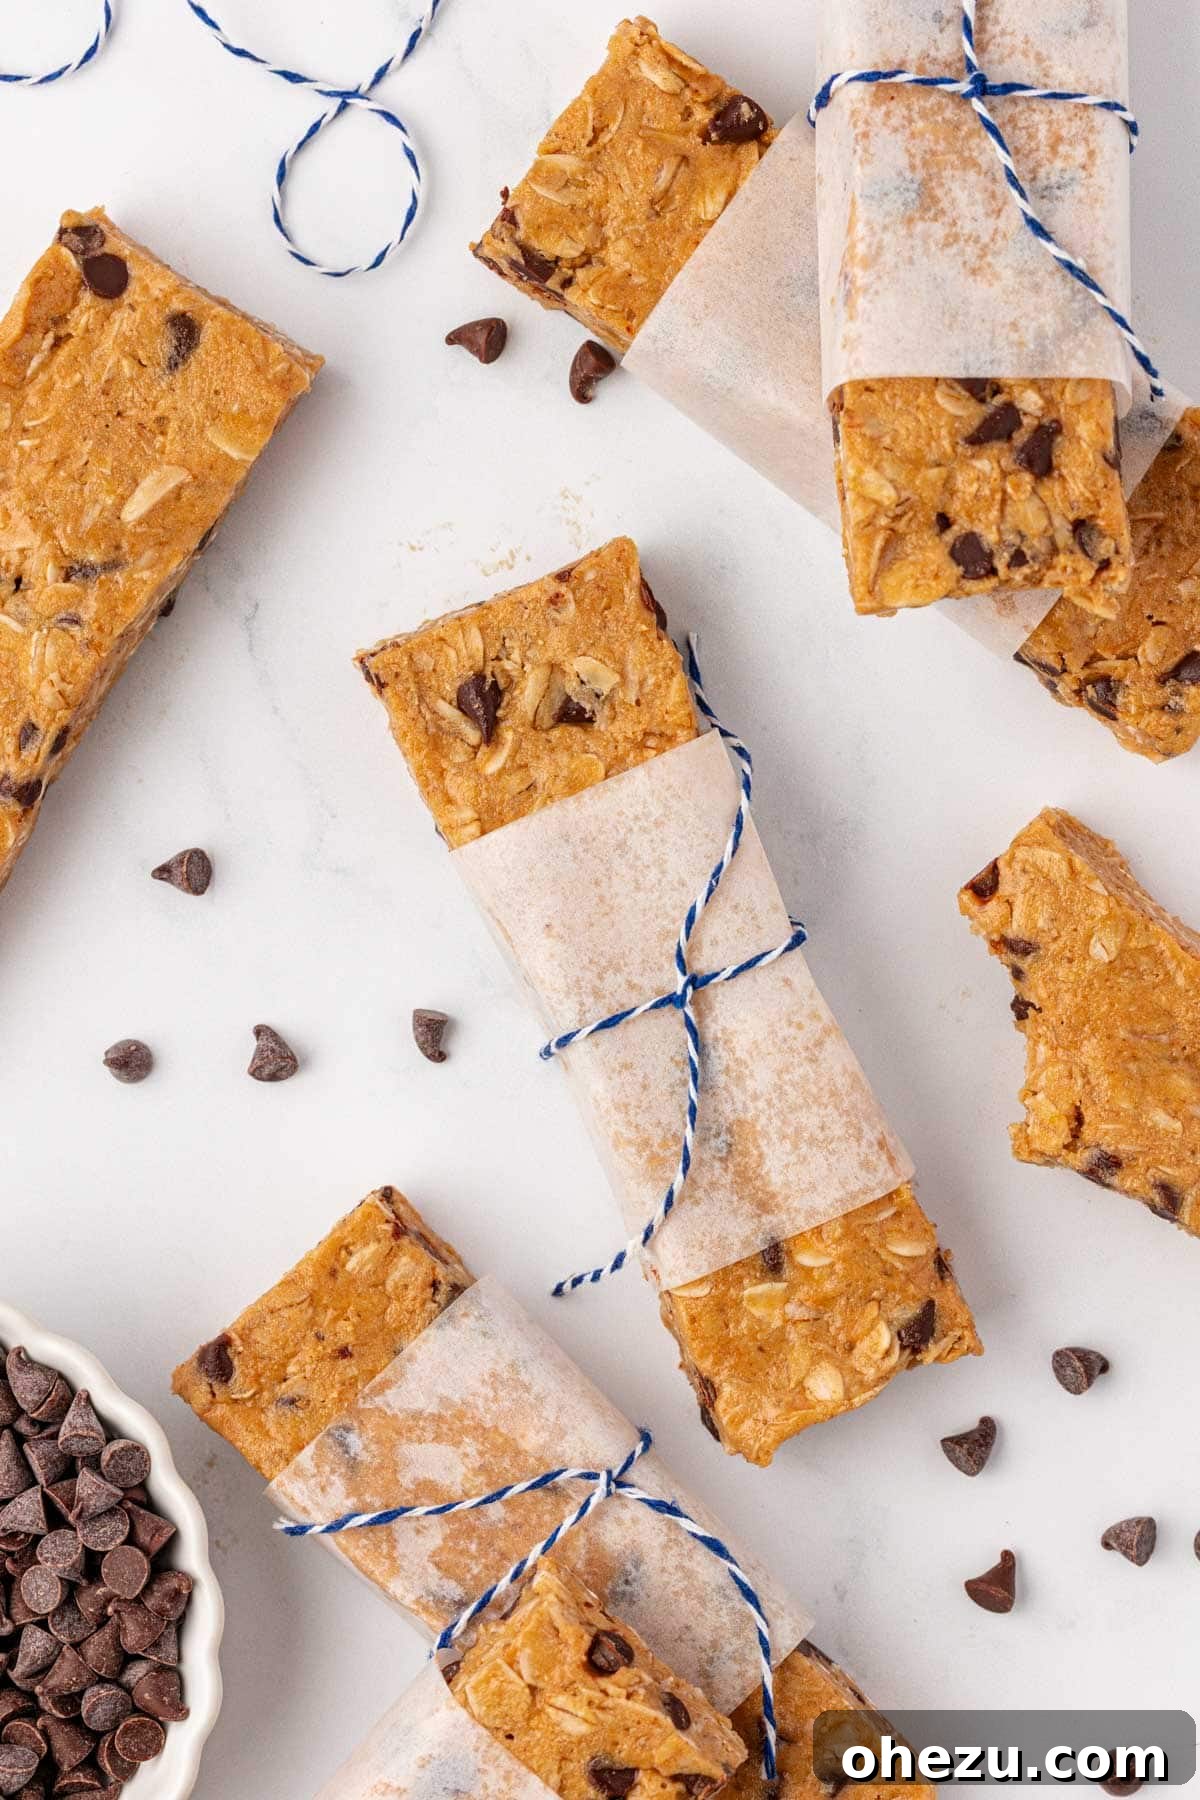
Say goodbye to bland store-bought options! These homemade, chewy Protein Granola Bars are incredibly easy to make, packed with wholesome ingredients, and deliver a satisfying 11 grams of protein each. They’re your new go-to for healthy, on-the-go fuel!
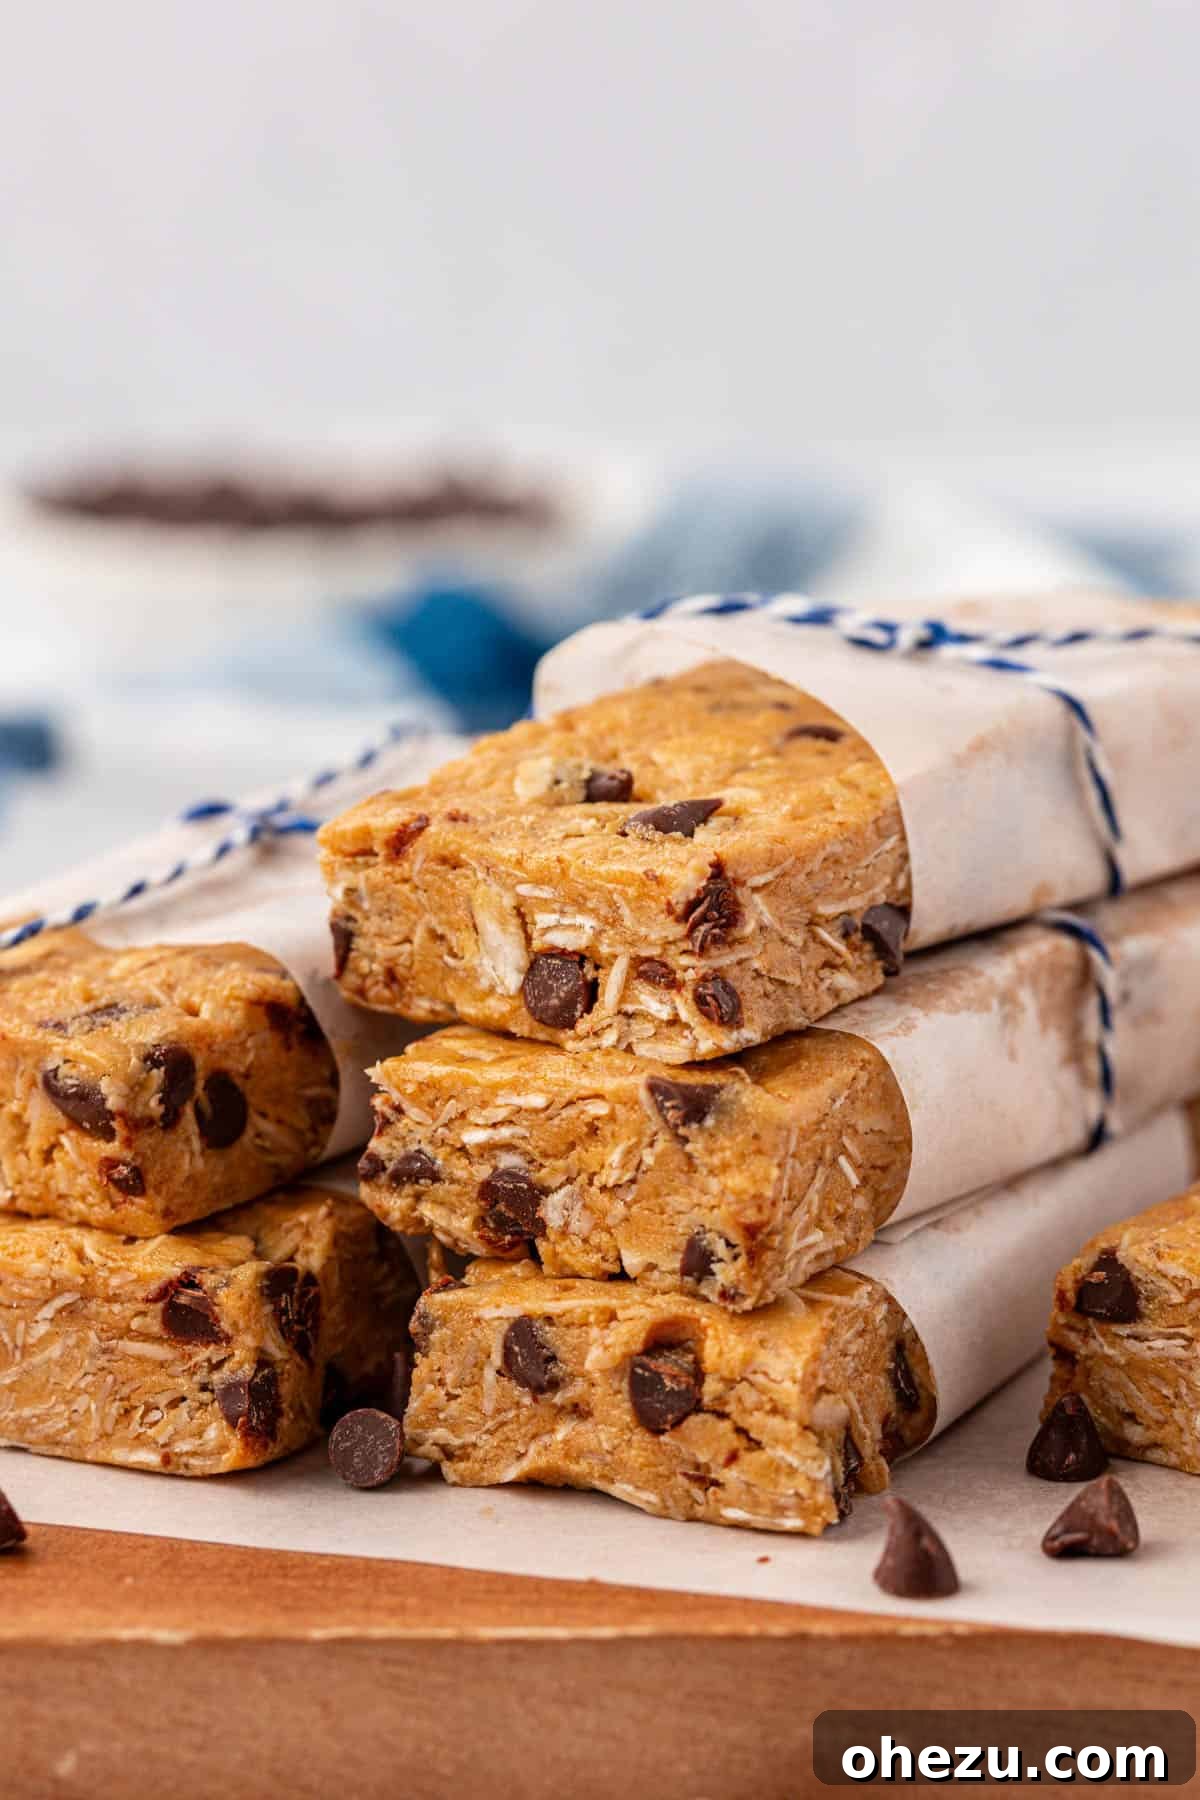
Why You’ll Love These Irresistible Protein Granola Bars
I am beyond excited to share this game-changing protein bar recipe with you! In a world full of processed snacks, finding genuinely healthy and satisfying options can be a challenge. That’s precisely why these homemade protein granola bars stand out. Crafted from only 6 straightforward pantry ingredients, they come together effortlessly in a matter of minutes, offering a fresh, wholesome alternative to anything you’d find on a store shelf.
Unlike many commercial granola bars that hide a laundry list of unfamiliar additives and excessive sugars, our recipe prides itself on transparency. Every ingredient is easily recognizable, ensuring you know exactly what you’re fueling your body with. There’s no fancy jargon, just classic, reliable staples that are accessible and affordable.
If you cherish the delightful chewiness of traditional granola bars but yearn for a significant protein boost without compromising on flavor or using artificial ingredients, these bars are tailor-made for you. They offer a perfect balance of taste, texture, and nutritional value, making them an ideal choice for a quick breakfast, a post-workout refuel, or a satisfying treat any time of day. Prepare to fall in love with their wholesome goodness and incredible convenience!
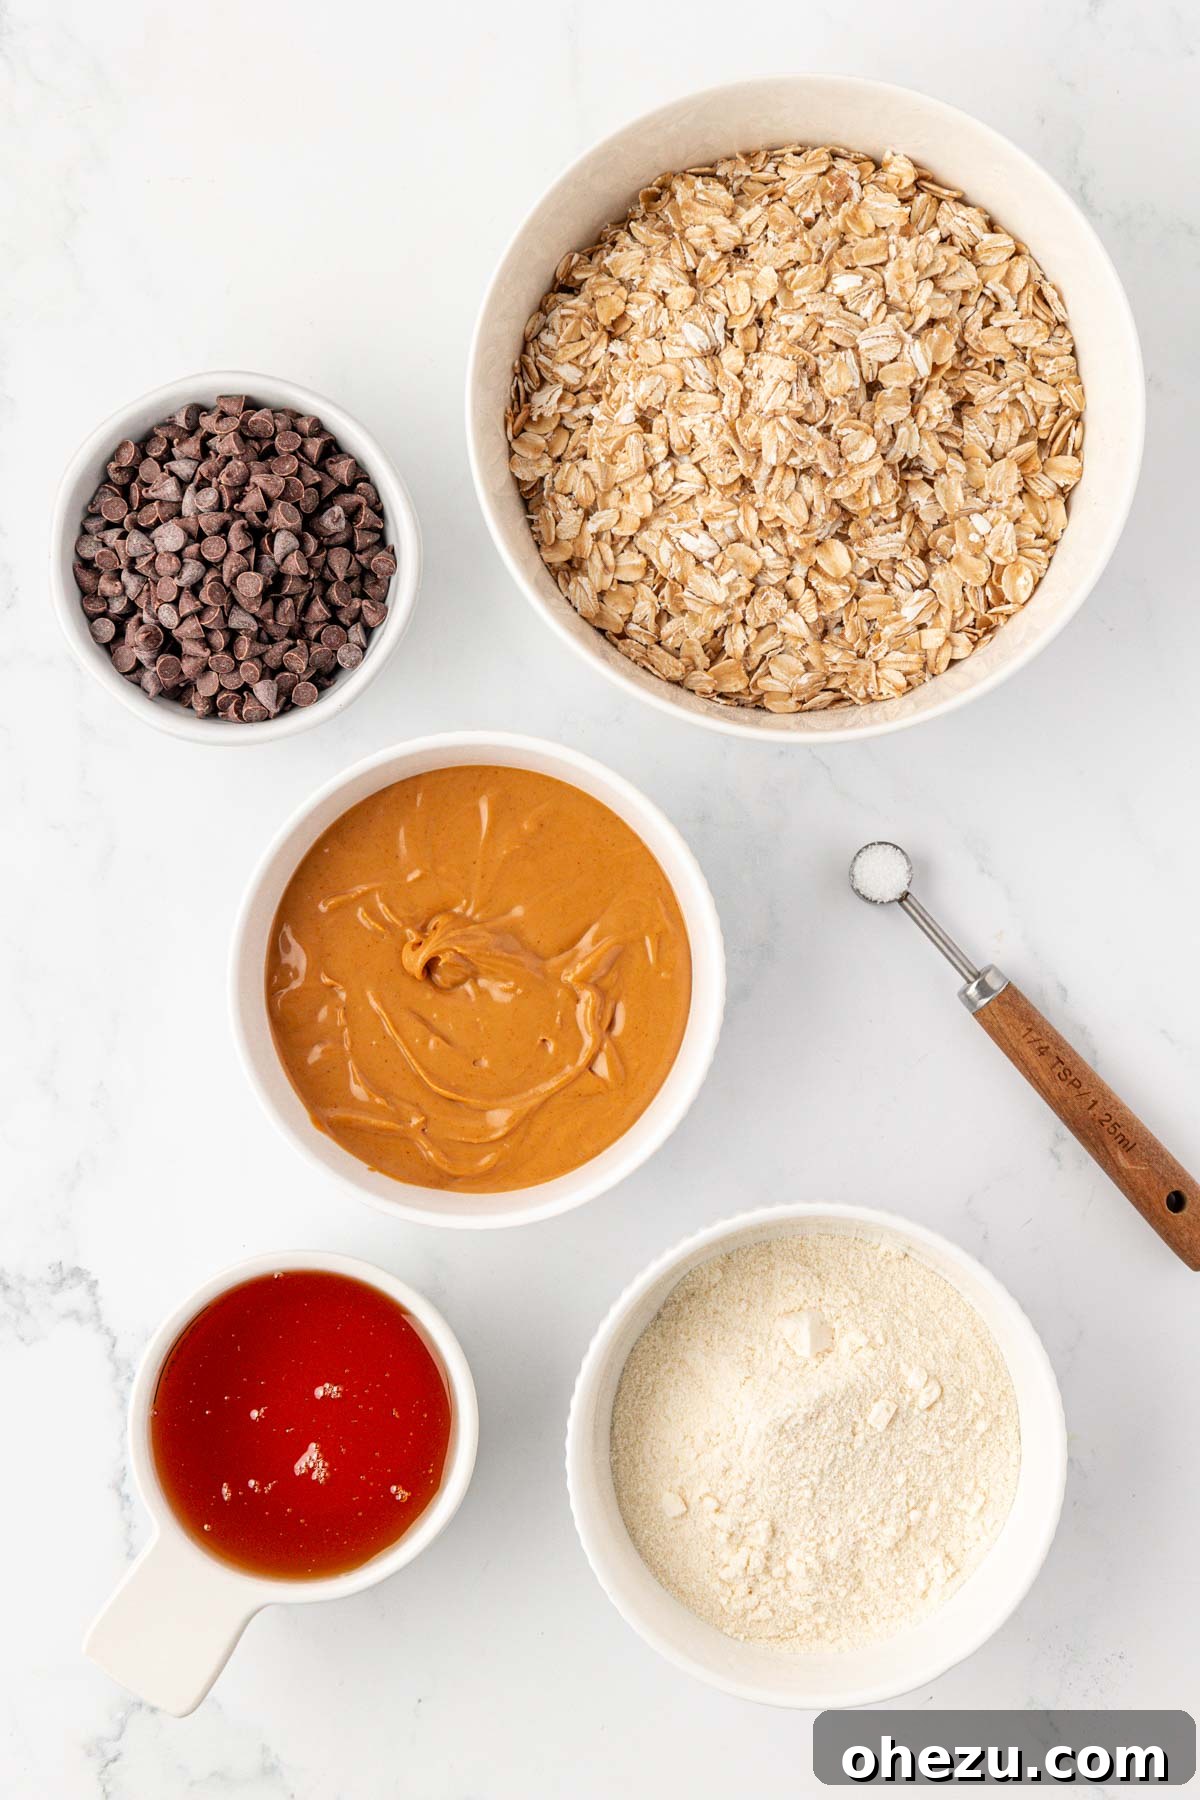
Essential Ingredients for Your Perfect Protein Bars
Creating these remarkably simple yet delicious protein granola bars requires a careful selection of a few key ingredients. The quality and type of each component play a vital role in achieving the ideal texture and flavor. Here’s a detailed look at what you’ll need:
- Natural Creamy Peanut Butter: This is the cornerstone of our recipe and it’s critical to choose the right kind. Look for natural creamy peanut butter where the ingredient list explicitly states only “peanuts and salt.” This variety typically has a runnier consistency due to the natural oils separating, which is exactly what we want for binding the bars together. Avoid “no-stir” or conventional peanut butters, as they often contain hydrogenated oils and added sugars that will affect the texture and overall health profile of your bars. If your peanut butter is very stiff, a quick stir or gentle warming will help.
- Honey: Serving as our primary natural sticky sweetener, honey does more than just add delicious flavor. Its natural viscosity is crucial for binding all the ingredients into a cohesive bar, contributing significantly to that desirable chewy texture. For a vegan alternative, pure maple syrup can be used in an equal ratio, offering a slightly different but equally delightful flavor profile.
- Vanilla Protein Powder: This is where the “protein” in our protein bar truly shines! Vanilla protein powder not only boosts the nutritional value, helping with satiety and muscle recovery, but also adds a subtle, complementary flavor. If you’re a chocolate lover, feel free to swap it for chocolate protein powder for a richer, dessert-like experience. Both whey-based and plant-based protein powders (like pea or brown rice protein) work effectively, but keep in mind that plant-based options might absorb liquids differently, potentially requiring slight adjustments to the consistency.
- Rolled Oats: Also known as old-fashioned oats, these provide the essential bulk and fiber, creating the signature chewy texture that makes these bars so satisfying. While quick oats can be used as a substitute in a pinch, they will result in a slightly softer, less textured bar. Rolled oats hold their shape better and offer a more substantial bite. Ensure you’re using plain, unsweetened rolled oats.
- Salt: A small amount of salt is a powerful flavor enhancer. It balances the sweetness of the honey and brings out the rich, nutty taste of the peanut butter, preventing the bars from tasting flat or overly sweet. Before adding, check if your natural peanut butter is salted; if it’s unsalted, you might want to increase the salt measurement slightly to taste.
- Mini Chocolate Chips: These tiny morsels are added for bursts of sweet indulgence throughout the bar. Mini chips are preferred because they disperse more evenly, ensuring a delightful chocolatey note in every bite. However, standard-sized chocolate chips will also work perfectly fine if that’s what you have on hand. Dark chocolate chips are an excellent choice for a less sweet, more robust flavor.
With these high-quality, simple ingredients in hand, you’re all set to create a batch of homemade protein granola bars that are not only delicious but also genuinely good for you.
Step-by-Step Guide to Making Chewy Protein Granola Bars
Making these high-protein granola bars is a straightforward process, perfect for even beginner bakers. Just follow these easy steps to create your delicious and healthy snack:
Step 1: Prepare the Peanut Butter
Take your natural creamy peanut butter and place it in a microwave-safe bowl. Microwave it on high until it achieves a smooth, pourable, and slightly runny consistency. For peanut butter that’s at room temperature and freshly opened, this usually takes about 30 seconds. If your peanut butter has been stored in the refrigerator and is quite firm, you might need to microwave it for closer to 60 seconds, or slightly more, in short bursts, stirring in between. The goal is to make it easy to mix with the other ingredients, ensuring no clumps remain.
Pro Tip: Achieving the Perfect Peanut Butter Consistency
The fluidity of your peanut butter is key! If it’s too thick, the batter will be difficult to mix evenly, potentially leading to crumbly bars. If it’s too hot, it could prematurely melt the chocolate chips. Aim for a warm, easily stirrable liquid – not boiling, but definitely runny. This ensures a consistent and well-bound mixture.
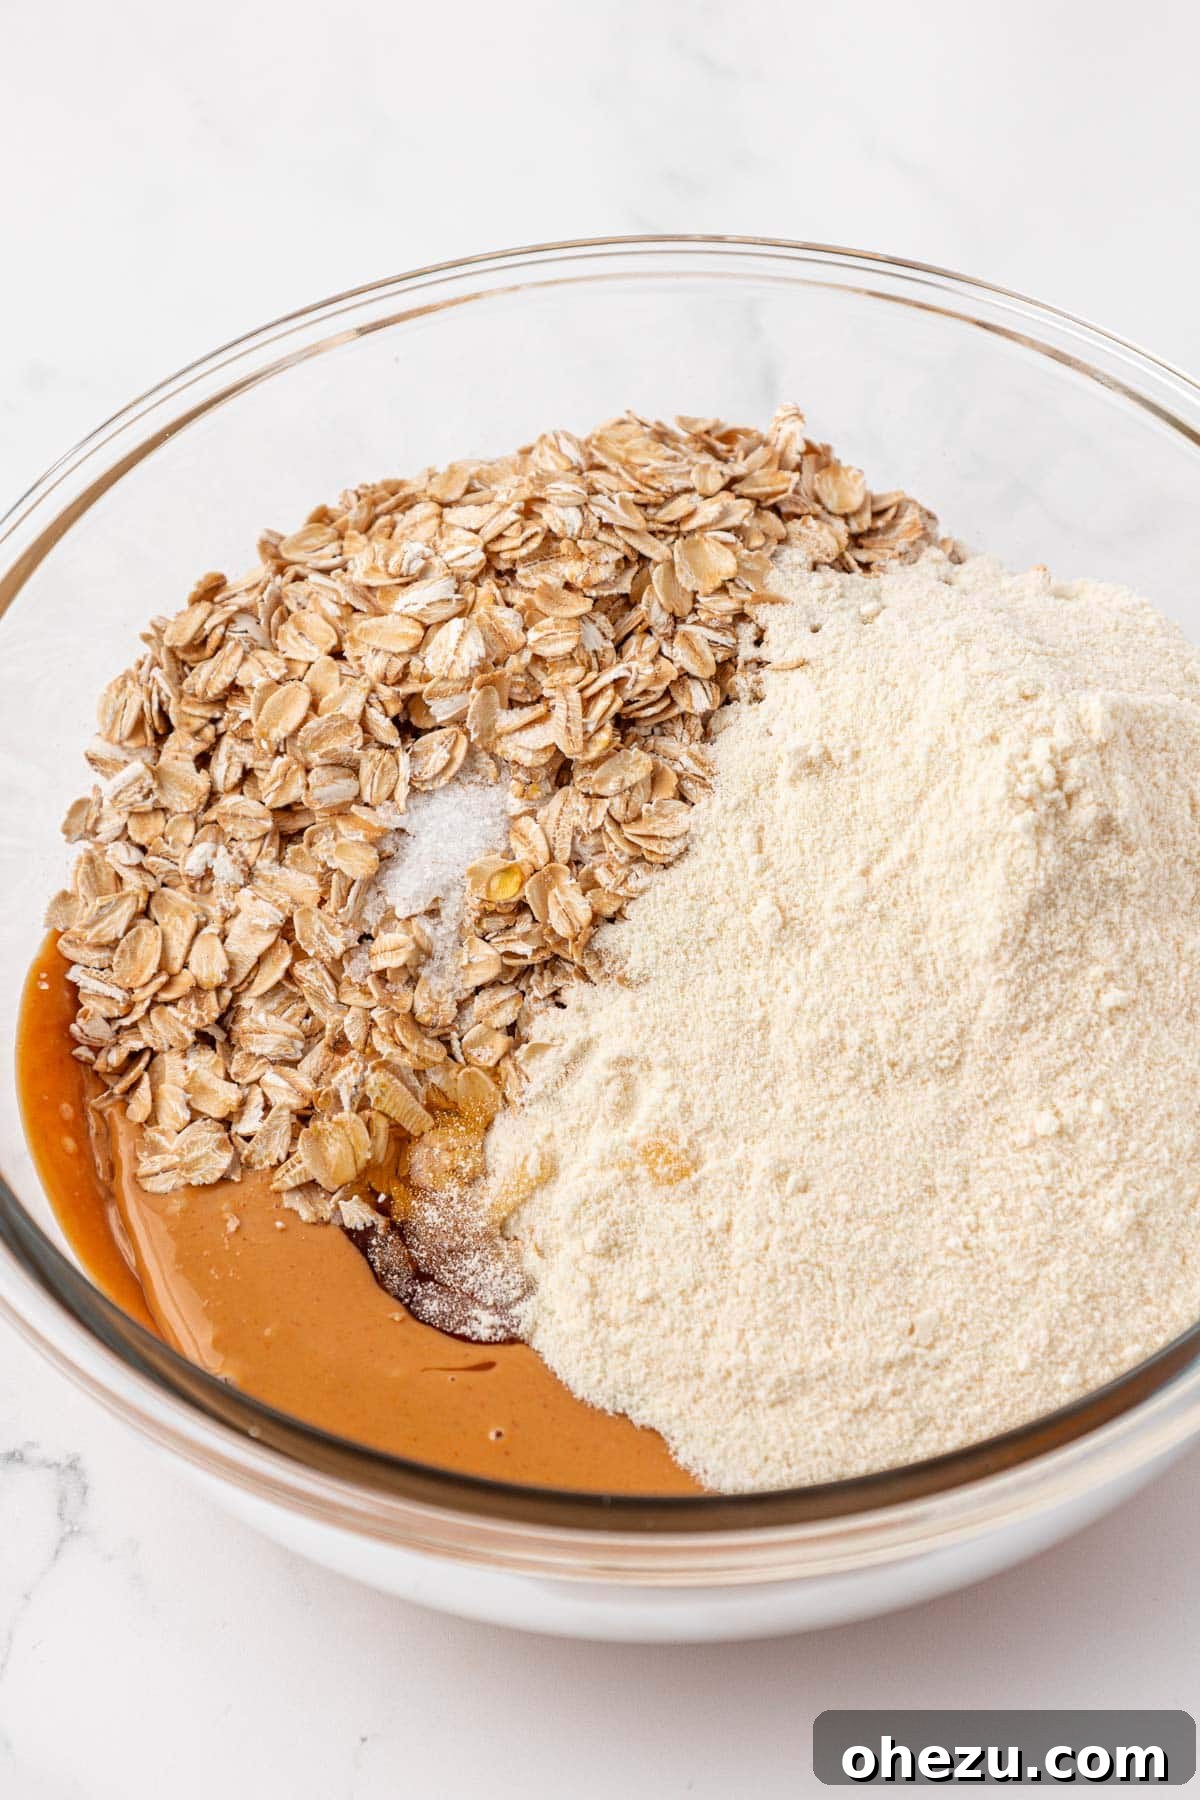
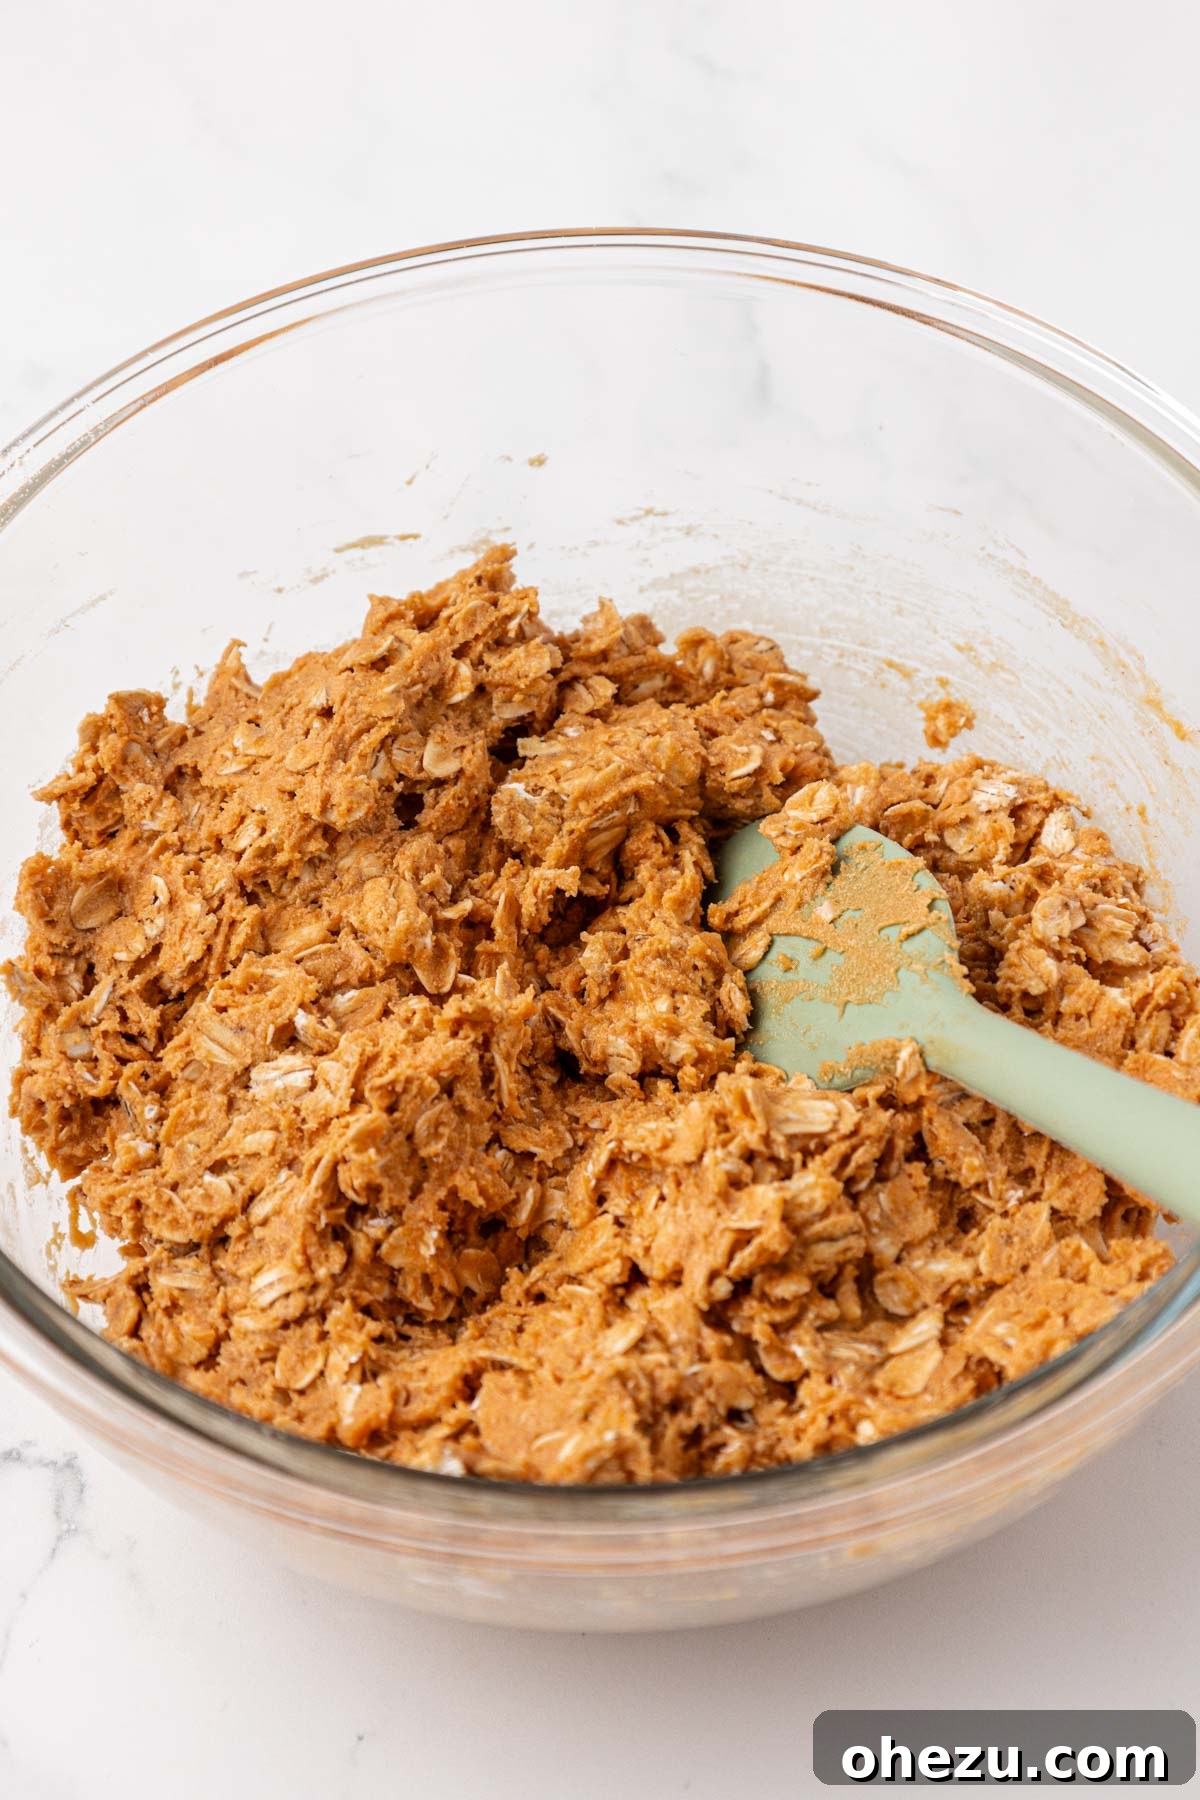
Step 2: Combine and Cool the Mixture
Pour the melted peanut butter into a large mixing bowl. Now, add the honey, vanilla protein powder, rolled oats, and salt. Using a robust rubber spatula, thoroughly stir all these ingredients together until they are fully combined and you have a thick, cohesive batter. It might require a bit of arm work to get everything incorporated evenly. Once mixed, let the batter sit undisturbed for approximately 5 minutes. This brief cooling period is crucial for the next step.
Joy’s Expert Tip: The Importance of Cooling!
Do not skip this cooling step! Allowing the batter to cool down for a few minutes ensures that when you fold in the chocolate chips, they don’t melt on contact. This preserves their delightful mini shape and provides distinct pockets of chocolate in every bite, greatly enhancing the bar’s texture and appeal.
Step 3: Integrate the Chocolate Chips
Once your batter has cooled to a lukewarm temperature, it’s time to add the mini chocolate chips. Gently fold the chocolate chips into the batter using your rubber spatula. Continue folding until the chips are evenly distributed throughout the mixture. Avoid vigorous stirring, as gentle folding helps maintain the integrity of the chocolate chips.
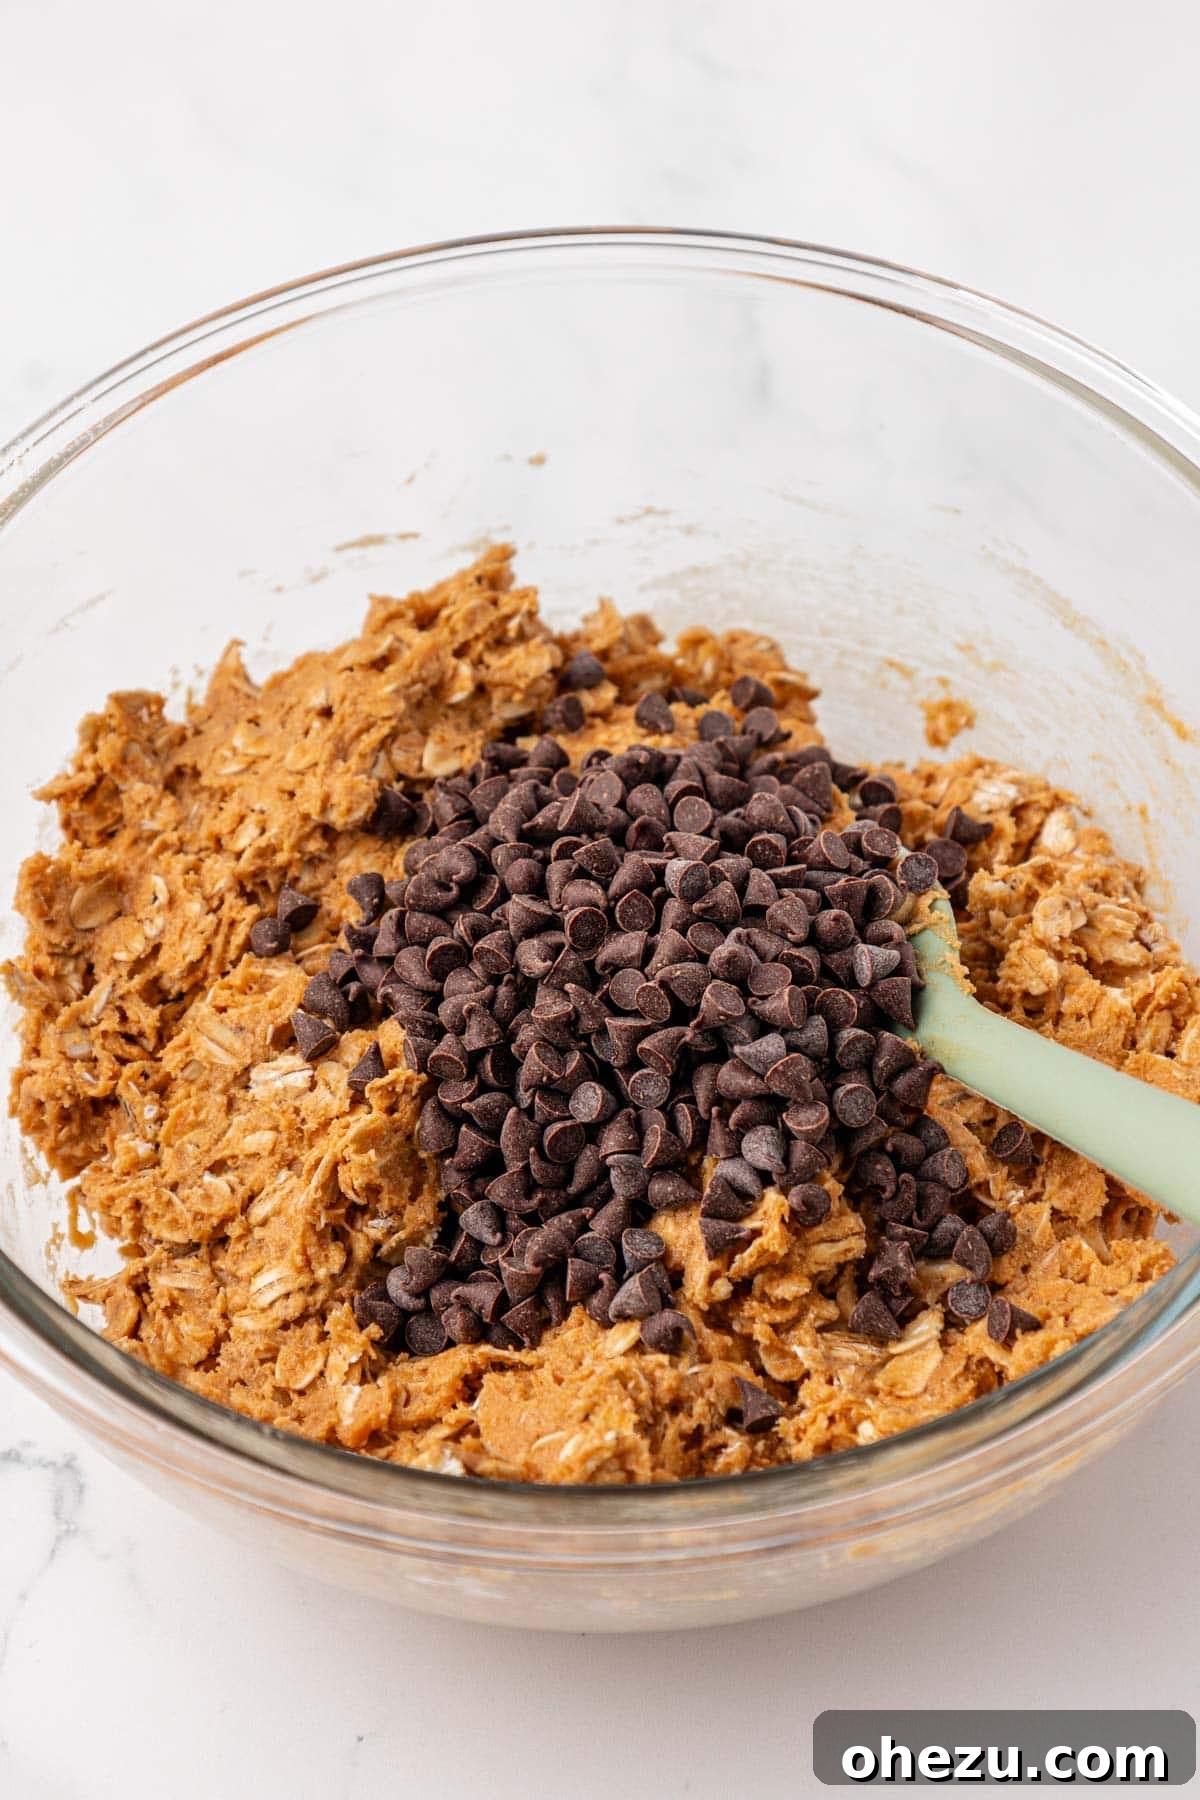
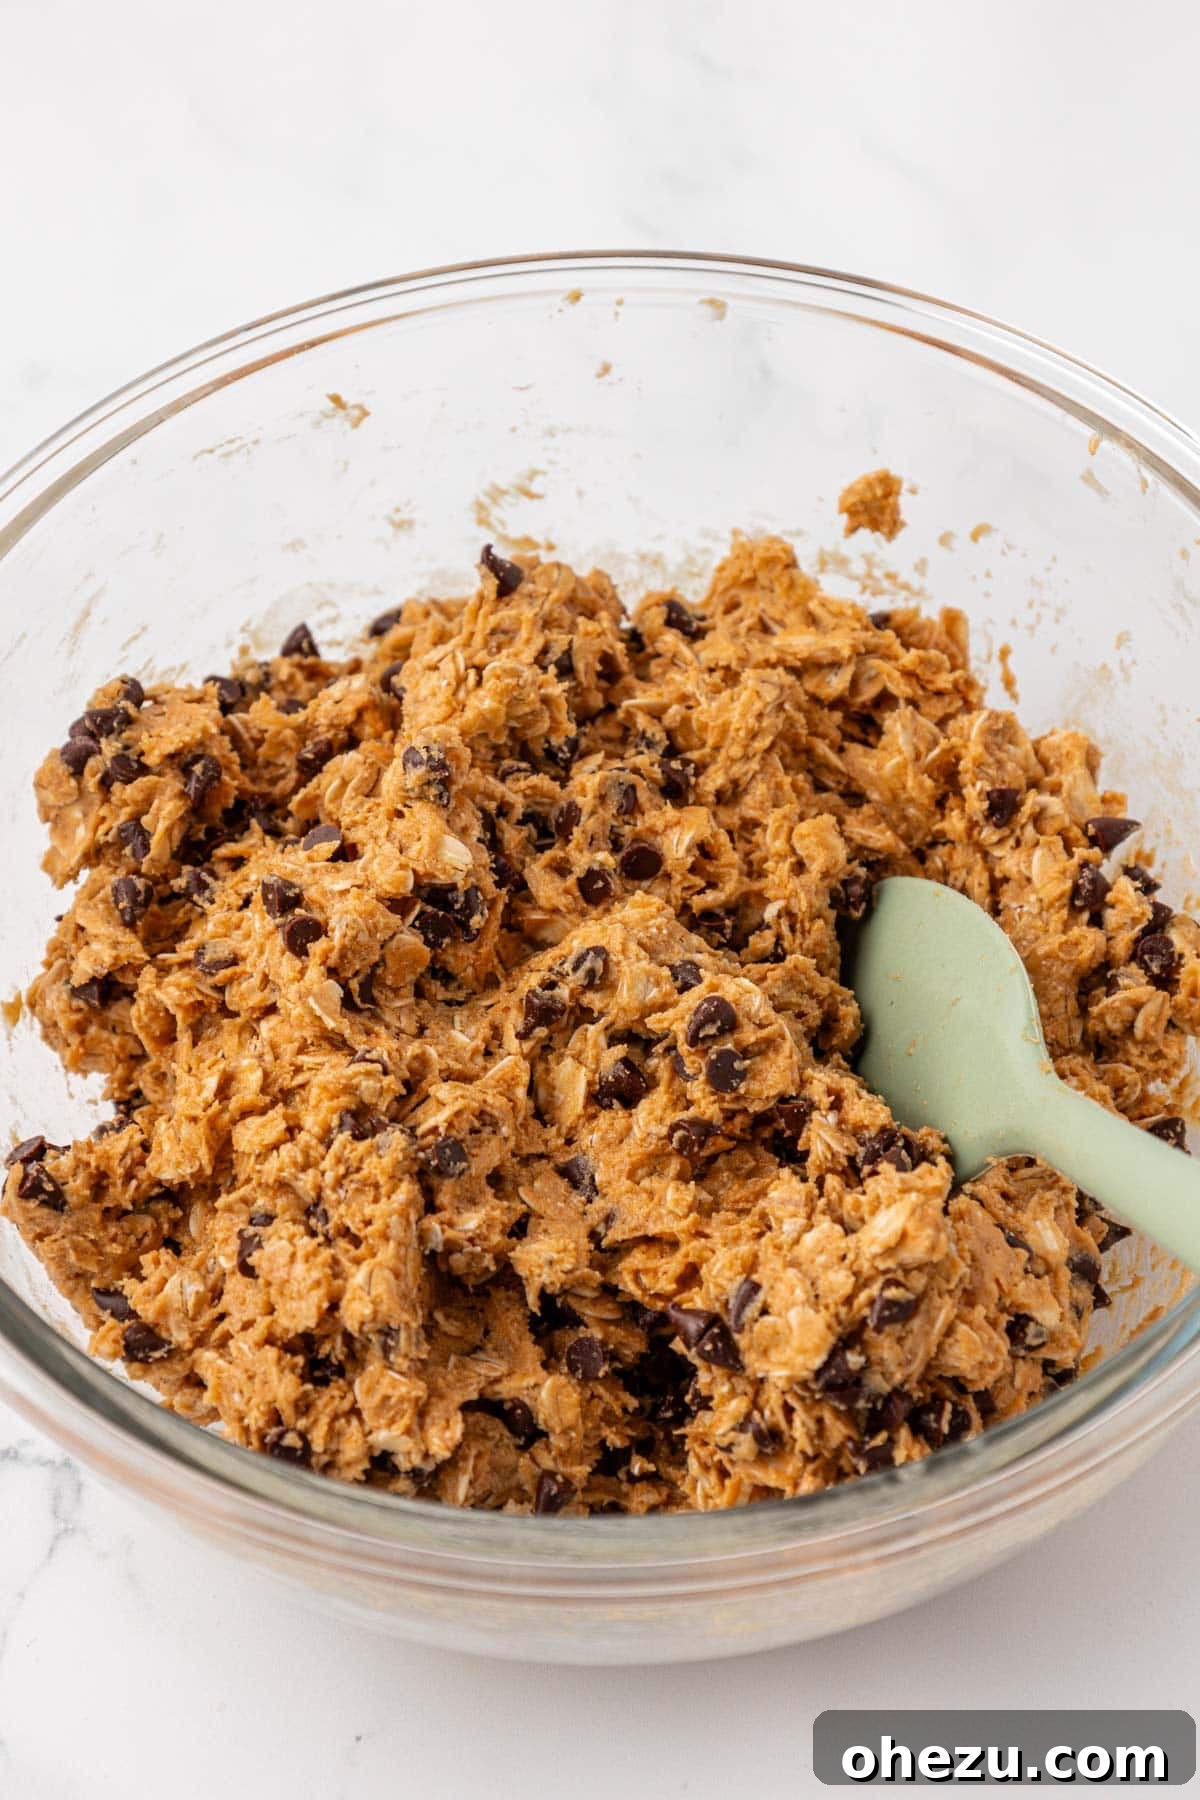
Step 4: Press into the Pan
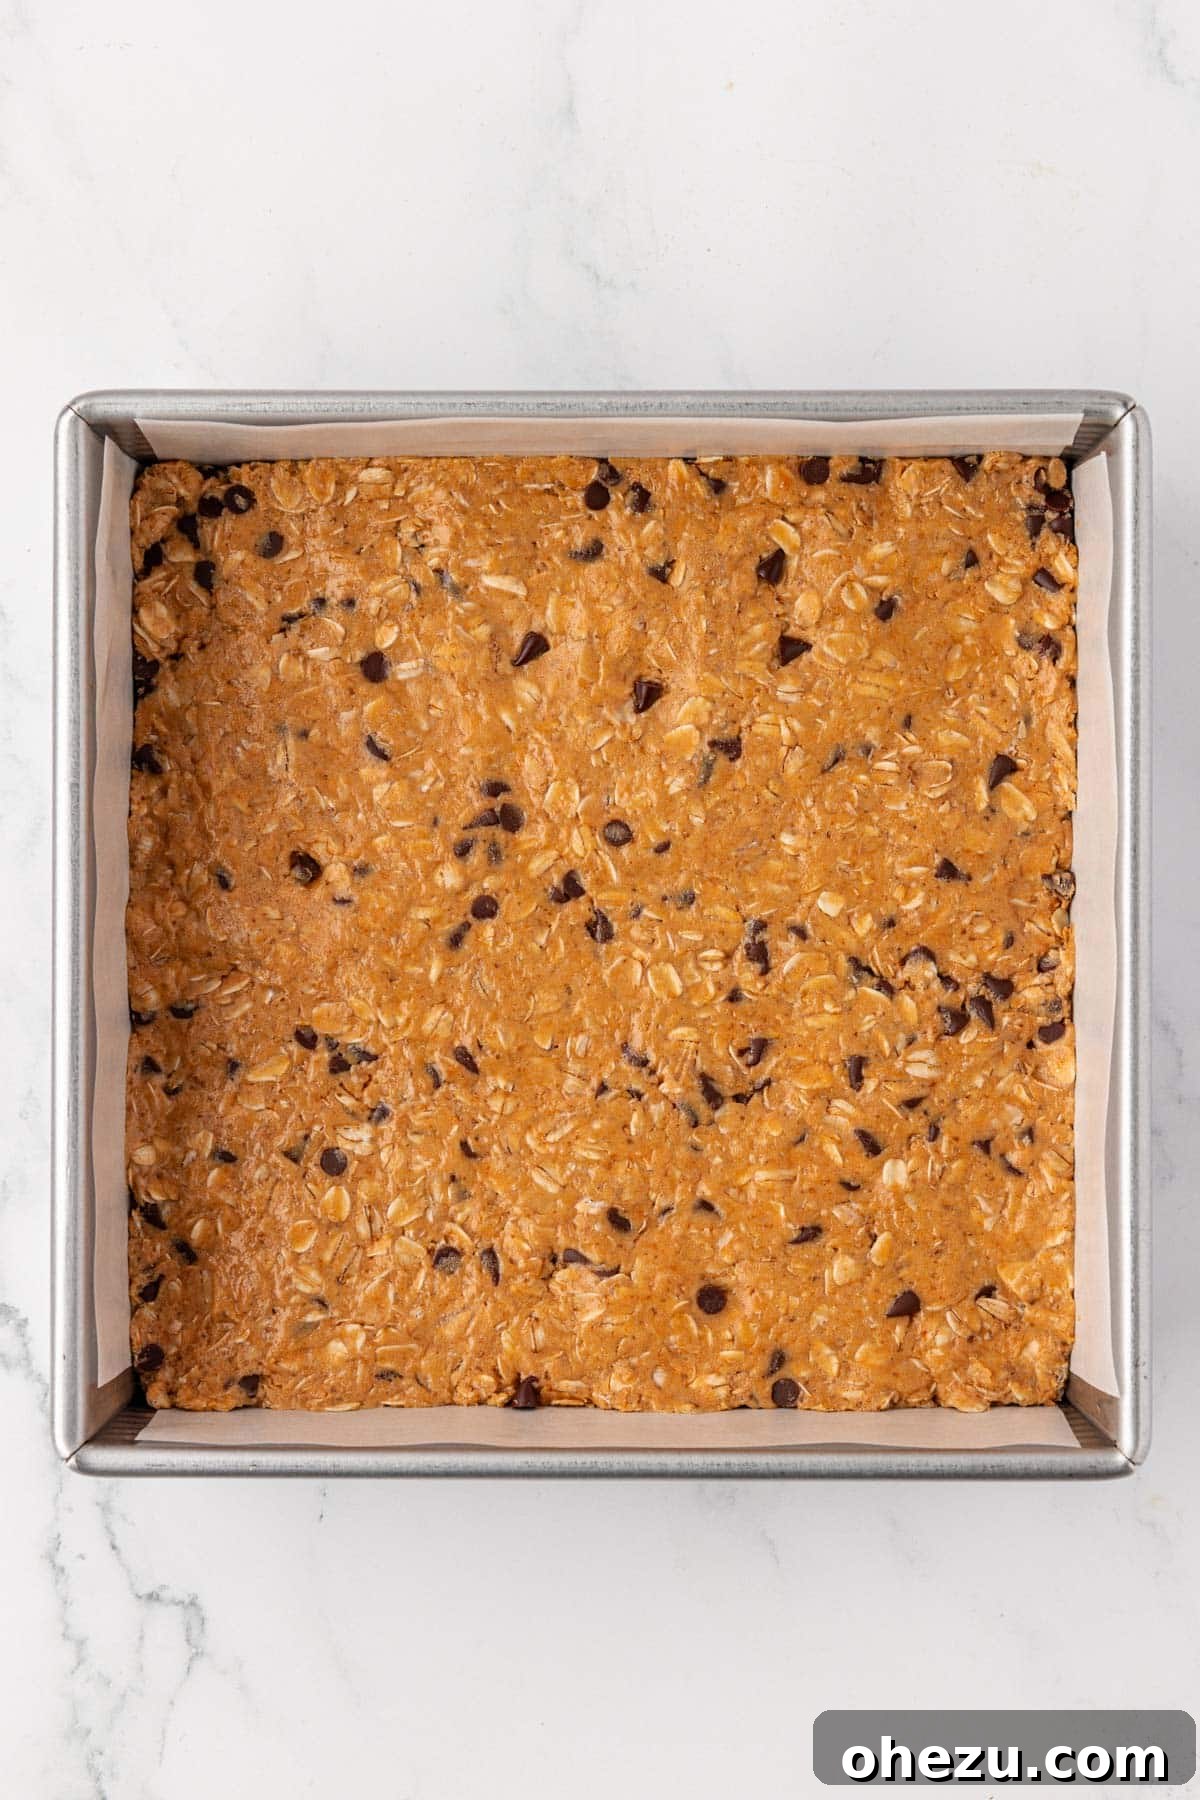
Line an 8×8 inch baking dish with parchment paper. Make sure the parchment paper extends over the edges of the pan; these overhangs will serve as convenient handles later, allowing you to easily lift the entire set batch of bars out of the dish. Transfer the prepared protein bar batter into the lined pan. Using the back of your rubber spatula, or even your lightly dampened hands, firmly and evenly press the batter down into the pan. Ensure it’s a compact and uniform layer from edge to edge – this density is key to creating well-structured bars that don’t crumble.
Step 5: Chill and Slice
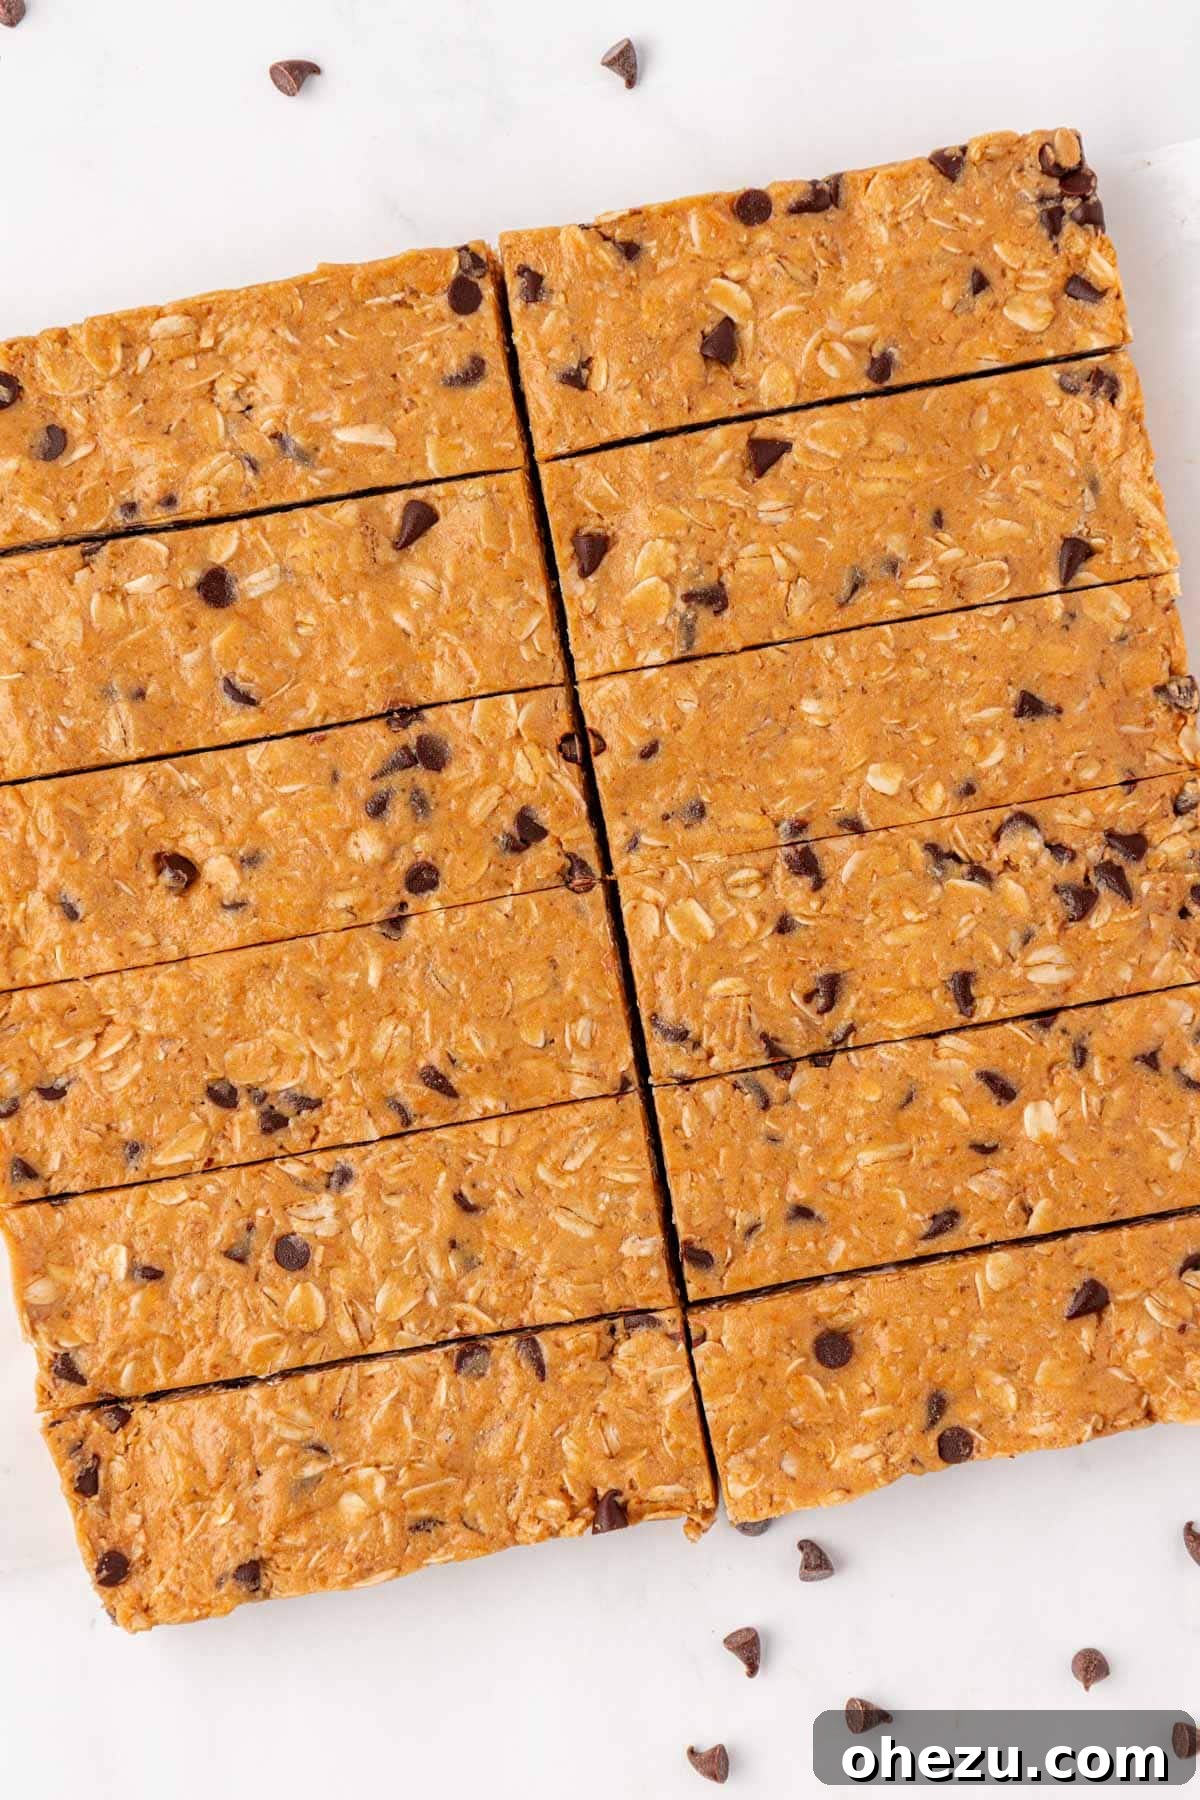
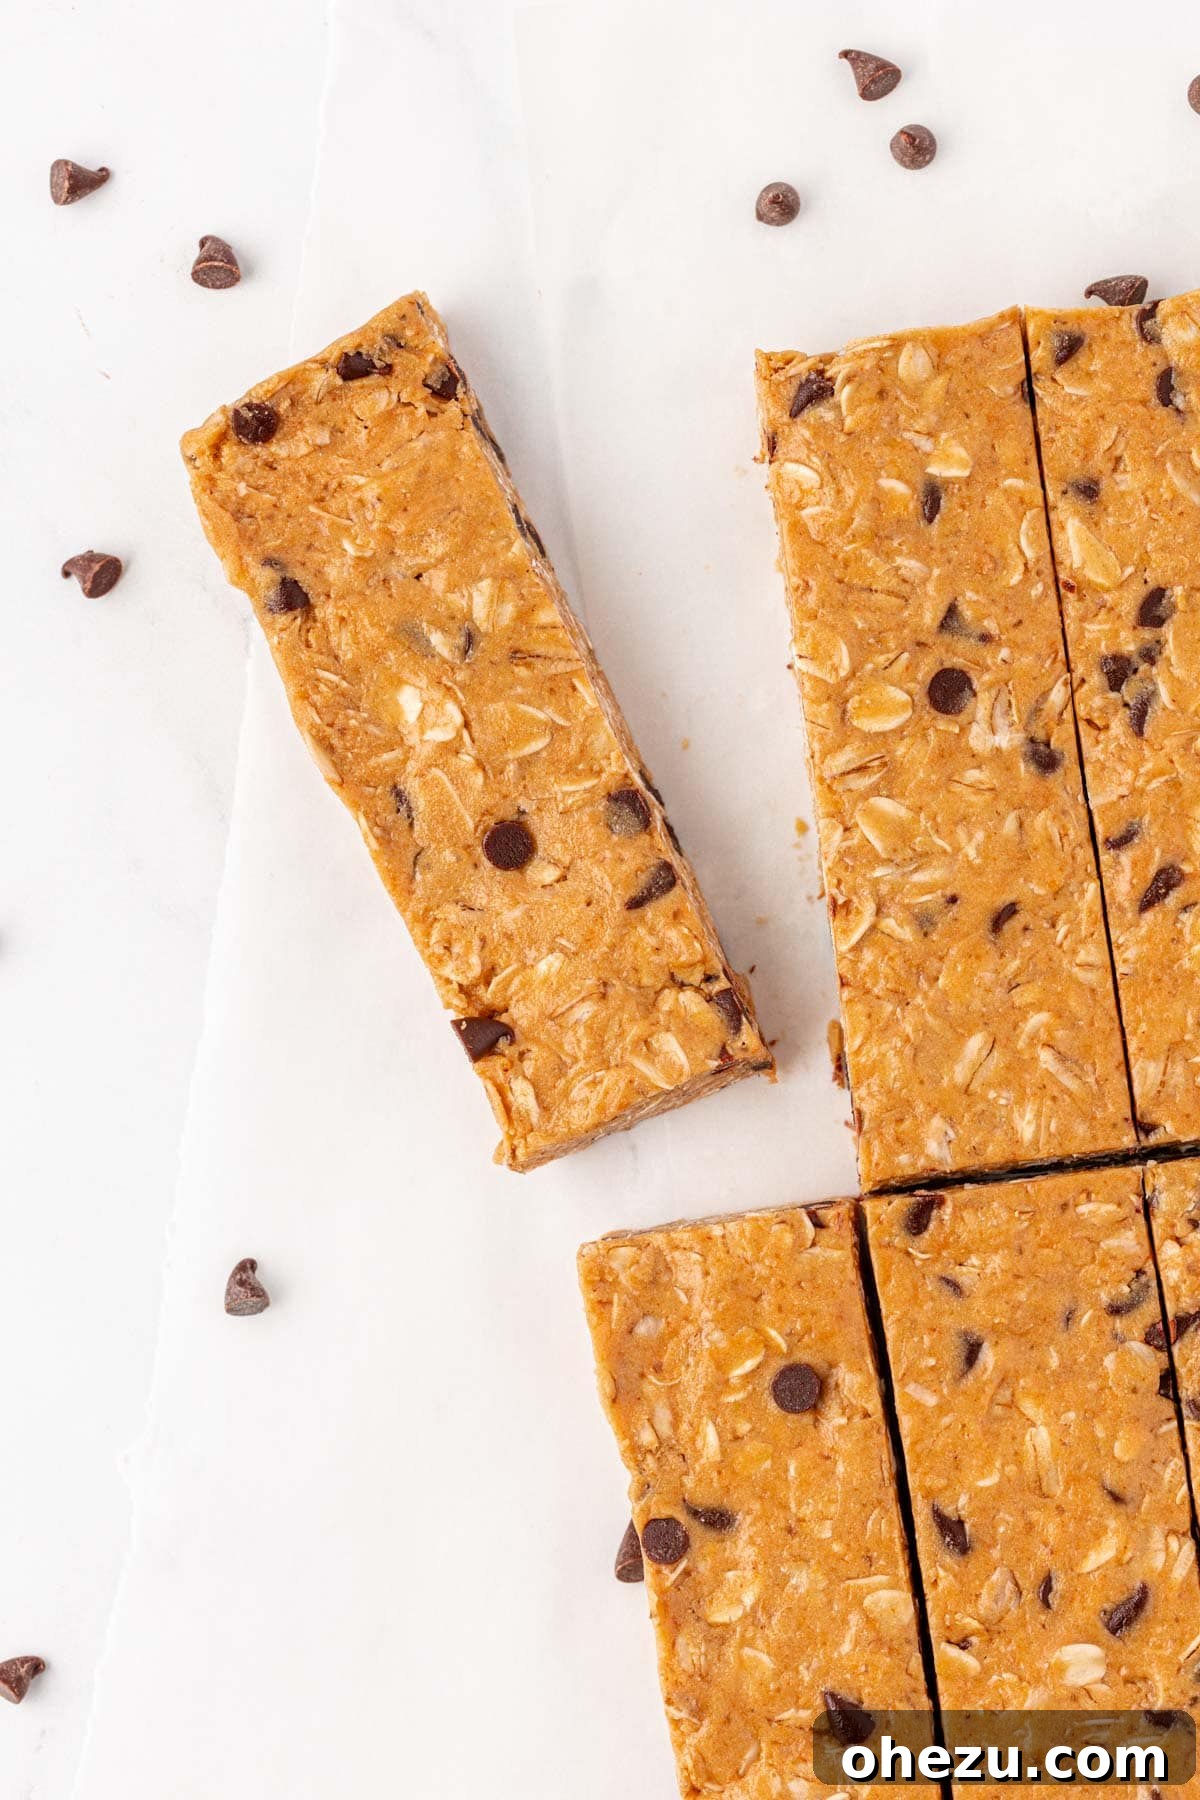
Place the baking dish containing the pressed protein bar batter into the refrigerator. Allow it to chill for at least 1 hour, or until the entire slab is completely firm. This chilling time is essential for the ingredients to set properly, making the bars easy to cut and handle without falling apart. Once firm, use the parchment paper handles to lift the whole block out of the pan. Transfer it to a cutting board and use a sharp knife to cut it into 12 equally sized bars. For cleaner cuts, you can briefly warm your knife under hot water and wipe it clean between cuts.
Storing Your Homemade Protein Bars for Maximum Freshness
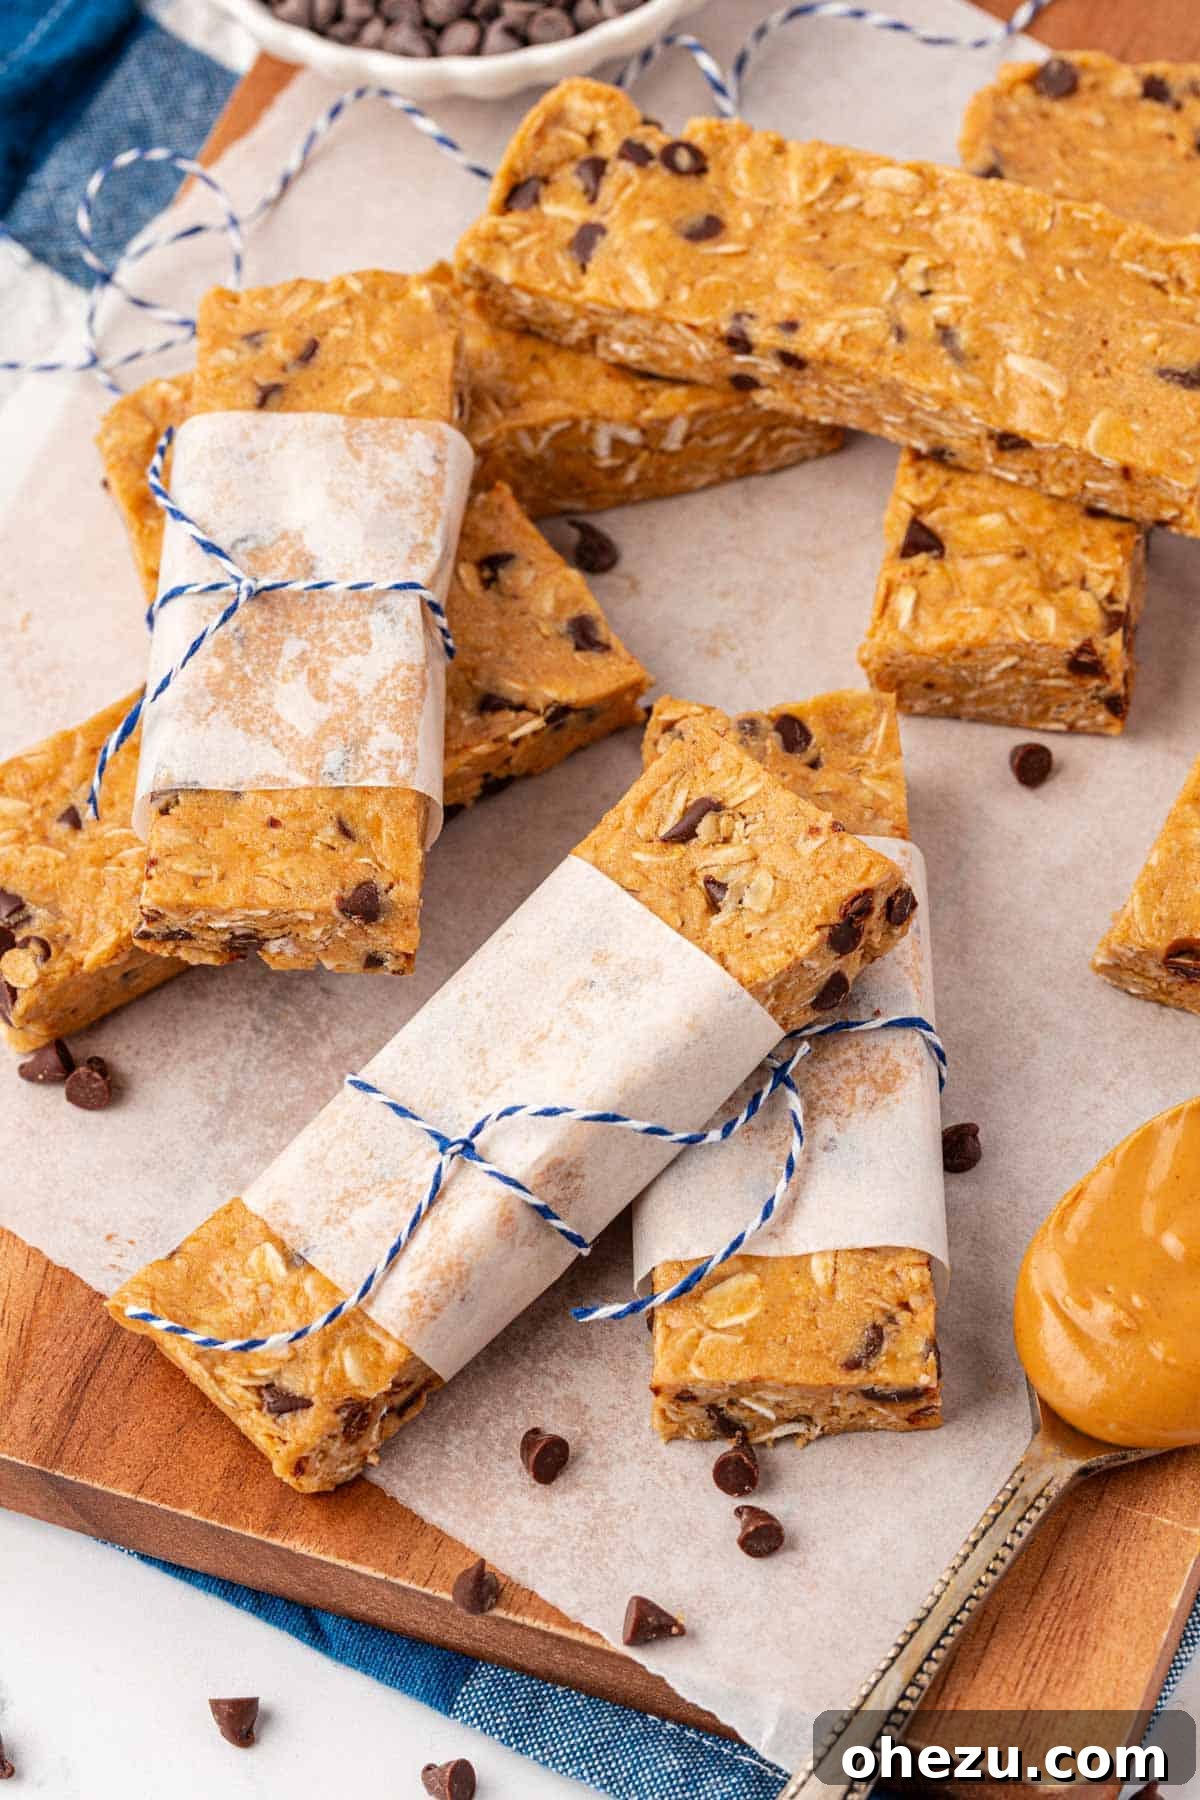
To keep your delicious protein granola bars at their best, store any leftovers in an airtight container. They will maintain their freshness and chewy texture in the refrigerator for 5-7 days. For a longer-lasting supply, these bars freeze exceptionally well and can be stored in the freezer for 2-3 months. Simply transfer them to an airtight, freezer-safe container or bag. When you’re ready to enjoy one, thaw it in the refrigerator overnight or let it sit at room temperature for a quick, convenient snack.
Customization and Variations for Your Protein Bars
One of the greatest advantages of making your own protein bars is the freedom to customize them. Feel free to experiment with these ideas to tailor them to your personal taste and dietary needs:
- Protein Powder Power-Ups: While vanilla protein powder offers a versatile base, consider swapping it for chocolate protein powder for a richer, more decadent bar. Other flavors like strawberry, cookies & cream, or even unflavored protein powder (if you want the other ingredients to really shine) can be fantastic options.
- Nut Butter Explorations: Almond butter, cashew butter, or mixed nut butter can be excellent alternatives to peanut butter. For those with nut allergies, sunflower seed butter (SunButter) works wonderfully. The key is to ensure it’s a natural, creamy variety that becomes runny when gently warmed.
- Exciting Add-ins: Boost the flavor, texture, and nutritional profile with a variety of mix-ins:
- Crunchy Nuts: Incorporate chopped almonds, walnuts, pecans, or peanuts for an extra layer of crunch and healthy fats.
- Nutrient-Rich Seeds: Add chia seeds, flax seeds, hemp seeds, or sesame seeds for an extra boost of fiber, omega-3s, and minerals.
- Sweet Dried Fruits: Stir in raisins, dried cranberries, chopped apricots, or finely diced dates for natural sweetness and chewiness.
- Warm Spices: A dash of cinnamon, nutmeg, or pumpkin pie spice can add a cozy depth of flavor, especially if you’re using a neutral protein powder.
- Tropical Coconut: Toasted or untoasted shredded coconut flakes introduce a lovely tropical aroma and texture.
- Alternative Sweeteners: If you’re looking for a different sweetener, pure maple syrup is an excellent plant-based option that offers similar binding properties and a distinct, delicious flavor profile. You can also experiment with agave nectar.
Embracing the Benefits of a High-Protein Snack
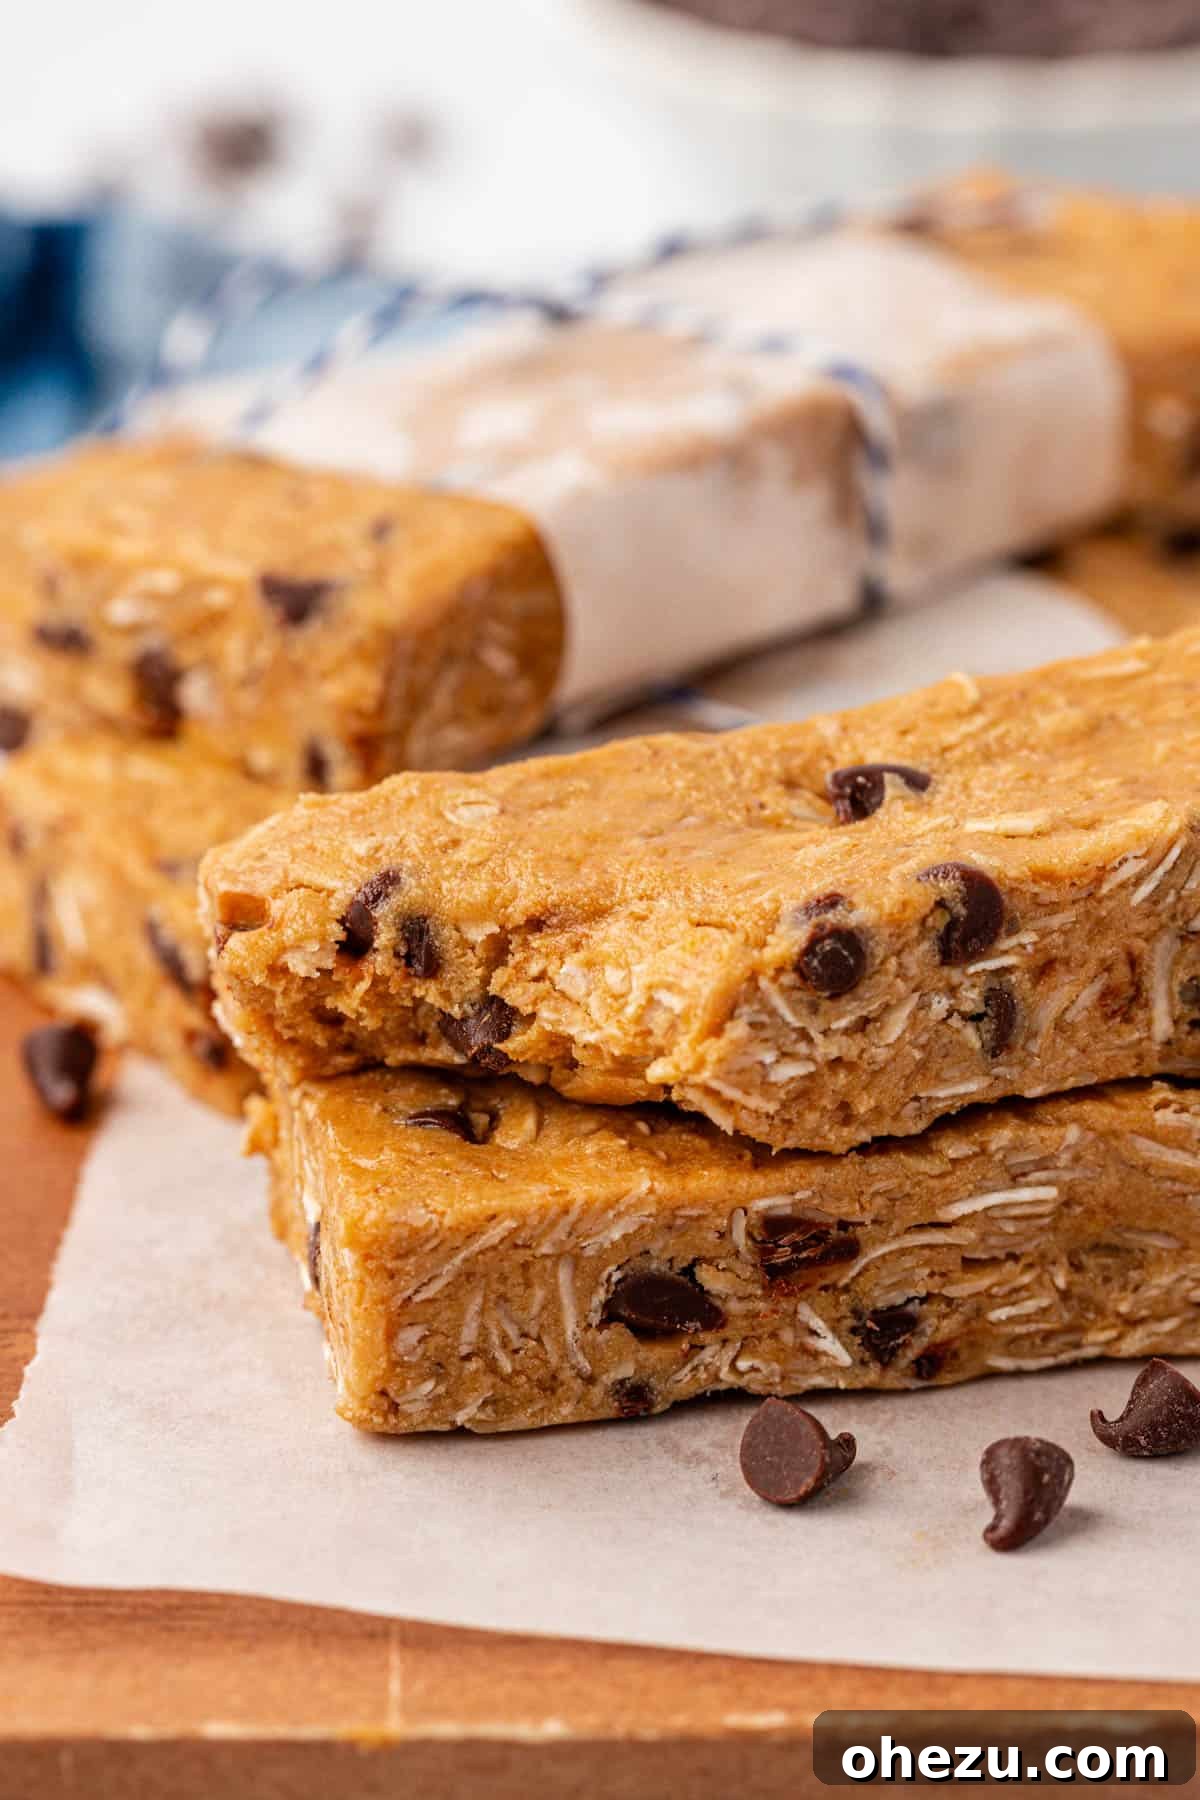
Each of these delightful homemade protein bars delivers a substantial 11 grams of protein, making them an excellent choice for anyone looking to increase their protein intake. Protein is a macronutrient critical for numerous bodily functions, including muscle repair and growth, hormone production, and enzyme activity. For active individuals, a protein-rich snack is invaluable for supporting post-workout recovery and muscle synthesis.
Beyond muscle benefits, protein is renowned for its ability to promote satiety. This means these bars will keep you feeling fuller for longer, helping to curb hunger pangs and reduce the likelihood of reaching for less healthy snacks between meals. This makes them a fantastic tool for weight management and maintaining consistent energy levels throughout your day.
Much like my other popular protein snacks, these granola bars are not just quick and simple to prepare; they’re also incredibly delicious and tend to disappear rapidly! They are an absolute blessing for meal prepping, as they store beautifully and taste just as fresh and chewy several days after being made. Enjoy the convenience of having a nutritious, grab-and-go snack ready whenever hunger strikes, ensuring you stay fueled and focused without unnecessary fuss.
Frequently Asked Questions (FAQs) About Homemade Protein Granola Bars
Here are some common questions you might have when making these delicious protein granola bars:
- Can I use quick oats instead of rolled oats? Yes, you can substitute quick oats for rolled oats. However, note that quick oats will result in a slightly softer, less chewy bar with a finer texture, whereas rolled oats provide a more substantial and traditional granola bar chew.
- Are these protein bars gluten-free? If you ensure that all your ingredients, especially your rolled oats and protein powder, are certified gluten-free, then these bars can be made entirely gluten-free. Always double-check ingredient labels to confirm.
- How can I make these bars vegan? To adapt this recipe for a vegan diet, simply substitute the honey with an equal amount of pure maple syrup. Additionally, ensure that your chosen protein powder is plant-based (e.g., made from pea, rice, or soy protein) and that your mini chocolate chips are dairy-free.
- How long do the protein bars need to chill before cutting? A minimum of 1 hour in the refrigerator is recommended for the bars to set properly and become firm enough to cut without crumbling. If you’re in a hurry, you can place them in the freezer for about 20-30 minutes for a quicker set.
- What should I do if my batter is too sticky to press? If the batter feels excessively sticky and challenging to press into the pan, try chilling it in the mixing bowl for 10-15 minutes before transferring it. You can also lightly dampen your hands with water or use a piece of parchment paper on top of the batter to prevent sticking while pressing it down.
- Can I add other ingredients like nuts or seeds? Absolutely! This recipe is very versatile. Feel free to fold in chopped nuts (like almonds or walnuts), seeds (such as chia, flax, or hemp seeds), or even dried fruit (like cranberries or raisins) along with the chocolate chips to enhance flavor and nutritional value.
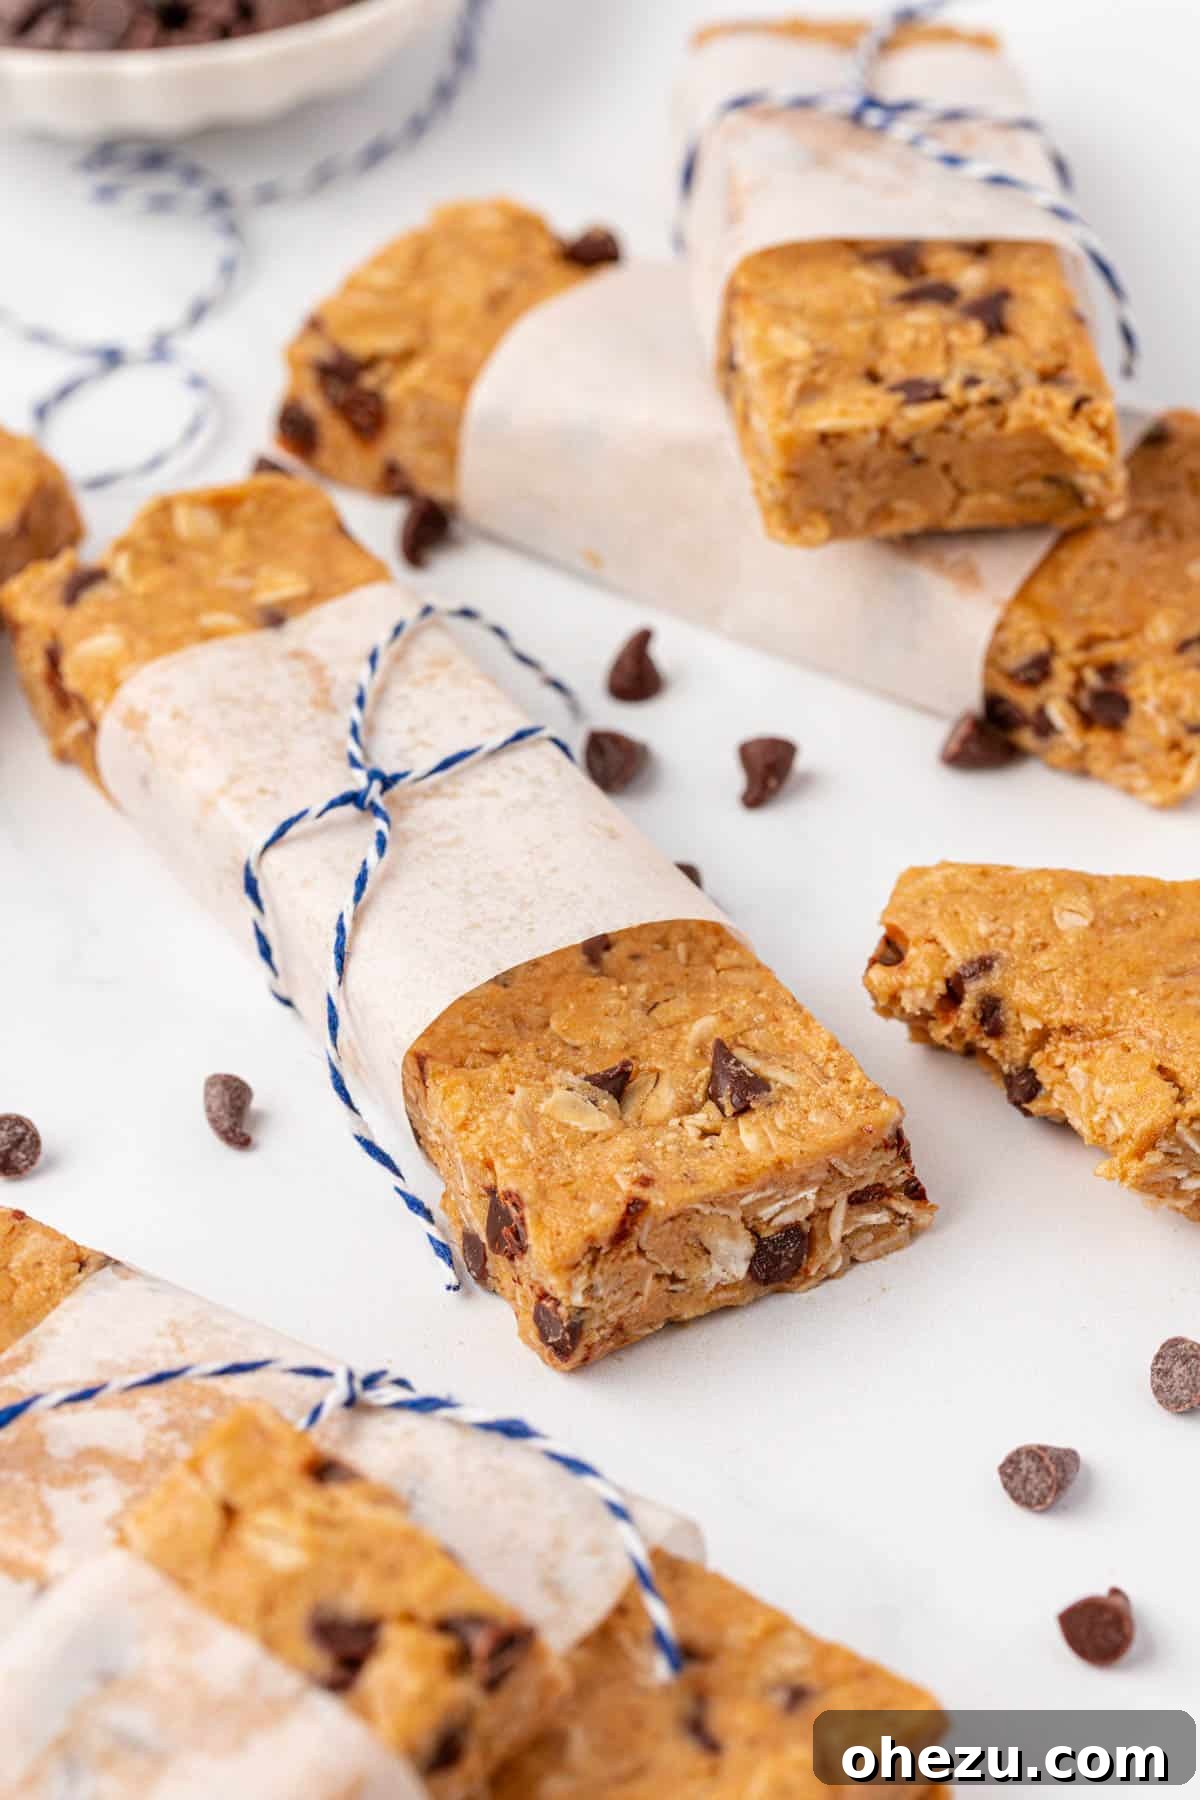
I sincerely hope you give these homemade protein bars a try! They are a testament to how simple and enjoyable healthy eating can be, providing a truly satisfying and nutritious snack. My family has wholeheartedly embraced them, and they’ve quickly earned a spot in our regular rotation. Enjoy the process of making them and savor every delicious, protein-packed bite!
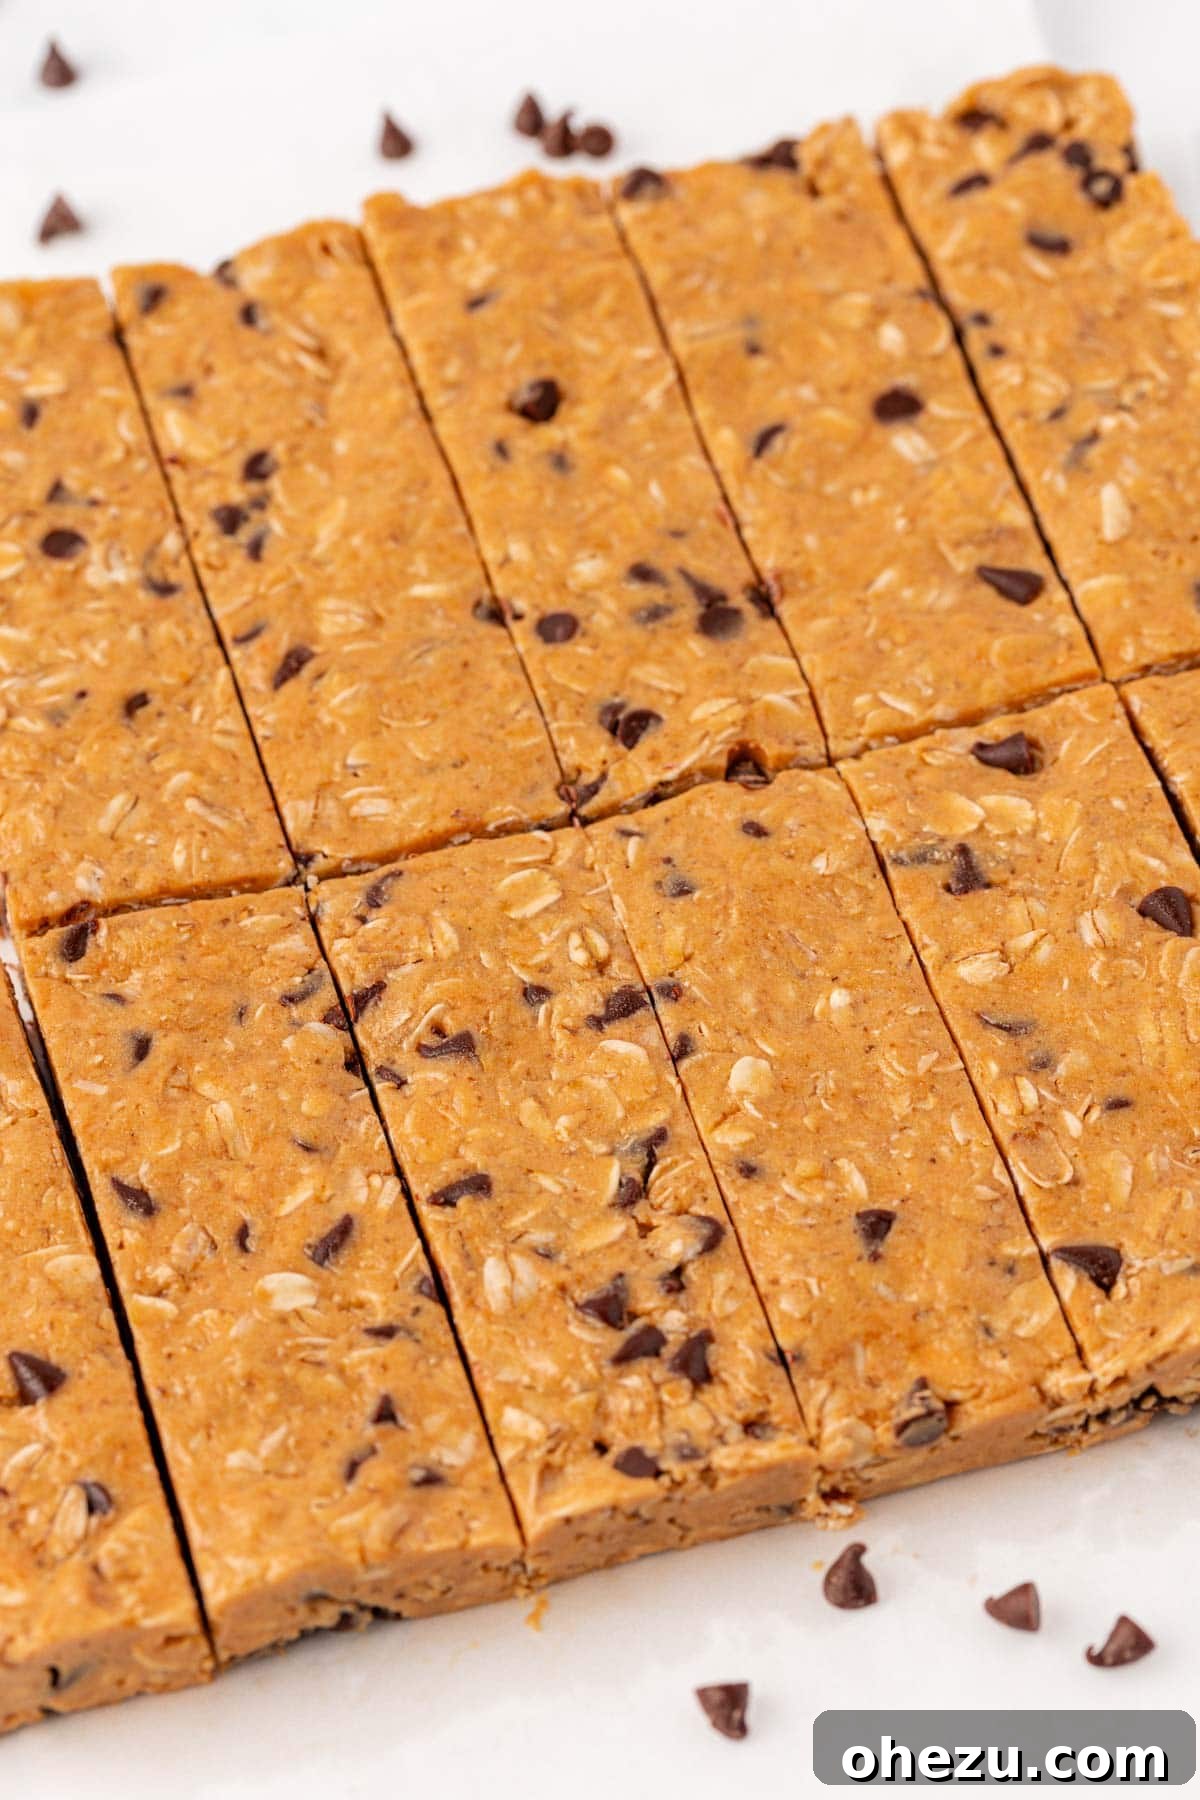
More Irresistible Protein Snack Ideas
If you loved the simplicity and deliciousness of these protein granola bars, you’re in luck! I have a host of other fantastic protein-packed snack recipes designed to keep you energized, satisfied, and on track with your health goals. Explore these popular options for more healthy indulgence:
- No Bake Protein Bars
- Peanut Butter Pretzel Energy Bites
- Monster Cookie Protein Bars
- Chocolate Protein Bars
- Peanut Butter Chocolate Chip Protein Bars
- Oatmeal Cookie Energy Balls
- Chocolate Cashew Protein Bars
- Cinnamon Roll Energy Bites
- Peanut Butter Crunch Energy Bites
Protein Granola Bars Recipe
Joy Shull
10 mins
12 bars
(Consider printing or saving this page for the recipe!)
Ingredients
- 3/4 cup natural creamy peanut butter (peanuts and salt only)
- 1/2 cup honey
- 3/4 cup vanilla protein powder
- 2 cups rolled oats
- 1/4 teaspoon salt
- 1/3 cup mini chocolate chips
Instructions
- Place the natural creamy peanut butter in a microwave-safe bowl and microwave until it becomes runny. This typically takes around 30 seconds for room-temperature peanut butter, or up to 60 seconds if refrigerated.
- Add the melted peanut butter to a large mixing bowl. Stir in the honey, vanilla protein powder, rolled oats, and salt using a rubber spatula until all ingredients are thoroughly combined.
- Let the mixture sit for 5 minutes to cool down slightly. This step is crucial to prevent the chocolate chips from melting when added.
- Gently fold the mini chocolate chips into the granola bar batter until they are evenly distributed.
- Line an 8×8 inch baking dish with parchment paper, ensuring it overhangs the sides for easy removal.
- Press the protein bar batter firmly and evenly into the prepared pan to create a compact layer.
- Refrigerate the protein bars for at least 1 hour, or until they are completely firm. Once set, lift the entire slab using the parchment paper handles, place on a cutting board, and cut into 12 equal bars.
Nutrition Information (per bar)
Calories: 243kcal
Carbohydrates: 28g
Protein: 11g
Fat: 11g
Saturated Fat: 3g
Polyunsaturated Fat: 2g
Monounsaturated Fat: 4g
Trans Fat: 0.01g
Cholesterol: 12mg
Sodium: 66mg
Potassium: 167mg
Fiber: 2g
Sugar: 17g
Vitamin A: 29 IU
Vitamin C: 0.1mg
Calcium: 44mg
Iron: 1mg
(Please note: Nutritional information is an estimate and may vary based on specific ingredients and brands used.)