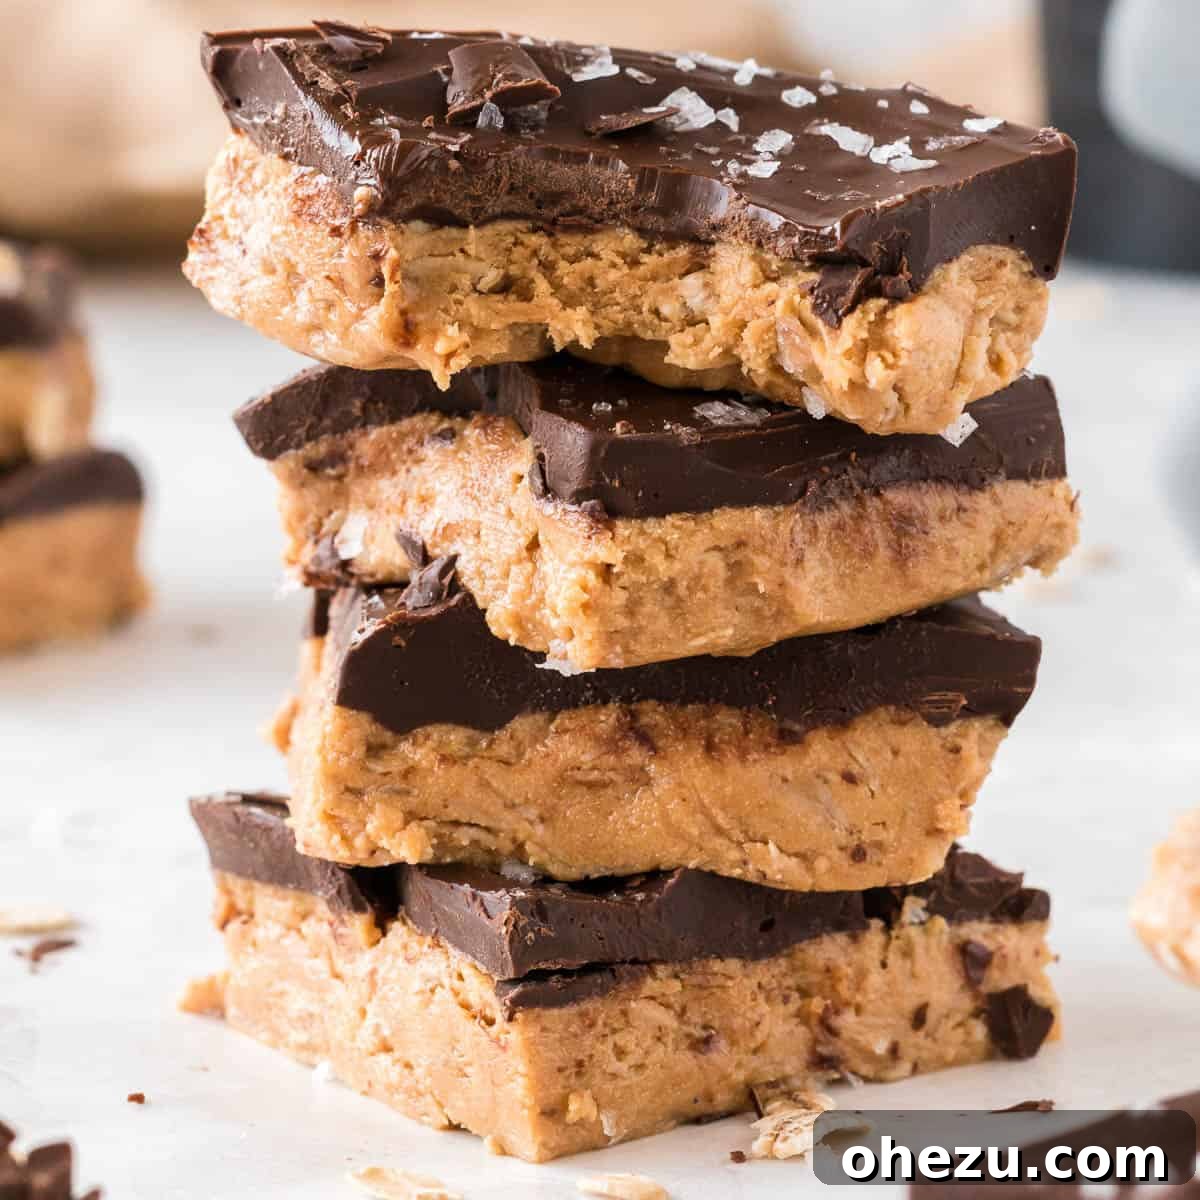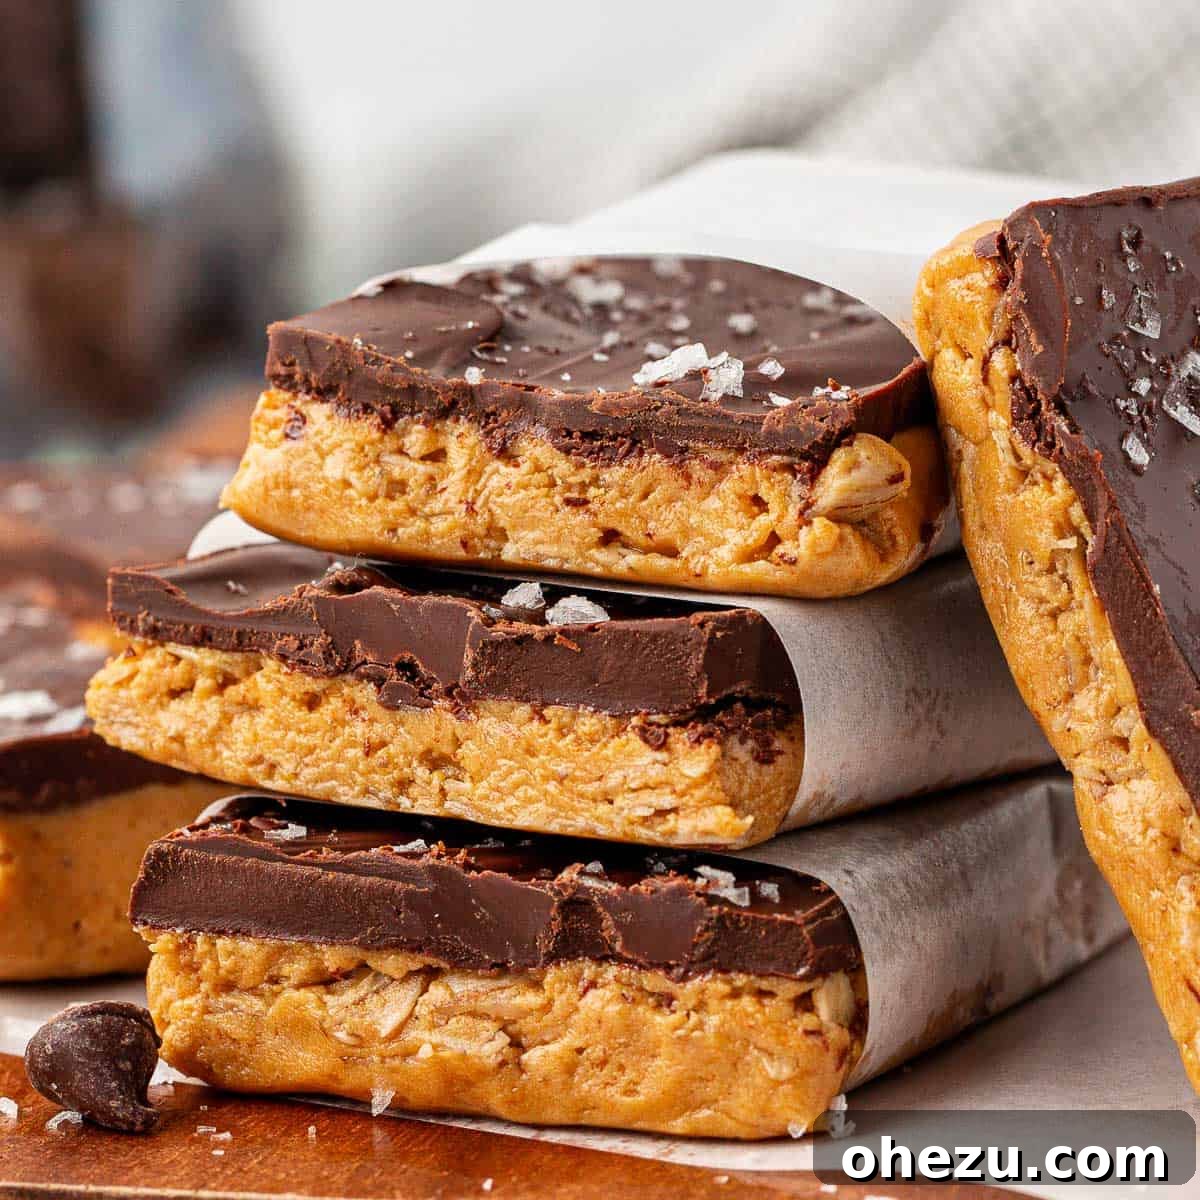
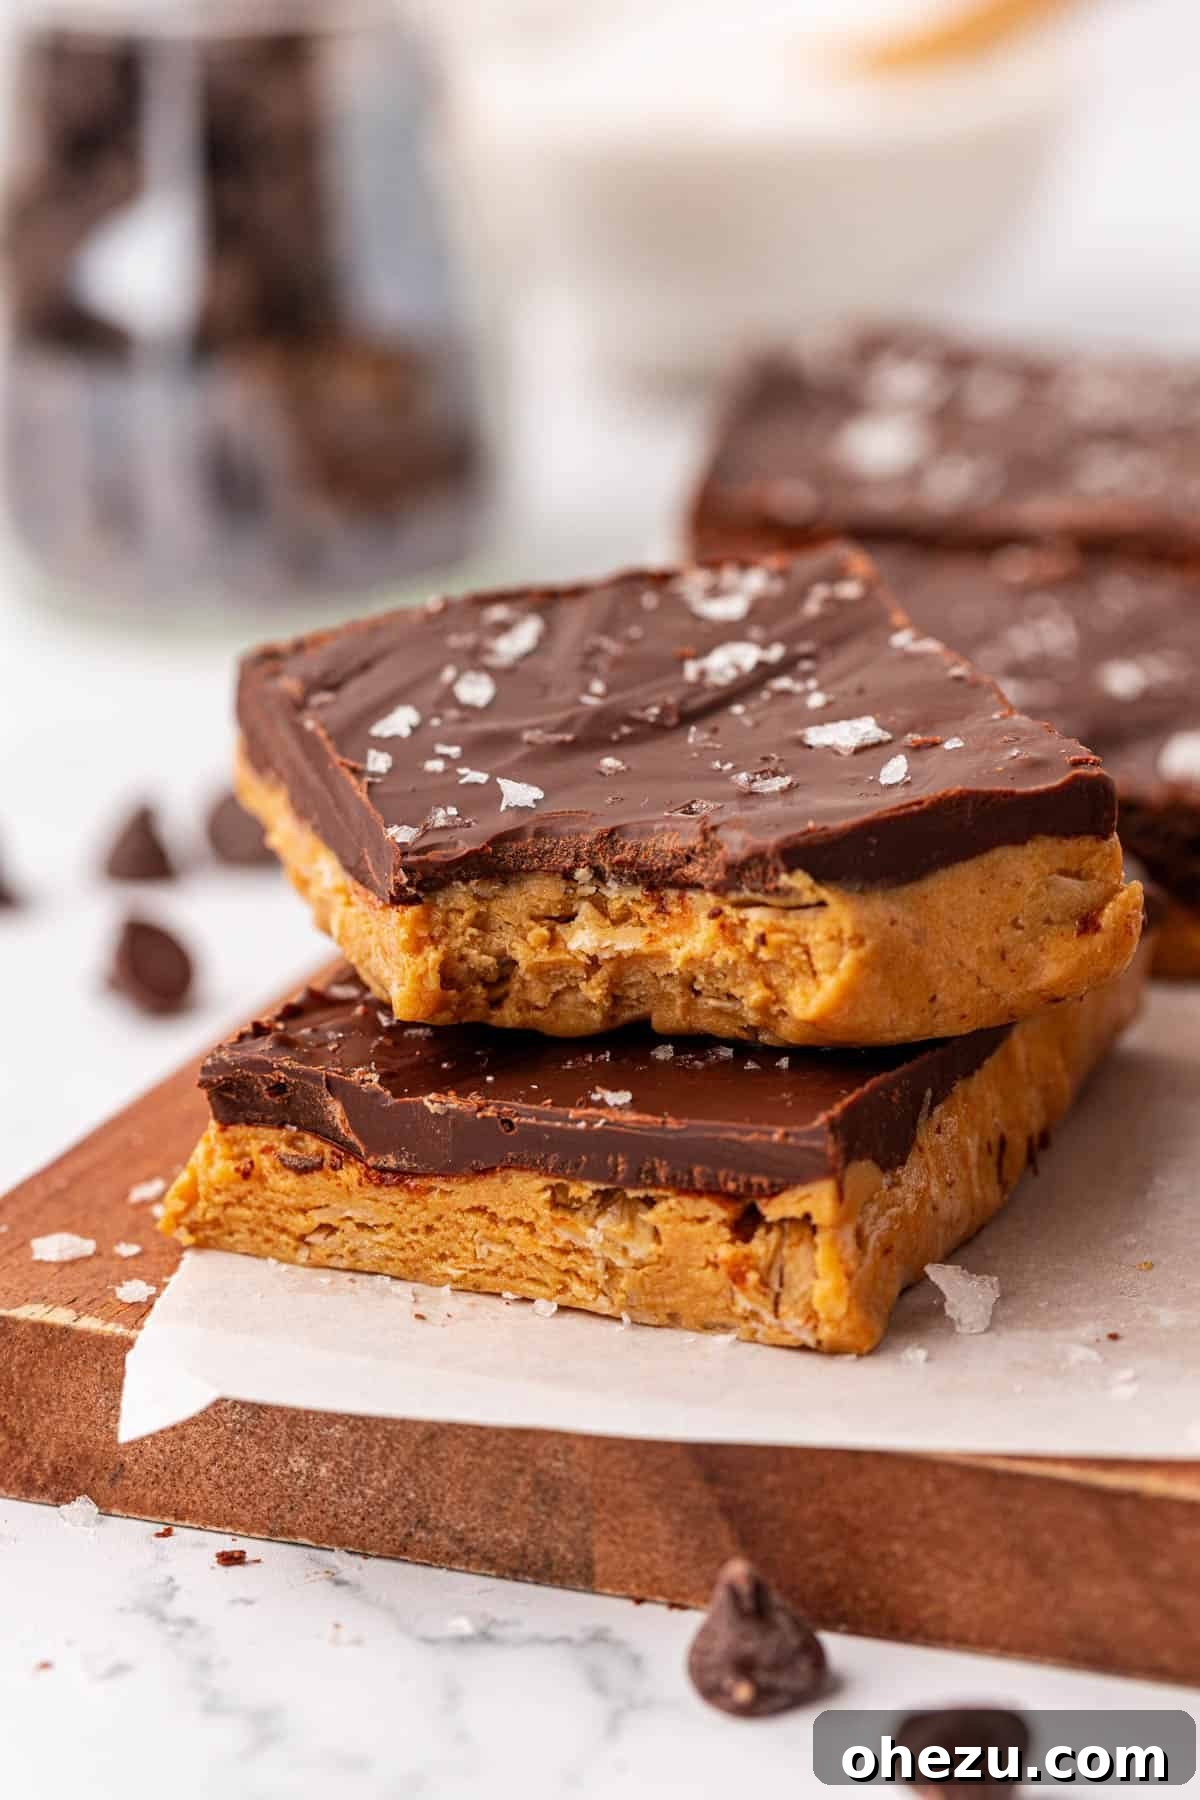
These No-Bake Protein Bars are a game-changer! Crafted with just 7 essential ingredients, you can whip up your own homemade protein bars in a matter of minutes. Perfect for busy individuals and families looking for a convenient, nutritious, and delicious snack.
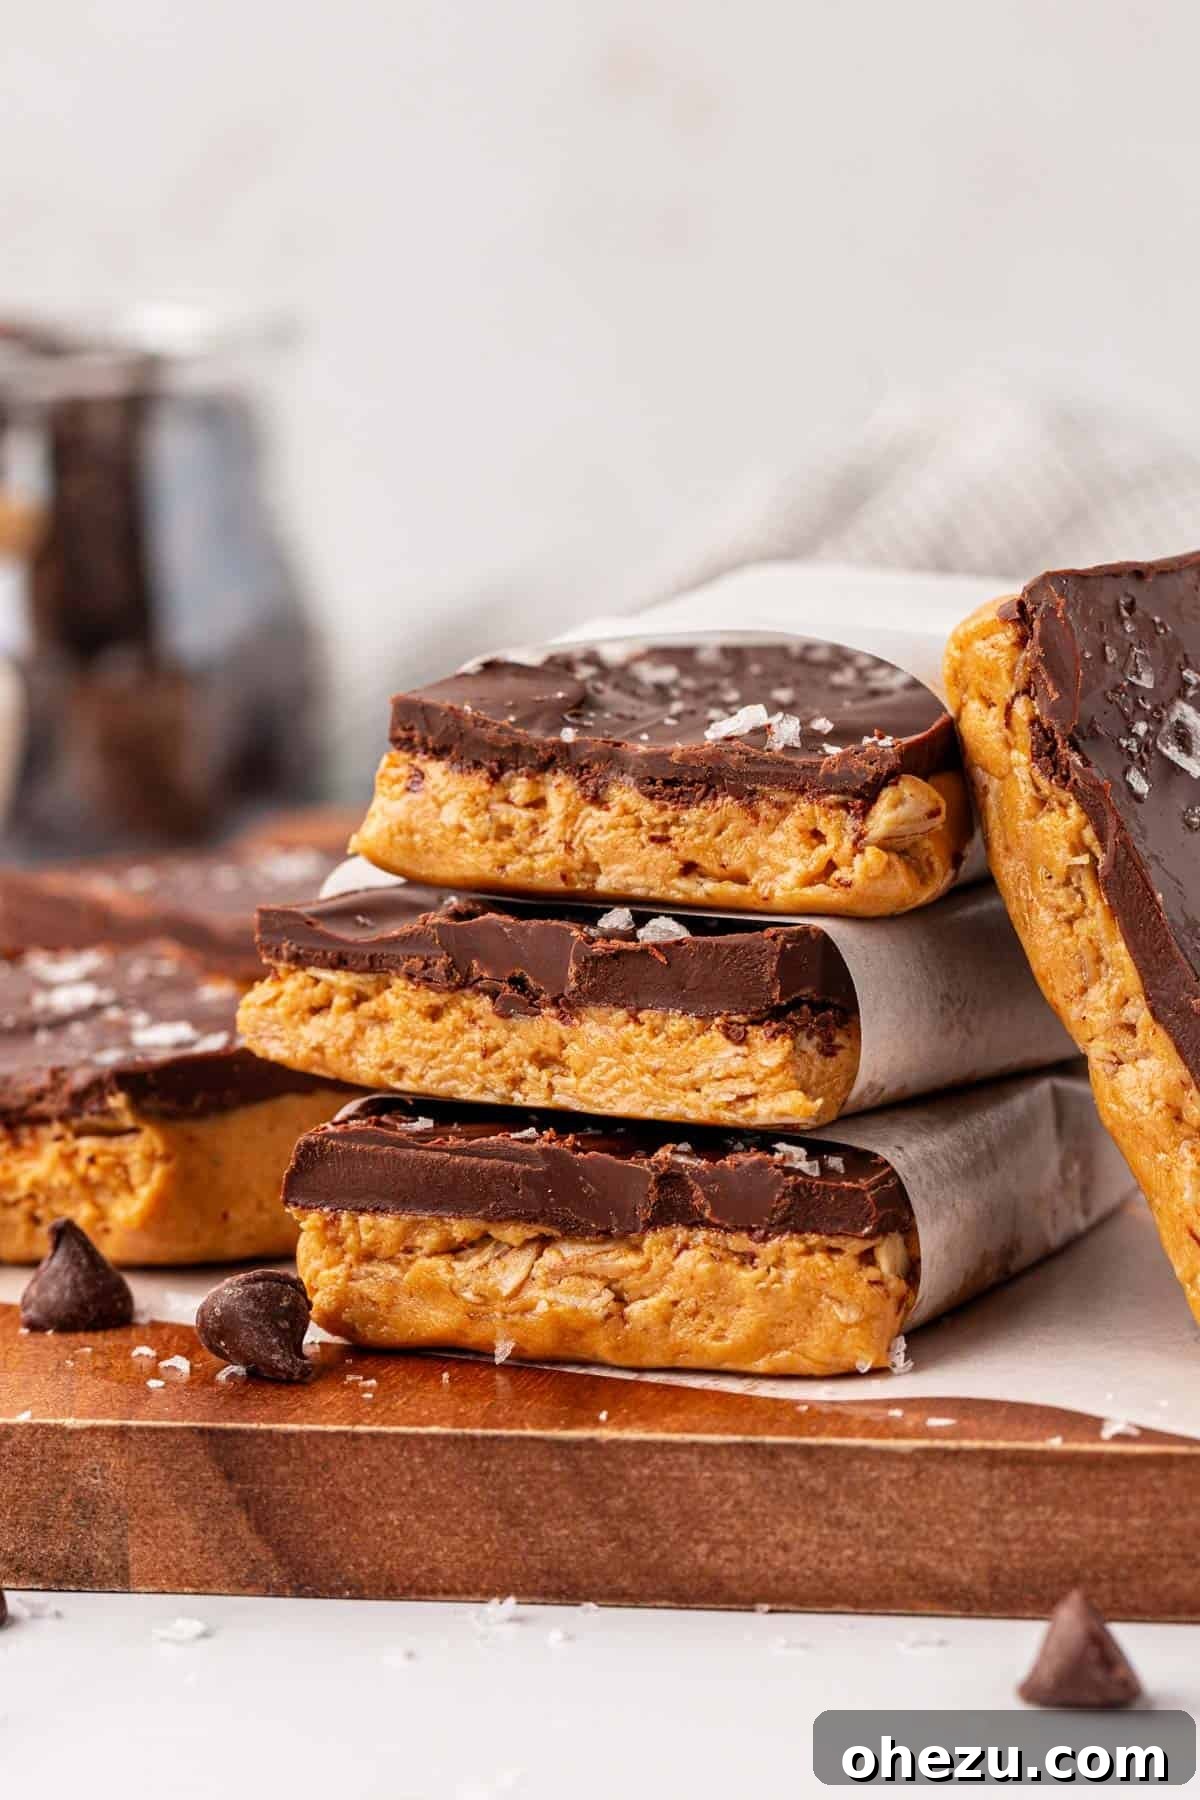
Master the Art of Homemade Protein Bars!
In today’s fast-paced world, finding quick, healthy, and satisfying snacks can often feel like a challenge. That’s where homemade protein bars step in as a true lifesaver. These no-bake wonders are one of my go-to options for fueling my kids (and myself!) throughout the day. They’re incredibly simple to prepare, require only common pantry ingredients, and most importantly, they boast an irresistible taste that rivals any store-bought alternative.
If you’re already a fan of classic energy balls or delightful monster cookie energy balls, then you are absolutely going to adore this recipe. It offers all the goodness and convenience without the extra step of rolling individual bites, saving you valuable time in the kitchen. Each of these satisfying bars packs a substantial 12 grams of protein and is made with real, wholesome ingredients you can easily recognize and pronounce.
I, like many of you, have often struggled to find store-bought protein bars that hit the sweet spot of both great taste and a short, clean ingredient list. This common frustration was the primary motivation behind developing my own recipes. After extensive experimentation, these peanut butter chocolate no-bake protein bars, along with my no-bake chocolate protein bars, have become absolute staples in my snack rotation. They offer a perfect blend of nutrients, flavor, and convenience, making healthy eating effortlessly delicious.
Why Choose Homemade Over Store-Bought?
The market is flooded with countless protein bars, each promising convenience and nutrition. However, a closer look at their ingredient labels often reveals a long list of artificial sweeteners, preservatives, and unpronounceable additives. Opting for homemade protein bars puts you in complete control of what goes into your body, ensuring a cleaner, healthier, and often tastier snack.
- Ingredient Control: You dictate the quality and type of every single ingredient, from your choice of nut butter to your protein powder and sweeteners. This is especially beneficial for those with dietary restrictions or allergies.
- Cost-Effective: Making your own protein bars is significantly cheaper than consistently buying commercial brands. Pantry staples go a long way, saving you money in the long run.
- Customization: The possibilities are endless! You can tailor the flavors, textures, and nutritional profile to your exact preferences. Add different nuts, seeds, dried fruits, or vary the protein powder flavor for endless delicious combinations.
- Freshness: Enjoy the superior taste and texture that comes from freshly made snacks, free from the stabilizers found in mass-produced items.
- No Mystery Ingredients: Say goodbye to cryptic ingredient lists. With homemade bars, you know exactly what you’re consuming – real food for real energy.
Essential Ingredients & Key Notes
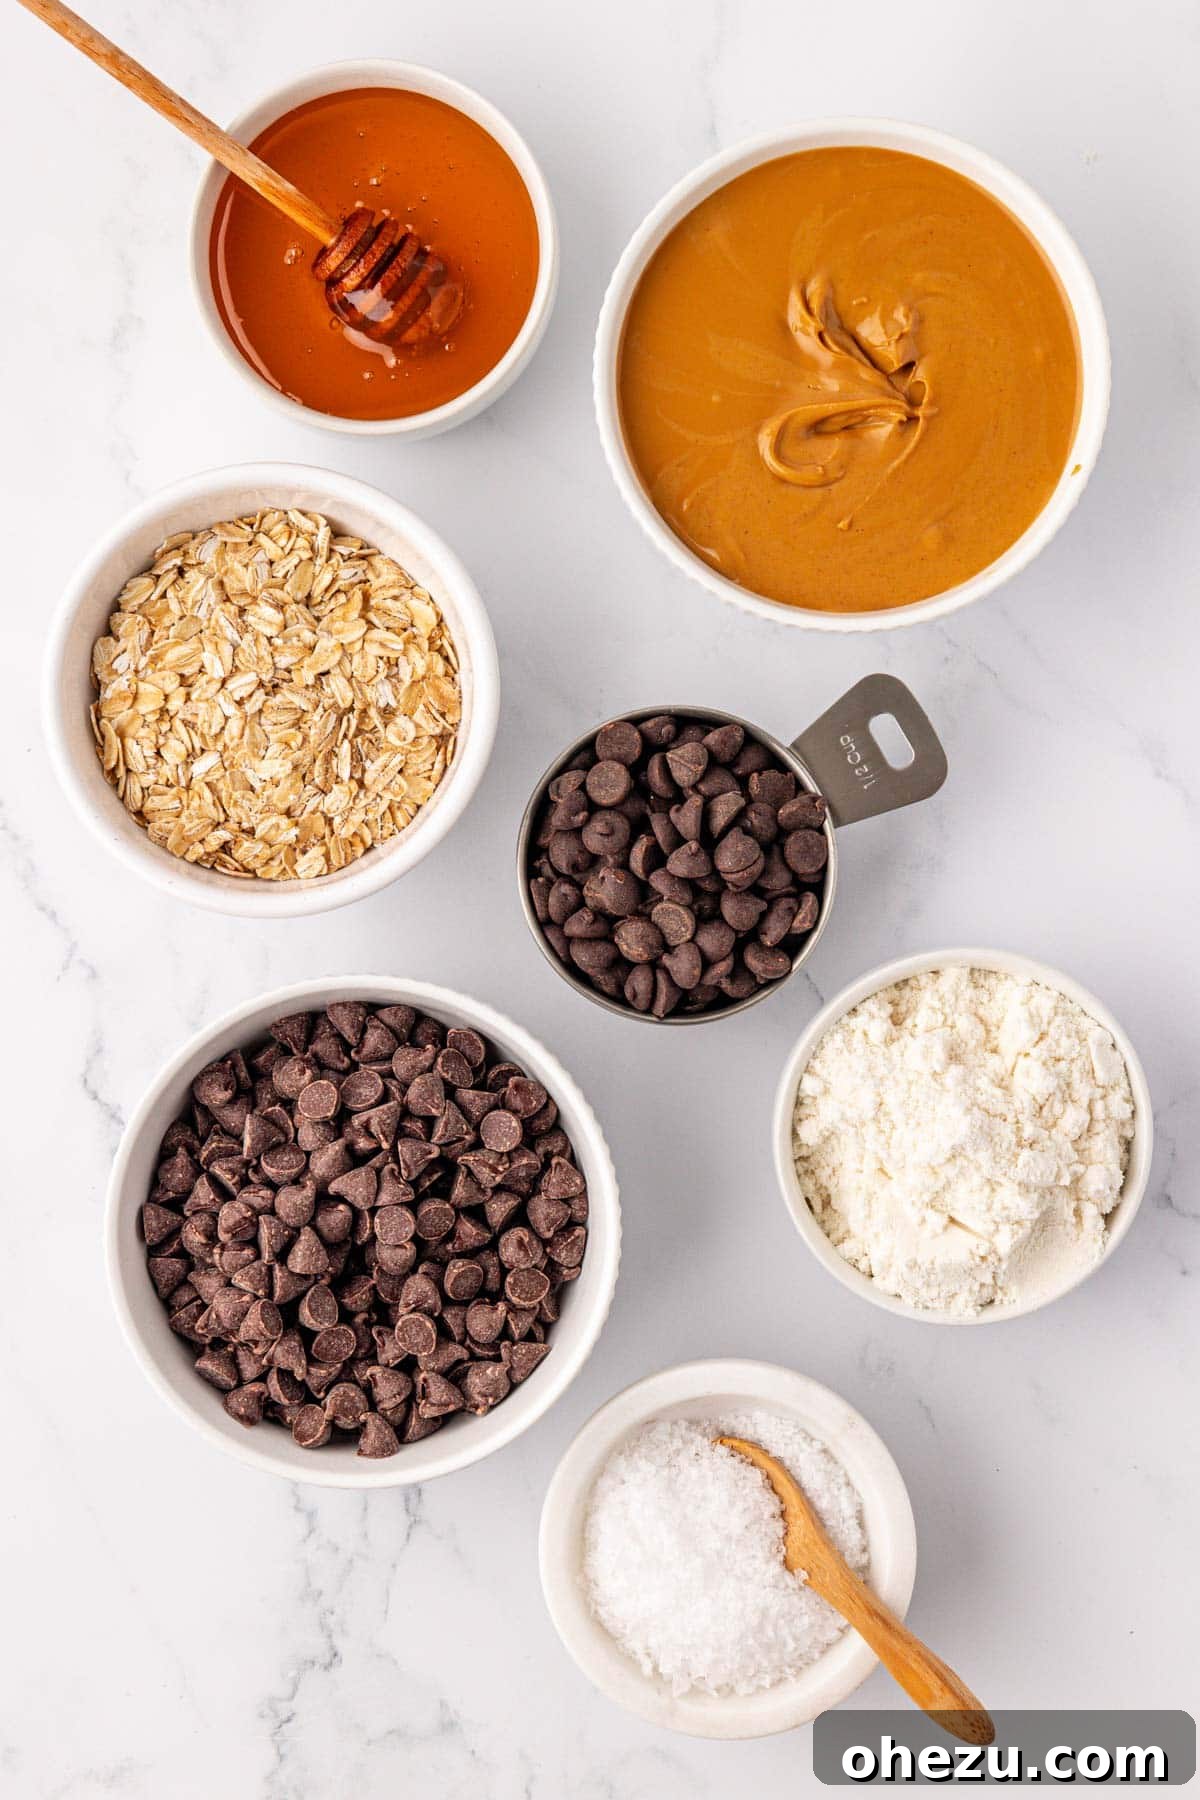
Crafting these incredible no-bake protein bars requires a handful of common ingredients, each playing a crucial role in their taste and texture. Here’s a detailed look at what you’ll need and why:
- Peanut Butter: For the best results, use a creamy, “no-stir” peanut butter. This type of peanut butter is typically thicker and smoother, making it an excellent binder for the bars. Look for brands where the ingredients are simply peanuts, a small amount of oil (like palm oil to prevent separation), salt, and a touch of sugar. Avoid natural peanut butter that separates easily, as it can make the mixture too oily or crumbly.
- Honey: This natural sweetener does more than just add delicious flavor; its inherent stickiness is key to holding all the ingredients together, ensuring your bars don’t fall apart. For a vegan alternative, you can substitute maple syrup or agave nectar.
- Oats: Old-fashioned rolled oats are preferred for this recipe. They provide a wonderful chewy texture and a good dose of fiber, contributing to the bars’ satisfying heartiness. Quick oats can also work in a pinch, but they will result in a slightly softer bar.
- Vanilla Protein Powder: We used our favorite vanilla whey protein powder, which provides a rich flavor and a significant protein boost. However, don’t hesitate to experiment! Many others have reported great success using non-dairy or plant-based protein powders (like pea or rice protein) as well. Chocolate protein powder is also a fantastic alternative if you want to intensify the chocolate flavor of your bars.
- Chocolate Chips: This recipe utilizes a delightful blend of semi-sweet and dark chocolate chips for a balanced and rich chocolate layer. If you’re aiming to make these bars dairy-free, simply substitute with your preferred dairy-free chocolate chips.
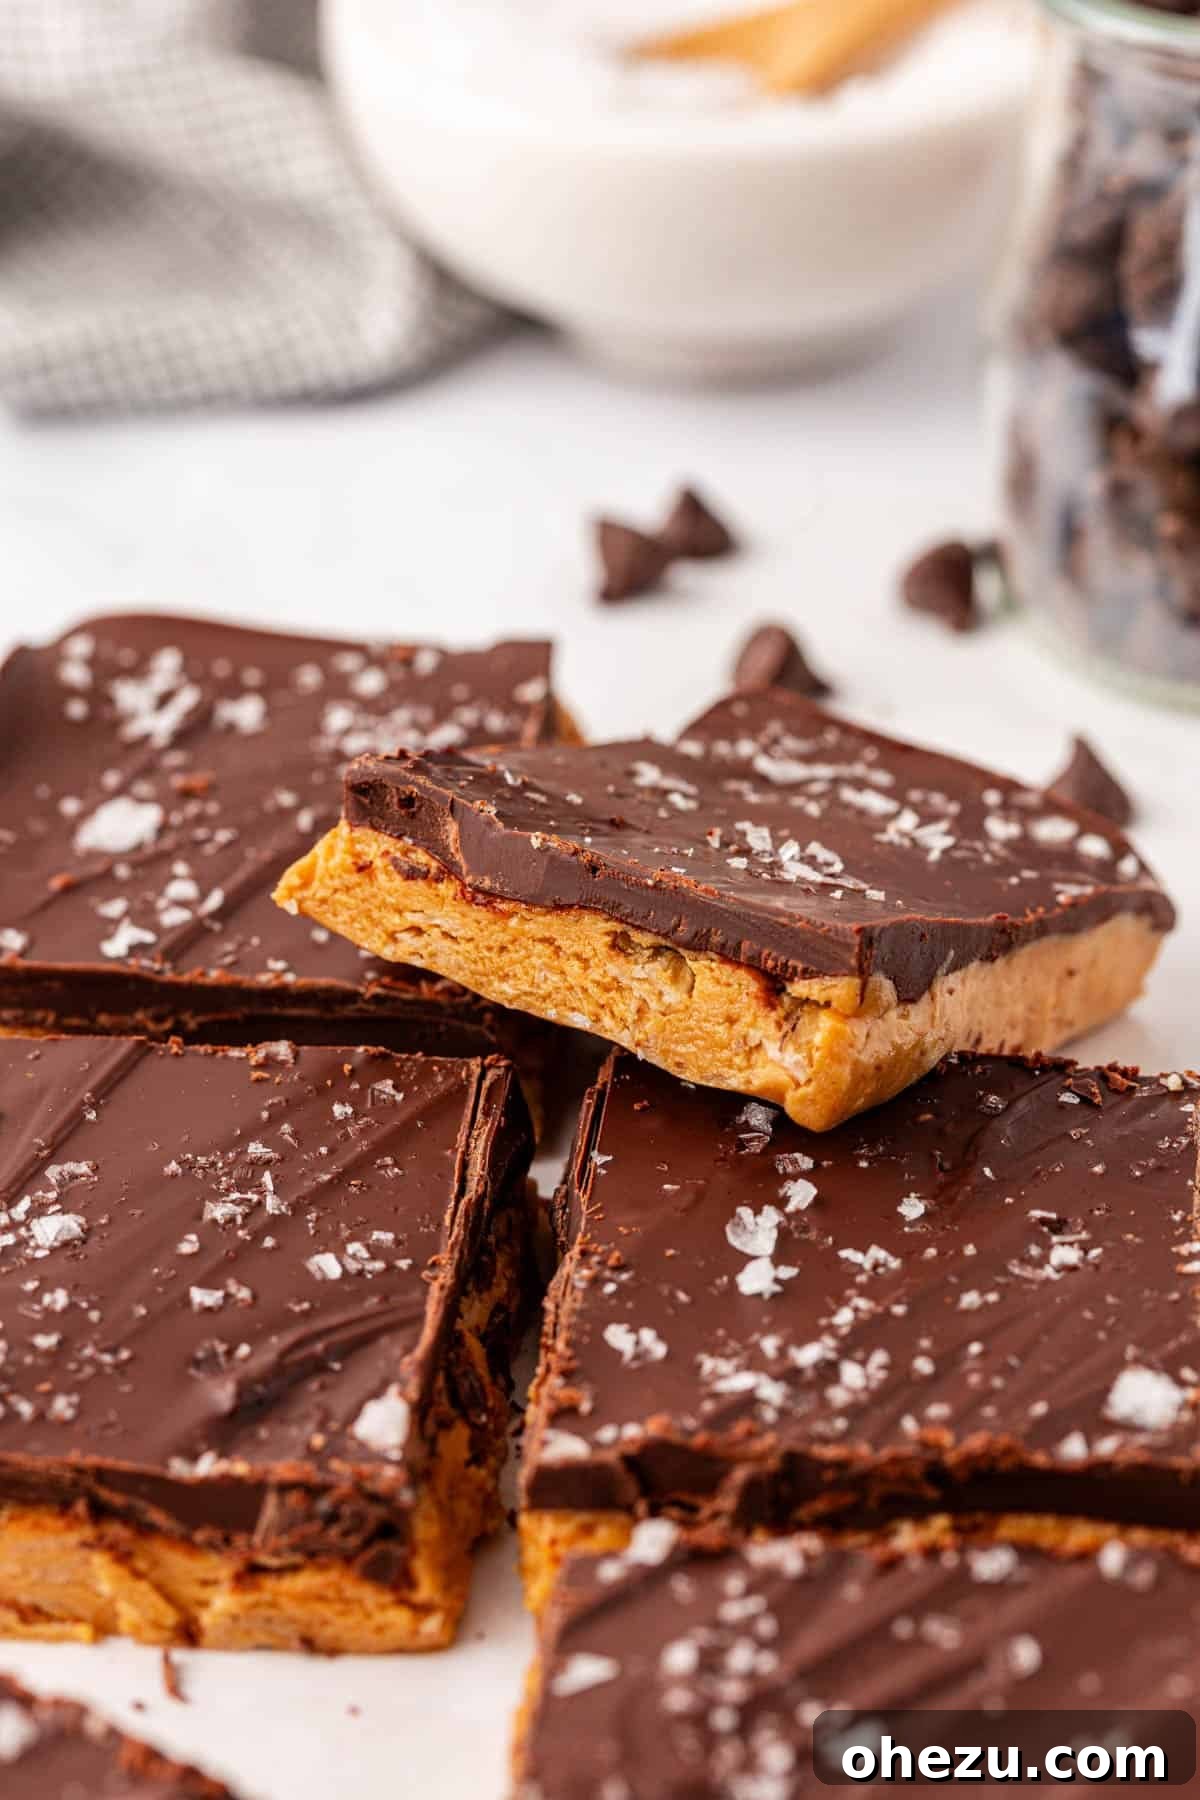
- Flaked Sea Salt (for topping): While optional, a sprinkle of flaked sea salt over the chocolate topping is highly, highly recommended. That touch of salinity beautifully enhances and balances the sweetness of the chocolate and peanut butter, making the flavors truly pop! It elevates the bar from good to extraordinary.
Step-by-Step Guide: How to Make No-Bake Protein Bars
Creating these delicious and nutritious no-bake protein bars is surprisingly straightforward. Follow these simple steps, and you’ll have a batch of wholesome snacks ready in no time!
Step 1: Combine Wet Ingredients
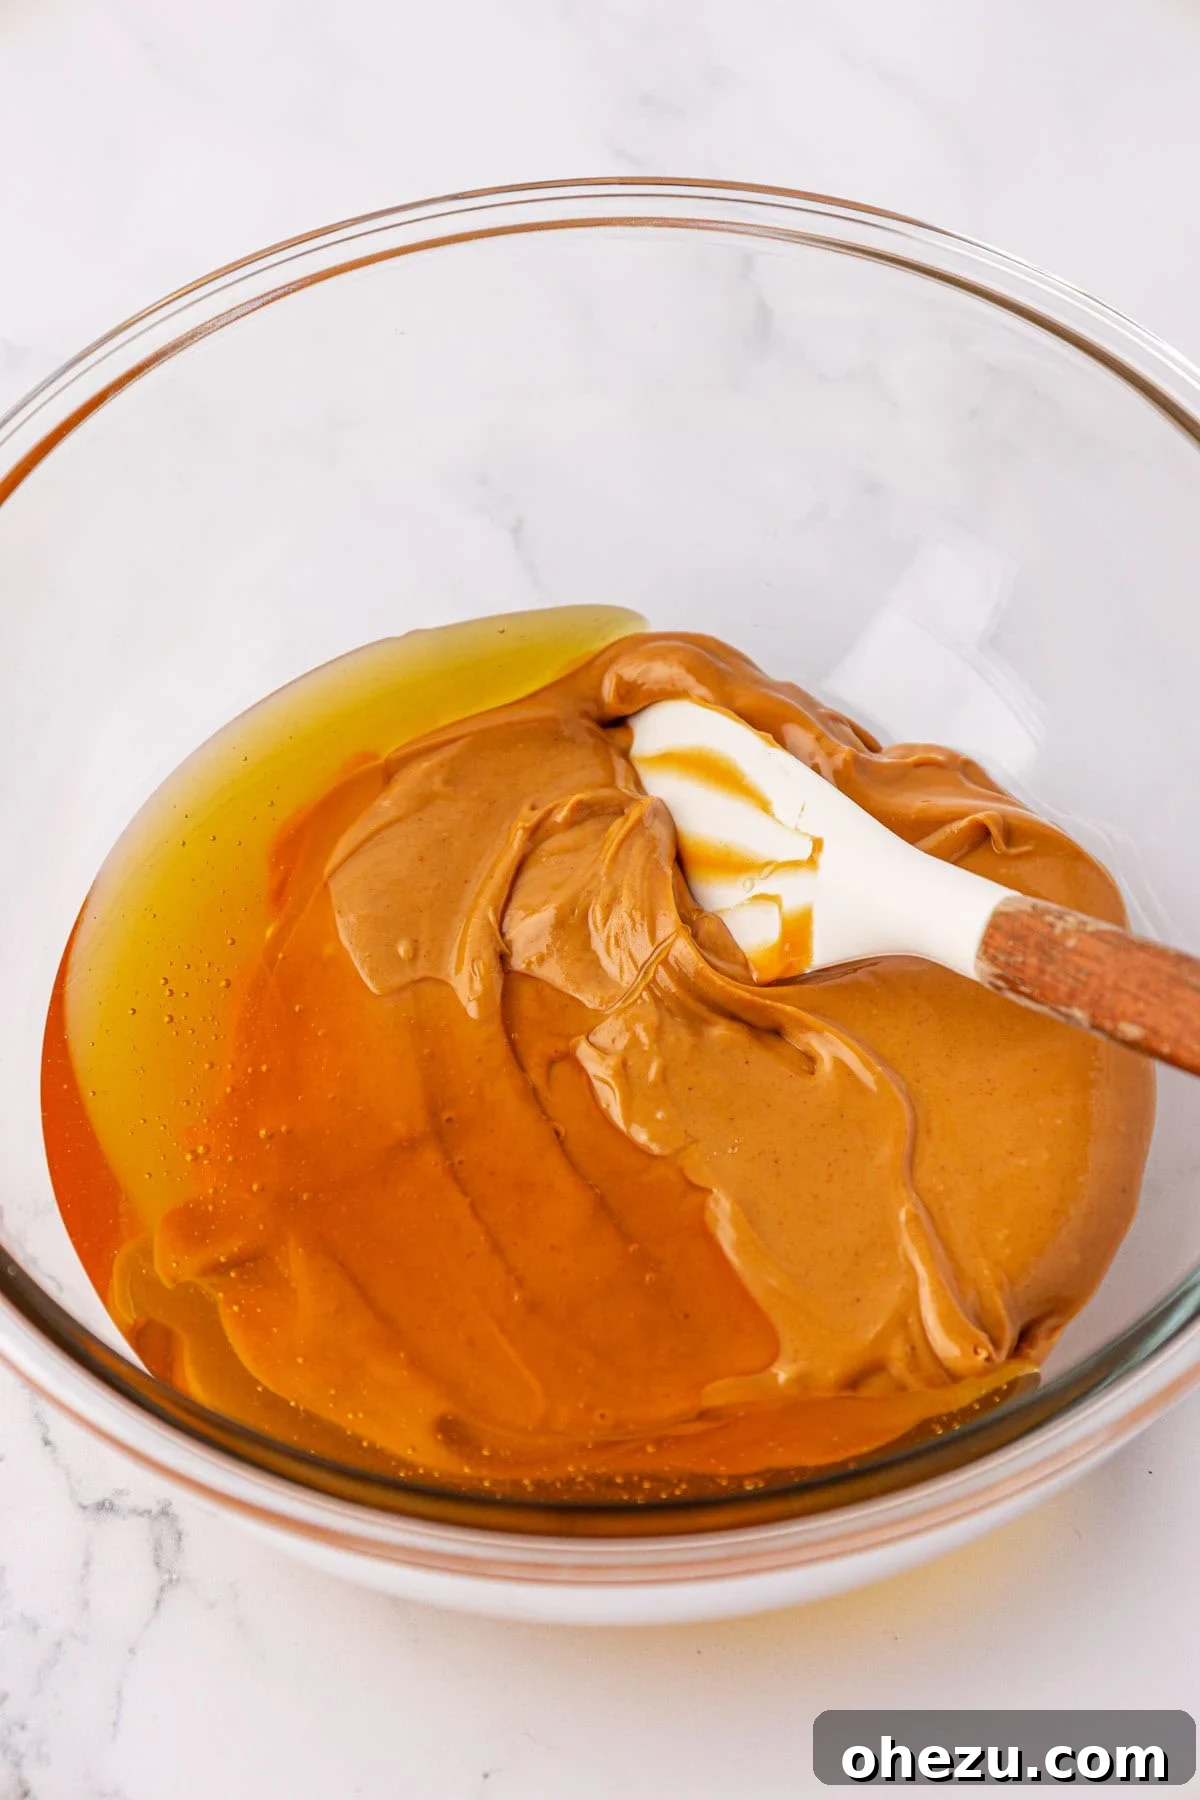
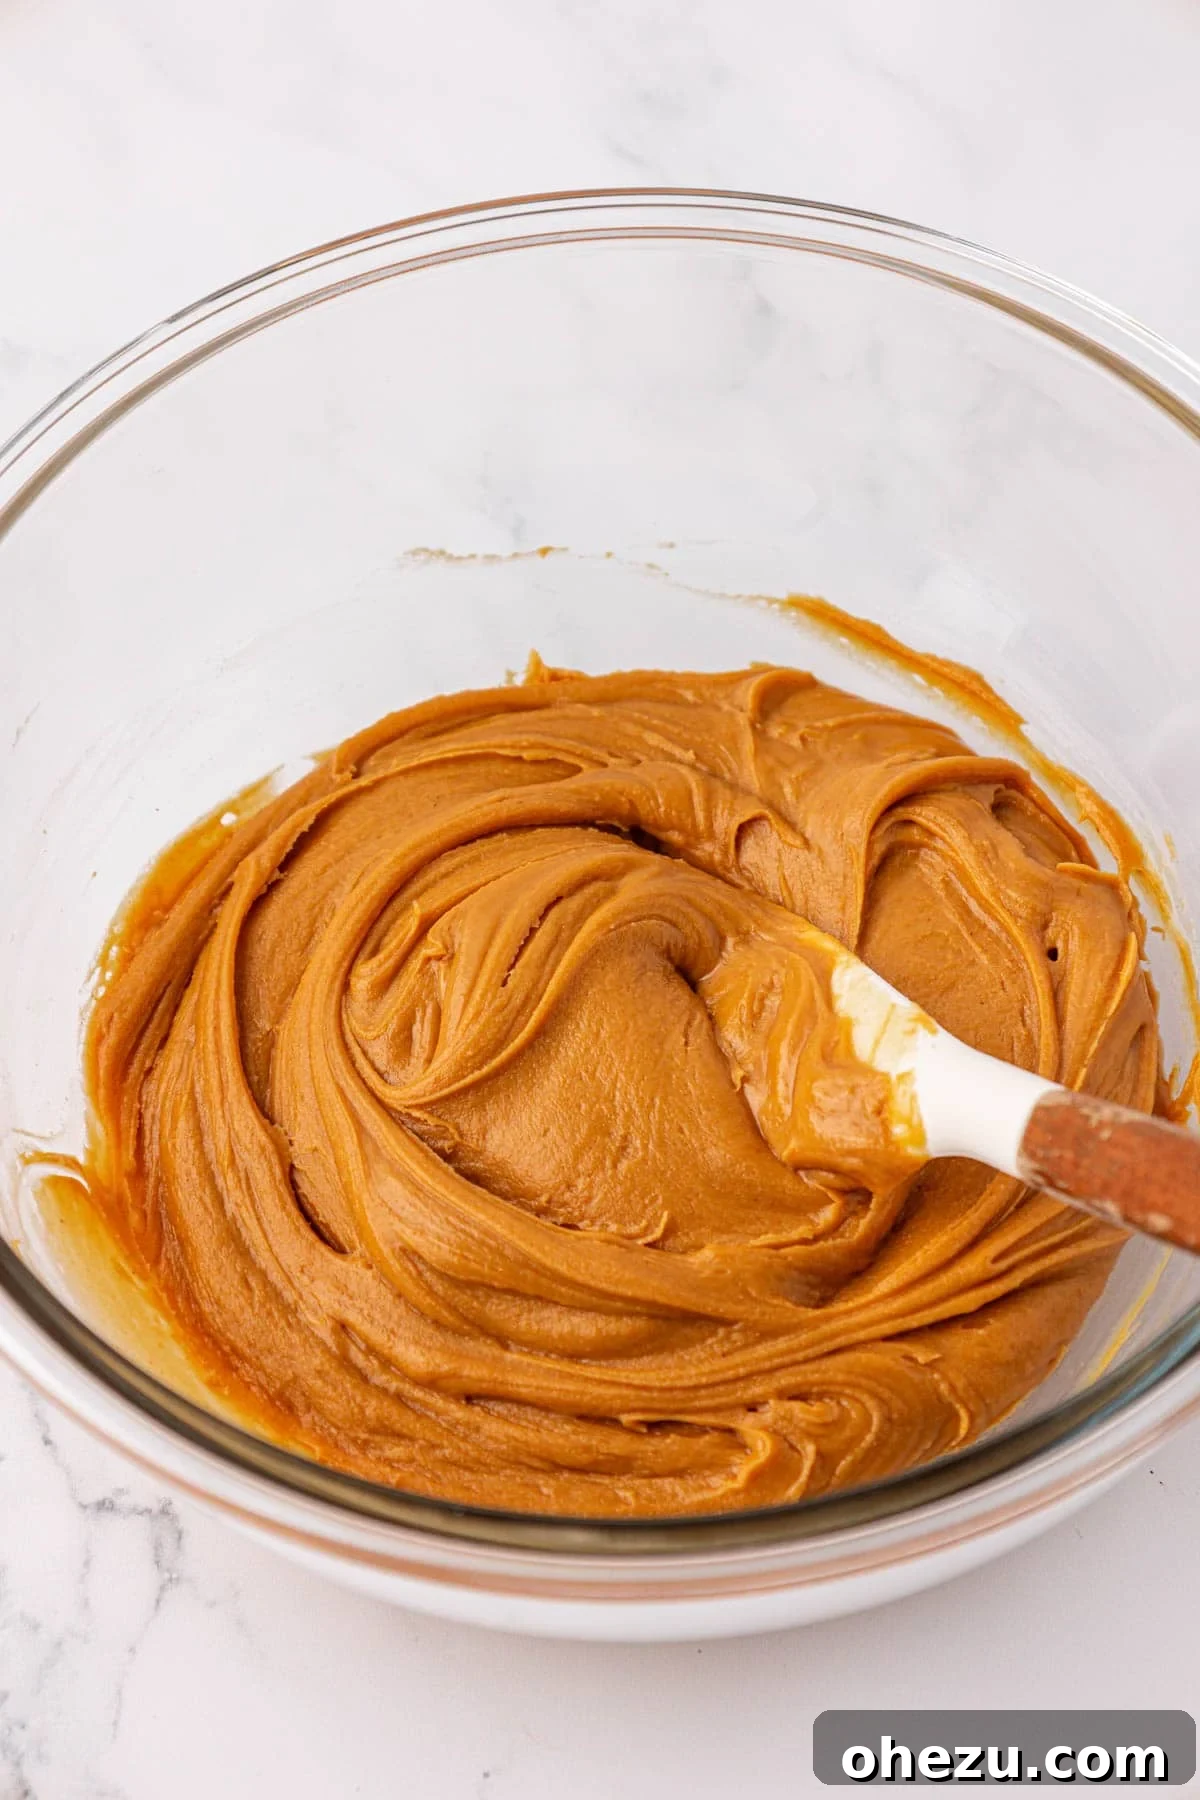
In a large mixing bowl, stir together the creamy peanut butter and honey until they are thoroughly combined and form a smooth, consistent mixture. I’ve found that starting with these wet ingredients first makes it much easier to incorporate the dry components later on. Ensure there are no streaks of unmixed honey or peanut butter.
Step 2: Incorporate Dry Ingredients
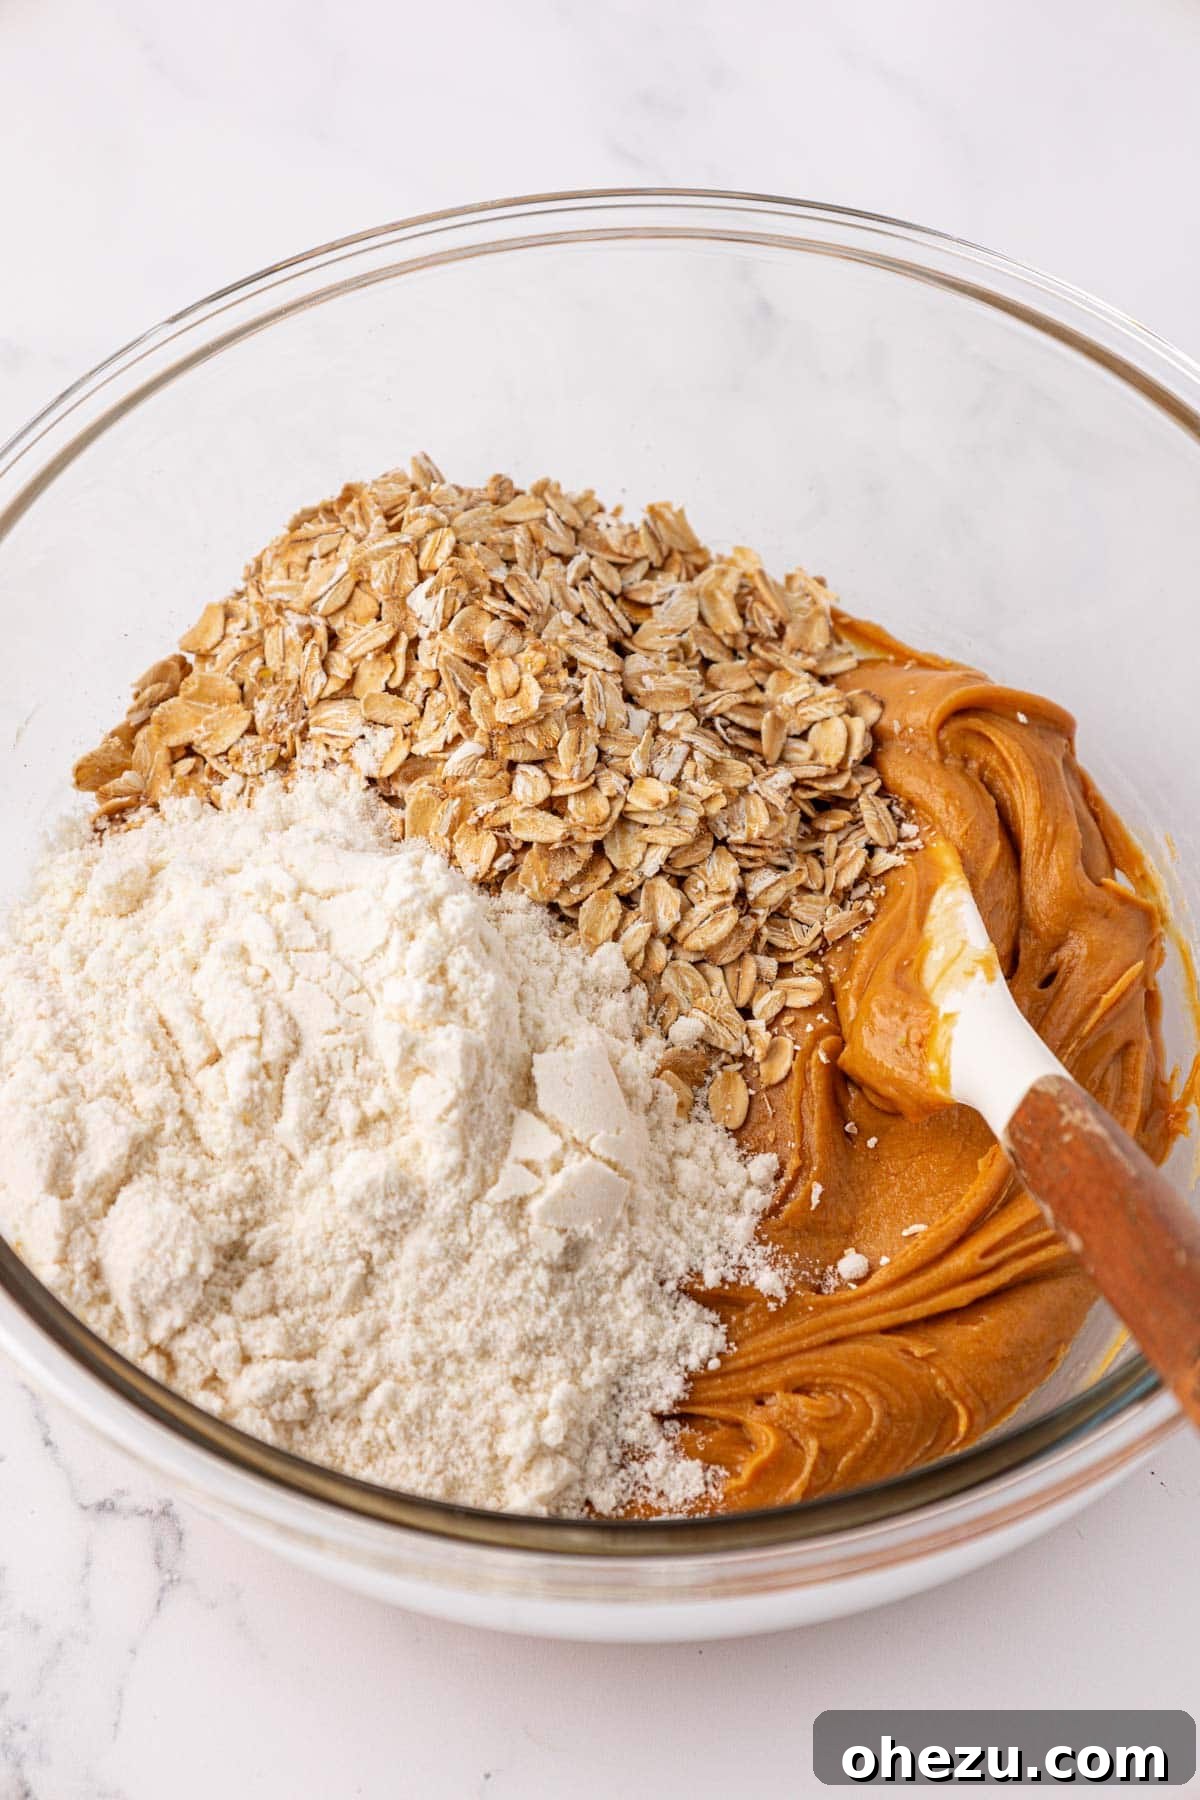
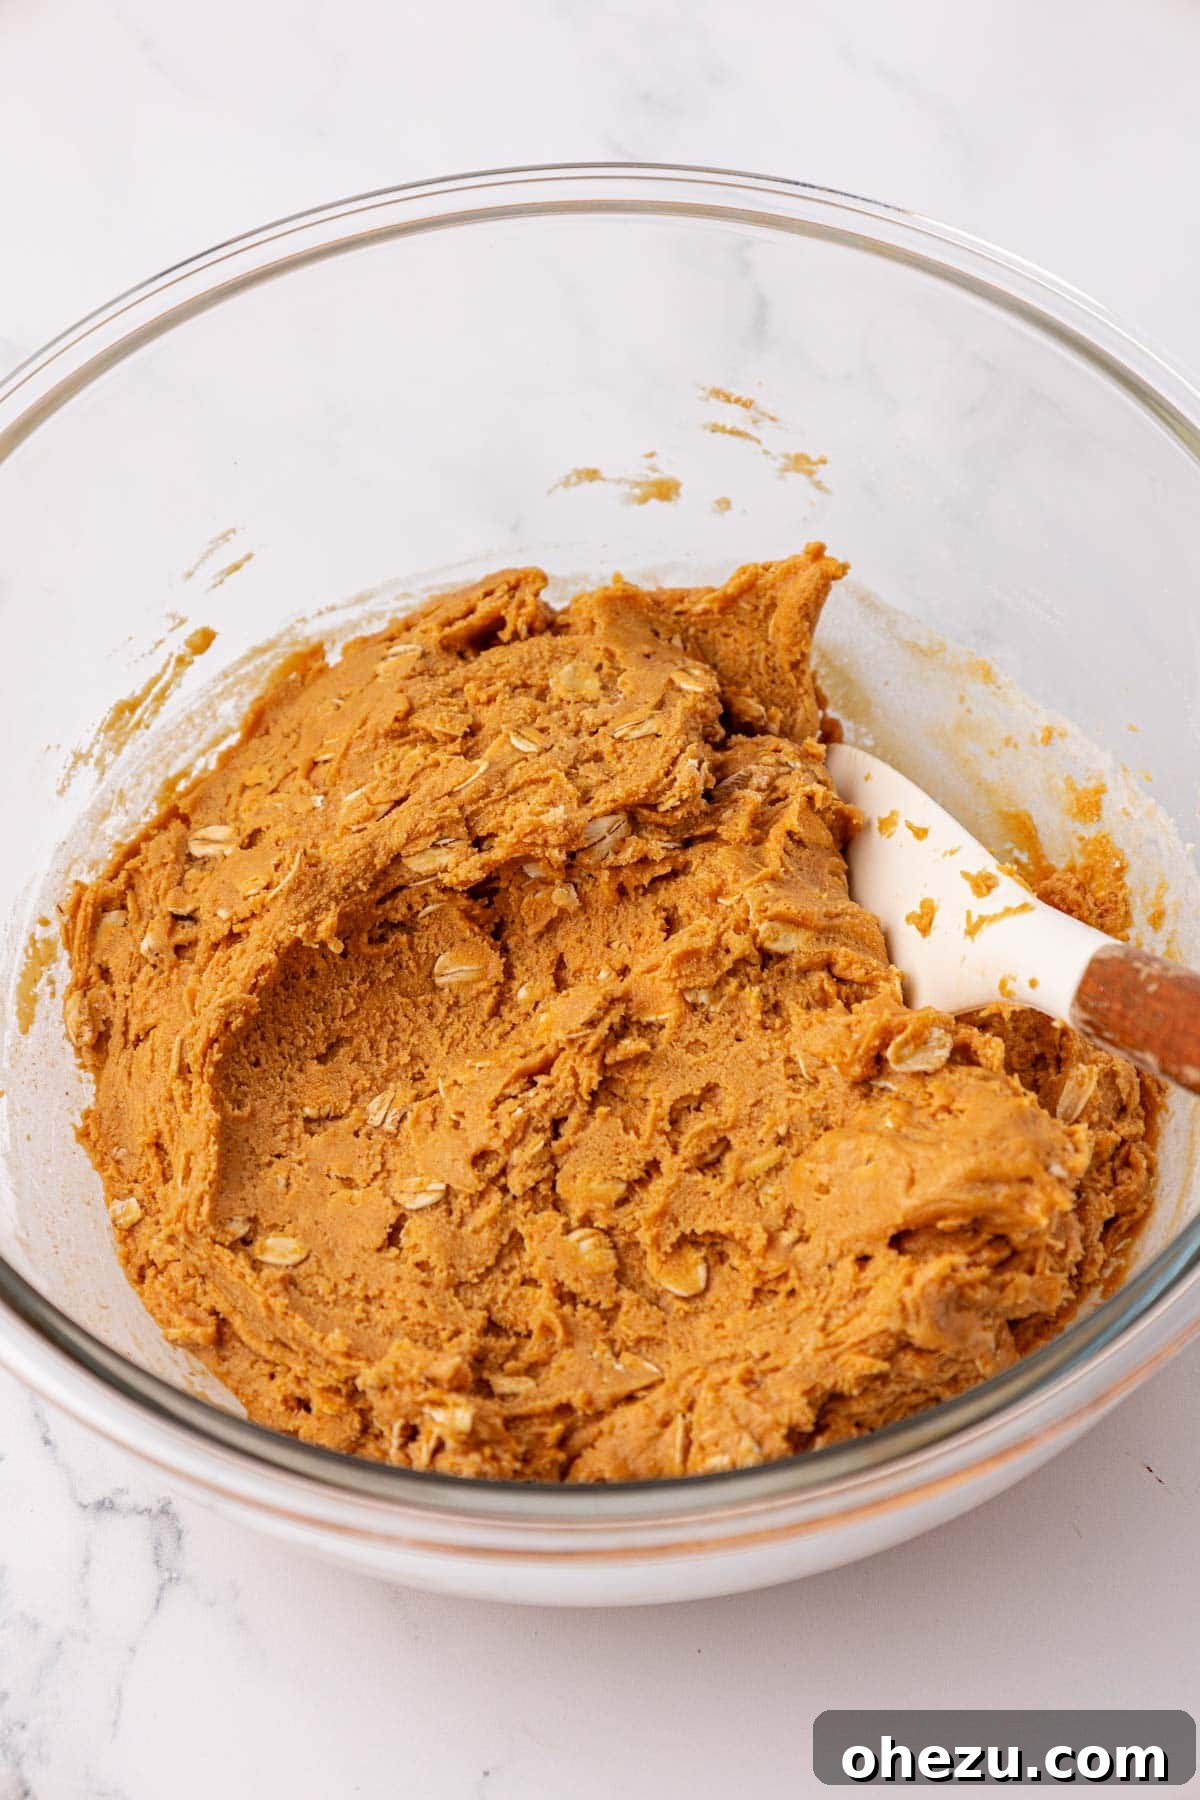
Next, add the rolled oats and vanilla protein powder to the peanut butter and honey mixture. Stir everything vigorously until all ingredients are completely combined. The resulting protein bar “batter” should be thick and cohesive, but not overly sticky to the point where it clings excessively to your hands. If it’s too dry, add a tiny bit more honey; if too wet, a spoon of extra oats or protein powder can help. While vanilla protein powder was used in this recipe, feel free to experiment with chocolate protein powder for an even richer chocolatey flavor profile.
Step 3: Press into Pan
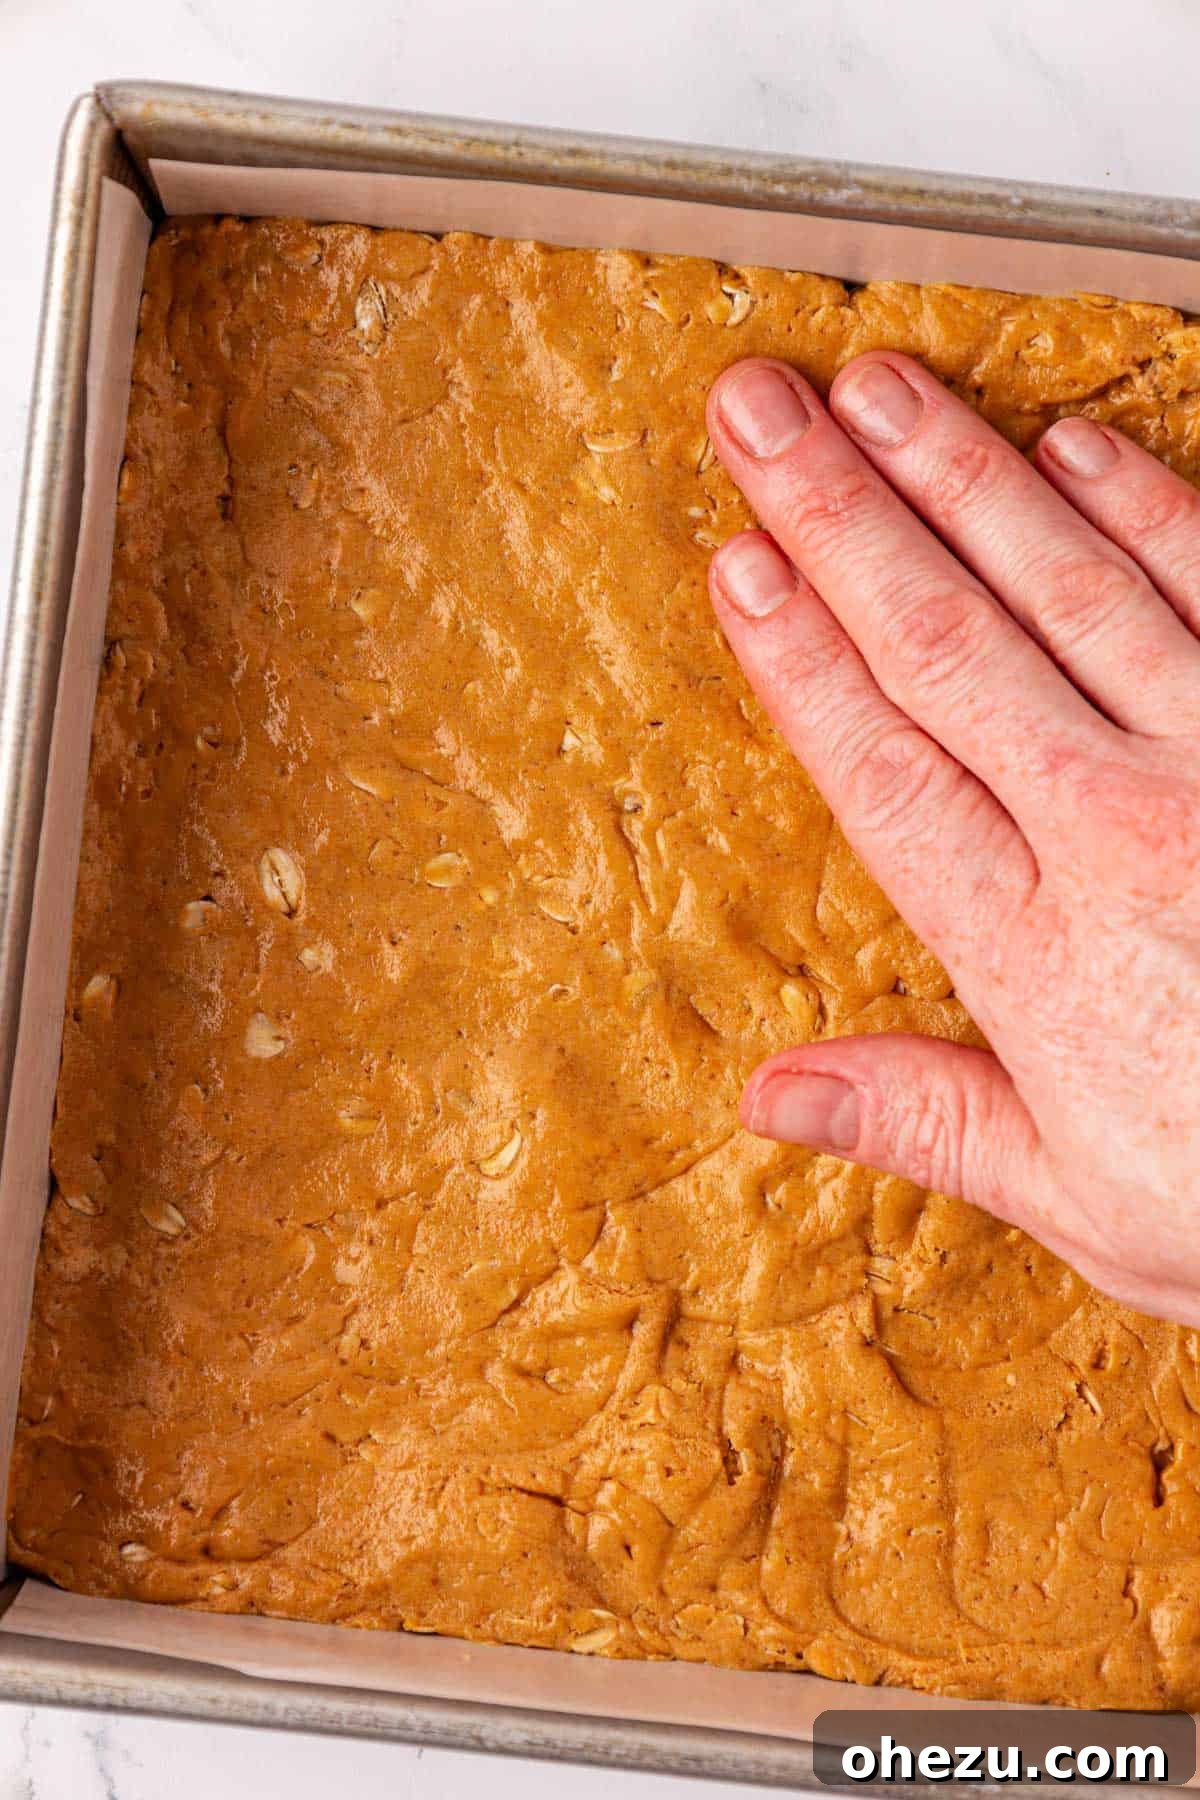
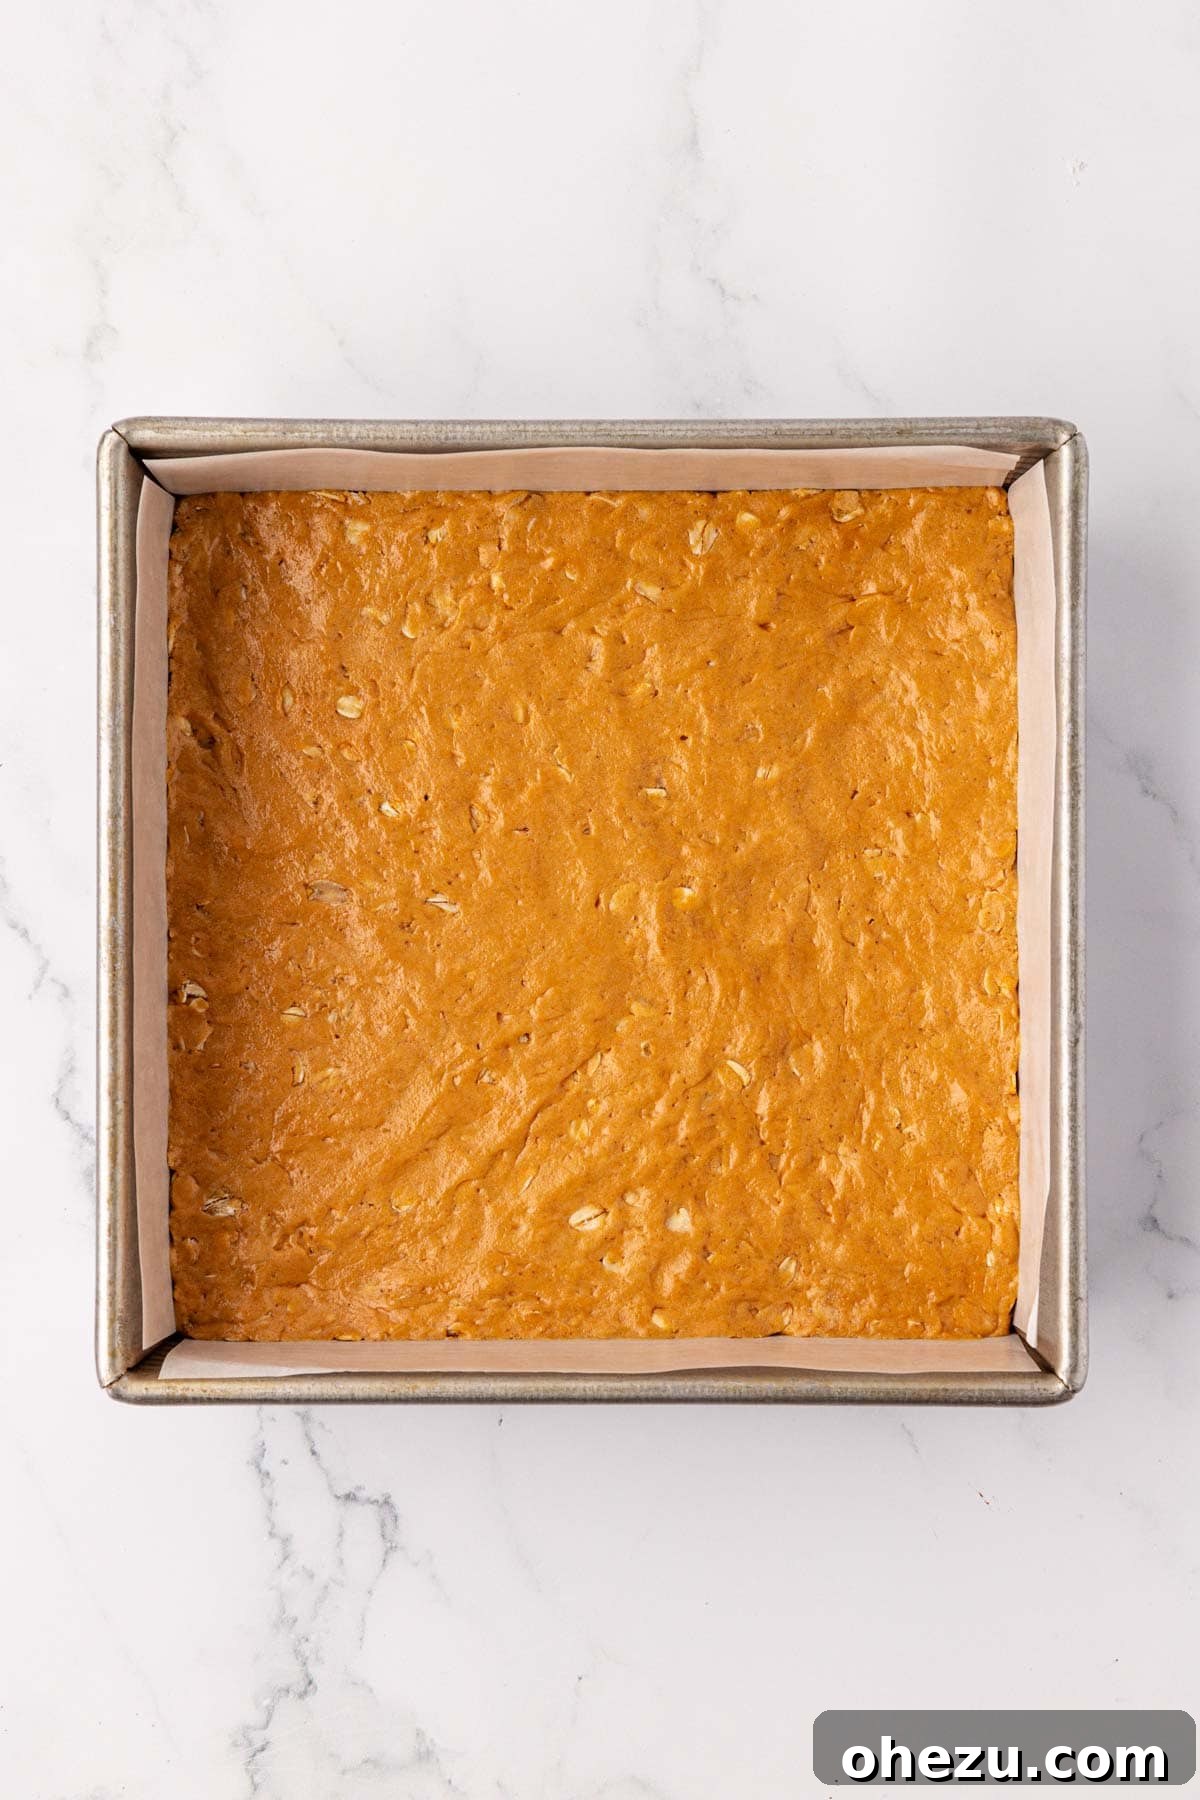
Transfer the thick peanut butter mixture into an 8×8 inch baking dish. For incredibly easy cleanup and effortless removal of the bars, I highly recommend lining your dish with parchment paper, leaving an overhang on the sides. Once the mixture is in the pan, use a rubber spatula or the back of a spoon to flatten the top evenly and press the mixture firmly into the pan. This ensures uniform bars and prevents crumbling.
Step 4: Prepare the Chocolate Topping
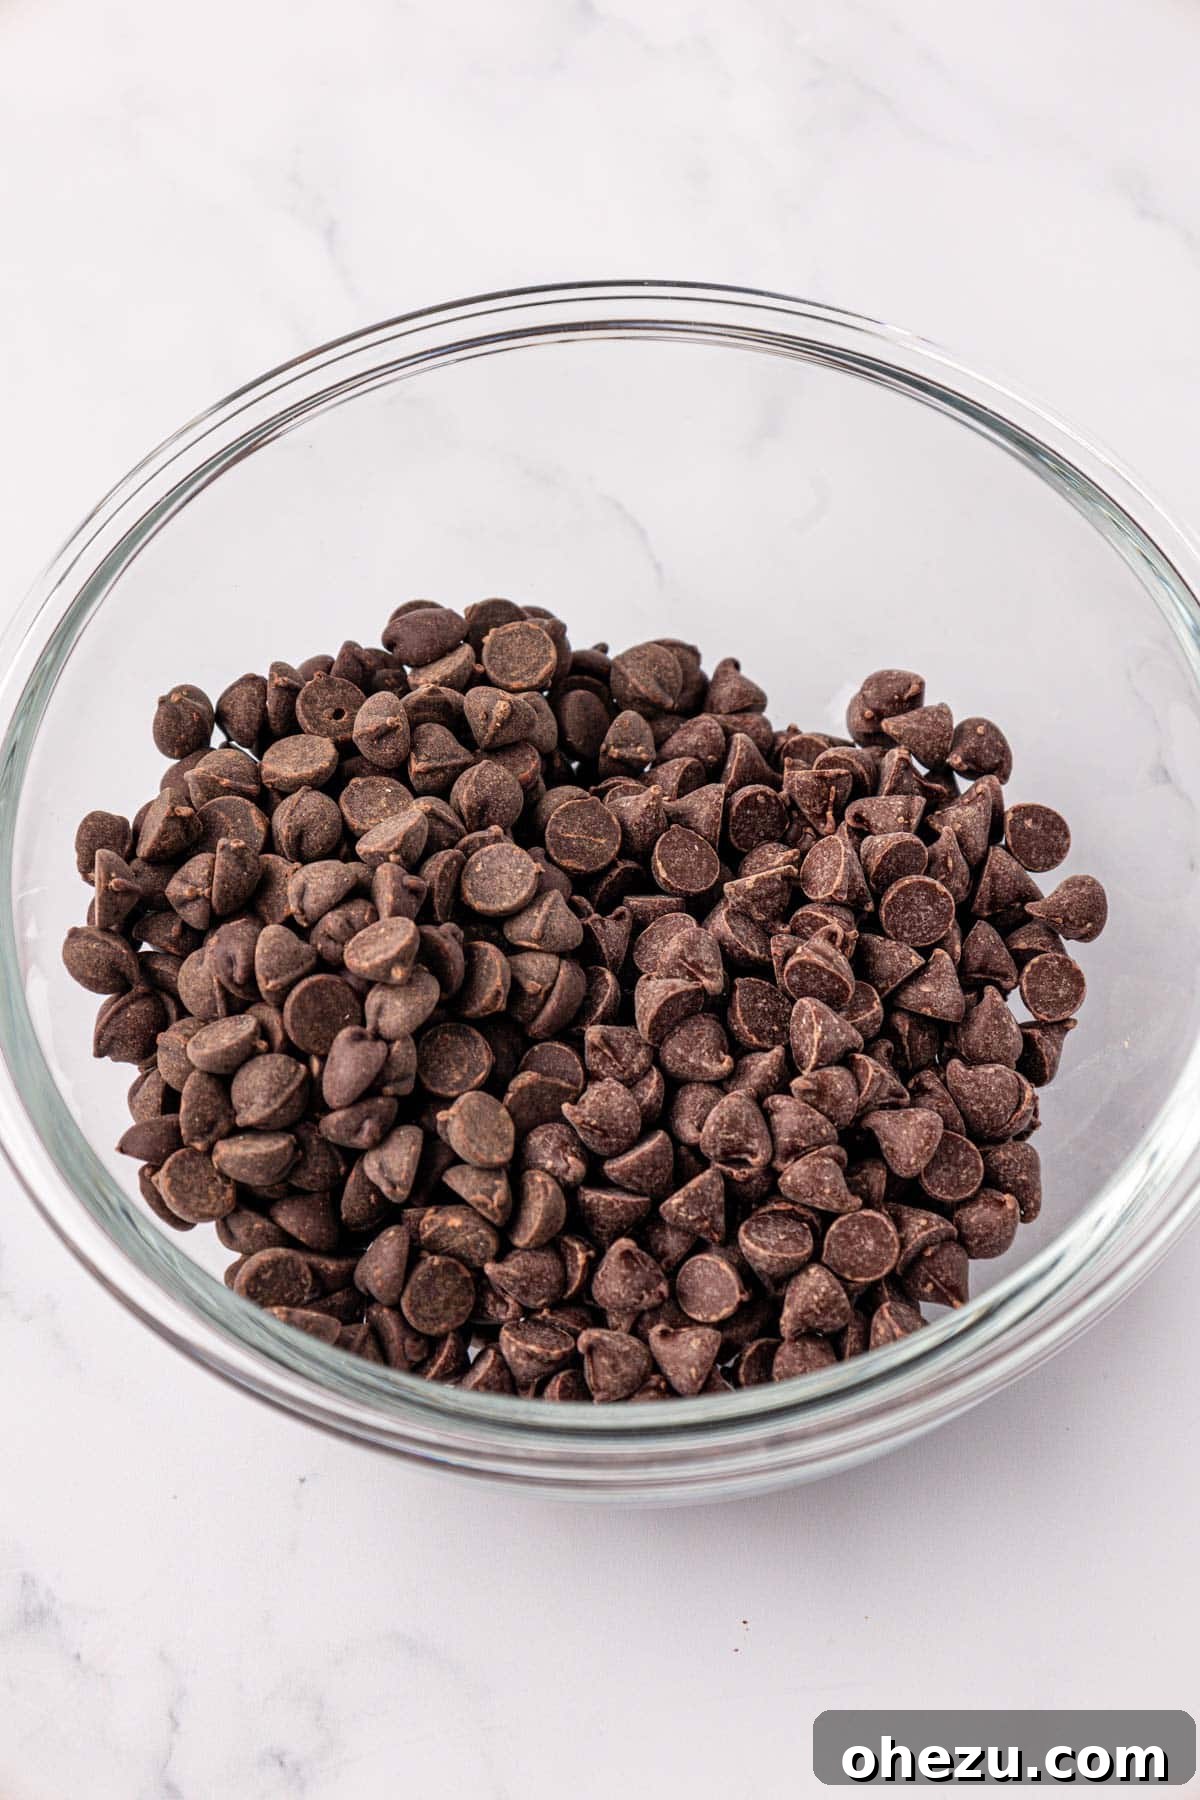
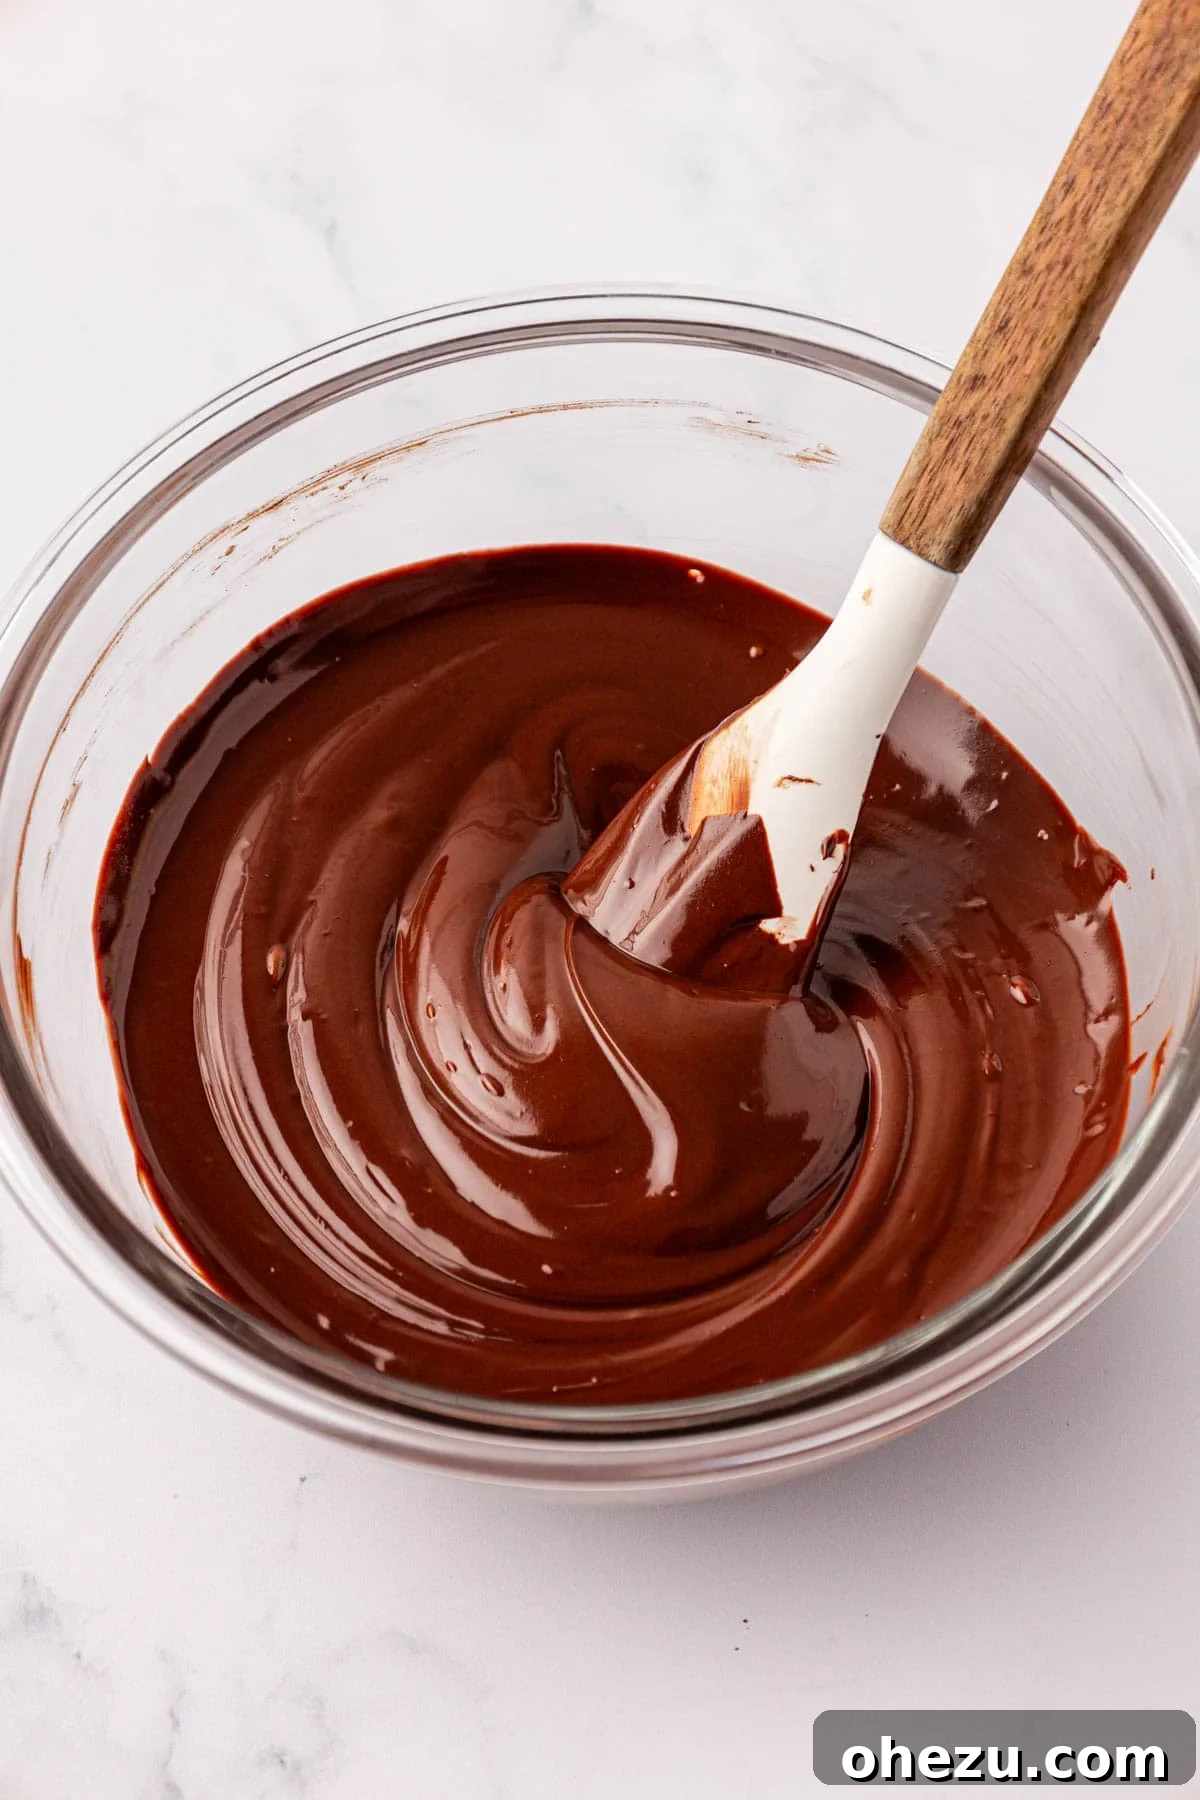
In a microwave-safe bowl, combine the dark chocolate chips and semi-sweet chocolate chips. Microwave them in 30-second intervals, stirring thoroughly after each interval, until the chocolate is completely melted and smooth. Constant stirring is essential to prevent the chocolate from burning, which can happen quickly in a microwave. Alternatively, you can use a double boiler method for melting the chocolate.
Step 5: Apply Chocolate & Sea Salt
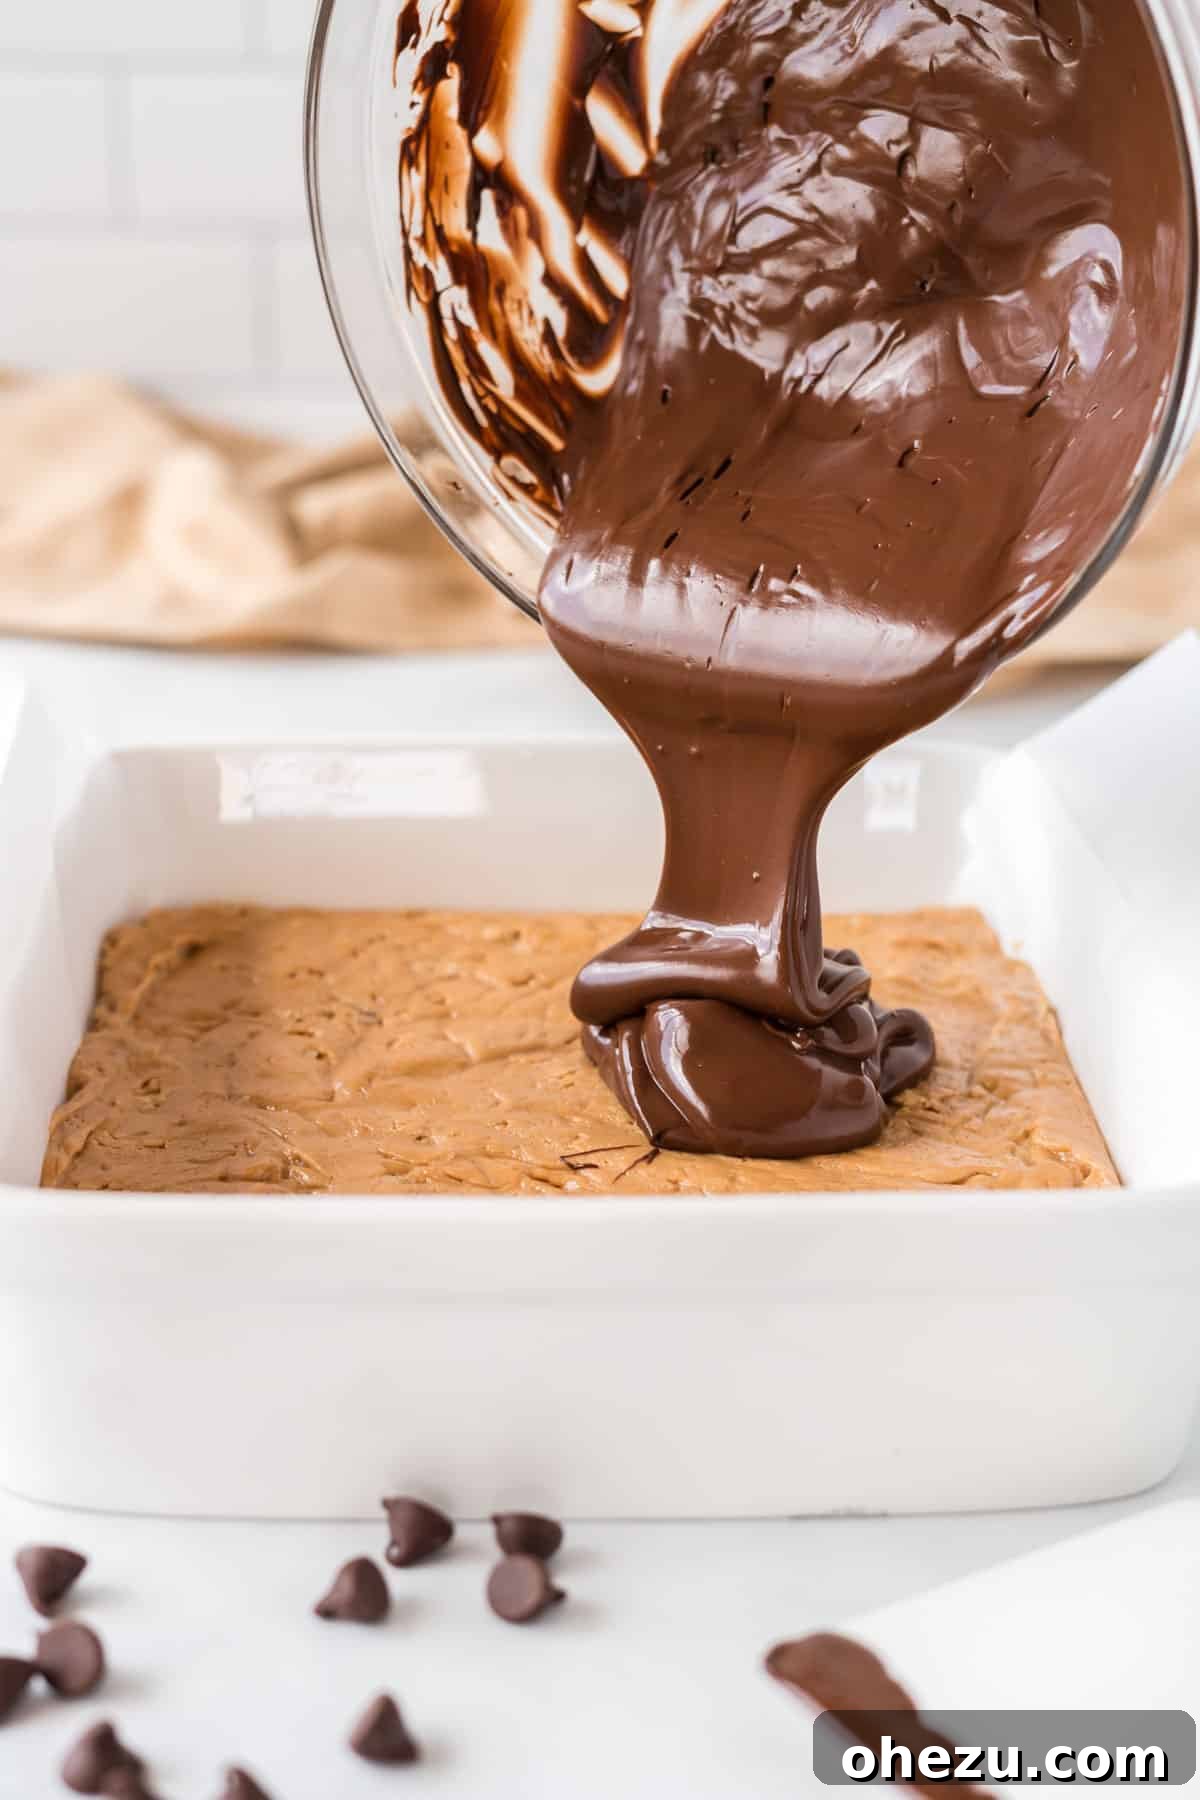
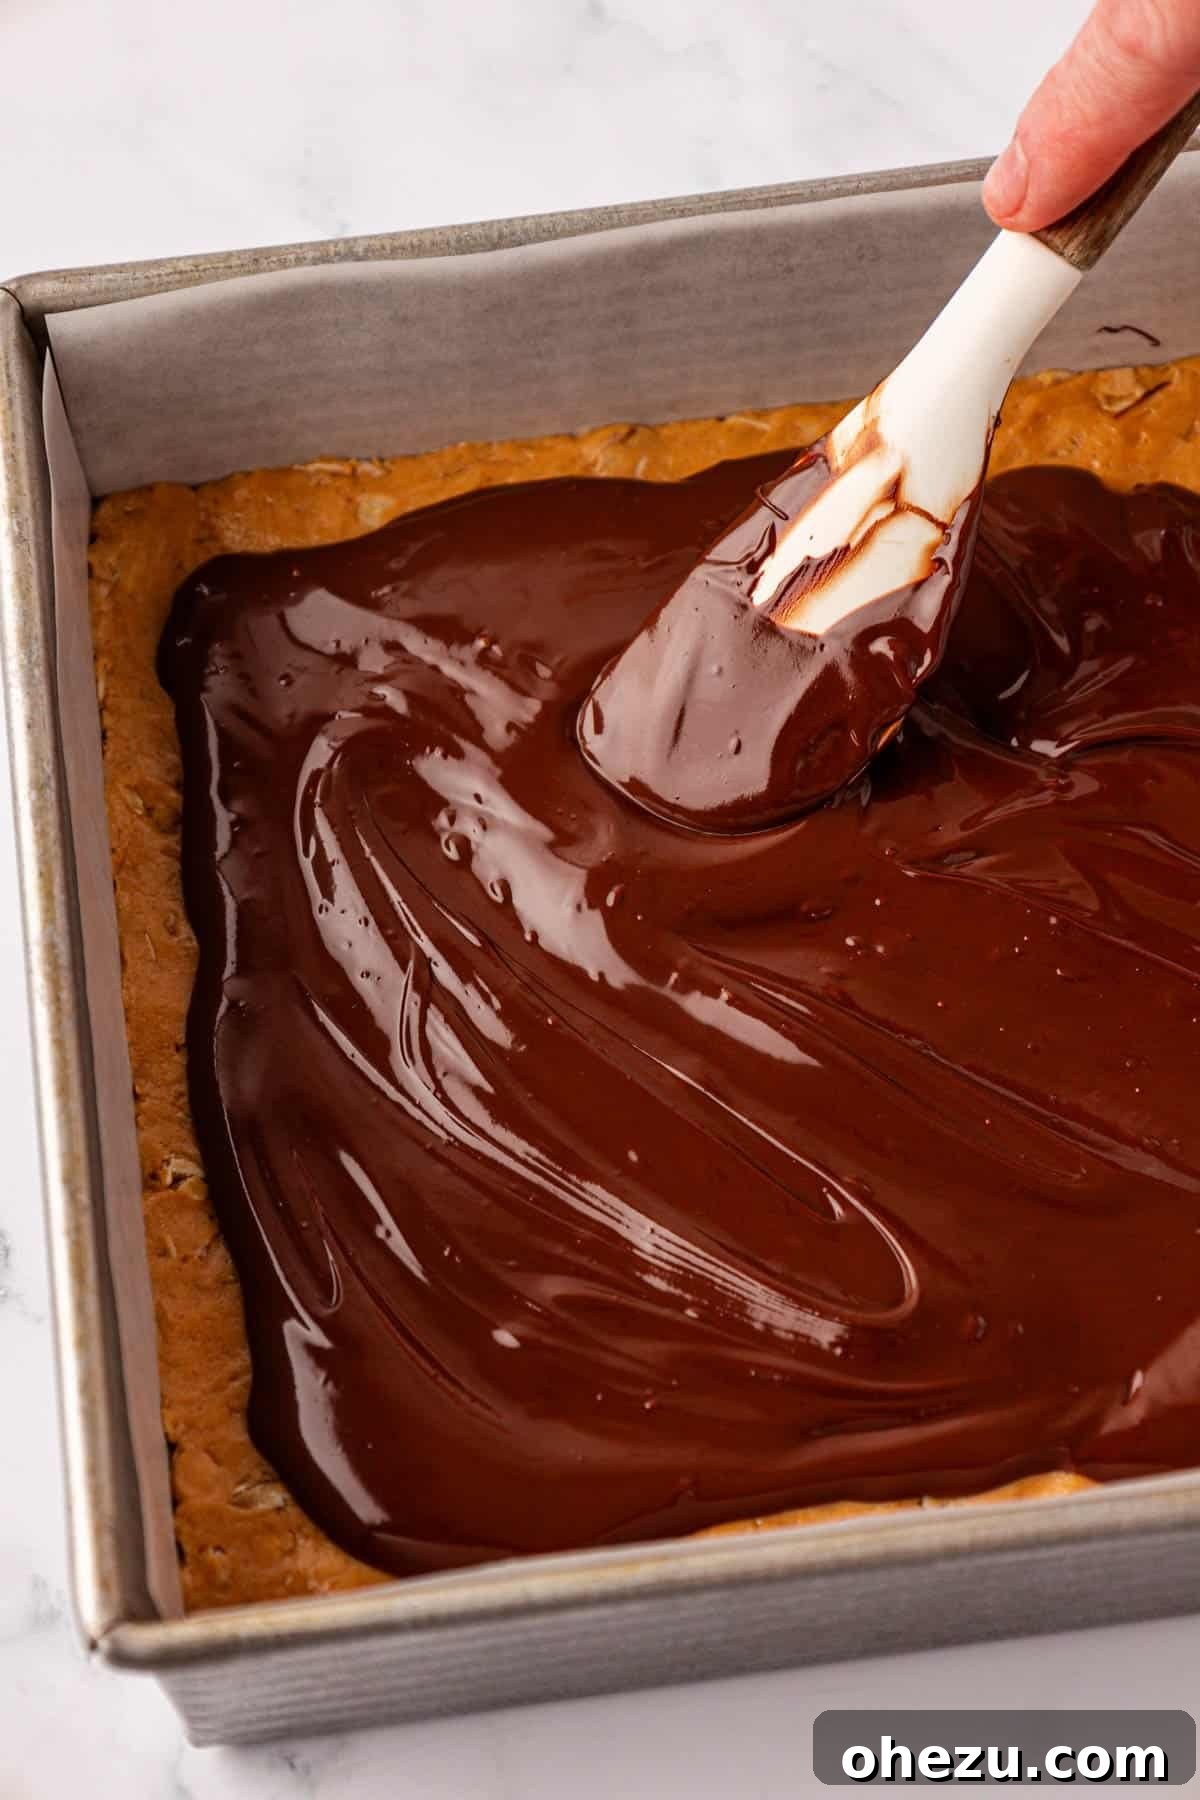
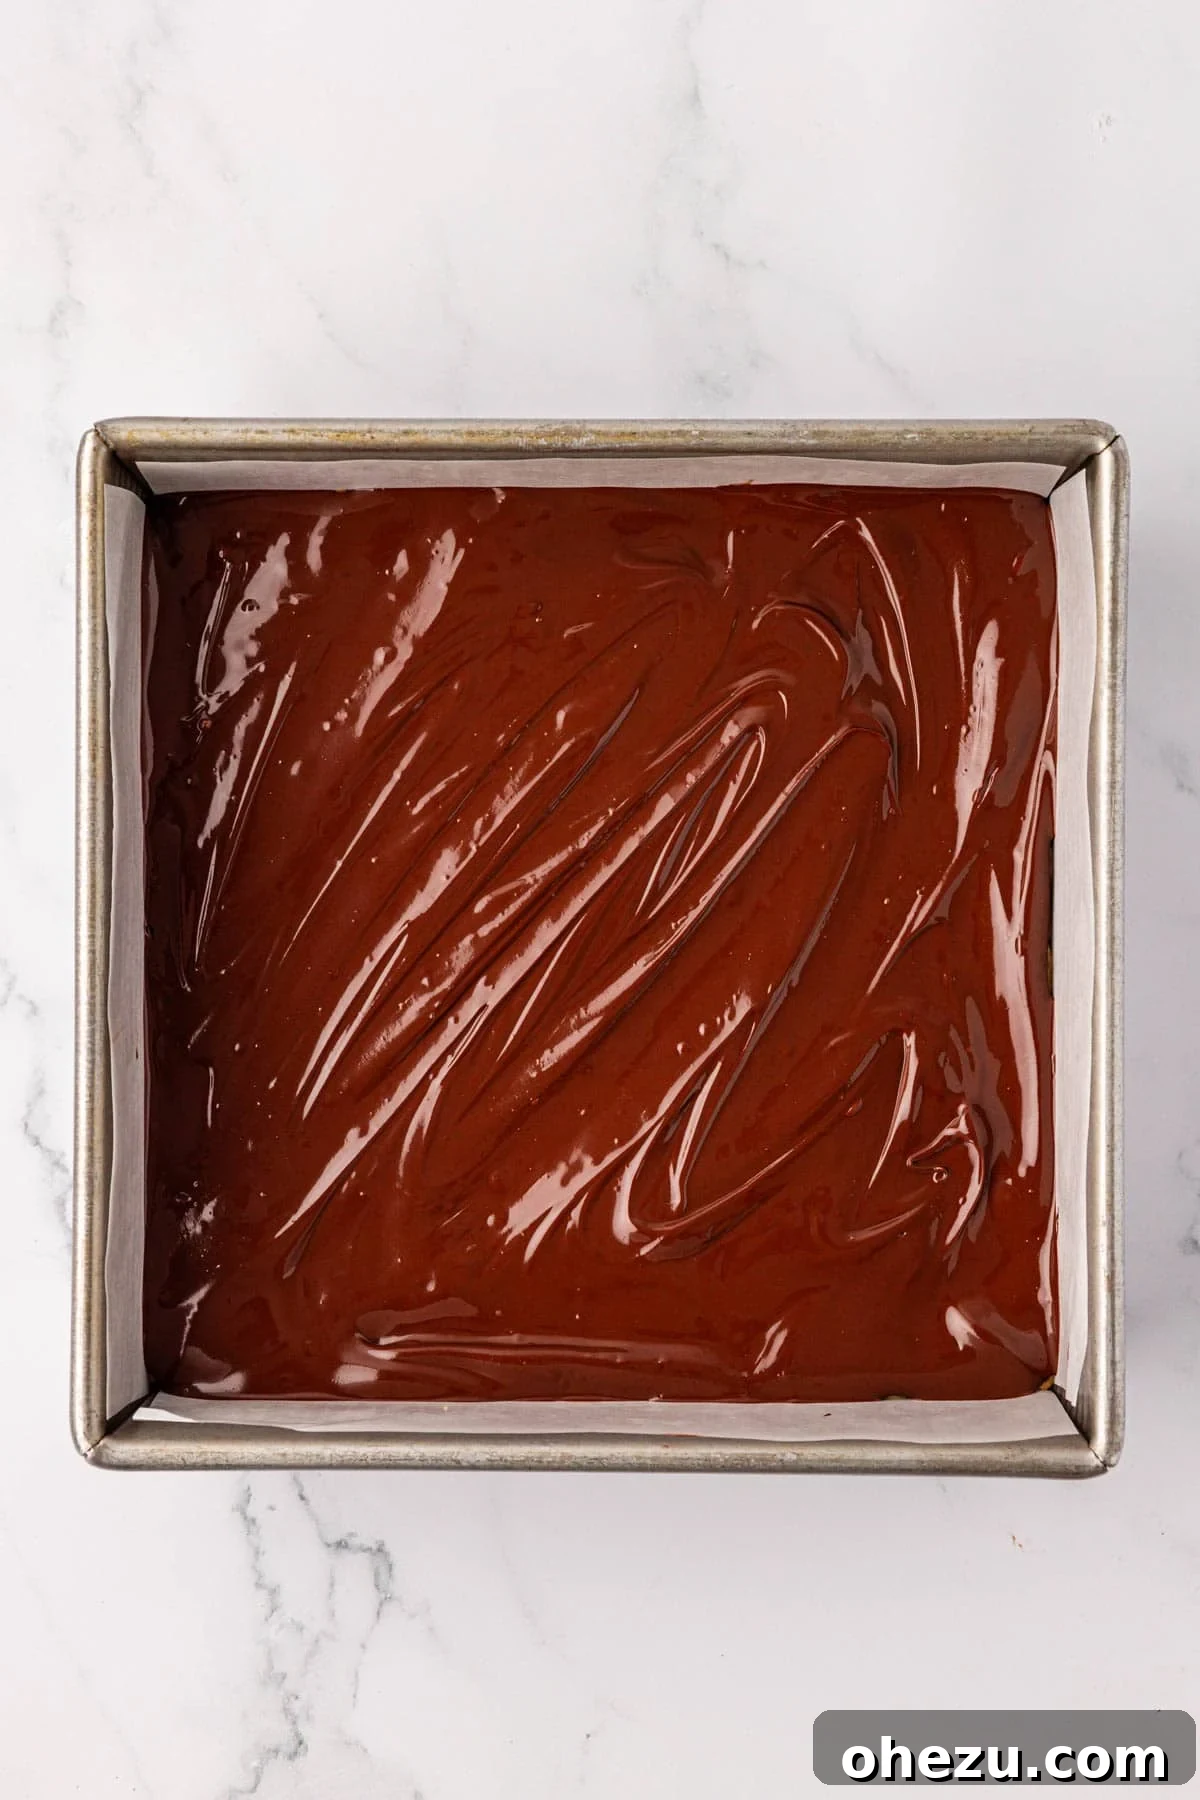
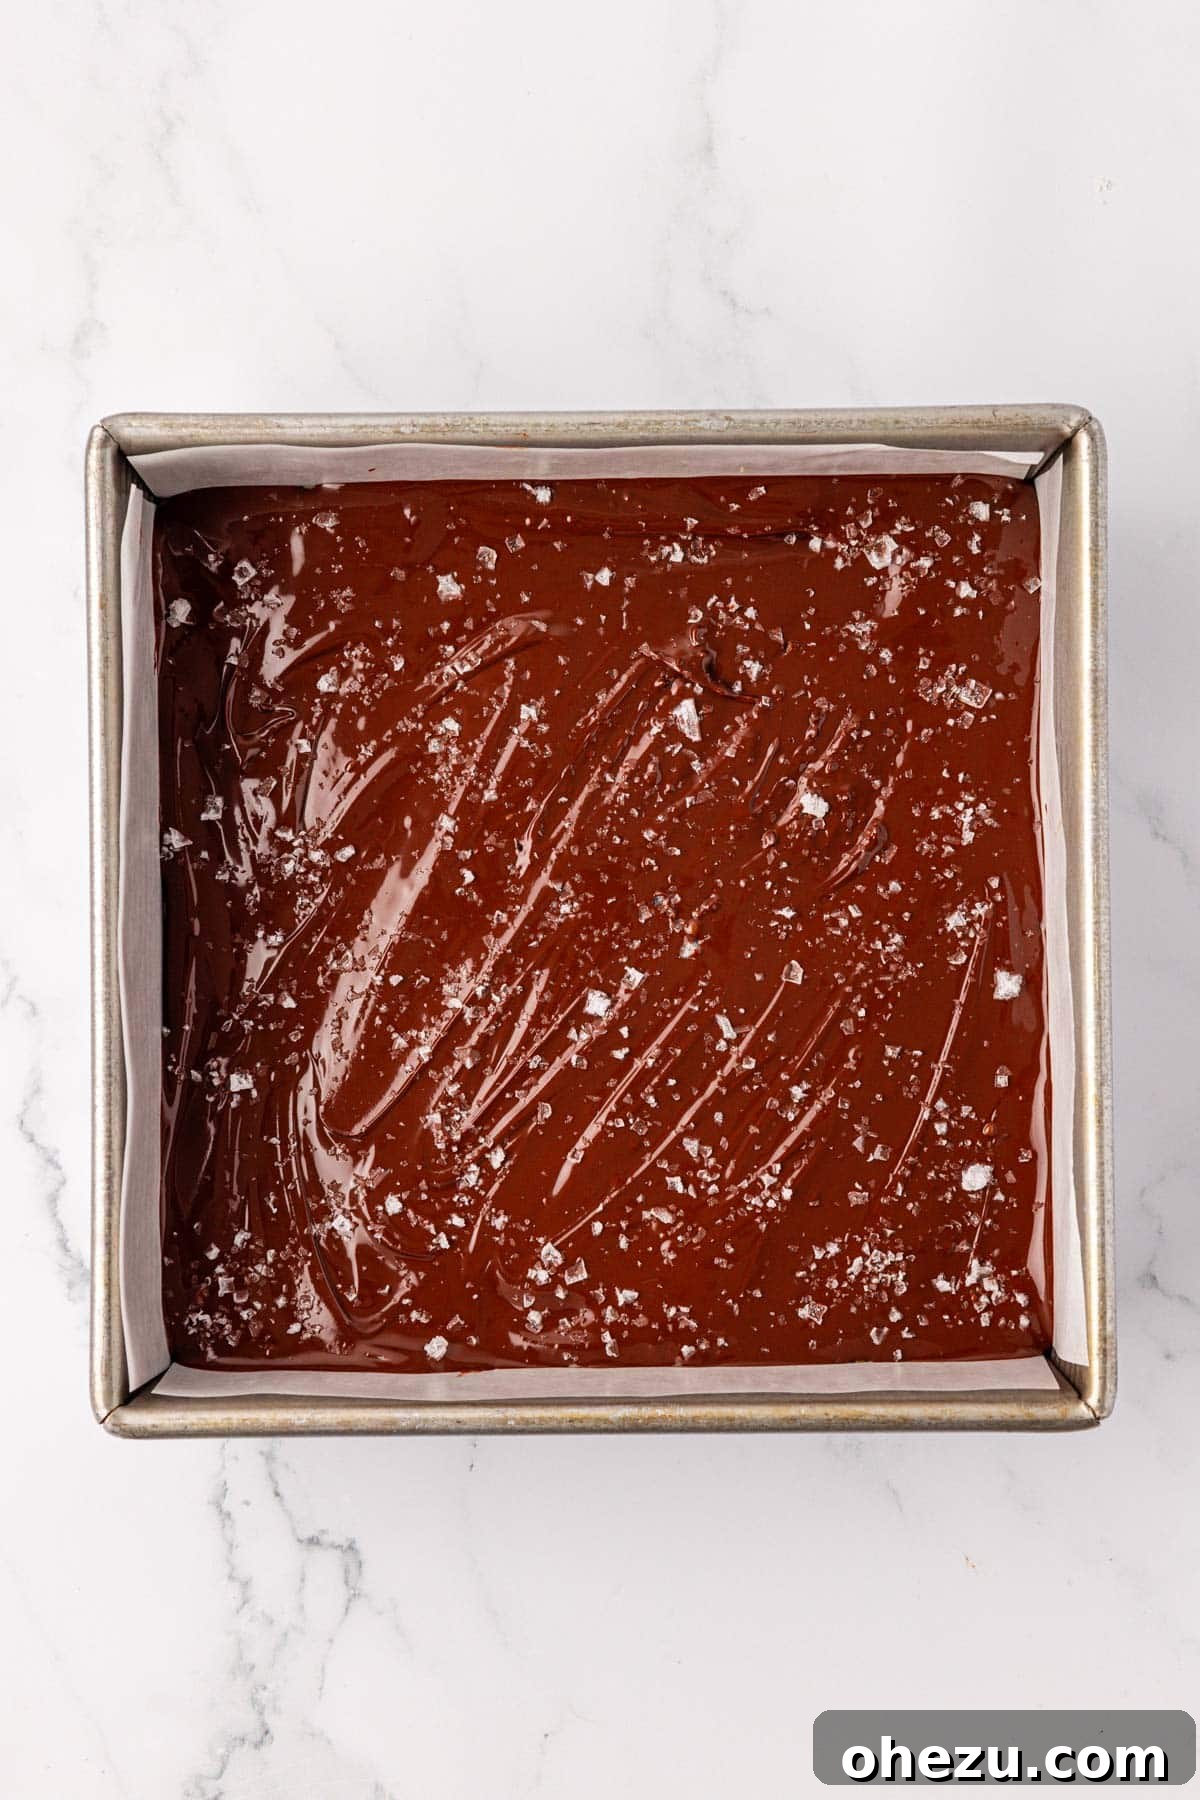
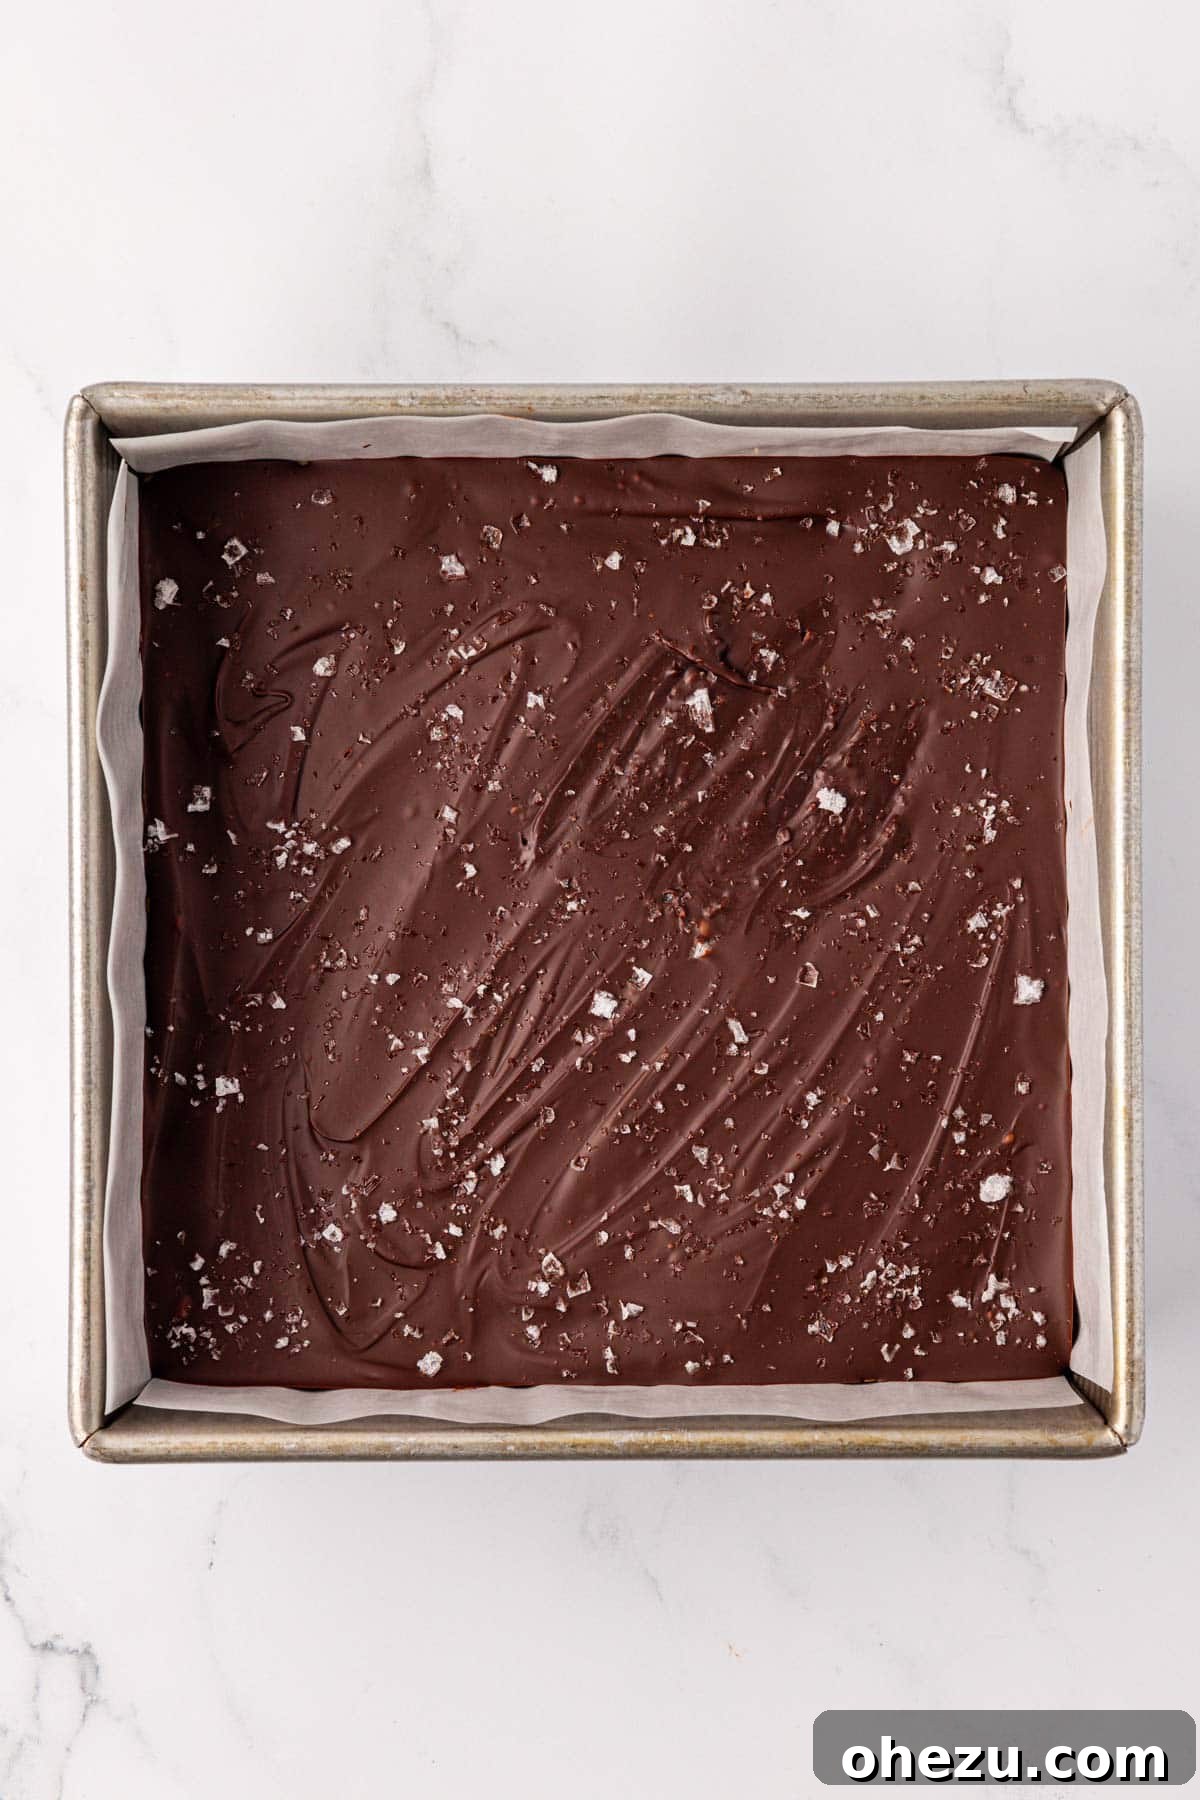
Carefully pour the luscious melted chocolate over the pressed peanut butter layer in the baking dish. Using a rubber spatula, gently spread the chocolate evenly across the entire surface, ensuring every inch is covered. Immediately after spreading the chocolate, generously sprinkle flaked sea salt over the melted chocolate layer. This step is optional, but I promise, that delightful salty-sweet combination truly elevates the flavor profile of these bars to another level. Trust me, it’s a game-changer!
The sprinkle of flaked sea salt creates that irresistible sweet and salty contrast that makes treats like these truly memorable. It’s a simple addition that makes a huge difference in flavor!
Step 6: Chill, Cut, and Enjoy!
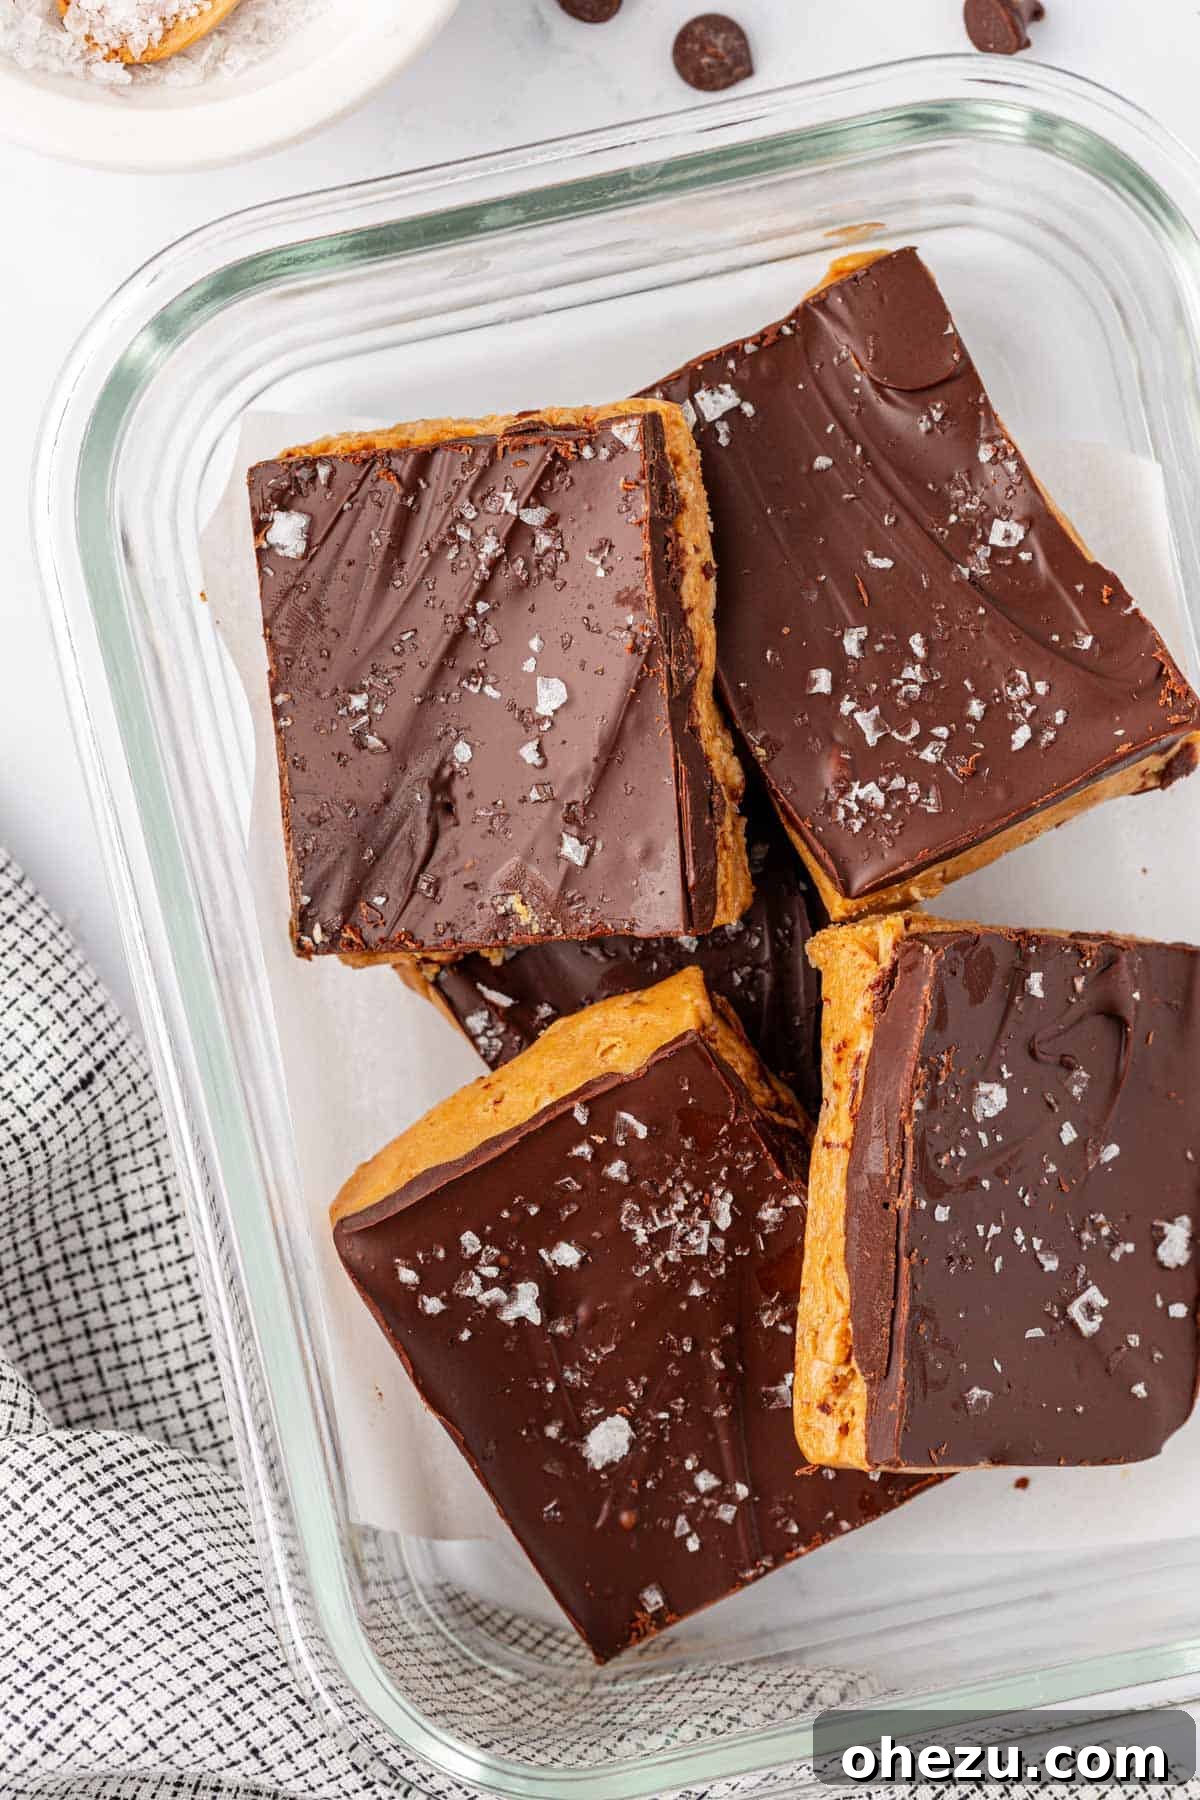
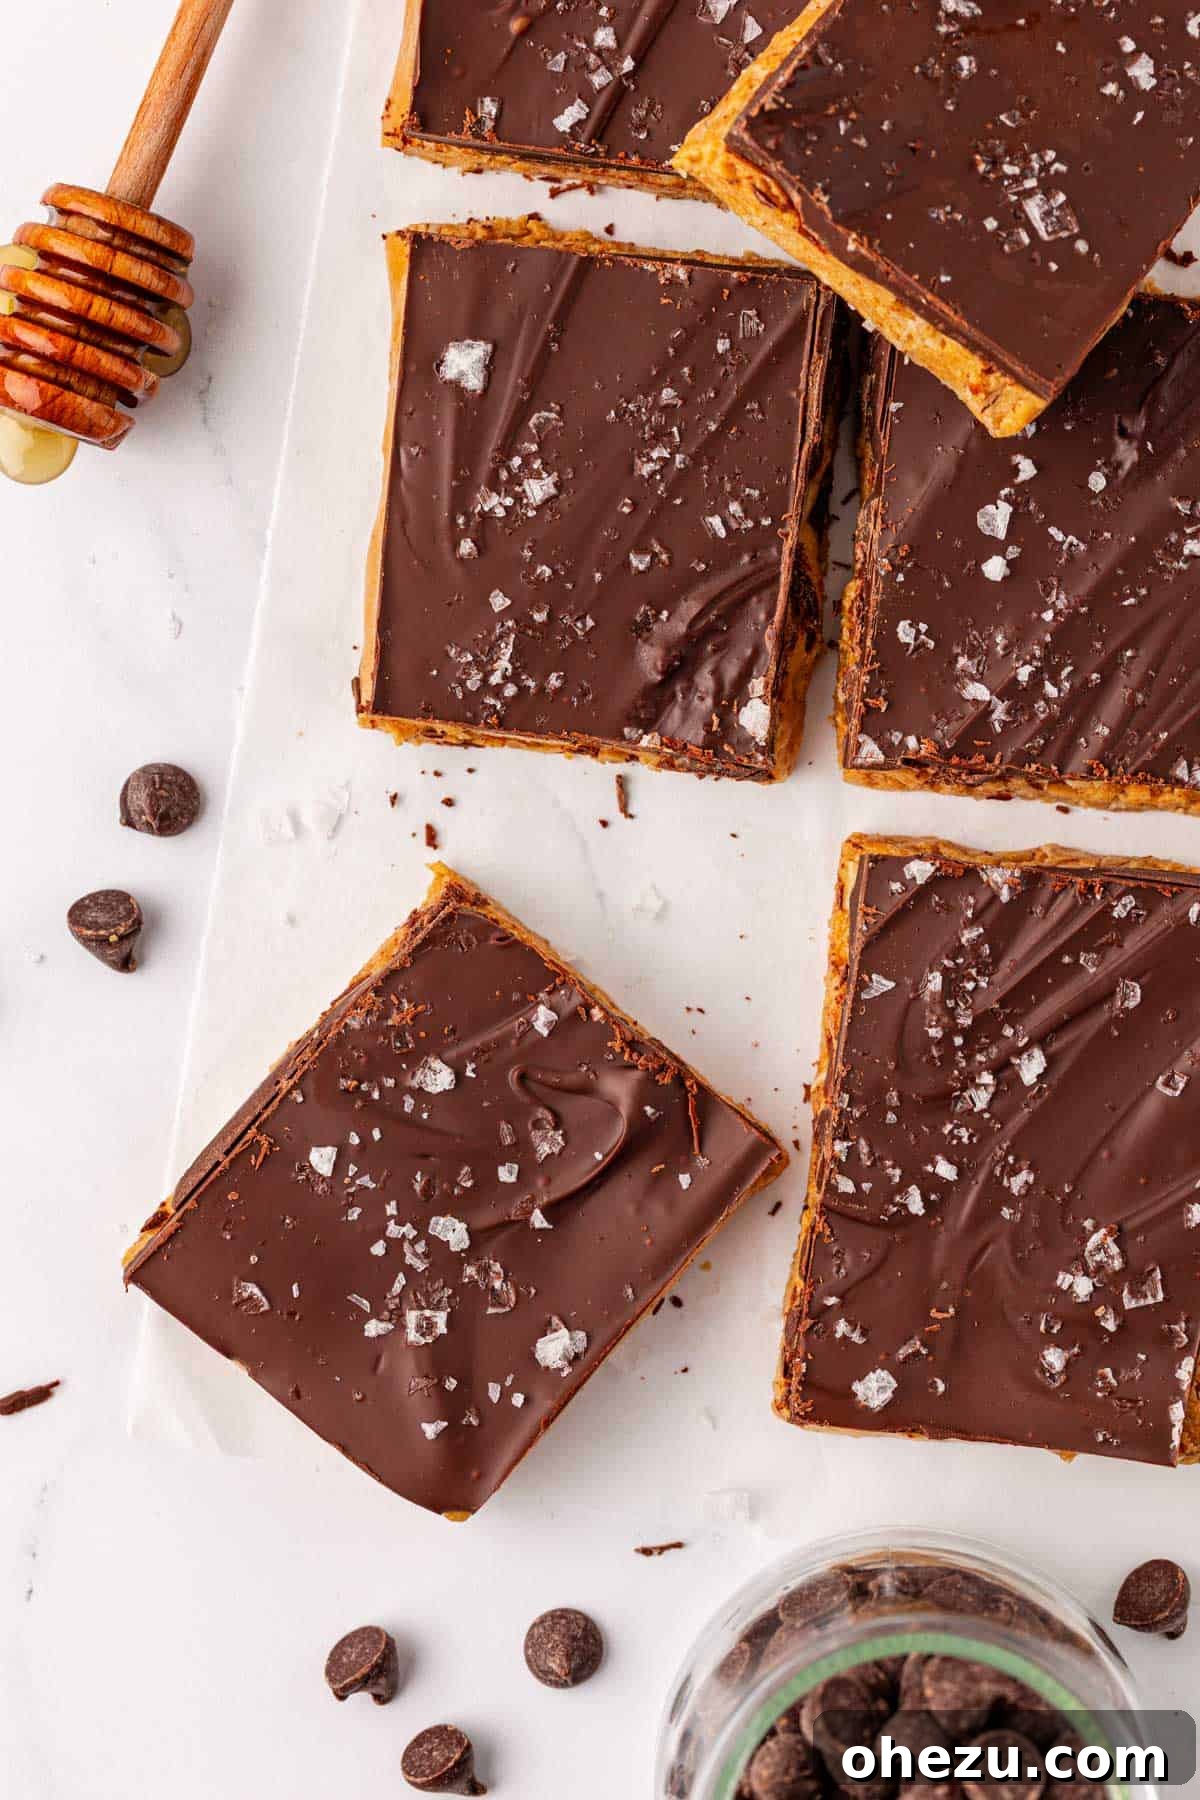
Transfer the pan to the refrigerator and chill the bars until the chocolate layer is completely set and hardened. This typically takes around 1 to 2 hours. Once the chocolate is firm, carefully lift the parchment paper to remove the entire block of bars from the dish. Place it on a cutting board and use a sharp knife to cut the large block into 12 equal pieces. You can always cut them into smaller portions if you prefer bite-sized protein snacks. Now they are ready to be enjoyed!
Storing Your Homemade Protein Bars
Proper storage is key to maintaining the freshness and deliciousness of your homemade no-bake protein bars.
- Refrigerator: Leftover protein bars should be stored in an airtight container in the refrigerator. They will stay fresh and delicious for 5 to 7 days, making them perfect for meal prepping your weekly snacks.
- Freezer: For longer-term storage, these bars freeze beautifully! Place them in an airtight, freezer-safe container or a heavy-duty freezer bag, separated by parchment paper to prevent sticking. They will keep well in the freezer for 2 to 3 months. When you’re ready to enjoy one, simply grab a bar and let it thaw for a few minutes at room temperature, or enjoy it chilled straight from the freezer for a firmer treat.
Tips for Perfect No-Bake Protein Bars Every Time
Achieving protein bar perfection is easy with a few simple tricks. Here’s how to ensure your bars turn out amazing:
- Use the Right Peanut Butter: As mentioned, a “no-stir” creamy peanut butter is crucial. Natural peanut butters that separate tend to yield an oilier, less cohesive bar.
- Press Firmly: When pressing the base mixture into the pan, really put some muscle into it! This compacts the ingredients, preventing crumbly bars and ensuring a good, firm texture.
- Don’t Skimp on Chilling: The chilling step is not just for setting the chocolate; it also helps the entire bar firm up, making it easier to cut cleanly and preventing a sticky mess. Patience is a virtue here!
- Parchment Paper is Your Friend: Lining the pan with parchment paper with an overhang is a lifesaver for easy removal and cleanup. Don’t skip this step!
- Adjust Sweetness: Taste your peanut butter and honey mixture before adding oats and protein powder. If your protein powder is very sweet, you might reduce the honey slightly.
- Melting Chocolate: Be gentle when melting chocolate. Overheating can cause it to seize or burn, becoming grainy and unusable. Stir frequently and remove from heat (or microwave) just before it’s completely smooth, letting residual heat do the rest.
Creative Variations & Customizations
One of the best aspects of homemade protein bars is the ability to customize them to your heart’s content. Here are some ideas to get your creative juices flowing:
- Nut Butter Swaps: Not a fan of peanut butter? Almond butter, cashew butter, or even sunflower seed butter (for nut-free options) can be used as a delicious alternative. Just ensure they are creamy and no-stir for the best consistency.
- Protein Powder Flavors: While vanilla is versatile, chocolate protein powder will give you an even richer, double-chocolate experience. Strawberry, cookie dough, or unflavored protein powder can also be used, adjusting other flavorings as needed.
-
Add-Ins Galore:
- Nuts & Seeds: Fold in chopped peanuts, almonds, walnuts, chia seeds, flax seeds, or hemp seeds for extra crunch and nutritional benefits.
- Dried Fruits: Chopped dried cranberries, raisins, apricots, or cherries can add a burst of fruity sweetness and chewiness.
- Extracts: A splash of almond extract, peppermint extract (with chocolate chips!), or even orange zest can introduce exciting new flavors.
- Spices: A pinch of cinnamon, nutmeg, or pumpkin pie spice can make these bars feel extra cozy and festive.
- Coconut: Shredded coconut (toasted or untoasted) adds a tropical twist.
- Different Toppings: Instead of or in addition to sea salt, consider adding sprinkles (for a fun birthday cake vibe), crushed nuts, or a drizzle of white chocolate.
- Vegan Option: Replace honey with maple syrup or agave nectar, and ensure your protein powder and chocolate chips are certified vegan.
- Gluten-Free: Always ensure you use certified gluten-free rolled oats.
Explore More Protein-Packed Recipes
If you loved these no-bake protein bars, be sure to check out some of my other favorite protein-rich snacks and treats:
- Protein Peanut Butter Cups
- Dark Chocolate Cashew Protein Bars
- Protein Granola Bars
- Peanut Butter Crunch Energy Bites
- Monster Cookie Protein Bars
- Peanut Butter Chocolate Chip Protein Bars
- Peanut Butter Pretzel Energy Bites
- Birthday Cake Protein Balls
- Chocolate Cashew Energy Bites
- Mint Chocolate Protein Balls
- Strawberries & Cream Energy Bites
- Almond Butter Protein Balls
- Chocolate Energy Balls
Frequently Asked Questions (FAQs)
Here are some common questions you might have about making and enjoying these no-bake protein bars:
- Can I use a different nut butter? Yes! While creamy no-stir peanut butter is recommended for consistency, you can experiment with almond butter, cashew butter, or even sunflower seed butter. Ensure they are the “no-stir” variety for best results, as runny natural nut butters might make the mixture too soft.
- Is there a substitute for honey? Absolutely. For a vegan alternative, maple syrup or agave nectar work perfectly as binders and sweeteners. The taste might vary slightly, but the structure of the bar will remain similar.
- What kind of oats should I use? Old-fashioned rolled oats are ideal as they provide a good chewy texture. Quick oats can be used for a softer bar, but avoid instant oats as they might become mushy.
- Can I make these bars vegan? Yes! Ensure your protein powder is plant-based (like pea, rice, or soy protein), use a vegan sweetener like maple syrup or agave, and opt for dairy-free chocolate chips.
- Are these bars gluten-free? If you use certified gluten-free rolled oats, and ensure your protein powder and other ingredients are gluten-free, then yes, these bars can be made gluten-free. Always check labels.
- How do I prevent the bars from crumbling? The key is to press the base mixture very firmly into the pan. Also, ensure you chill the bars for the full recommended time (1-2 hours) so they have ample time to set.
- What’s the best way to cut the bars cleanly? After chilling, use a sharp, warm knife (run it under hot water and wipe dry) to slice through the chocolate and the base. This helps prevent the chocolate from cracking.
- Can I add other ingredients to the base? Definitely! Chopped nuts, seeds (chia, flax, hemp), shredded coconut, or even mini chocolate chips can be folded into the base mixture for added texture and flavor.
⭐️Review⭐️
“Delicious and so easy!” -Margherite
These no-bake protein bars are more than just a recipe; they’re a solution for healthier snacking, simpler meal prep, and enjoying delicious treats without guilt. With wholesome ingredients and minimal effort, you’ll wonder why you ever bought protein bars from the store. Dive in and make a batch today – your taste buds and your body will thank you!
No-Bake Protein Bars
Joy Shull
20 minutes
1 hour
1 hour
20 minutes
12
Rate Recipe
Print Recipe
Ingredients
-
1 ¼ cups creamy no-stir peanut butter -
⅓ cup honey -
½ cup rolled oats, old-fashioned oats -
½ cup vanilla protein powder -
½ cup dark chocolate chips -
1 cup semi-sweet chocolate chips -
Flaked sea salt, for topping
Instructions
-
Stir together the creamy peanut butter and honey until combined.
-
Stir in the oats and vanilla protein powder until totally mixed. The batter should be thick but not too sticky that it sticks to your hands.
-
Transfer the protein bar batter to an 8×8 parchment paper lined baking dish. Flatten down the top and spread it evenly into the pan.
-
Melt the dark chocolate chips and semi-sweet chocolate chips in the microwave in 30-second increments until smooth. Stir often to avoid burning.
-
Pour the melted chocolate over the top of the peanut butter layer and smooth it out using a rubber spatula.
-
Sprinkle flaked sea salt over the top of the melted chocolate layer. This is optional but highly recommended!
-
Chill the protein bars in the refrigerator until the chocolate is set, or 1-2 hours. The chocolate should be hardened completely before cutting.
-
Cut into 12 pieces and store leftovers in an airtight container in the refrigerator or freezer.
Notes
Nutrition
Carbohydrates: 29g,
Protein: 12g,
Fat: 22g,
Saturated Fat: 8g,
Polyunsaturated Fat: 4g,
Monounsaturated Fat: 9g,
Trans Fat: 0.01g,
Cholesterol: 8mg,
Sodium: 132mg,
Potassium: 315mg,
Fiber: 3g,
Sugar: 19g,
Vitamin A: 20IU,
Vitamin C: 0.1mg,
Calcium: 62mg,
Iron: 2mg
Like this recipe? Rate and comment below!