

Unlock the secret to an effortless, show-stopping dessert! With just three simple ingredients, these homemade Chocolate Covered Oreos are guaranteed to be a crowd-pleaser for any holiday or special occasion.
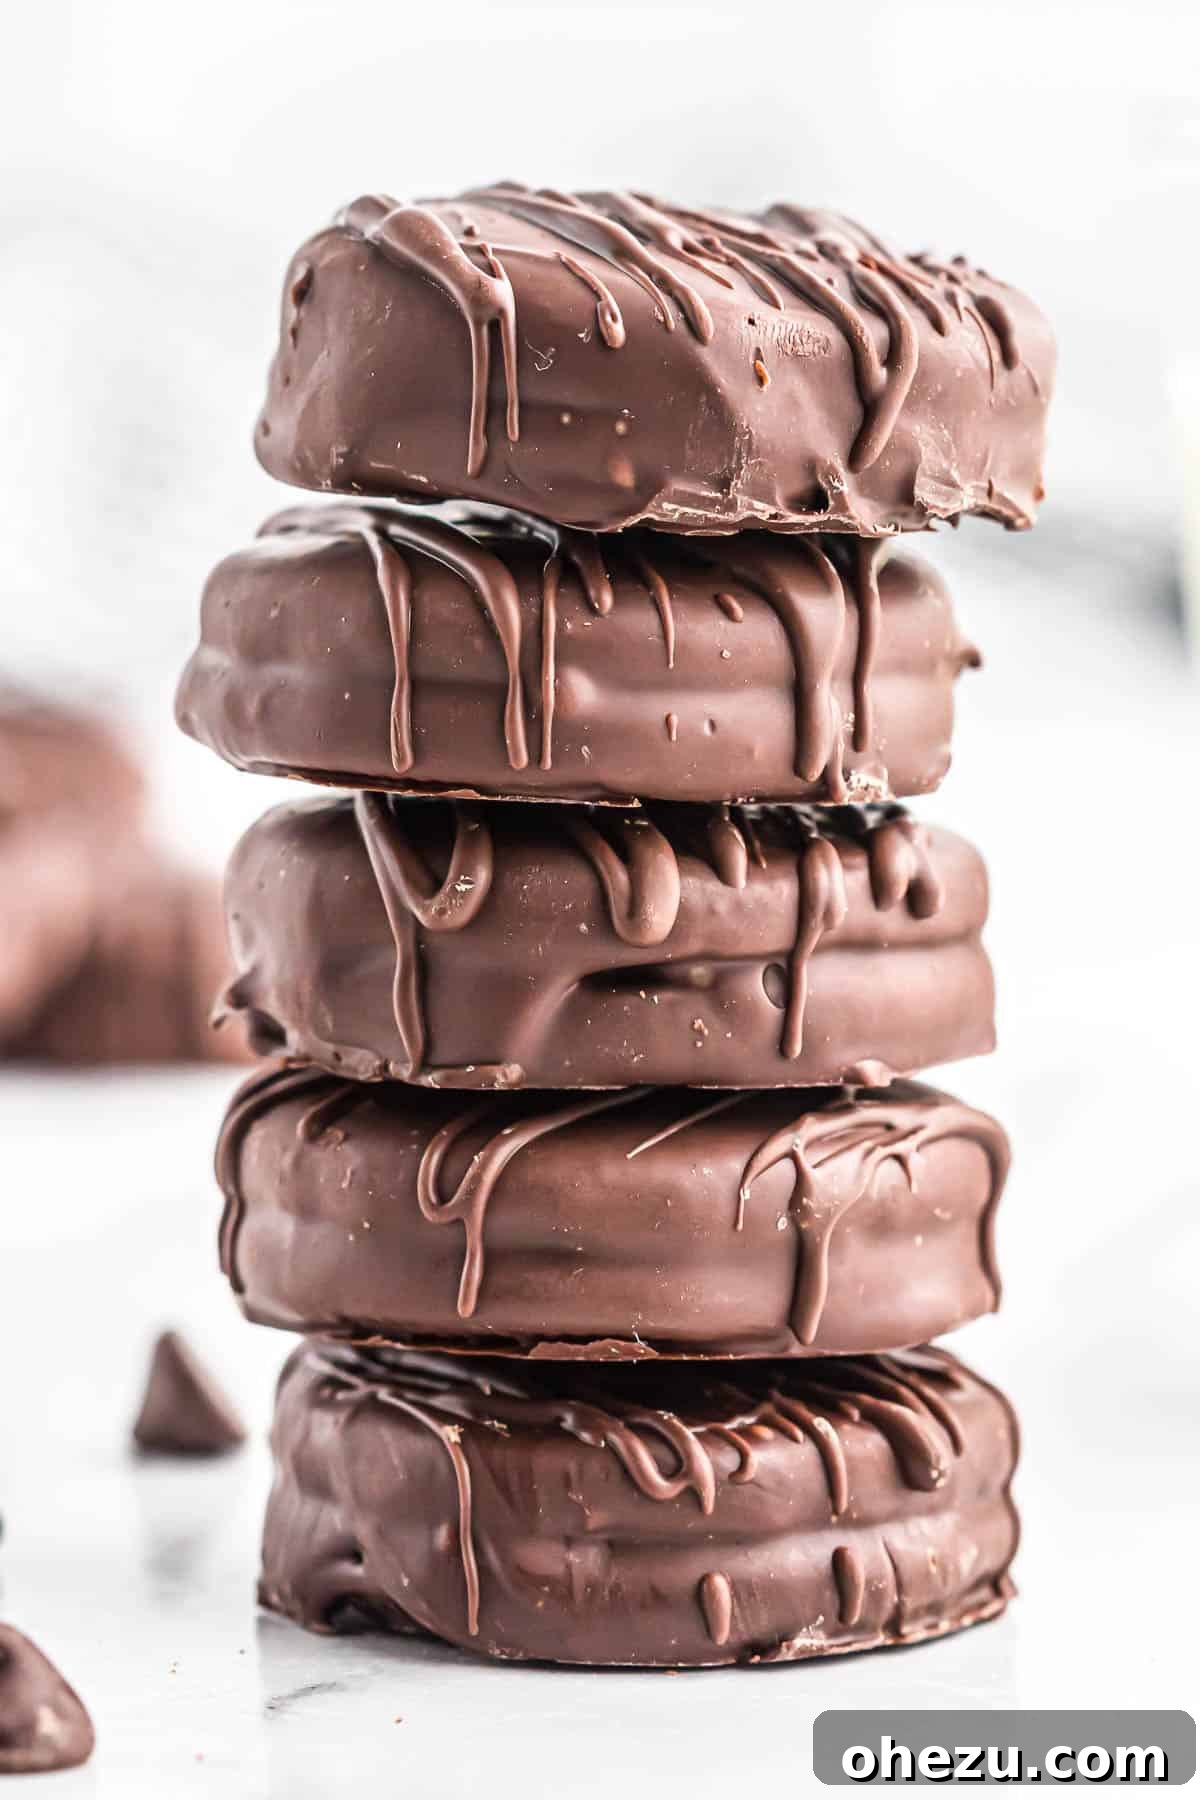
The Ultimate Guide to Easy Chocolate Covered Oreos
Oreos are undeniably a classic, beloved cookie, cherished by generations for their iconic chocolatey crunch and creamy filling. But what if you could take this already perfect treat and elevate it to an even more indulgent experience? The answer lies in dipping them into rich, melted chocolate, creating a delightful extra layer of deliciousness that transforms them into gourmet confections.
This incredibly simple recipe requires a mere three ingredients, making it an accessible and fun project for bakers of all skill levels. Whether you’re preparing for Valentine’s Day, assembling a festive platter for a Christmas cookie swap, or simply looking for a quick and impressive dessert for any holiday, these chocolate-dipped Oreos are your go-to.
They’re not only easy to make but also incredibly versatile. Pair them with a batch of bright and creamy White Chocolate Covered Oreos to create a stunning visual contrast and a complementary flavor profile. No matter the occasion, any dessert featuring Oreos is destined to be a hit!
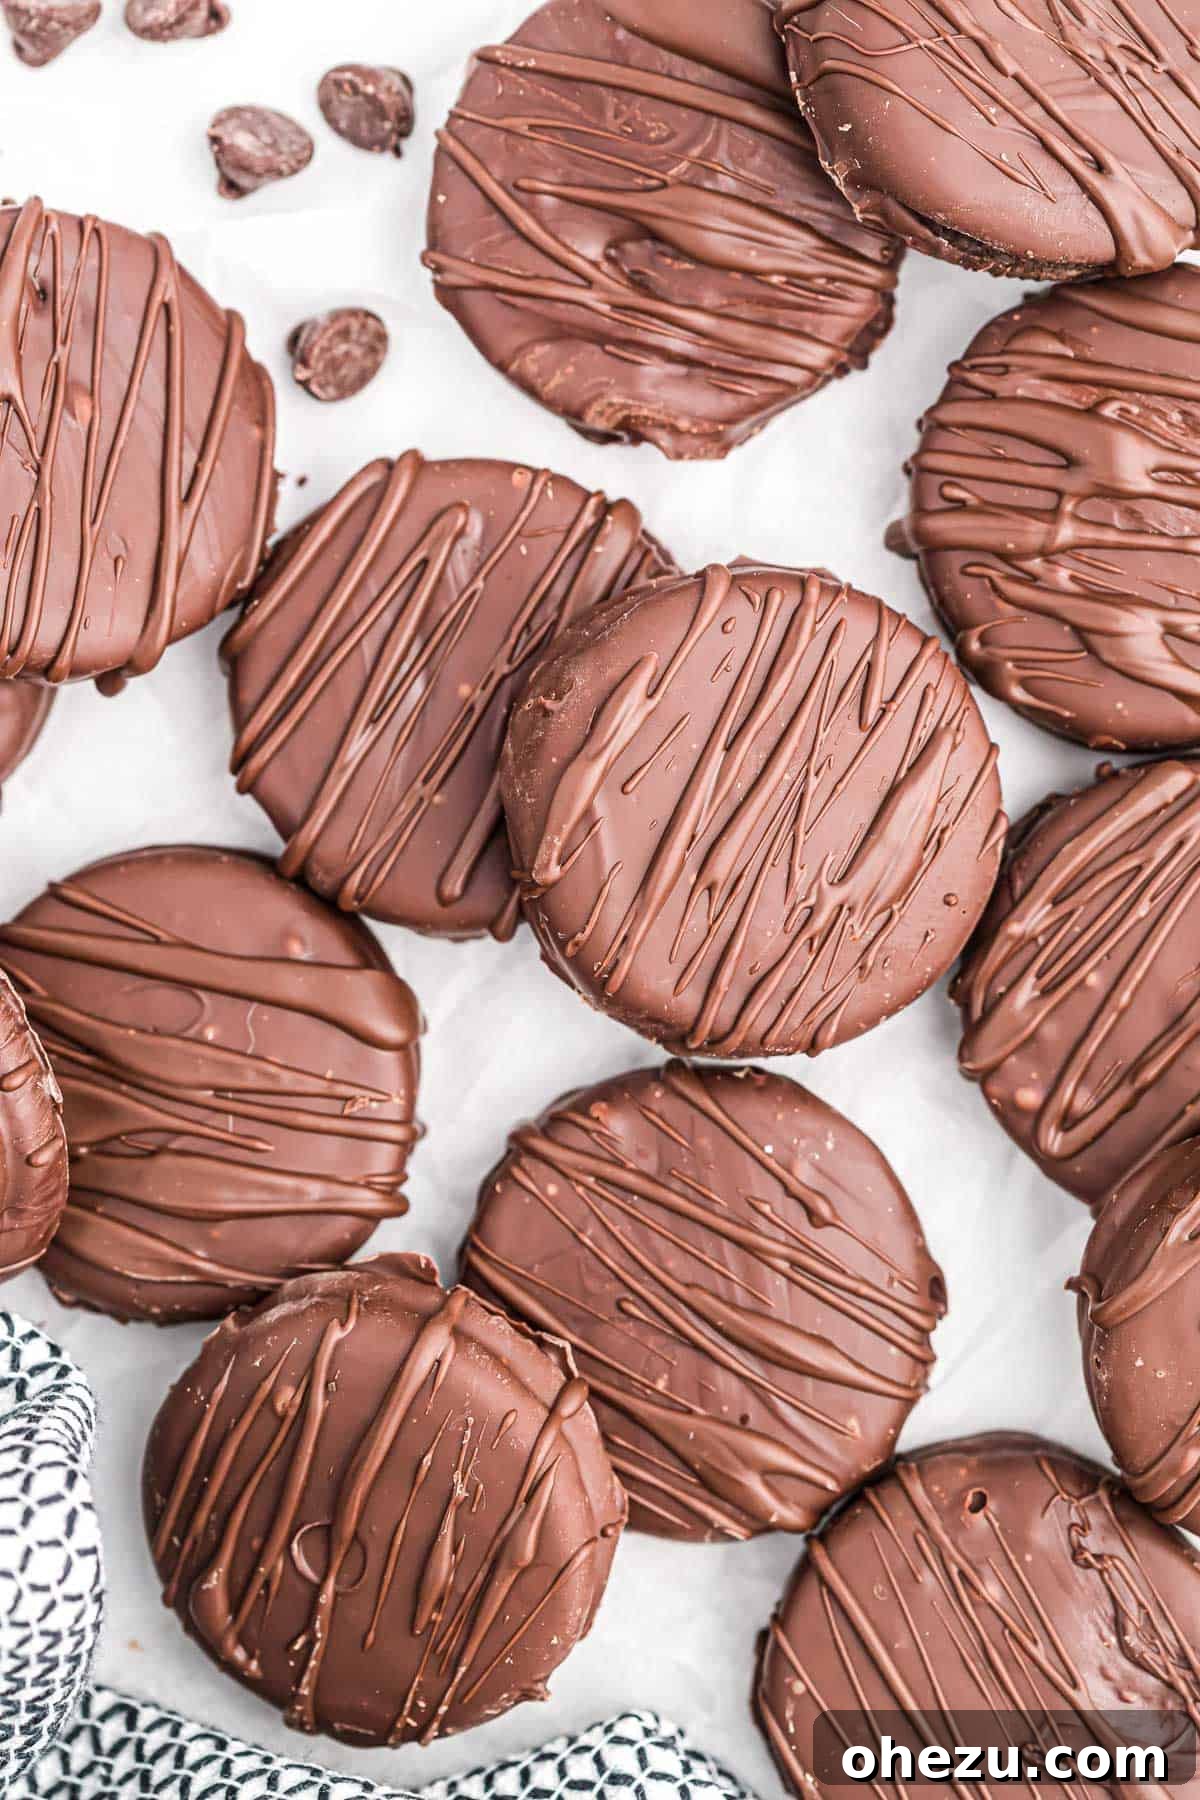
What You’ll Need: Simple Ingredients for Chocolate Covered Oreos
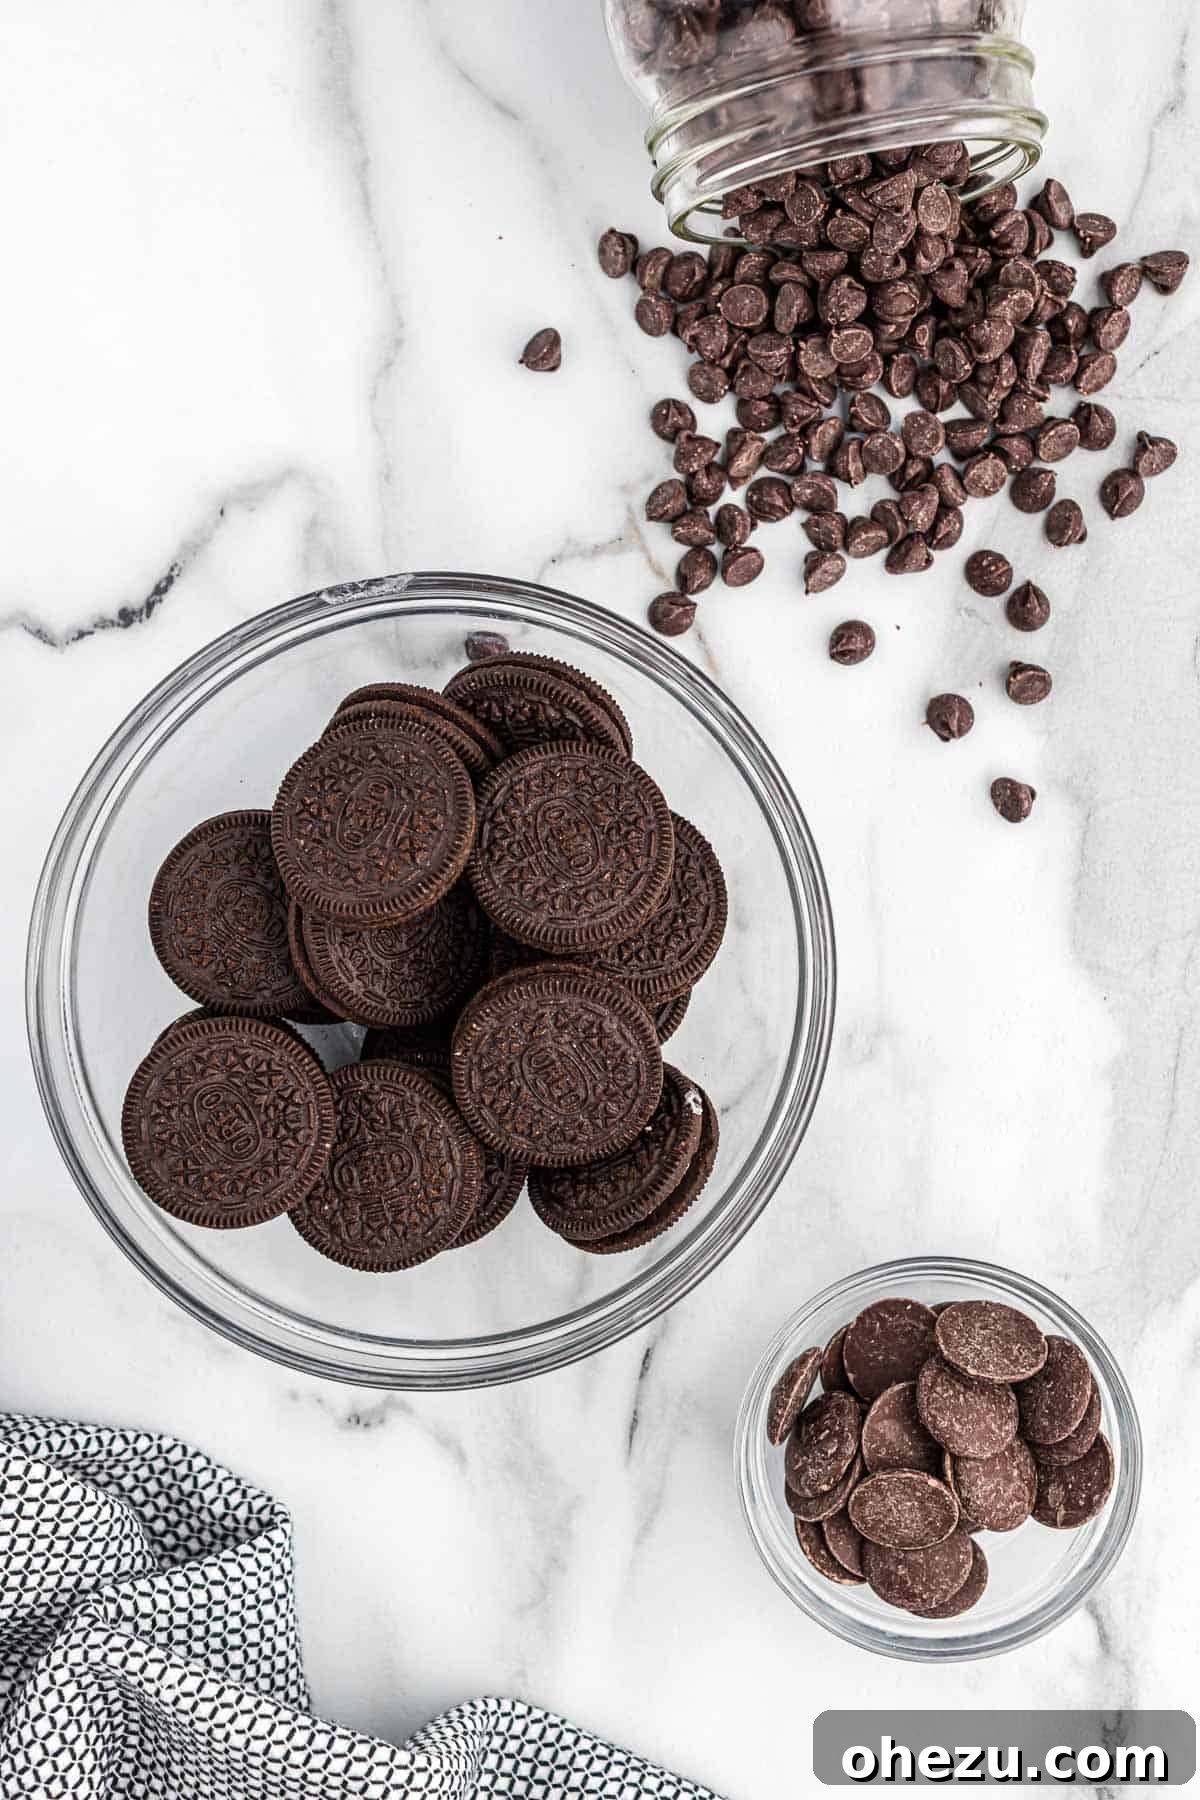
Crafting these delectable chocolate-covered Oreos requires minimal ingredients, making it a perfect last-minute treat or a fun activity with kids. Here’s what you’ll need:
- Oreos: The star of our show! While the classic chocolate Oreo is perfect, feel free to experiment with different flavors like Mint Oreos, Peanut Butter Oreos, or even Golden Oreos for a twist.
- Semi-sweet chocolate chips: This forms the primary coating, offering a balanced sweetness that complements the Oreo’s flavor without being overly rich. Quality chocolate will make a difference in taste and melting consistency.
- Dark chocolate melting wafers: Ideal for drizzling due to their smooth melting properties and beautiful sheen. If you don’t have melting wafers, additional chocolate chips can be used, though wafers generally provide a cleaner drizzle.
That’s it! With these three items, you’re well on your way to creating a batch of irresistible treats.
Step-by-Step: How to Make Perfect Chocolate Covered Oreos
Making chocolate-covered Oreos is a straightforward process that yields impressive results. Follow these simple steps for a perfect batch every time:
Essential Equipment:
Before you begin, gather a few basic kitchen tools:
- Baking sheet(s)
- Parchment paper or wax paper
- Microwave-safe bowl or a double boiler setup
- Spatula or spoon for stirring chocolate
- Fork or a specialized dipping tool
Step 1: Melt the Chocolate Base
Begin by melting a bag of semi-sweet chocolate chips until completely smooth and velvety. You have two primary methods for this:
- Microwave Method: Place the chocolate chips in a microwave-safe bowl. Heat in 30-second intervals, stirring thoroughly after each interval, until the chocolate is fully melted and smooth. Be careful not to overheat, as chocolate can seize and become lumpy.
- Double Boiler Method: Place chocolate chips in a heatproof bowl set over a saucepan of simmering water (ensure the bowl does not touch the water). Stir continuously until the chocolate is melted and smooth. This method provides more gentle, even heat, reducing the risk of scorching.
Step 2: Dip and Coat Your Oreos
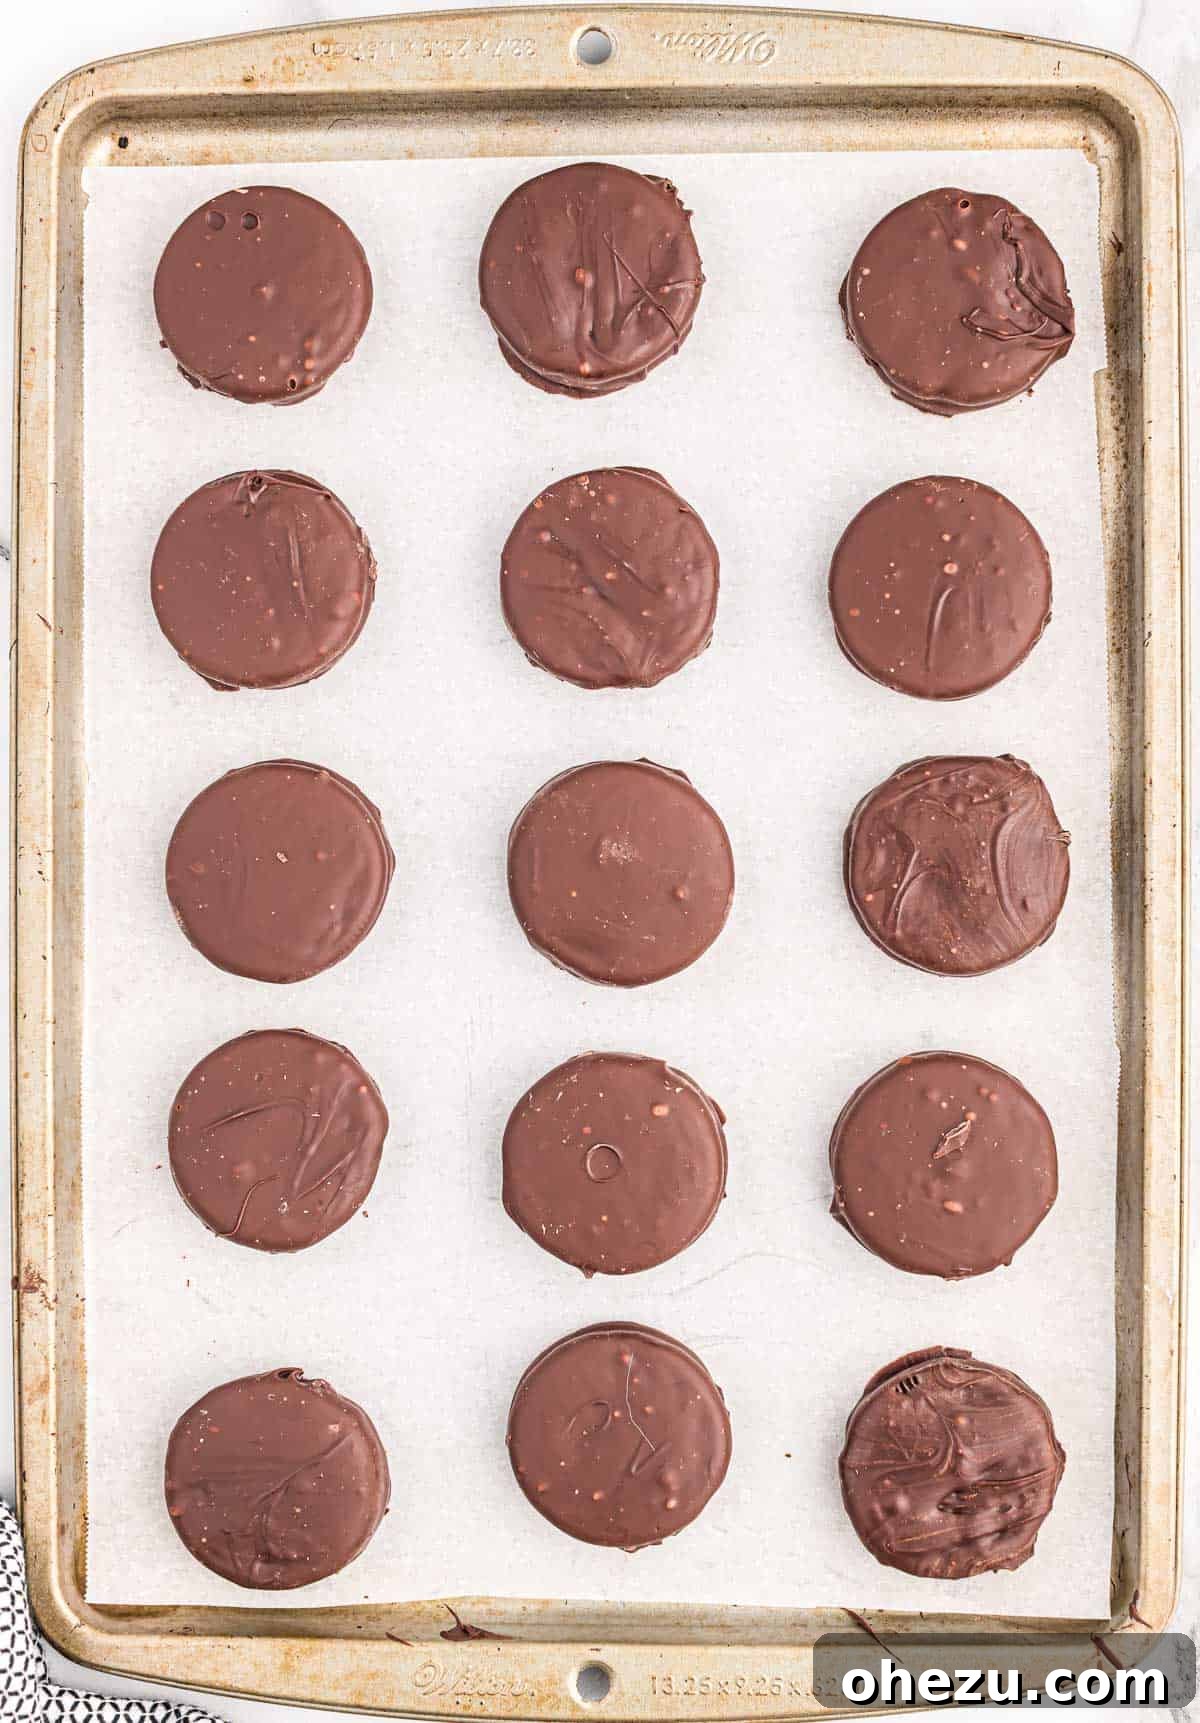
Once your semi-sweet chocolate is perfectly melted, it’s time for the fun part! Line a baking sheet with parchment paper or wax paper. Carefully dip each Oreo, one by one, into the melted chocolate. Use a fork or a dipping tool to ensure the entire cookie is coated. Gently tap off any excess chocolate against the side of the bowl to prevent thick puddles, then carefully place the dipped Oreo onto the prepared baking sheet.
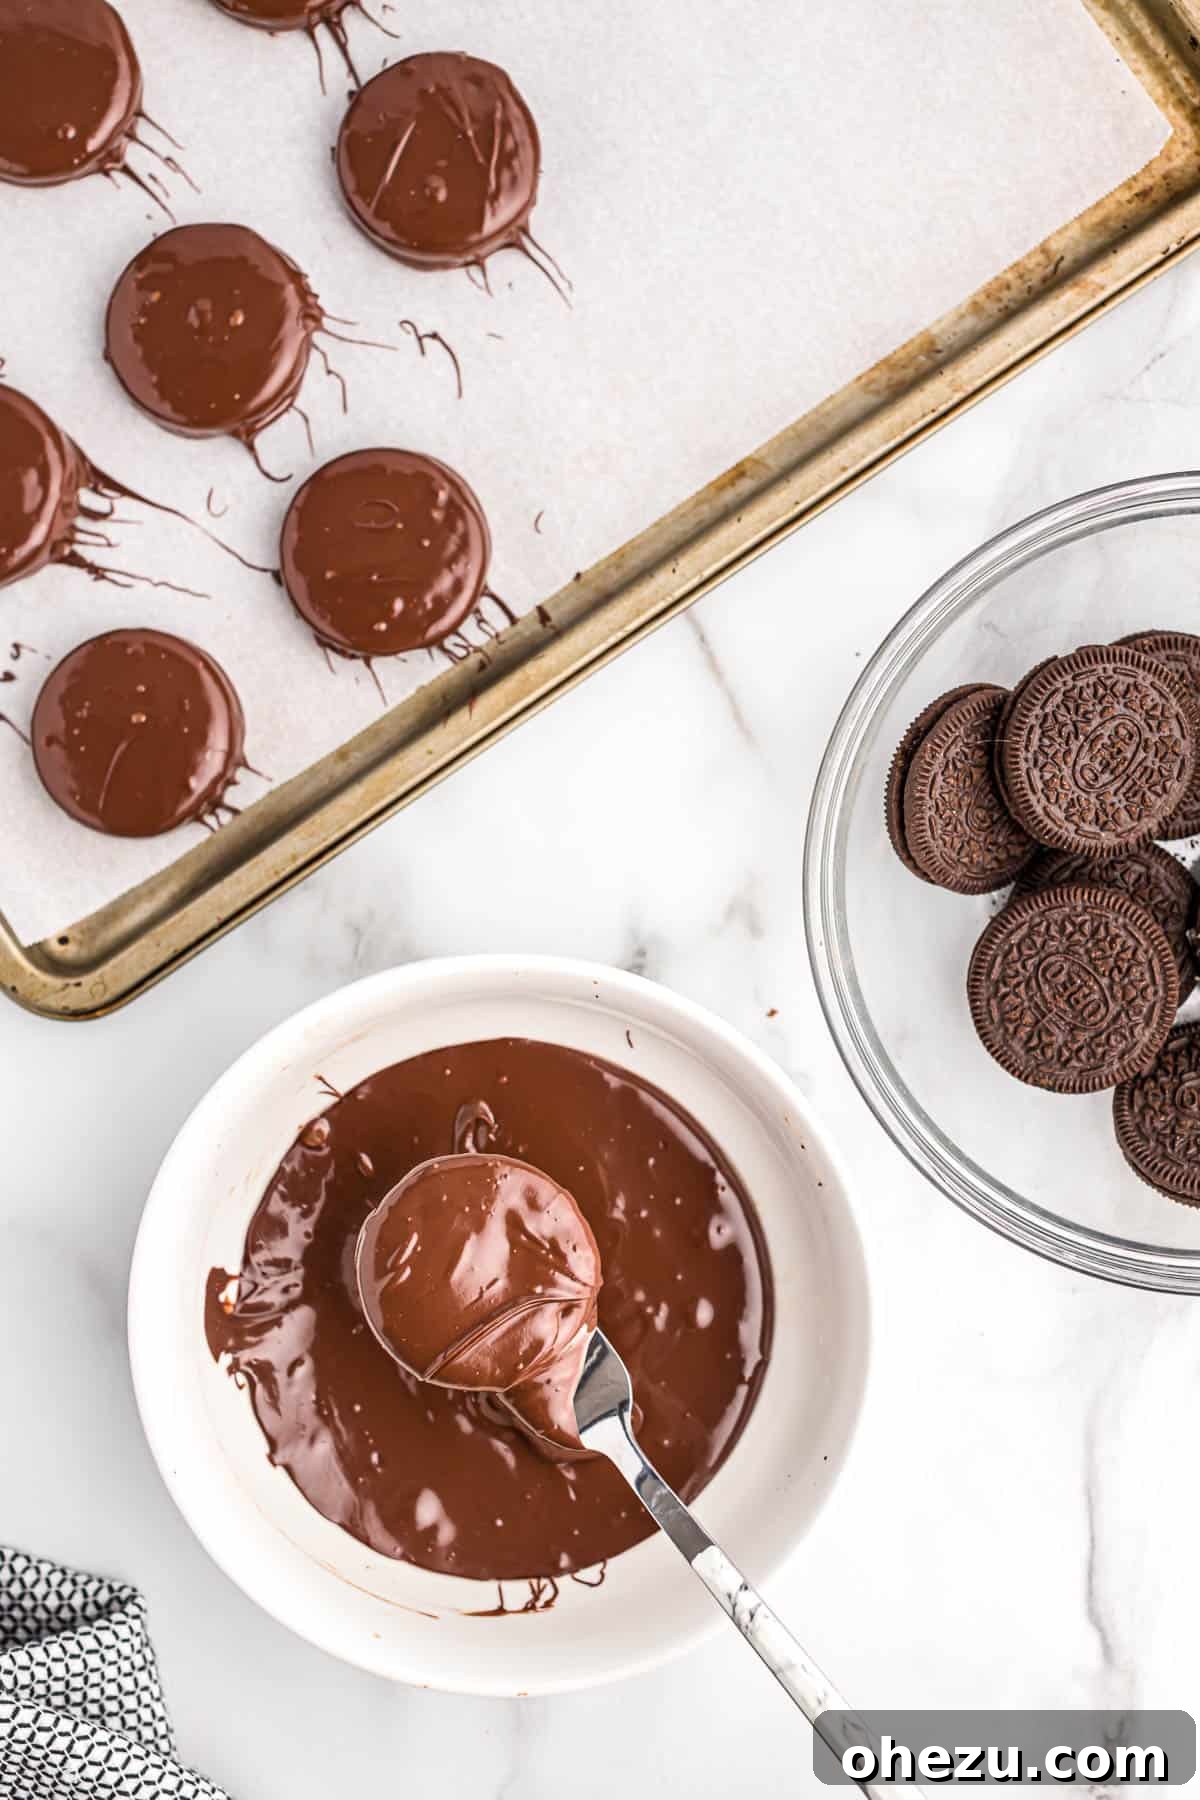
Step 3: Chill for a Firm Base
After dipping all the Oreos, transfer the baking sheet to the refrigerator. Chill for at least 15-20 minutes, or until the chocolate coating has completely hardened and set. This crucial step ensures a solid base for your decorative drizzle.
Step 4: Drizzle with Dark Chocolate (Optional but Recommended!)
Now, prepare your dark chocolate melting wafers. Melt them using the same method you used for the semi-sweet chocolate (microwave or double boiler). Once smooth, use a spoon or a piping bag with a very small hole to drizzle the melted dark chocolate artfully over the tops of the now-hardened chocolate-covered Oreos. Get creative with zigzags, swirls, or simple lines!
Once drizzled, place the Oreos back into the fridge for another 5-10 minutes until the dark chocolate drizzle is also set. This ensures a clean finish and prevents smudging.
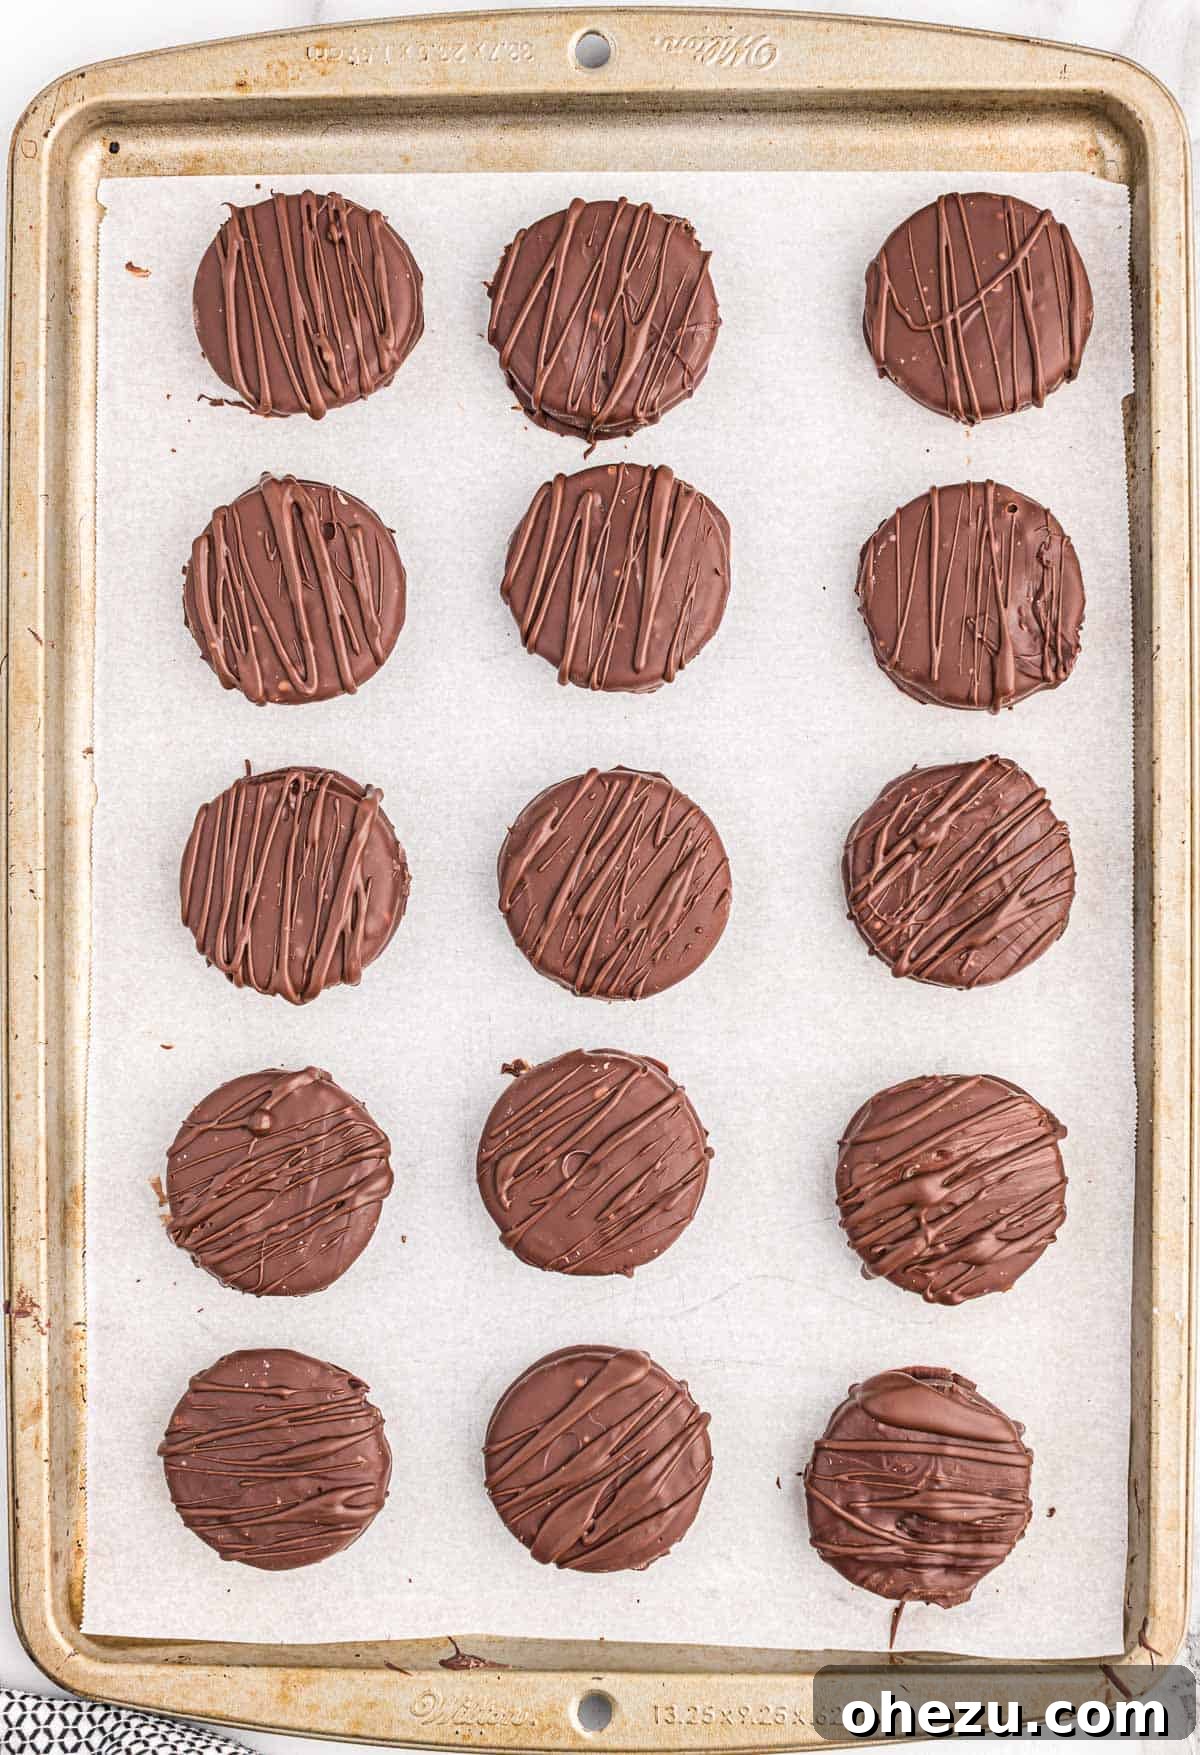
Pro Tip: If you find yourself with extra semi-sweet chocolate chips on hand, you can certainly use them in place of the dark chocolate melting wafers for the drizzle. The key is to ensure it’s melted to a smooth, drippable consistency.
Tips for Success & Delicious Variations
While this recipe is incredibly simple, a few pointers can elevate your chocolate-covered Oreos from good to absolutely fantastic. Plus, there are endless ways to customize them!
- Quality Chocolate Makes a Difference: Investing in good quality chocolate chips or melting wafers will result in a smoother, more flavorful coating and a better snap when set.
- Avoid Water at All Costs: Even a tiny drop of water can cause melted chocolate to seize, turning it into a grainy, unusable mess. Ensure your bowls and utensils are completely dry.
- Don’t Overheat Chocolate: Melt chocolate slowly and gently. Overheated chocolate can become thick, clumpy, and lose its shine. If using a microwave, always stir well between short intervals.
- Achieve Even Coating: For a perfectly smooth finish, fully submerge the Oreo and then lift it out with a fork, allowing excess chocolate to drip off. Gently tap the fork against the side of the bowl.
- Get Creative with Toppings (Joy’s Tip Expanded!): This is where the fun truly begins! Once the main chocolate coating is applied but *before* it fully sets, you can add a myriad of decorations:
- Seasonal Sprinkles: Pink and white for Valentine’s Day, red and green for Christmas, pastel colors for Easter, orange and black for Halloween, or school colors for graduation parties.
- Crushed Nuts: Chopped peanuts, pecans, almonds, or walnuts add a delightful crunch.
- Shredded Coconut: Toasted or plain, it offers a tropical twist.
- Crushed Candies: Peppermint pieces for a festive touch, crushed M&M’s, or even crumbled potato chips for a sweet and salty combo.
- Sea Salt Flakes: A sprinkle of flaky sea salt on top of the dark chocolate drizzle enhances the chocolate flavor beautifully.
- Different Chocolate Drizzles: Instead of dark chocolate, use white chocolate, milk chocolate, or even colored candy melts to create vibrant designs.
- Flavor Twists with Different Oreos: Don’t limit yourself to classic Oreos! Try dipping Mint Oreos in dark chocolate, Peanut Butter Oreos in milk chocolate, or Golden Oreos in white chocolate for unique flavor combinations.
- Storage: Store your chocolate-covered Oreos in an airtight container at room temperature for up to a week, or in the refrigerator for up to two weeks, especially in warmer climates. Layer them between sheets of parchment paper to prevent sticking.
This is an easily customizable dessert that looks incredibly fancy, but in reality, requires very little time and effort to make! Your friends and family will be amazed.
The Perfect Treat for Every Occasion
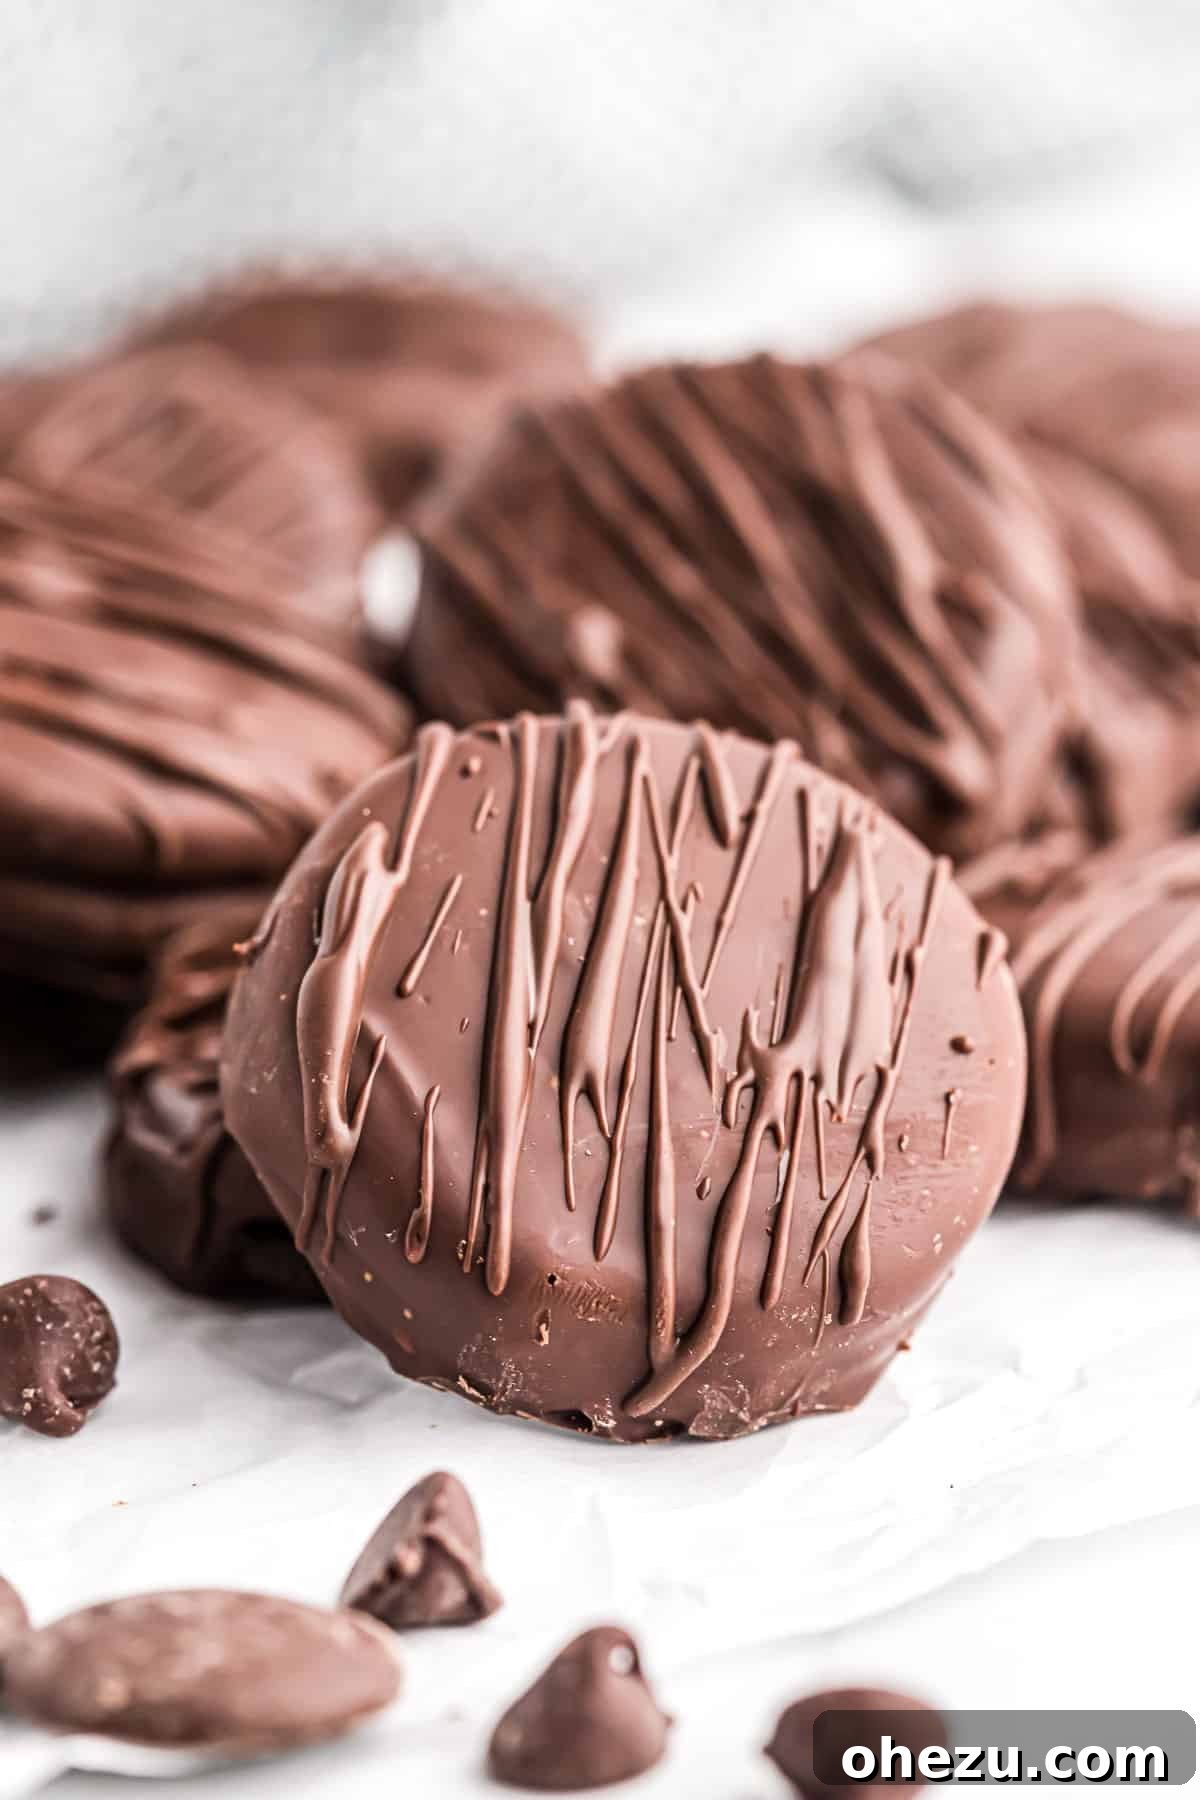
These chocolate covered cookies are not only indulgent and delicious, but they are also incredibly easy to make, making them the ideal go-to dessert for virtually any event. Their simplicity means you can whip up a batch quickly, yet their customizable nature allows for endless creativity to match any theme or celebration.
Imagine them gracing your Valentine’s Day table, adorned with pink and white sprinkles – a dream dessert for a romantic evening or a thoughtful gift for loved ones. For Christmas, red and green sprinkles or crushed peppermint transform them into festive holiday treats, perfect for cookie exchanges, neighbor gifts, or a cozy evening by the fire. Easter brings pastel colors, while Halloween allows for spooky designs with orange and black drizzles. They’re also fantastic for birthday parties, baby showers, or simply as an everyday indulgence.
Their versatility extends beyond holidays. Hosting a potluck? A plate of these will disappear in minutes. Need a thoughtful, homemade gift? Package them in a decorative box, and you have a personal, delicious present that shows you care. I don’t know about you, but for any moment calling for a sweet, satisfying, and beautiful treat, these are my dream dessert.
More Easy Dessert Recipes to Love
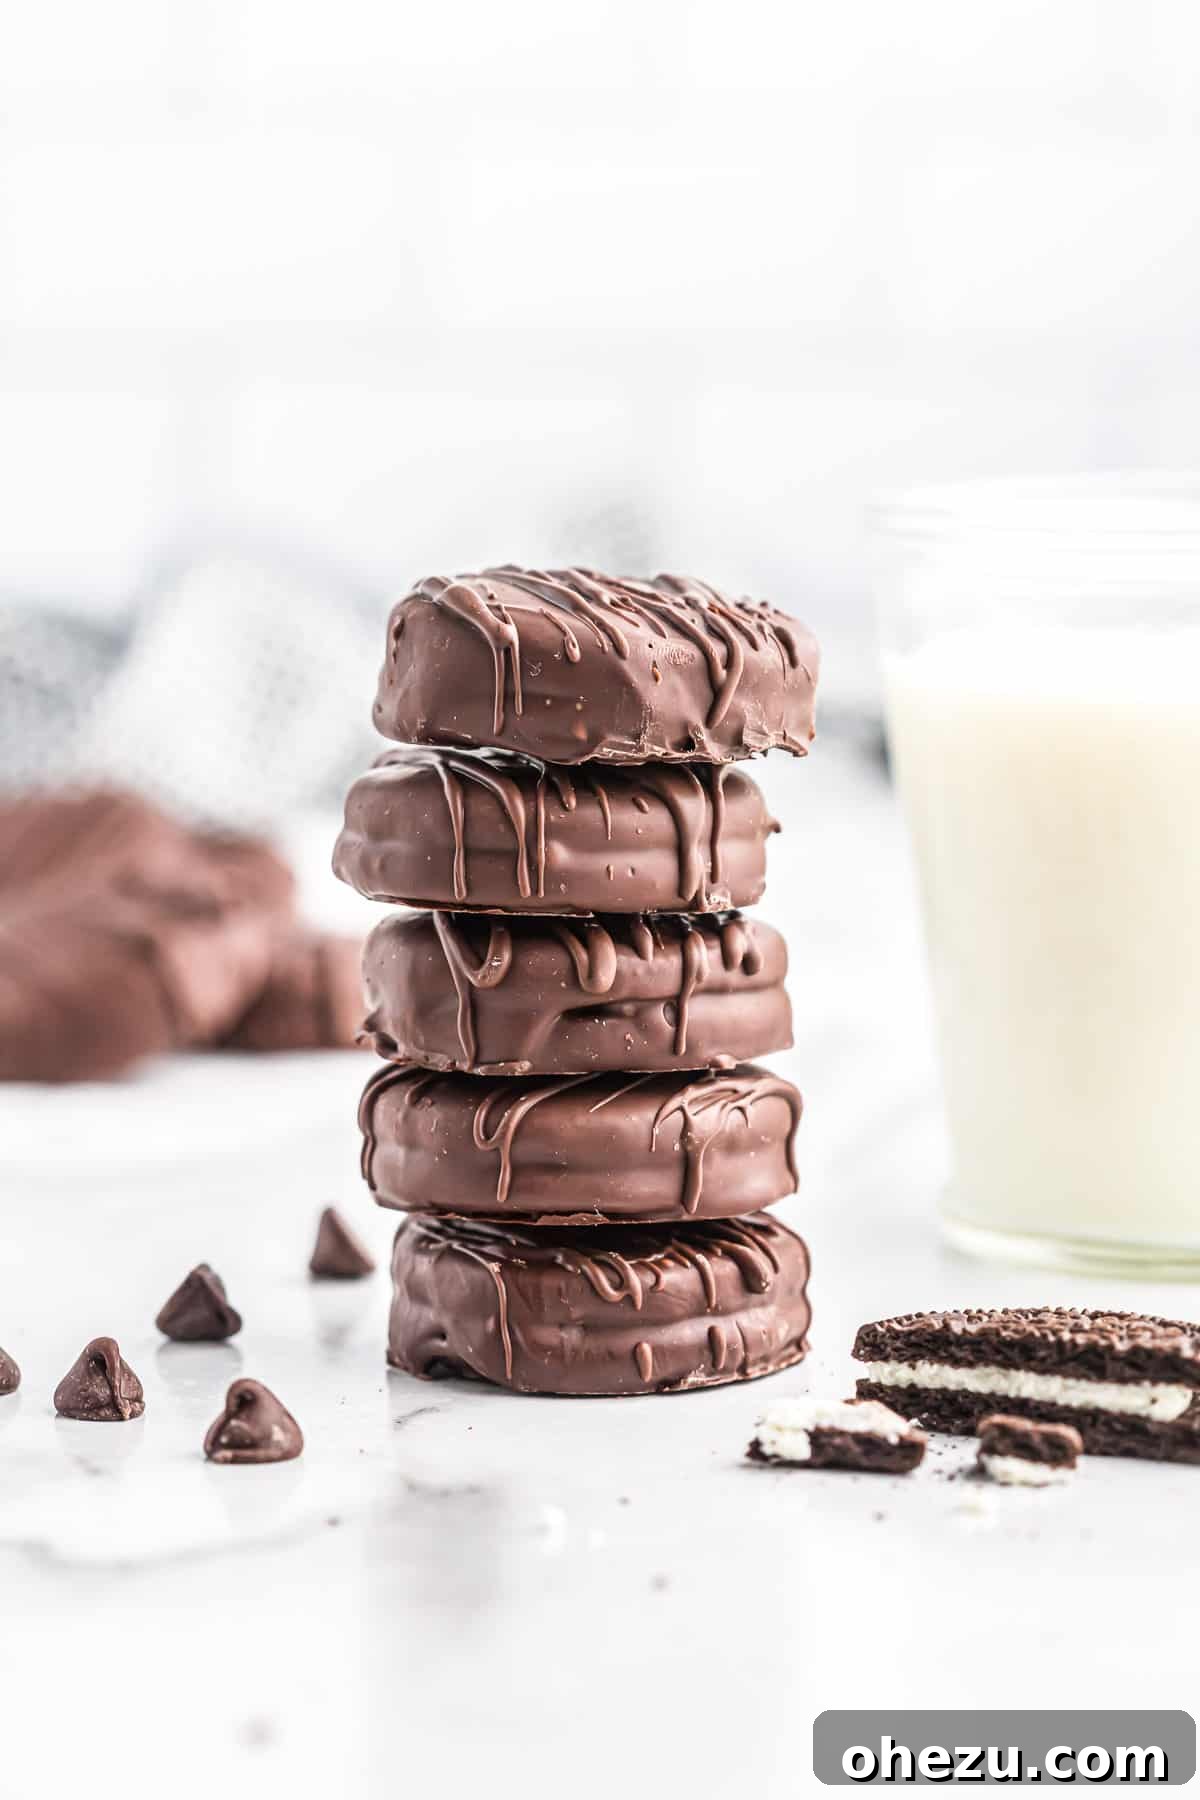
If you loved making these Chocolate Covered Oreos, you’re in for a treat! Here are more wonderfully simple and equally delicious dessert recipes that are perfect for any occasion:
- Ritz Cracker Cookies
- Chocolate Covered Almonds
- Oreo Balls
- Mint Oreo Truffles
- Graham Cracker Peanut Butter Balls
- Oreo Pie
- Chocolate Covered Pretzels
- Pecan Pie Balls
- Oreo Dip
- Peanut Butter Balls with Rice Krispies
- Ritz Cracker Toffee
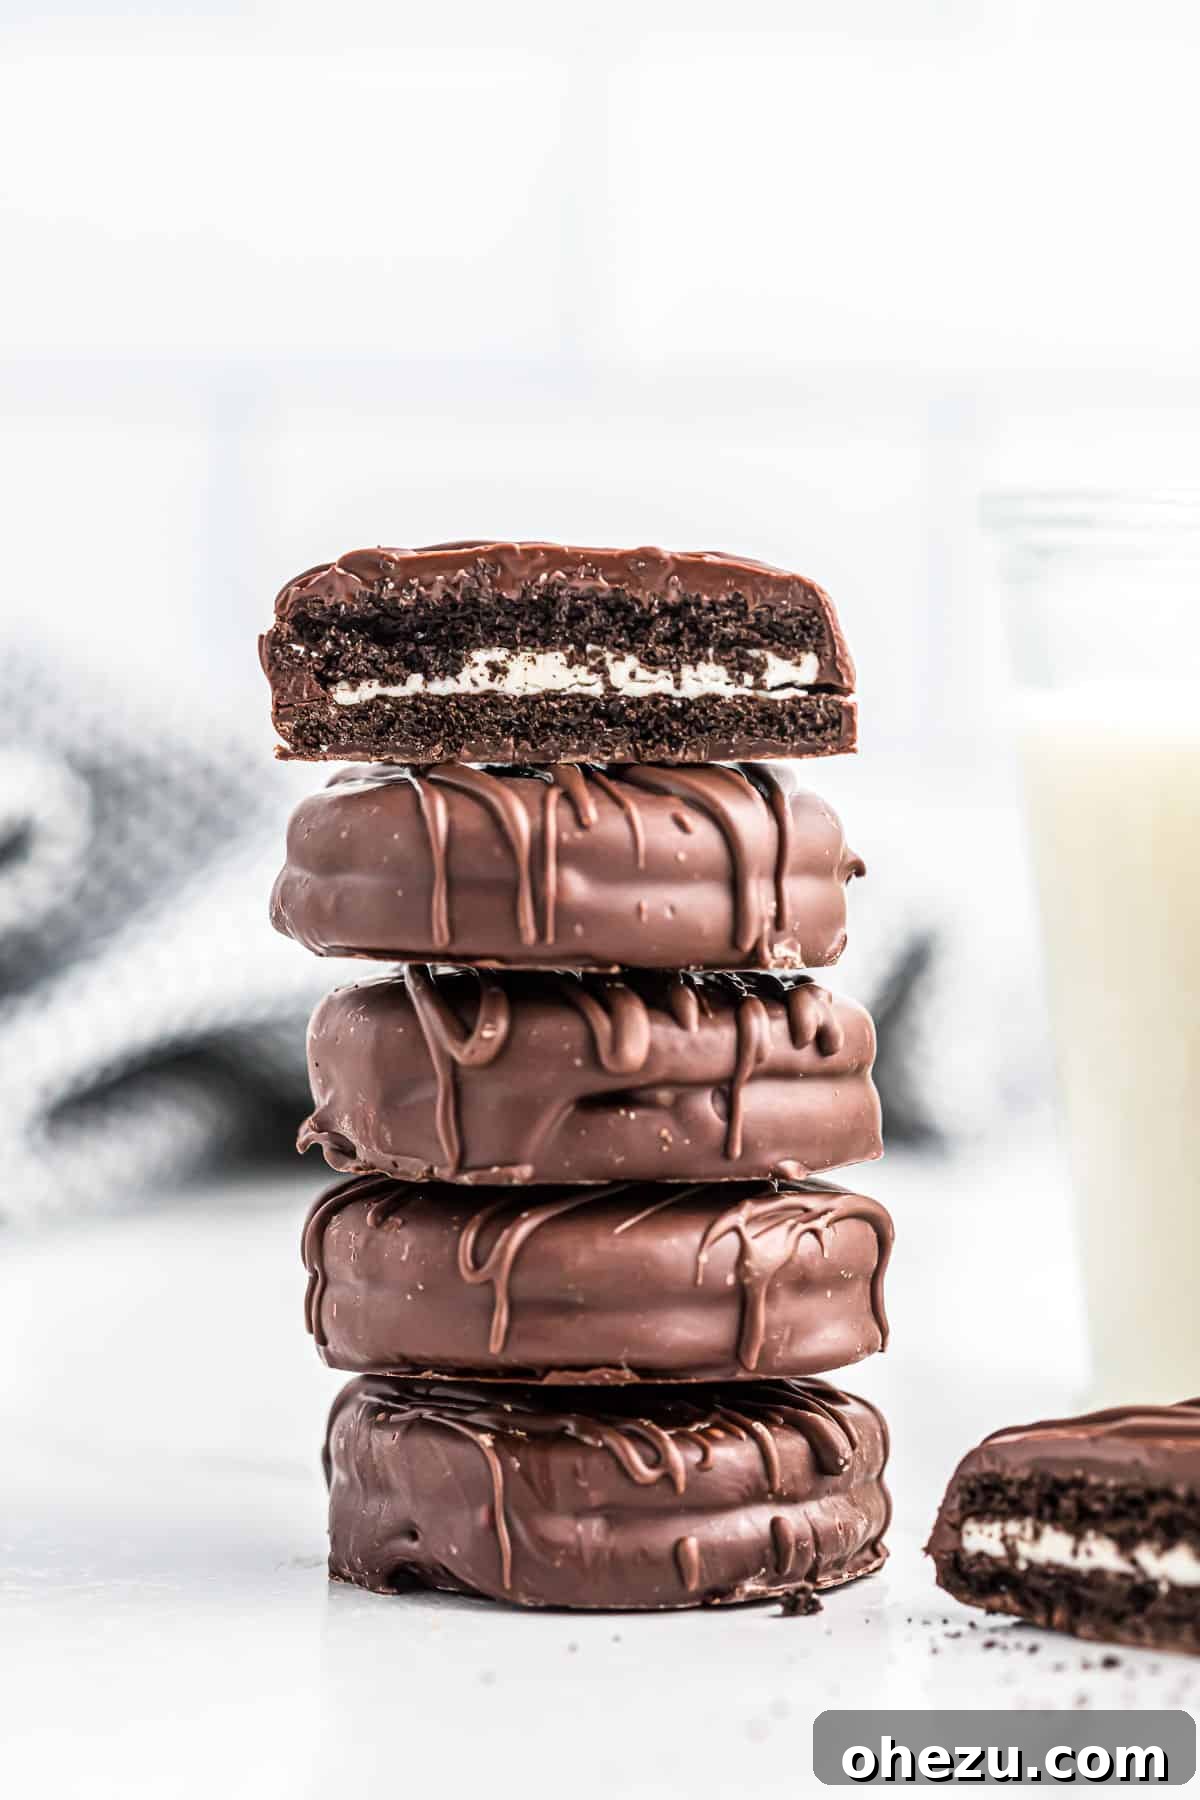
Go ahead and make a batch of these glorious chocolate-covered cookies for your next holiday gathering, special occasion, or simply to satisfy a sweet craving. They are guaranteed to be a universal hit!

Rated 5 out of 5 stars by 3 readers.
Chocolate Covered Oreos
Joy Shull
These chocolate covered Oreos are a simple dessert that is sure to impress!
10 mins
20 mins
30 mins
15
Print Recipe
Ingredients
- 15 Oreos
- 12 oz semi-sweet chocolate chips
- ¼ cup dark chocolate melting wafers, or additional chocolate chips
Instructions
- Melt the semi-sweet chocolate chips in the microwave in 30-second increments, stirring until smooth. Alternatively, use a double boiler method.
- Dip each Oreo into the melted chocolate, ensuring full coverage. Tap off any excess chocolate, then place them onto a parchment paper-lined baking sheet.
- Chill the chocolate-covered Oreos in the fridge for 15-20 minutes, or until the chocolate has completely hardened.
- Melt the dark chocolate melting wafers (or additional chocolate chips) until smooth. Drizzle the melted chocolate over the tops of the hardened Oreos in a decorative pattern.
- Chill the Oreos again for another 5-10 minutes until the drizzled chocolate is firm. Serve and enjoy!
Nutrition
Calories: 194kcal,
Carbohydrates: 27g,
Protein: 2g,
Fat: 11g,
Saturated Fat: 6g,
Polyunsaturated Fat: 5g,
Sodium: 58mg,
Fiber: 2g,
Sugar: 20g
Like this recipe? Share your thoughts below!