
Irresistible Dark Chocolate Pumpkin Truffles: Your New Favorite No-Bake Fall Dessert
Embrace the cozy flavors of autumn with these unbelievably delicious and healthy pumpkin truffles. Perfectly spiced, rich with dark chocolate, and entirely no-bake, gluten-free, and vegan, they’re a treat everyone can enjoy. Get ready for a mouthwatering experience!
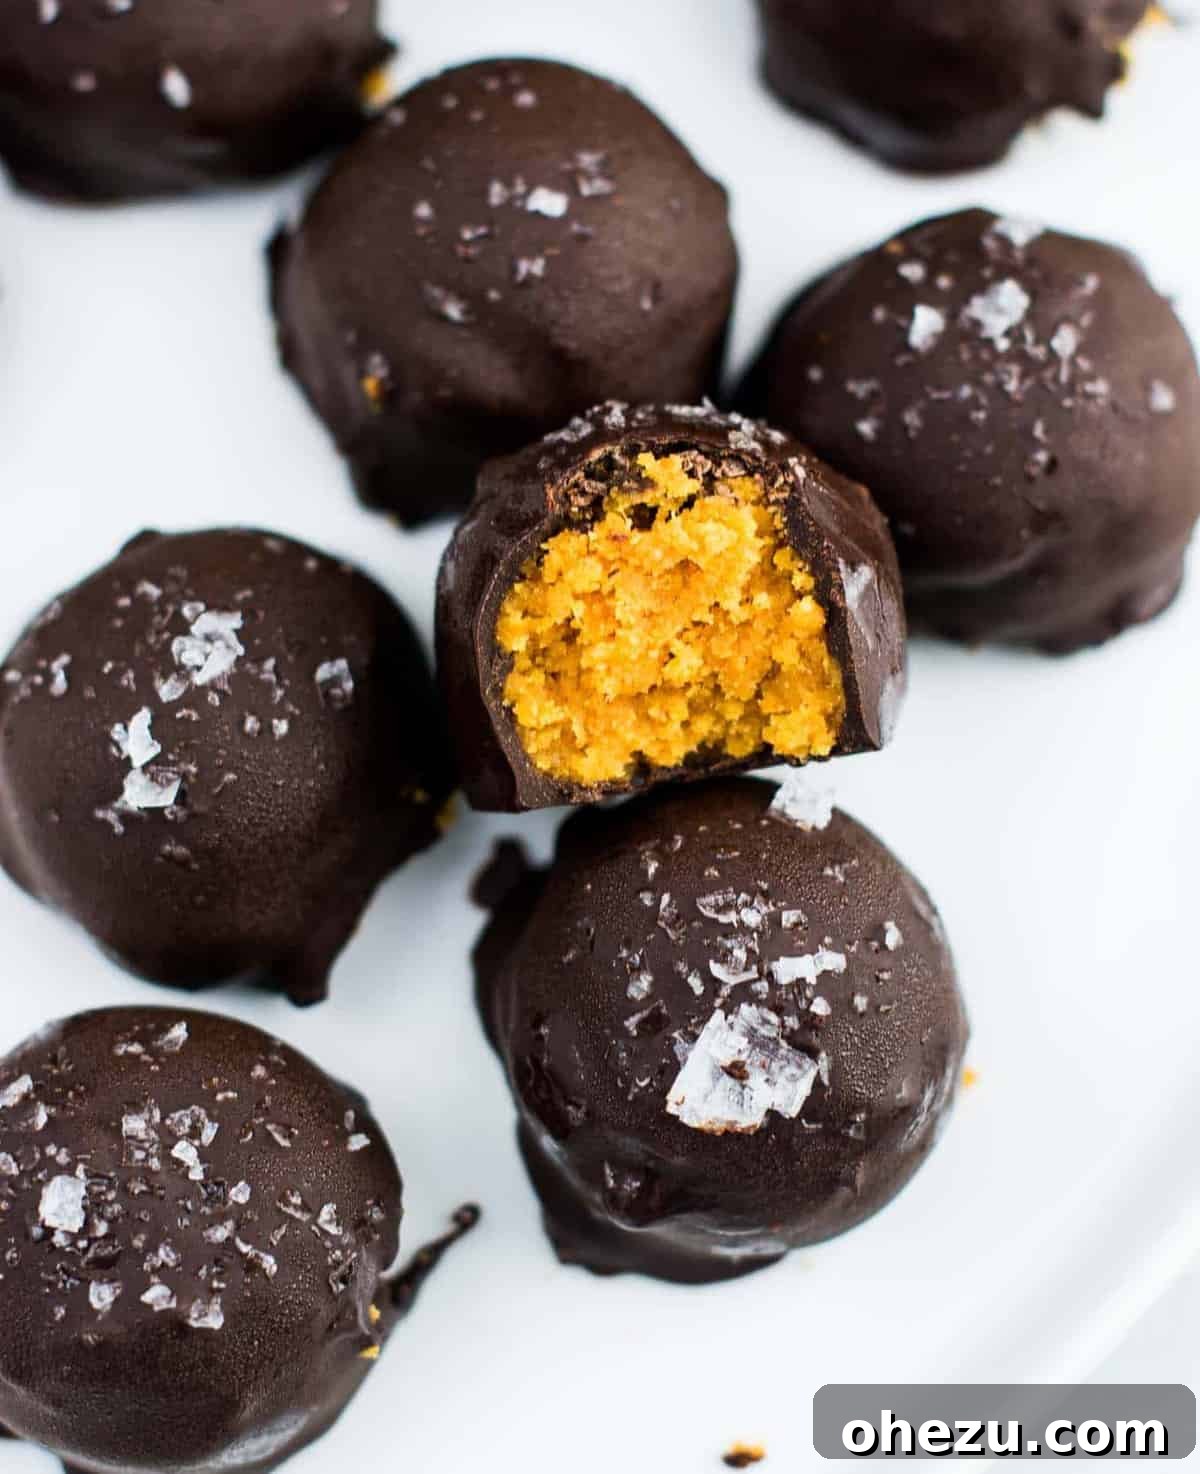
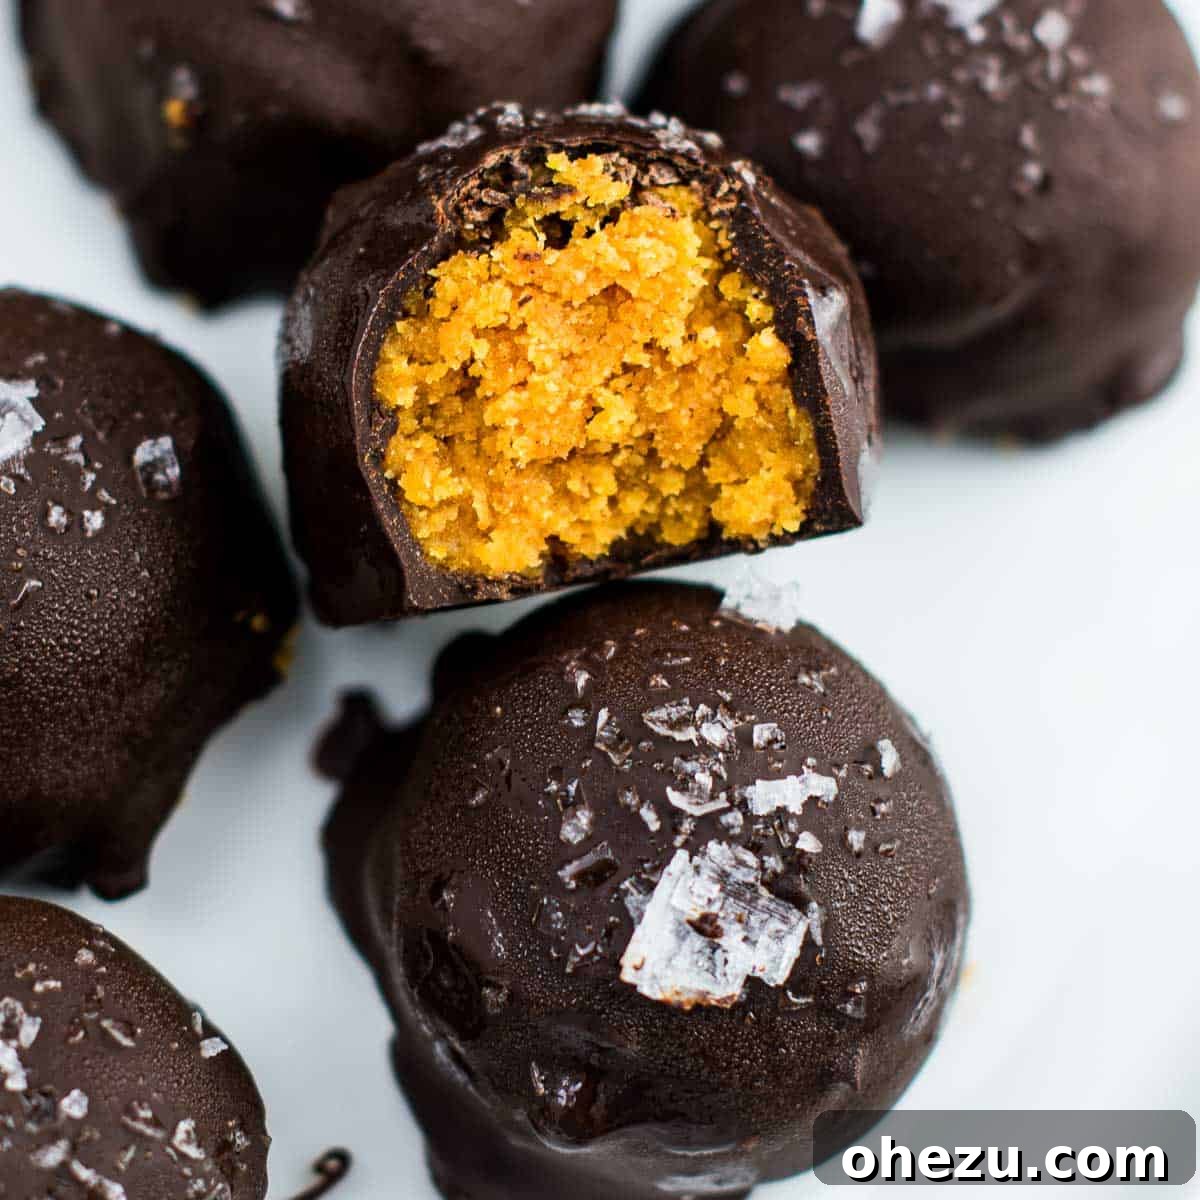
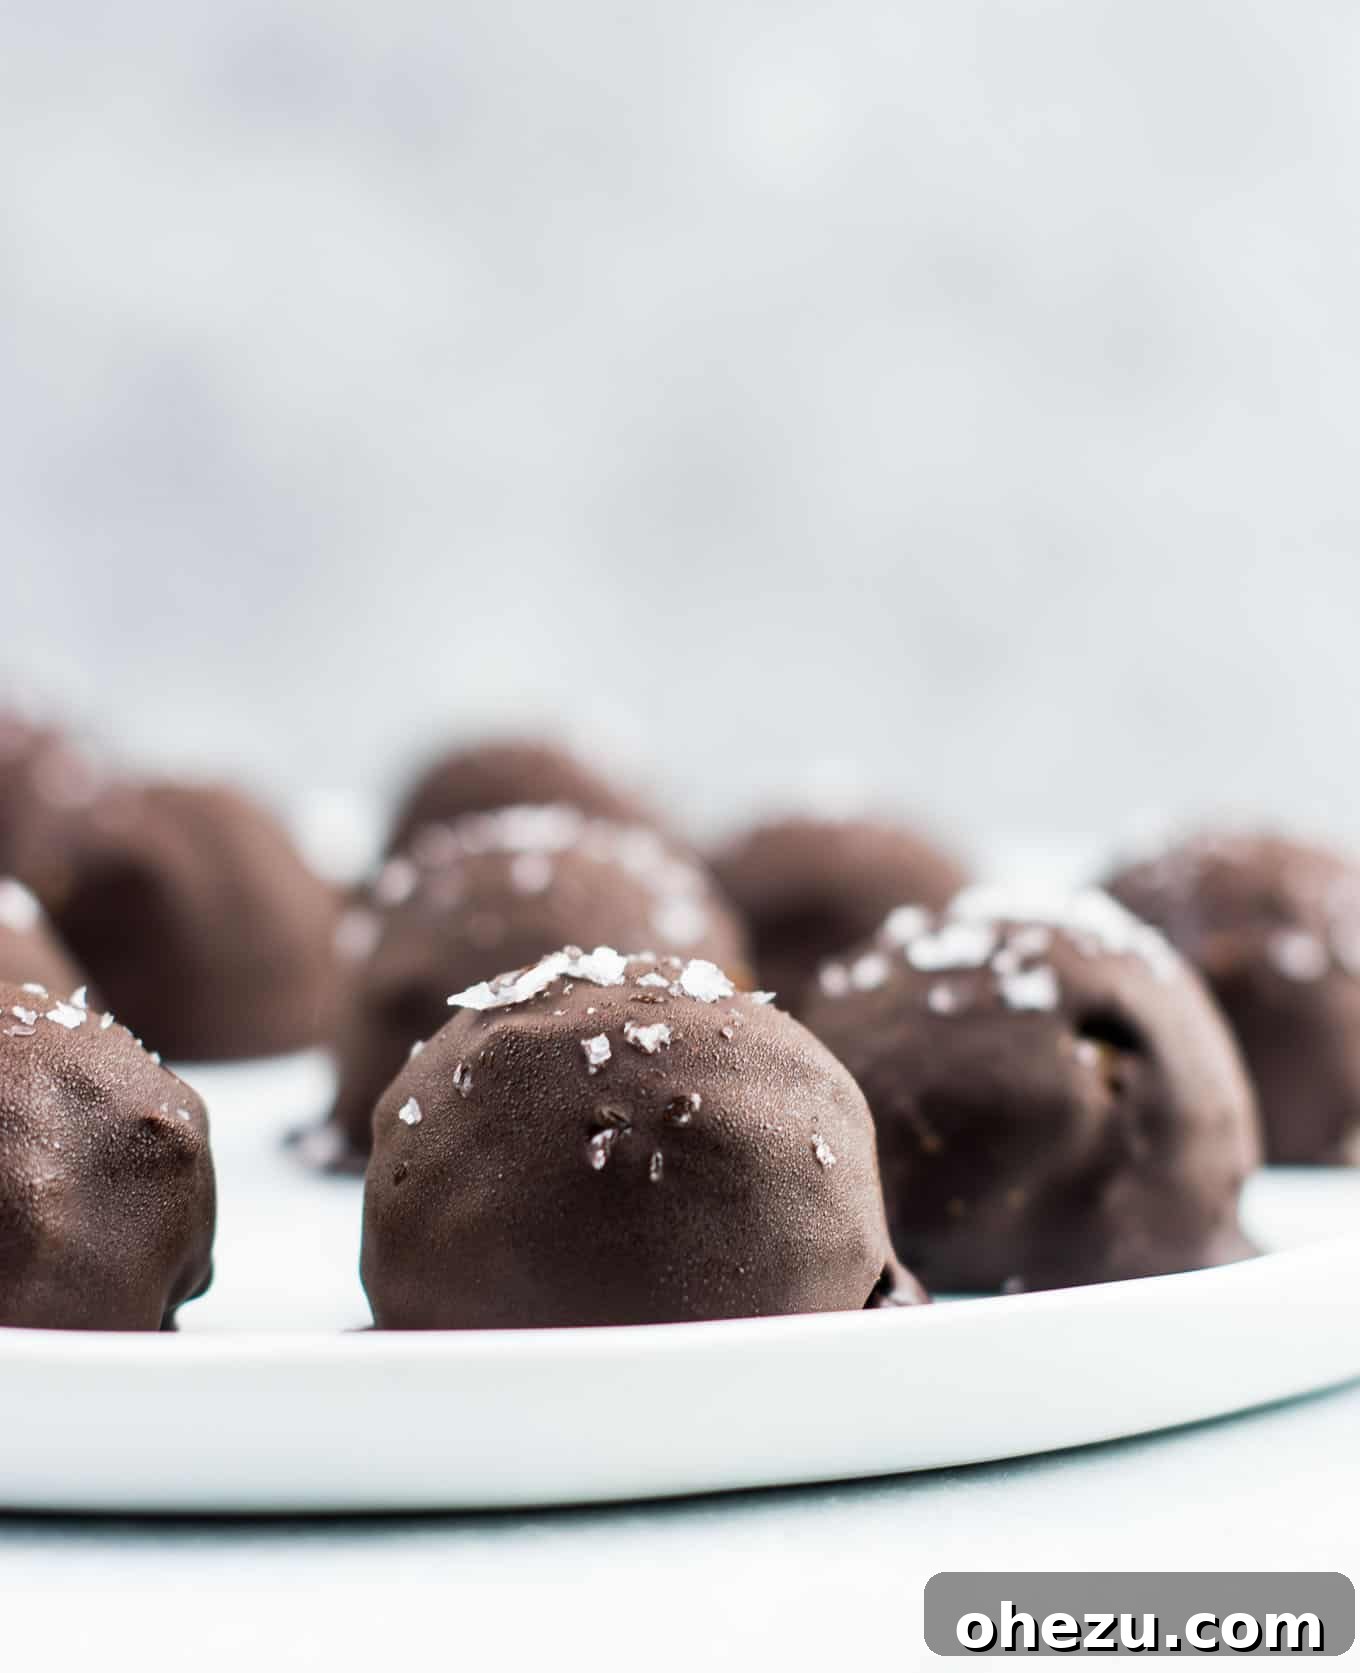
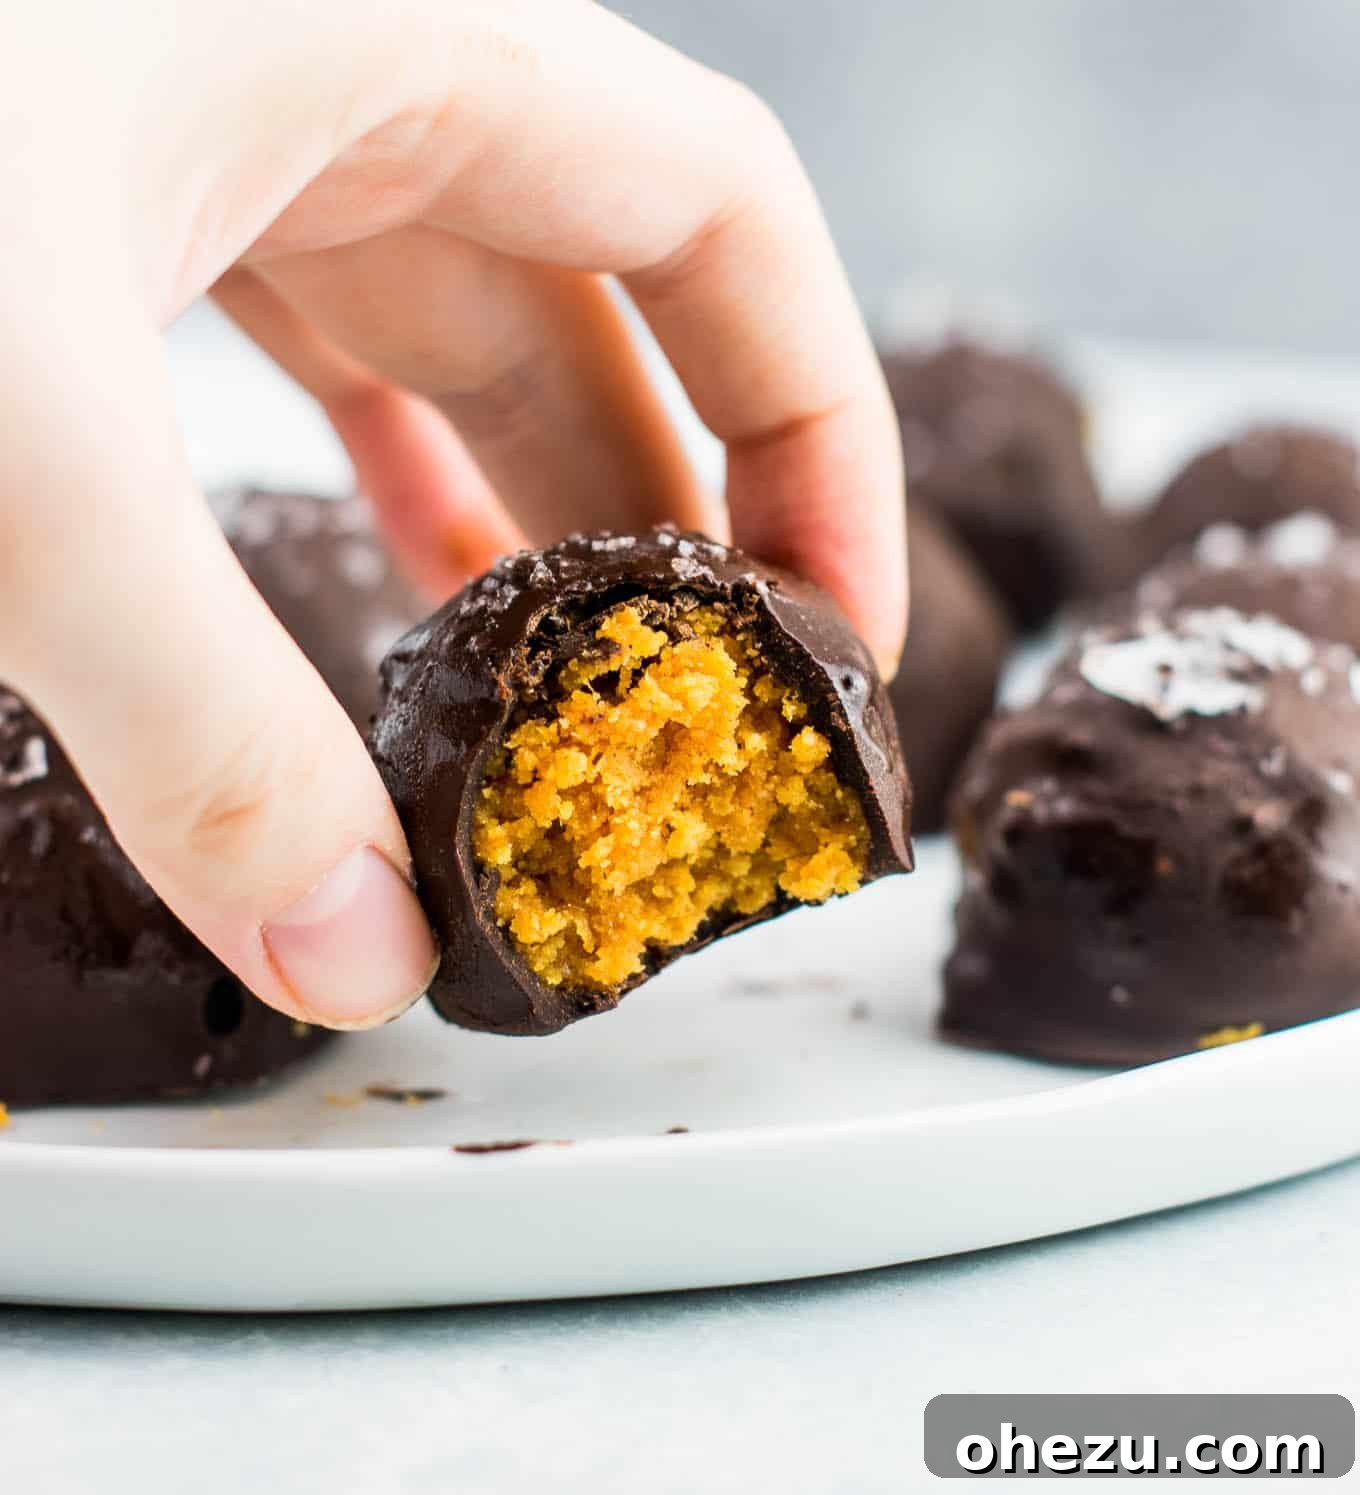
As the leaves begin to turn and the air gets crisp, there’s nothing quite like the comforting aroma of pumpkin spice filling our homes. This fall, we’re taking our pumpkin obsession to a new level with these extraordinary Dark Chocolate Pumpkin Truffles. Imagine a creamy, perfectly spiced pumpkin filling enveloped in a luxurious shell of melted dark chocolate, then finished with a sprinkle of flaky sea salt. These aren’t just any truffles; they are a celebration of autumn, crafted to be both indulgent and surprisingly wholesome.
If you’re a true pumpkin enthusiast, these delightful little bites will quickly become a staple in your fall dessert repertoire. Their simplicity and incredible flavor profile make them an instant hit. We predict you’ll be making these and perhaps even our pumpkin cheesecake truffles on repeat throughout the season.
Why These Pumpkin Truffles Are a Fall Must-Make
- Effortlessly Delicious: These truffles require absolutely no baking, making them perfect for busy days or when you want a quick dessert fix.
- Dietary Friendly: Naturally gluten-free and vegan, they cater to a wide range of dietary needs without compromising on taste or texture.
- Bursting with Fall Flavor: The combination of pure pumpkin, warm spices, and rich dark chocolate creates a harmonious flavor that embodies the essence of autumn.
- Perfect Texture: Thanks to our secret ingredient, coconut flour, these truffles achieve a firm yet melt-in-your-mouth consistency without excessive added sugar.
- Make Ahead: Ideal for meal prepping or entertaining, these truffles can be stored in the fridge or freezer, ready whenever a craving strikes.
Essential Ingredients for Your Dark Chocolate Pumpkin Truffles
Crafting these delectable pumpkin truffles requires a handful of simple, wholesome ingredients. Here’s what you’ll need and why each component is key to their success:
- Canned Pumpkin: Ensure you use pure pumpkin puree, not pumpkin pie filling. The latter contains added sugars and spices that will alter the flavor profile of your truffles.
- Coconut Flour: This is our “secret weapon” for achieving the perfect truffle texture. Coconut flour is highly absorbent, helping to firm up the pumpkin mixture without the need for large amounts of powdered sugar. It also adds a subtle hint of coconut flavor that complements the pumpkin beautifully. Note: Coconut flour is unique; do not substitute it 1:1 with other flours like almond or all-purpose, as it absorbs liquid very differently.
- Pure Maple Syrup: Provides natural sweetness and a lovely depth of flavor that pairs wonderfully with pumpkin.
- Vanilla Extract: Enhances all the other flavors, adding a warm, aromatic note.
- Pumpkin Pie Spice: The quintessential fall spice blend, bringing notes of cinnamon, nutmeg, ginger, and cloves.
- Salt: A pinch of salt is crucial for balancing the sweetness and enhancing the overall flavor of the truffles.
- Cinnamon: Adds an extra layer of warmth and classic fall spice to the pumpkin mixture.
- Pure Cane Sugar: Works with maple syrup to achieve the ideal sweetness, contributing to the truffle’s delightful taste.
- Coconut Oil: When melted, it acts as a binder, helping the truffle mixture come together and providing a smooth texture.
- Dark Chocolate Chips: The star of the coating! Dark chocolate offers a rich, slightly bitter contrast to the sweet pumpkin filling. Opt for good quality chocolate chips or a chopped dark chocolate bar.
- Flaked Sea Salt, for topping: This is non-negotiable! The flaky sea salt adds a crucial textural element and a delightful burst of salty flavor that cuts through the sweetness of the chocolate and pumpkin, elevating the truffles to gourmet status.
How to Make Perfect Dark Chocolate Pumpkin Truffles
Creating these delightful truffles is a straightforward process. Follow these simple steps for a perfect batch every time:
1. Prepare the Pumpkin Truffle Filling
In a large mixing bowl, combine all the ingredients for the pumpkin truffle filling: canned pumpkin, coconut flour, pure maple syrup, vanilla extract, salt, pumpkin pie spice, cinnamon, pure cane sugar, and melted coconut oil. Mix everything thoroughly until well combined.
As you incorporate the coconut flour, you’ll notice the batter thickening significantly. Continue mixing until the batter is uniform, thick, and no longer sticky to the touch. This firm consistency is key to easily shaping your truffles.
2. Shaping and Chilling the Truffles
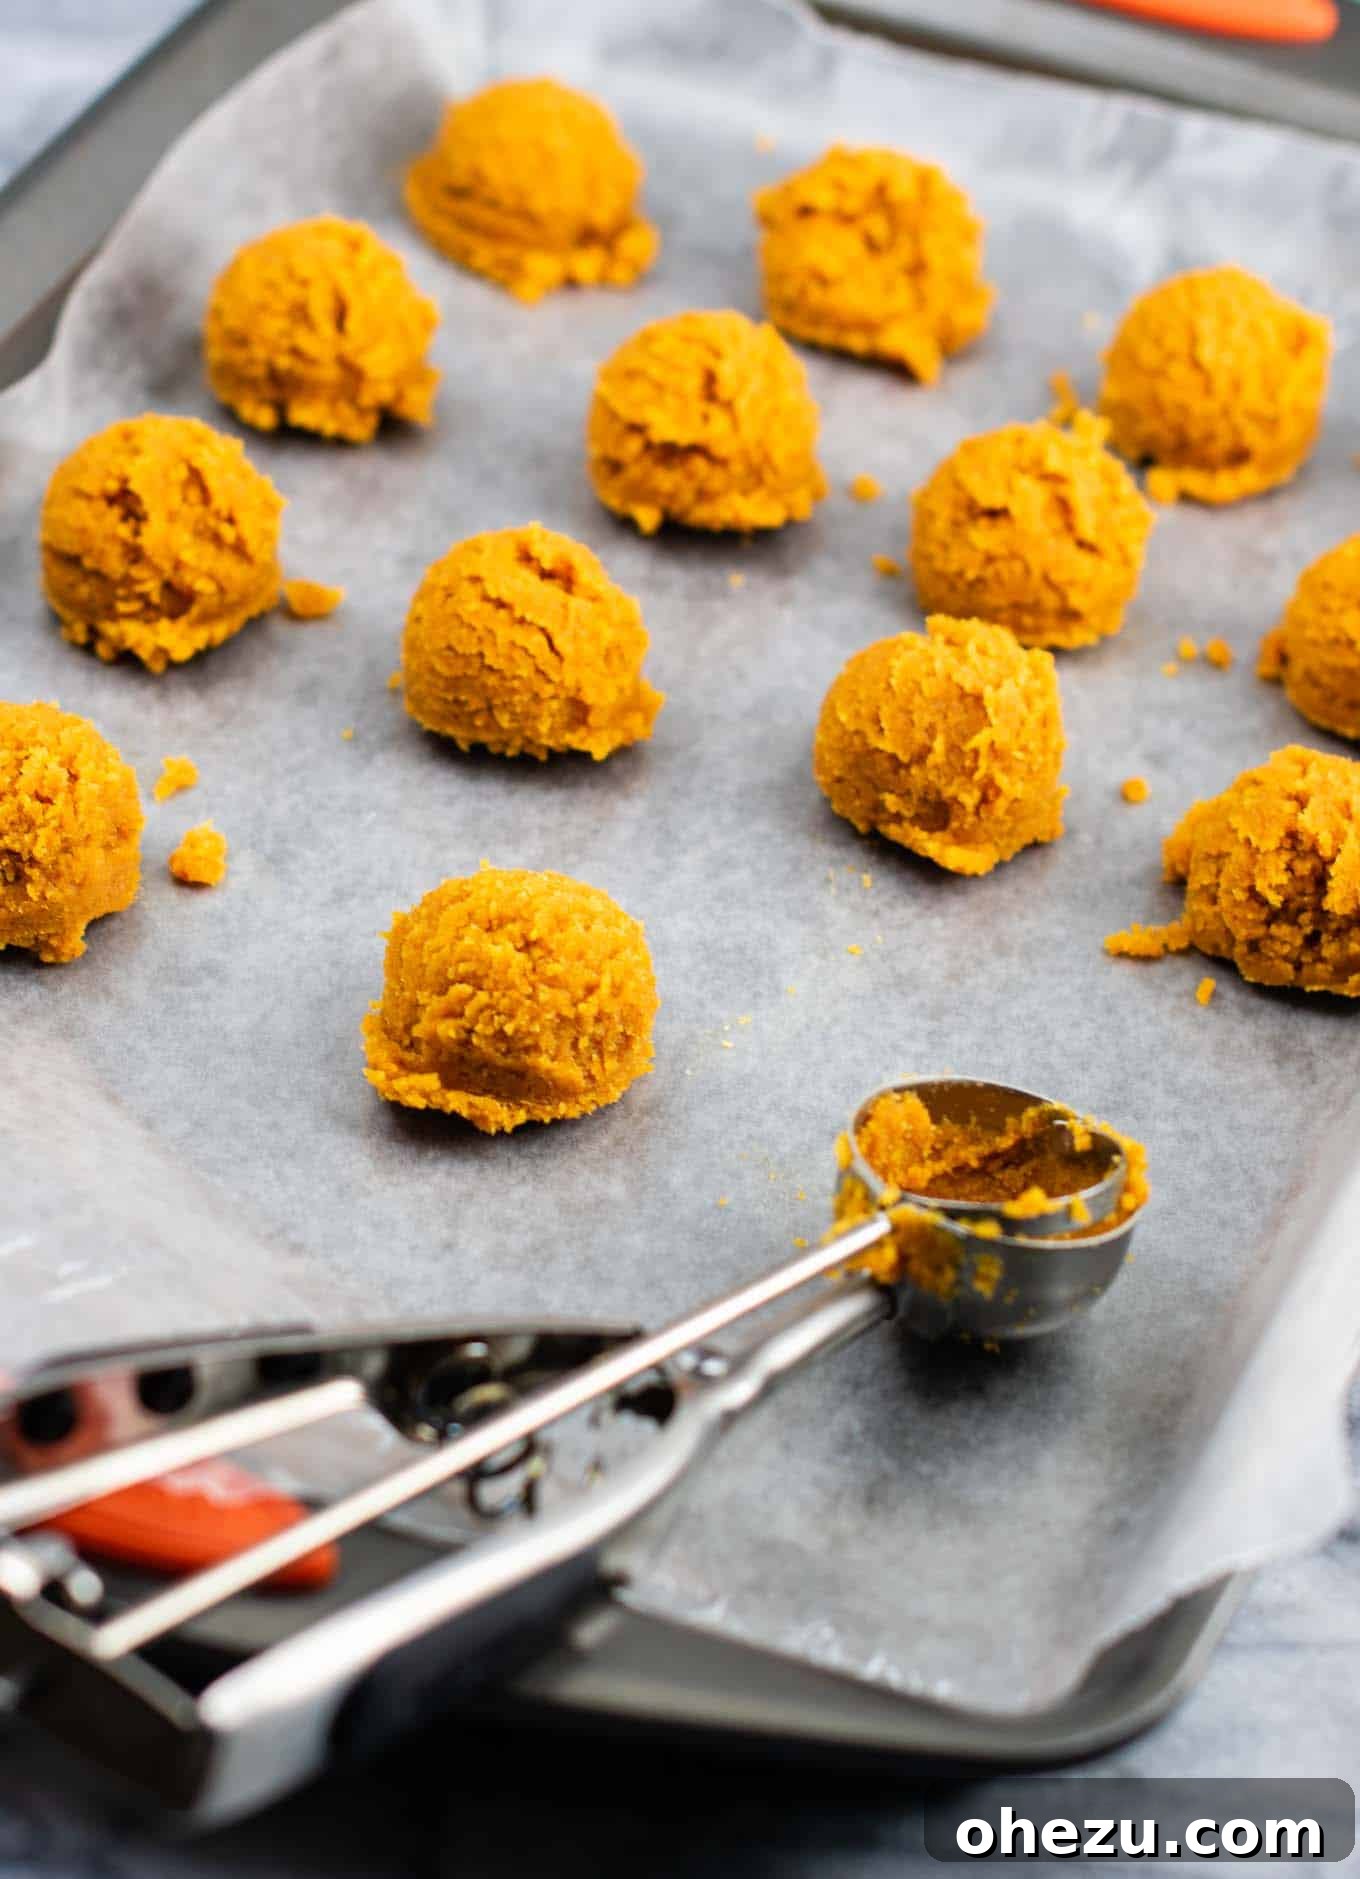
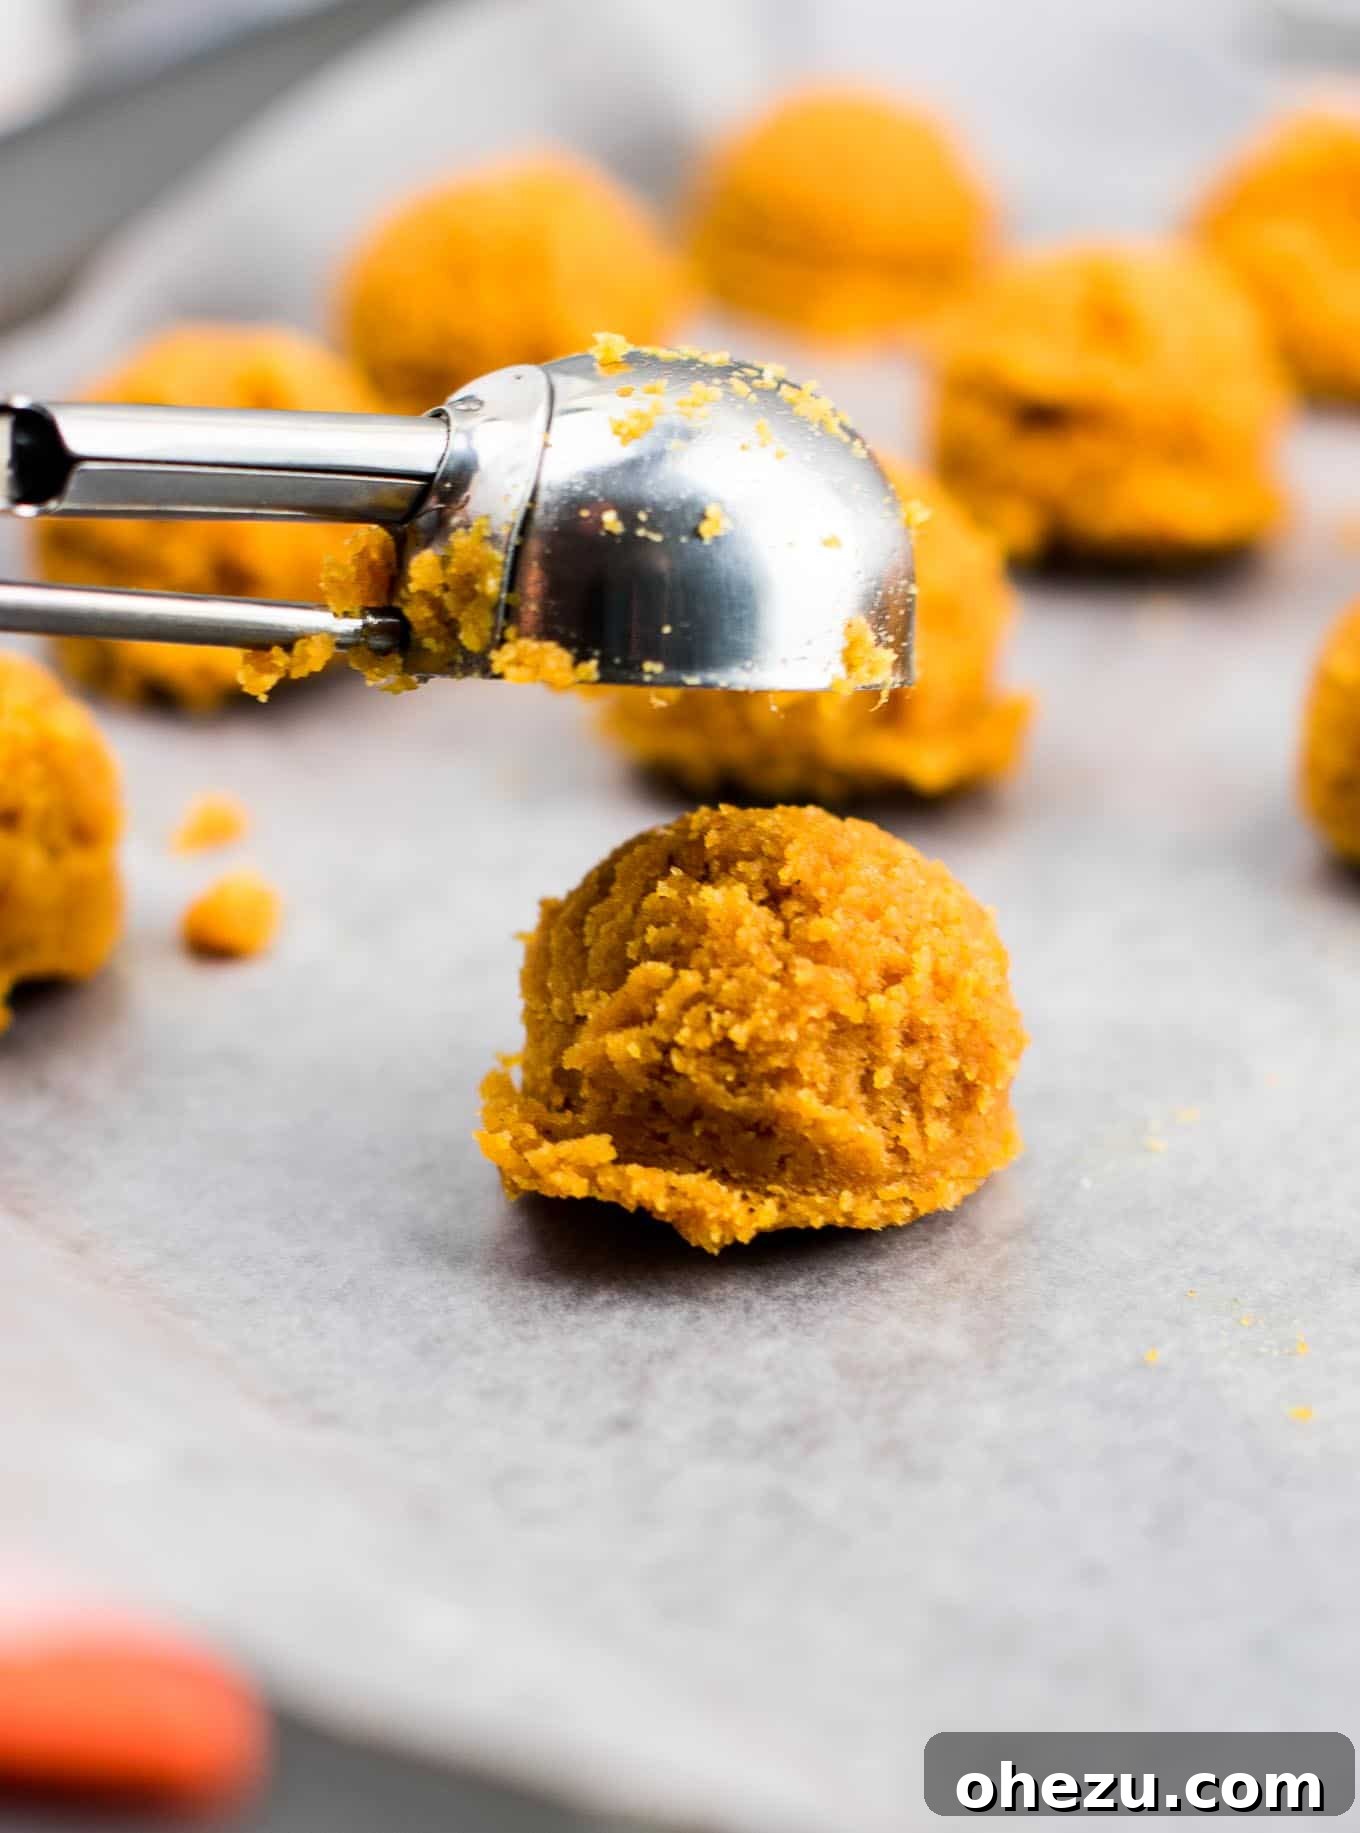
Our top tip for making these truffles incredibly easy and uniform is to use a mini cookie scoop. Simply grab a scoop, press the pumpkin batter firmly into it, and release it onto a baking sheet lined with wax paper or parchment paper. This method is far less messy than using your hands and significantly speeds up the preparation time, ensuring consistent truffle sizes.
Once all the truffle mixture has been scooped, place the entire baking sheet into the freezer for at least 20 minutes. This chilling step is crucial. Cold truffles are much firmer and easier to handle, which makes the dipping process smoother and prevents excess truffle batter from mixing into your melted chocolate.
3. Melt the Dark Chocolate Coating
While your pumpkin truffles are chilling in the freezer, it’s time to prepare your luscious chocolate coating. The recipe calls for dark chocolate chips, which provide a wonderful counterpoint to the sweet pumpkin. However, if you prefer a sweeter truffle, you can certainly use milk chocolate chips instead.
The easiest way to melt chocolate is in a microwave-safe bowl. Heat the chocolate chips in 20-30 second increments, stirring well after each interval. Be patient and stir often to prevent the chocolate from burning or seizing. Alternatively, you can use a double boiler method for a more controlled melt. Ensure the chocolate is smooth and completely melted before proceeding.
4. Dipping and Finishing Your Truffles
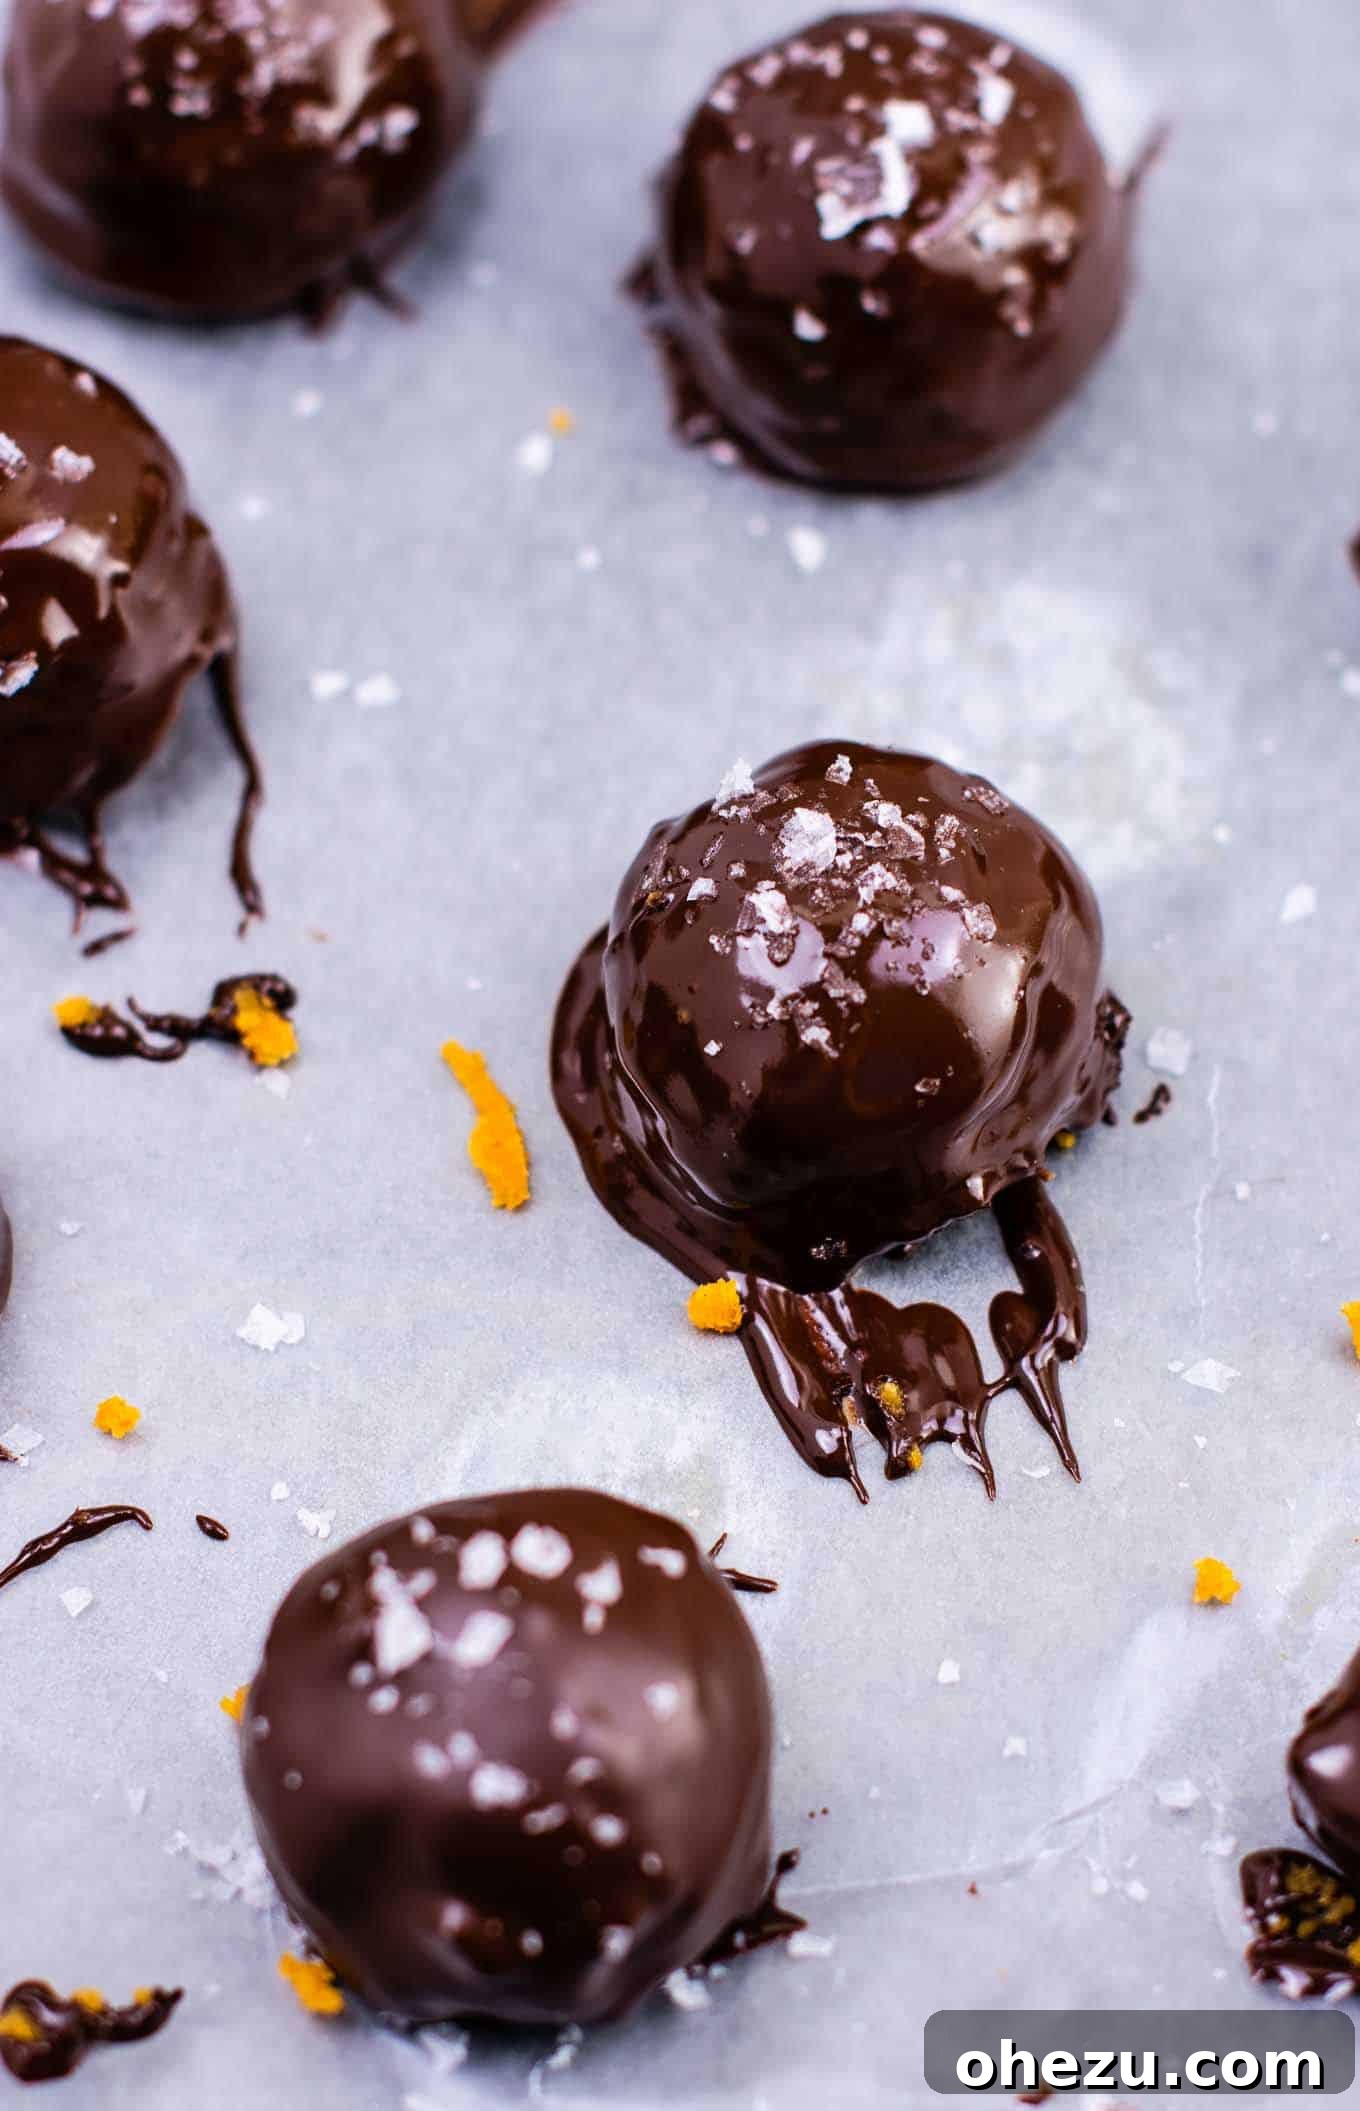
Once your truffles are perfectly chilled and firm, it’s time for the exciting part: coating them in chocolate! Drop one truffle at a time into the bowl of melted chocolate. Use a spoon to gently drizzle chocolate over the entire surface, ensuring it’s fully coated. Then, swiftly remove the truffle using a fork and a toothpick to assist, allowing any excess chocolate to drip off before carefully placing it back onto your wax paper-lined baking sheet.
If you’re new to making truffles, a quick online search for “how to dip truffles” can provide helpful visual tutorials. Remember, they don’t have to be absolutely perfect – homemade charm is part of the appeal!
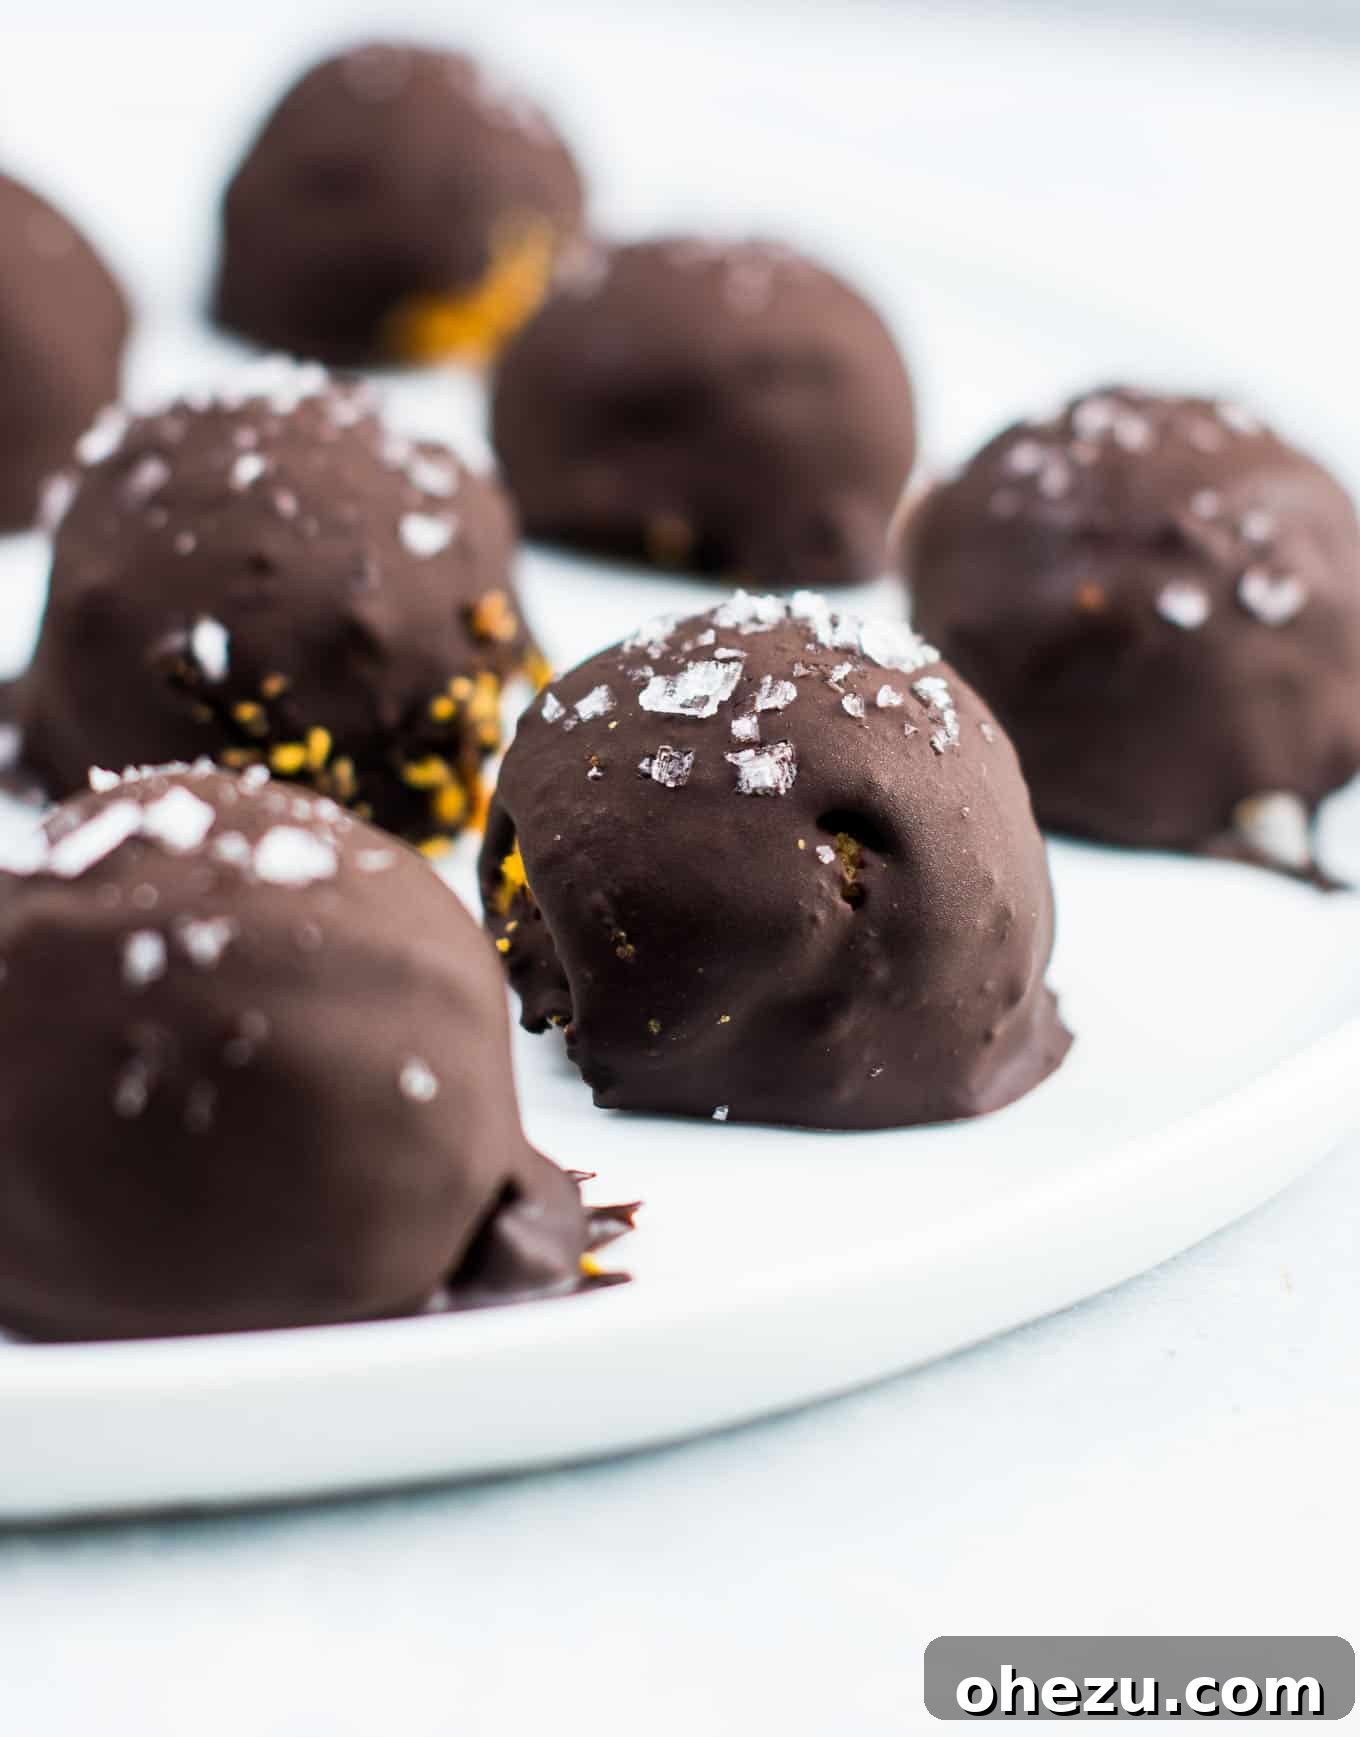
Immediately after each truffle is dipped and placed back on the baking sheet, sprinkle it generously with flaky sea salt. This is a critical step because the chocolate hardens quickly. Applying the sea salt immediately ensures it adheres properly, providing that incredible flavor and textural contrast that truly elevates these truffles. Trust us, the combination of dark chocolate and flaky sea salt is absolutely life-changing and takes these treats to the next level!
Continue this process until all your pumpkin truffles are beautifully coated and adorned with sea salt. Once dipped, return the baking sheet to the freezer until the chocolate coating is completely solid.
Tips for Truffle-Making Success
- Measure Coconut Flour Accurately: Coconut flour is very absorbent. Measuring it correctly is crucial for the right truffle consistency.
- Don’t Overmix the Pumpkin Filling: Mix until just combined and smooth. Overmixing can sometimes develop gluten (even if it’s gluten-free flour, the texture can change), though less of a concern with coconut flour.
- Ensure Truffles are Frozen Solid: The colder the truffles, the easier they are to dip without falling apart or leaving too much residue in your chocolate.
- Control Chocolate Temperature: When melting chocolate, avoid overheating it, which can cause it to seize and become thick or grainy. Melt it slowly and stir frequently.
- Work Quickly While Dipping: Have your sea salt ready. Chocolate sets fast, especially on cold truffles, so sprinkle the salt immediately after dipping each one.
- Embrace Imperfection: Homemade truffles don’t need to look factory-perfect. The unique charm of a handmade treat is part of its appeal!
Storage and Serving Suggestions
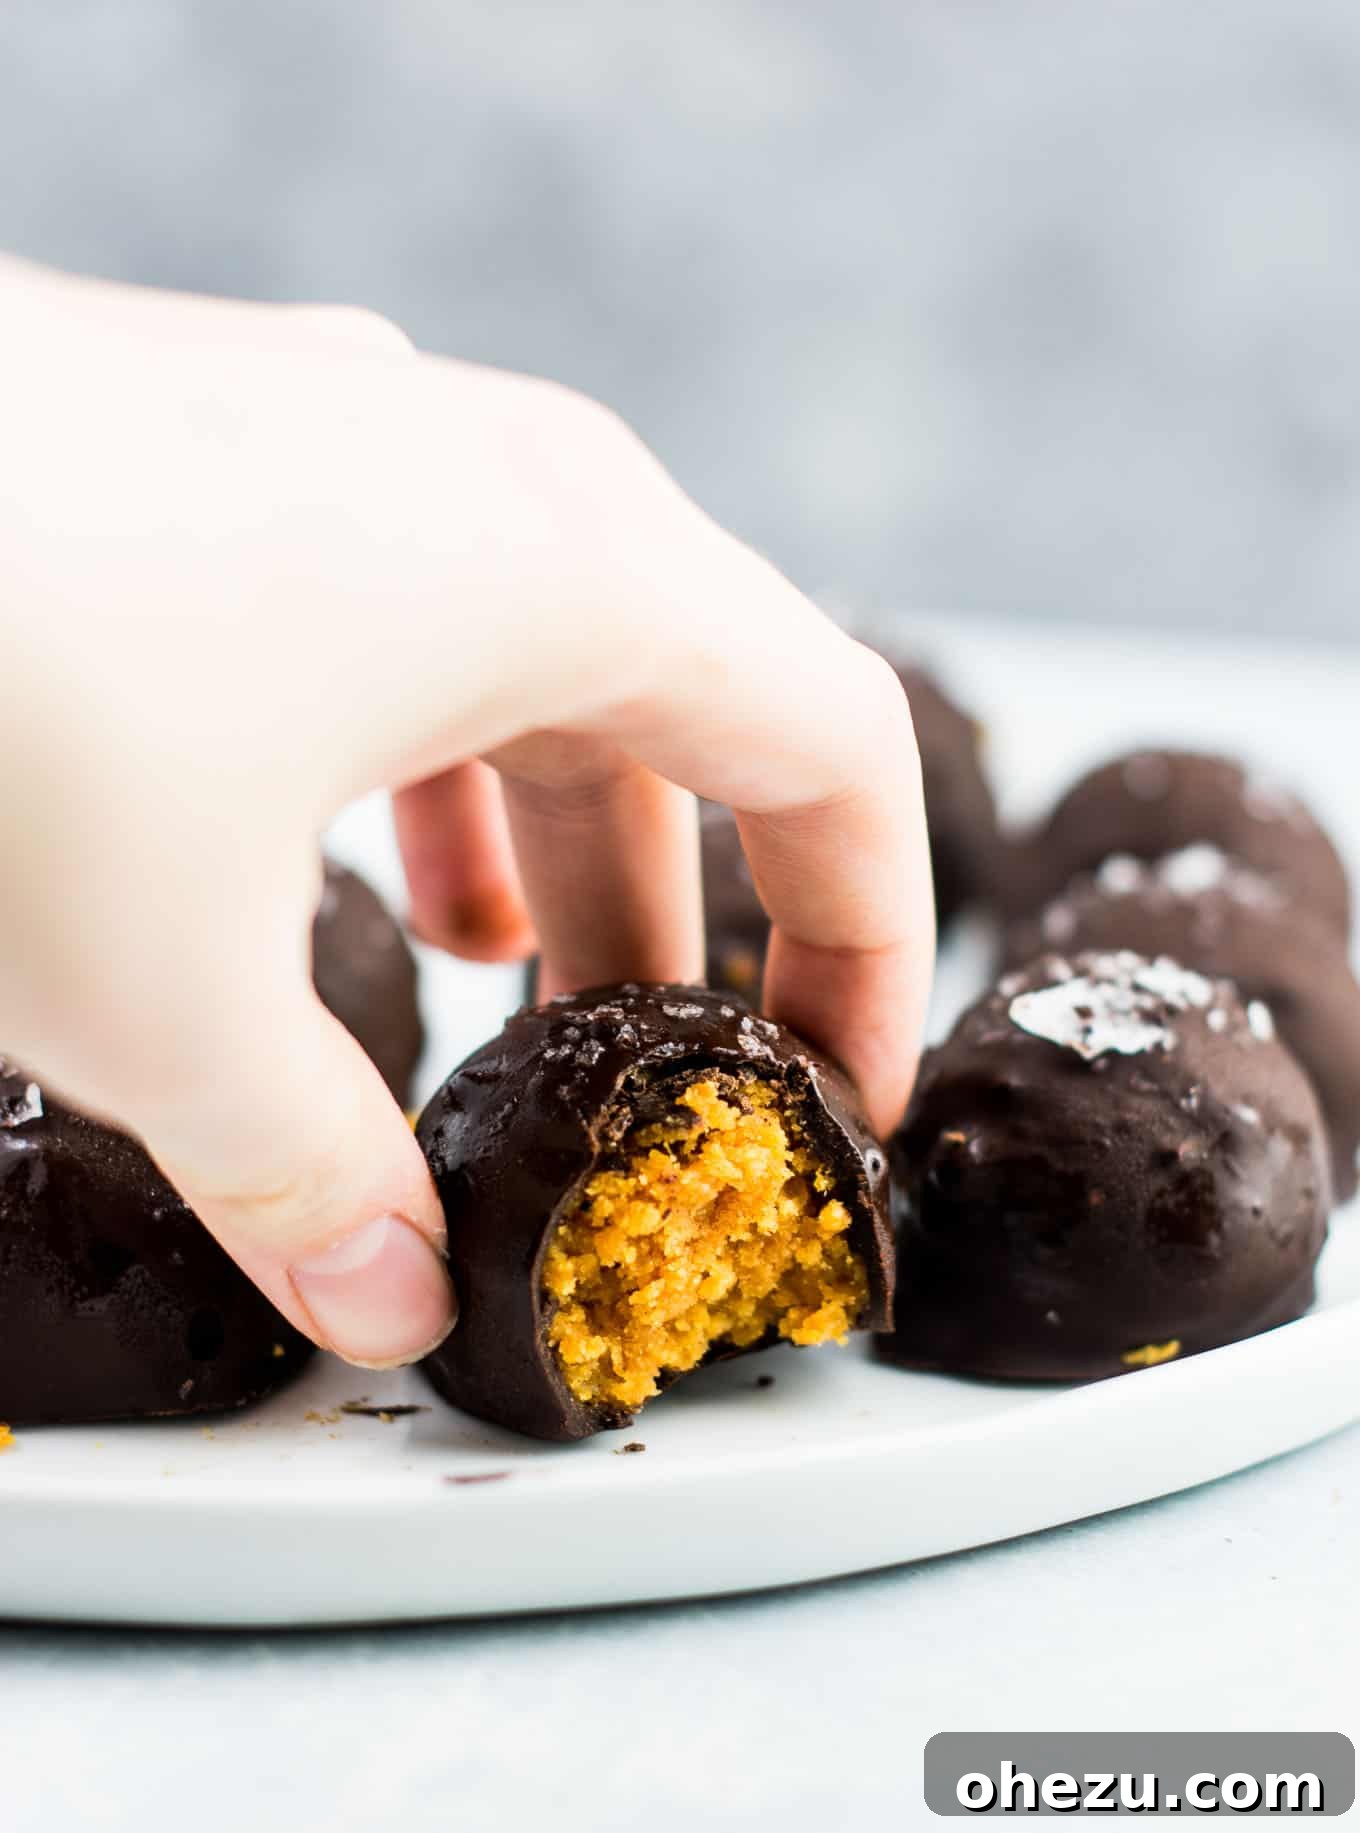
These delightful pumpkin truffles are not only easy to make but also incredibly convenient to store. Any leftovers should be kept in an airtight container in the refrigerator for up to a week, or in the freezer for up to two months. If freezing, let them thaw slightly at room temperature for a few minutes before serving for the best texture.
They make a fantastic addition to any fall gathering, a thoughtful edible gift, or simply a healthy indulgence to enjoy with your afternoon coffee or tea. Their naturally vegan and gluten-free nature makes them suitable for almost everyone, ensuring no one misses out on this autumnal treat!
More Delicious Pumpkin Recipes to Try
Can’t get enough of pumpkin? Here are some other fantastic pumpkin recipes you’ll love:
- Vegan Pumpkin Chocolate Chip Cookies
- Gluten Free Pumpkin Cookies
- Frozen Pumpkin Pie Smoothie
- Pumpkin Cream Cheese Dip
- Gluten Free Pumpkin Pie
Dark Chocolate Pumpkin Truffles Recipe
By: Joy Shull
These dark chocolate pumpkin truffles are naturally gluten-free and vegan. A healthy pumpkin spiced truffle that is perfect for fall!
- Prep Time: 30 minutes
- Additional Time: 20 minutes (for chilling)
- Total Time: 50 minutes
- Servings: 35 truffles
Ingredients
- 15 oz canned pumpkin
- 1 cup coconut flour
- 3/4 cups pure maple syrup
- 1 teaspoon vanilla extract
- 1 teaspoon pumpkin pie spice
- 1/2 teaspoon salt
- 1/2 teaspoon cinnamon
- 1/2 cup pure cane sugar
- 1/8 cup coconut oil, melted (measure while solid, then melt)
- 3 1/2 cups dark chocolate chips
- Flaked sea salt, for topping
Instructions
- Add the pumpkin, maple syrup, vanilla, pumpkin pie spice, salt, cinnamon, sugar, and melted coconut oil to a bowl and mix well.
- Add the coconut flour and mix until well combined. The batter will be thick and not sticky.
- Use a mini ice cream scoop or a spoon to form uniform truffles.
- Place the truffles on a wax paper-lined baking sheet.
- Freeze the truffles for 20 minutes to firm them up.
- Melt the chocolate while the truffles are freezing. The easiest way is to melt in a microwave-safe bowl in 20-30 second increments, stirring often to prevent burning.
- For each truffle, drop it into the melted chocolate. Use a spoon to drizzle chocolate over the top to ensure full coverage.
- Use a fork and a toothpick to carefully lift the truffle out of the chocolate and place it back onto the lined baking sheet.
- Immediately top with flaked sea salt before the chocolate hardens.
- Repeat until every truffle is dipped in chocolate and topped with sea salt.
- Place the truffles back in the freezer until the chocolate coating is completely solid.
- Store leftovers in the fridge or freezer in an airtight bag or container.
Notes
- If you’ve never made truffles before, a quick search for “how to dip truffles” online can provide helpful visual tutorials to guide you through the dipping process.
Nutrition (per truffle, estimated)
Calories: 153kcal,
Carbohydrates: 21g,
Protein: 2g,
Fat: 7g,
Saturated Fat: 6g,
Polyunsaturated Fat: 0.1g,
Monounsaturated Fat: 0.1g,
Cholesterol: 0.2mg,
Sodium: 61mg,
Potassium: 155mg,
Fiber: 2g,
Sugar: 14g,
Vitamin A: 1893IU,
Vitamin C: 1mg,
Calcium: 66mg,
Iron: 1mg
Conclusion: Your New Fall Favorite
These dark chocolate pumpkin truffles are more than just a dessert; they’re a celebration of fall, a testament to simple, wholesome ingredients, and a truly delightful treat for any occasion. Whether you’re sharing them with loved ones or savoring them solo, their rich flavor and satisfying texture are sure to bring a smile to your face. So, gather your ingredients, follow our easy steps, and prepare to fall in love with your new favorite no-bake fall dessert. Happy pumpkin season!