
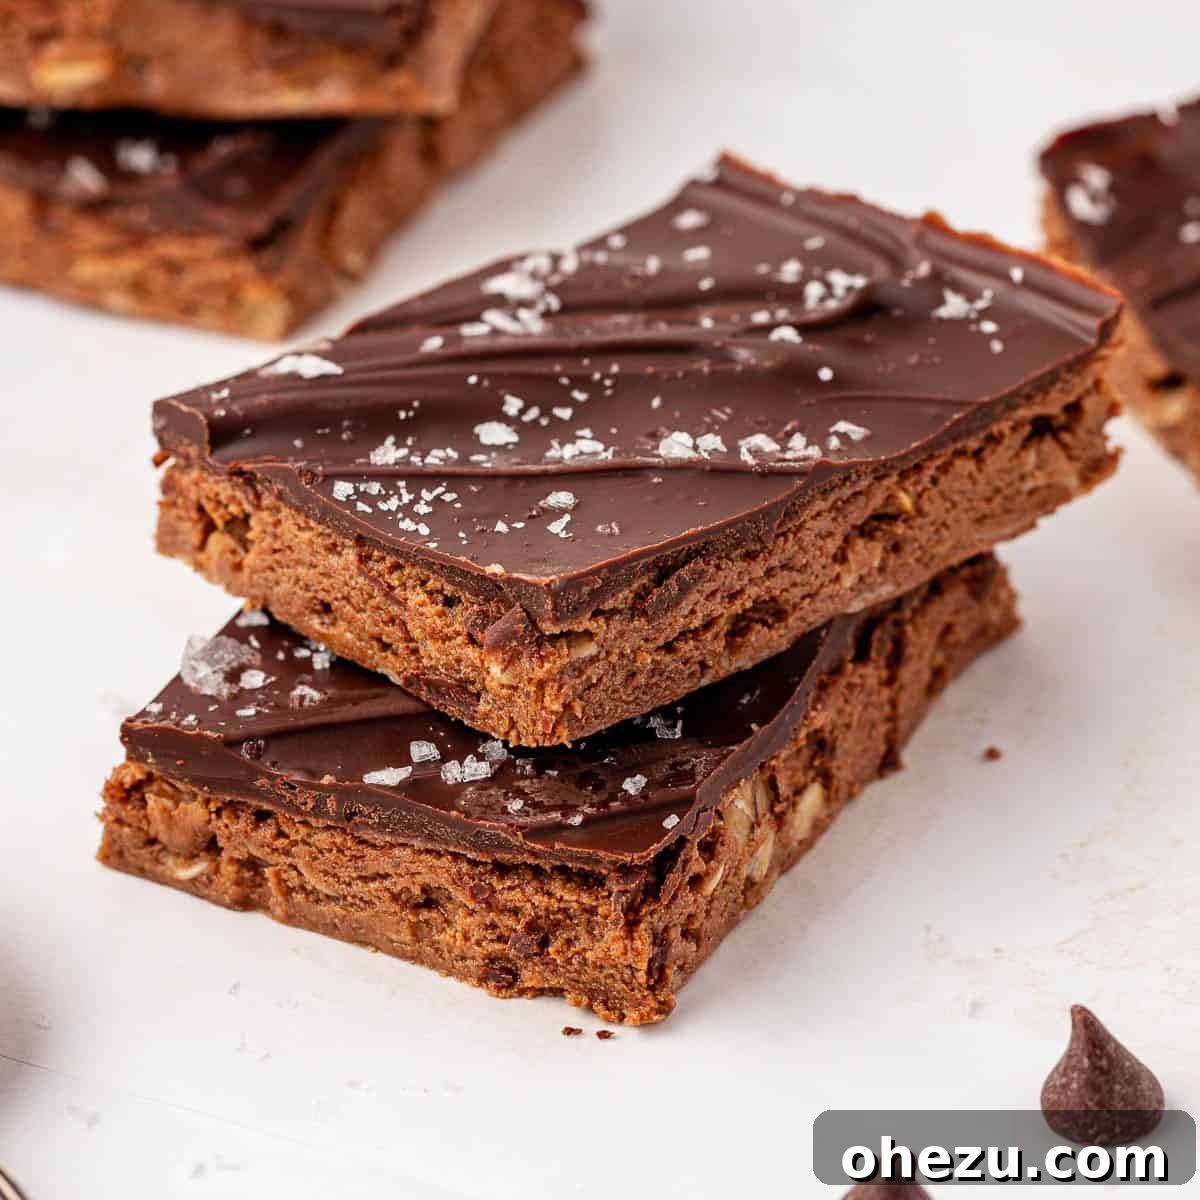
Homemade No-Bake Chocolate Protein Bars: Your Ultimate Healthy Snack
These homemade Chocolate Protein Bars are an incredibly easy no-bake snack that you can prep in minutes, perfect for busy lifestyles and healthy eating!
Why Homemade Protein Bars are a Game Changer
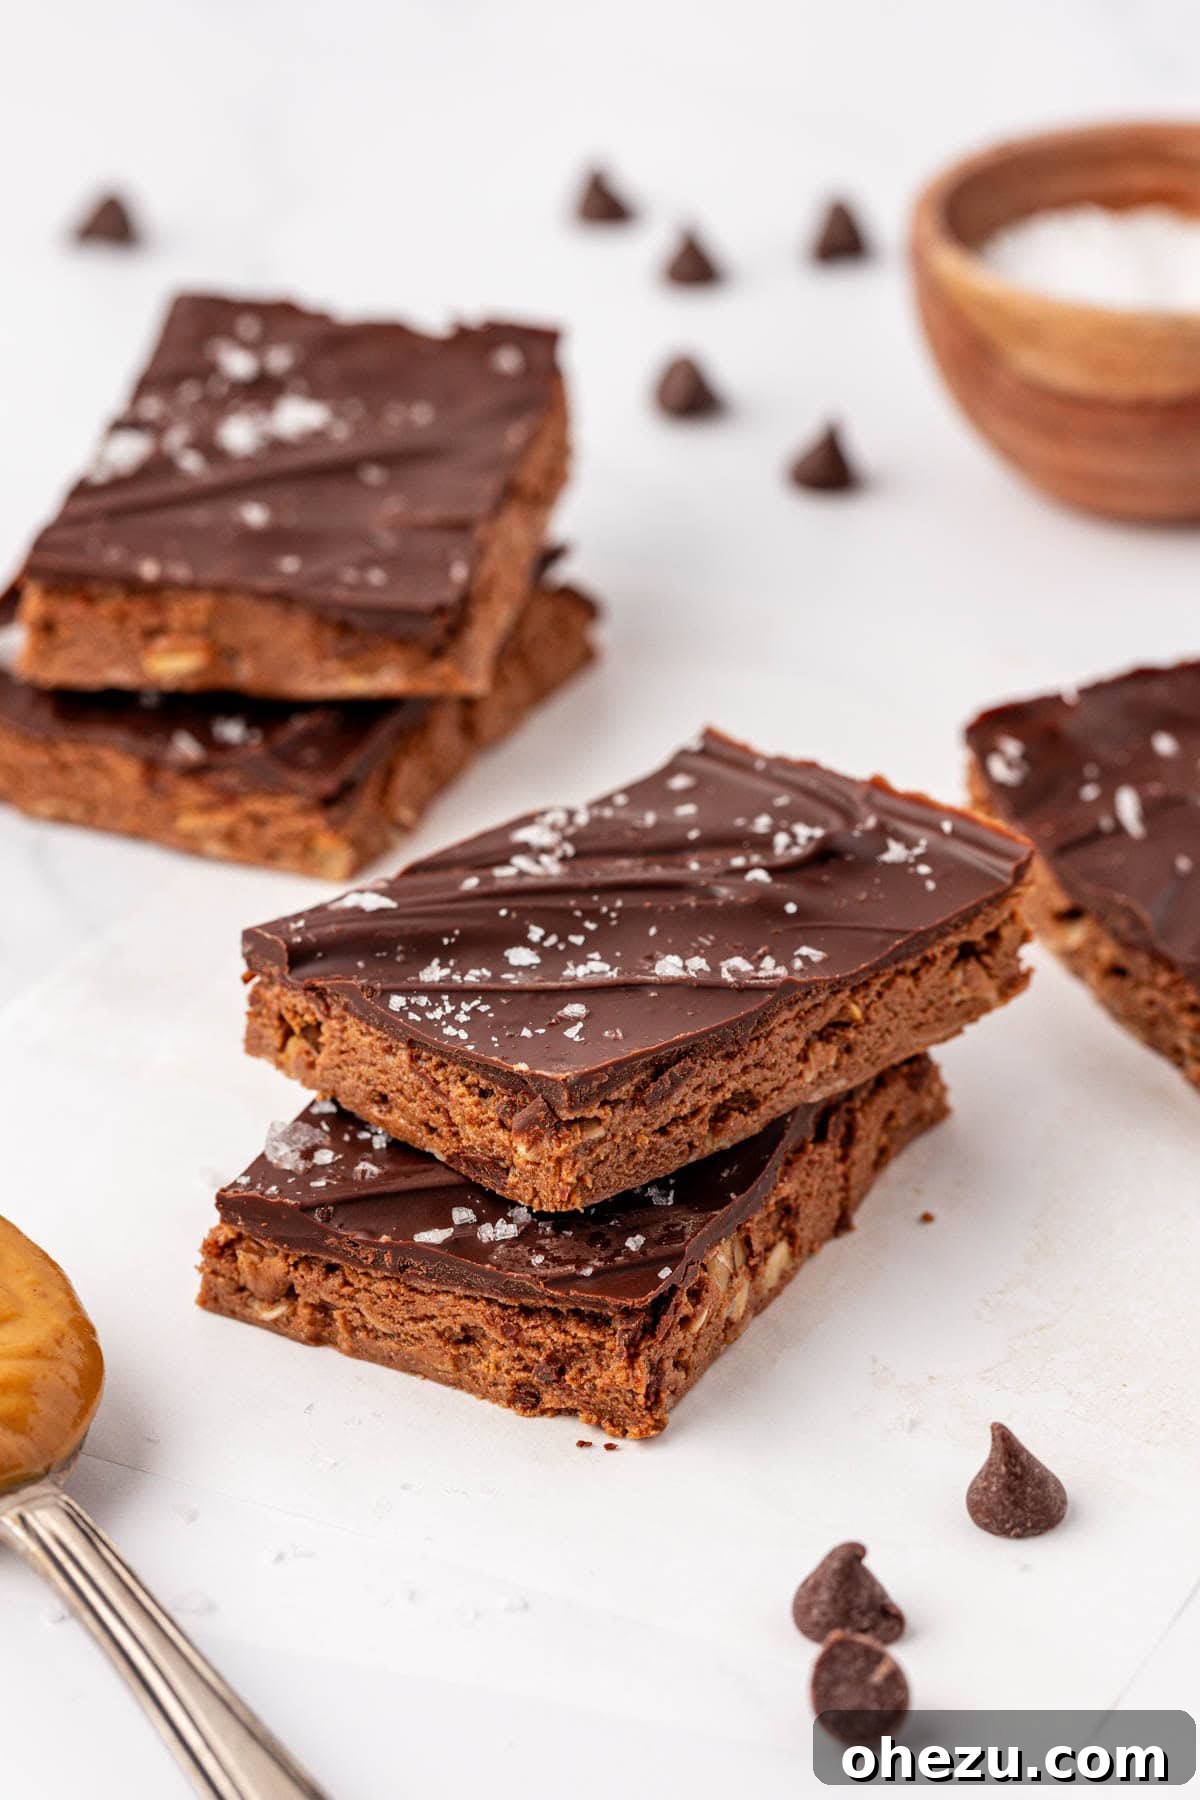
In our household, homemade protein bars aren’t just a snack; they’re a staple. It’s easy to see why they’re one of the most requested items. Not only do they offer a fantastic flavor that rivals any store-bought alternative, but the clarity of their ingredient list brings immense peace of mind. Forget deciphering lengthy labels filled with unpronounceable chemicals and artificial additives. With homemade bars, you control every single component that goes in.
I’m a huge advocate for protein-packed recipes, but I have one non-negotiable rule: they absolutely must taste good. There’s nothing worse than a protein bar that’s chalky, bland, or has an overpowering artificial protein powder taste. My journey to perfecting these no-bake chocolate protein bars was certainly a test of patience. I honestly lost count of how many variations I tried, but I distinctly remember testing this specific recipe at least eight times. Each iteration brought me closer to the ideal texture, flavor balance, and overall satisfaction.
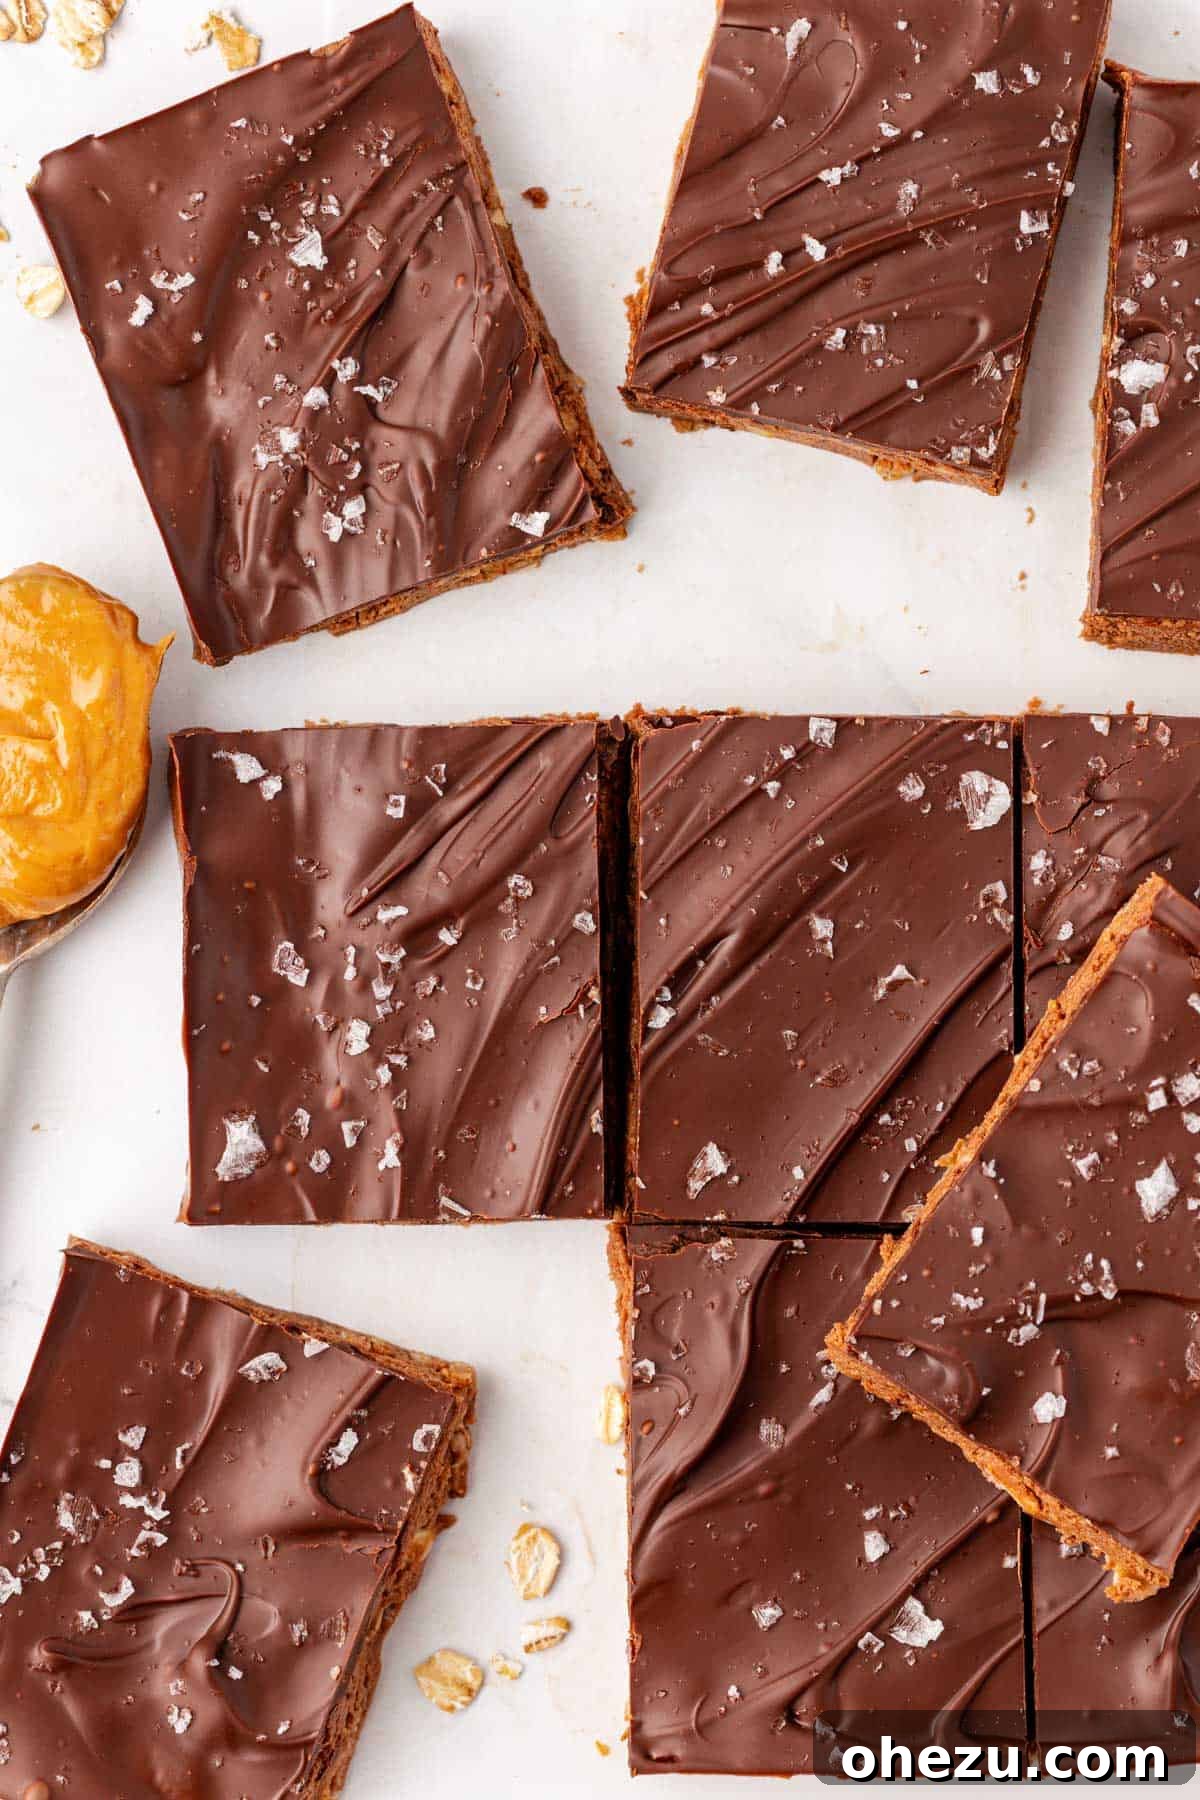
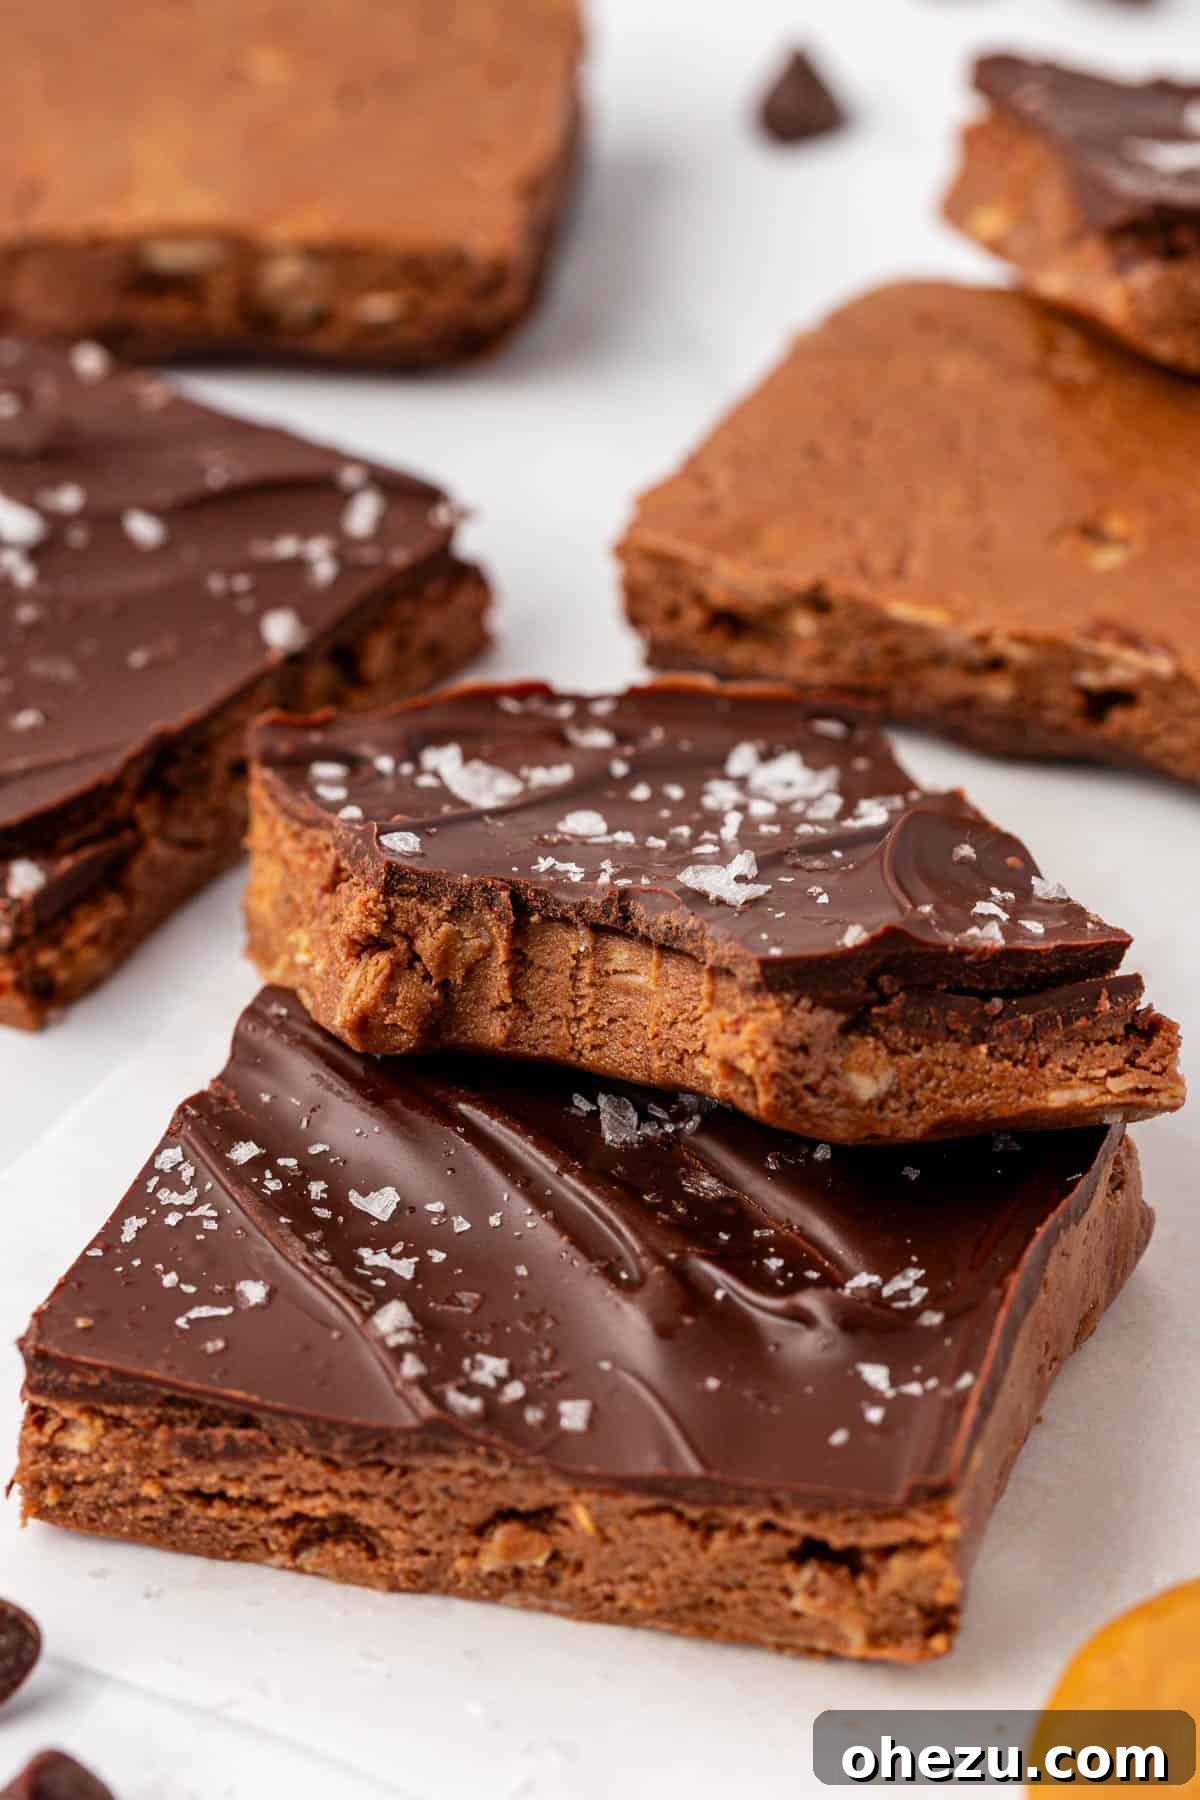
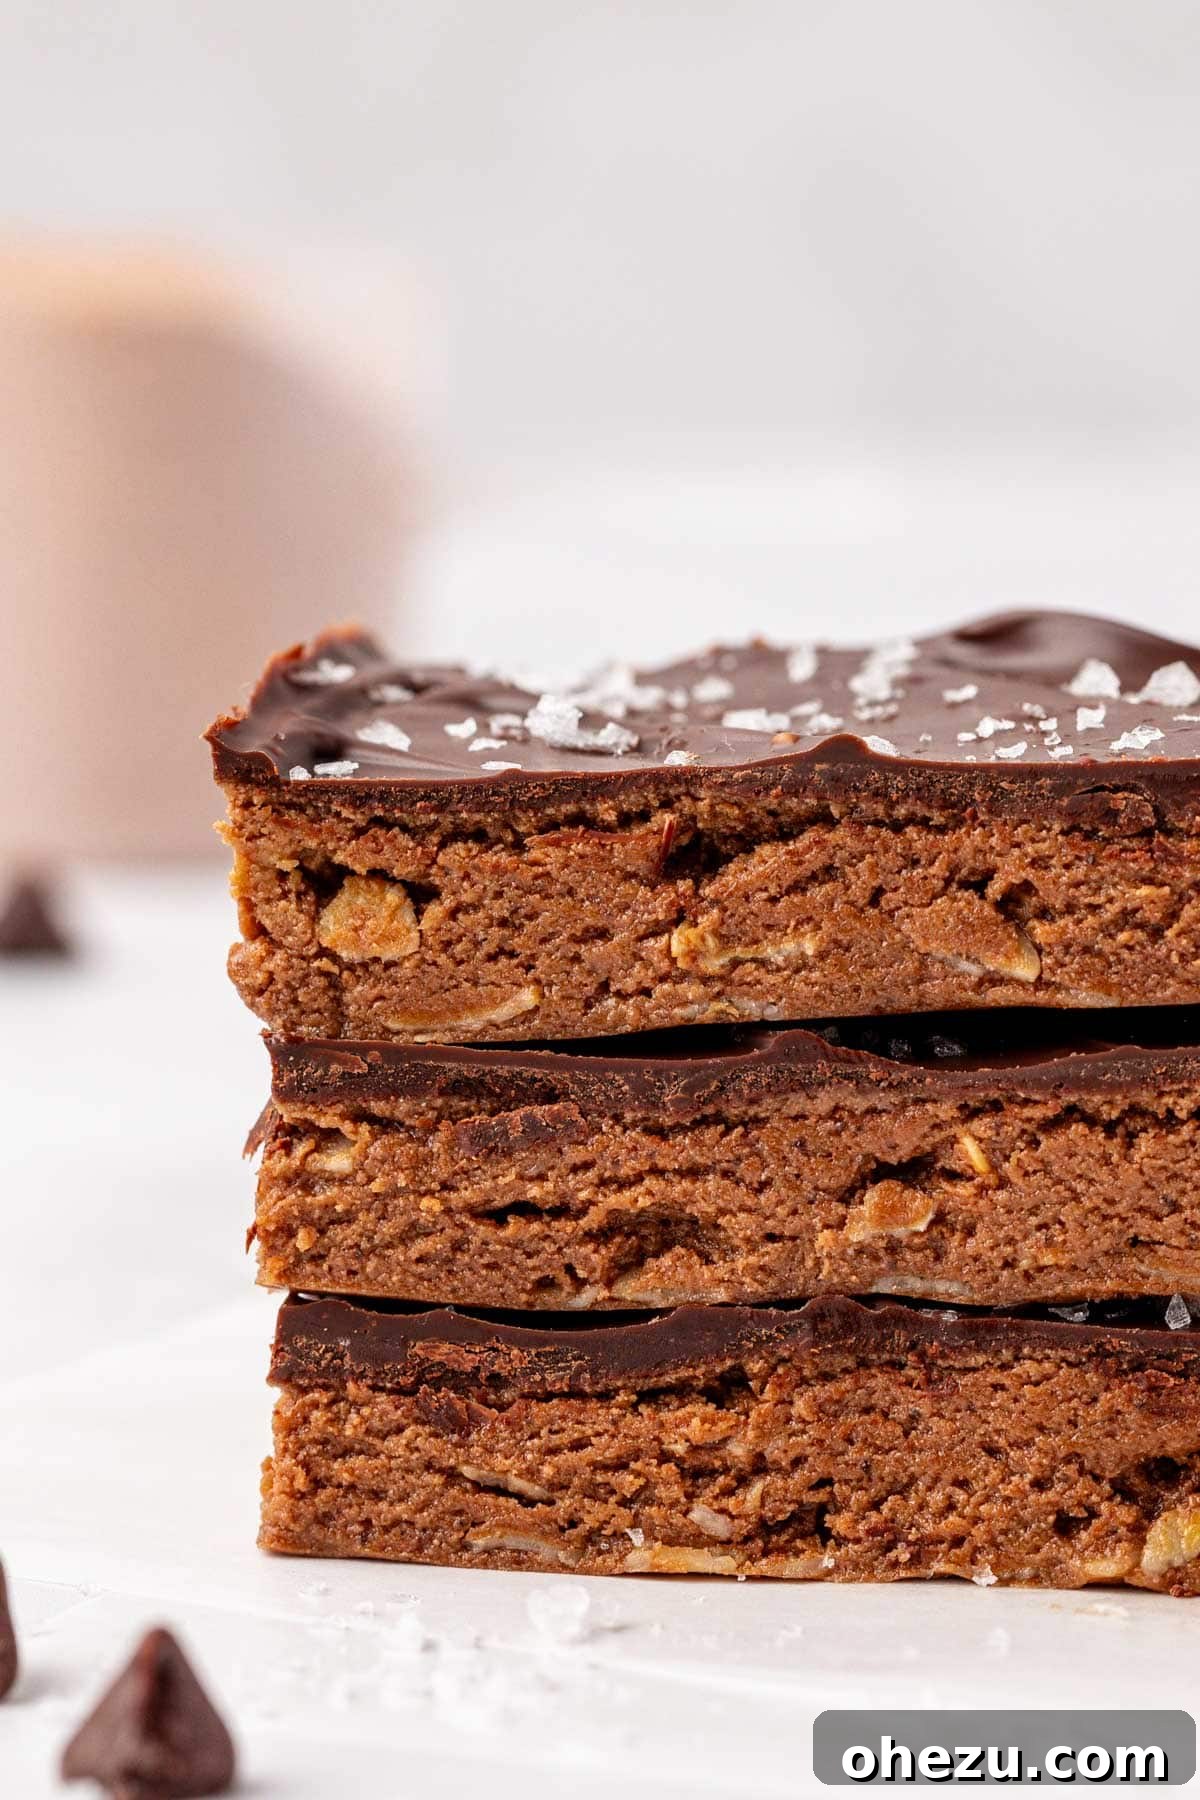
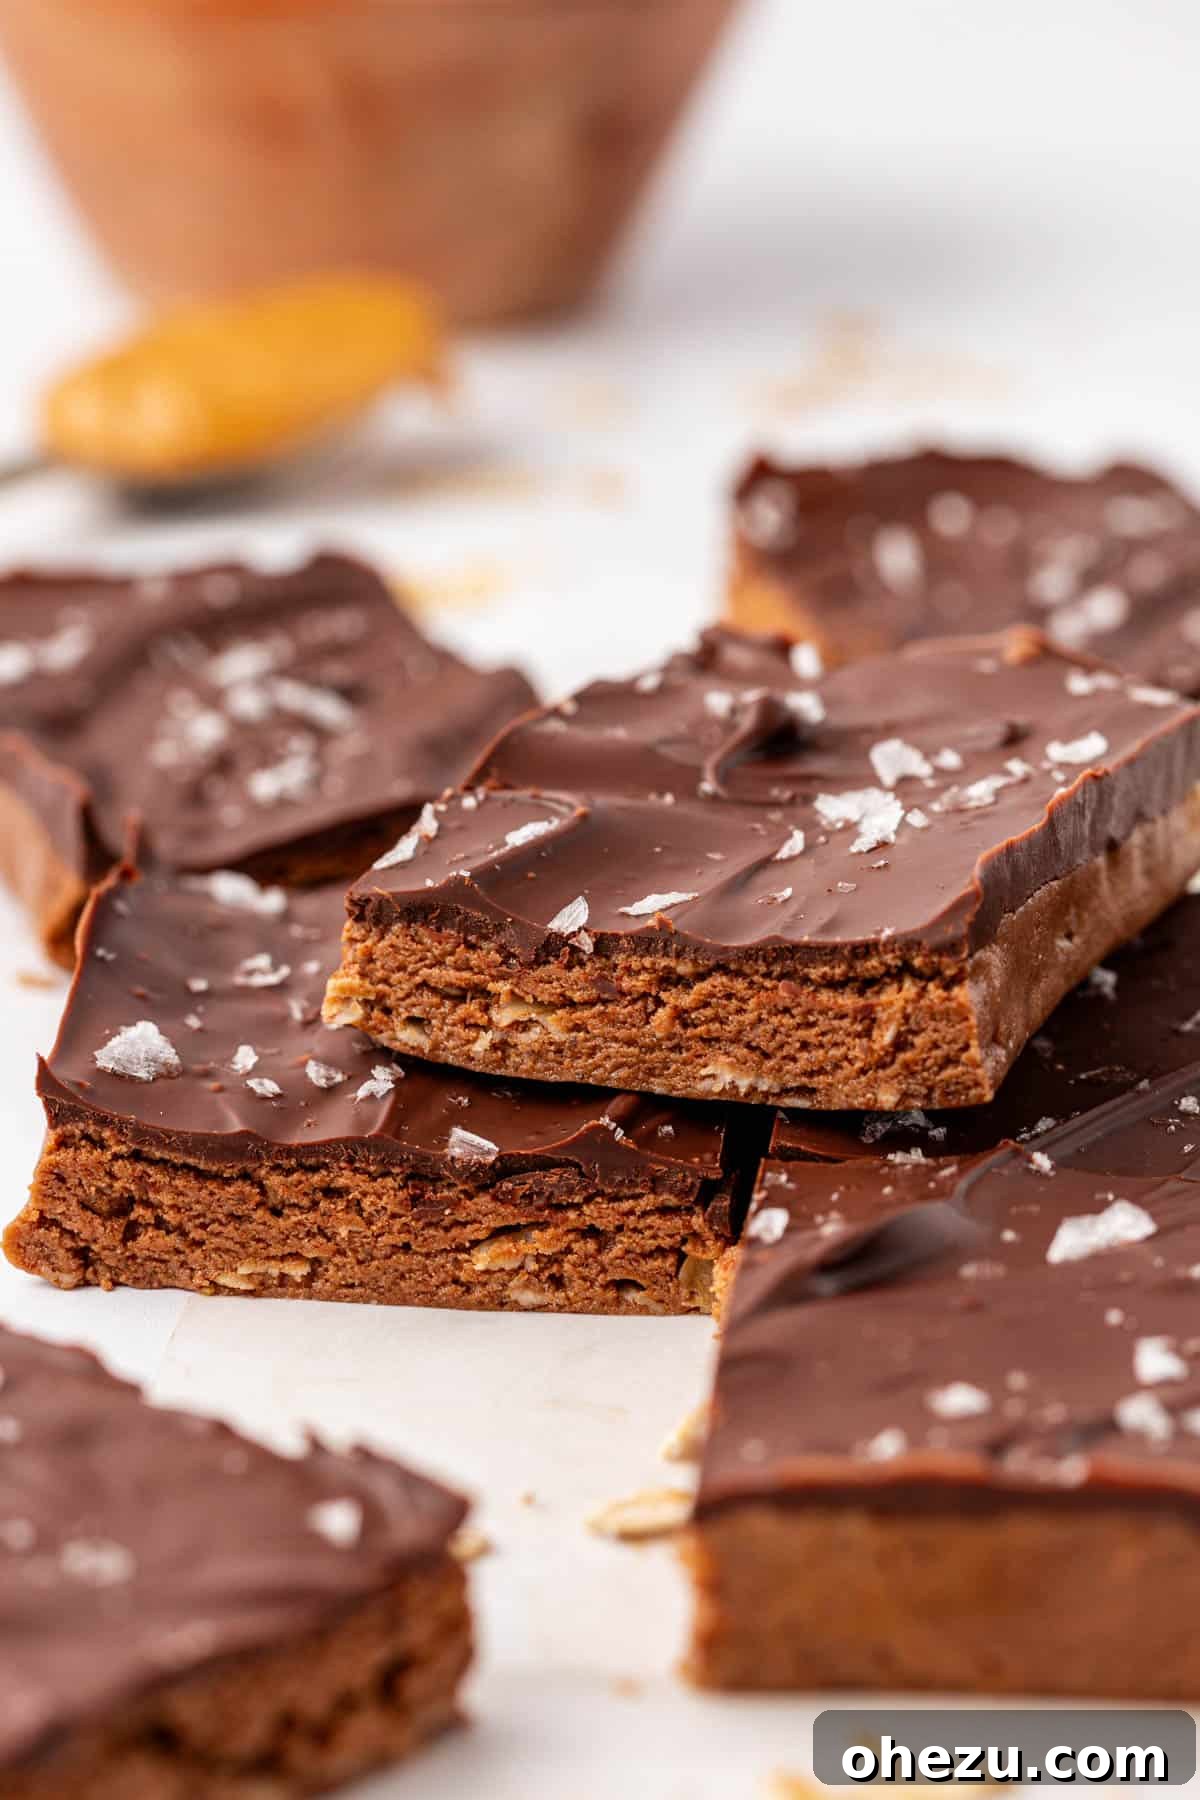
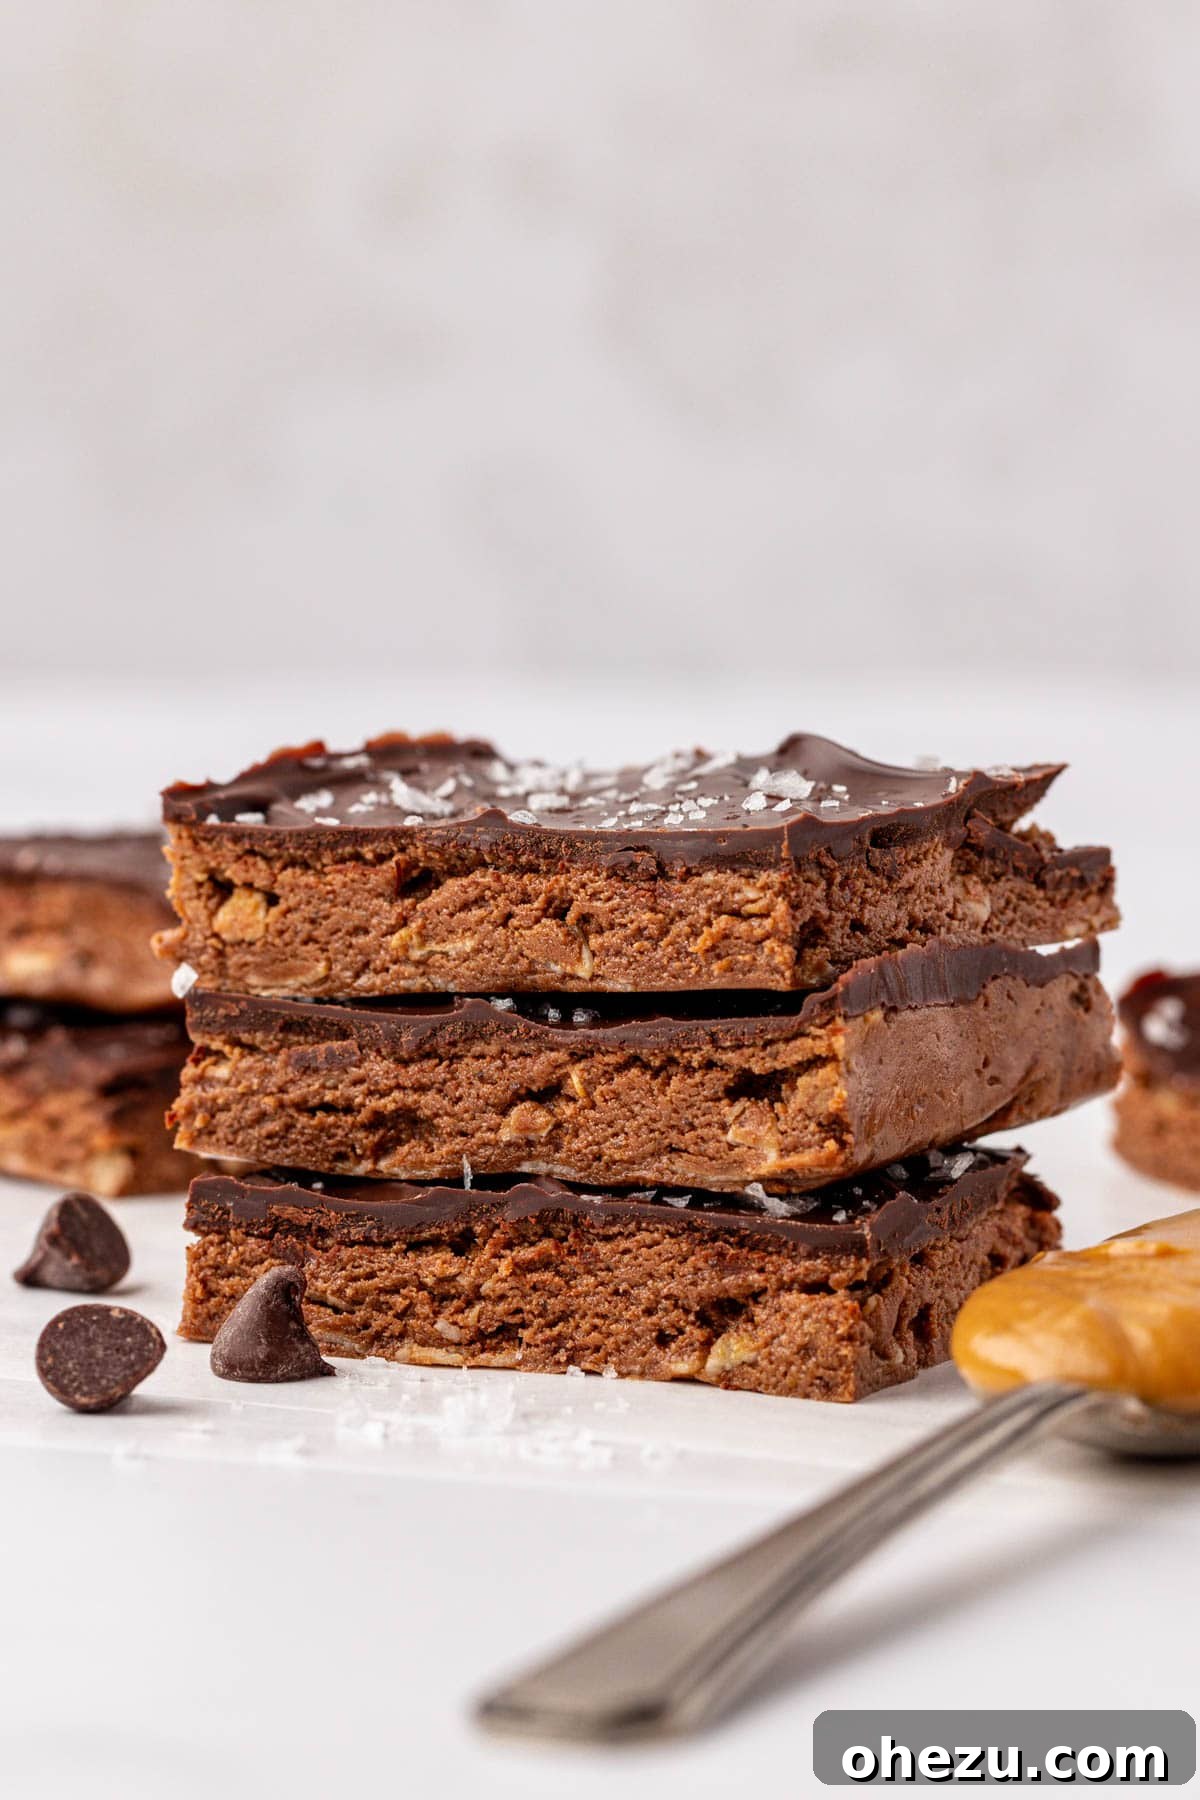
The dedication paid off, because the final result is truly perfect! These no-bake bars are decadently chocolatey, boast a satisfying chew, and are elevated by a sprinkle of flaky sea salt. This touch of salt creates a delightful sweet-and-salty contrast that is, without a doubt, my favorite part. They offer a simple, effective, and delicious way to fuel your body, making them ideal for post-workout recovery, a quick breakfast, or a nutritious pick-me-up throughout the day.
Essential Ingredients for Perfect Chocolate Protein Bars
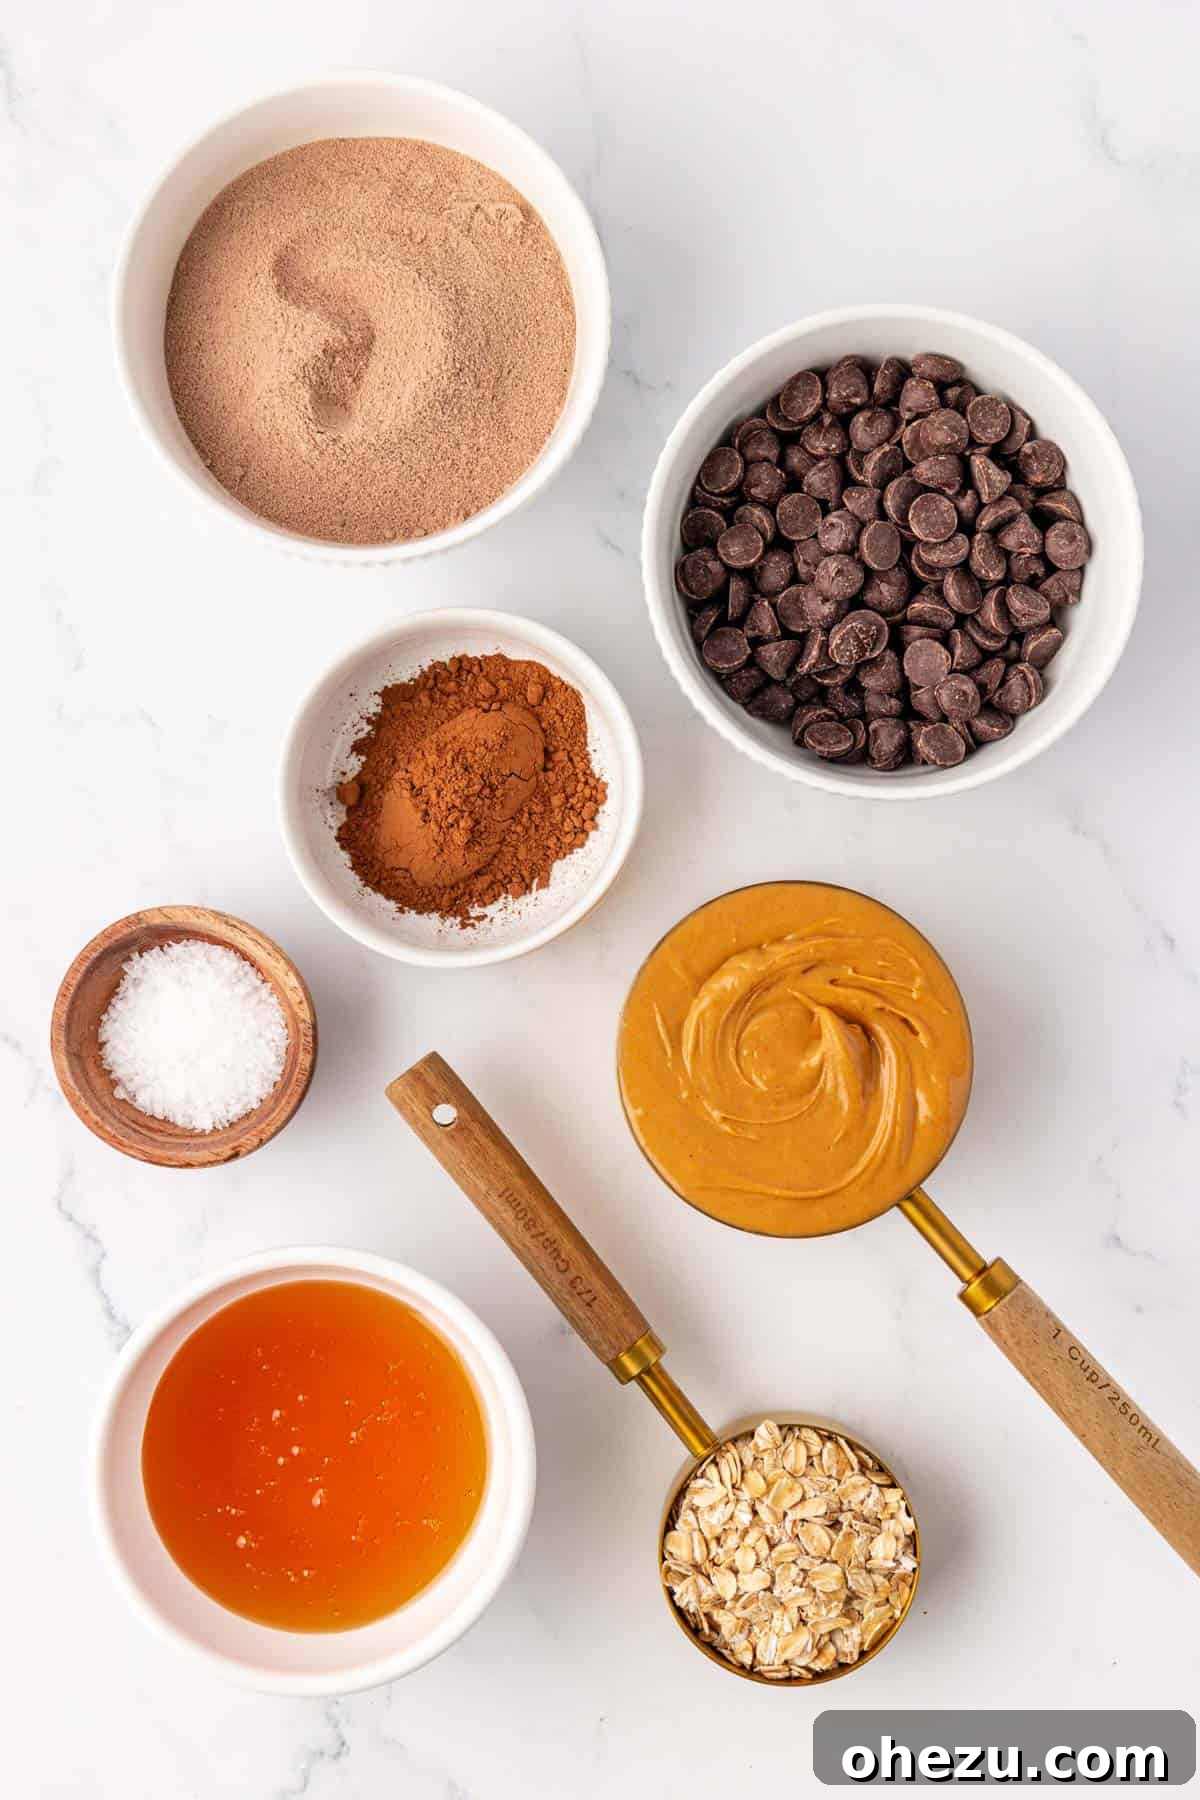
Crafting these homemade protein bars requires just a few simple ingredients, each playing a crucial role in achieving that perfect taste and texture. Below is a detailed look at what you’ll need, along with some helpful notes and tips. The complete recipe with exact measurements is provided in the recipe card at the end of this post.
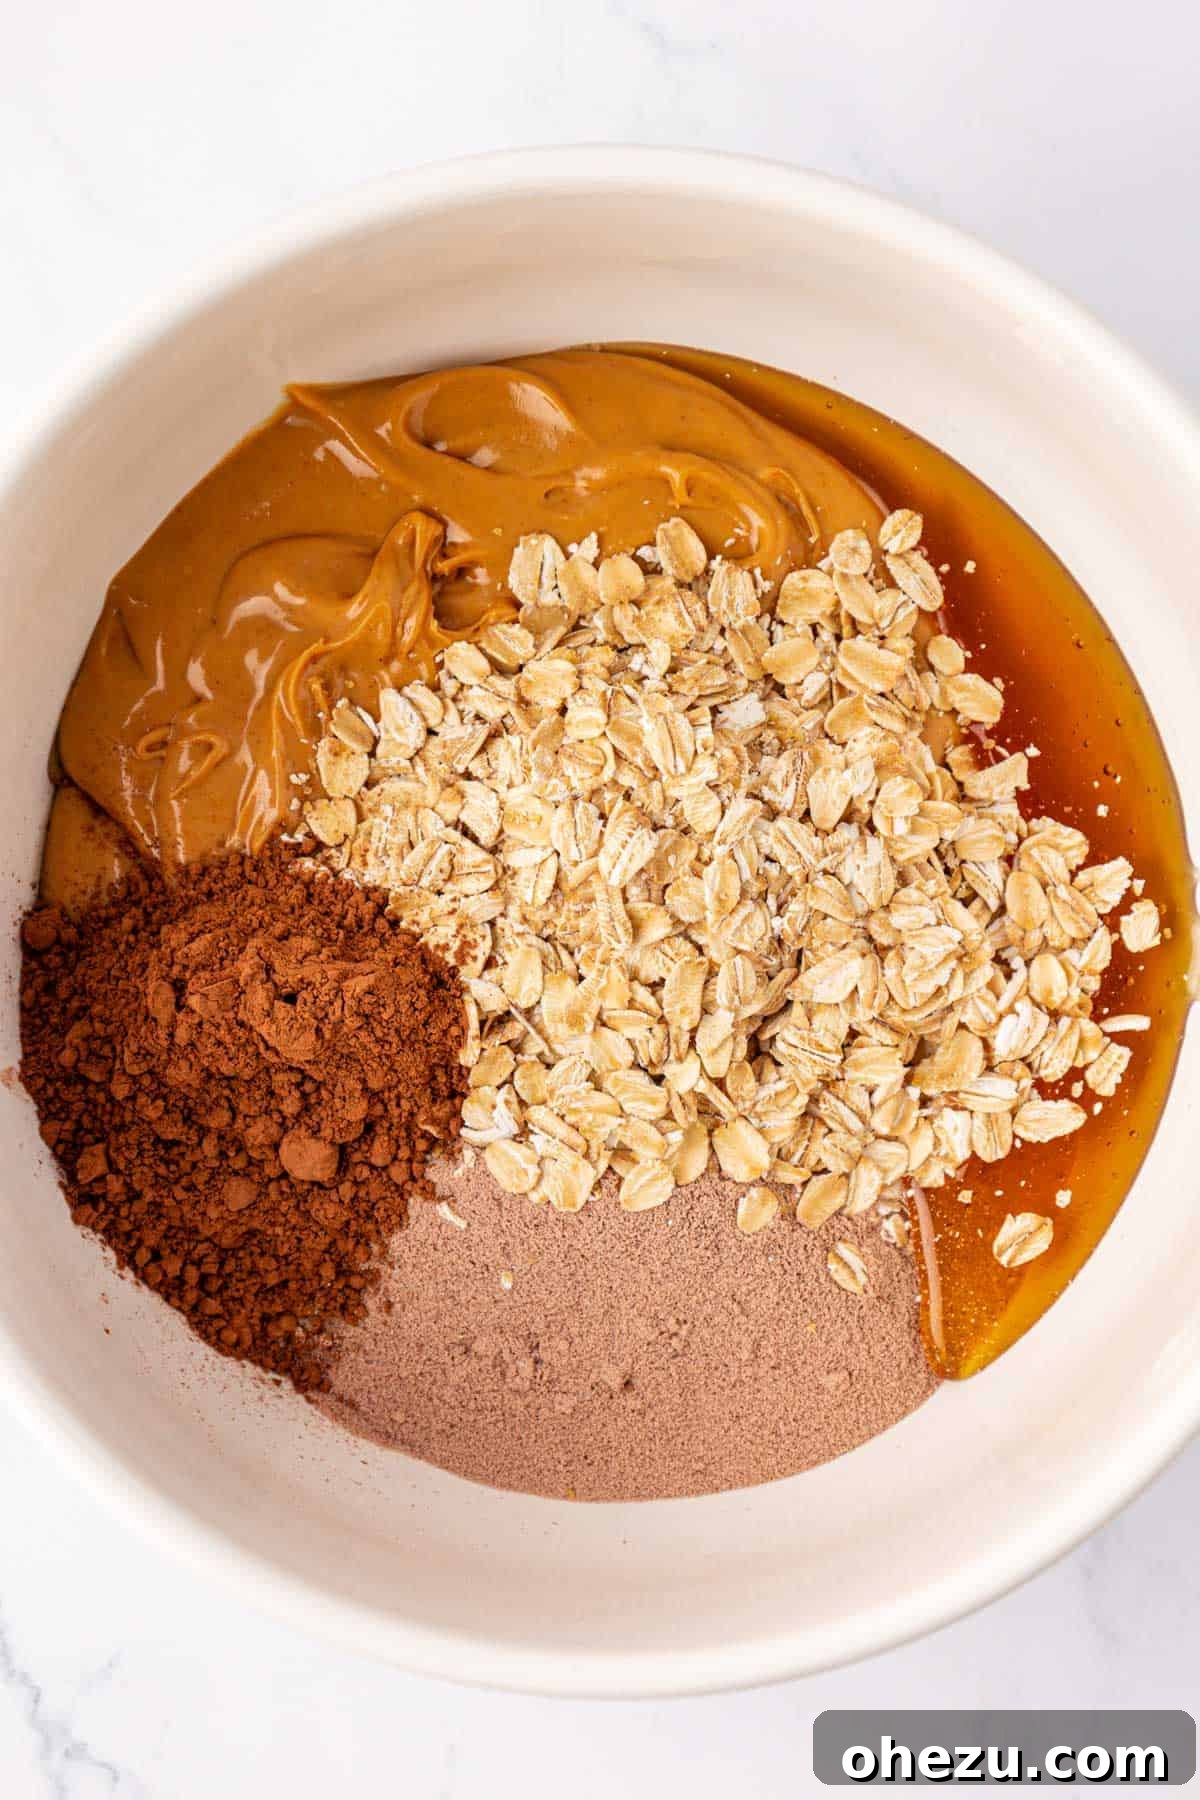
- No-Stir Creamy Peanut Butter: This is key for the consistency of your bars. Unlike natural peanut butter that often separates, “no-stir” varieties contain a small amount of added oil and sugar, which gives them a thicker, smoother, and more stable texture. This stability is vital for holding the bars together. Look for brands where the ingredients typically include peanuts, oil (like palm oil), salt, and a touch of sugar. While natural peanut butter can sometimes work, you might need to adjust other liquid ingredients slightly to achieve the right dough-like consistency.
- Honey: Beyond being a natural sweetener, honey acts as the primary binder for these no-bake bars. Its sticky nature is what holds all the dry ingredients together, ensuring your bars don’t crumble. Maple syrup can be a good vegan substitute, though it might alter the flavor slightly and may require a bit more protein powder or oats to maintain firmness.
- Rolled Oats: Also known as old-fashioned oats, these provide structure, fiber, and a satisfying chewiness to the protein bars. Their larger flakes absorb moisture well. You can substitute quick oats if that’s what you have on hand, but keep in mind they will result in a slightly softer bar with a less pronounced texture. Avoid instant oats as they can become mushy.
- Chocolate Protein Powder: This is where the protein power comes from! The type of protein powder you use will significantly impact the flavor and texture. Whey protein, casein, or plant-based protein powders (like pea or brown rice protein) all work, but absorbency can vary. If your dough seems too dry, add a touch more honey or peanut butter; if too wet, add a little more protein powder or oats. Choose a high-quality chocolate flavor you genuinely enjoy, as it’s a prominent taste in the final product.
- Cocoa Powder: To truly amplify that rich chocolate flavor, cocoa powder is essential. It deepens the chocolate notes, complementing the protein powder without making the bars overly sweet. Unsweetened natural cocoa powder is generally preferred for controlling sugar content, but Dutch-processed cocoa will give a darker color and milder chocolate taste.
- Semi-Sweet Chocolate Chips: These are melted down to create the luscious chocolate topping. Semi-sweet offers a balanced sweetness that pairs wonderfully with the rest of the ingredients. For a richer, less sweet bar, dark chocolate chips would be a delicious alternative. You can also use milk chocolate chips if you prefer a sweeter finish.
- Flaked Sea Salt: While optional, I highly recommend this for topping! A light sprinkle of flaky sea salt on top of the melted chocolate provides an incredible salty-sweet flavor pop that truly elevates these bars. It cuts through the richness of the chocolate and peanut butter, adding a gourmet touch. Don’t skip it if you love that combination!
Step-by-Step Guide to Crafting Your No-Bake Wonders
Making these chocolate protein bars is incredibly straightforward and doesn’t require any baking, making them perfect for even novice kitchen adventurers. Follow these simple steps to create your delicious and nutritious snacks.
Step 1: Combine the Base Ingredients
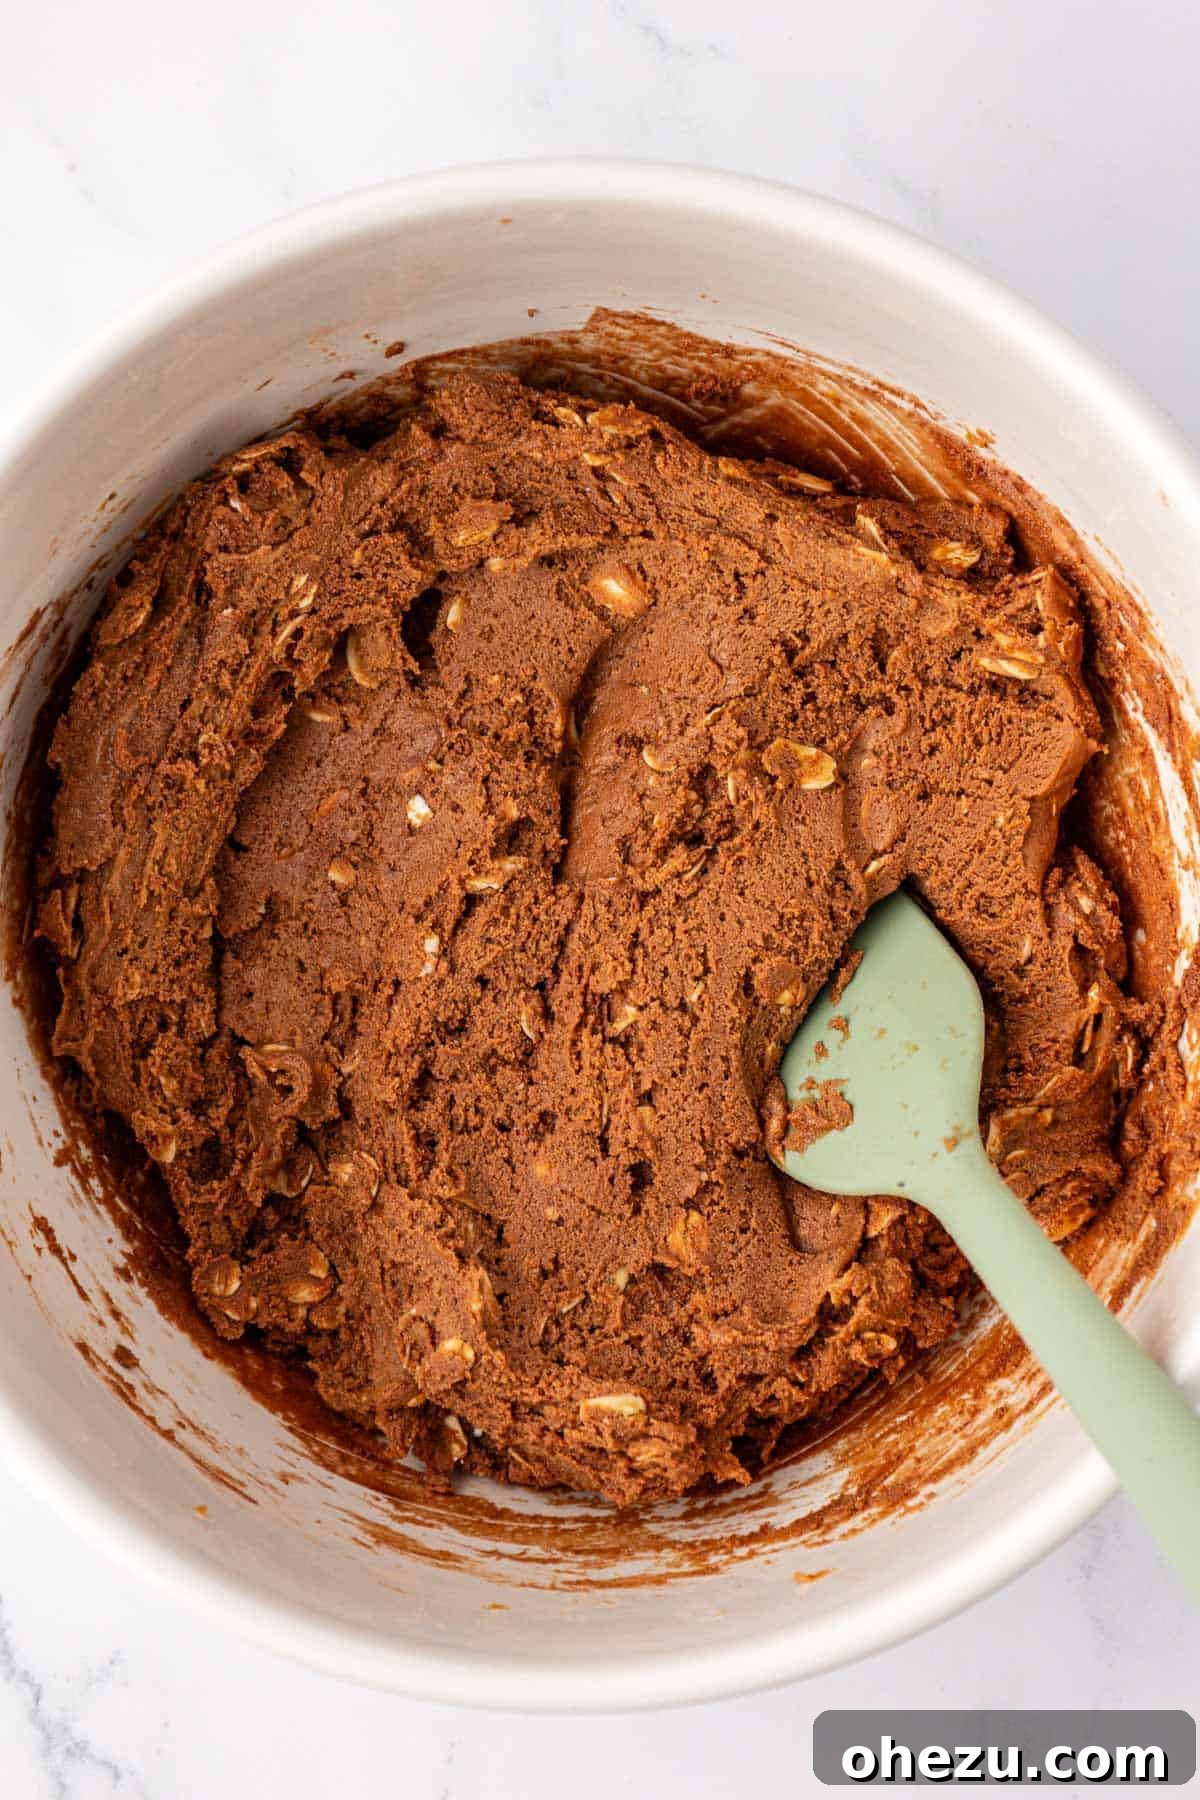
In a large mixing bowl, combine the no-stir creamy peanut butter, honey, rolled oats, chocolate protein powder, and cocoa powder. Using a sturdy rubber spatula or a strong spoon, stir these ingredients together thoroughly. You’ll need to exert a bit of effort, as the mixture will be very thick and sticky. Continue mixing until all ingredients are well incorporated and a uniform, dense “batter” (more like a thick dough) forms. Ensure there are no dry pockets of protein or cocoa powder.
Step 2: Prepare and Press the Mixture
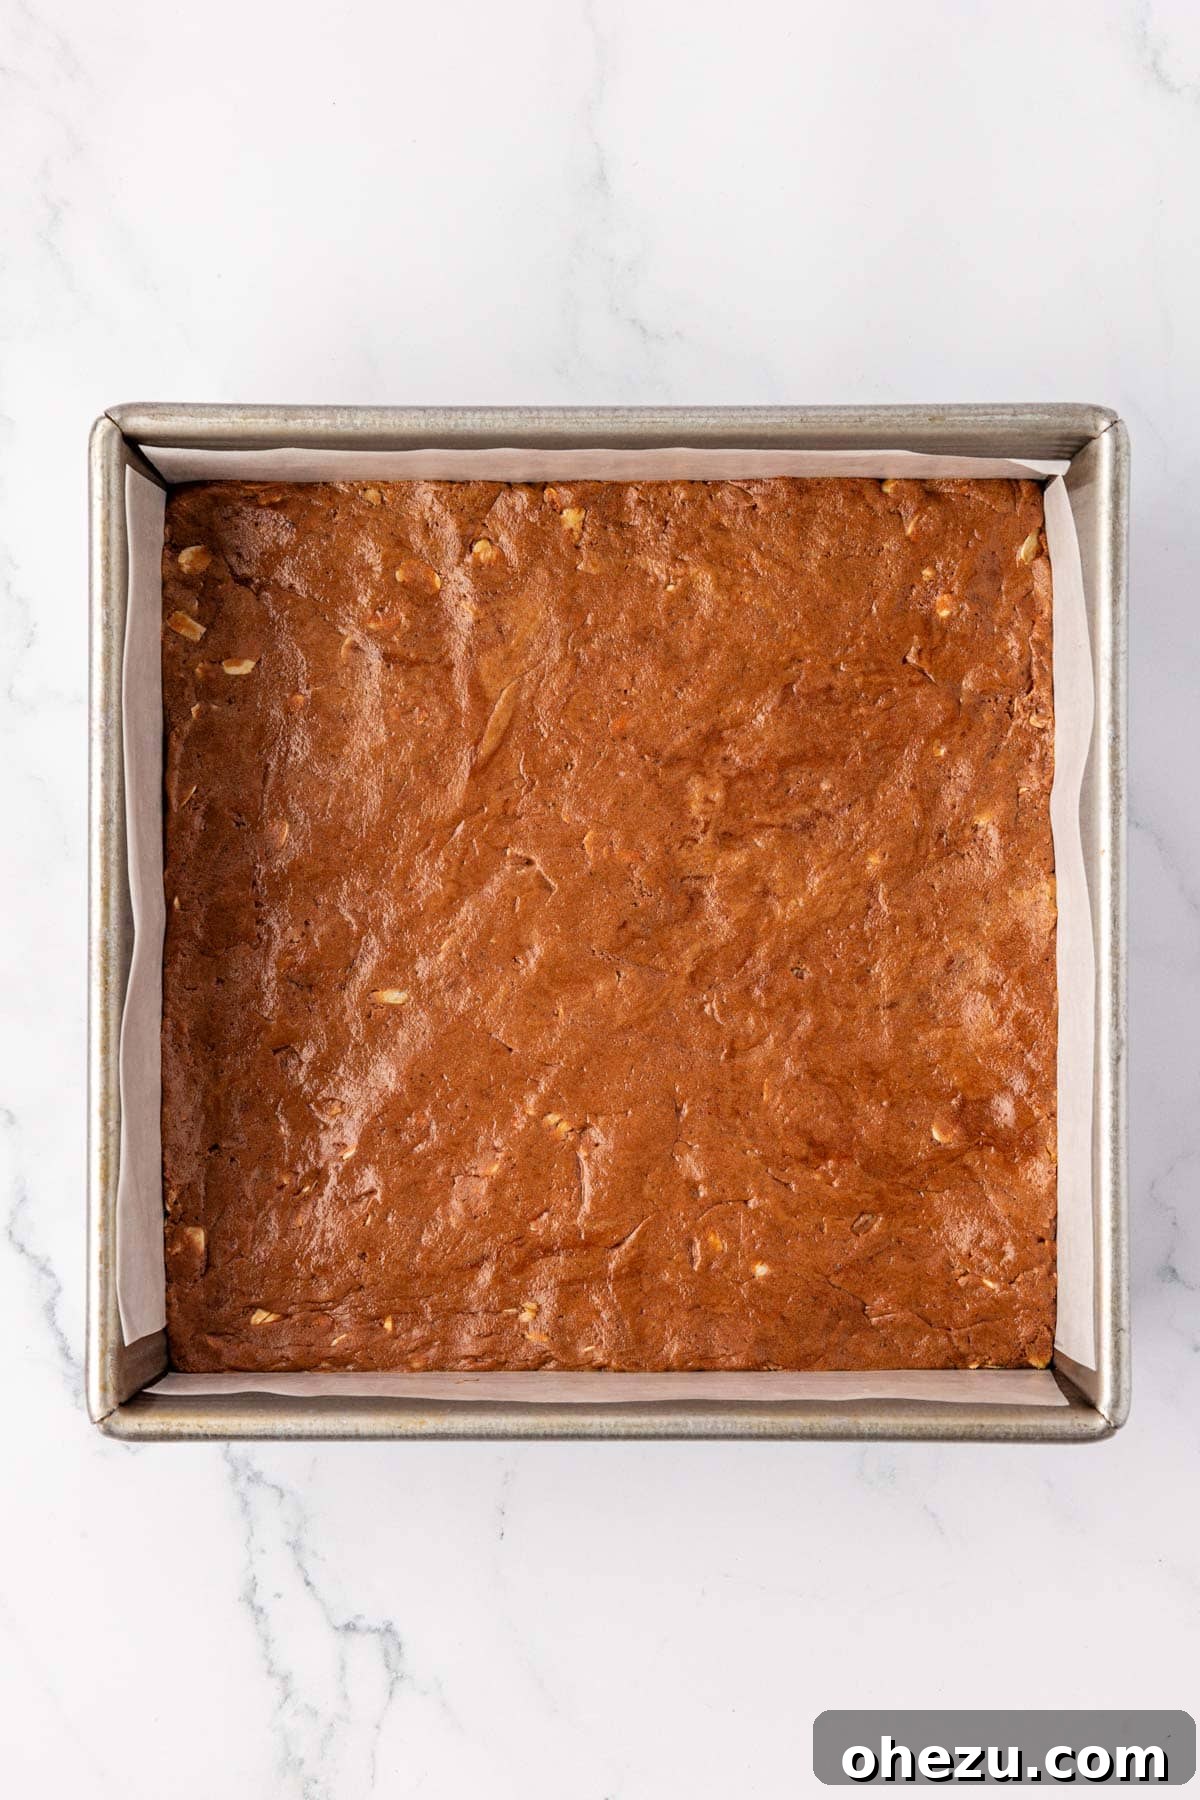
Line an 8×8 inch (20×20 cm) baking dish with parchment paper or wax paper, leaving an overhang on the sides. This overhang will act as “handles,” making it incredibly easy to lift the entire batch of bars out of the pan once they’ve set. Transfer the thick batter into the lined pan. Using your hands or the back of a rubber spatula, press the mixture down firmly and evenly across the bottom of the dish. It’s crucial to press it down very compactly to ensure the bars hold together well when sliced.
Step 3: Add the Chocolate Topping
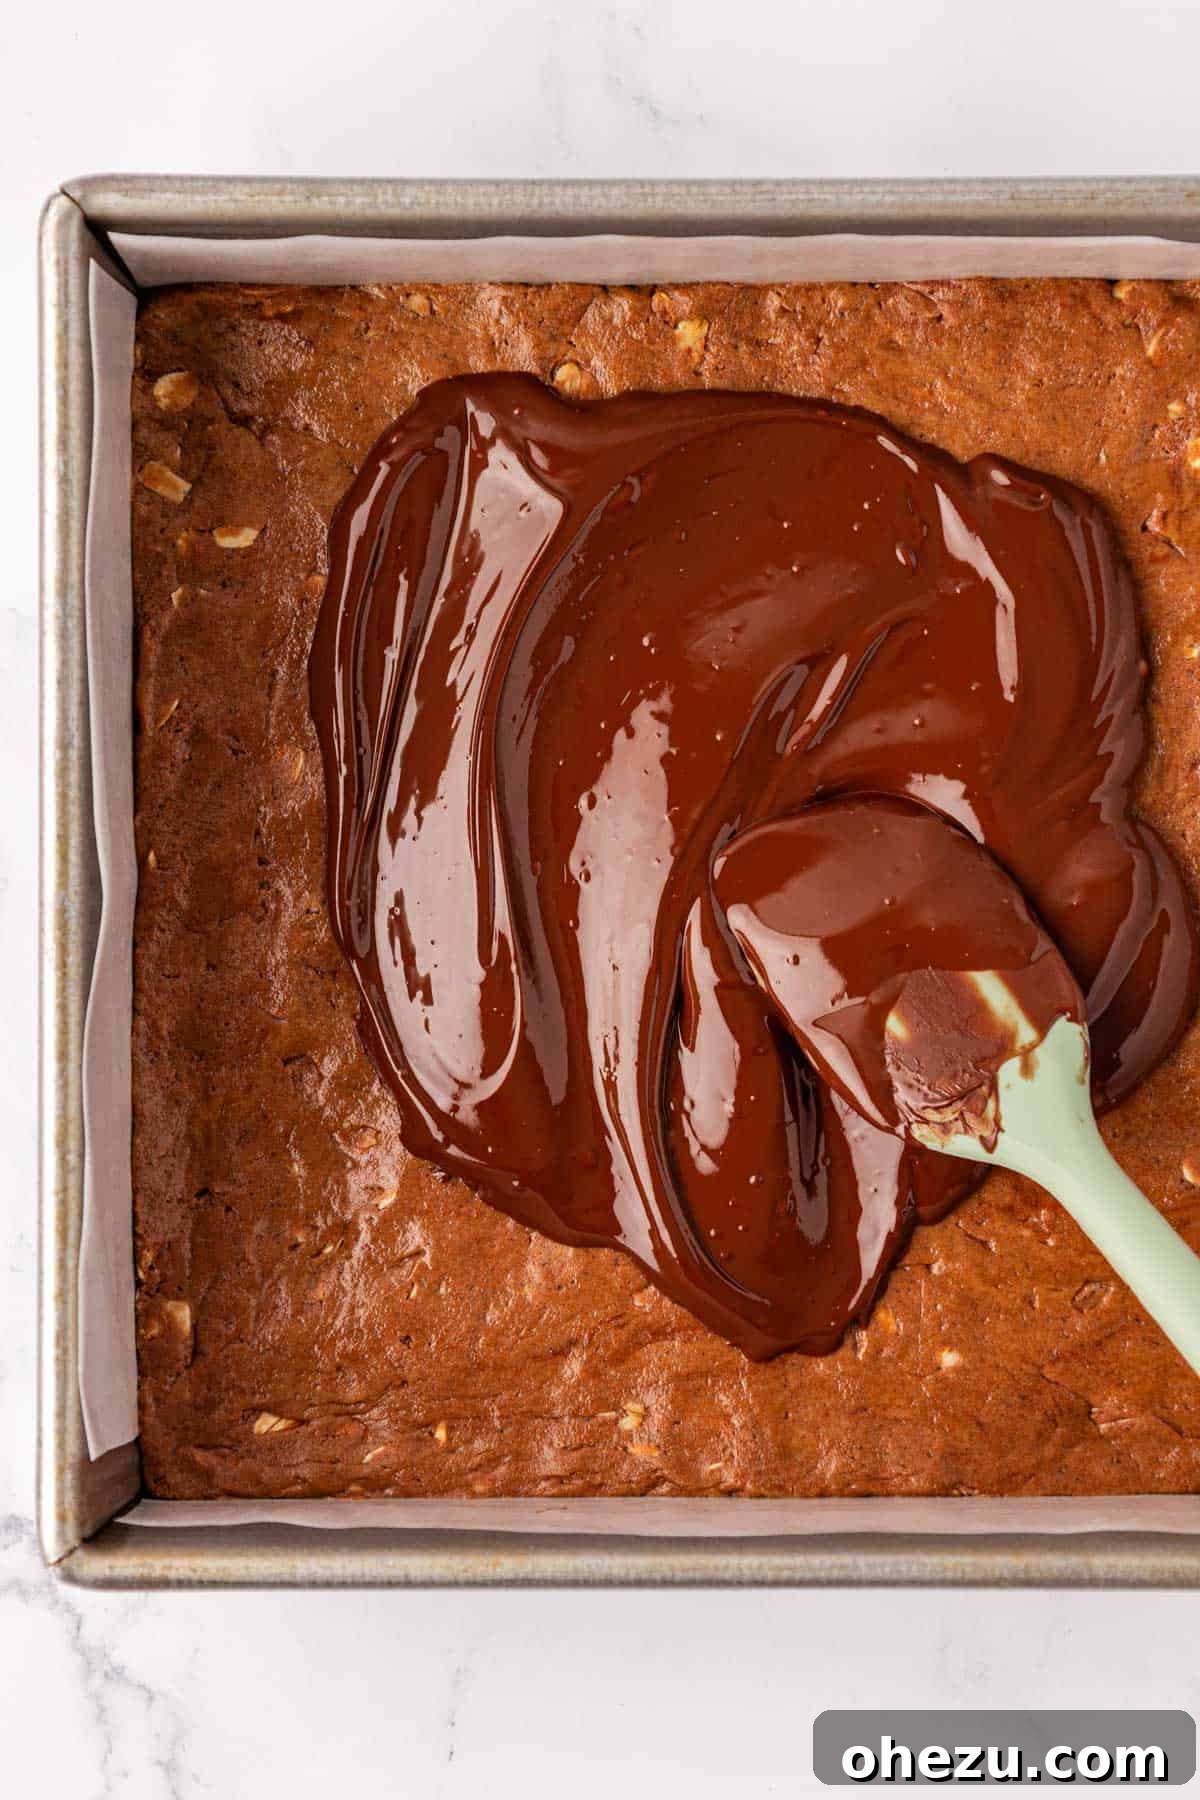
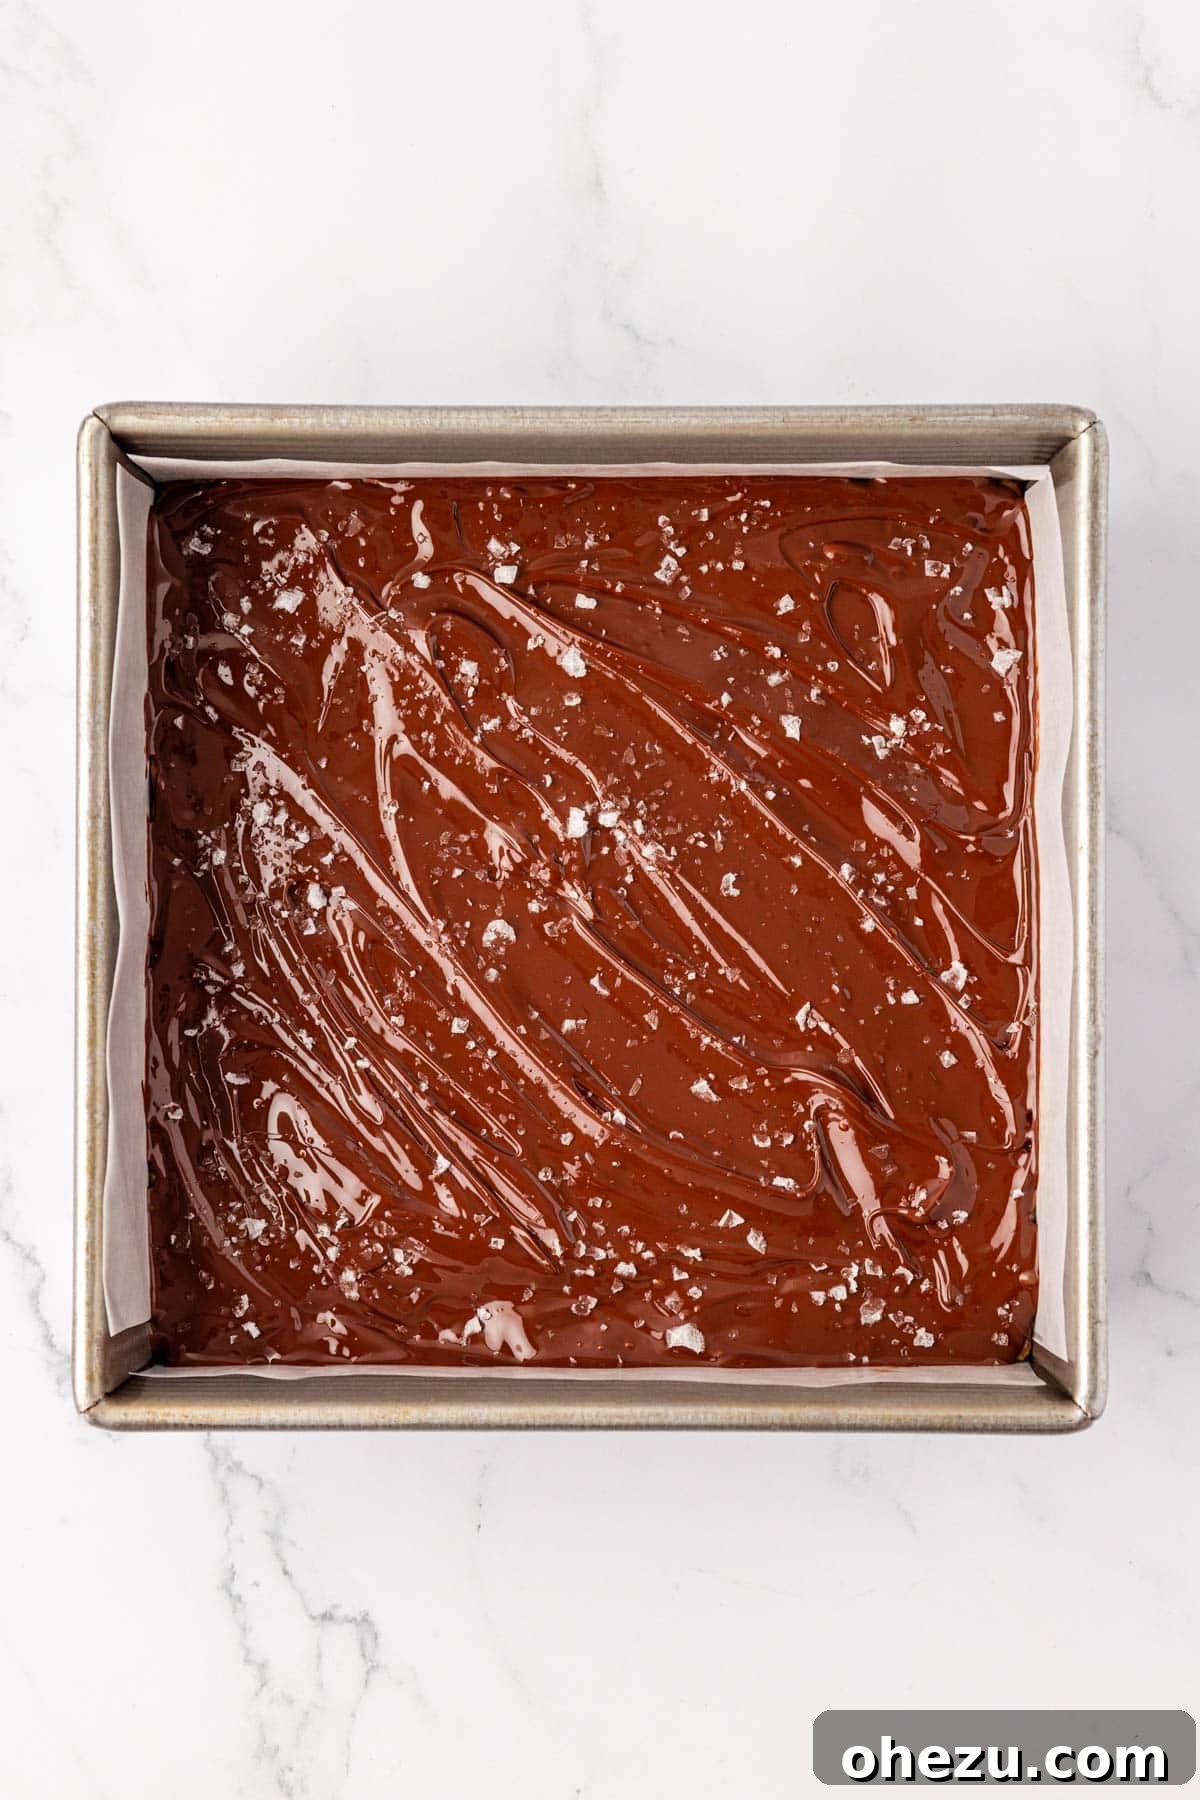
In a microwave-safe bowl, melt the semi-sweet chocolate chips. Heat them in 30-second intervals, stirring well after each, until the chocolate is completely smooth and free of lumps. Alternatively, you can use a double boiler method for melting. Once melted, carefully pour the smooth chocolate evenly over the pressed protein bar base in the pan. Use your spatula to gently spread the chocolate to cover the entire surface, creating a beautiful, glossy layer.
Step 4: Sprinkle with Sea Salt
Immediately after spreading the melted chocolate, and before it begins to set, generously sprinkle the flaked sea salt over the entire chocolate layer. This step is best done quickly to ensure the salt adheres properly to the wet chocolate. The combination of sweet chocolate and savory sea salt is truly a game-changer for these bars, so don’t be shy!
Step 5: Chill and Slice
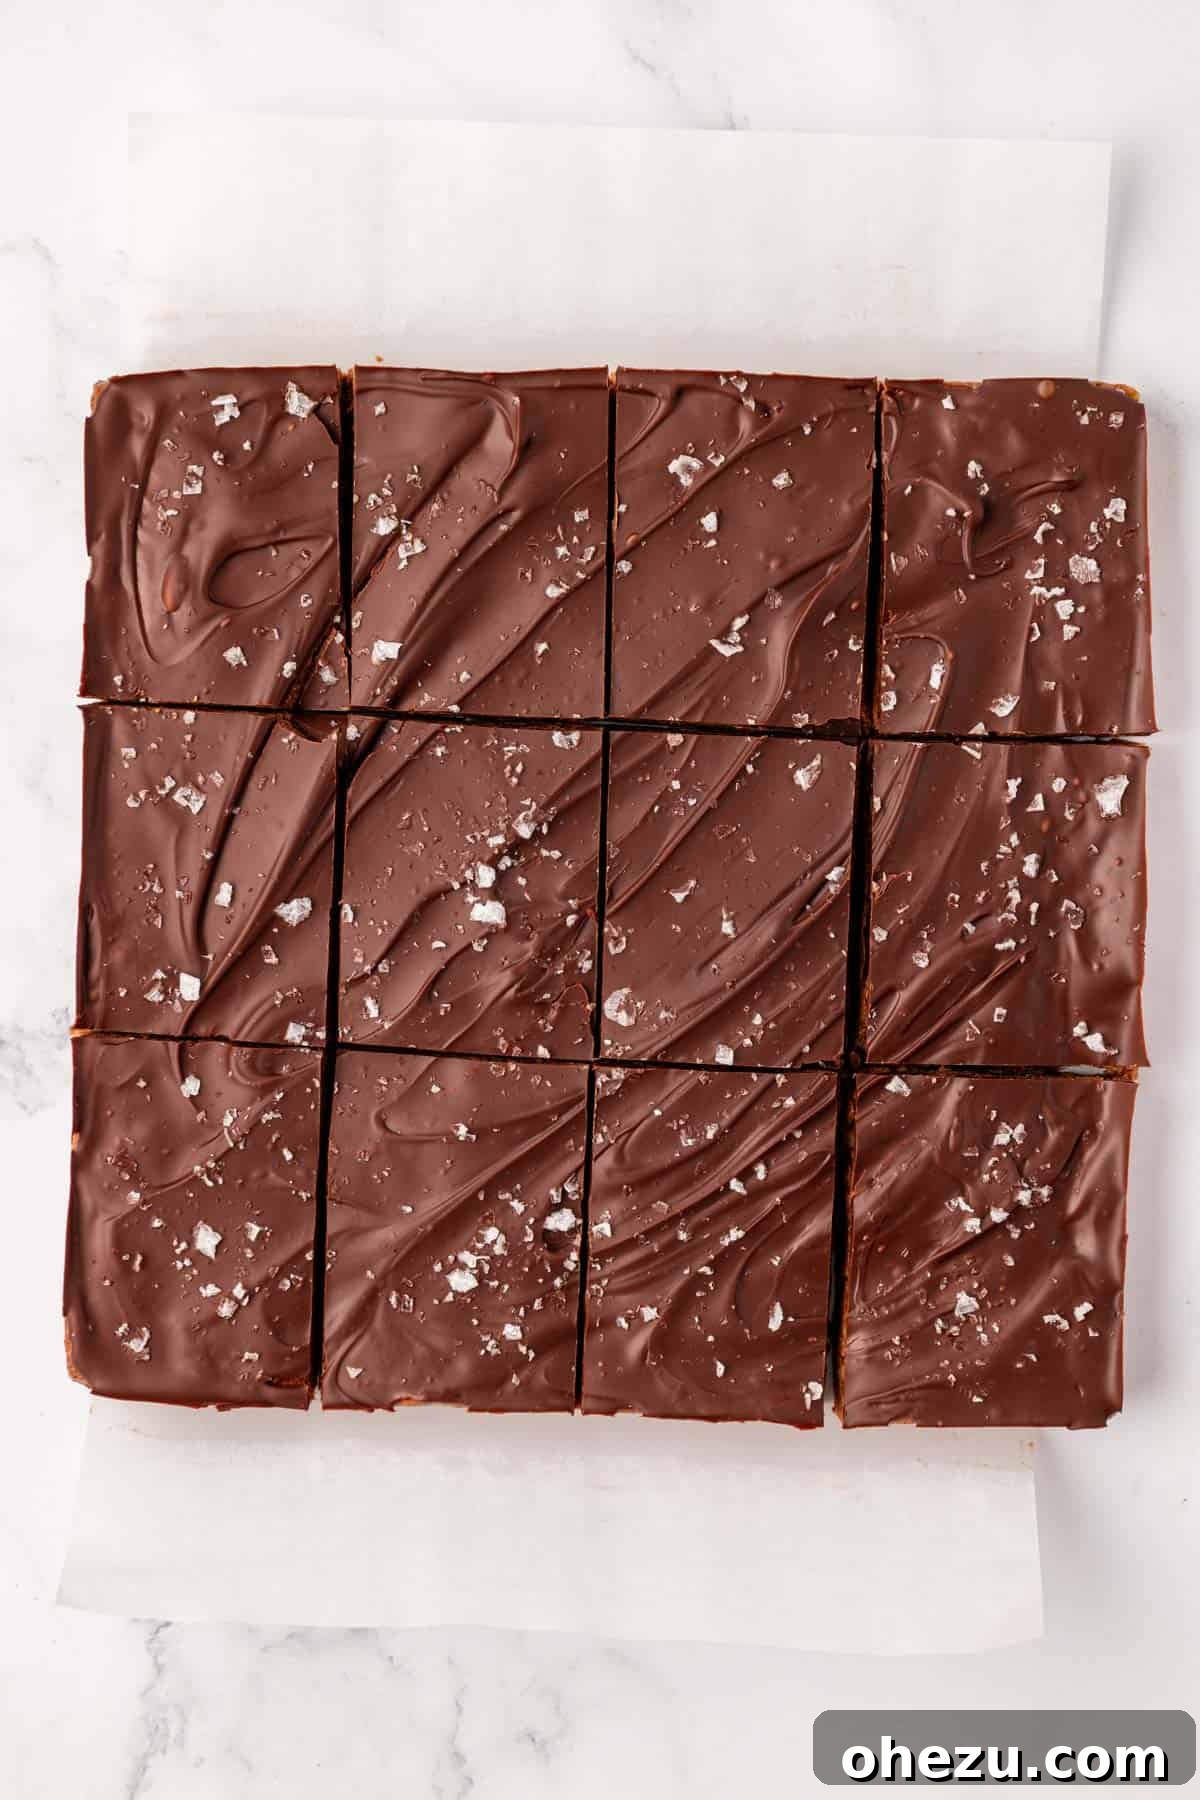
Place the baking dish with your protein bars into the refrigerator. Chill them for at least 1-2 hours, or until the chocolate topping has completely hardened and set. This chilling process is crucial for the bars to firm up and become easy to slice without crumbling. Once thoroughly chilled, use the parchment paper overhang to lift the entire slab of protein bars out of the pan. Place it on a cutting board. With a sharp knife, carefully cut the slab into your desired number of bars. We typically cut them into 12 equal servings, but you can certainly make them smaller for kids or for portion control, or larger for a more substantial snack.
Storing Your Delicious Protein Bars
Proper storage is essential to keep your homemade chocolate protein bars fresh and delicious for as long as possible. Given their no-bake nature and the use of ingredients like peanut butter and honey, refrigeration is key.
Store leftover protein bars in an airtight container in the refrigerator for up to 5-7 days. Stacking them with parchment paper in between layers can prevent them from sticking together. For longer storage, these bars freeze beautifully. Place them in a single layer on a baking sheet to freeze individually, then transfer them to a freezer-safe airtight container or zip-top bag. They will keep well in the freezer for 2-3 months. When you’re ready to enjoy a frozen bar, simply let it thaw at room temperature for a few minutes, or enjoy it chilled directly from the fridge for a firmer texture.
Customizing Your Homemade Chocolate Protein Bars
One of the greatest advantages of making your own protein bars is the ability to customize them to your exact preferences and dietary needs. Don’t be afraid to experiment with different flavors and textures!
- Protein Powder Flavors: While this recipe calls for chocolate protein powder, feel free to switch it up! Vanilla protein powder would create a delicious chocolate-vanilla swirl, or try a coffee-flavored protein powder for a mocha twist.
- Nut Butters: Almond butter, cashew butter, or even sunflower seed butter (for a nut-free option) can be substituted for peanut butter. Just ensure they are the “no-stir” creamy varieties for the best consistency.
- Add-Ins: Once your base mixture is formed (before pressing into the pan), you can fold in a variety of delicious additions. Consider chopped nuts (almonds, walnuts, pecans), seeds (chia seeds, flax seeds for extra fiber and omega-3s), dried fruits (cranberries, chopped apricots, raisins), or even a handful of miniature chocolate chips for extra chocolatey pockets within the bar.
- Toppings: Beyond the flaky sea salt, you could drizzle with melted white chocolate, sprinkle with shredded coconut, chopped nuts, or even a dash of cinnamon for added warmth.
- Sweeteners: If you prefer to use less honey, you can slightly reduce it and add a sugar-free liquid sweetener, though this may impact the binding properties, so adjust carefully.
Serving Suggestions and Benefits
These versatile chocolate protein bars are perfect for a multitude of occasions. They make a fantastic post-workout snack, providing essential protein for muscle recovery and carbohydrates for energy replenishment. Pack them in lunchboxes for a wholesome pick-me-up for both kids and adults, replacing less healthy store-bought options. They’re also an excellent grab-and-go breakfast option for those busy mornings or a healthier alternative to traditional desserts when that chocolate craving strikes. With just 7 simple ingredients and minimal effort, you can whip up a batch in minutes, ensuring you always have a nutritious and satisfying snack on hand.
Explore More Delicious Protein Recipes
If you’re a fan of high-protein, delicious, and easy-to-make snacks, you’ll love these other recipes from our collection. Expand your healthy treat repertoire!
- Protein Peanut Butter Cups
- Monster Cookie Protein Bars
- Chocolate Protein Mug Cake
- Protein Granola Bars
- Chocolate Cashew Protein Bars
- Peanut Butter Chocolate Chip Protein Bars
- Peanut Butter Crunch Energy Bites
- Strawberries and Cream Protein Balls
- Monster Cookie Protein Balls
- Birthday Cake Protein Balls
- Almond Butter Protein Balls
- Pumpkin Energy Balls
- Protein Overnight Oats
Make meal prep a breeze and whip up a batch of these next week for quick, easy, and satisfying snacks that everyone will love!
Chocolate Protein Bars Recipe
By: Joy Shull
These easy homemade chocolate protein bars are made with simple ingredients and taste incredible!
Prep Time: 15 mins
Additional Time: 1 hr
Total Time: 1 hr 15 mins
Servings: 12
Rate Recipe
Print Recipe
Ingredients
- 1 cup no-stir creamy peanut butter
- 1/3 cup honey
- 1/3 cup rolled oats (old fashioned oats)
- 2/3 cup chocolate protein powder
- 1 tablespoon cocoa powder
- 2/3 cup semi-sweet chocolate chips
- Flaked sea salt, for topping
Instructions
- Use a rubber spatula to stir together the creamy peanut butter, honey, rolled oats, protein powder, and cocoa powder in a large mixing bowl until a thick batter forms.
- Line an 8×8 baking dish with parchment paper or wax paper, leaving an overhang.
- Spread the chocolate protein bar batter evenly into the lined pan and press it down firmly.
- Melt the chocolate chips until smooth, then spread them evenly over the top of the protein bars using the rubber spatula.
- Sprinkle the tops of the bars with flaked sea salt before the chocolate hardens.
- Chill the protein bars in the fridge until the chocolate is set (1-2 hours).
- Slice the protein bars into 12 servings (or your desired size).
- Store leftover protein bars in an airtight container in the refrigerator or freezer.
Video
Notes
Please note that the nutritional information estimate is an estimate and will vary based on the brand of protein powder you use.
Nutrition
- Calories: 248 kcal
- Carbohydrates: 20g
- Protein: 11g
- Fat: 15g
- Saturated Fat: 5g
- Polyunsaturated Fat: 3g
- Monounsaturated Fat: 7g
- Trans Fat: 0.01g
- Cholesterol: 11mg
- Sodium: 103mg
- Potassium: 215mg
- Fiber: 2g
- Sugar: 14g
- Vitamin A: 21 IU
- Vitamin C: 0.05mg
- Calcium: 39mg
- Iron: 2mg
Like this recipe? We’d love for you to rate it and leave a comment below!