
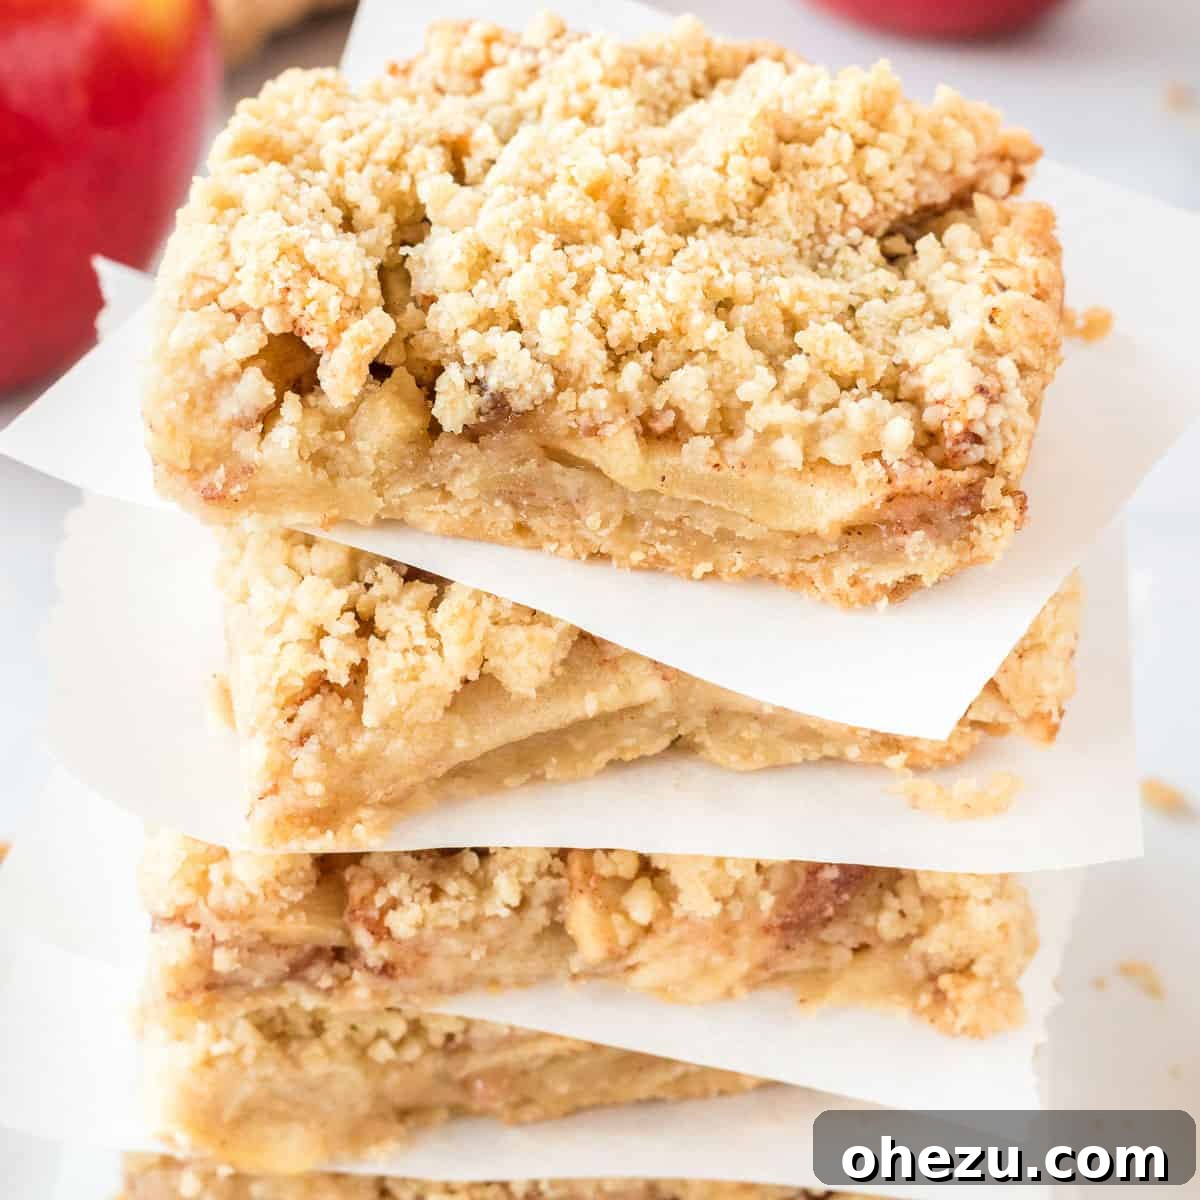
Homemade apple crisp bars are the fall dessert of your dreams. With a buttery shortbread crust and crumbly crisp topping, these apple bars are sure to be a hit dessert!
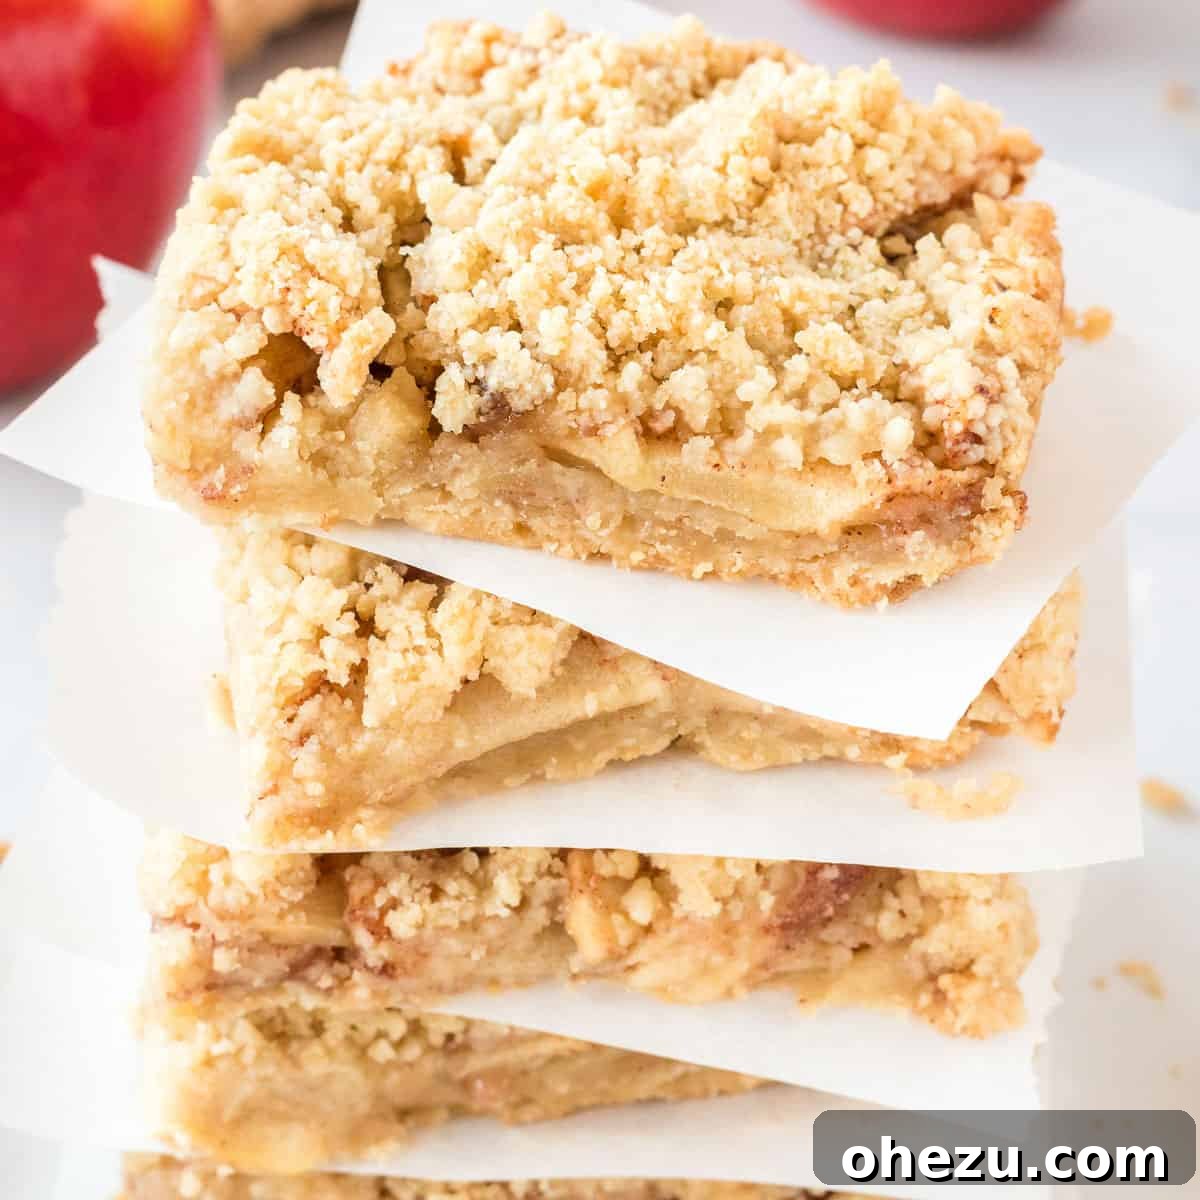
Irresistible Apple Crisp Bars: The Perfect Fall Treat with a Buttery Shortbread Crust
There’s nothing quite like the comforting aroma of warm apples and cinnamon wafting through your home, especially as the crisp air of autumn sets in. While traditional apple crisp holds a special place in our hearts any time of year, we believe these extraordinary apple crisp bars elevate this classic dessert to an entirely new level. Imagine all the beloved flavors of a spiced apple filling and a crunchy oat topping, but with an added secret weapon: a delightful, buttery shortbread crust that provides a sturdy, irresistible foundation.
These homemade apple crisp bars are more than just a dessert; they’re a celebration of fall. They’re incredibly easy to make, transport, and serve, making them an ideal choice for potlucks, family gatherings, or simply a cozy evening at home. Forget the mess of scooping a traditional crisp; these perfectly portioned bars offer individual servings that are neat, handheld, and utterly satisfying. The combination of the tender, spiced apples, the crumbly oat streusel, and the rich, melt-in-your-mouth shortbread base creates a textural and flavor experience that will have everyone reaching for a second slice.
If you’re anything like us, apple desserts are a true highlight of the season. We constantly find ourselves exploring new ways to enjoy this versatile fruit, from quick and easy recipes like cake mix apple cobbler to comforting baked cinnamon apples. But these homemade apple crisp bars? They truly stand out as a must-try recipe that perfectly captures the essence of autumn in every bite.
Why Apple Crisp Bars Are Your New Favorite Fall Dessert
Beyond their incredible taste, apple crisp bars offer several advantages over their traditional counterpart. First, their portability makes them ideal for sharing. Whether you’re heading to a holiday party or sending a treat to school, these bars hold their shape beautifully. Second, the addition of a buttery shortbread crust introduces a wonderful new dimension of flavor and texture. It provides a rich, sweet counterpoint to the tart apples and crumbly topping, making each bite truly decadent. Finally, the convenience of individual servings cannot be overstated – no bowls or spoons needed, just a delicious, handheld delight.
Essential Ingredients for Your Apple Crisp Bars
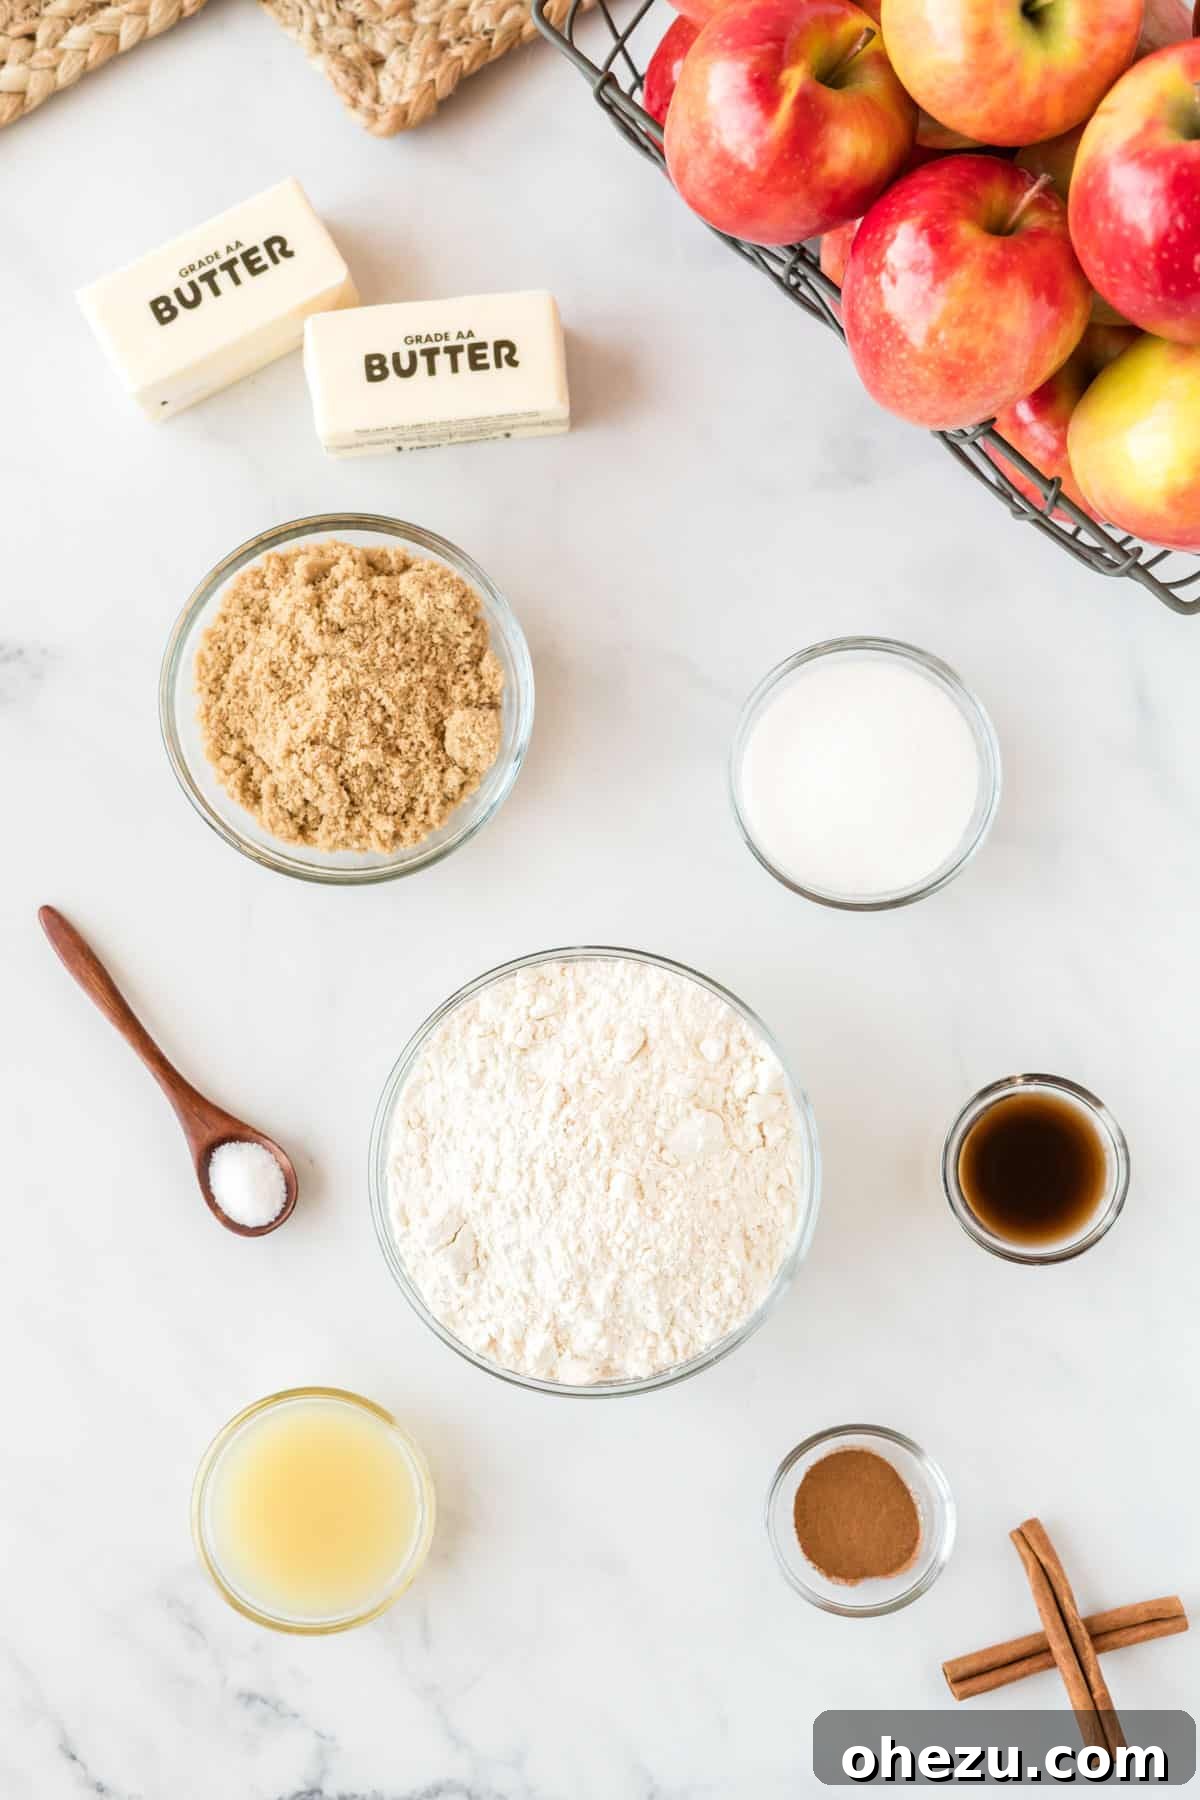
Crafting the perfect apple crisp bars starts with gathering high-quality ingredients. Here’s a detailed list of what you’ll need, along with a few tips to ensure the best possible outcome for your homemade treat:
- All-Purpose Flour: This forms the essential structure for both the rich shortbread crust and the perfectly crumbly crisp topping. Ensure it’s fresh for optimal results.
- Butter (Salted or Unsalted): We recommend using high-quality salted butter for the crust to enhance its flavor, but unsalted works too if you prefer to control the salt content. Make sure the butter for the crust is softened, and importantly, the butter for the crisp topping should be cold and cut into cubes. For a dairy-free option, a reliable plant-based butter substitute, such as Earth Balance, is an excellent choice.
- Brown Sugar: This ingredient is key to achieving that deep, caramel-like sweetness and moist texture in both the crust and the crisp topping. Its molasses notes are quintessential for fall baking.
- Granulated Sugar: Used primarily in the apple filling, granulated sugar helps balance the natural tartness of the apples and ensures a delightful sweetness throughout.
- Apples: The true star! You’ll need about 4 cups of thinly sliced apples. The type of apple significantly impacts the final flavor and texture. We’ll delve into the best varieties below.
- Cinnamon: The classic pairing for apples, ground cinnamon provides a warm, aromatic spice that infuses the entire dessert with comforting fall flavors.
- Vanilla Extract: A splash of pure vanilla extract is a secret weapon, enhancing and rounding out all the other flavors, adding a layer of subtle sweetness and complexity.
- Lemon Juice: Essential for preventing your sliced apples from browning, lemon juice also brightens the apple flavor, cutting through richness and adding a lovely tang.
- Salt: A small but mighty ingredient, a pinch of salt in the crisp topping is vital for balancing the sweetness and intensifying the overall flavor profile. Do not omit!
These ingredients, when combined, create a symphony of flavors and textures that make these apple crisp bars utterly irresistible. Having them all measured out and ready before you begin baking will make the process smooth and enjoyable.
How to Bake Perfectly Easy Apple Crisp Bars
Creating these delightful homemade apple crisp bars is a straightforward process, broken down into a few simple yet crucial steps. Follow these instructions carefully for a delicious and perfectly textured result every time:
Step 1: Prepare Your Baking Dish and Preheat Oven. Begin by preheating your oven to 350°F (175°C). This ensures the oven is at the correct temperature for even baking. Next, line an 8×8 inch baking dish with parchment paper. It’s important to leave an overhang on all sides of the paper; these will serve as convenient “handles” later, making it incredibly easy to lift the entire slab of cooled bars out of the pan for clean and precise cutting. This simple trick is truly a game-changer for neatly portioned desserts.
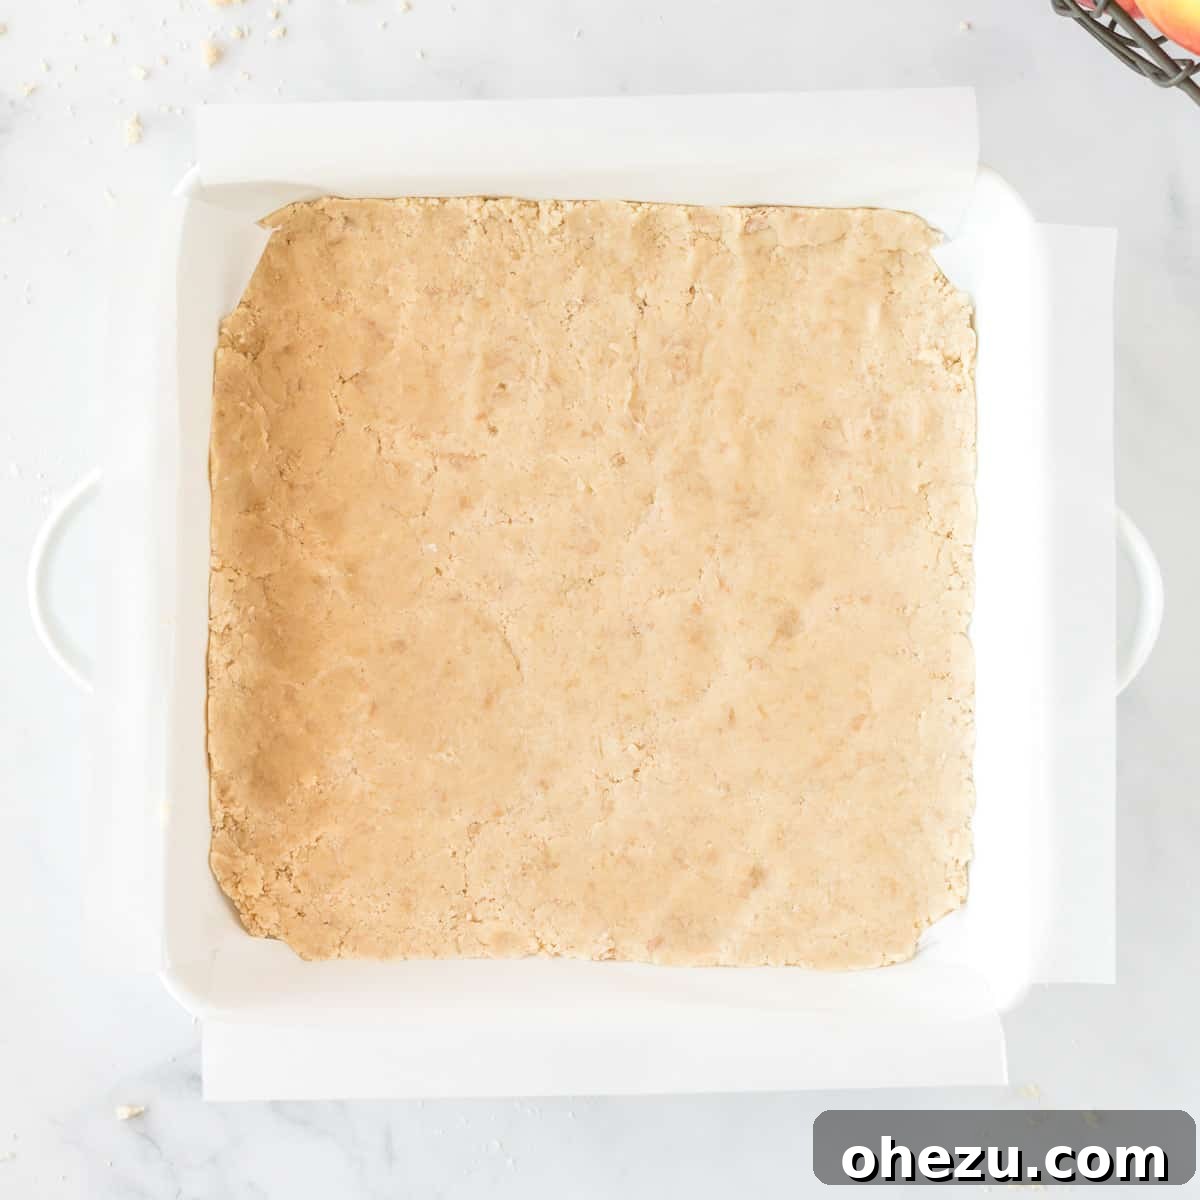
Step 2: Craft the Buttery Shortbread Crust. In a medium-sized mixing bowl, combine the softened butter and ¼ cup of brown sugar. Beat them together using an electric mixer or a sturdy whisk until the mixture becomes light, creamy, and fluffy. This step incorporates air, which contributes significantly to the crust’s tender and melt-in-your-mouth texture. Next, beat in the vanilla extract until fully incorporated. Finally, gradually add the 1 cup of all-purpose flour, mixing on low speed or by hand until the ingredients are just combined and a soft, cohesive dough forms. Be careful not to overmix, as excessive mixing can develop gluten, leading to a tough, rather than tender, crust. Press this dough evenly into the bottom of your prepared baking pan, spreading it from edge to edge. For an extra crisp crust, you can gently prick the dough several times with a fork. Bake the crust for 15 minutes, or until it appears lightly golden around the edges. This initial baking (often called blind baking) is vital for ensuring the crust remains firm and prevents it from becoming soggy once the moist apple filling is added.
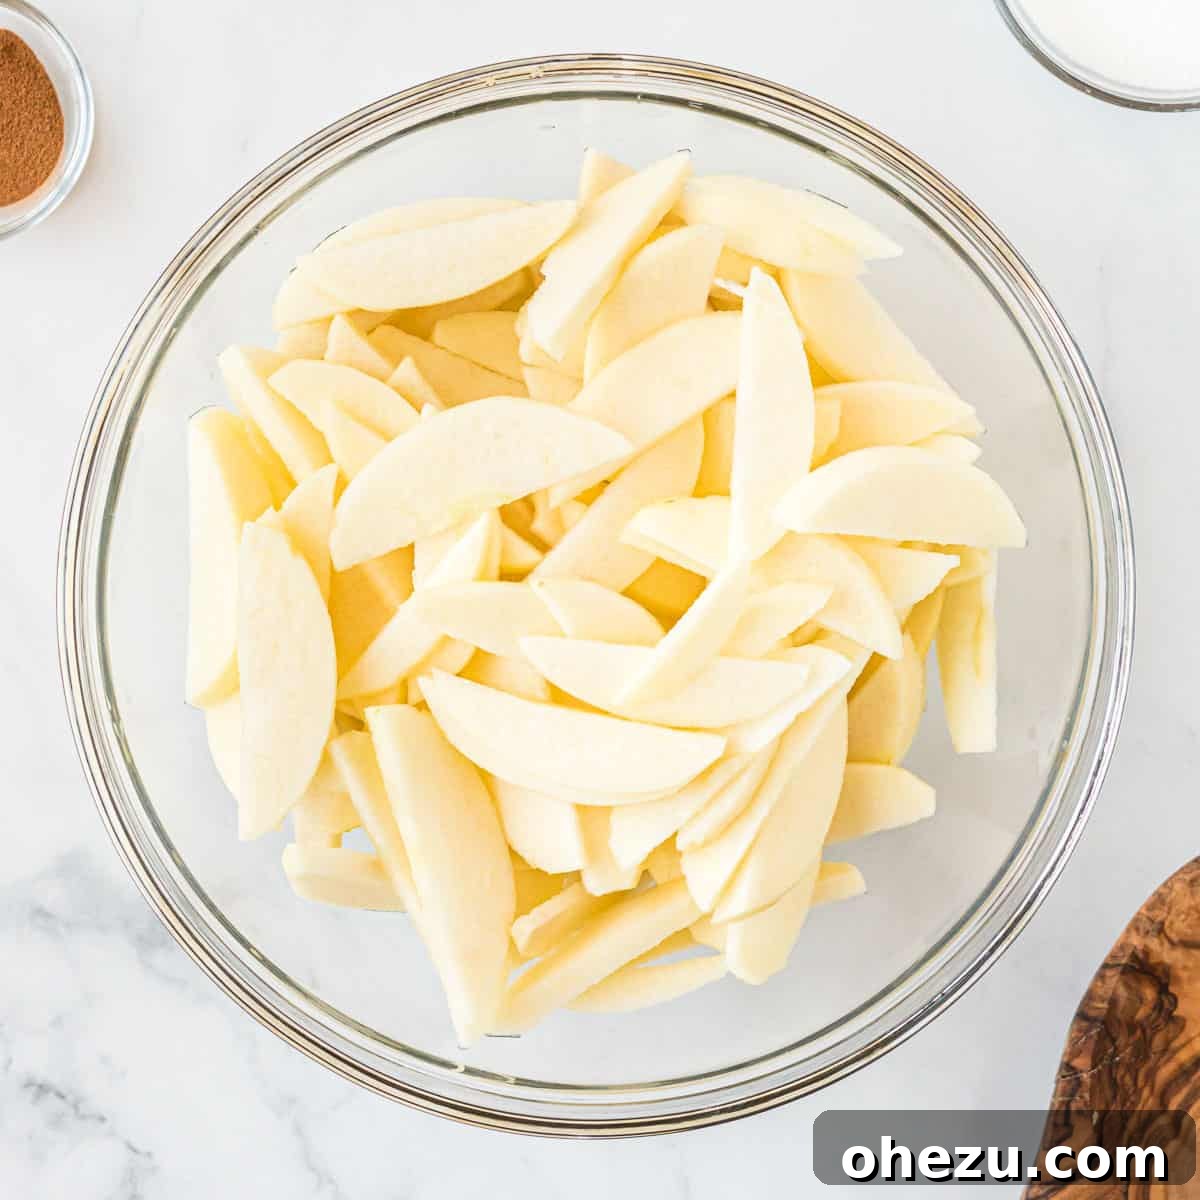
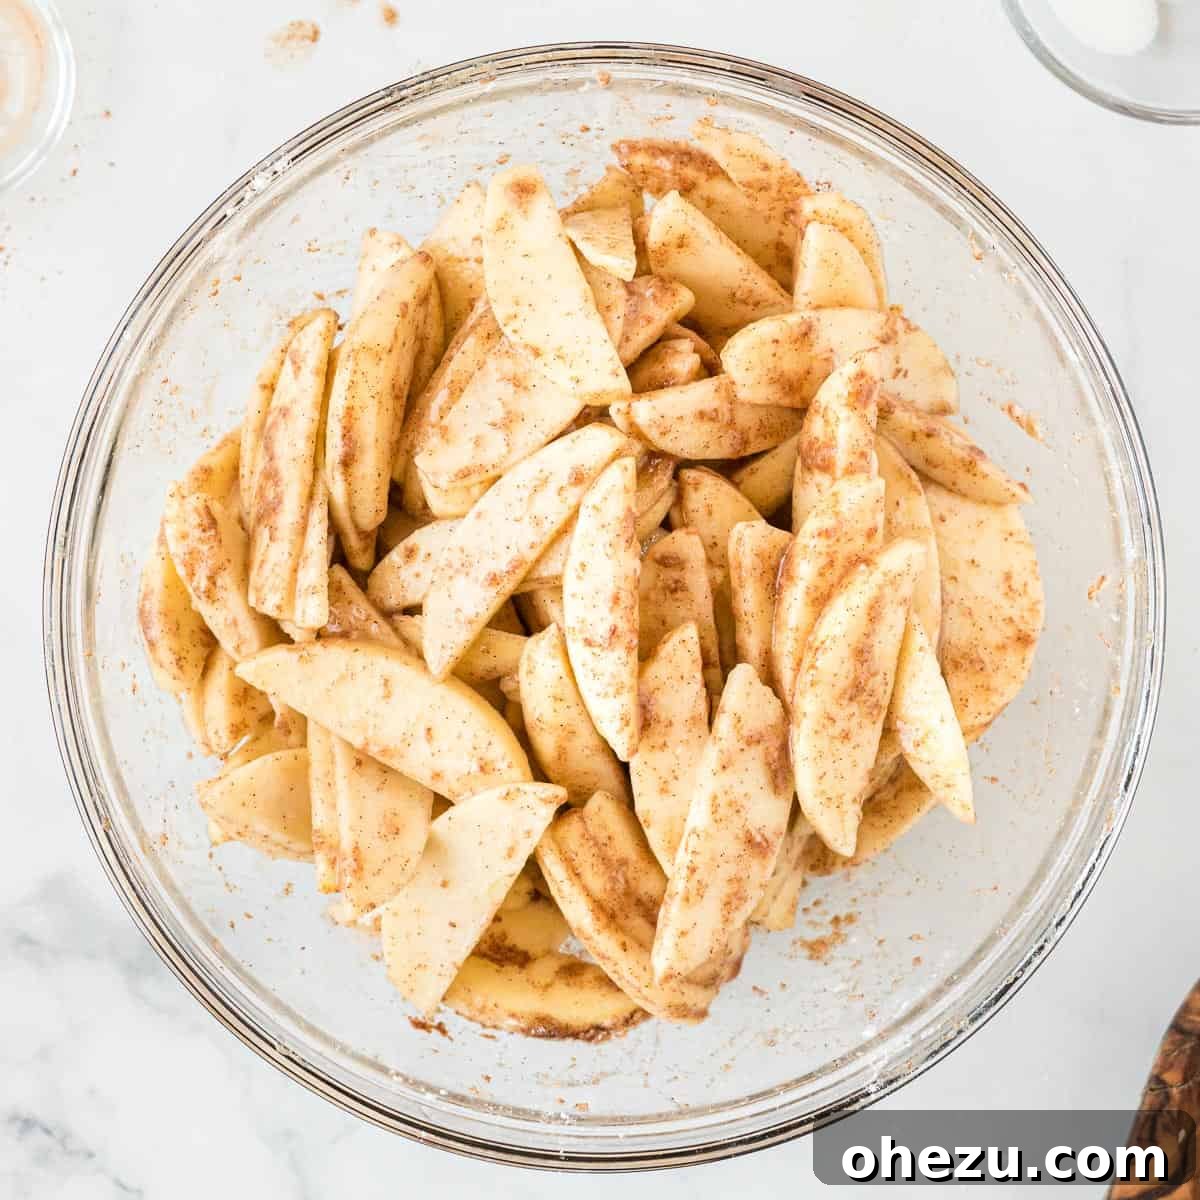
Step 3: Prepare the Aromatic Apple Filling. While your shortbread crust is pre-baking in the oven, you can efficiently prepare the star of the show: the apple filling. In a large mixing bowl, combine the thinly sliced apples with the lemon juice, ¼ cup of granulated sugar, ½ teaspoon of ground cinnamon, and 2 tablespoons of all-purpose flour. Toss all the ingredients gently but thoroughly until the apple slices are evenly coated. The lemon juice serves a dual purpose here: it prevents the apples from browning prematurely and brightens their natural flavor. The flour, on the other hand, is crucial for thickening the delicious juices that the apples release during baking, ensuring your filling is perfectly set and not watery.
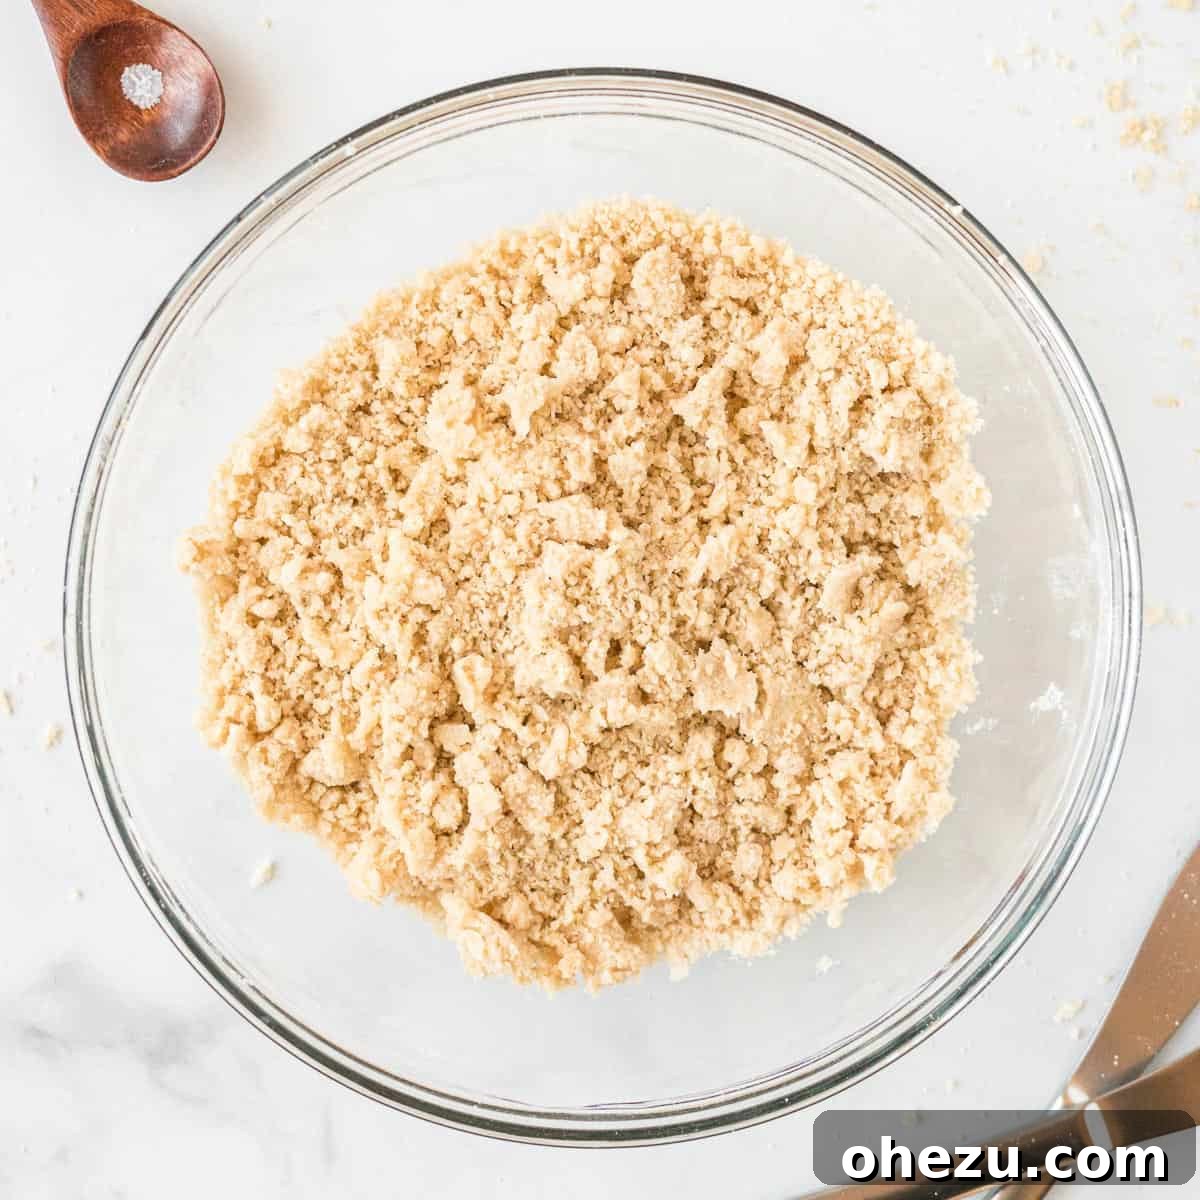
Step 4: Create the Perfect Crumbly Crisp Topping. Now for the delicious crisp topping that adds a delightful crunch to every bite. In a separate, medium-sized bowl, whisk together the ⅓ cup of brown sugar, ¼ teaspoon of salt, and ½ cup of all-purpose flour until well combined. Next, add the cold butter chunks (4 tablespoons, cut into small cubes) to the flour mixture. Using a pastry cutter, two knives, or even your fingertips (working quickly to keep the butter cold), cut the butter into the flour mixture until it resembles coarse, crumbly crumbs. This step is absolutely crucial for achieving that signature crumbly, streusel-like texture. It’s important that the butter remains cold, as this prevents it from melting too quickly and allows for those wonderful pockets of flakiness to form during baking.
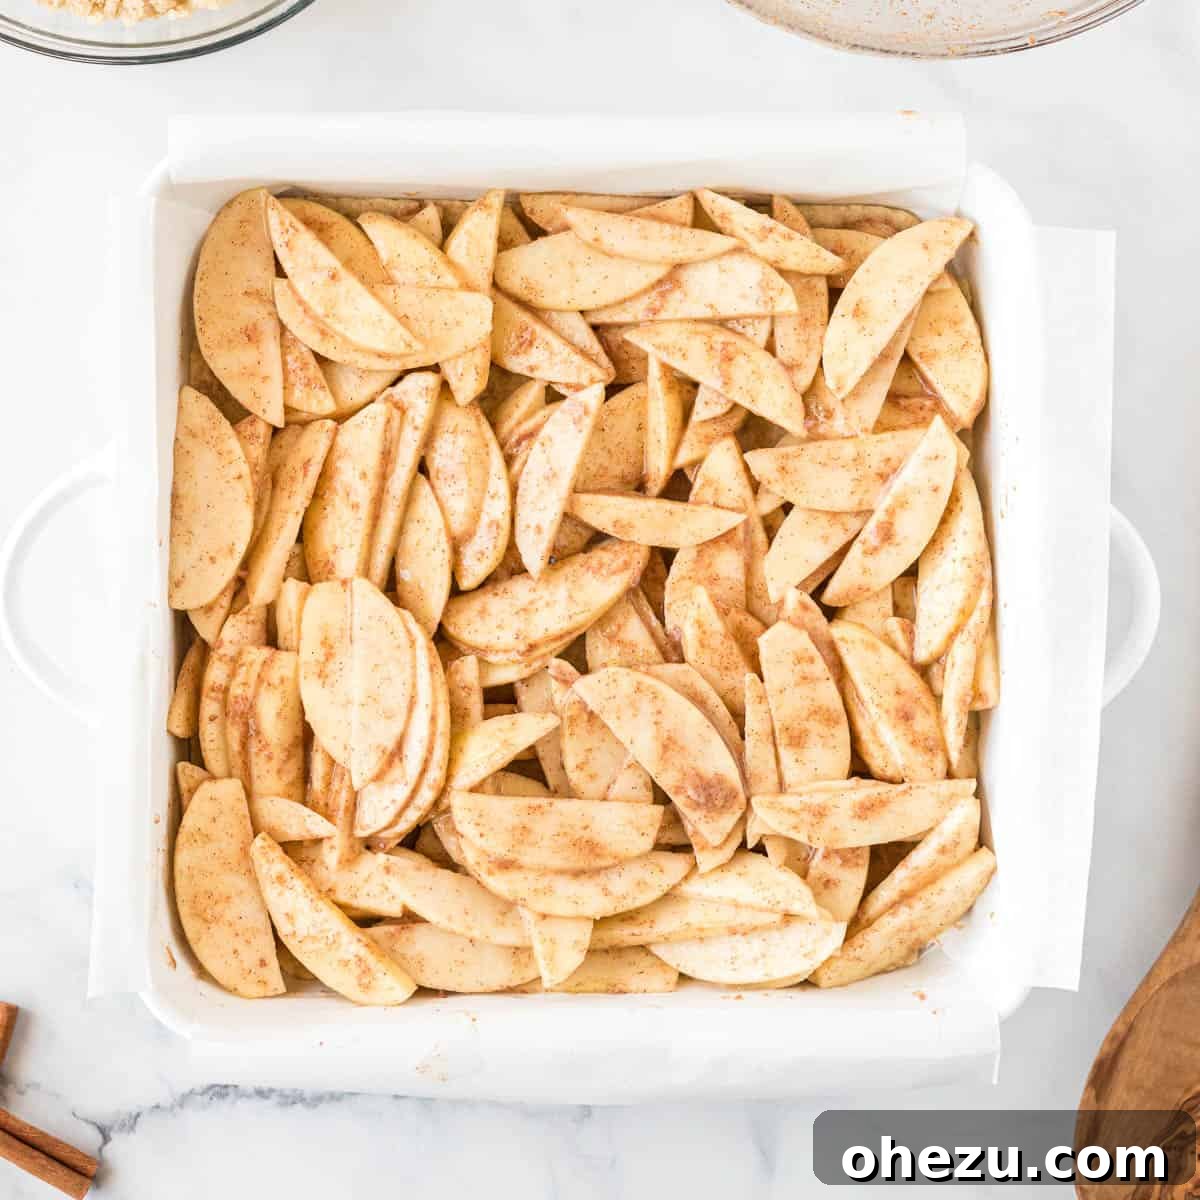
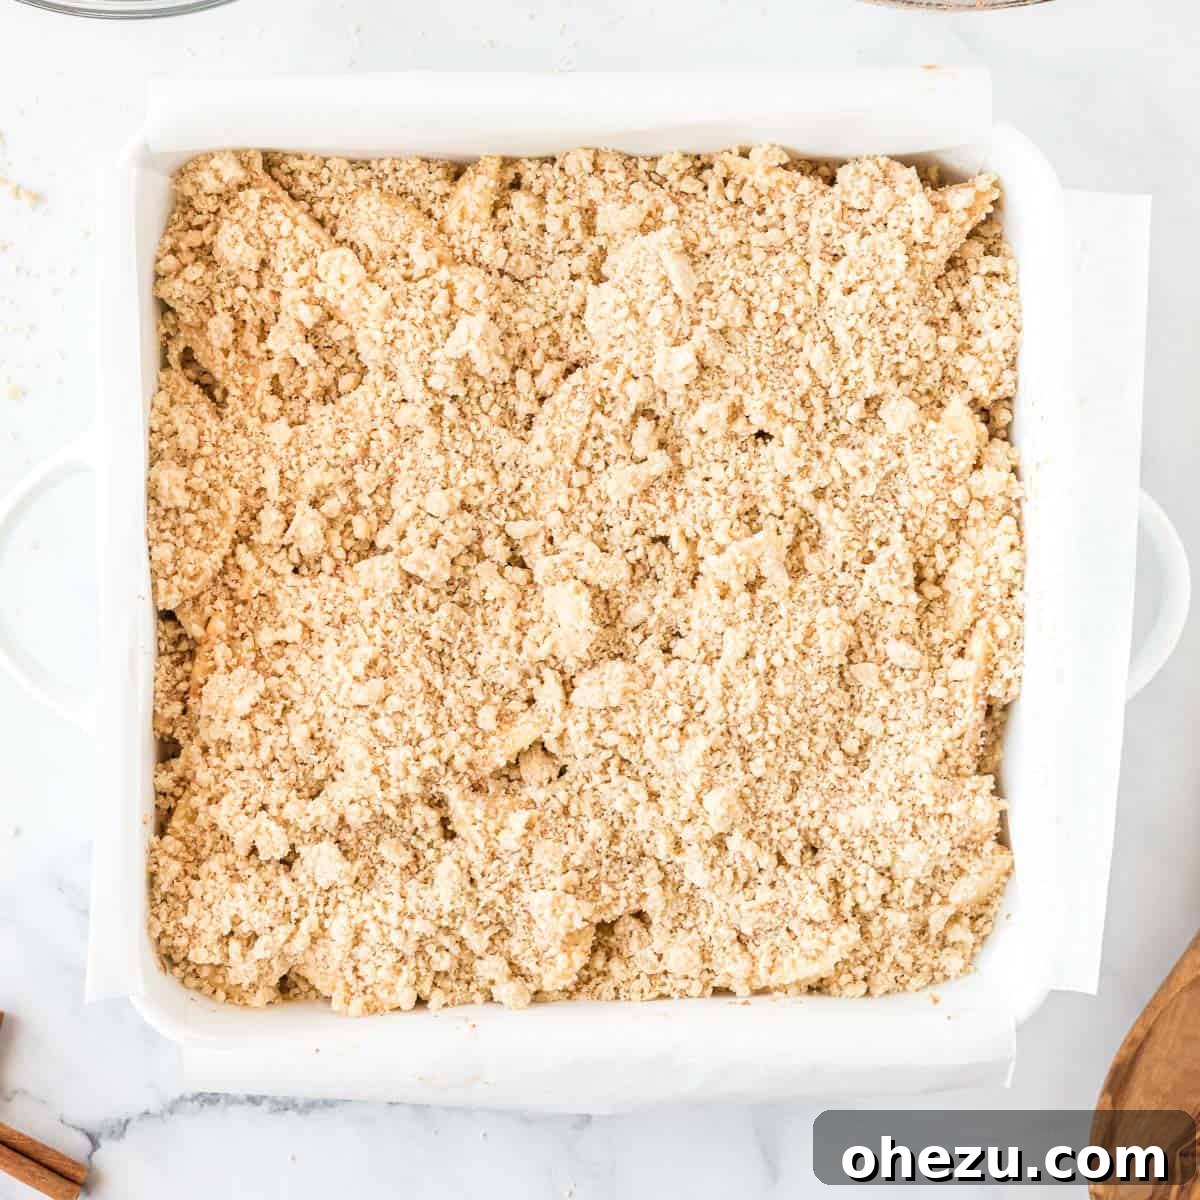
Step 5: Assemble Your Apple Crisp Bars. Once the shortbread crust has finished its initial bake (after 15 minutes), carefully remove the pan from the oven. Gently and evenly spread the prepared apple filling over the warm crust, ensuring the apples form a consistent layer. Then, generously sprinkle the crumbly crisp topping over the entire apple layer. Make sure the topping is distributed from edge to edge; this ensures every piece gets a delicious, crunchy crust and contributes to a beautiful, golden-brown top once baked.
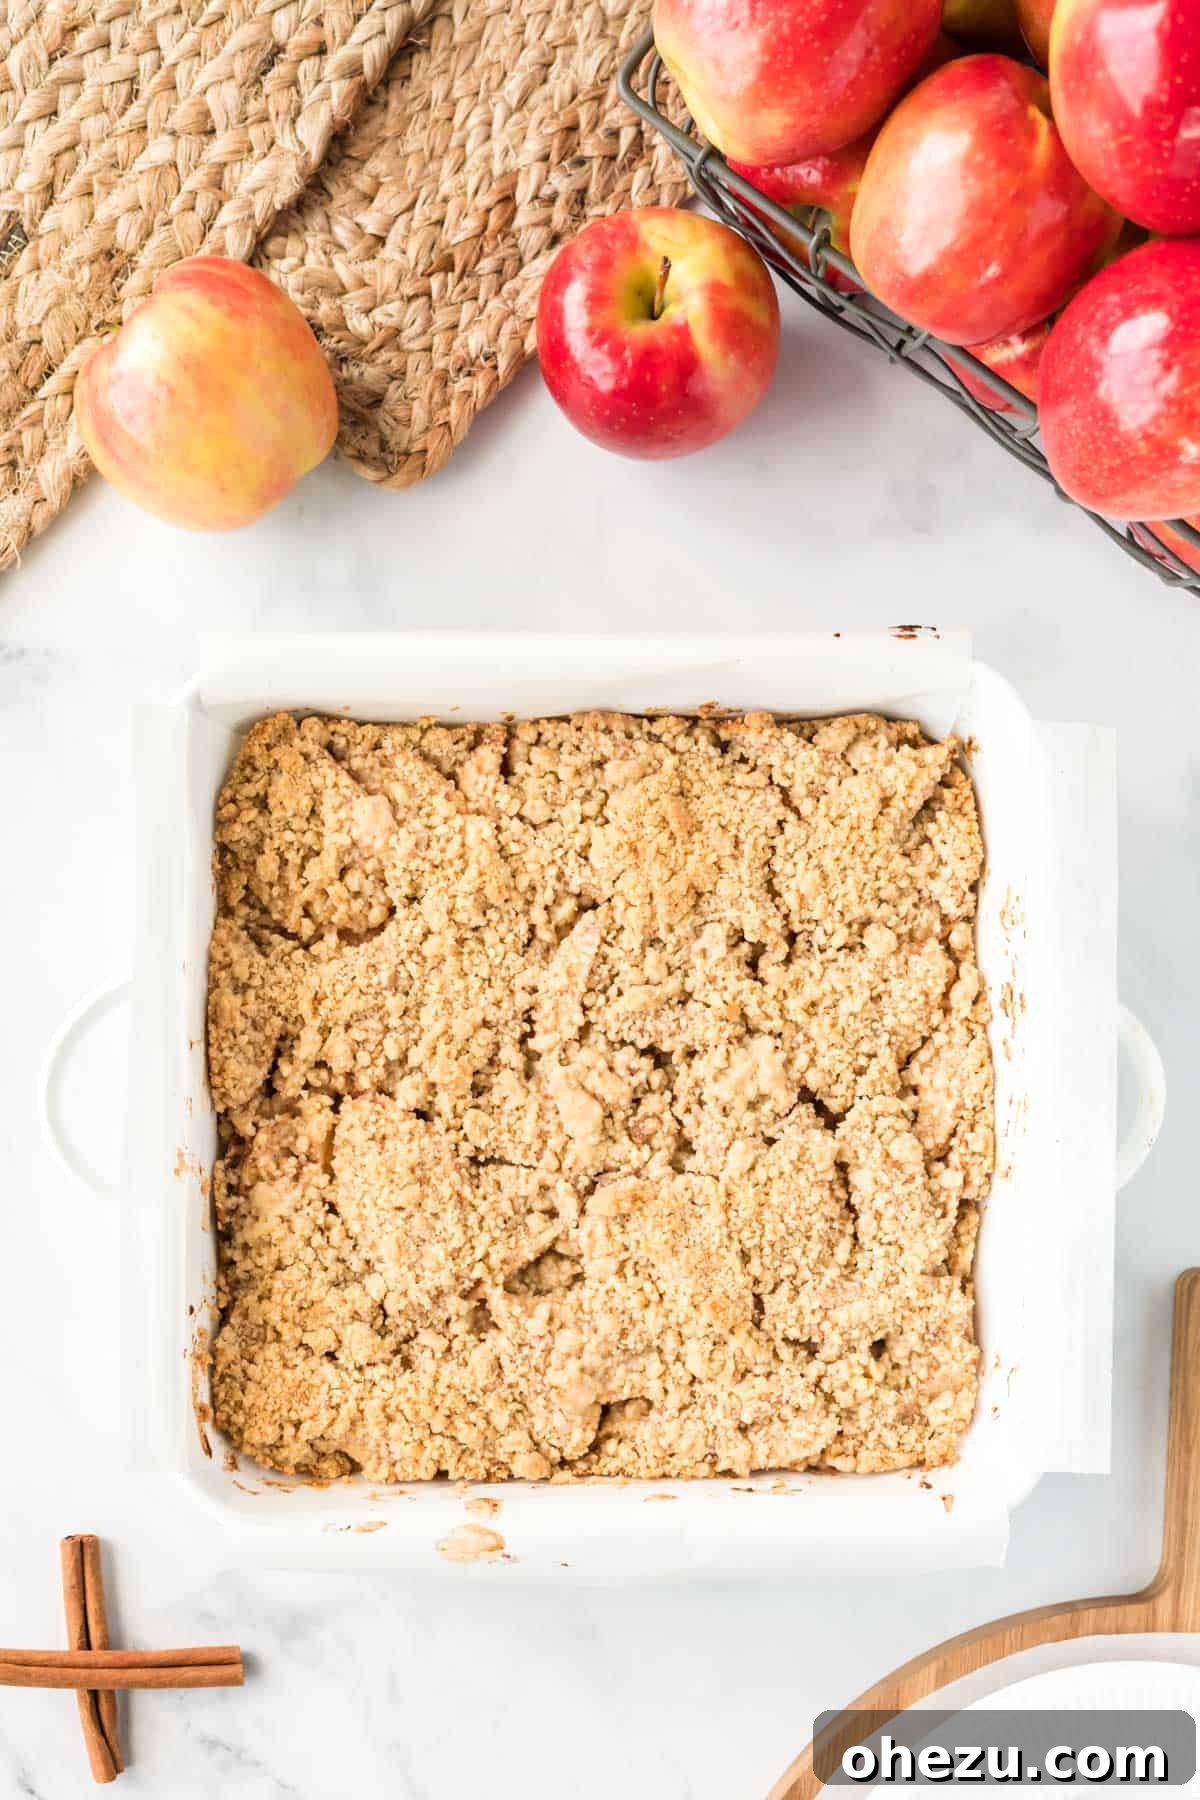
Step 6: Bake to Golden Perfection and Cool. Return the assembled bars to the preheated oven. Bake for approximately 45 to 55 minutes, or until the crisp topping is beautifully golden brown, and the apple filling is visibly bubbly around the edges. This bubbling indicates that the apples are tender, and their juices have thickened perfectly. Once baked, the hardest part begins: waiting! Allow the bars to cool in the pan for at least 30 to 45 minutes, or even longer, until they are mostly cooled. This cooling period is absolutely essential for the bars to set properly, making them much easier to cut into clean, neat squares. Once cooled sufficiently, gently use the parchment paper overhang to lift the entire slab of bars out of the pan. Place them on a cutting board, slice into desired squares (whether you prefer big, generous slices or 16 smaller, more manageable squares!), and serve!
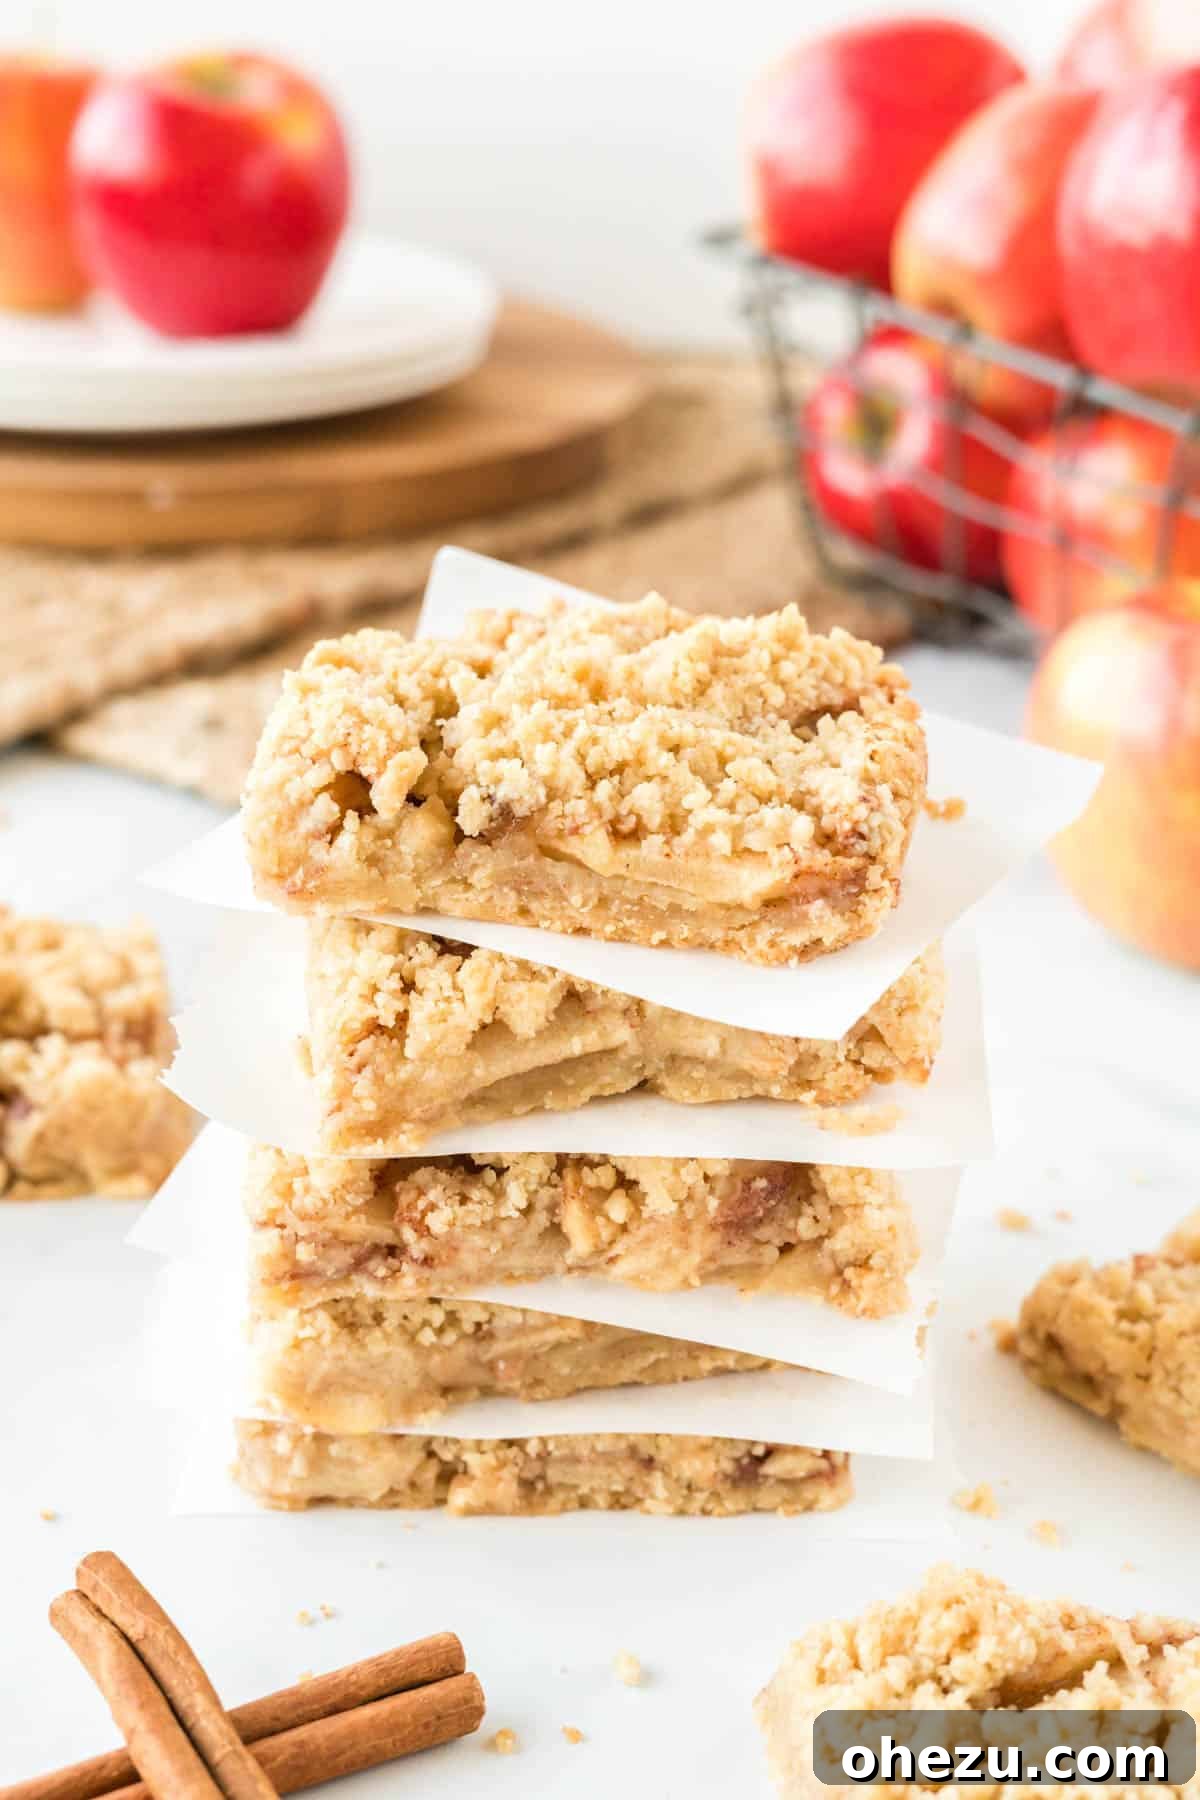
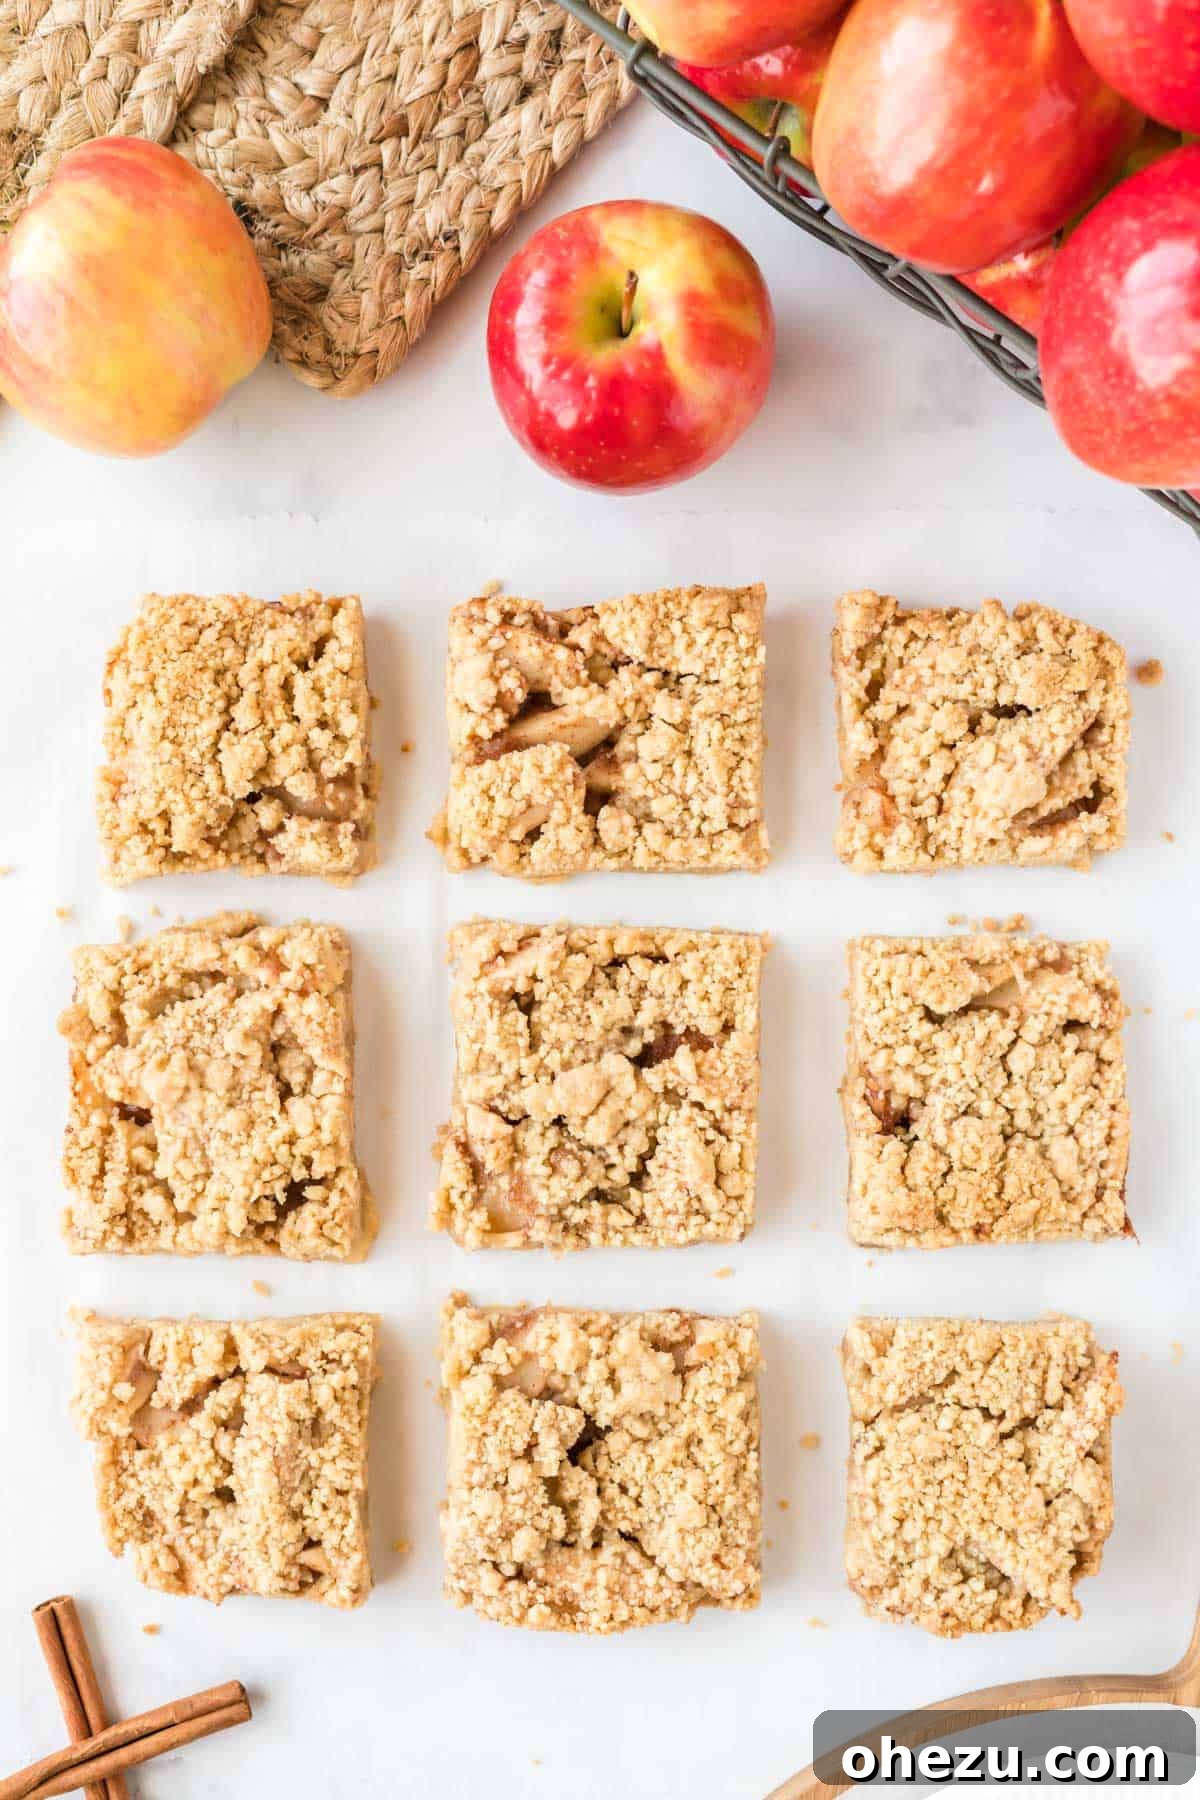
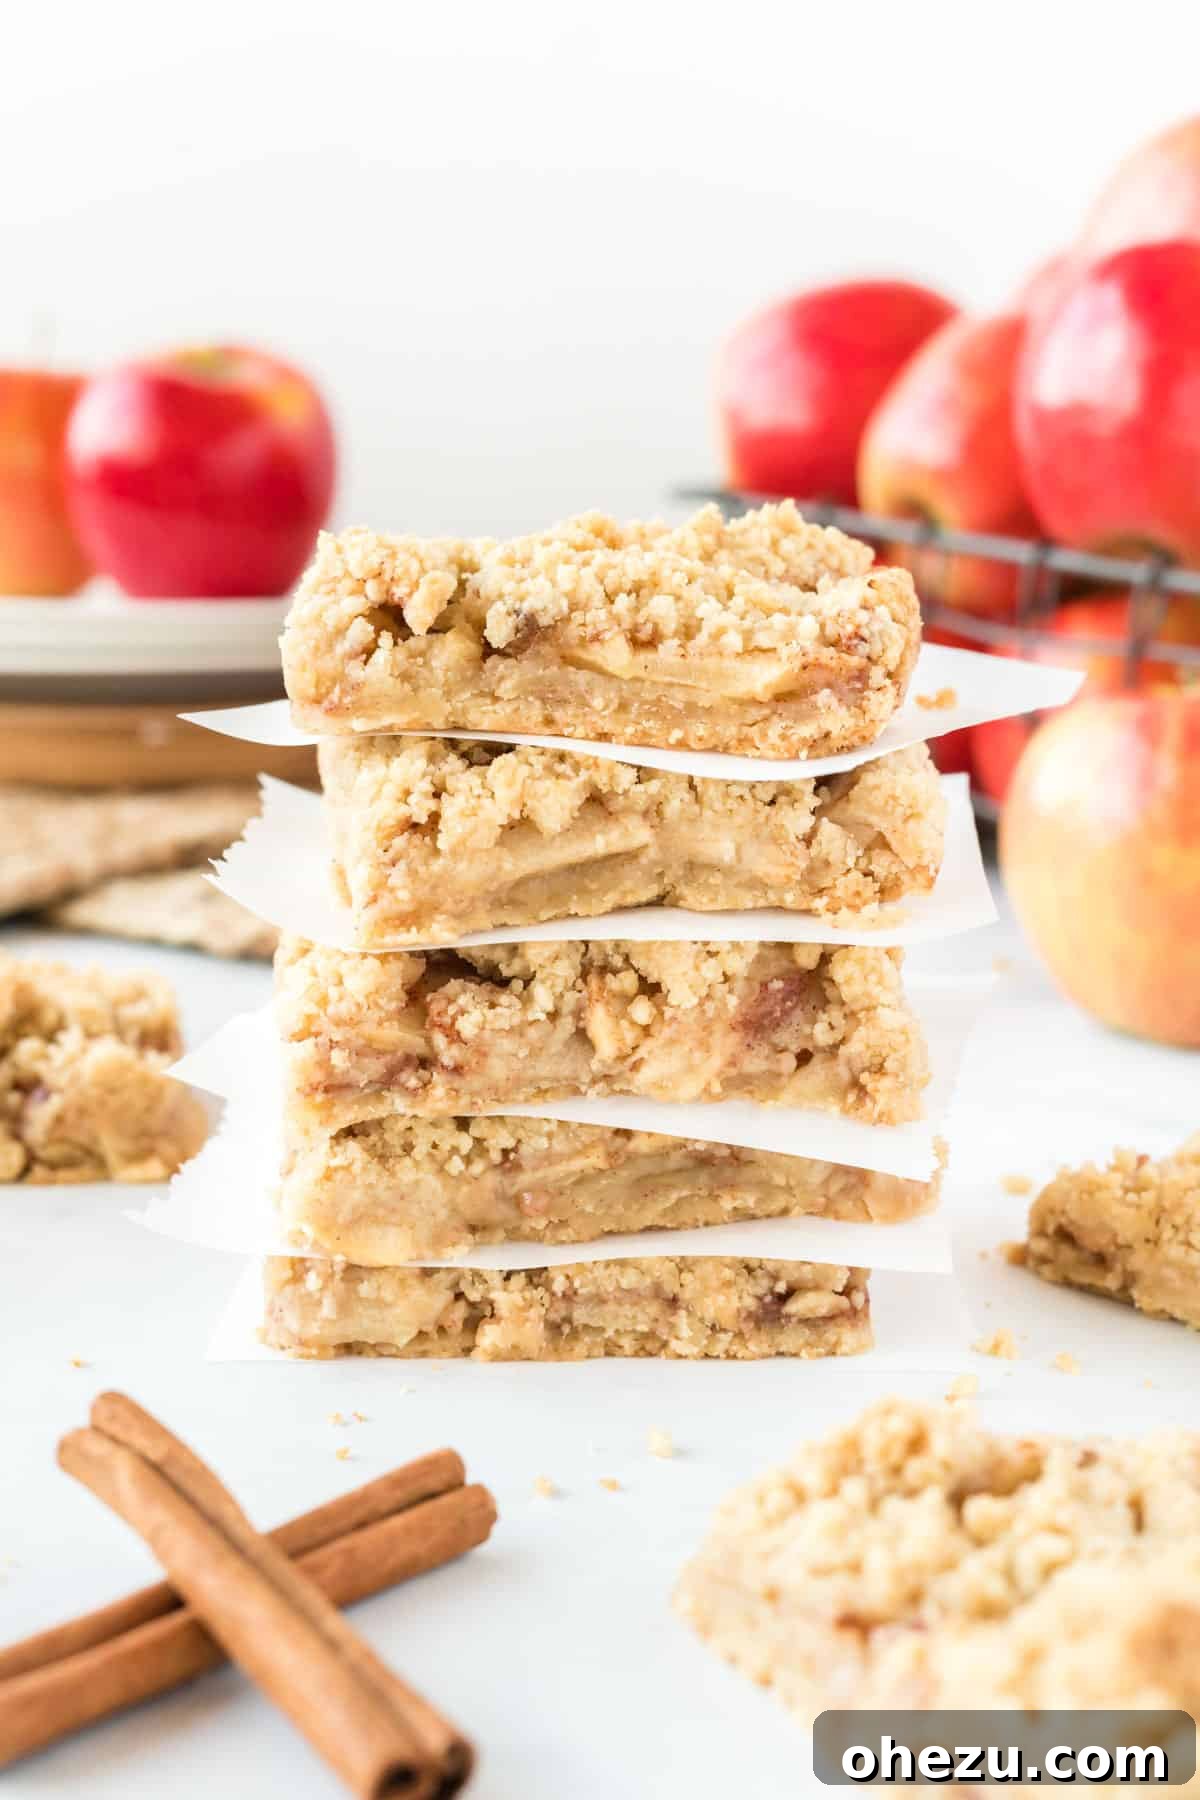
You can choose to cut them into generously sized slices, as often pictured, or opt for 16 smaller, more manageable squares – perfect for sharing (or not!). Our absolute favorite way to savor these bars is when they are still warm, accompanied by a generous scoop of creamy vanilla ice cream. The delightful contrast between the warm, spiced apples and the cold, melting ice cream is pure bliss. However, don’t underestimate their deliciousness straight from the fridge; they’re equally delightful chilled! No matter how you enjoy them, these homemade apple crisp bars from scratch will always be a fall must-have in our house. They truly are so simple to make, and the universal appeal of apples and cinnamon means everyone loves them! The scent alone as they bake is enough to draw a crowd into the kitchen, promising a treat that’s both comforting and utterly delicious.
Expert Tips for Success: Achieving the Best Apple Crisp Bars
To ensure your apple crisp bars turn out perfectly every time, keep these expert tips in mind:
- Choose the Right Apples: A mix of apples often yields the best results. Tart apples like Granny Smith provide a nice tang that beautifully balances the sweetness, while sweeter varieties such as Honeycrisp, Fuji, Gala, or Braeburn add depth of flavor and good texture. Avoid apples that tend to turn too mushy when cooked, like Red Delicious.
- Don’t Overmix the Crust: For a tender and flaky shortbread crust, mix the ingredients only until they are just combined. Overmixing develops gluten, which can lead to a tough and chewy crust.
- Keep the Butter Cold for the Topping: Cold butter is absolutely essential for creating that signature crumbly, streusel-like crisp topping. If your butter gets too warm while you’re cutting it into the flour, simply pop the mixture into the fridge for 10-15 minutes to chill before sprinkling it over the apples.
- Thinly Slice Your Apples for Even Cooking: Uniformly thin apple slices ensure that all the apples cook evenly and become tender without turning into an inconsistent mush. A mandoline can achieve perfect slices, but a sharp knife and a steady hand work just as well.
- Parchment Paper is Your Best Friend: The parchment paper overhang in the baking dish is a small but mighty trick. It makes removing the entire batch of bars from the pan incredibly easy and allows for neat, clean cuts without any sticking.
- Allow for Adequate Cooling Time: This is perhaps the most challenging tip to follow, but it’s crucial! Resist the urge to cut into the bars too soon. The cooling time allows the apple filling to fully set and the shortbread crust to firm up. Attempting to cut them while warm will result in a messy, crumbly outcome.
Delicious Variations to Customize Your Apple Crisp Bars
While the classic recipe is undeniably divine, feel free to unleash your culinary creativity and customize your apple crisp bars with these delightful variations:
- Add Oats to the Topping: For an extra chewy texture and a more rustic, nutty flavor, incorporate ½ cup of old-fashioned rolled oats into your crisp topping mixture.
- Nutty Crunch: Elevate the texture and flavor by stirring in ½ cup of finely chopped pecans, walnuts, or almonds into the crisp topping mixture. This adds a delightful crunch and richness.
- Spice It Up: Enhance the apple filling with additional warm spices. A pinch of nutmeg, a dash of allspice, or a tiny amount of ground cloves can add a more complex and aromatic spice profile.
- Caramel Drizzle Indulgence: Once the bars have completely cooled, warm up some store-bought or homemade caramel sauce and drizzle it generously over the top for an incredibly indulgent treat.
- Dairy-Free/Vegan Option: As noted in the ingredients, you can easily make these bars dairy-free by substituting dairy butter with a high-quality plant-based butter substitute. Ensure all other ingredients, like vanilla extract, are naturally vegan.
- Add Citrus Zest: For an extra bright flavor, finely grate a teaspoon of orange or lemon zest into the apple filling along with the juice.
Storage, Freezing, and Serving Suggestions
These apple crisp bars are wonderfully convenient, perfect for making ahead and enjoying over several days, or even freezing for a longer period.
- Storage: Store any leftover apple crisp bars in an airtight container at room temperature for up to 2-3 days. For extended freshness, keep them in the refrigerator for up to 5 days. Chilled bars tend to firm up slightly, which can make them even easier to handle and enjoy.
- Reheating: If you prefer your bars warm, simply pop individual squares into the microwave for 15-30 seconds. To reheat a larger batch, place the bars (if not yet cut) in a 300°F (150°C) oven for about 10-15 minutes, or until thoroughly warmed through and the topping crisps up slightly.
- Freezing: These apple crisp bars freeze beautifully! Once they are completely cooled, cut them into individual squares. Arrange the squares in a single layer on a baking sheet and freeze until solid (this usually takes about 2 hours). Once frozen, transfer the solid bars to an airtight freezer-safe container or bag. To prevent sticking, you can place pieces of parchment paper between layers. They can be frozen for up to 3 months. To enjoy, thaw them at room temperature for an hour or two, or reheat them directly from frozen in the oven until warm.
- Serving Suggestions: While undeniably delicious on their own, warm apple crisp bars are heavenly when served with a scoop of premium vanilla bean ice cream or a dollop of freshly whipped cream. A light dusting of powdered sugar can also add a touch of elegance.
Frequently Asked Questions About Apple Crisp Bars
- What are the best types of apples for apple crisp bars?
- For the best texture and flavor, we recommend using a combination of apples. Tart varieties like Granny Smith provide a firm texture and balance sweetness. Mix them with sweeter, firmer apples such as Honeycrisp, Fuji, Gala, or Braeburn. Avoid softer apples that turn mushy easily, like Red Delicious.
- Can I make these apple crisp bars ahead of time?
- Absolutely! Apple crisp bars are an excellent make-ahead dessert. You can bake them a day in advance and store them at room temperature in an airtight container. The flavors often deepen overnight, making them even more delightful. Reheat gently if you prefer them warm.
- How do I prevent the shortbread crust from getting soggy?
- Pre-baking the shortbread crust for 15 minutes creates a protective barrier against the moisture from the apple filling. Additionally, ensuring the apple filling isn’t overly watery (the flour helps absorb excess moisture) and allowing the bars to cool completely before cutting will prevent sogginess and maintain a crisp crust.
- Can I use a larger baking pan for this recipe?
- Yes, you can use a 9×13 inch pan, but you will need to adjust the quantities. We recommend increasing all ingredient amounts by about 1.5 times to ensure the layers are thick enough. Keep in mind that a larger, thinner batch might require a slightly shorter baking time, so keep an eye on them.
- Is it possible to make these apple crisp bars gluten-free?
- Yes, it’s definitely possible! Simply substitute the all-purpose flour with a high-quality 1:1 gluten-free baking flour blend that already contains xanthan gum. If you plan to add oats to your crisp topping, ensure they are certified gluten-free. The other ingredients in the recipe are typically naturally gluten-free.
If you go apple picking this year, or simply find yourself with a bounty of fresh apples, be sure to make this recipe! Your house will smell absolutely incredible with the irresistible scent of cinnamon apple goodness, promising a treat that’s as delightful to smell as it is to eat.
More Delicious Apple Recipes to Try
- Cranberry Apple Crisp
- Cinnamon Apple Muffins
- Slow Cooker Cranberry Apple Butter
Apple Crisp Bars Recipe
By: Joy Shull
These homemade apple crisp bars are a delicious fall dessert made with a delightful buttery shortbread crust, spiced apple filling, and a perfect crisp topping, making them a crowd-pleaser.
Prep Time: 15 mins
Cook Time: 1 hr 5 mins
Total Time: 1 hr 20 mins
Yields: 12 servings
Ingredients
For the Shortbread Crust
- 1 cup all-purpose flour
- ½ cup salted butter, softened
- ¼ cup brown sugar
- 1 teaspoon vanilla extract
For the Apple Filling
- 4 cups thinly sliced apples (about 3-4 medium apples)
- 2 teaspoons lemon juice
- ¼ cup granulated sugar
- ½ teaspoon cinnamon
- 2 tablespoons all-purpose flour
For the Crisp Topping
- ⅓ cup brown sugar
- ¼ teaspoon salt
- ½ cup all-purpose flour
- 4 tablespoons cold salted butter, cut into cubes
Instructions
- Preheat your oven to 350°F (175°C). Line an 8×8 inch baking dish with parchment paper, allowing the sides to overhang so you can easily lift the bars out once cooked and cooled.
- Make the Shortbread Crust: In a medium bowl, beat together the softened butter and ¼ cup brown sugar until creamy and fluffy. Stir in the vanilla extract. Gradually add 1 cup of all-purpose flour, mixing until a soft dough forms. Press this dough evenly into the bottom of the lined baking pan.
- Bake the crust in the preheated oven for 15 minutes, or until lightly golden at the edges.
- While the crust is baking, prepare both the apple filling and the crisp topping.
- For the Apple Filling: In a large bowl, combine the thinly sliced apples, lemon juice, ¼ cup granulated sugar, ½ teaspoon cinnamon, and 2 tablespoons all-purpose flour. Toss gently until all the apple slices are evenly coated.
- For the Crisp Topping: In a separate bowl, mix together ⅓ cup brown sugar, ¼ teaspoon salt, and ½ cup all-purpose flour. Add the cold, cubed salted butter. Using a pastry cutter, two knives, or your fingertips, cut the butter into the flour mixture until it forms coarse, crumbly crumbs.
- Once the crust is done baking, remove the pan from the oven. Evenly spread the prepared apple filling over the warm shortbread crust.
- Generously distribute the crumbly crisp topping over the apple filling, ensuring it covers the entire surface.
- Return the pan to the oven and bake for 45-55 minutes, or until the crisp topping is golden brown and the apple filling is bubbly around the edges.
- Allow the apple crisp bars to cool completely in the pan for at least 30-45 minutes. This step is crucial for the bars to set properly. Then, use the parchment paper overhang to gently lift the entire slab of bars out of the pan. Cut into squares and serve warm or at room temperature.
Nutrition
(Approximate values per serving, based on 12 servings. Nutritional information may vary depending on exact ingredients and preparation.)
- Serving Size:
- 1 bar
- Calories:
- 235 kcal
- Carbohydrates:
- 31 g
- Protein:
- 2 g
- Fat:
- 12 g
- Saturated Fat:
- 7 g
- Polyunsaturated Fat:
- 4 g
- Cholesterol:
- 31 mg
- Sodium:
- 139 mg
- Fiber:
- 1 g
- Sugar:
- 17 g
Enjoy this delightful fall dessert! Share your experience by leaving a comment below.