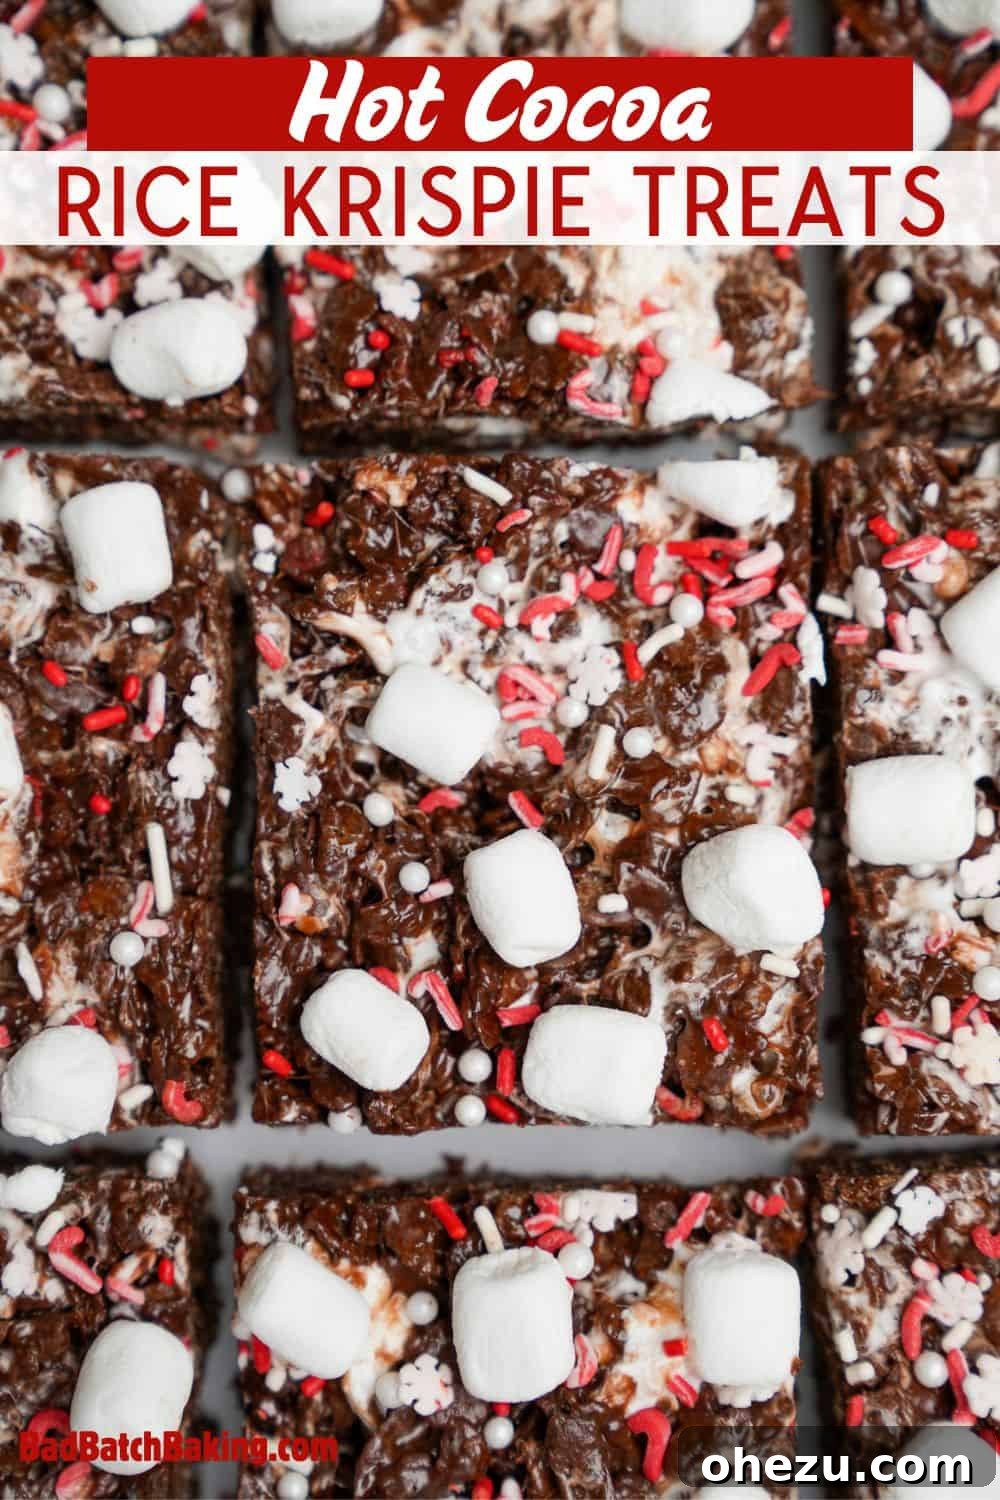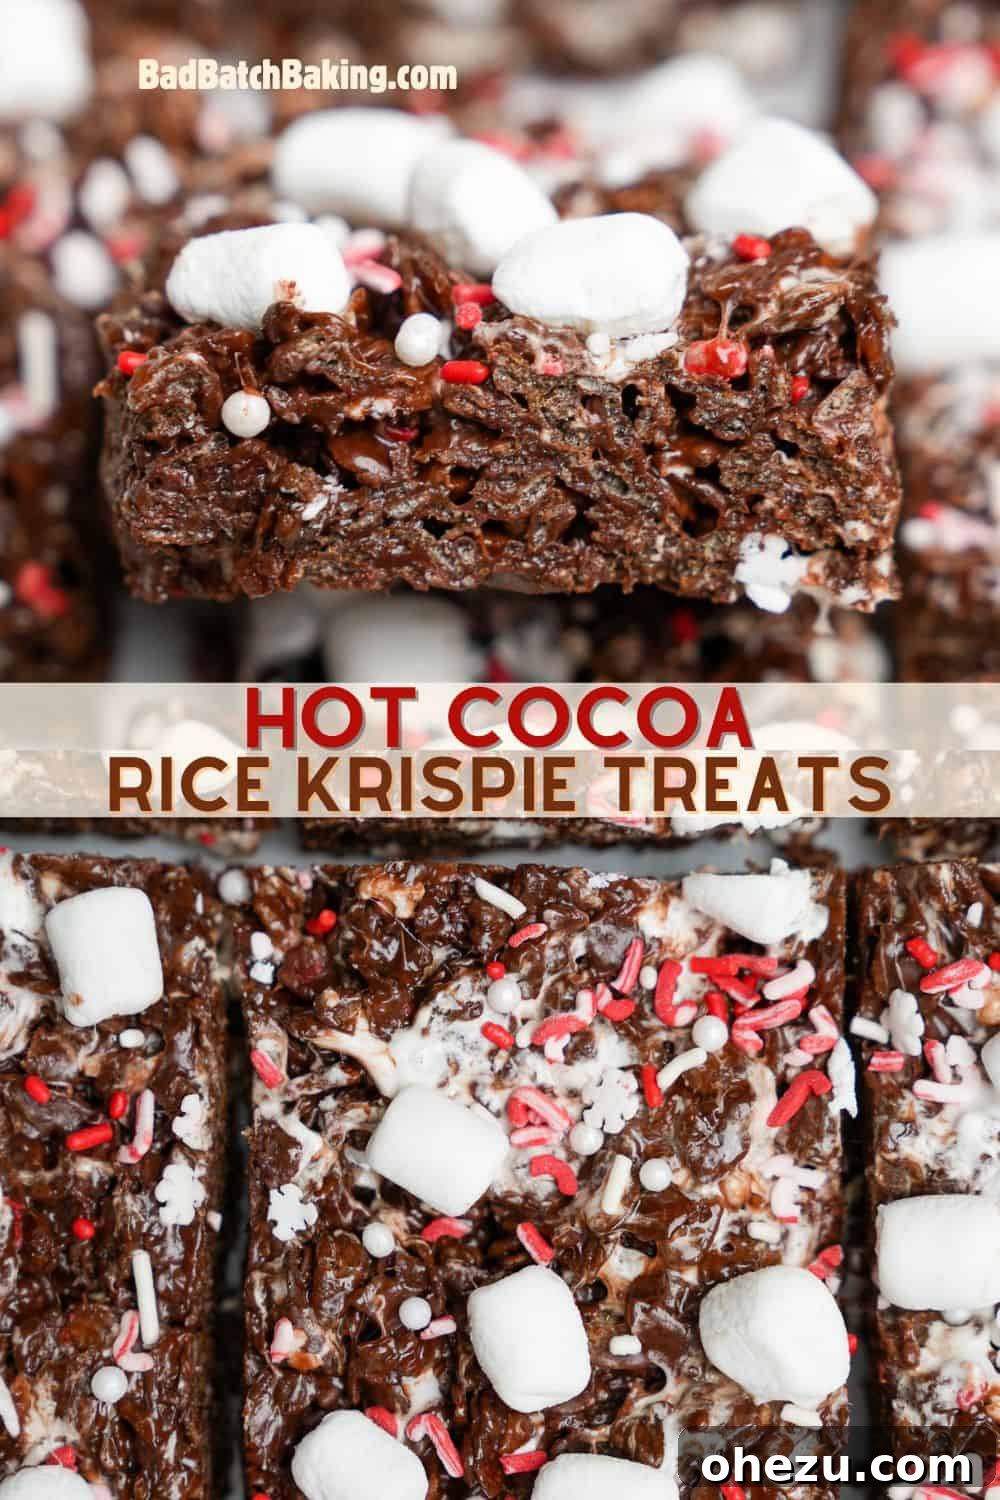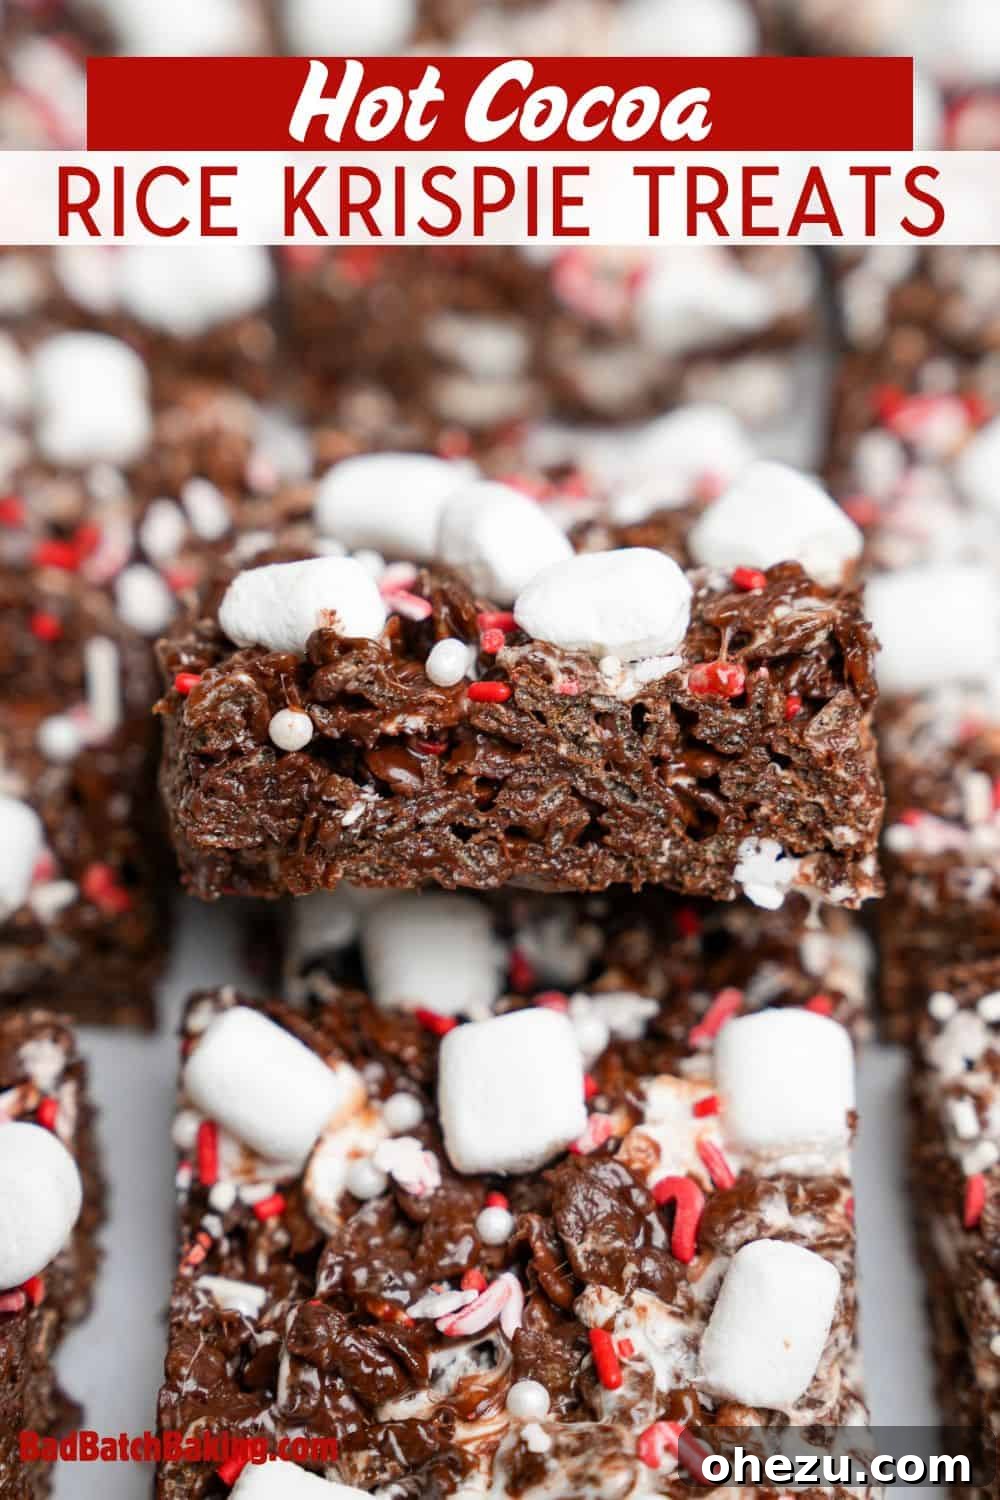
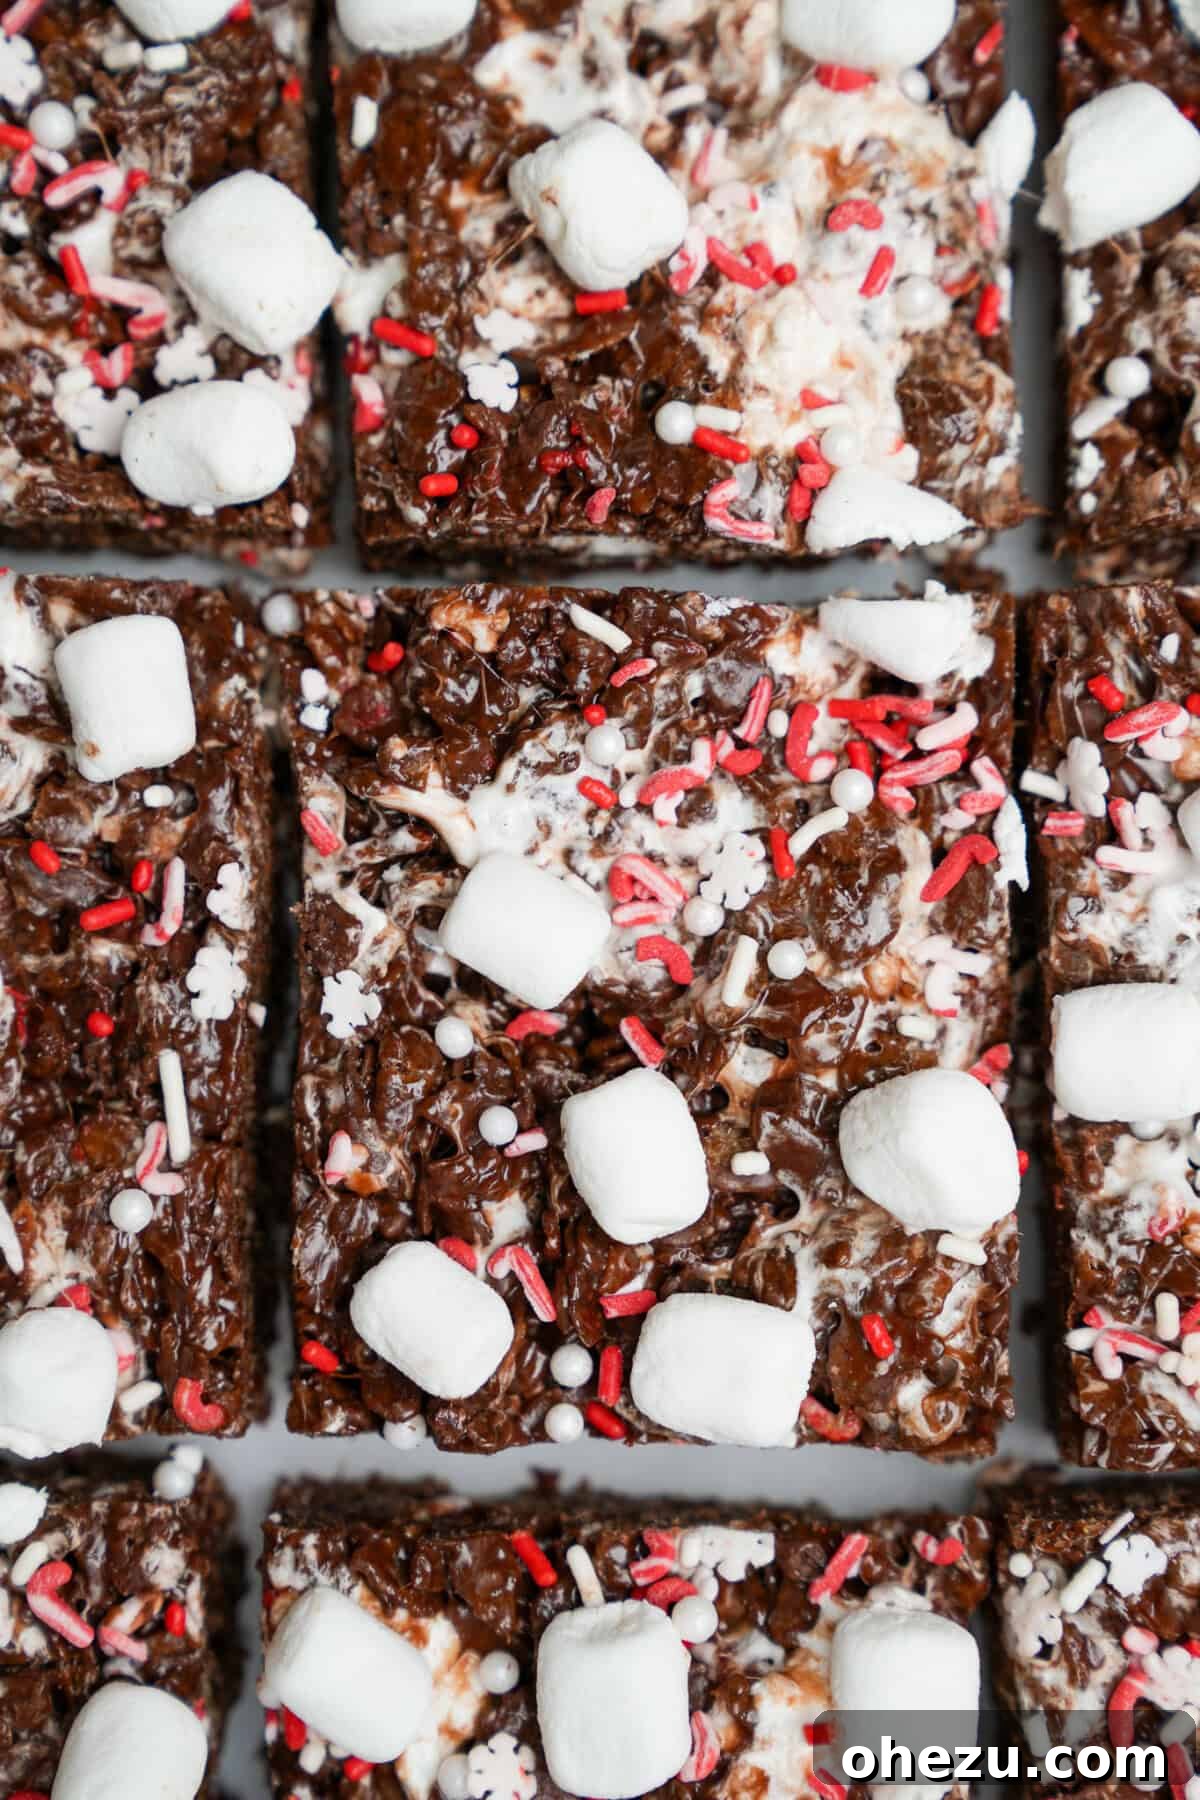
Prepare to be enchanted by these truly irresistible Hot Cocoa Rice Krispie Treats! These delightful chocolate marshmallow creations are a much-needed, innovative twist on the classic no-bake dessert we all grew up loving. Imagine the comforting warmth of a steaming cup of hot chocolate, transformed into a chewy, gooey, and utterly fudgy treat. This unique dessert is not only incredibly simple to make but is destined to become a cherished holiday favorite, perfect for sharing joy with family and friends throughout the cozy winter season.
As the days grow shorter and the air gets crisp, there’s nothing quite like gathering around with loved ones and indulging in sweet, comforting treats. If you’re eager to explore more delightful recipes to bake (or not bake!) during this magical time of year, be sure to also discover my Cheesecake Stuffed Hawaiian Roll French Toast, bright and zesty Orange-Cranberry Muffins, perfectly portioned Stuffed French Toast Bites, or my luscious Peach Cobbler Stuffed Cinnamon Rolls. Each offers a unique flavor and texture profile, guaranteed to bring warmth and cheer to any occasion.
Why These Hot Cocoa Rice Krispie Treats Will Become Your New Favorite
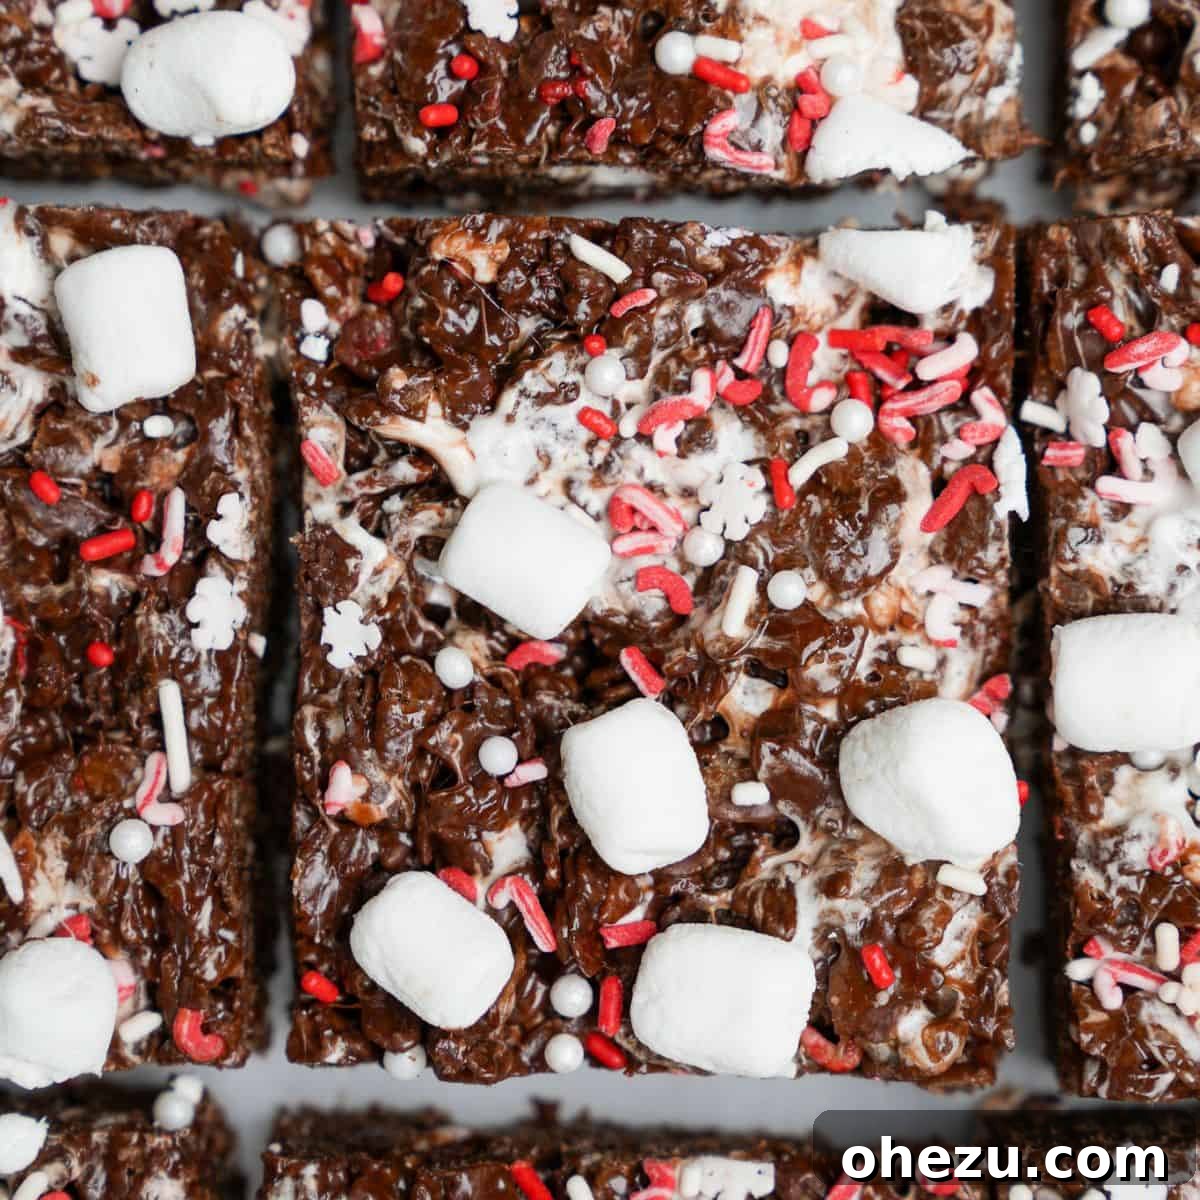
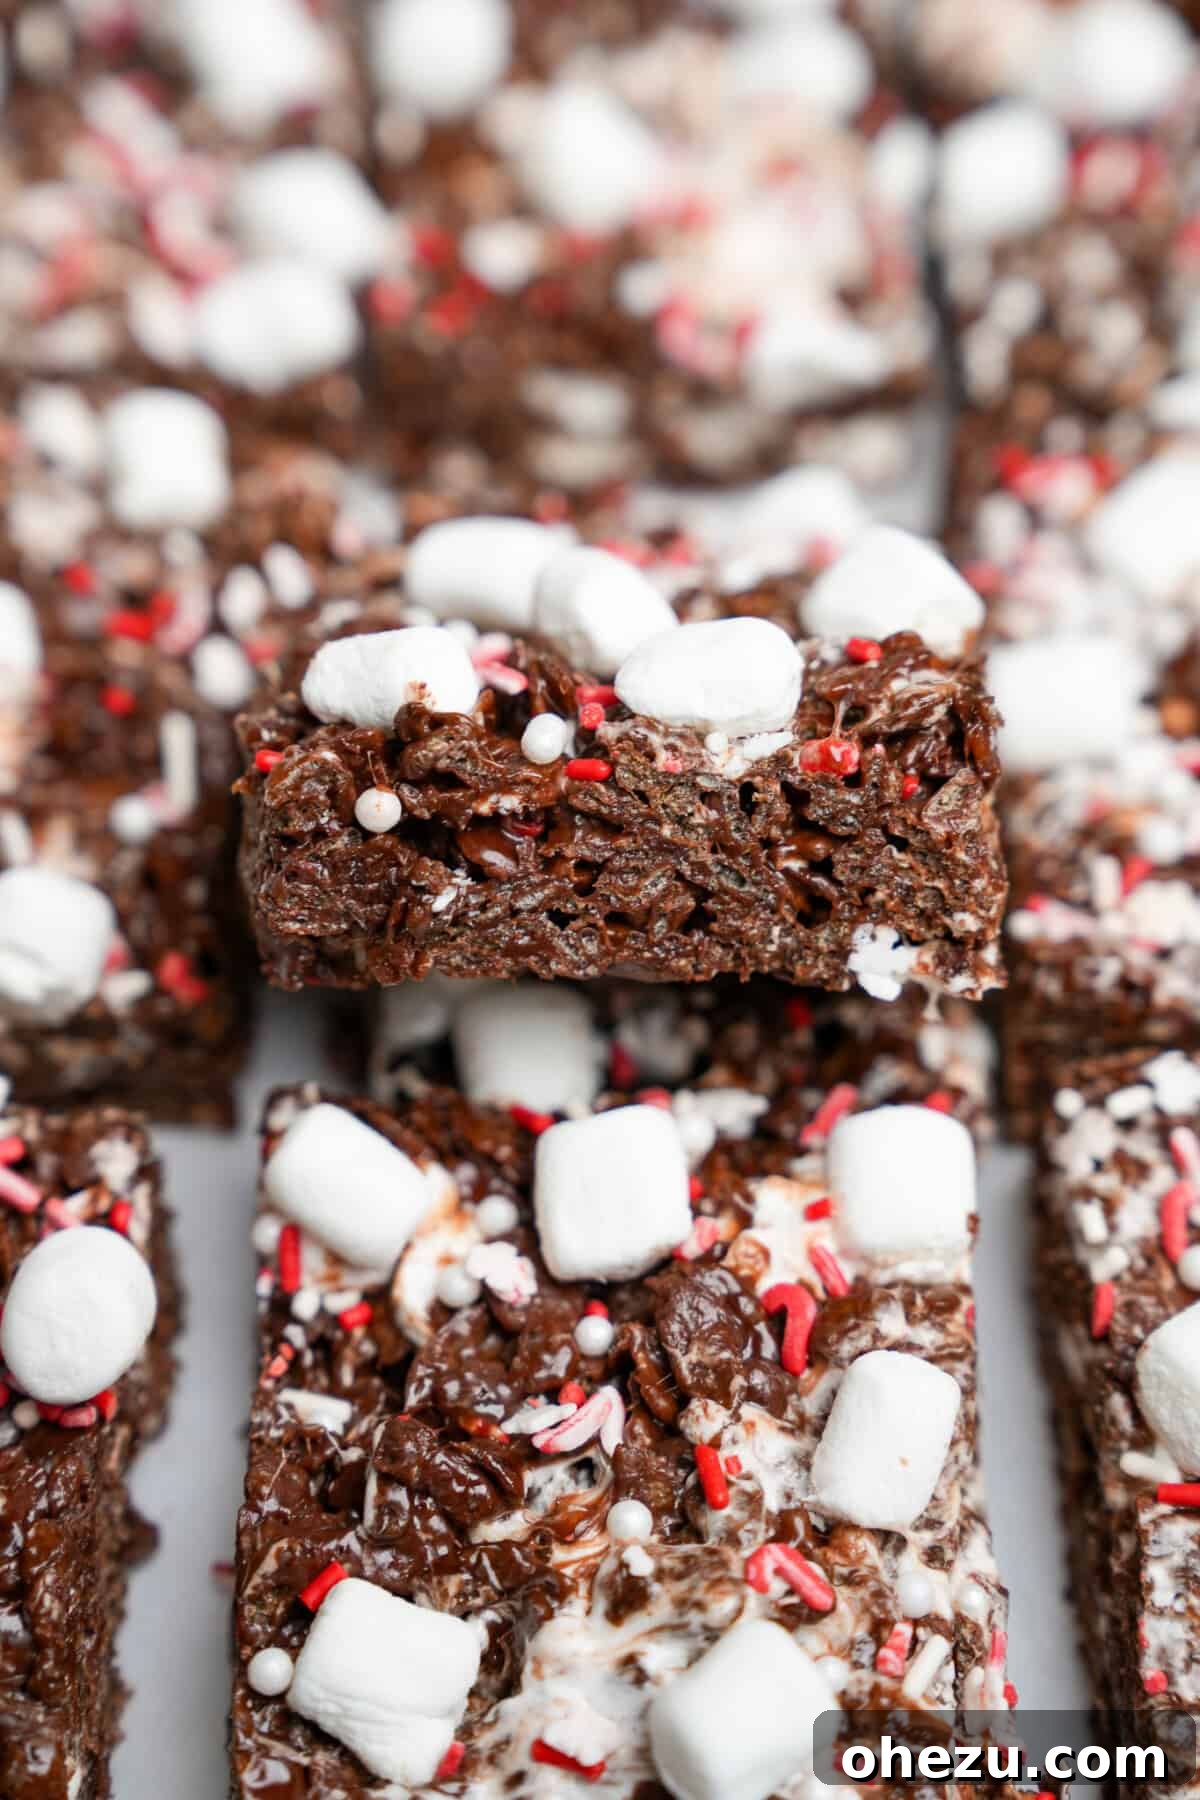
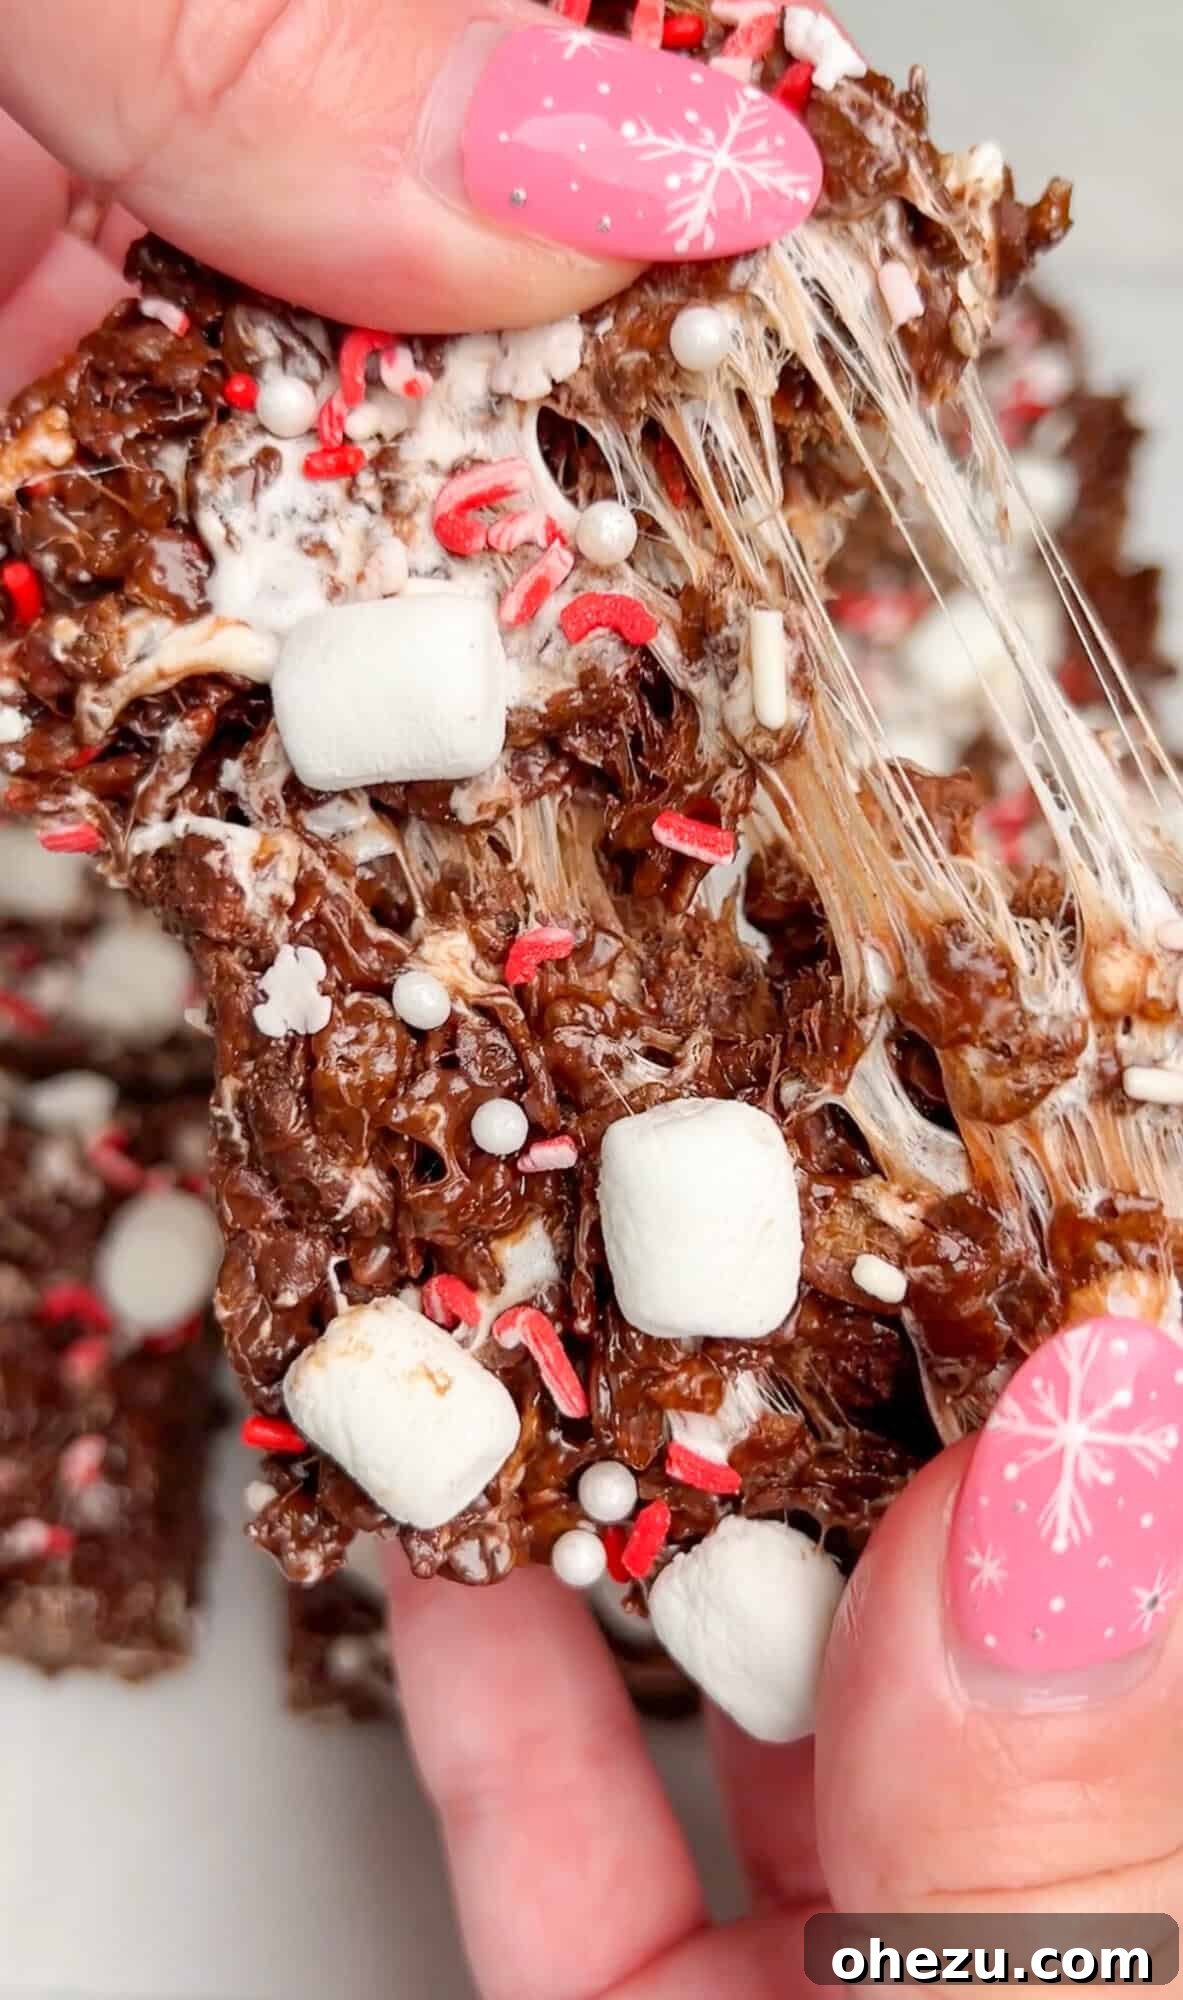
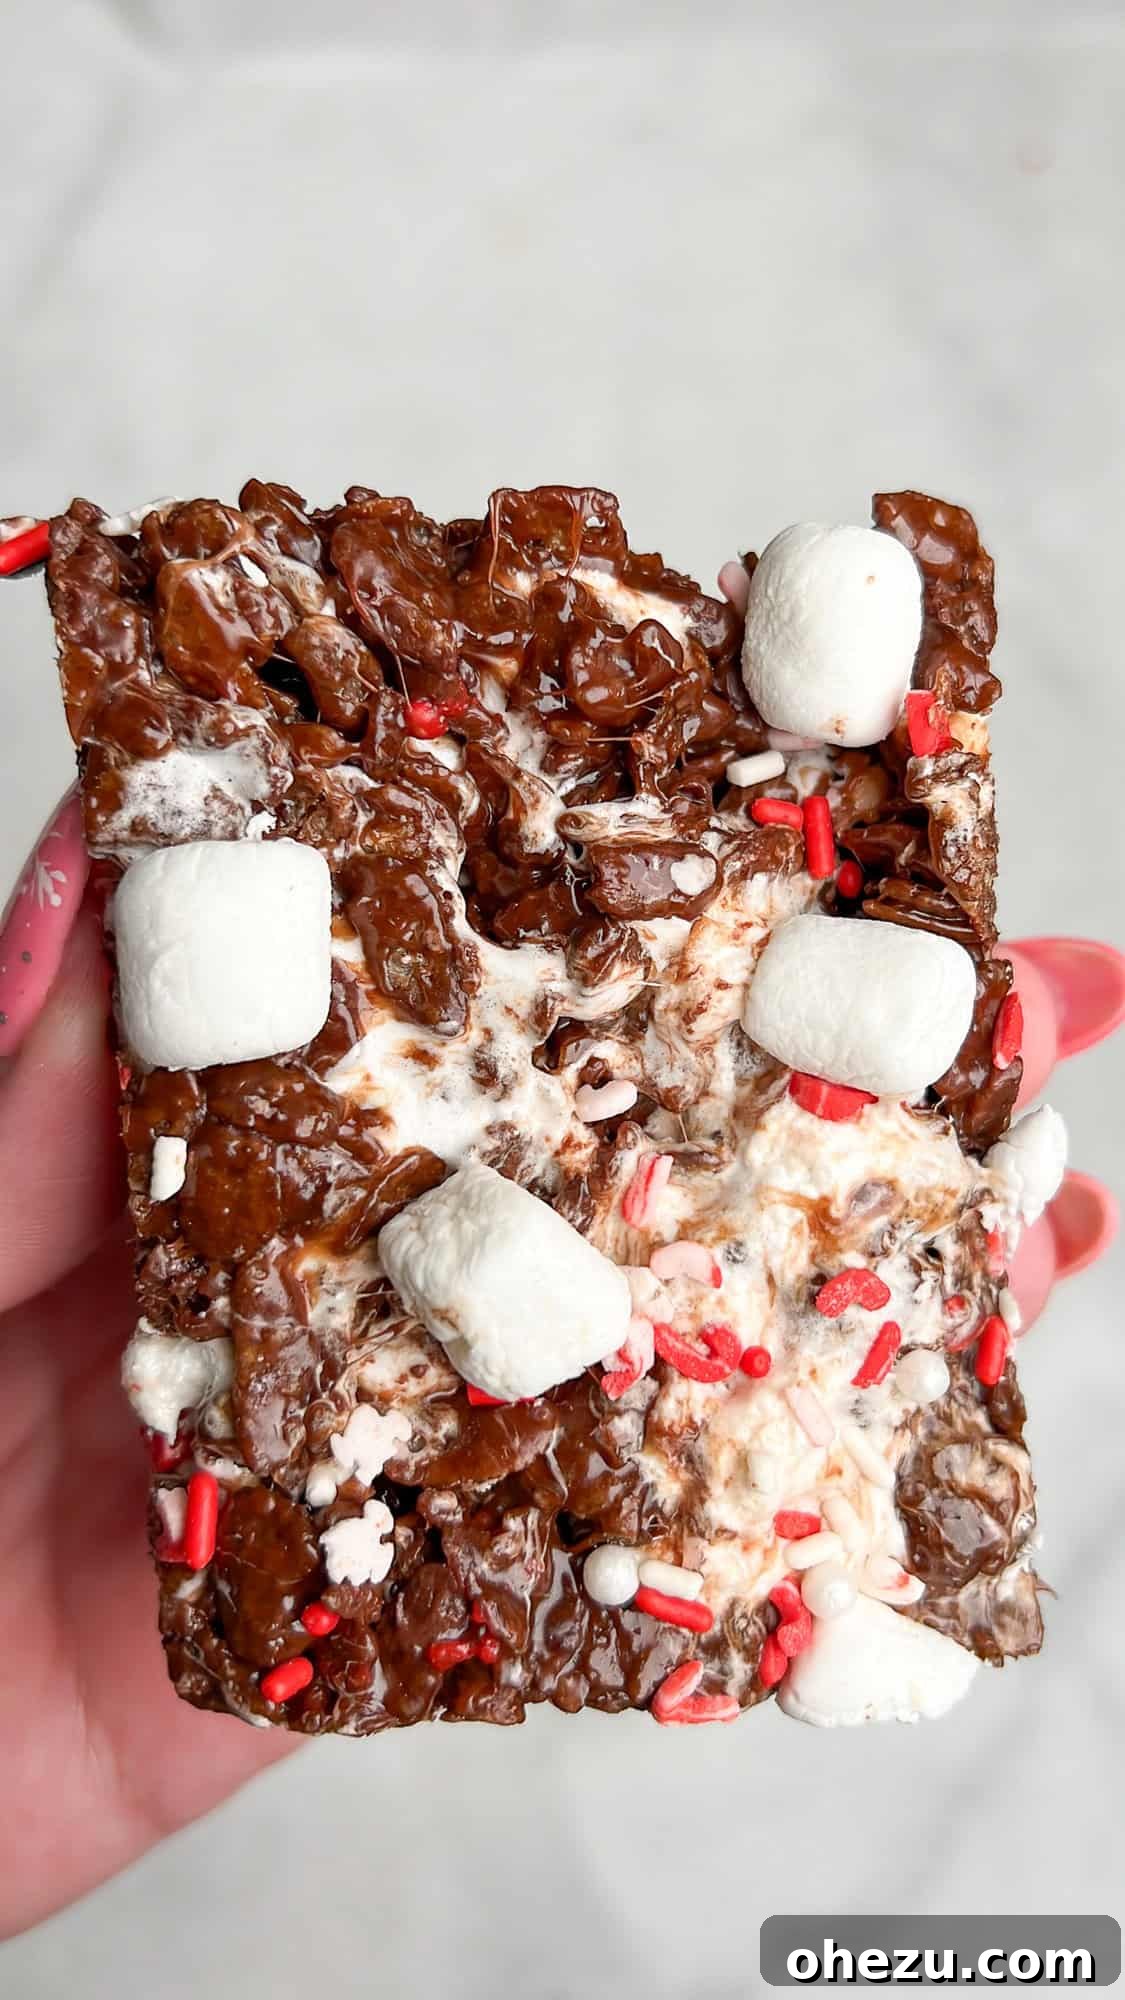
These aren’t just any ordinary Rice Krispie treats; they’re a celebration of everything wonderful about the festive season. Imagine rich cocoa rice cereal, enveloped in a warm, buttery, and incredibly gooey marshmallow mixture, studded with luscious chocolate chips. To elevate them even further, they’re crowned with an inviting sprinkle of mini marshmallows and colorful sprinkles, perfectly mimicking a mug of your favorite hot cocoa. The result is a symphony of textures and flavors: wonderfully chewy, delightfully crunchy, and decadently chocolatey in every single bite. For those who prefer a slightly milder chocolate experience, simply opt for regular Rice Krispies cereal to create a beautifully balanced, toned-down flavor profile.
Beyond their amazing taste, these hot cocoa treats are a feast for the eyes. Their whimsical appearance makes them an absolute joy to behold and a fantastic conversation starter at any holiday gathering. Picture them arranged elegantly on a platter next to a steaming hot cocoa bar, inviting guests to grab a sweet indulgence. We personally cherished making and devouring ours while building gingerbread houses and immersing ourselves in classic Christmas movies – truly a memory-making activity. The simple act of creating these treats transforms into a heartwarming family tradition. I fondly remember making original Rice Krispie treats with my mom as a child; this chocolatey rendition offers the same nostalgic charm with an exciting twist, making it perfect for creating new memories with your own loved ones.
What makes these chocolate marshmallow treats even more appealing is their incredible ease of preparation. They require no baking, meaning your oven stays free for other holiday culinary masterpieces. With straightforward ingredients and a simple, step-by-step process, anyone can whip up a batch of these fudgy delights. This makes them an ideal choice for busy holiday schedules or for involving little hands in the kitchen, fostering a love for cooking and creating delicious memories together. Their no-bake nature also ensures consistent results, guaranteeing perfect gooeyness every time without the worry of over or under-baking.
Key Ingredients for Perfect Hot Cocoa Rice Krispie Treats
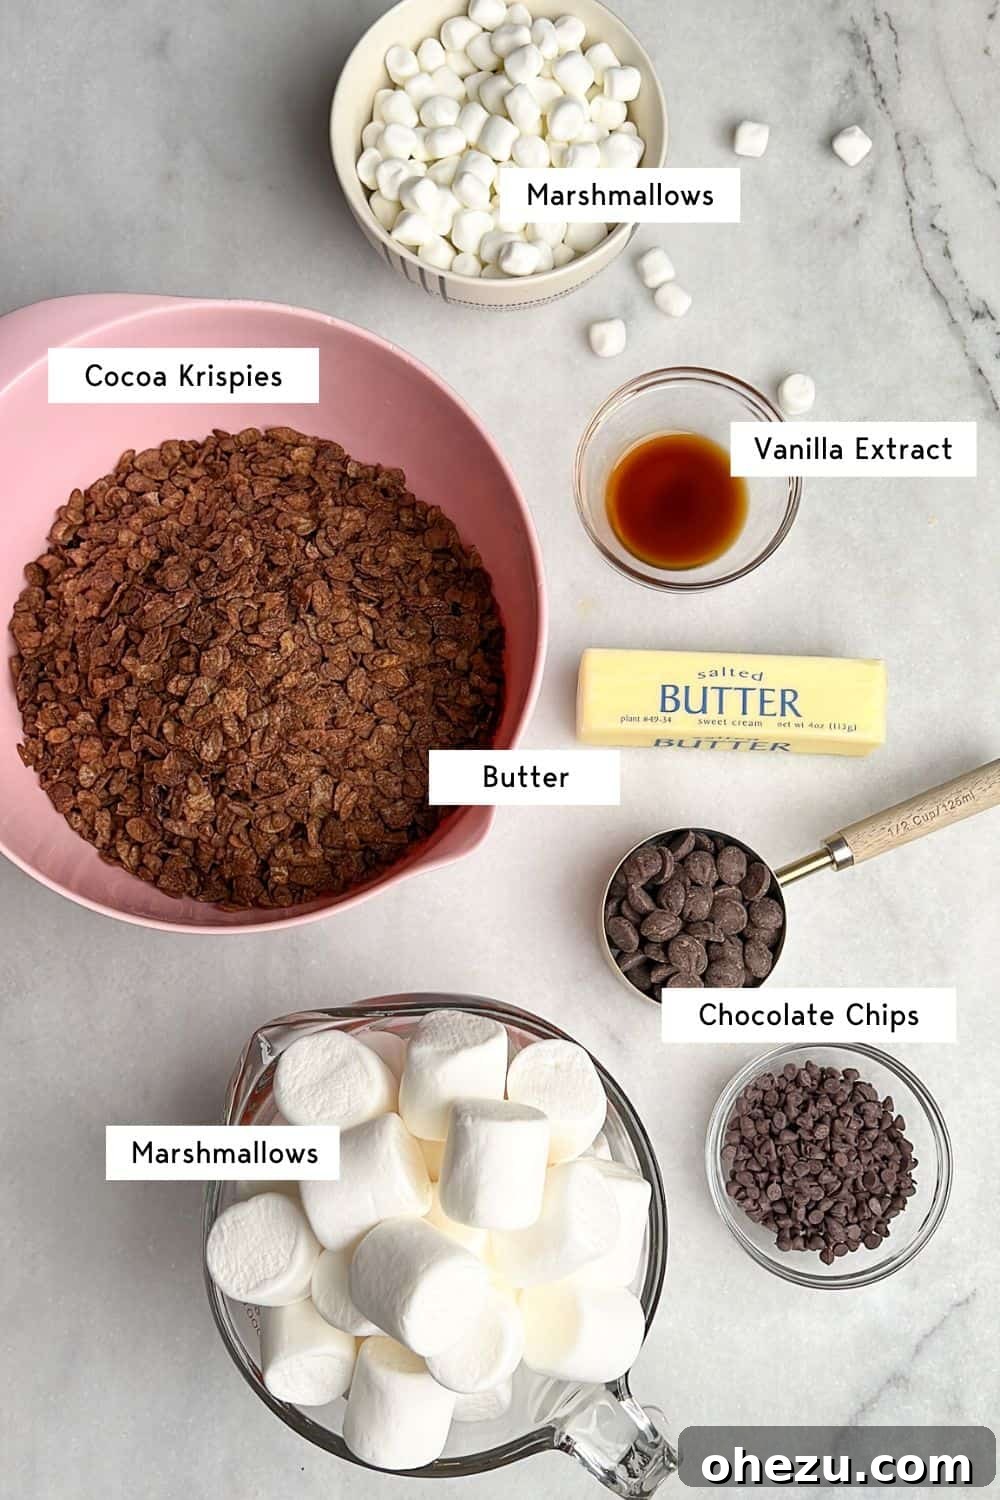
Crafting these fudgy, no-bake wonders is surprisingly simple, thanks to a concise list of readily available ingredients. While the full measurements are detailed in the recipe card below, here’s a closer look at what makes these treats so special:
- Cocoa Rice Cereal: This is the star that infuses our treats with that distinct hot cocoa flavor. Brands like Cocoa Pebbles, Cocoa Krispies, or similar chocolate-flavored puffed rice cereals work perfectly. Using a cocoa cereal ensures a deep, rich chocolate base that sets these treats apart from the original.
- Marshmallows: Mini marshmallows are absolutely ideal for this recipe. Their smaller size means they melt quickly and smoothly, creating that wonderfully gooey consistency much faster. We recommend purchasing two bags – one for melting into the mixture, and a generous handful from the second bag to sprinkle on top. These extra mini marshmallows will partially melt into the warm mixture, creating beautiful, enticing swirls of soft marshmallow throughout your treats, adding both visual appeal and an extra layer of sweetness and chewiness.
- Chocolate Chips: For the ultimate chocolate experience, milk chocolate or semi-sweet chocolate chips are preferred. These varieties offer a balanced sweetness and richness that complements the other ingredients beautifully. Dark chocolate, while delicious on its own, might be too intense and overpower the delicate hot cocoa profile in this specific recipe. We use both regular chocolate chips for melting into the base and mini chocolate chips as a delightful topping, adding bursts of chocolate flavor and extra texture.
- Butter: Just 6 tablespoons of good quality salted butter are essential. The butter not only prevents the marshmallows from sticking but also adds a crucial richness and depth of flavor, contributing to the fudgy texture and overall indulgence of the treats.
- Vanilla Extract: A small amount of pure vanilla extract goes a long way. It enhances the chocolate and marshmallow flavors, adding a subtle complexity and warmth to the melted mixture, making the taste more rounded and complete.
- Sprinkles: To truly capture the festive and whimsical spirit of hot cocoa, don’t forget the sprinkles! Opt for colorful holiday or winter-themed sprinkles to give your treats that signature joyful touch. They add visual charm and a slight textural contrast, making each square even more appealing.
How to Make Hot Cocoa Rice Krispie Treats: A Simple Guide
Creating these delightful chocolate marshmallow treats is a straightforward process, perfect for bakers of all skill levels. Before you begin, a little preparation goes a long way to ensure a smooth and enjoyable experience.
First, prepare your baking dish: grease a 9×13 inch baking dish thoroughly, then line it with wax paper or parchment paper, leaving an overhang on the sides. This thoughtful step will make removing and slicing your treats incredibly easy once they’ve set. It’s also highly advisable to have a sturdy silicone spatula or a large, robust metal spoon ready. You’ll quickly discover that the mixture becomes quite thick and sticky as it comes together, and a strong tool will be your best friend.
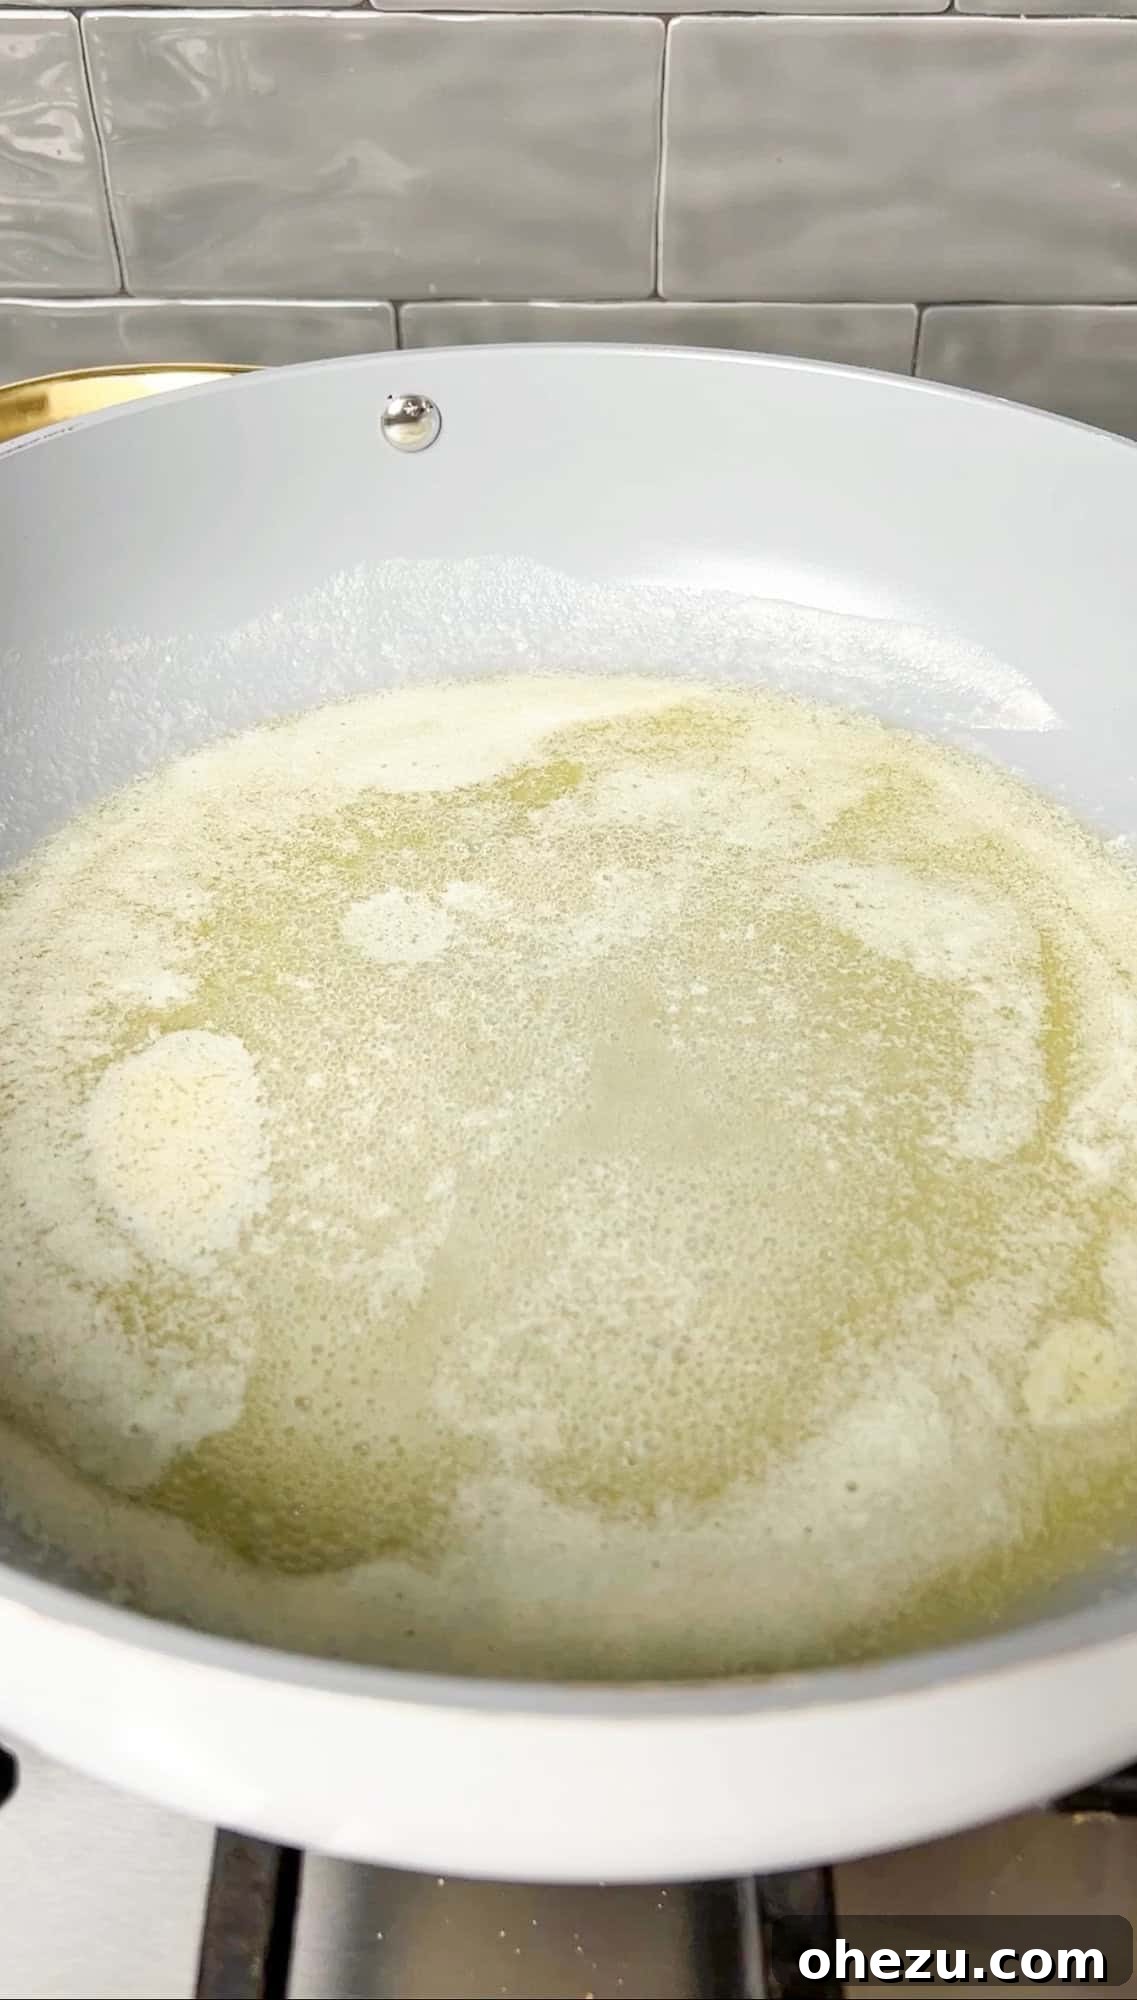
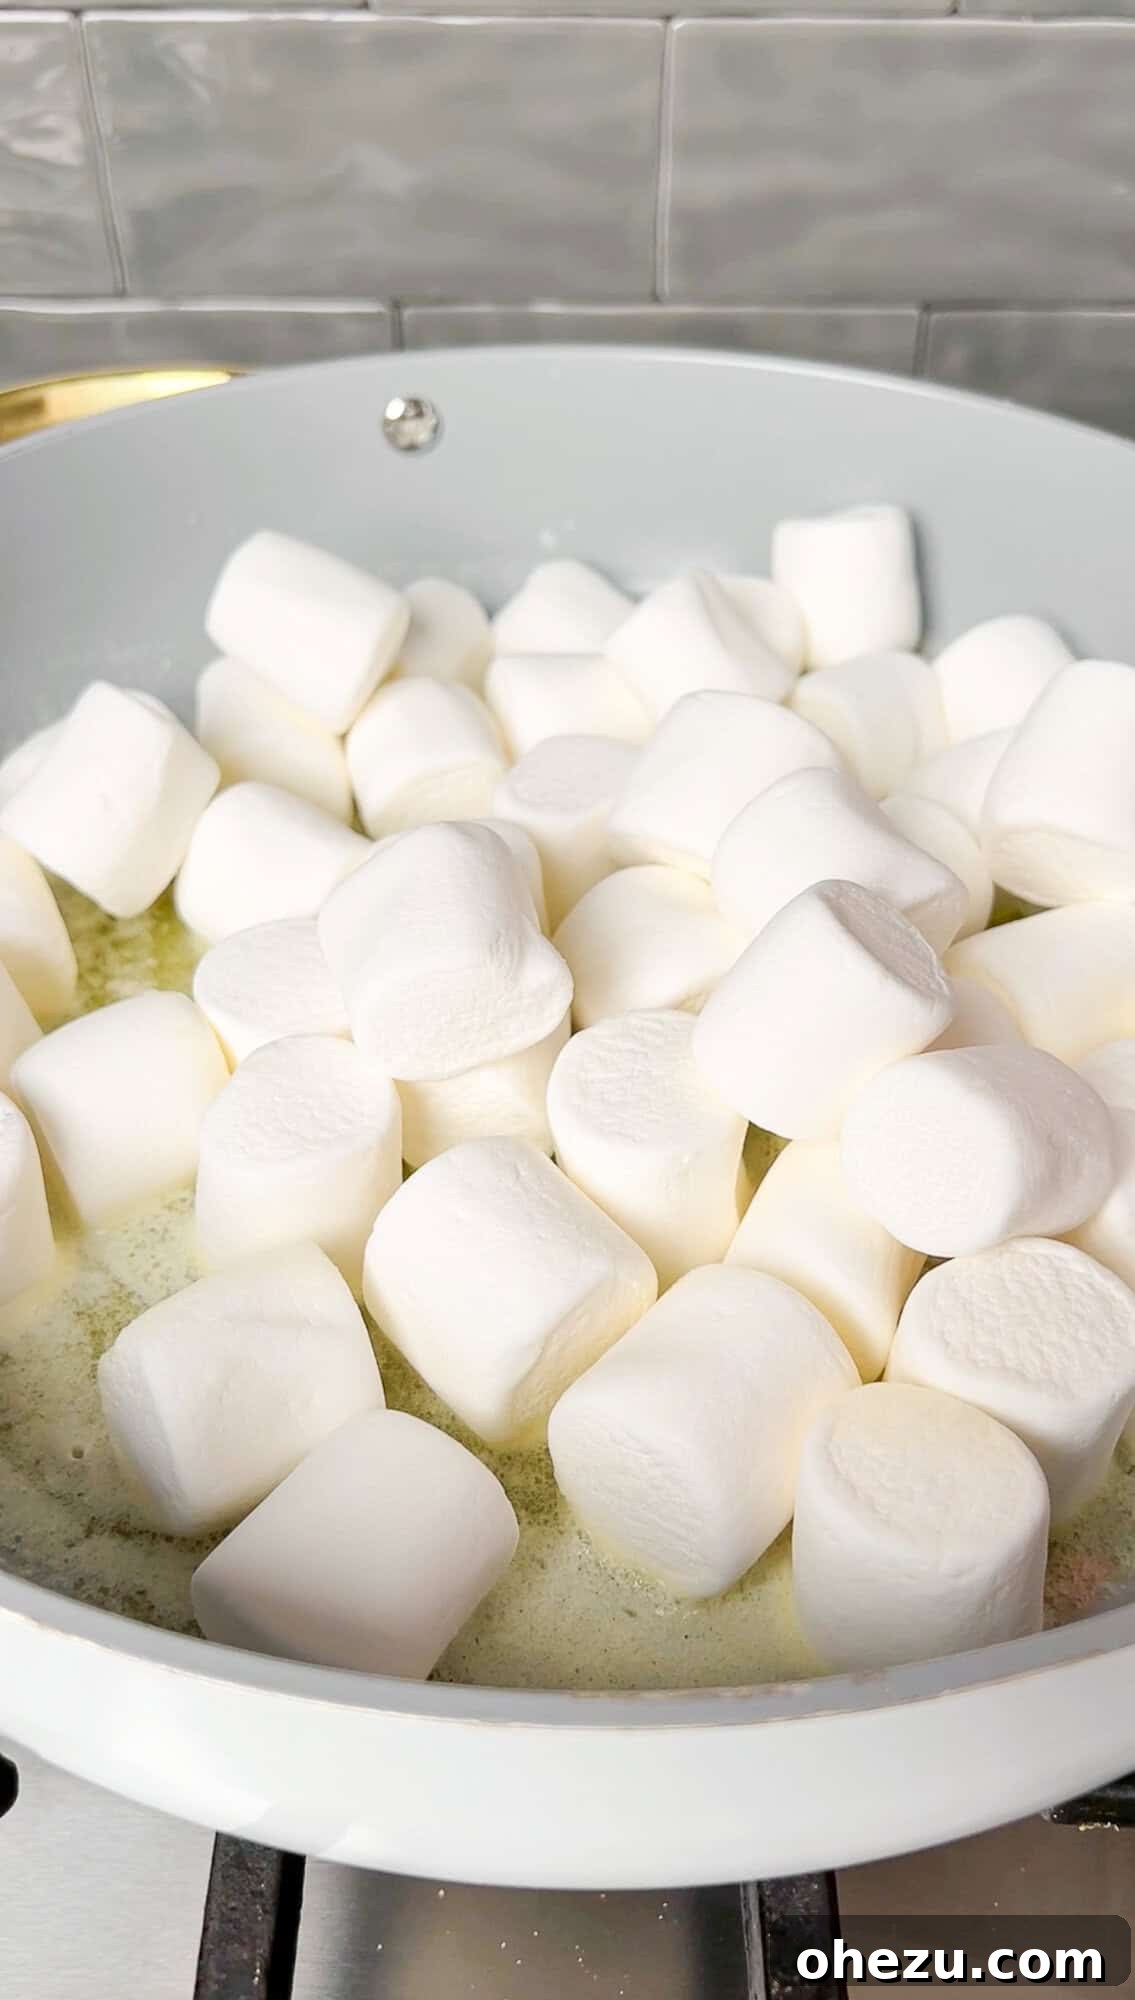
We’ll start by melting the butter. Place a large, deep, nonstick pan or pot over medium-low heat. Add the 6 tablespoons of butter and allow it to melt completely, ensuring it doesn’t brown. Once the butter is fully melted, add one 10 oz bag of mini marshmallows into the pan. Stir continuously with your silicone spatula. Patience is key here; it can take several minutes for the marshmallows to transform into a smooth, gooey, and fully melted mixture. Keep stirring until there are no lumps left.
Once your marshmallow base is perfectly smooth, turn off the heat. Stir in the vanilla extract until it is fully incorporated, adding a fragrant depth to the mixture. Immediately follow with 1/2 cup of chocolate chips. Continue to stir gently until the chocolate chips have completely melted into the warm marshmallow mixture, creating a rich, glossy chocolate-marshmallow blend.
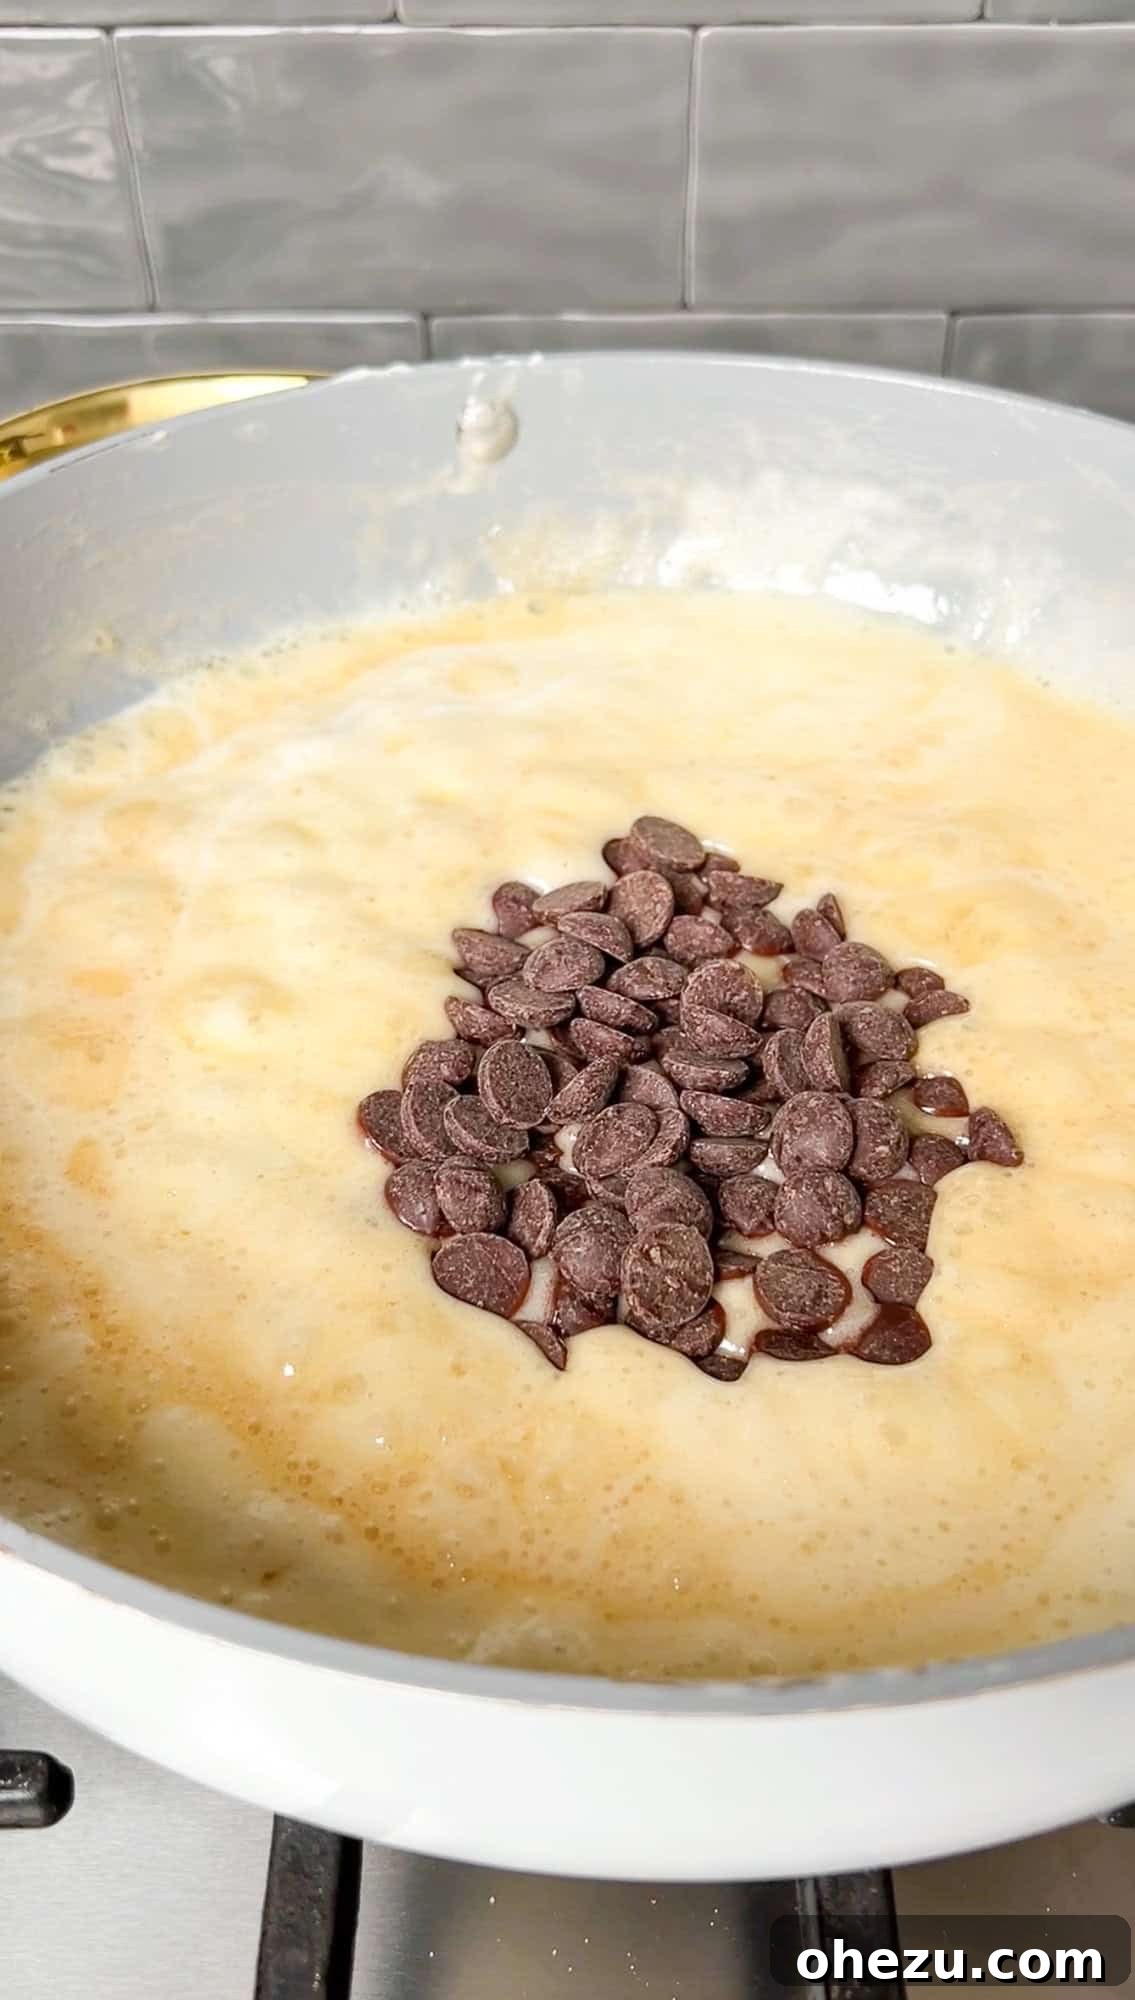
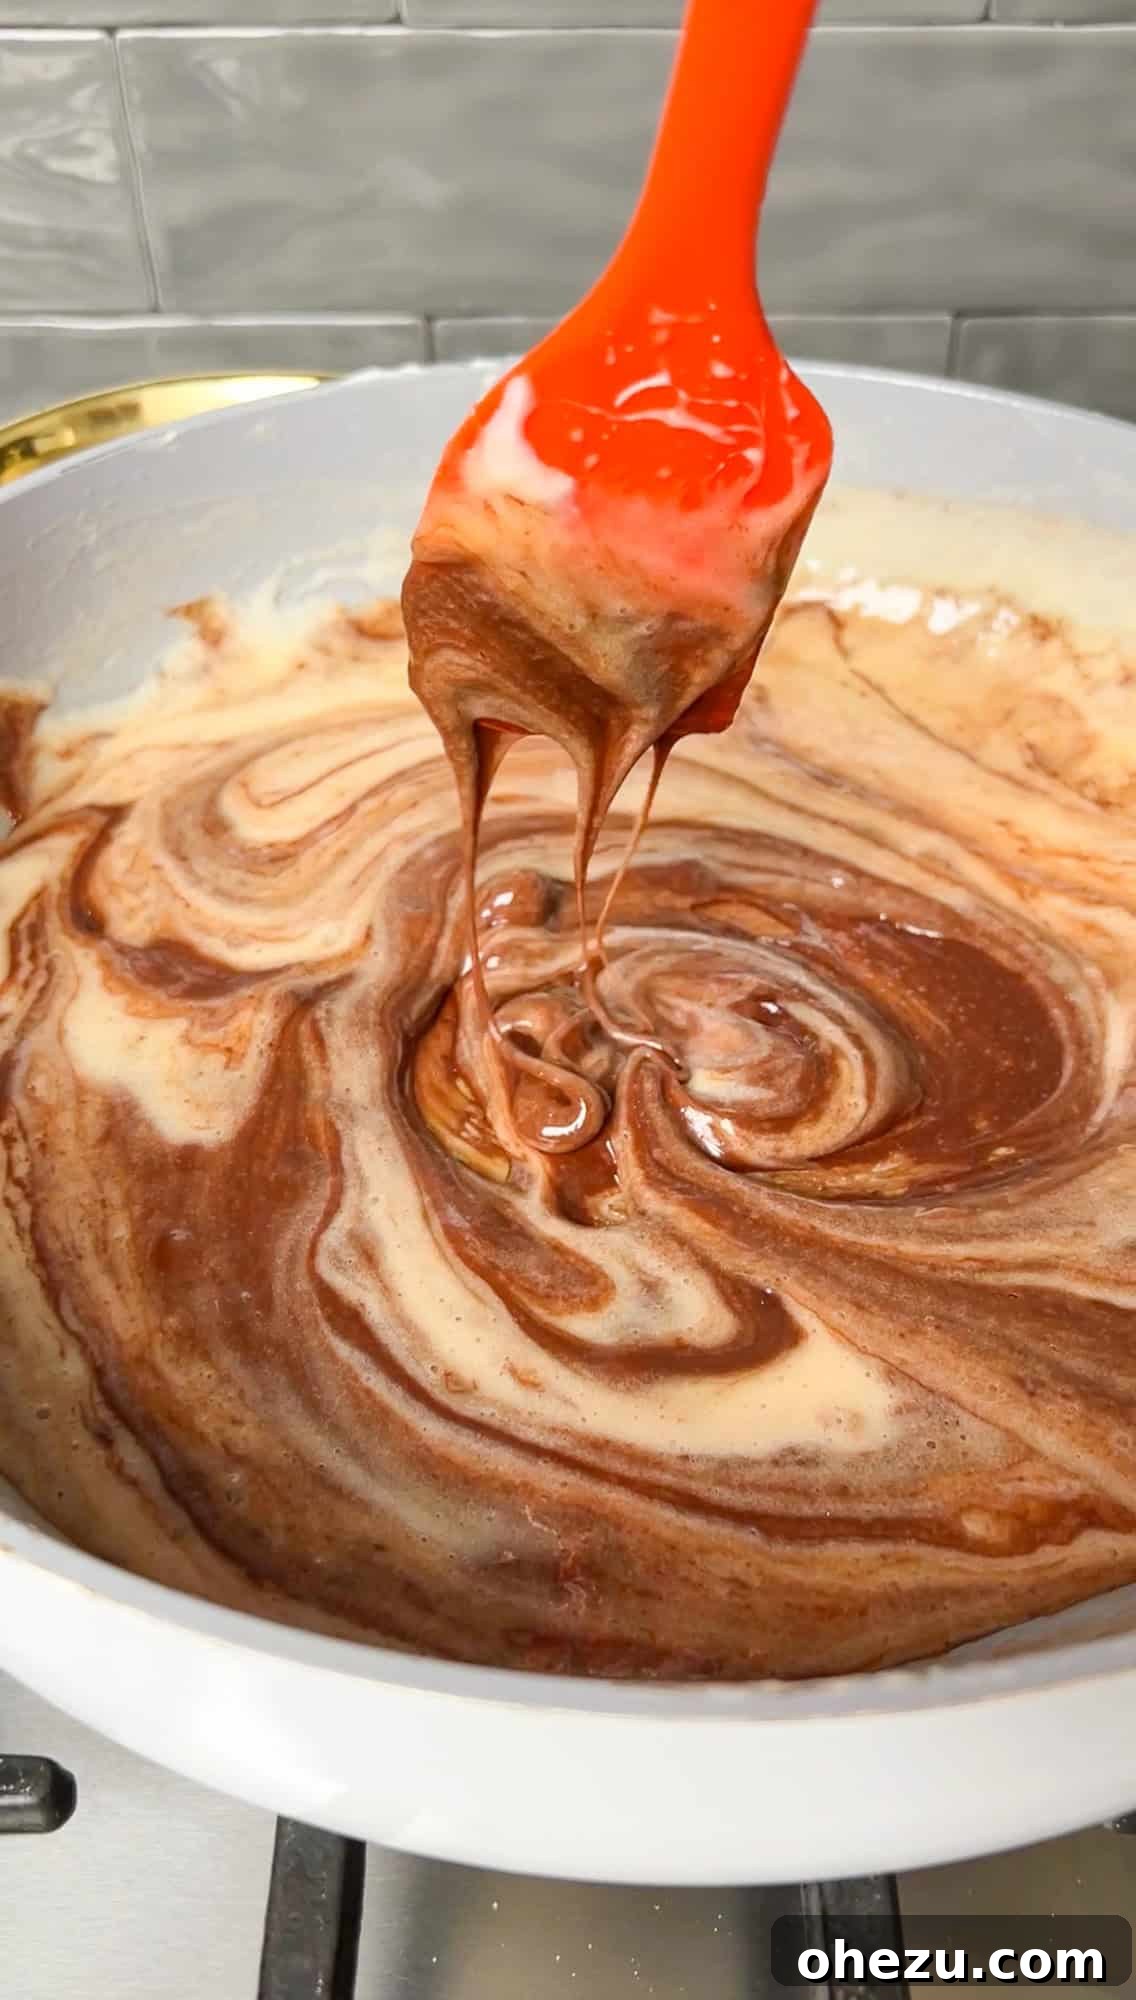
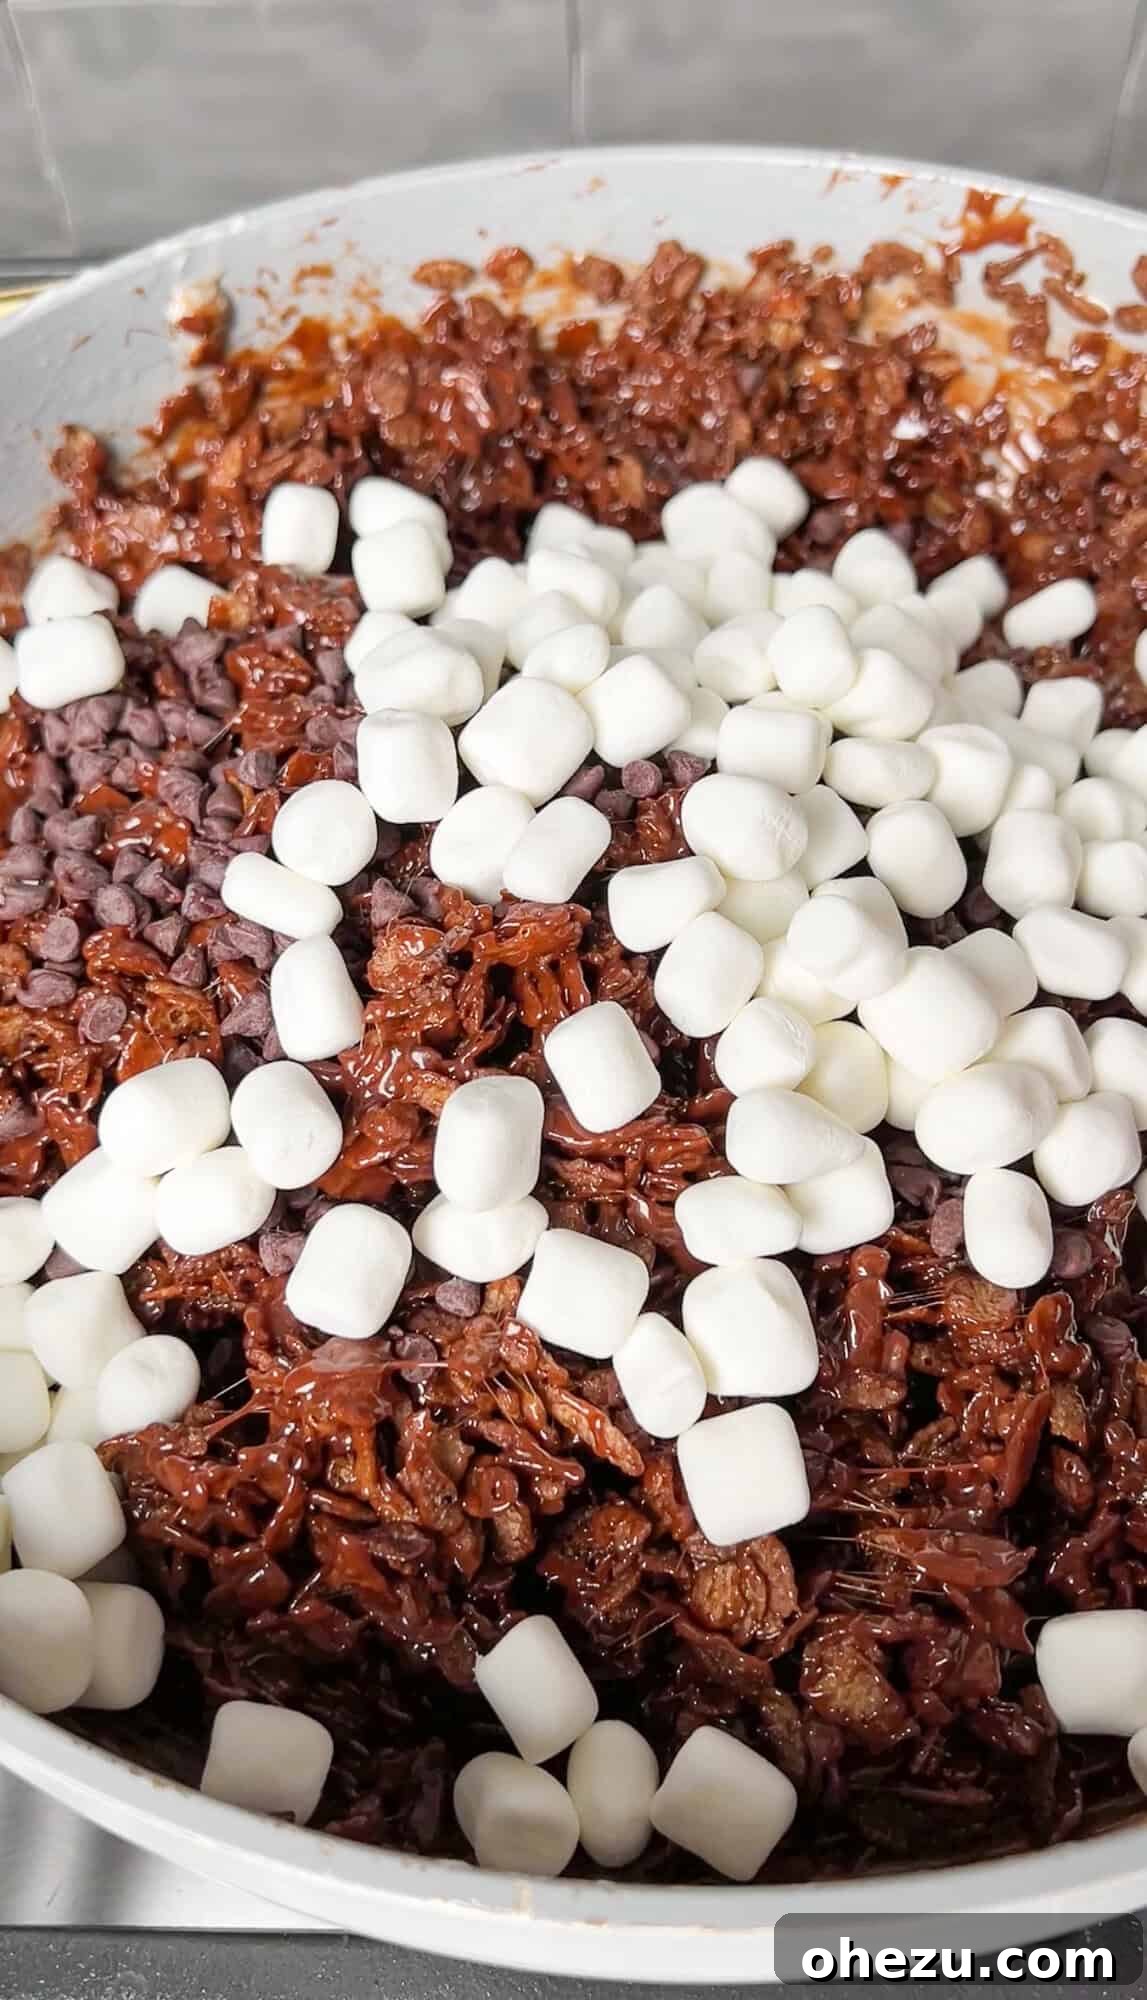
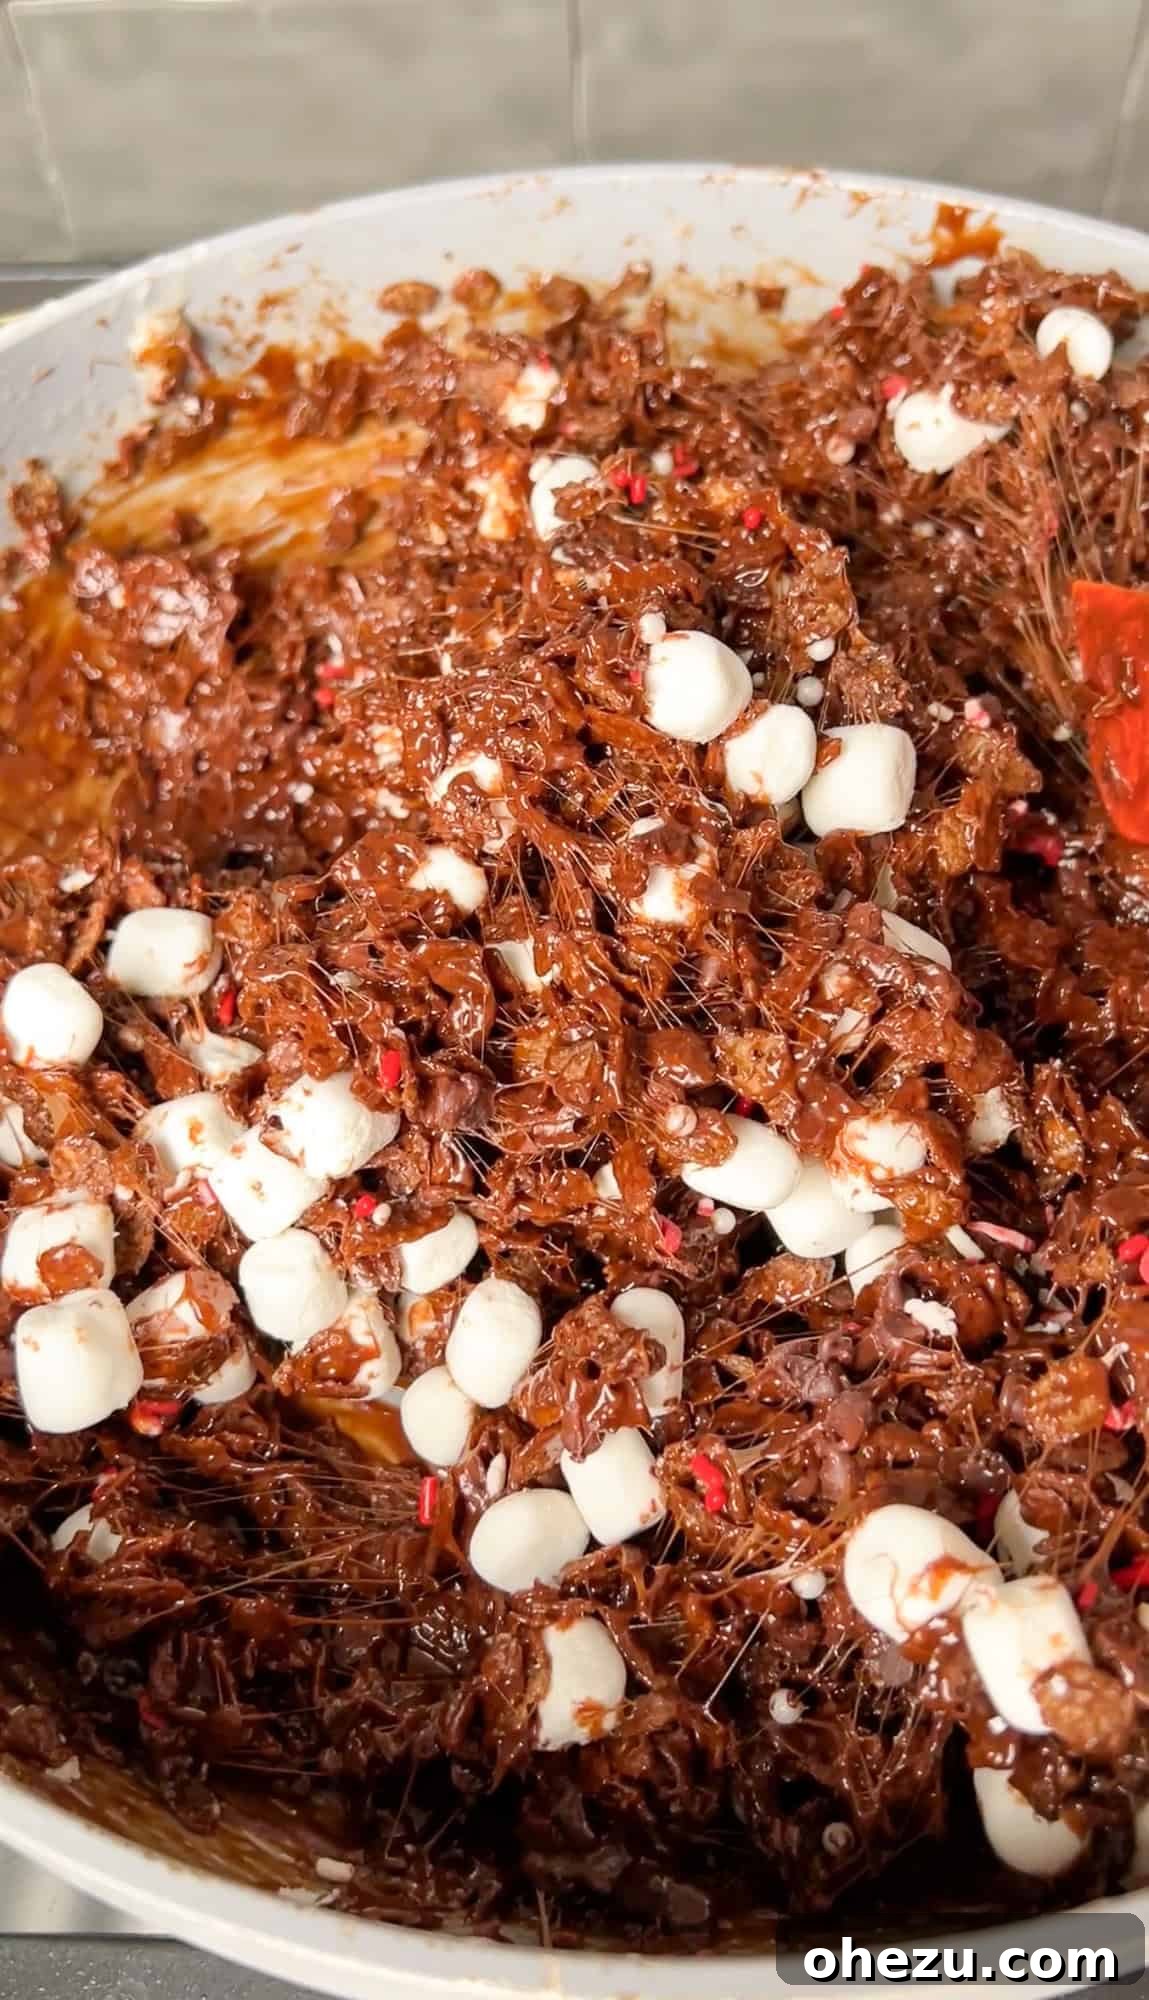
With the heat off, add the 6 cups of cocoa rice cereal to the pot. Using your sturdy spatula, mix it evenly into the warm, gooey marshmallow and chocolate mixture. This part requires a bit of muscle, as the mixture will become very thick and sticky – this is completely normal and exactly what you want! As you continue to mix, add in a few generous handfuls of mini marshmallows from your second bag. These added marshmallows will partially melt and soften, creating those beautiful, enticing marshmallow swirls and pockets that give our Hot Cocoa Rice Krispie Treats their signature look and extra chewiness, just like in the photos.
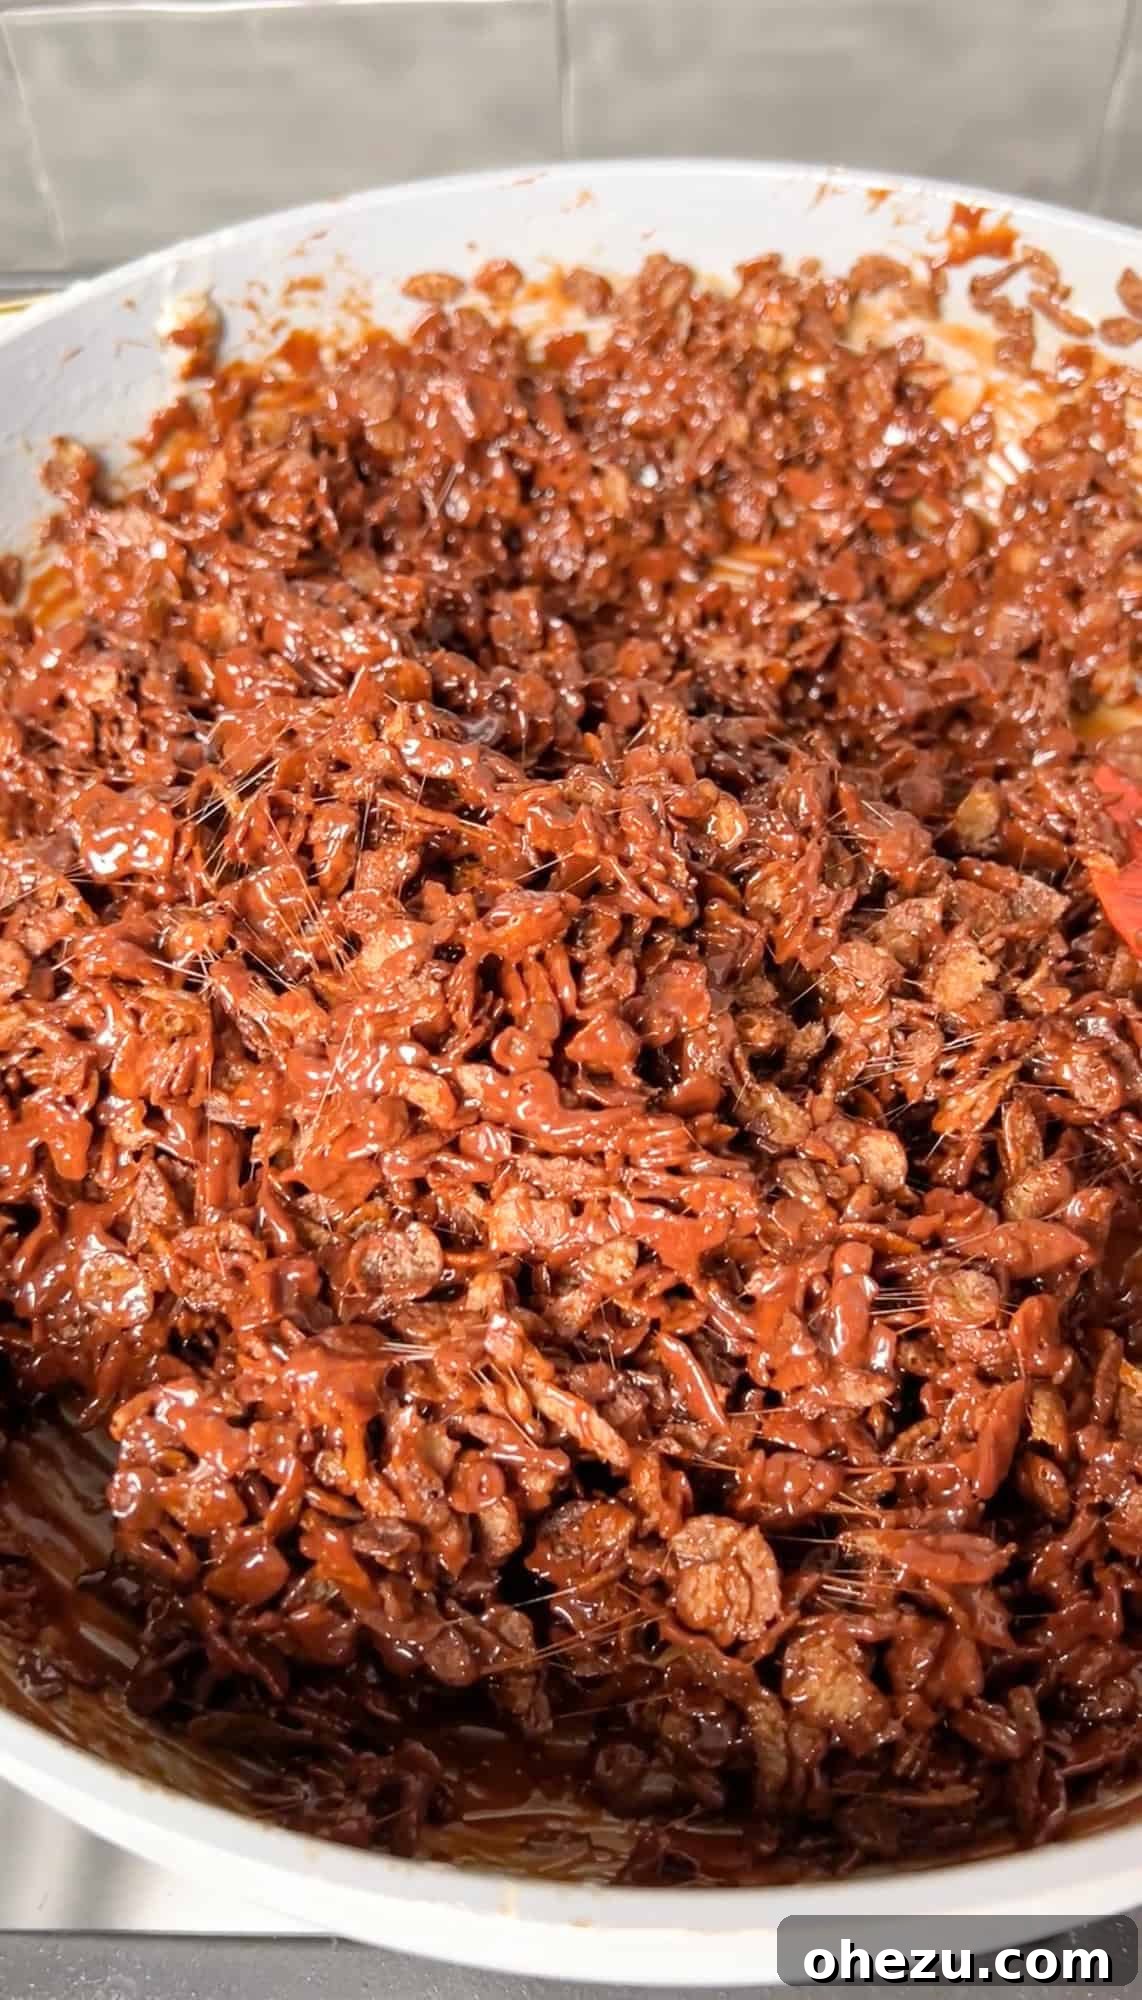
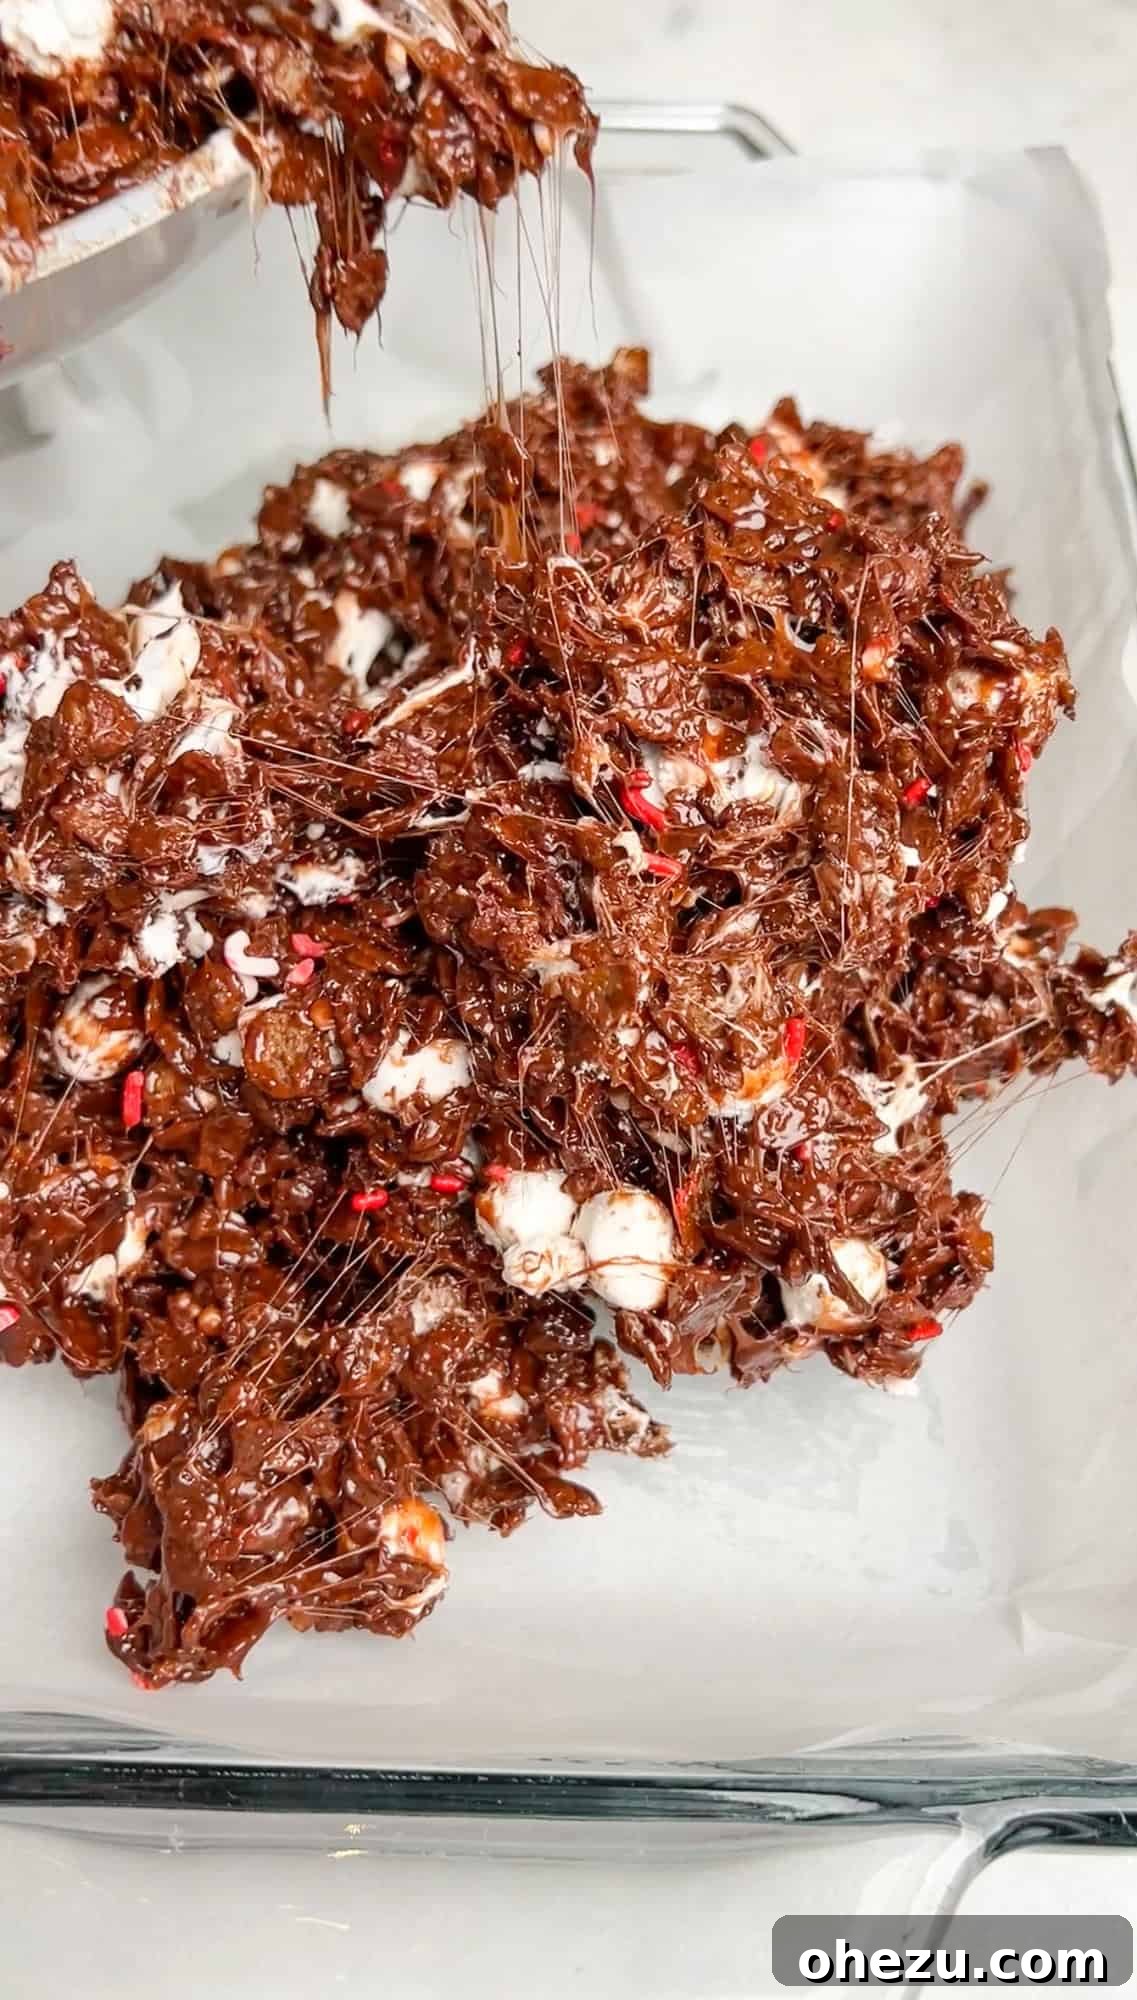
Once thoroughly combined, transfer the sticky mixture promptly into your prepared 9×13 inch pan. To press the mixture down evenly, I highly recommend using food-safe gloves or, if you prefer, clean hands lightly buttered to prevent sticking. Gently but firmly press the mixture down into the pan. A crucial tip here: avoid pressing too hard. Over-compacting the treats will result in a dense, hard texture rather than the light, airy, and delightfully chewy squares you’re aiming for. A gentle, even pressure is all that’s needed to settle the mixture into the pan.
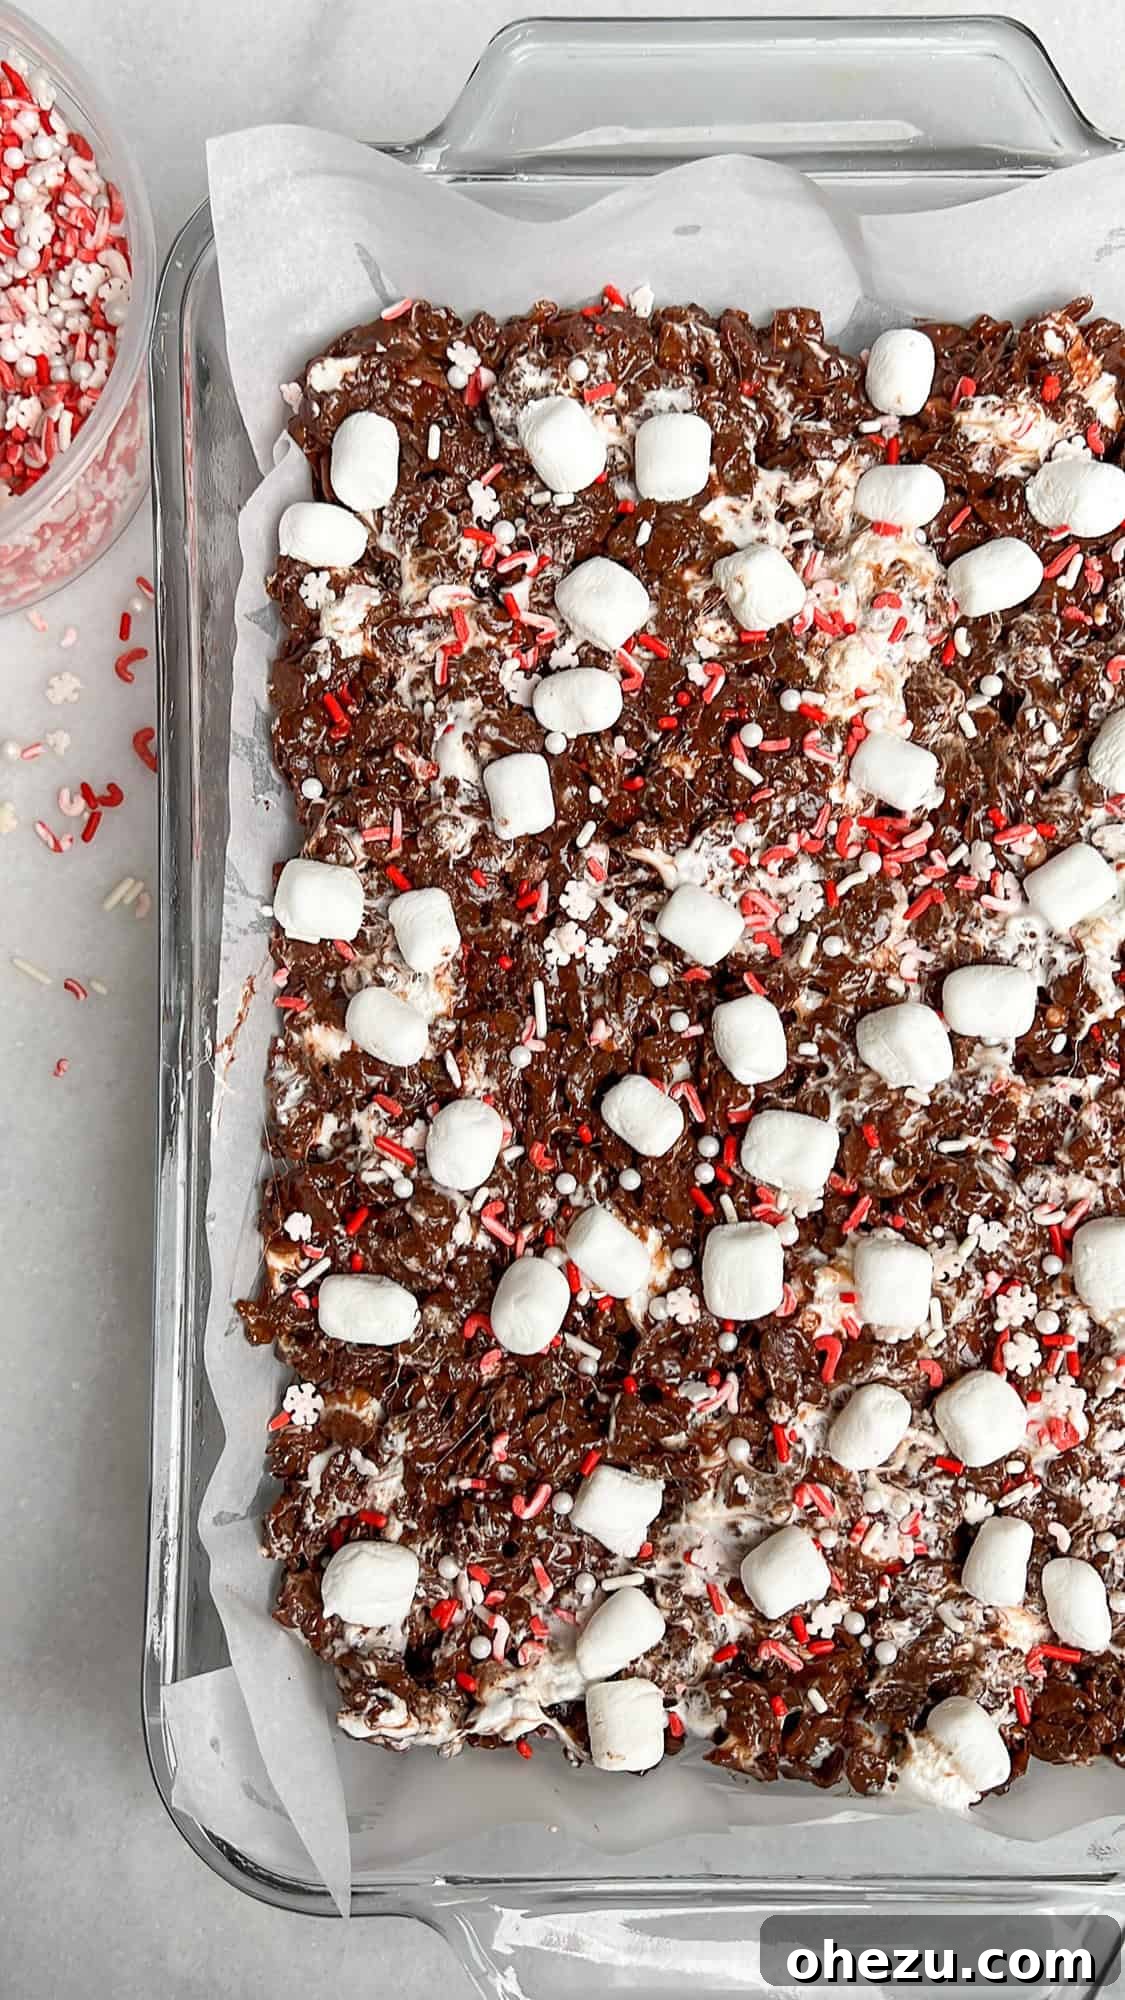
The final touch is all about presentation and adding that extra layer of hot cocoa charm! Immediately after pressing the treats into the pan, while the mixture is still warm and tacky, generously sprinkle the top with extra mini marshmallows, your chosen festive sprinkles, and mini chocolate chips. Gently press these toppings down with your hands or the back of a spoon to ensure they adhere securely as the treats cool and set. Now comes the hardest part: patience! Allow the chocolate marshmallow treats to set for at least 2 hours at room temperature. This setting time is essential for them to firm up perfectly before slicing them into neat, individual squares, ready for serving.
Expert Tips & Creative Modifications for Your Hot Cocoa Rice Krispie Treats
Achieving perfection with your Hot Cocoa Rice Krispie Treats is easy with a few insider tips. Here’s how to ensure every batch is a gooey, crunchy success:
- Embrace Your Nonstick Pan: When working with melted sugar and marshmallows, stickiness is inevitable. Using a high-quality nonstick pan will save you a world of trouble during cleanup. Even with nonstick, a short soak in warm, soapy water might be necessary, but it will prevent hours of scrubbing. This simple choice makes the entire cooking process far more enjoyable.
- The Power of a Strong Spatula: Seriously, don’t underestimate this. Once the cereal is introduced into the thick, molten marshmallow mixture, it transforms into a dense, sticky mass. A robust silicone spatula or a heavy-duty metal spoon will provide the leverage and strength needed to mix everything thoroughly without bending or breaking. It’s truly an essential tool for these treats!
- Gentle Pressing is Key: It might be tempting to press the mixture down with all your might into the pan, but resist the urge! Over-compacting the treats will squeeze out all the air, resulting in hard, dense squares that lack that delightful chewiness. Instead, use gentle, even pressure to spread the mixture. Think of it as coaxing the treats into place, rather than squishing them.
- Consider Food-Safe Gloves: If you’re like me and prefer to keep your hands clean while handling food, especially sticky mixtures, disposable food-safe gloves are a game-changer. They make pressing the treats into the pan, and even adding toppings, a much cleaner and less messy experience, particularly when sharing with others.
Creative Modifications to Elevate Your Treats:
These chocolate marshmallow treats are wonderfully versatile, offering plenty of room for customization to suit your taste or the occasion:
- Swap Your Cereal: While cocoa rice cereal provides that signature hot cocoa flavor, feel free to experiment! Using regular Rice Krispies cereal will yield a less rich, more classic marshmallow treat with a subtle chocolate undertone. For an adventurous twist, try cocoa puffs for a different texture and an even more intense chocolate flavor.
- Amp Up the Chocolate: If you’re a true chocolate lover, consider taking these treats to the next level. After they’ve set, you can drizzle melted tempered chocolate or chocolate melting wafers over the top for an extra layer of decadence. For an even richer experience, dip one half or a corner of each square into the melted chocolate and let it set on parchment paper.
- Topping Extravaganza: Just like a customizable hot chocolate bar, the topping possibilities are endless! Beyond mini marshmallows, chocolate chips, and festive sprinkles, think about adding crushed peppermint candy for a minty kick, mini M&M’s or mini Reese’s pieces for colorful chocolate and peanut butter bursts, or even a sprinkle of flaky sea salt to beautifully contrast and enhance the sweetness. Get creative and have fun with it!
- Infuse with Peppermint: For a delightful seasonal spin, swap out the vanilla extract for 1/2 teaspoon of peppermint extract. This will transform your treats into a festive peppermint hot cocoa flavor, perfect for winter celebrations. Be mindful not to add too much, as peppermint can be quite potent.
Storage and Make-Ahead Tips:
To keep your Hot Cocoa Rice Krispie Treats fresh and delicious, store them in an airtight container at room temperature for up to 3-4 days. For best results, place parchment paper between layers to prevent sticking. Avoid refrigerating, as it can cause the treats to harden and lose their signature gooey texture. If you’re making these in advance, prepare them up to 2 days before your event and store them properly for optimal freshness.
Serving Suggestions:
These versatile treats are perfect on their own, but they also shine when paired with certain beverages or presented in creative ways. Serve them alongside mugs of actual hot cocoa for a delightful double-chocolate experience, or with a glass of cold milk for a classic pairing. They make fantastic additions to holiday dessert platters, bake sales, or as edible gifts packaged in festive bags or boxes. Their robust flavor holds up well, making them an excellent choice for parties or casual get-togethers. You can even cut them into fun shapes using cookie cutters before they fully set for an extra touch of charm.
Looking for More Yummy Treats?
If you’ve enjoyed these Hot Cocoa Rice Krispie Treats and are hungry for more culinary adventures, be sure to explore some of our other delectable recipes. Each one is designed to bring joy and deliciousness to your kitchen!
- Cheesecake Stuffed Hawaiian Roll French Toast
- Orange-Cranberry Muffins
- Stuffed French Toast Bites
- Peach Cobbler Stuffed Cinnamon Rolls
- Easy Almond Croissants
Hot Cocoa Rice Krispie Treats Recipe
A festive and easy no-bake dessert, these Hot Cocoa Rice Krispie Treats offer a chocolatey, marshmallowy twist on the classic, perfect for holidays and family fun.
These Hot Cocoa Rice Krispie Treats are a delicious chocolate marshmallow wintery treat and a much-needed twist on the original version. These gooey, fudgy treats are sure to become a cherished holiday favorite you’ll love sharing with family and friends.
Ingredients
- 6 tablespoons salted butter
- 2 (10 oz bags) mini marshmallows (one bag for melting and a partial bag for topping)
- 1 tsp vanilla extract
- 6 cups cocoa rice krispies cereal (or cocoa pebbles, or similar chocolate cereal)
- Toppings: handfuls of extra mini marshmallows, mini chocolate chips, and festive sprinkles
Instructions
-
Prepare a greased 9×13 baking dish lined with wax or parchment paper. Ensure you have a strong silicone spatula or a large metal spoon ready, as the mixture will be very thick and sticky.
Melt the Marshmallows
-
Begin by melting the butter over medium-low heat in a large, deep, nonstick pan or pot.
-
Add 10 oz of mini marshmallows to the melted butter. Stir continuously with a spatula until they are fully melted and smooth. This process can take several minutes.
-
Remove from heat. Add the vanilla extract and stir to incorporate. Then, add 1/2 cup of chocolate chips and mix until they are completely melted and blended into the marshmallow mixture.
Mix in the Cereal
-
Turn off the heat. Add the 6 cups of cocoa rice cereal to the gooey marshmallow mixture. Mix thoroughly until the cereal is evenly coated. During this mixing, add a few handfuls of extra mini marshmallows. These will partially melt, creating delightful marshmallow swirls throughout the treats.
Transfer to a Pan & Add Toppings
-
Transfer the sticky mixture into the prepared 9×13 inch pan.
-
Using food-safe gloves or lightly buttered hands, gently press the mixture evenly down into the pan. Avoid pressing too hard, as this will result in dense, compact treats.
-
Immediately top the treats with additional mini marshmallows, festive sprinkles, and mini chocolate chips while the mixture is still warm and tacky. Gently press these toppings down so they adhere as the treats cool.
-
Allow the treats to set for at least 2 hours at room temperature before slicing them into squares and serving. Do not refrigerate.
Notes
- Use a nonstick pan: This is crucial for easy cleanup, as melted sugar can be very sticky.
- A strong spatula is essential: The mixture becomes very thick when the cereal is added, so a sturdy utensil will be invaluable.
- Gentle pressing: Do not over-compact the treats, or they will be too hard. Light pressure is all that is needed.
- Food handlers gloves: These are helpful for pressing the mixture into the pan and adding toppings without getting your hands too sticky.
Nutrition
Nutrition information is automatically calculated, so should only be used as an approximation.
We truly hope you enjoy making and savoring these delightful Hot Cocoa Rice Krispie Treats. Their combination of rich chocolate, gooey marshmallow, and satisfying crunch makes them a standout holiday dessert. Please feel free to leave a comment below with any questions you might have or share your feedback on how your treats turned out!
If you create these or any other recipes from our collection, don’t forget to tag me on Instagram @BadBatchBaking. Seeing your wonderful recreations always brightens my day and I’d love to feature your delicious work in my story!
Here are some additional photos for your Pinterest boards – happy pinning!