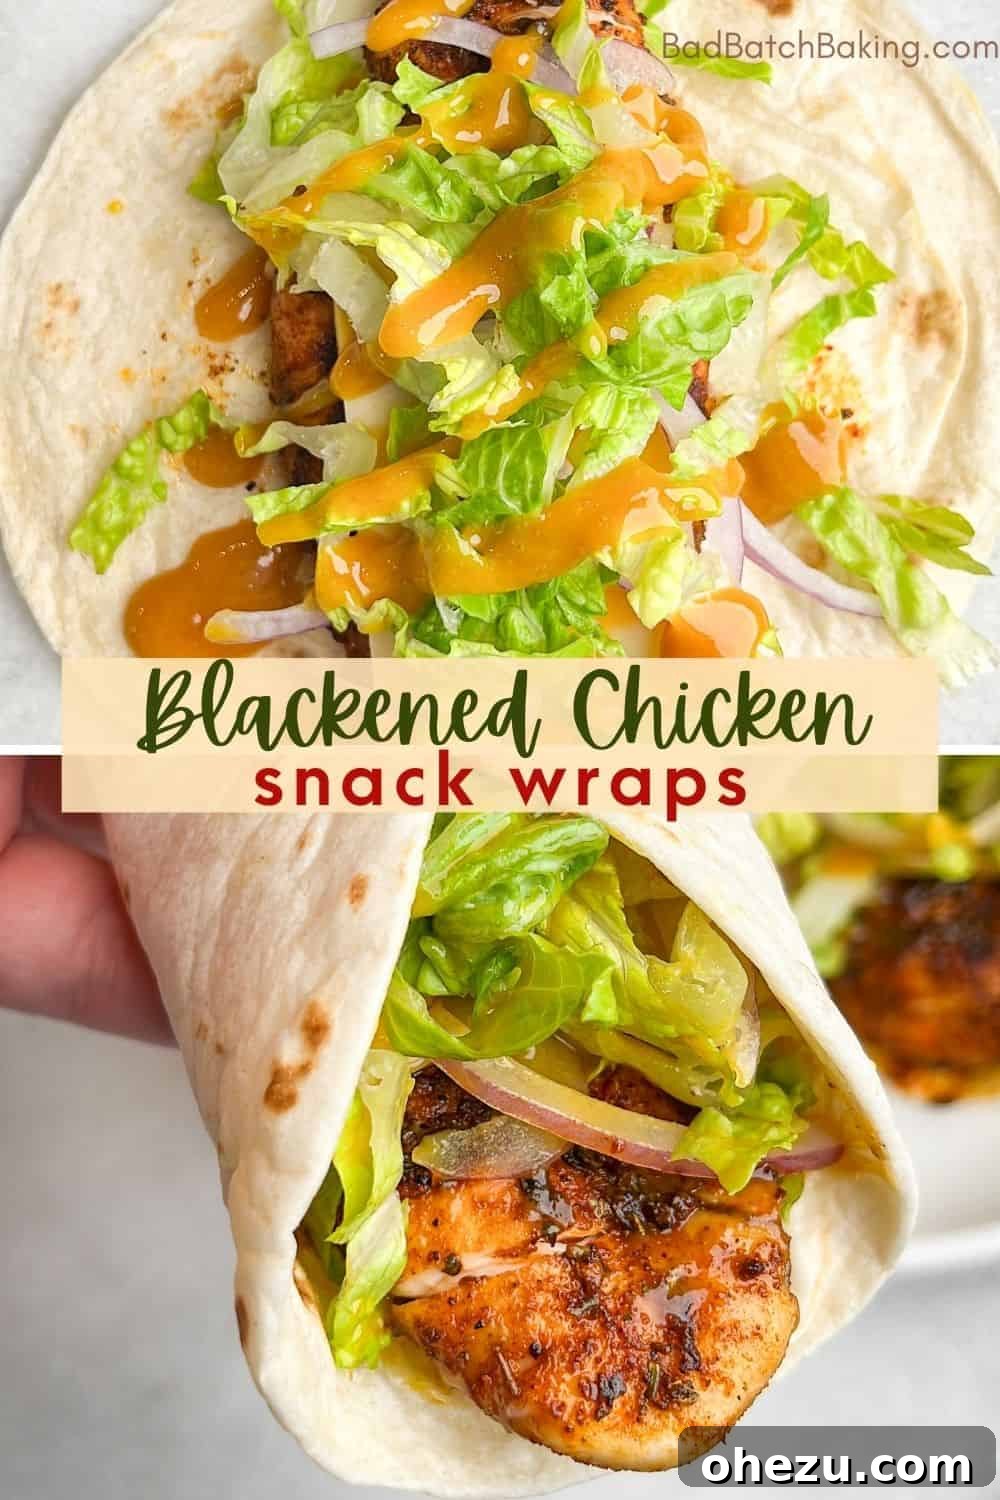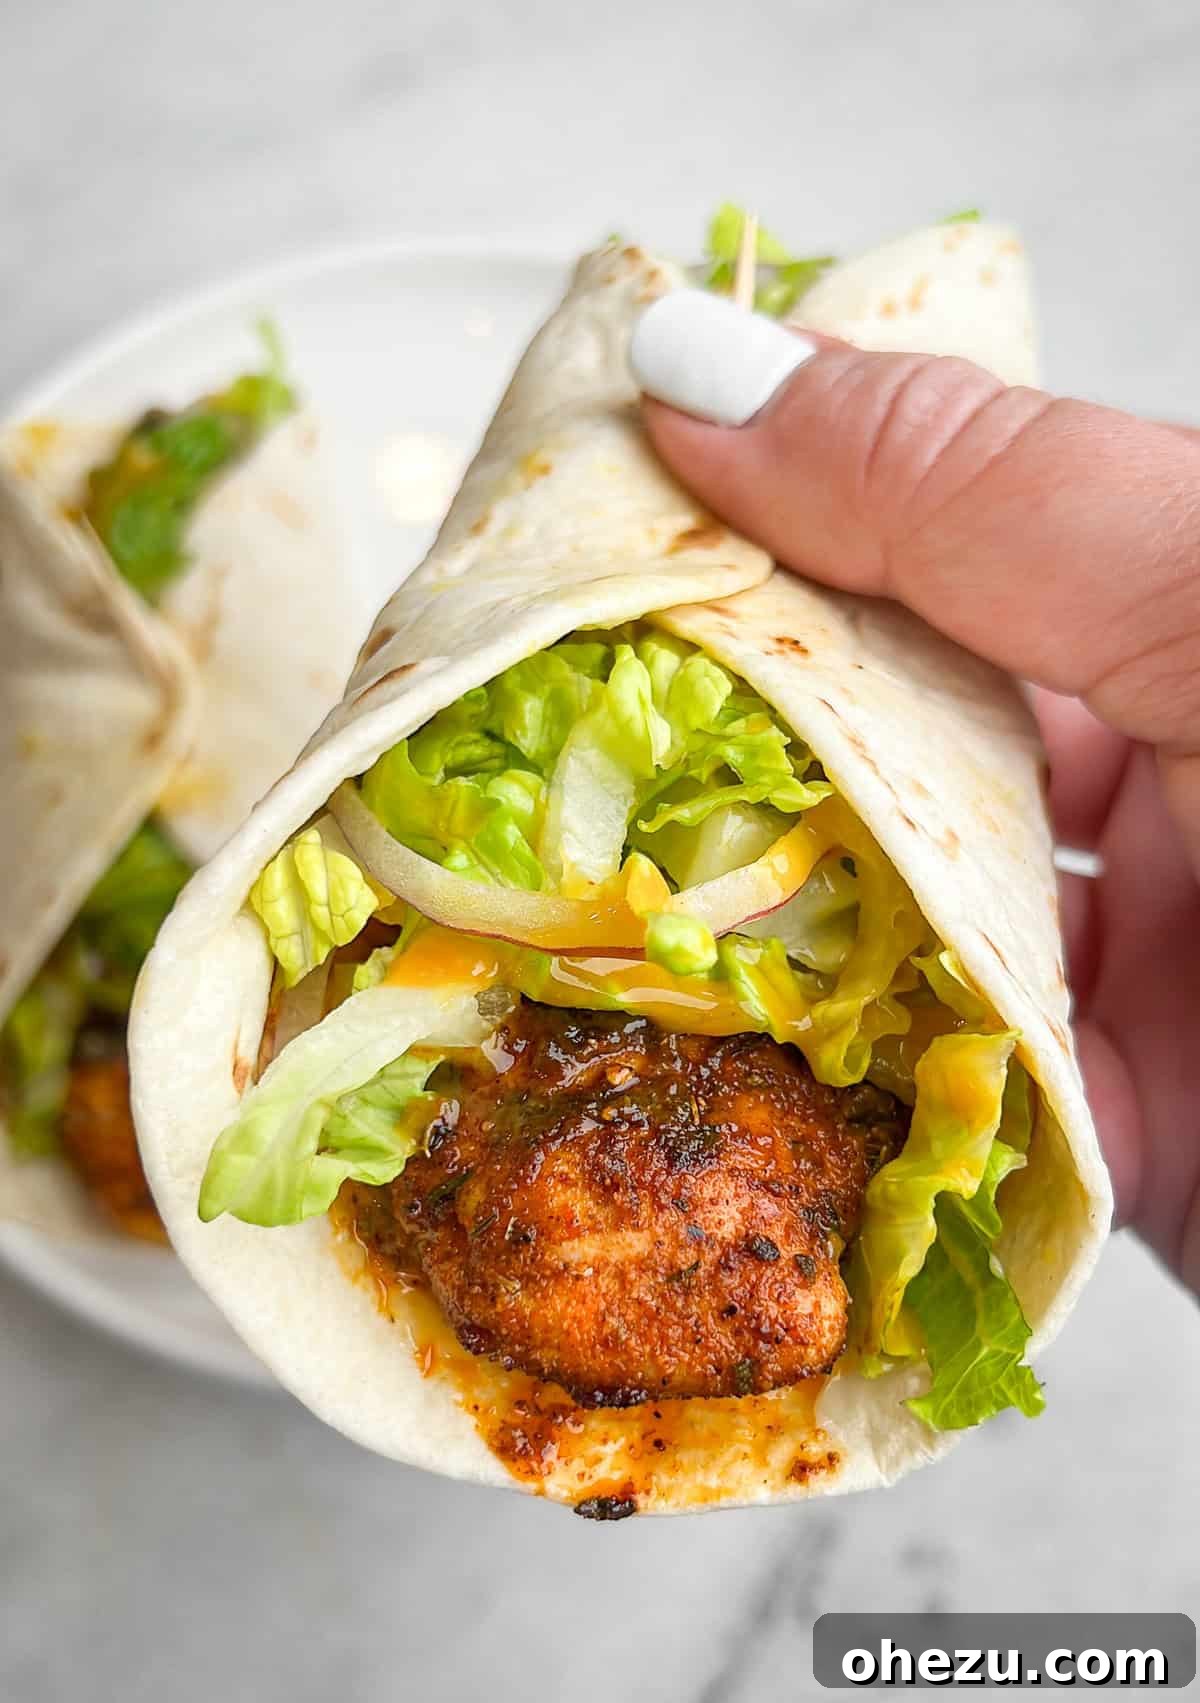
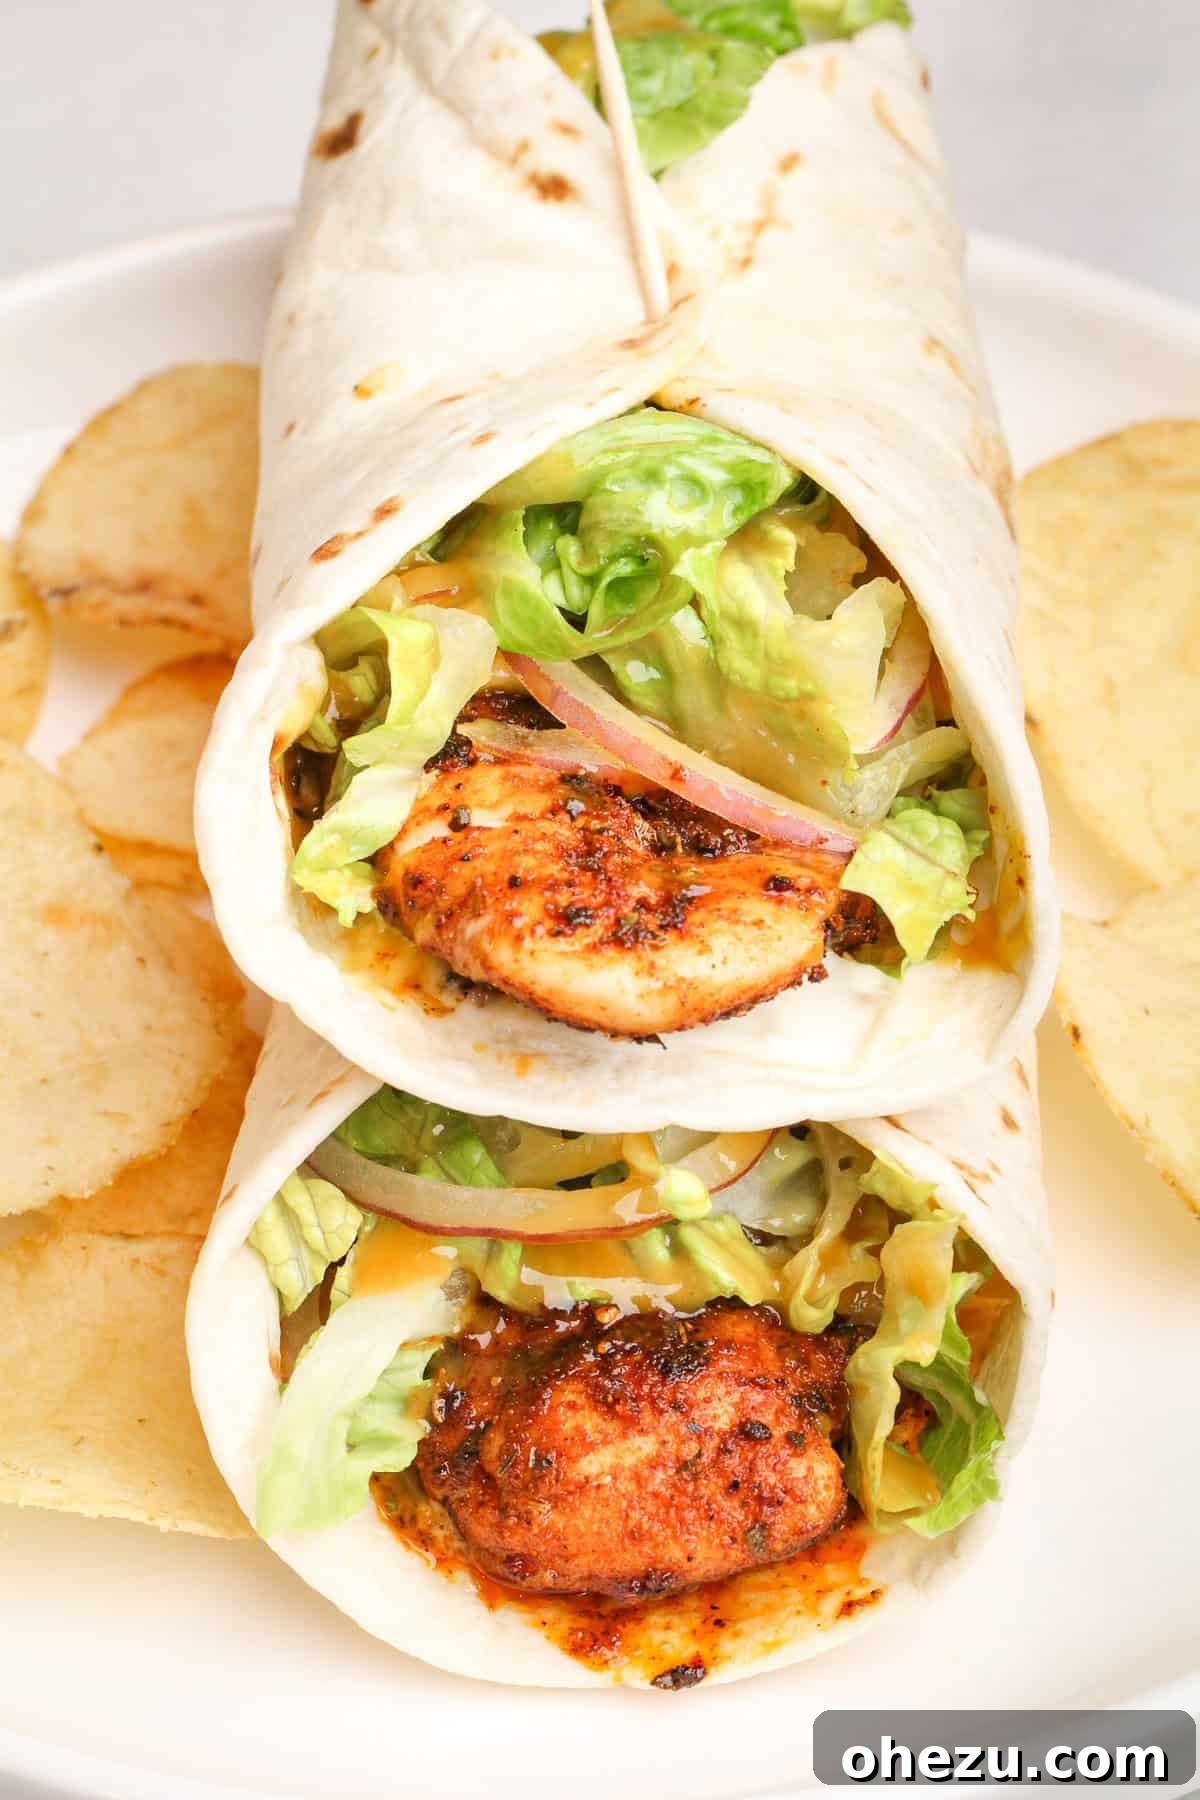
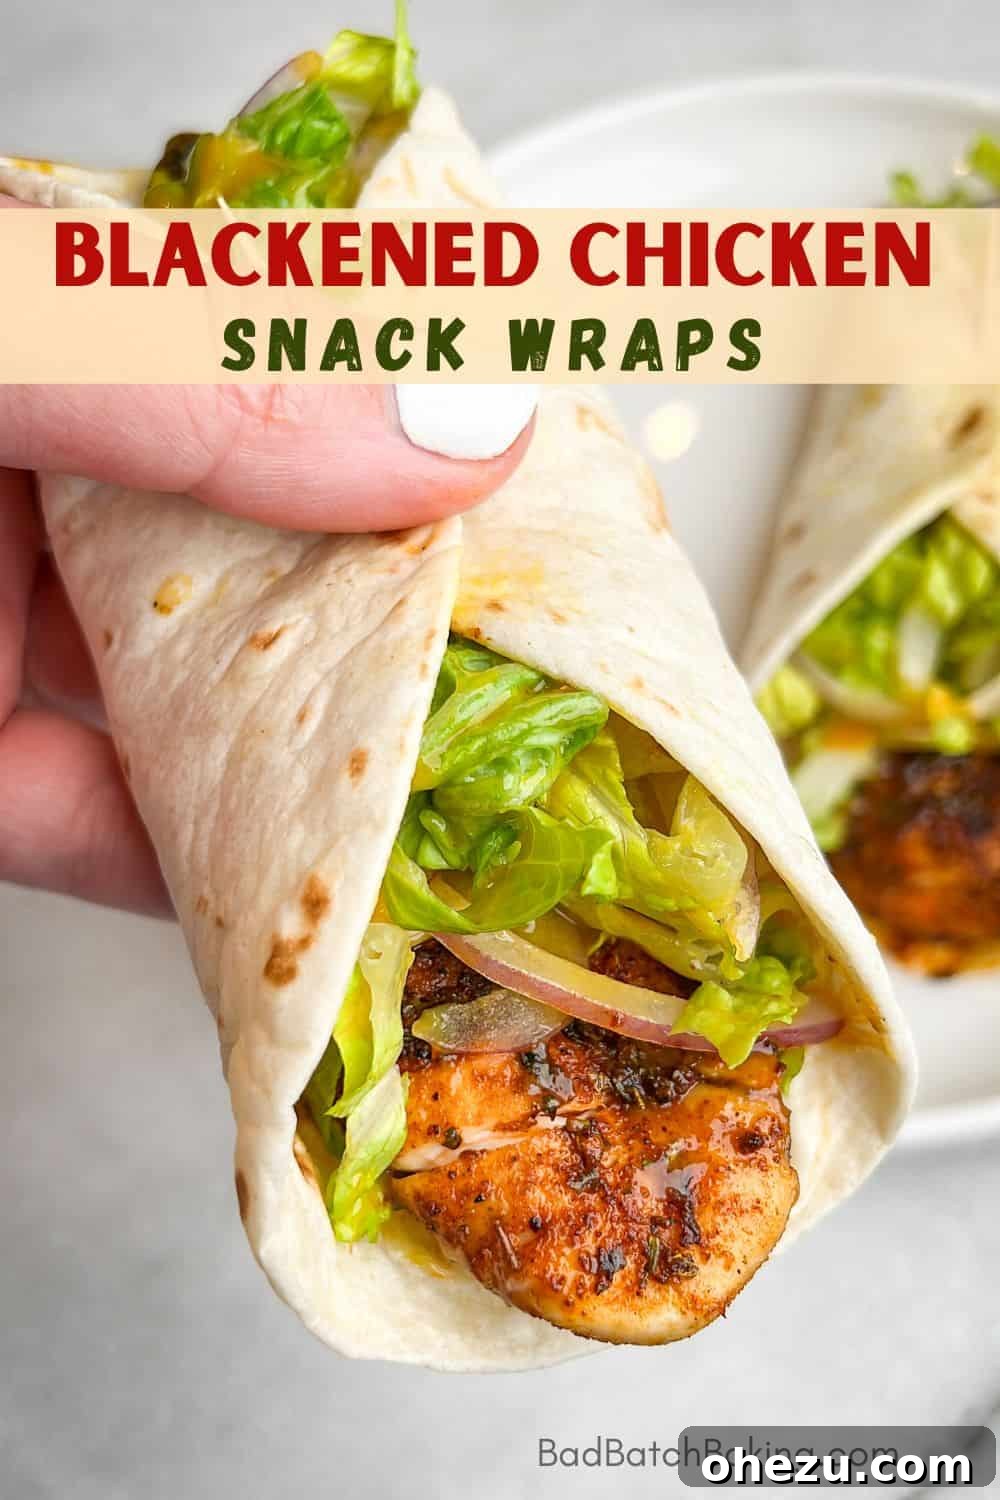
Craving McDonald’s iconic but discontinued chicken snack wraps? Look no further! This homemade version elevates the concept, offering a protein-packed, flavor-rich alternative that’s incredibly satisfying and surprisingly easy to make. Imagine tender, pan-grilled chicken, perfectly seasoned with a zesty blackened Cajun blend, nestled in a warm tortilla with creamy cheese, crisp lettuce, thinly sliced red onions, a touch of mayo, and a sweet, tangy golden honey mustard. This isn’t just a snack; it’s a culinary experience you can hold in your hand.
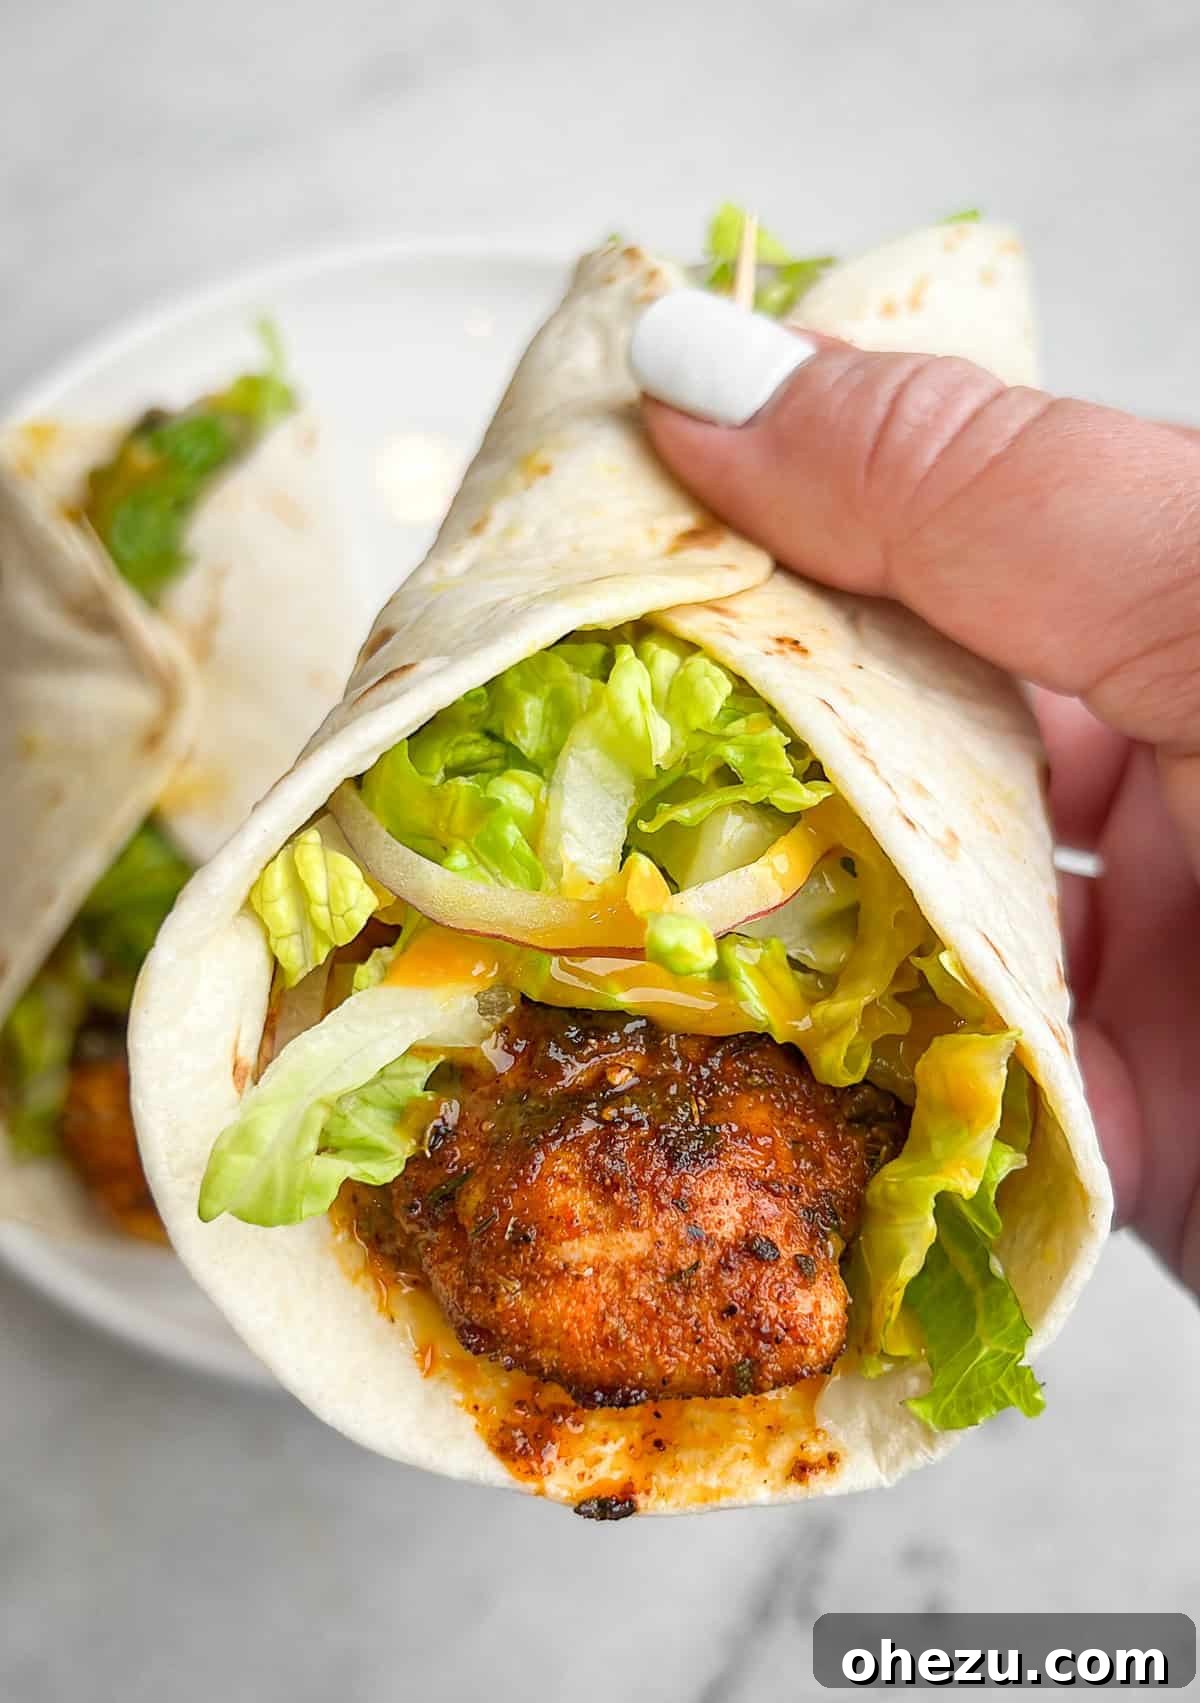
Forget complicated recipes and long cooking times. This recipe focuses on simplicity and maximum flavor, with only one element requiring cooking. The rest comes together in a flash using common ingredients you likely already have. These homemade chicken snack wraps are not only addictively delicious but also incredibly versatile, making them ideal for a quick lunch, a satisfying appetizer, or even a light dinner. Prepare to fall in love with your new go-to wrap!
Homemade Blackened Chicken Snack Wraps: A Flavorful Fast Food Favorite Made Fresh
The quest for a truly great chicken snack wrap often leads to memories of a fast-food classic. While McDonald’s snack wraps were a beloved menu item for many years, their discontinuation in 2016 left a void for fans. The good news is that whispers of their return have recently surfaced, with teasers hinting at both honey mustard and ranch flavor options. Typically, McDonald’s snack wraps featured either grilled or fried chicken, shredded lettuce, cheese, and a choice of dressing.
However, why wait for a fast-food chain when you can create a superior version right in your own kitchen? This recipe for blackened chicken snack wraps ensures you won’t miss the drive-thru option one bit. Our homemade take offers fresher ingredients, a more robust flavor profile, and the undeniable satisfaction of creating something truly delicious from scratch. Get ready to elevate your snack game!
Why You’ll Love This Homemade Chicken Wrap Recipe
There are countless reasons why these homemade blackened chicken snack wraps will become a staple in your meal rotation:
- Unbeatable Flavor: The star of the show is undoubtedly the blackened Cajun chicken. Pan-grilled to perfection, the tenders develop a beautifully charred crust while remaining incredibly juicy and infused with a smoky, spicy depth that store-bought wraps simply can’t match.
- Quick & Easy: With minimal cooking required, these wraps can be on your table in under 30 minutes. It’s the ideal solution for busy weeknights, last-minute lunch cravings, or when you need a satisfying snack without much fuss.
- Healthier Alternative: By making your wraps at home, you have complete control over the ingredients. Opt for lean chicken tenders, fresh vegetables, and your preferred sauces, making this a healthier choice compared to many fast-food options.
- Highly Customizable: Don’t like red onions? Swap them for green onions. Want more heat? Add extra cayenne to your seasoning. This recipe is a fantastic base for endless variations to suit your taste.
- Perfect for Meal Prep: The chicken can be cooked ahead of time, and the vegetables prepped, making assembly even quicker when hunger strikes. They’re fantastic for packed lunches throughout the week.
- Protein-Packed: Chicken tenders provide an excellent source of lean protein, keeping you feeling full and energized.
Key Ingredients for the Perfect Snack Wrap
A simple list of high-quality ingredients is all it takes to bring these delicious blackened chicken snack wraps to life. Each component plays a crucial role in creating the perfect balance of flavors and textures.
- Chicken Tenders: We recommend using fresh chicken tenders for their quick cooking time and tender texture. Rubbed generously with our homemade blackened seasoning, they become the savory heart of the wrap. You can also slice boneless, skinless chicken breasts or thighs into strips if tenders aren’t available.
- Flour Tortillas: Taco-sized flour tortillas are the ideal choice for these handheld delights. Their flexibility allows for easy wrapping, and they soften beautifully when warmed. Consider whole wheat tortillas for an added fiber boost.
- Cheese: While McDonald’s typically uses shredded cheese, we opt for a slice of Colby Jack cheese, cut in half, for an extra creamy and melty experience. Cheddar, Monterey Jack, or even a spicy pepper jack would also be fantastic choices.
- Shredded Lettuce: Crisp iceberg or romaine lettuce provides essential crunch and freshness. Shredding it thinly ensures even distribution and prevents large, unwieldy pieces in your wrap.
- Red Onion: Thinly sliced red onions add a sharp, pungent bite and a vibrant pop of color. For a milder flavor, you can soak the slices in cold water for a few minutes before adding them.
- Blackened Seasoning: This is where the magic happens! Our homemade blend (recipe included below) delivers an authentic Cajun flavor. If you’re short on time, a good quality store-bought blackened seasoning will also work well.
- Sauces: A combination of creamy mayonnaise and sweet, tangy golden honey mustard forms the perfect base and finishing drizzle. The mayo adds richness, while the honey mustard brings that signature snack wrap taste. Feel free to experiment with ranch, sriracha mayo, or even a spicy BBQ sauce.
How to Make Blackened Chicken Snack Wraps: Step-by-Step Guide
Crafting these flavorful wraps is straightforward and rewarding. Follow these simple steps for perfectly cooked chicken and flawlessly assembled snack wraps.
Step 1: Prepare and Season the Chicken Tenders
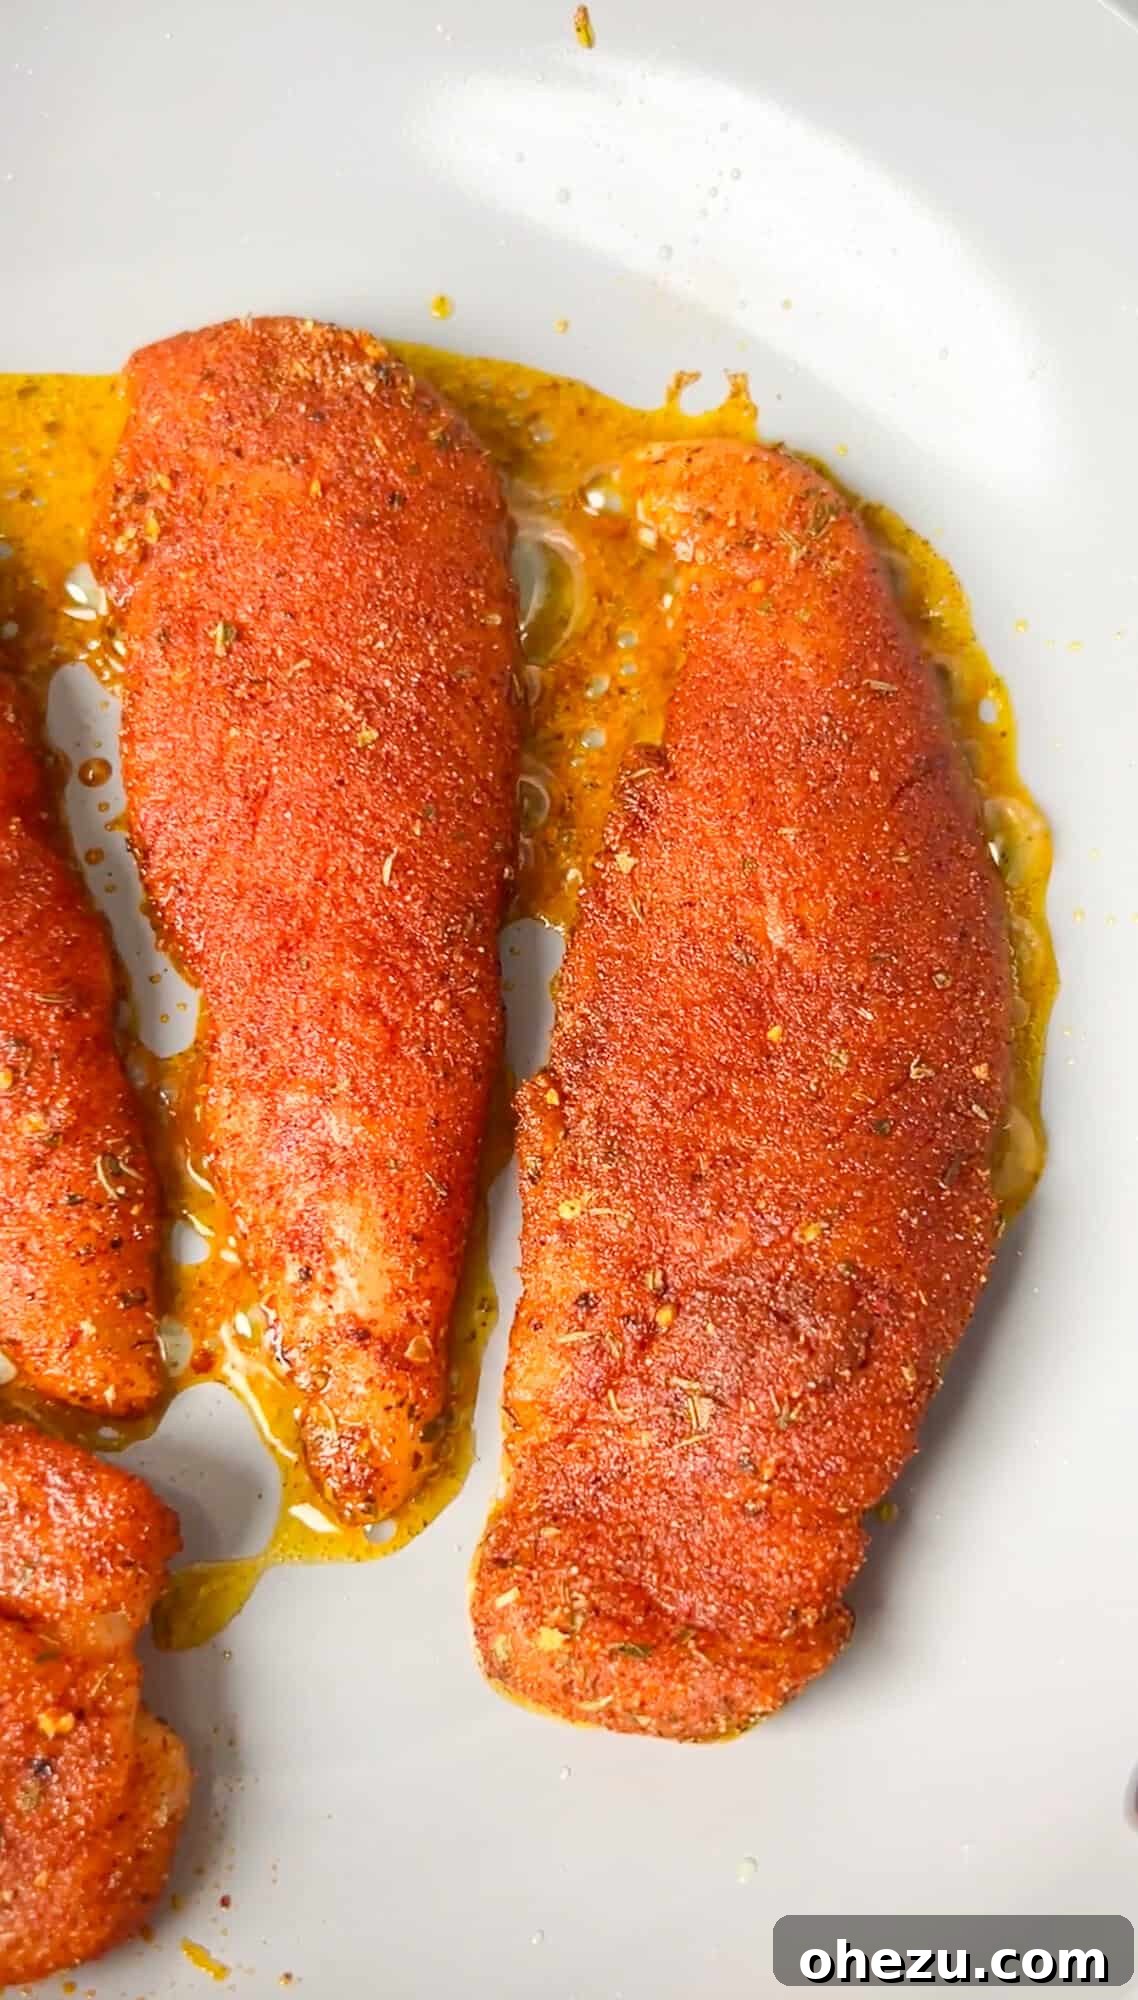
Start by preparing your chicken tenders. If present, gently remove any visible tendons – a small but important step for a better eating experience. Drizzle the chicken tenders generously with olive oil, ensuring they are coated on all sides. This helps the seasoning adhere and promotes a beautiful sear. Next, sprinkle your blackened seasoning liberally over the front and back of each tender. Use your hands to gently rub the seasoning into the chicken, making sure every surface is thoroughly coated. This initial seasoning is key to developing that deep, robust flavor profile.
Step 2: Pan-Grill the Blackened Chicken to Perfection
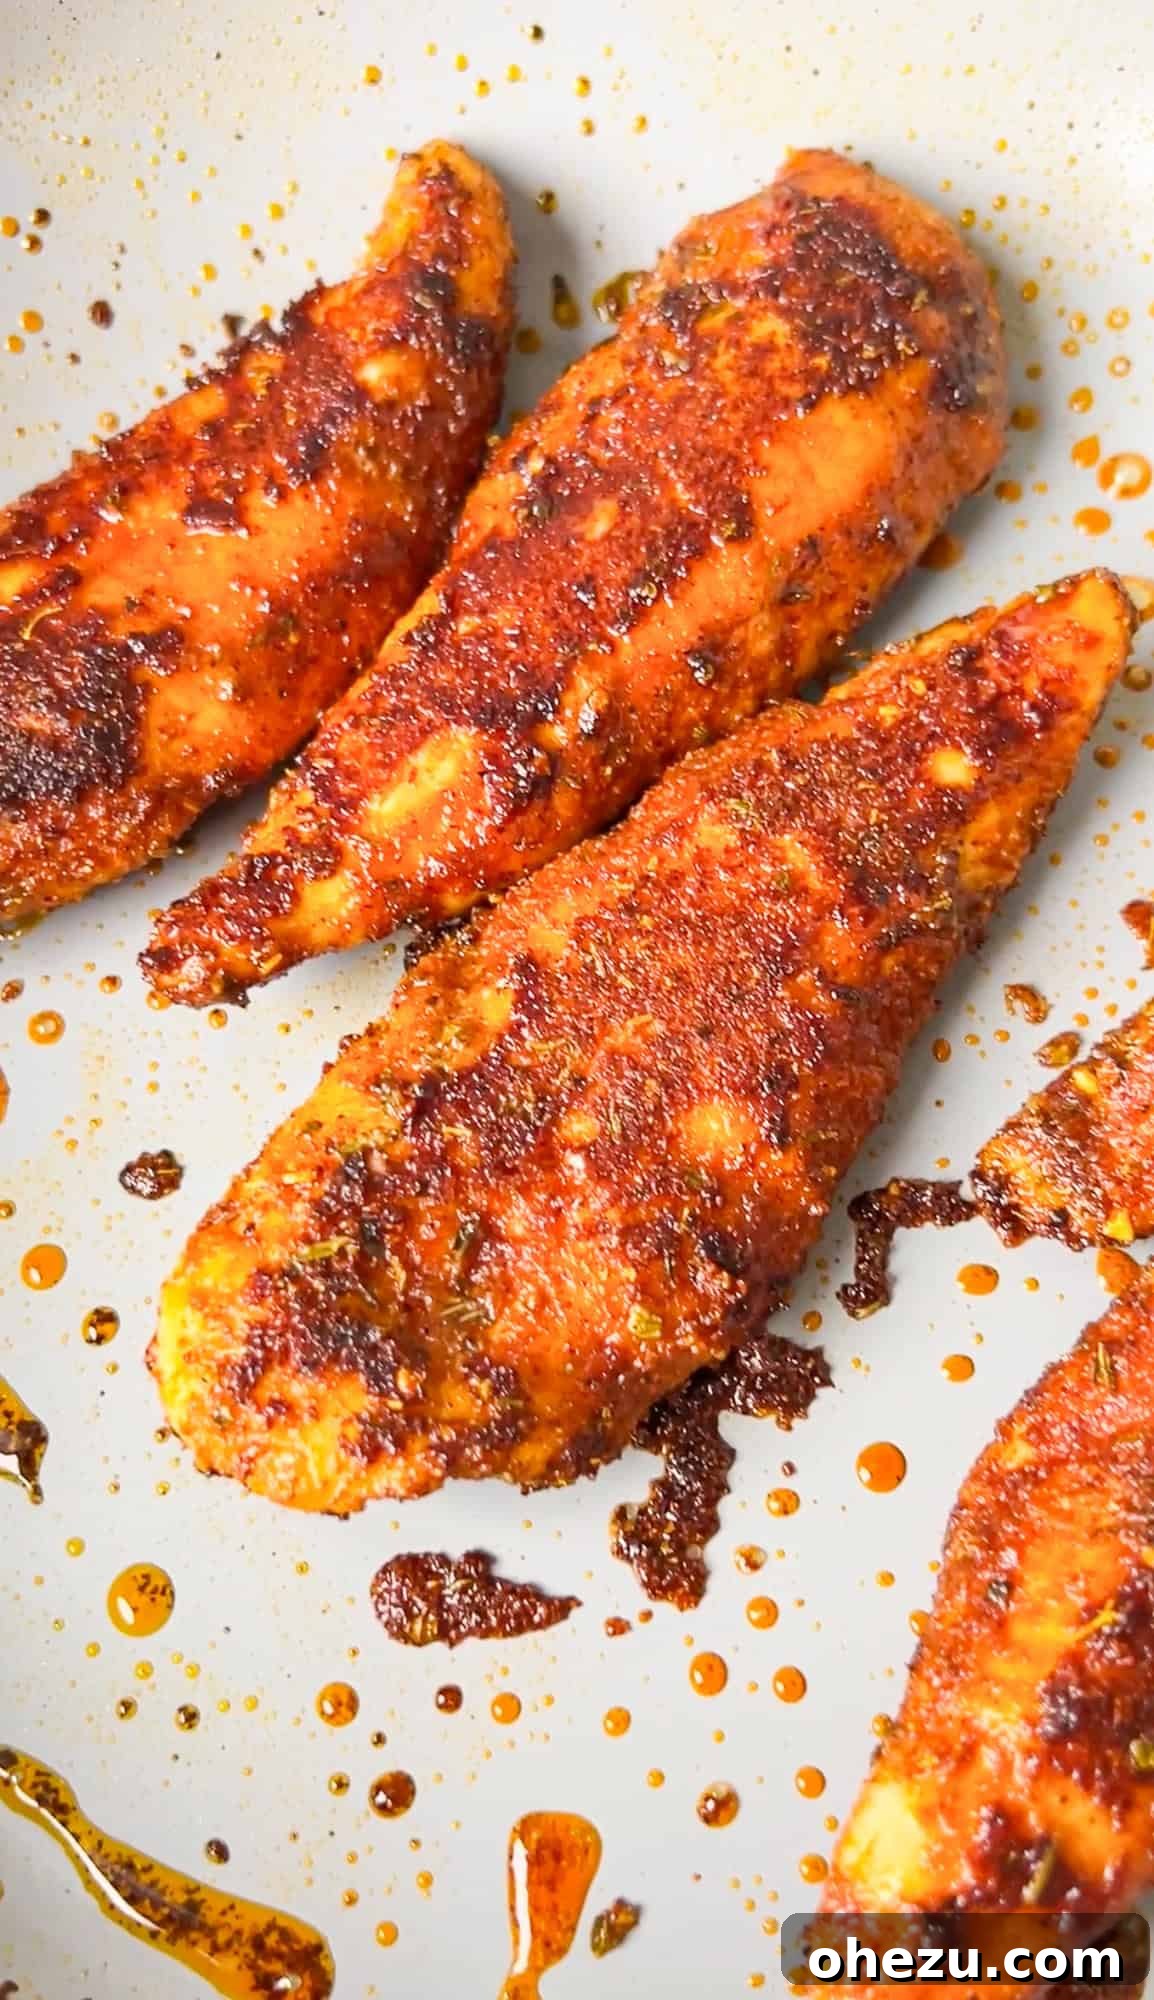
Heat 2-3 tablespoons of olive oil in a large skillet over medium-high heat. You want the skillet to be hot enough to create a quick sear. Carefully add the seasoned chicken tenders to the hot skillet, ensuring not to overcrowd the pan. If necessary, cook the chicken in batches to maintain consistent heat and achieve an optimal sear – overcrowding can steam the chicken instead of blackening it. Cook the tenders undisturbed for 2-3 minutes on the first side, or until a dark golden-brown, almost blackened crust forms. Flip the chicken once, reduce the heat to low, and continue to cook for another 2-3 minutes, or until the chicken is cooked through and reaches an internal temperature of 165°F (74°C). Once cooked, remove the chicken from the skillet and set it aside on a plate, tented loosely with foil, to rest for a few minutes. This resting period helps the juices redistribute, resulting in more tender and flavorful chicken.
Step 3: Assemble Your Delicious Snack Wraps
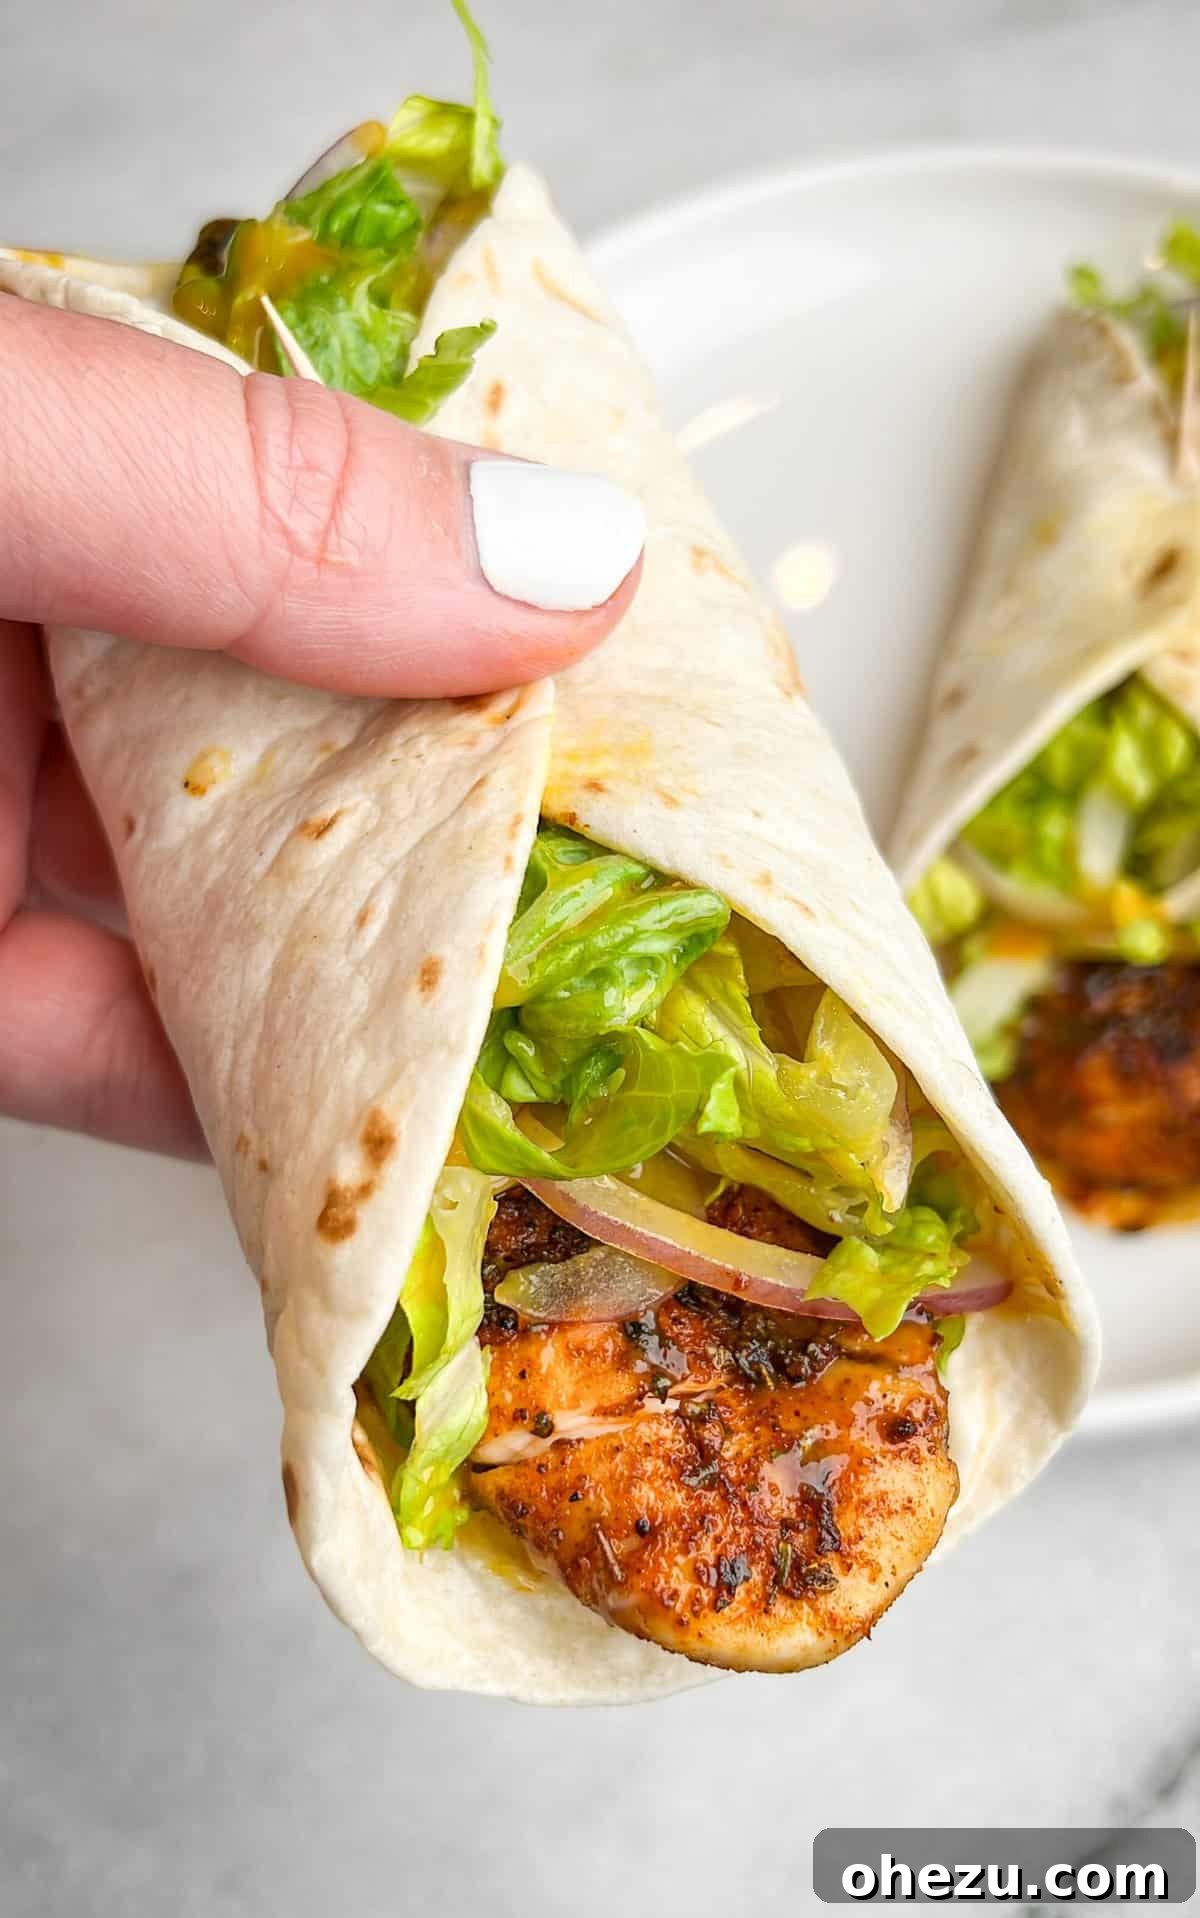
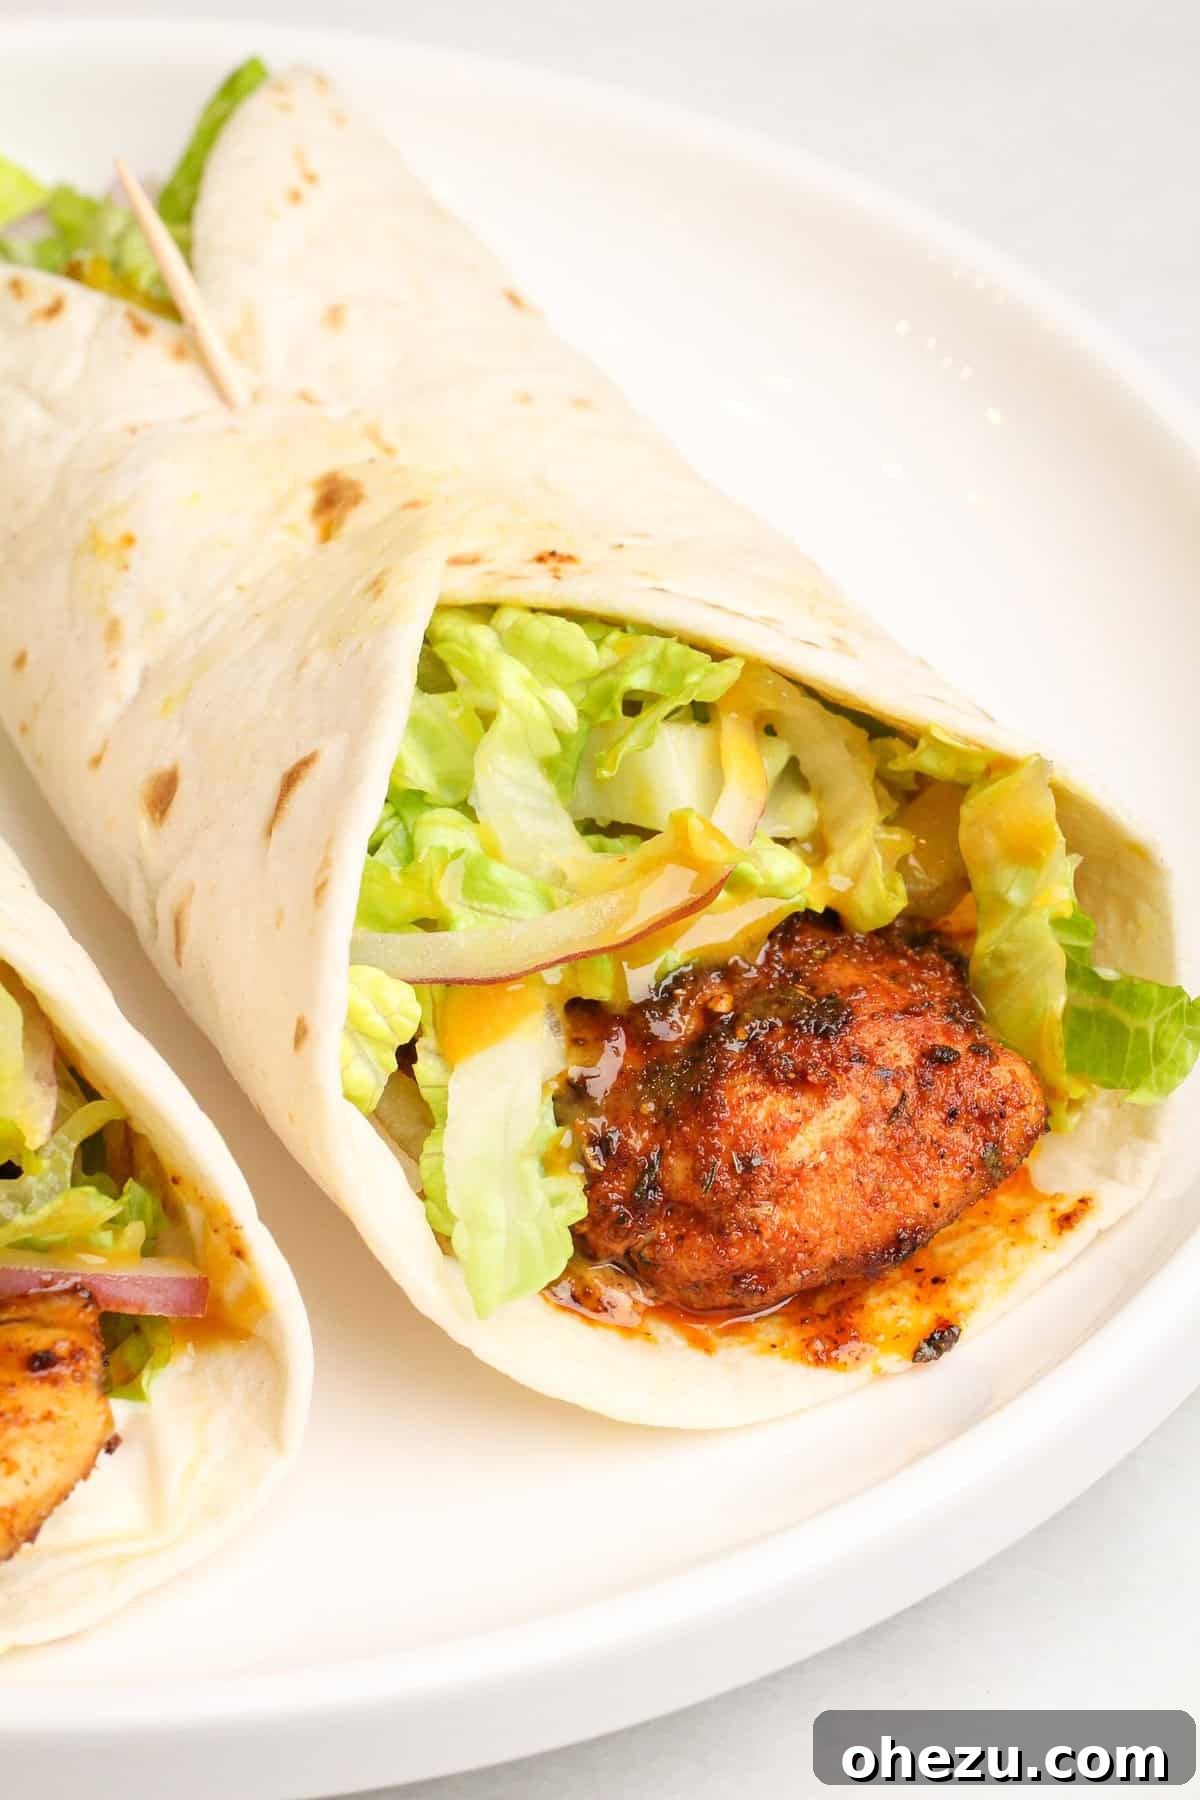
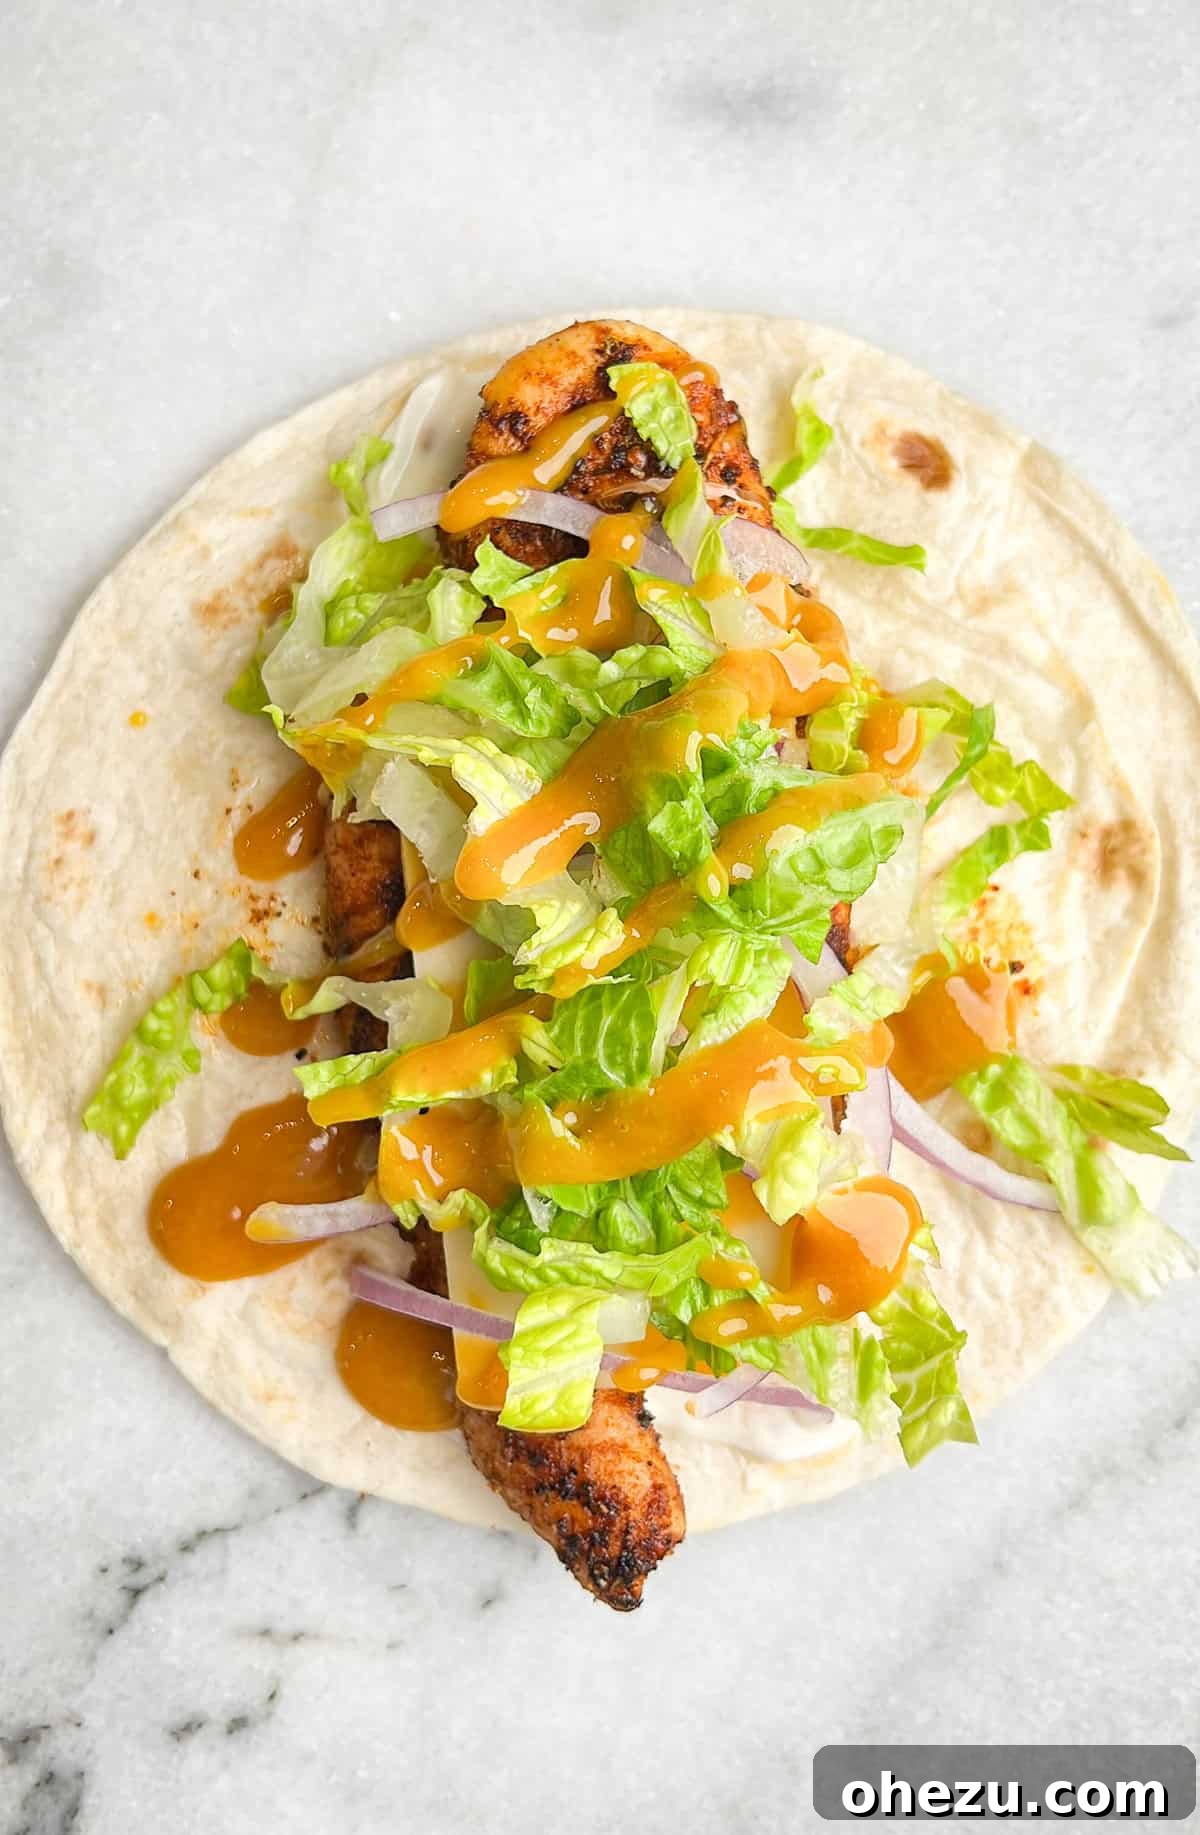
While the chicken rests, warm your tortillas. In a clean skillet over low heat, warm each tortilla for about 30 seconds per side until it’s soft and pliable – this makes them much easier to roll and enhances their texture. To assemble your wraps, lay a warm tortilla flat. Spread a thin layer of mayonnaise down the center of the tortilla. Place 1-2 chicken tenders (depending on their size and your preference) over the mayo. Lay your halved Colby Jack cheese slice on top of the chicken, allowing its warmth to begin melting the cheese. Next, add a sprinkle of thinly sliced red onions and a generous handful of shredded lettuce. Finish with a drizzle of golden honey mustard. Carefully fold in the sides of the tortilla, then tightly roll it up from the bottom, creating a neat, handheld wrap. Repeat for the remaining wraps and serve immediately!
Tips for Success & Variations
To ensure your homemade chicken snack wraps are always perfect and to inspire creativity, here are some helpful tips and variations:
- Don’t Overcrowd the Pan: This is crucial for achieving that signature blackened crust. If your skillet isn’t large enough, cook the chicken in two batches.
- Hot Skillet is Key: Ensure your skillet is adequately heated before adding the chicken. A hot pan creates a rapid sear, locking in juices and developing the crust quickly.
- Rest the Chicken: Allowing the chicken to rest under foil after cooking helps keep it juicy and tender by allowing the internal juices to redistribute.
- Warm Tortillas: Warming the tortillas for a few seconds makes them more pliable and less likely to crack when rolled.
- Customize Your Spiciness: For more heat, increase the cayenne pepper in your blackened seasoning blend. For a milder version, reduce it or omit it entirely.
- Add Extra Veggies: Sliced tomatoes, pickles, avocado, or even a sprinkle of finely diced bell peppers can add more texture and nutrients.
- Try Different Cheeses: Experiment with shredded cheddar, Monterey Jack, or a spicy pepper jack for varied flavor profiles.
- Swap the Sauces: While honey mustard and mayo are classic, feel free to use your favorite dressings like ranch, chipotle mayo, or a zesty BBQ sauce.
- Make it Crispy Chicken: If you prefer a fried chicken texture, you can bread the tenders and air fry or pan-fry them until golden and crispy instead of blackening.
Serving Suggestions & Meal Prep
These versatile wraps pair well with a variety of sides, making them suitable for any meal:
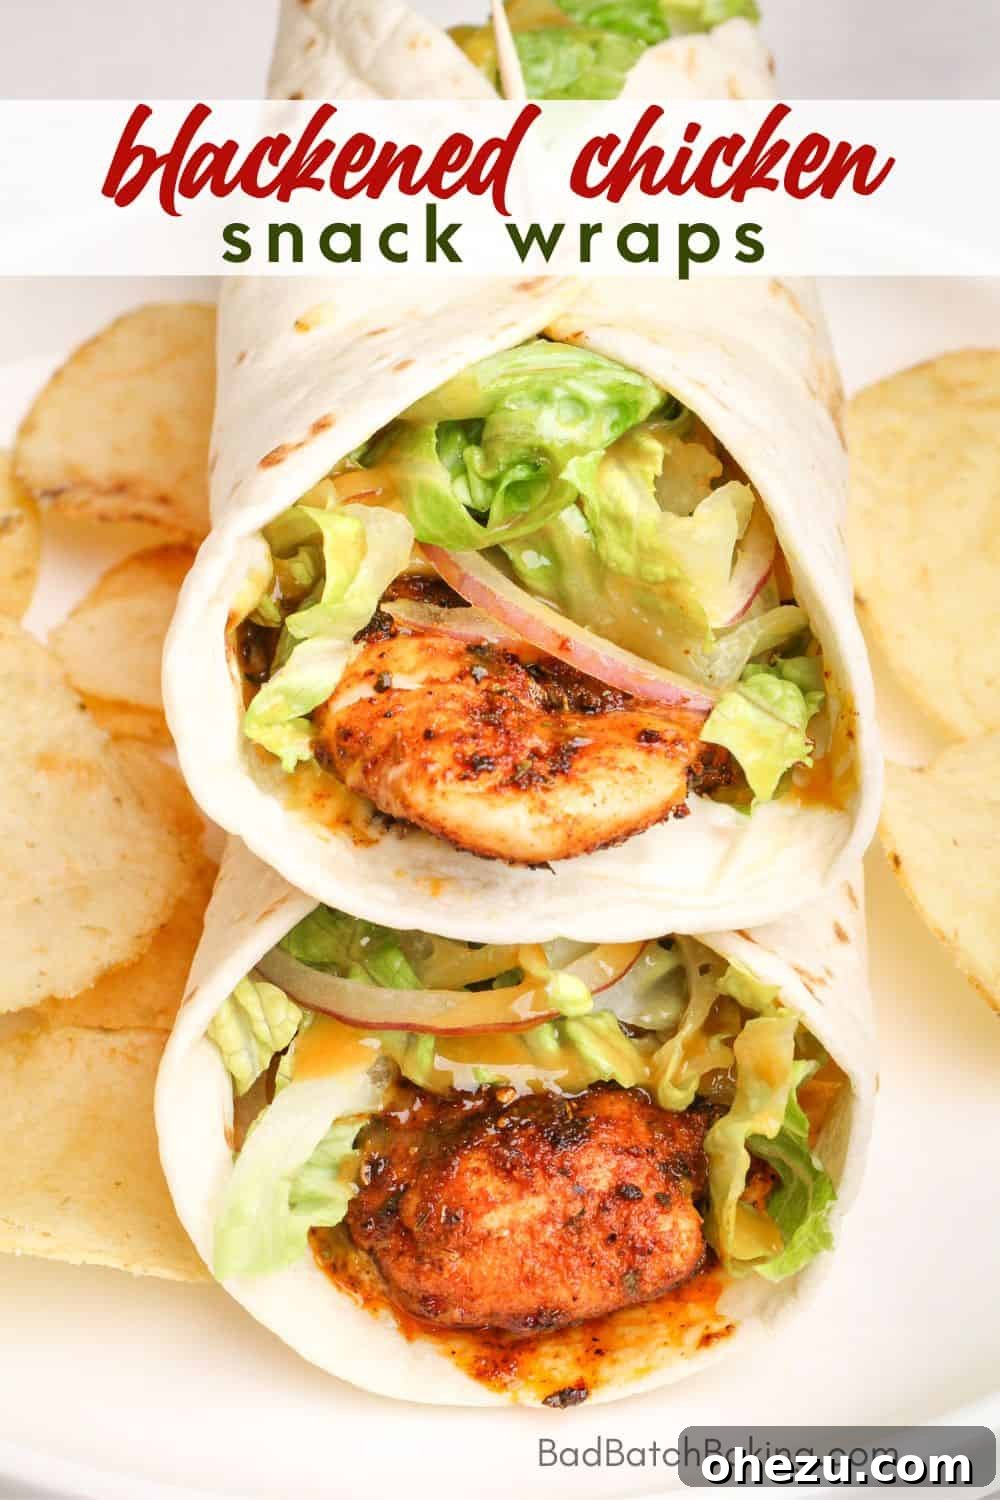
- For Lunch: Serve with a simple side salad, a bowl of soup, or a handful of potato chips for a classic pairing.
- For Dinner: Complement your wraps with crispy sweet potato fries, a creamy coleslaw, or steamed green beans.
- As an Appetizer: Cut the finished wraps into smaller pinwheels for a fun, bite-sized party snack.
Meal Prep: You can cook the blackened chicken tenders ahead of time and store them in an airtight container in the refrigerator for up to 3-4 days. Prep your shredded lettuce and sliced onions and keep them separate. When ready to eat, simply warm a tortilla, reheat the chicken briefly, and assemble your fresh wrap. This makes healthy, flavorful meals incredibly convenient throughout the week.
Tools I Love for Easy Cooking:
Caraway Pans
Veggie Chopper Tool
Glass Jar Seasoning Bottles
Frequently Asked Questions (FAQ)
Here are answers to some common questions about making these delicious chicken snack wraps:
- Can I use chicken breasts instead of tenders? Yes, absolutely! Simply slice boneless, skinless chicken breasts into 1-inch thick strips to ensure they cook evenly and quickly. The cooking time might vary slightly, so always check for an internal temperature of 165°F (74°C).
- Is store-bought blackened seasoning okay? It is! While our homemade blend offers superior freshness and customizable spice levels, a good quality store-bought blackened seasoning is a convenient alternative. Just be sure to check the ingredient list for any unwanted additives or excessive salt.
- How do I make these wraps vegetarian? For a fantastic vegetarian option, you can substitute the chicken tenders with seasoned grilled halloumi cheese, plant-based chicken strips, or even black bean burgers cut into strips.
- Can I prepare these ahead of time? The chicken can be cooked and stored in the refrigerator for up to 3-4 days. Vegetables can also be prepped. For the freshest and best texture, we recommend assembling the wraps just before serving. However, a fully assembled wrap can be stored in the fridge for a day, though the tortilla might soften slightly.
- What’s the best way to roll a tight wrap? Lay the tortilla flat. Place fillings in the center, leaving space on the sides. Fold in the left and right sides tightly over the filling, then fold the bottom edge up and over the filling, tucking it in firmly. Continue rolling upwards, keeping it as tight as possible.
Looking for More Delicious Snack Foods?
If you loved these chicken snack wraps, you’ll definitely want to explore these other fantastic snack and appetizer recipes:
Blackened Bacon Ranch Sliders
Jalapeno Popper Pinwheels
Candied Bacon Crackers
Chicken Buffalo Garlic Mini Tacos
Alabama White Chicken Sliders
Air Fried Chicken Alfredo Calzones
Did you try these incredible Homemade Blackened Chicken Snack Wraps? We’d love to see your creations! Feel free to share any pics by tagging me @BadBatchBaking and using the hashtag #BadBatchBaking on Instagram. Your feedback and culinary adventures inspire us!
Blackened Chicken Snack Wraps
Ingredients
- 1.5 lbs chicken tenders
- 6 Flour Tortilla taco sized
- 3 colby jack cheese slices cut in half
- 1/4 small red onion sliced thin
- shredded iceberg lettuce
- blackened seasoning
- mayonnaise
- Sweet Baby Ray’s golden mustard
Blackened Cajun Seasoning (Homemade Blend)
- 1 tablespoon mild paprika
- 1 1/2 teaspoons garlic powder
- 1 teaspoon onion powder
- 1 teaspoon chili powder
- 3/4 teaspoon dried thyme
- 1/2 teaspoon dried oregano
- 1/2 teaspoon brown sugar
- 1/2-3/4 teaspoon cayenne pepper
- 3/4 teaspoons salt
- 1/4 teaspoon cracked black pepper to taste
Instructions
-
Prepare chicken tenders by removing the tendons, then drizzle chicken with olive oil, rubbing them on all sides. Sprinkle over the blackened seasoning on the front and back of the tenders, working it into the chicken to cover both sides in seasoning.
-
Heat 2-3 tablespoons of olive oil in a large skillet over medium-high heat. Add in the chicken tenders (working in batches to not overcrowd the pan if needed). Cook undisturbed for 2-3 minutes or until underside is dark golden brown, then flip once and reduce heat to low. Continue to cook 2-3 more minutes and set chicken aside under tented foil.
-
In a clean skillet over low heat, warm the tortillas about 30 seconds per side. To assemble the wraps, spread the center on the wrap with mayo. Add on 1-2 chicken tenders, lay the cheese on top, add red onions, shredded lettuce and top it with a drizzle of honey mustard.