
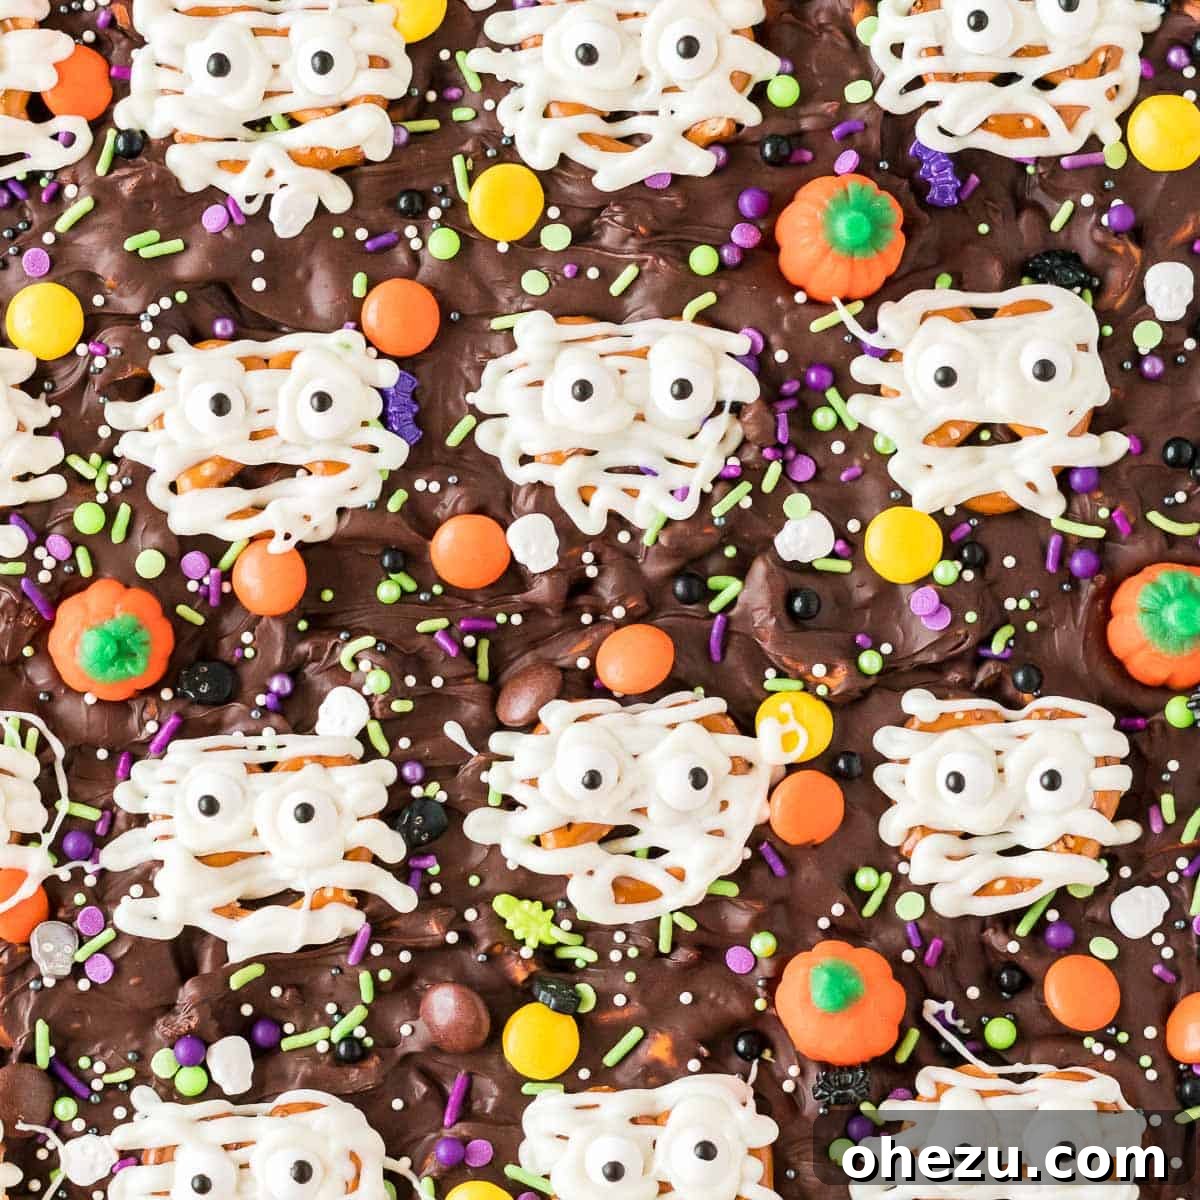
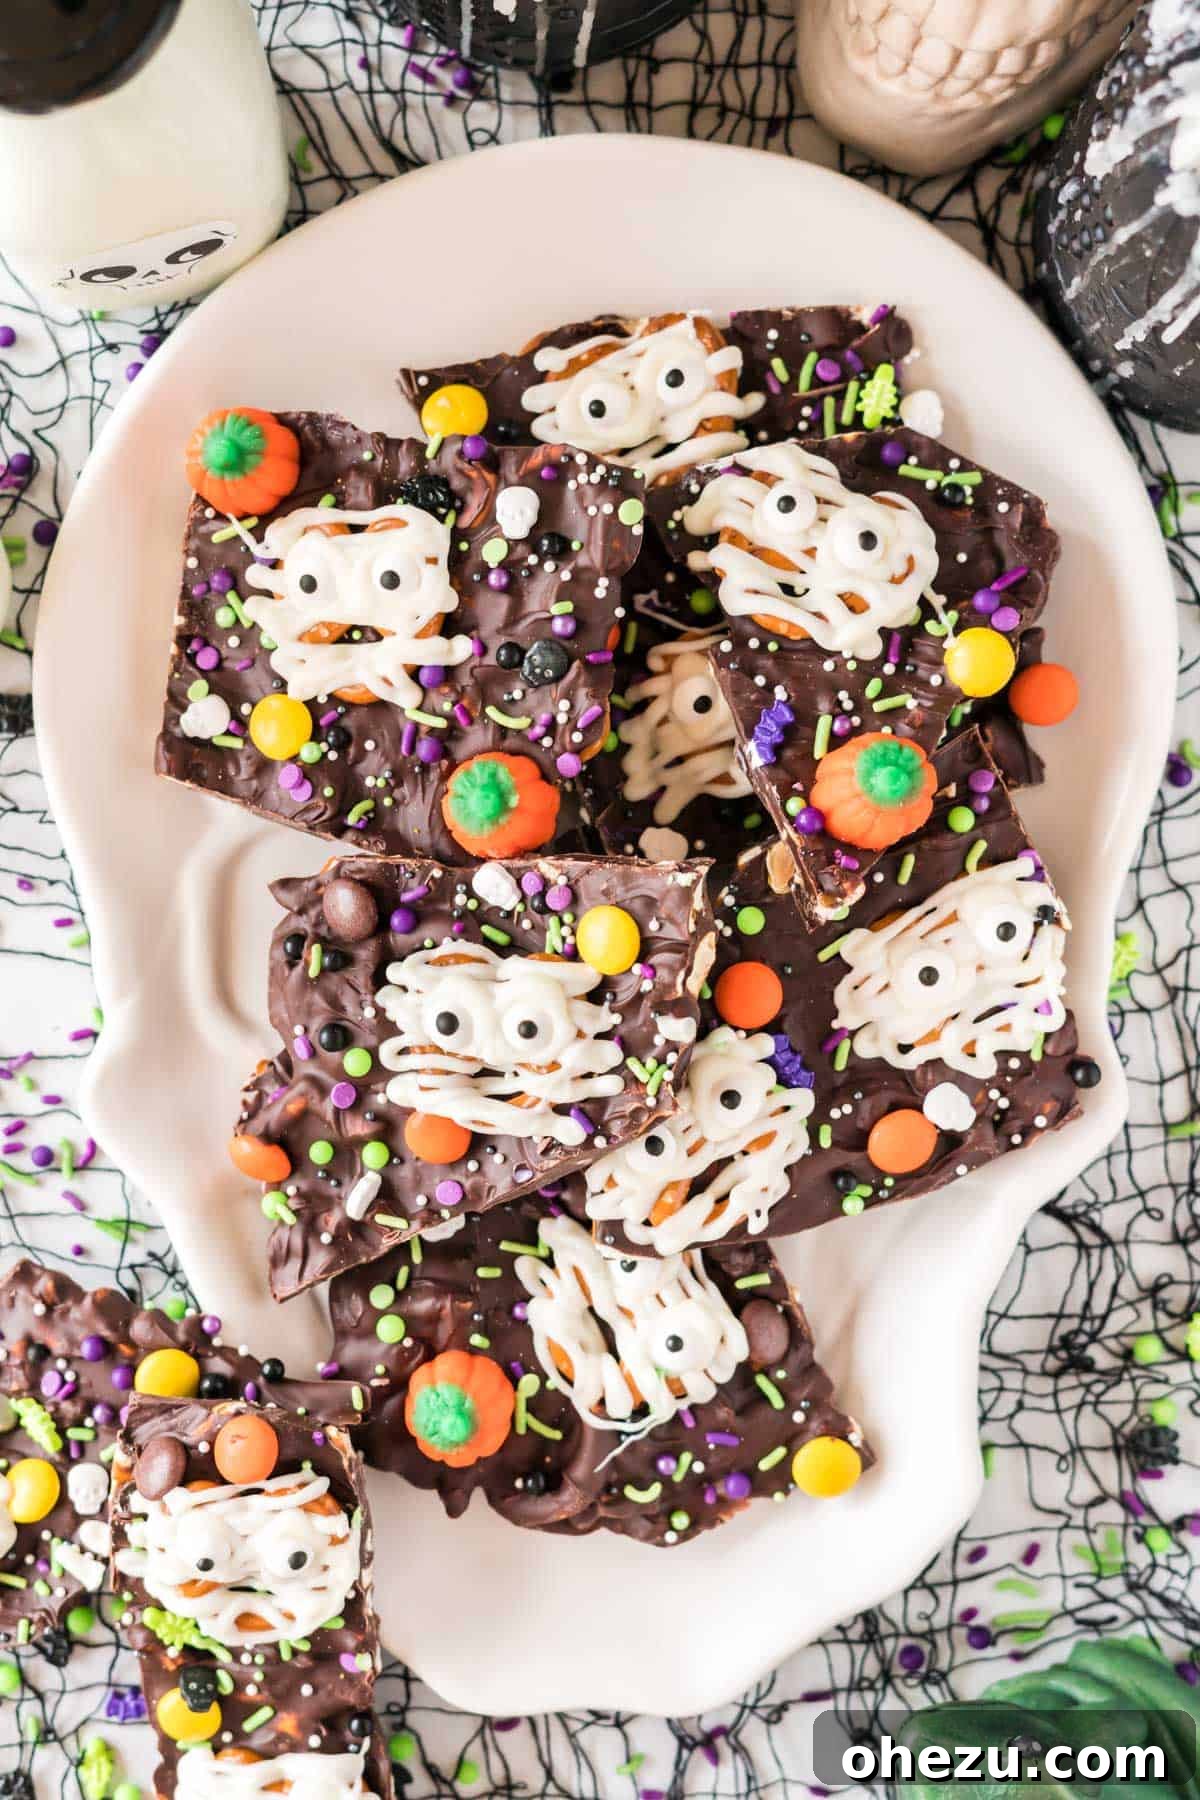
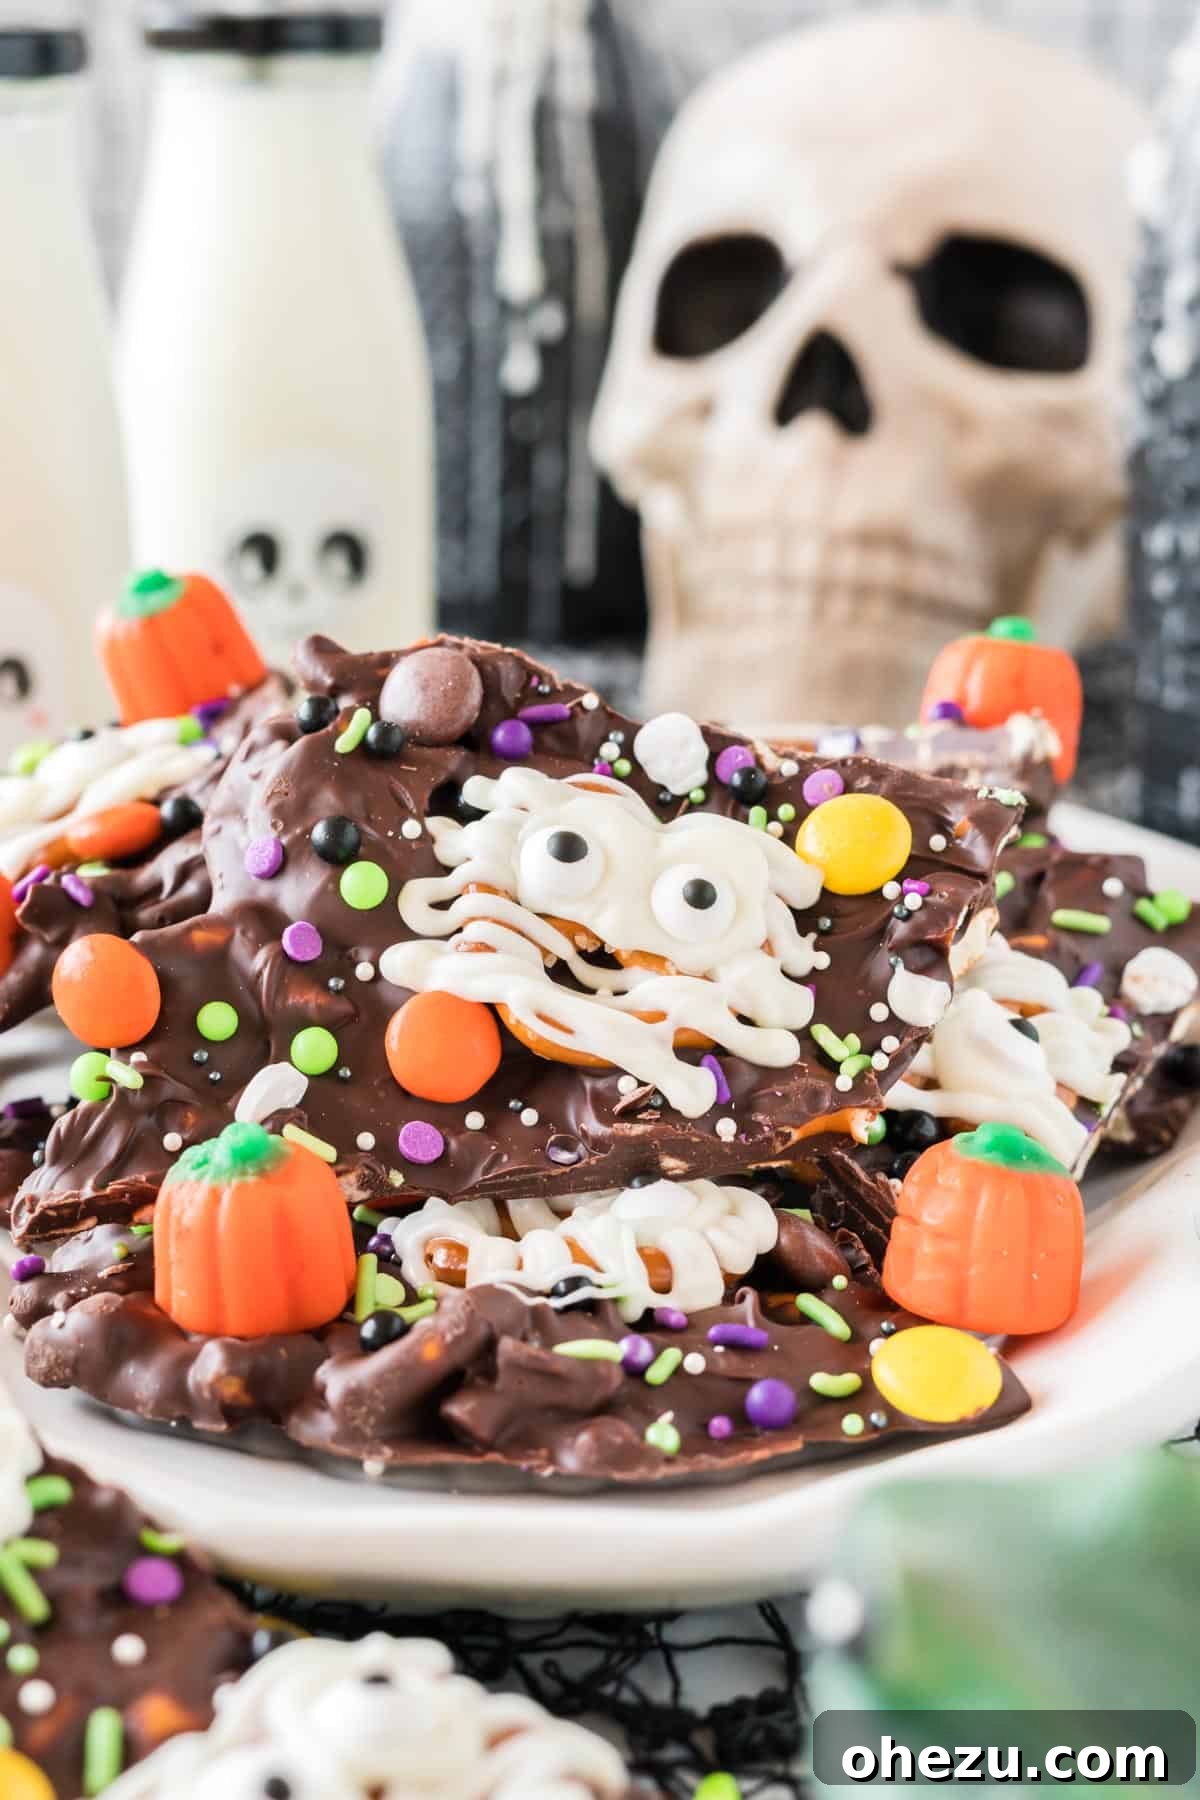
Dive into the spooky spirit of Halloween with this delightfully easy and incredibly fun Halloween Bark recipe! This festive sweet treat features a crunchy chocolate pretzel base, adorned with adorable white chocolate pretzel mummies, a vibrant assortment of Halloween candy, and colorful sprinkles. It’s the perfect dessert to make with your kids this October, offering a simple yet impressive way to celebrate the season.
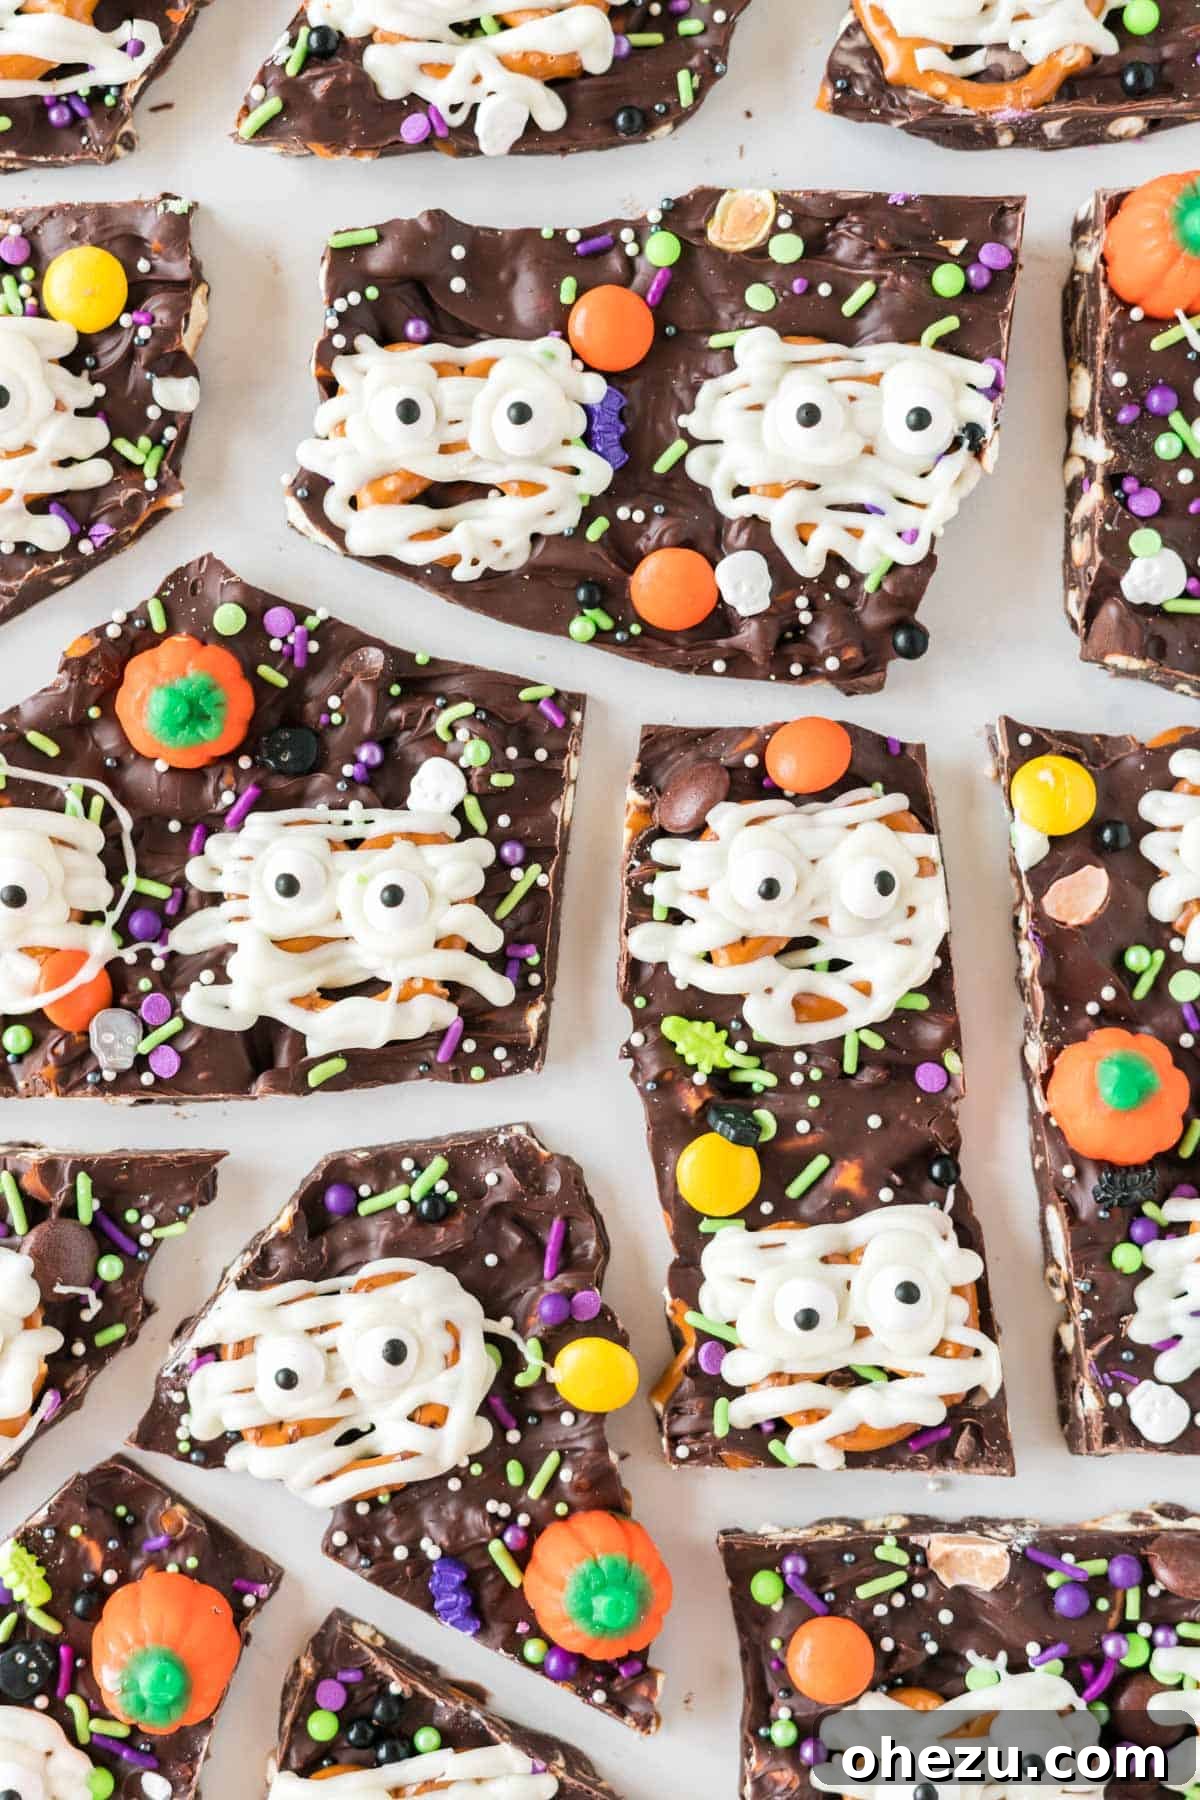
Why This Easy Halloween Bark is Your Go-To Spooky Treat
When it comes to holiday baking, I believe in recipes that are not only delicious but also incredibly simple to execute. This Halloween Bark checks all the boxes! It’s a fantastic recipe for anyone looking to whip up a festive dessert without spending hours in the kitchen. Its charm lies in its simplicity, making it a stress-free option for busy families or last-minute party preparations. The combination of rich chocolate and salty pretzels creates an irresistible flavor profile that both adults and children will adore.
The highlight of this ghoulishly delightful bark is undoubtedly the cute pretzel mummies, made with a quick drizzle of white chocolate and candy eyeballs. Coupled with a colorful array of Halloween-themed sprinkles and your favorite mini candies, this treat transforms into a playful masterpiece. It’s an ideal activity for kids, allowing them to express their creativity while decorating their very own spooky creations. Forget complicated baking techniques – this 2-ingredient chocolate pretzel bark base comes together in minutes, leaving plenty of time for imaginative decorating.
Essential Ingredients for Your Spooky Halloween Bark
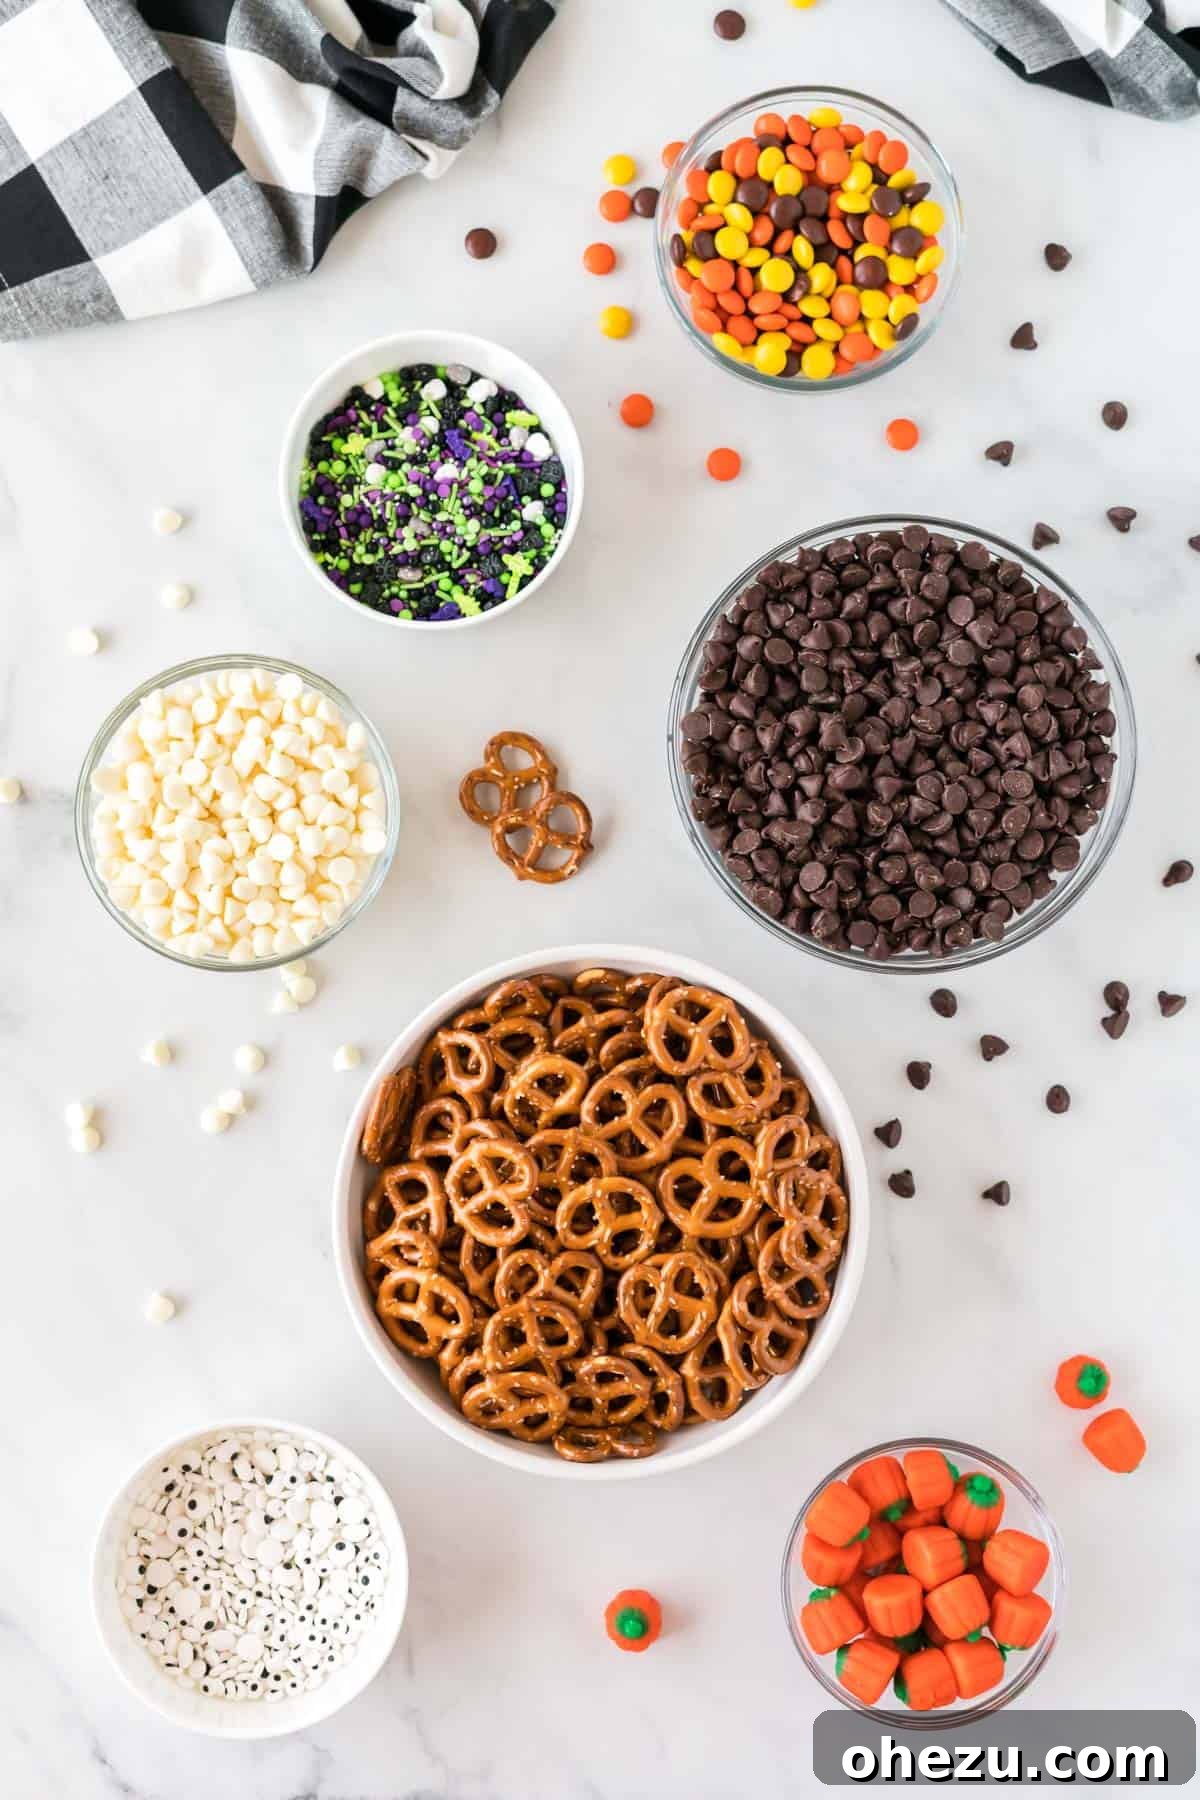
Crafting this enchanting Halloween bark requires just a few basic ingredients, most of which you likely already have in your pantry or can easily find at any grocery store. The beauty of bark recipes is their flexibility, allowing for endless customization with your preferred chocolate and toppings. Here’s a detailed look at what you’ll need:
- Semi-Sweet Chocolate Chips: These form the delicious foundation of your bark. Semi-sweet chocolate offers a balanced flavor that pairs wonderfully with the salty pretzels. You can also experiment with milk chocolate for a sweeter profile or dark chocolate for a more intense cocoa taste. Ensure you use good quality chocolate chips for the best melting consistency and flavor.
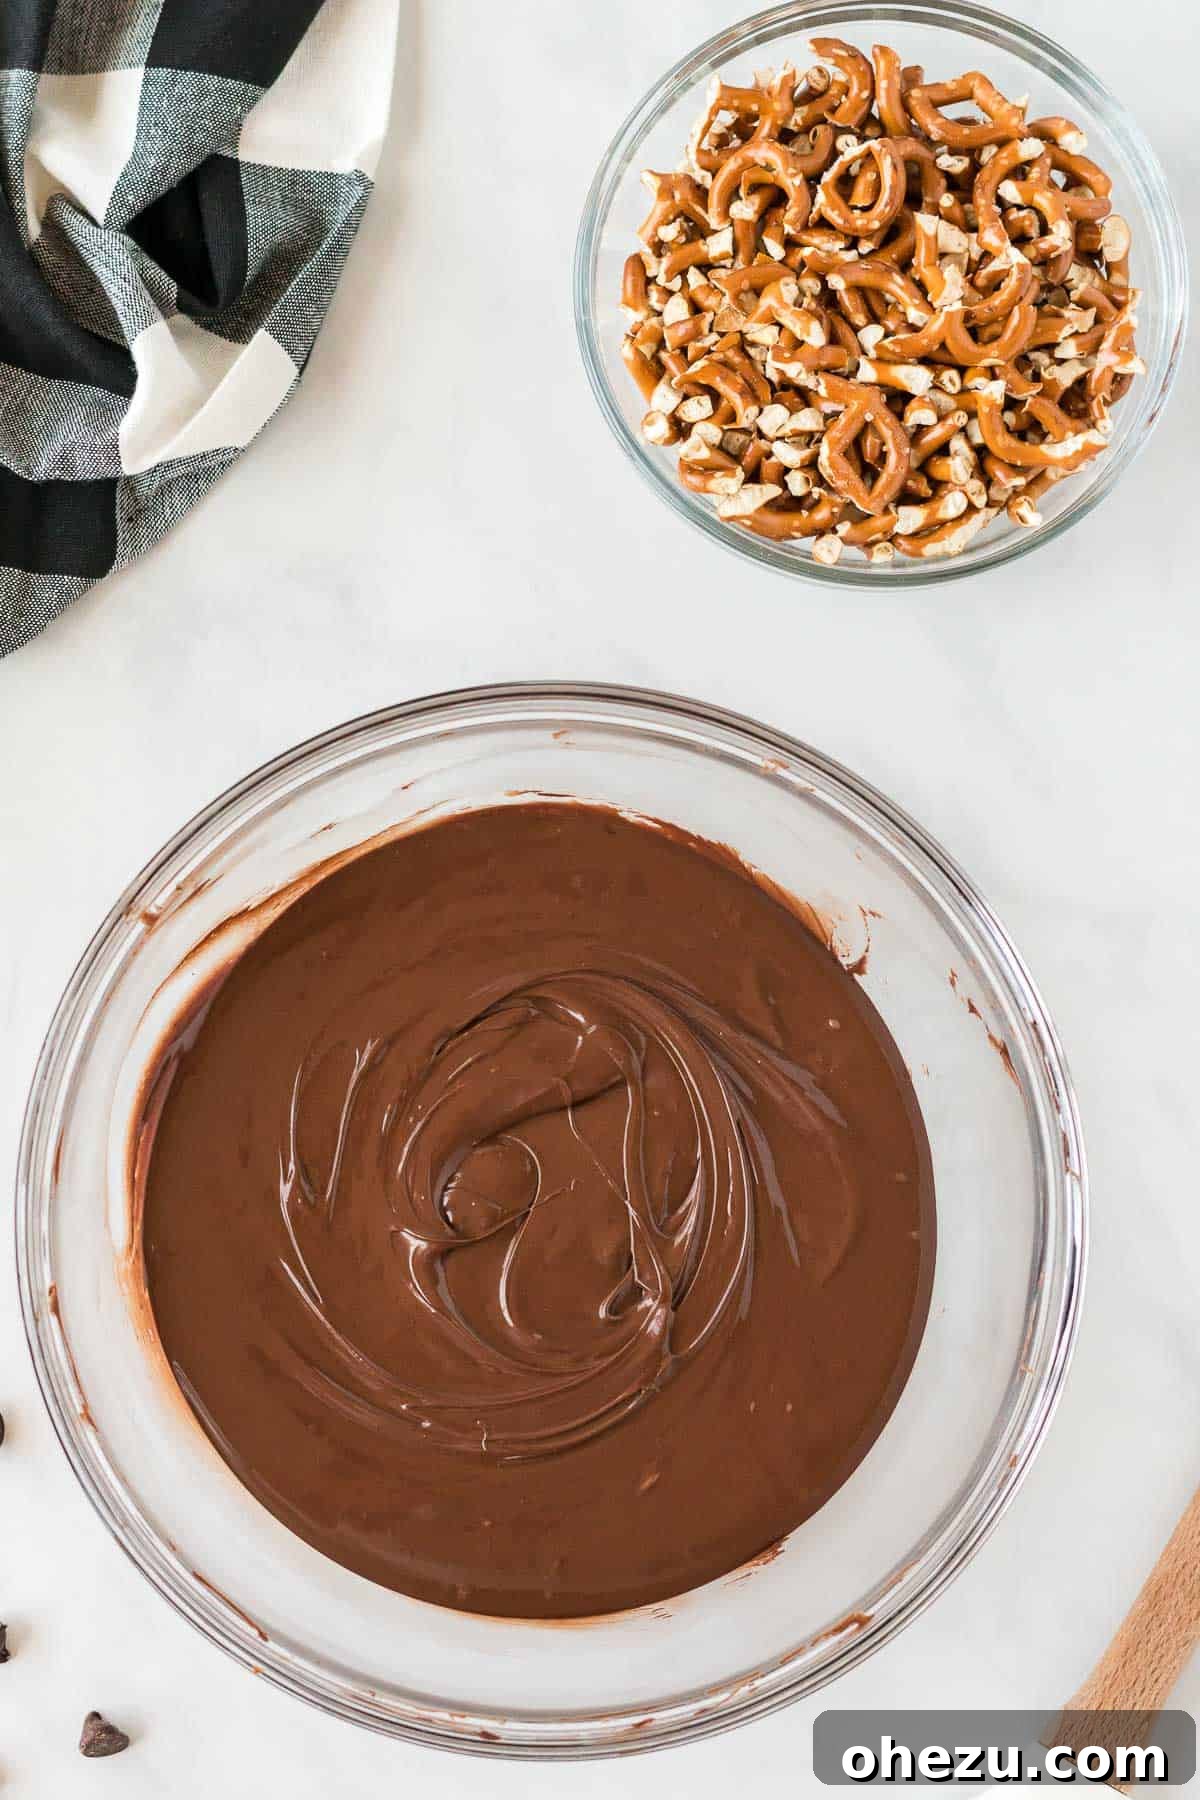
- Mini Pretzels: We’ll use these in two ways: some chopped for incorporating into the chocolate base, adding a delightful crunch, and whole mini pretzels to create those iconic mummy shapes on top. Their salty nature perfectly complements the sweetness of the chocolate.
- White Chocolate Chips: Essential for crafting the adorable pretzel mummies! White chocolate melts smoothly and provides a stark contrast against the darker chocolate base, making your mummies truly pop.
- Halloween Sprinkles: These instantly add a festive touch. Look for mixes with orange, black, purple, and green, or choose fun shapes like bats, ghosts, and pumpkins to enhance the spooky theme.
- Reese’s Pieces: The classic peanut butter and chocolate candy adds a burst of color and a beloved flavor combination to your bark.
- Candy Pumpkins: These iconic orange and white candies are a must-have for Halloween decorating, providing a cheerful and seasonal accent.
- Candy Eyeballs: Absolutely crucial for bringing your pretzel mummies to life! These small, edible eyes instantly add personality and a touch of playful spookiness to your treats.
Step-by-Step Guide: Crafting Your Delicious Halloween Pretzel Bark
Creating this festive Halloween bark is surprisingly straightforward. Follow these detailed steps to achieve a perfectly spooky and delicious treat that will impress everyone!
Step 1: Melt the Semi-Sweet Chocolate Chips to Perfection
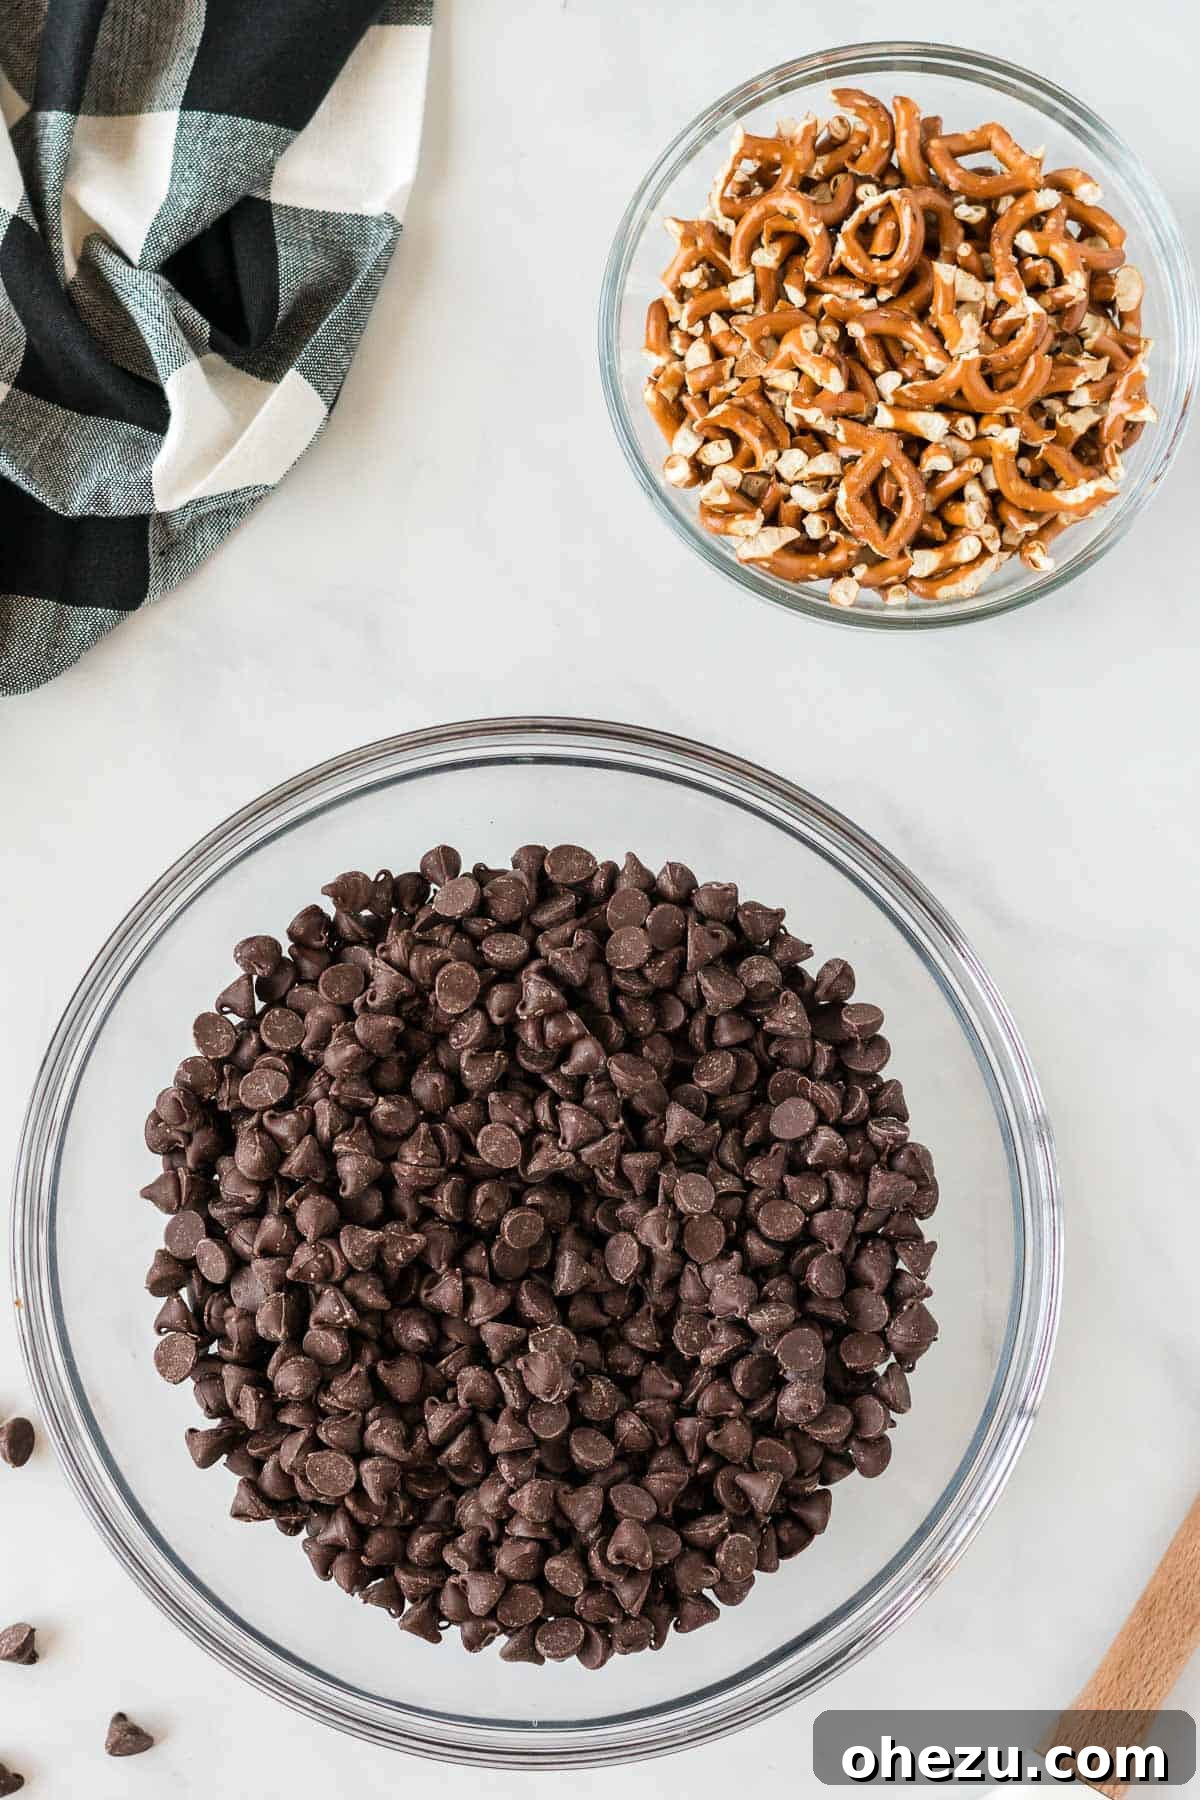
Begin by melting your semi-sweet chocolate chips until they are smooth and glossy. The easiest method is often in the microwave: place the chocolate chips in a microwave-safe bowl and heat in 20-30 second intervals, stirring well after each interval. This prevents the chocolate from burning or seizing. Continue heating and stirring until the chocolate is completely melted and has a smooth, pourable consistency. Alternatively, you can use the double boiler method: place the chocolate chips in a heatproof bowl set over a saucepan of simmering water (ensure the bottom of the bowl does not touch the water). Stir gently until the chocolate is fully melted and smooth. This method provides more gentle, even heat, reducing the risk of overheating.
Step 2: Incorporate Pretzels and Create Your Bark Base
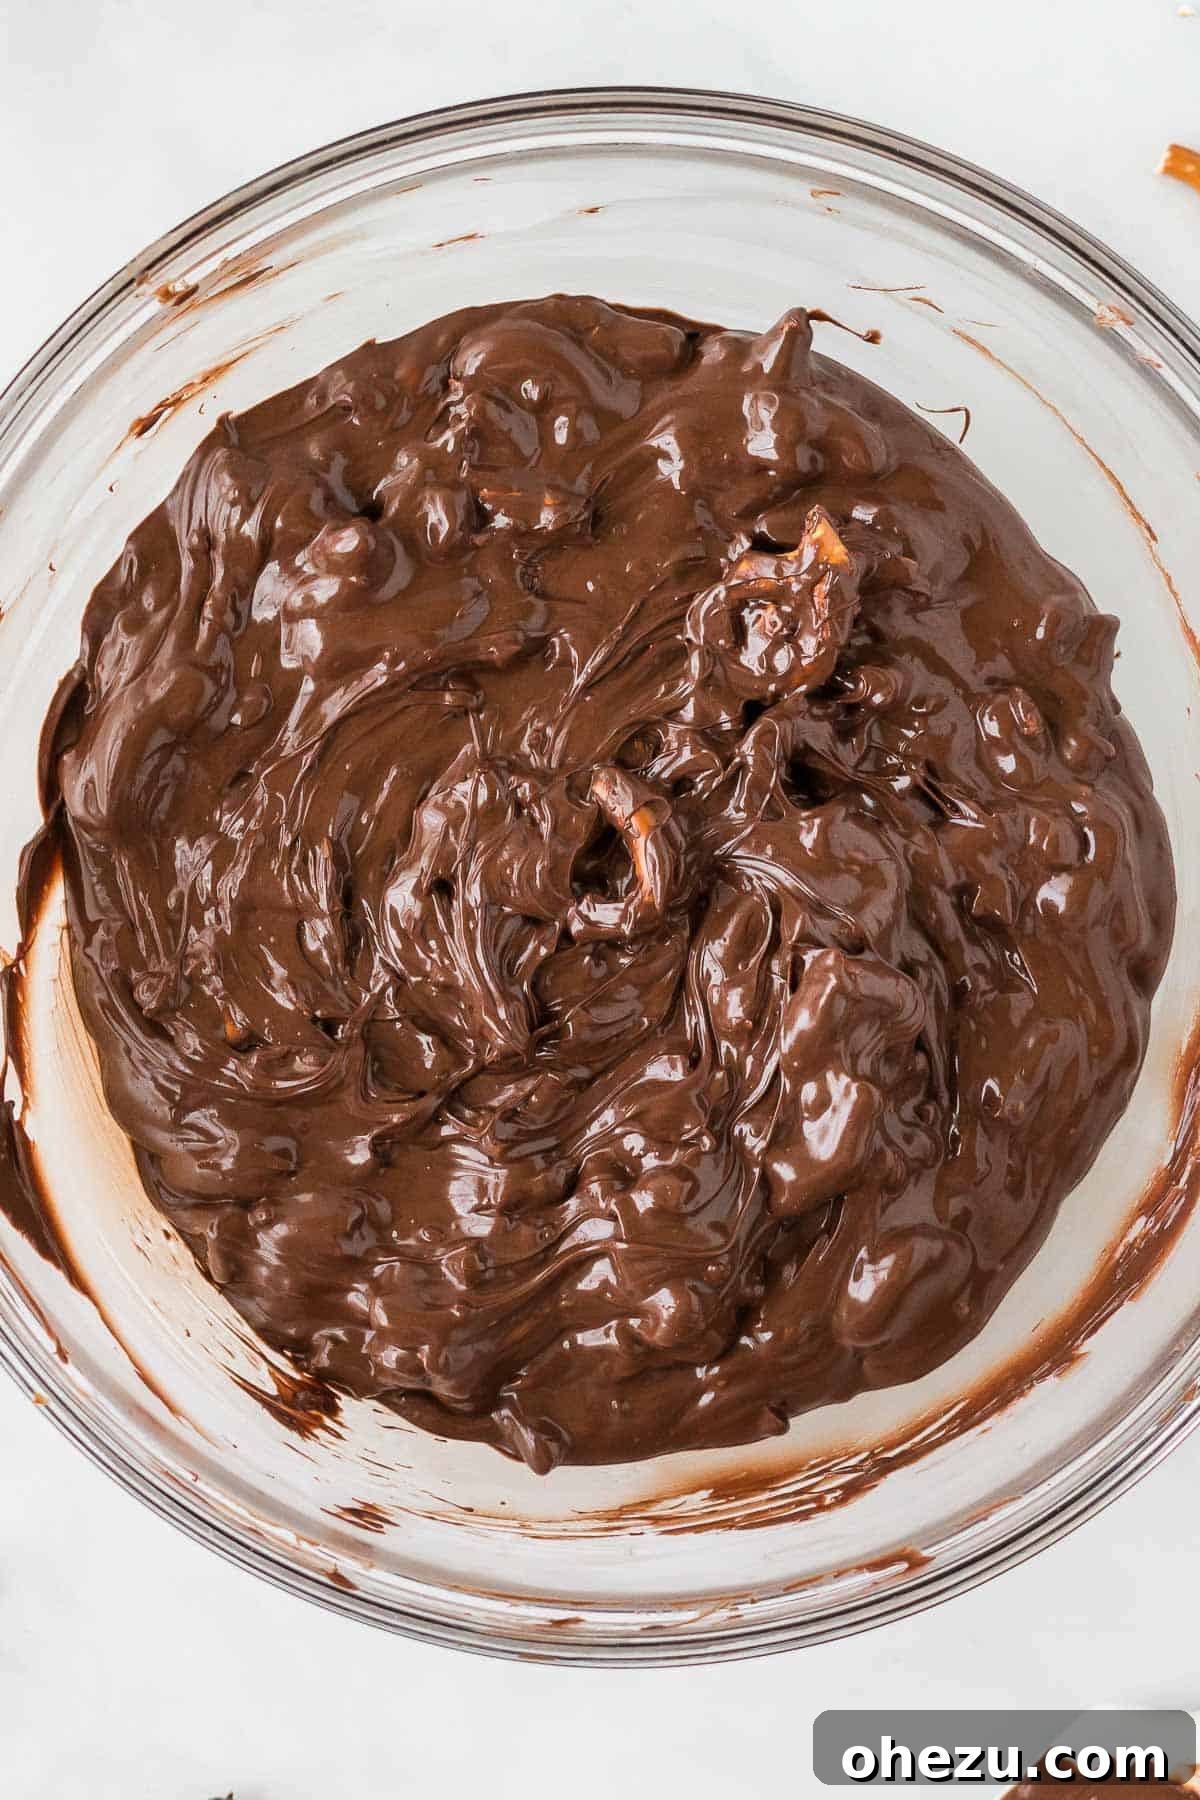
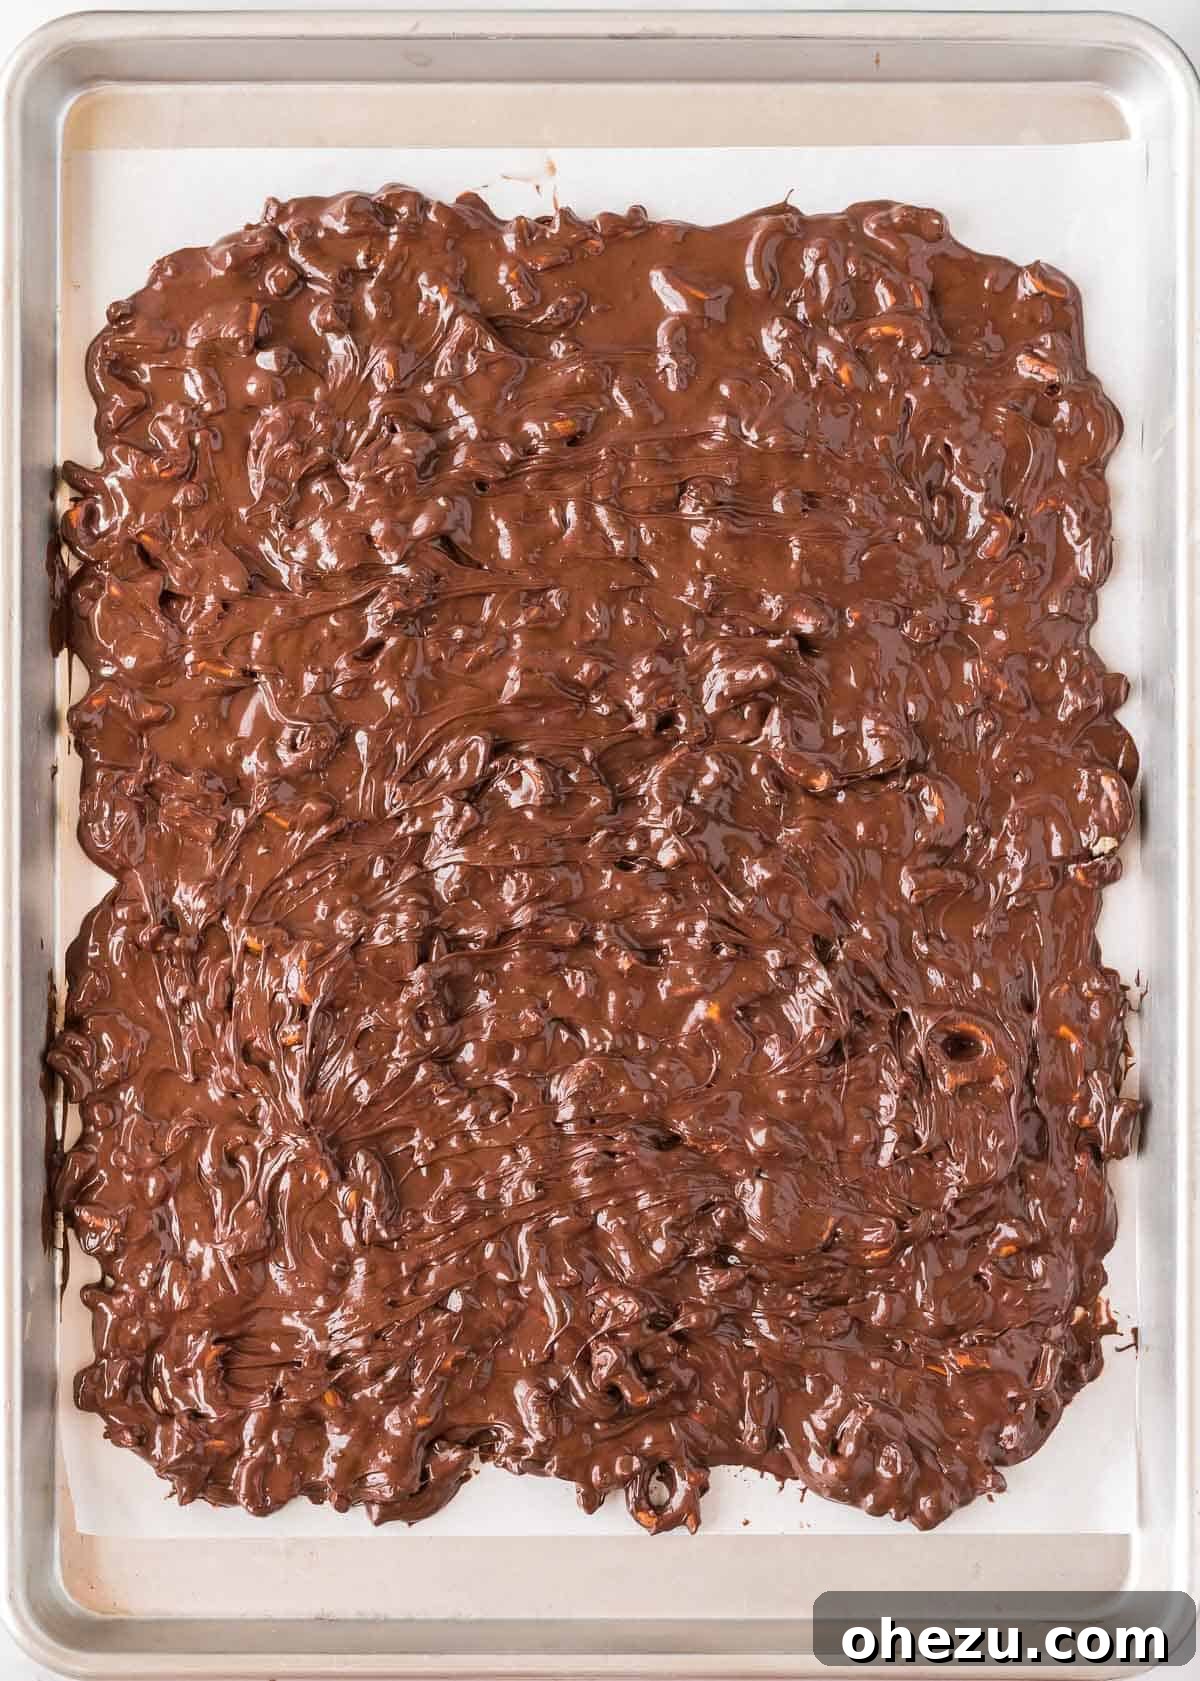
Once your chocolate is beautifully melted, stir in one cup of finely chopped mini pretzels. You can chop these by hand, pulse them briefly in a food processor, or place them in a resealable bag and crush them with a rolling pin. The goal is small pieces that will distribute evenly throughout the chocolate. Meanwhile, prepare a large baking sheet by lining it with parchment paper. This is crucial for easy removal of the hardened bark later. Pour the chocolate pretzel mixture onto the lined baking sheet. Using a rubber spatula or an offset spatula, spread the mixture out evenly into a rectangular shape, aiming for about 1/4 to 1/2 inch thickness. A consistent thickness ensures that the bark hardens evenly and breaks into neat pieces.
Step 3: Decorate with Spooky Toppings and Chill
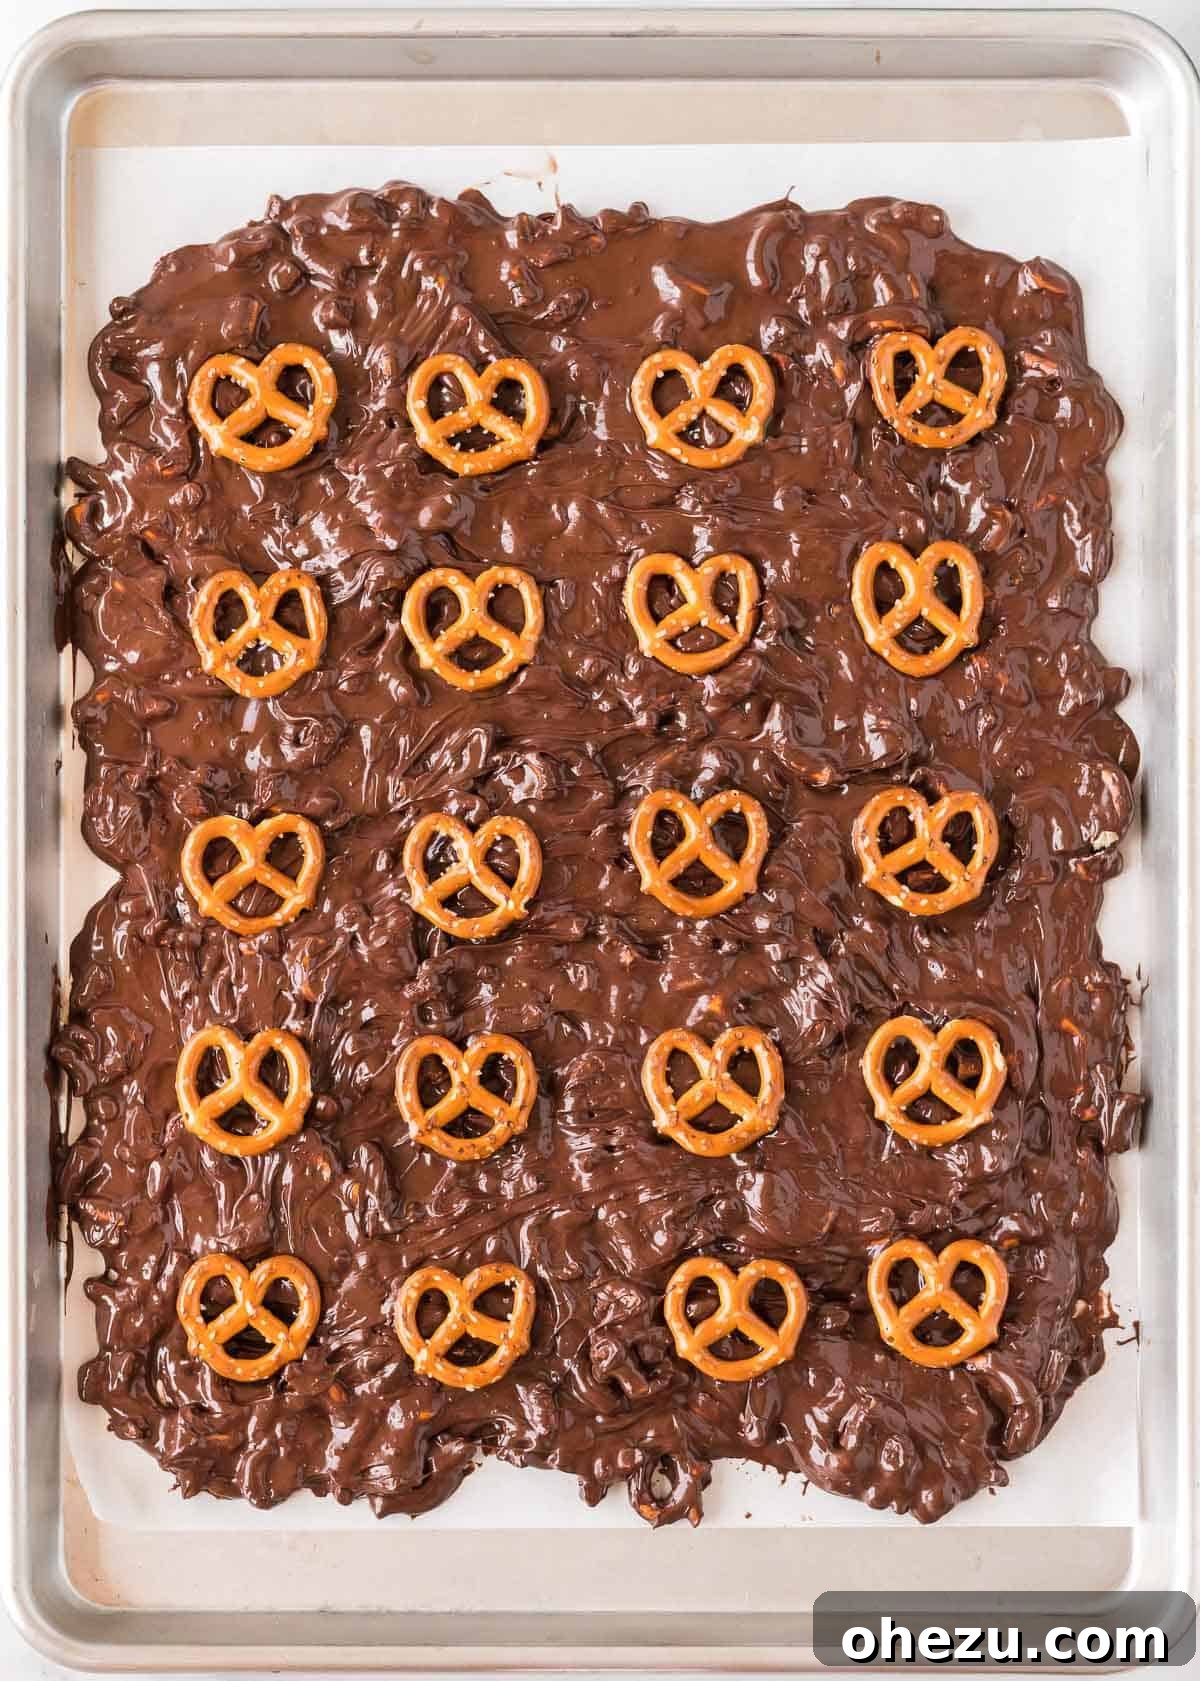
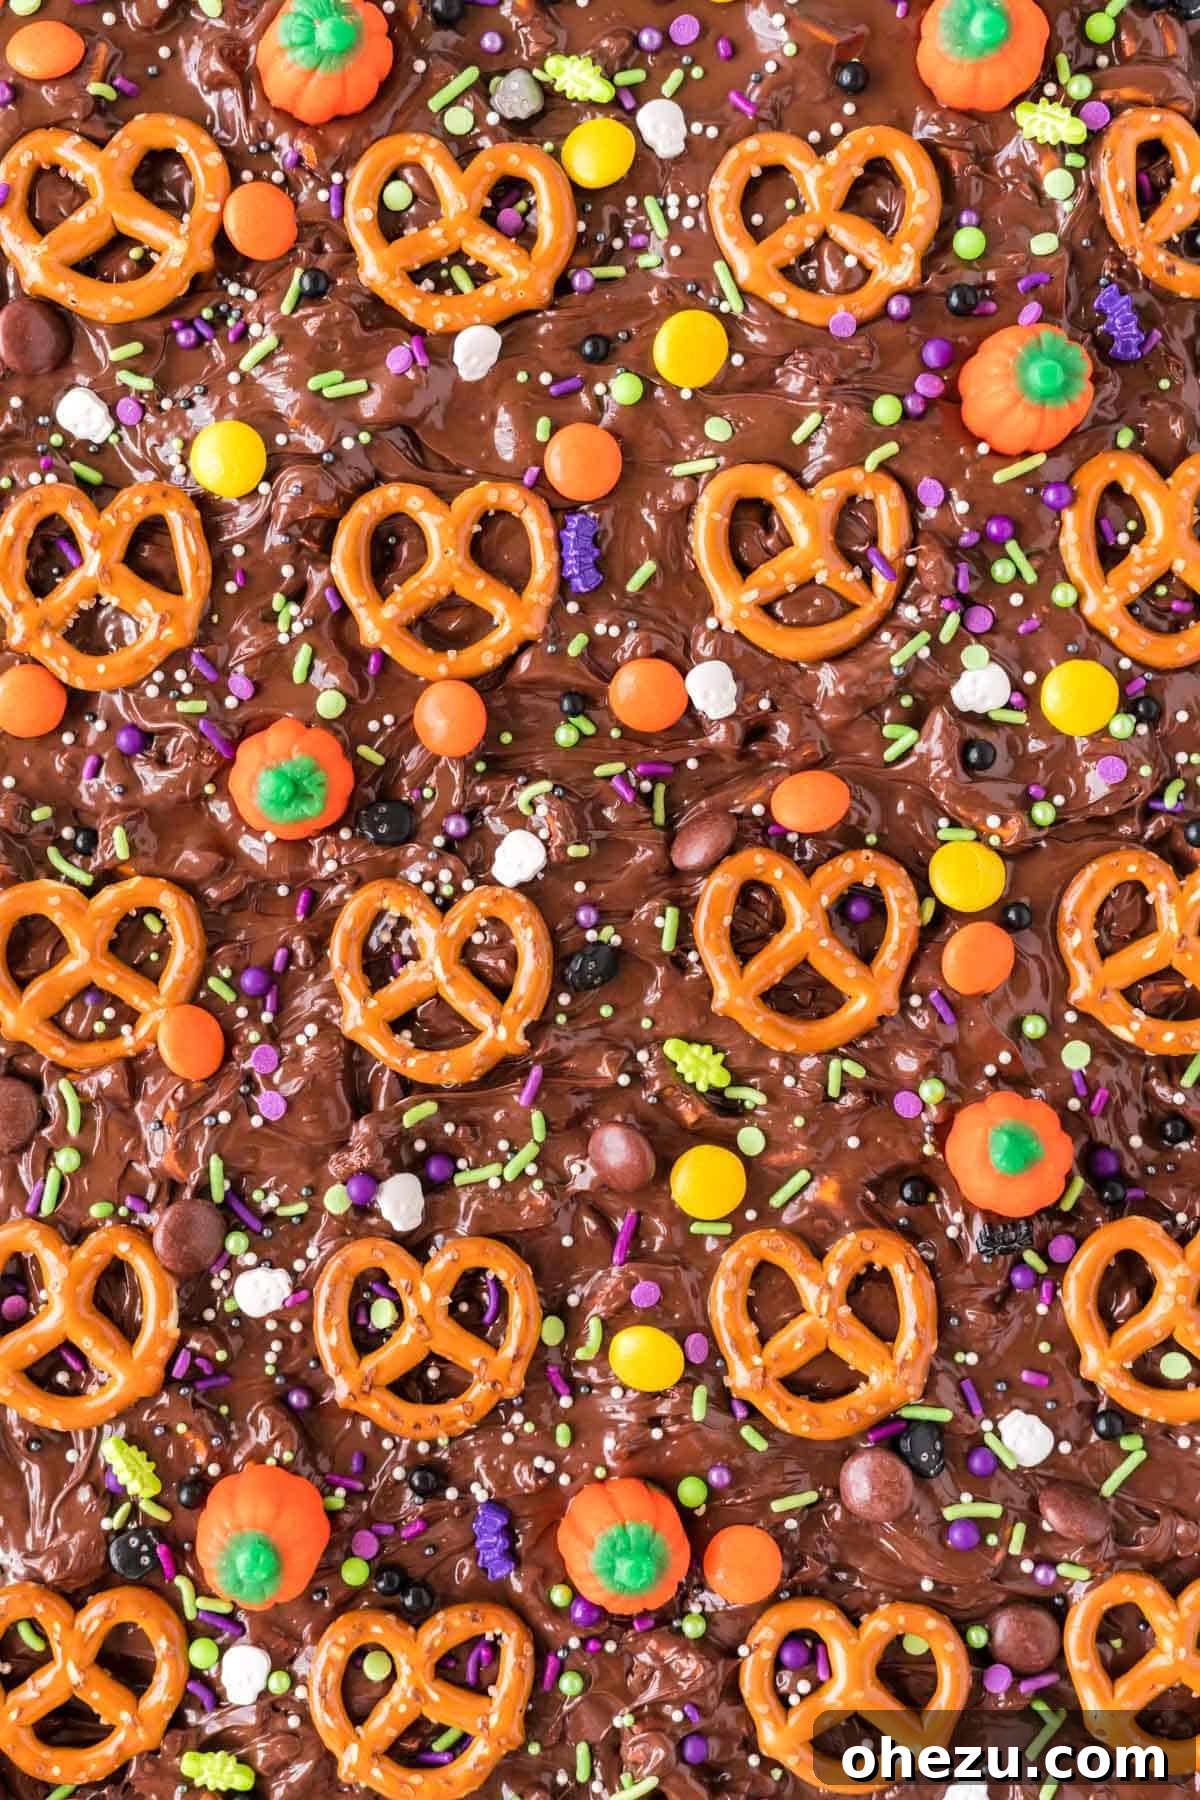
Now for the fun part – decorating! While the chocolate base is still wet and pliable, generously scatter whole mini pretzels across the surface. These will serve as the “bodies” for your white chocolate mummies. Next, add a vibrant burst of color with Halloween-themed sprinkles, mini pumpkin candies, and Reese’s Pieces. Work relatively quickly here, as chocolate begins to set at room temperature. Don’t be shy with your toppings; the more variety, the more visually appealing your bark will be. Other fantastic ideas include candy corn, crushed Oreos, M&M’s, chopped Kit Kat bars, or even gummy worms for a creepy-crawly effect. Once decorated, carefully transfer the baking sheet to the refrigerator to allow the chocolate to harden completely. This usually takes about 30-60 minutes.
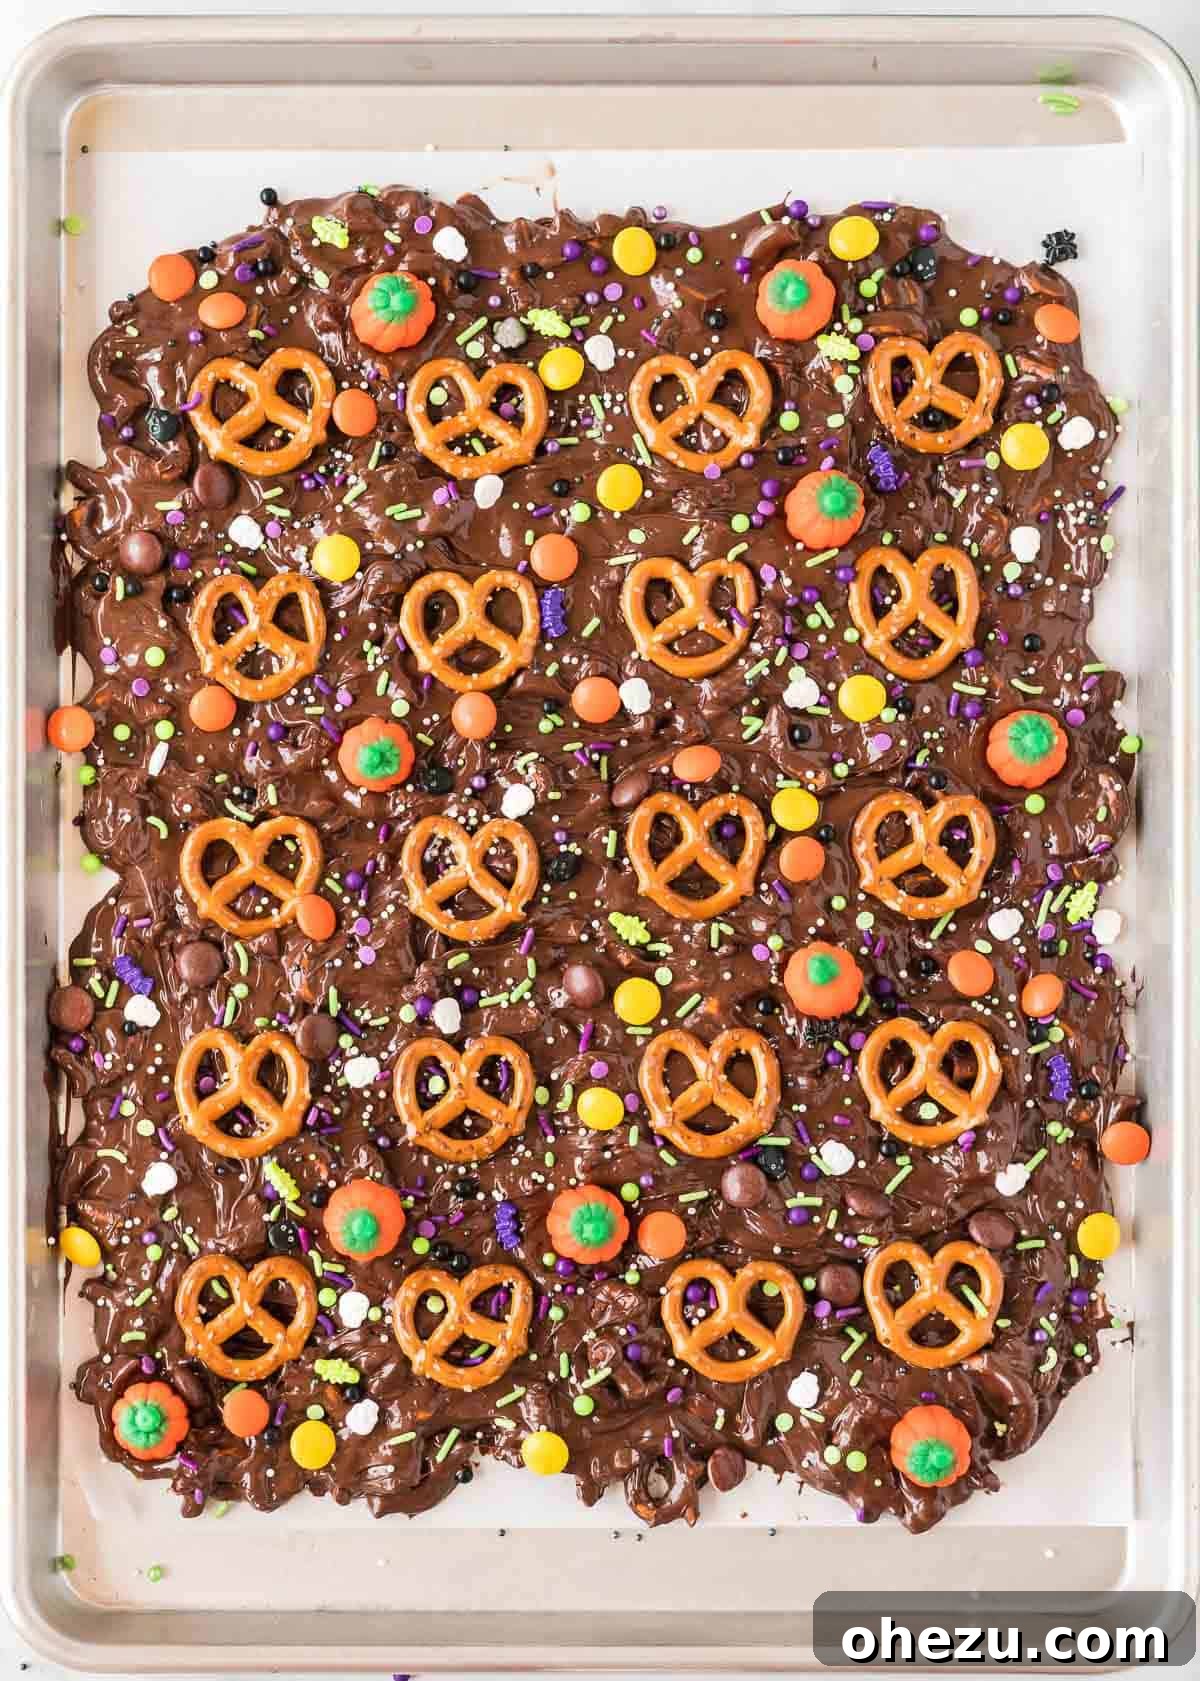
The beauty of this bark is how customizable it is! Feel free to let your imagination run wild. Candy corns, mini chocolate bars, M&M’s, crushed Oreos, or even gummy worms would all be fantastic additions to your spooky creation.
Step 4: Craft Your Adorable Pretzel Mummies
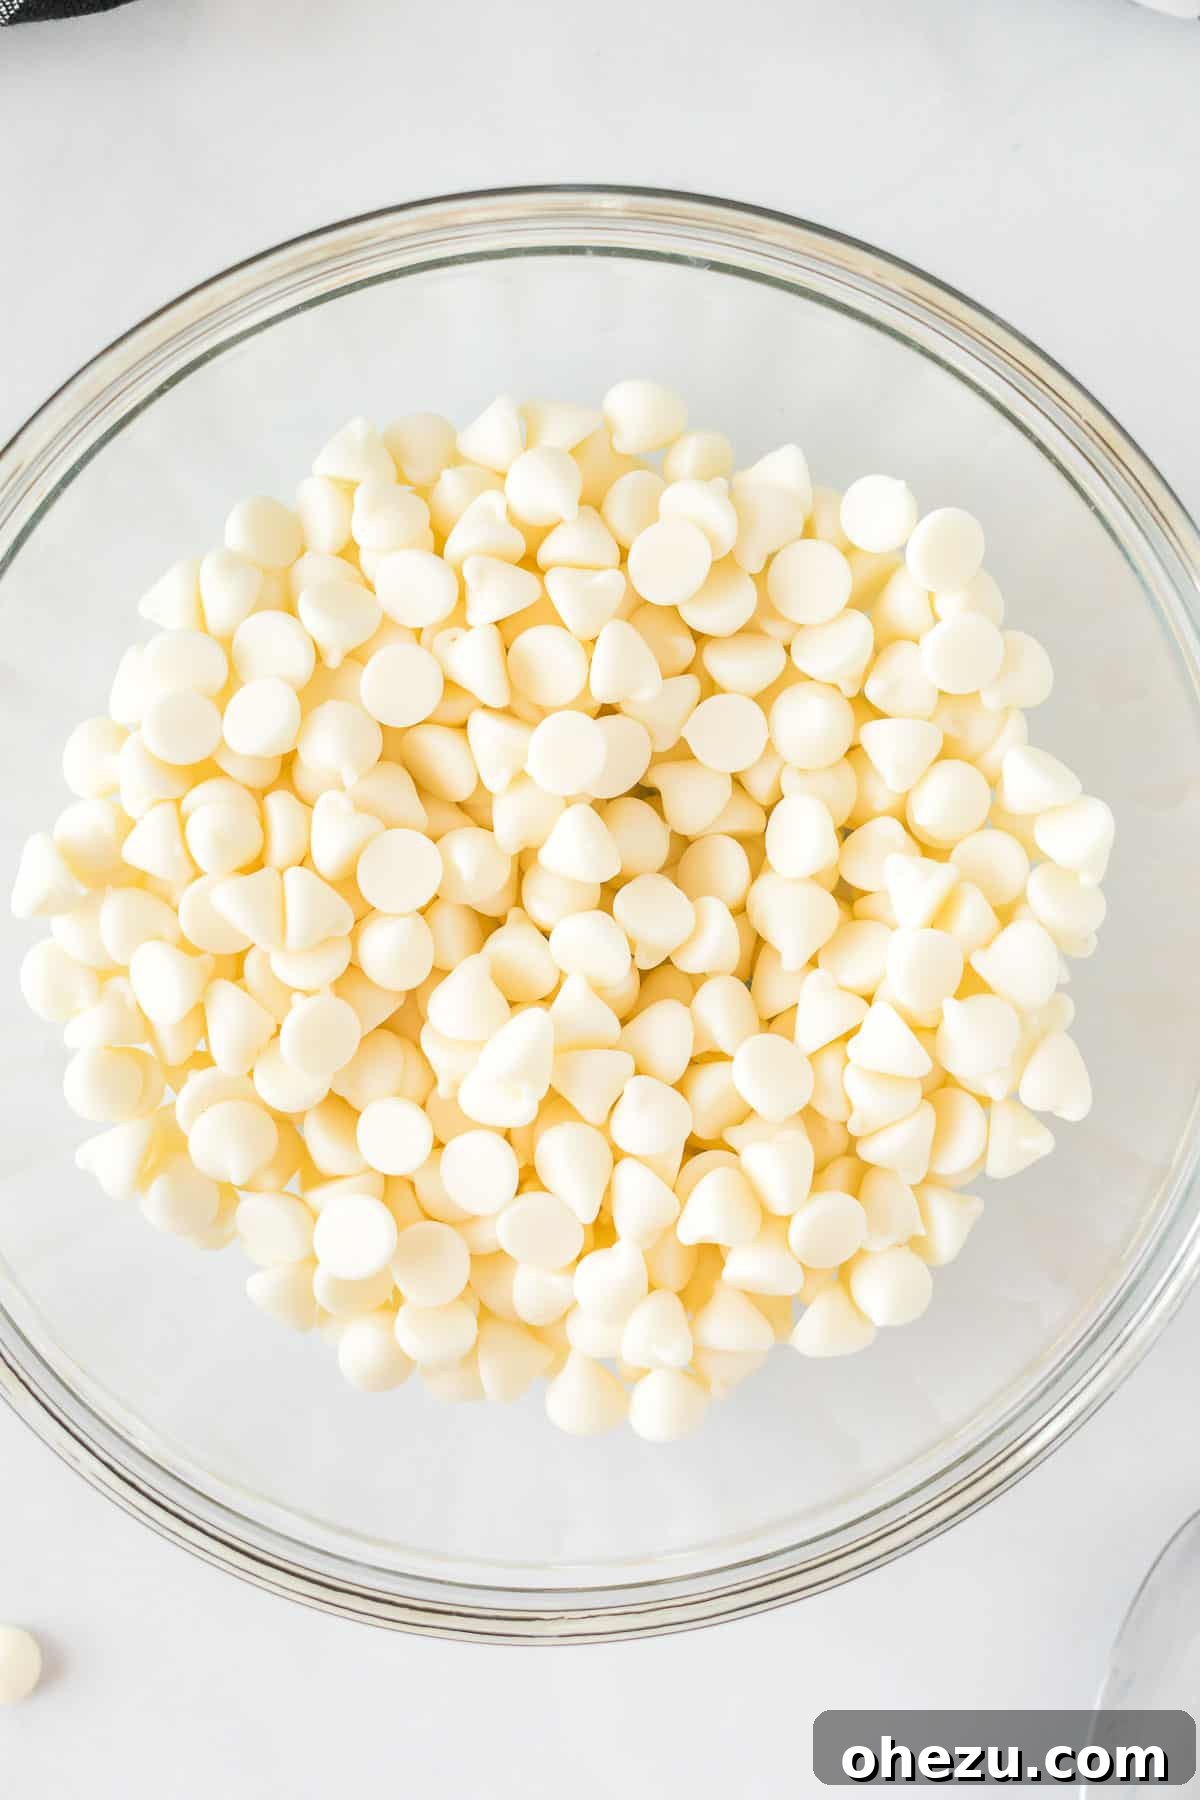
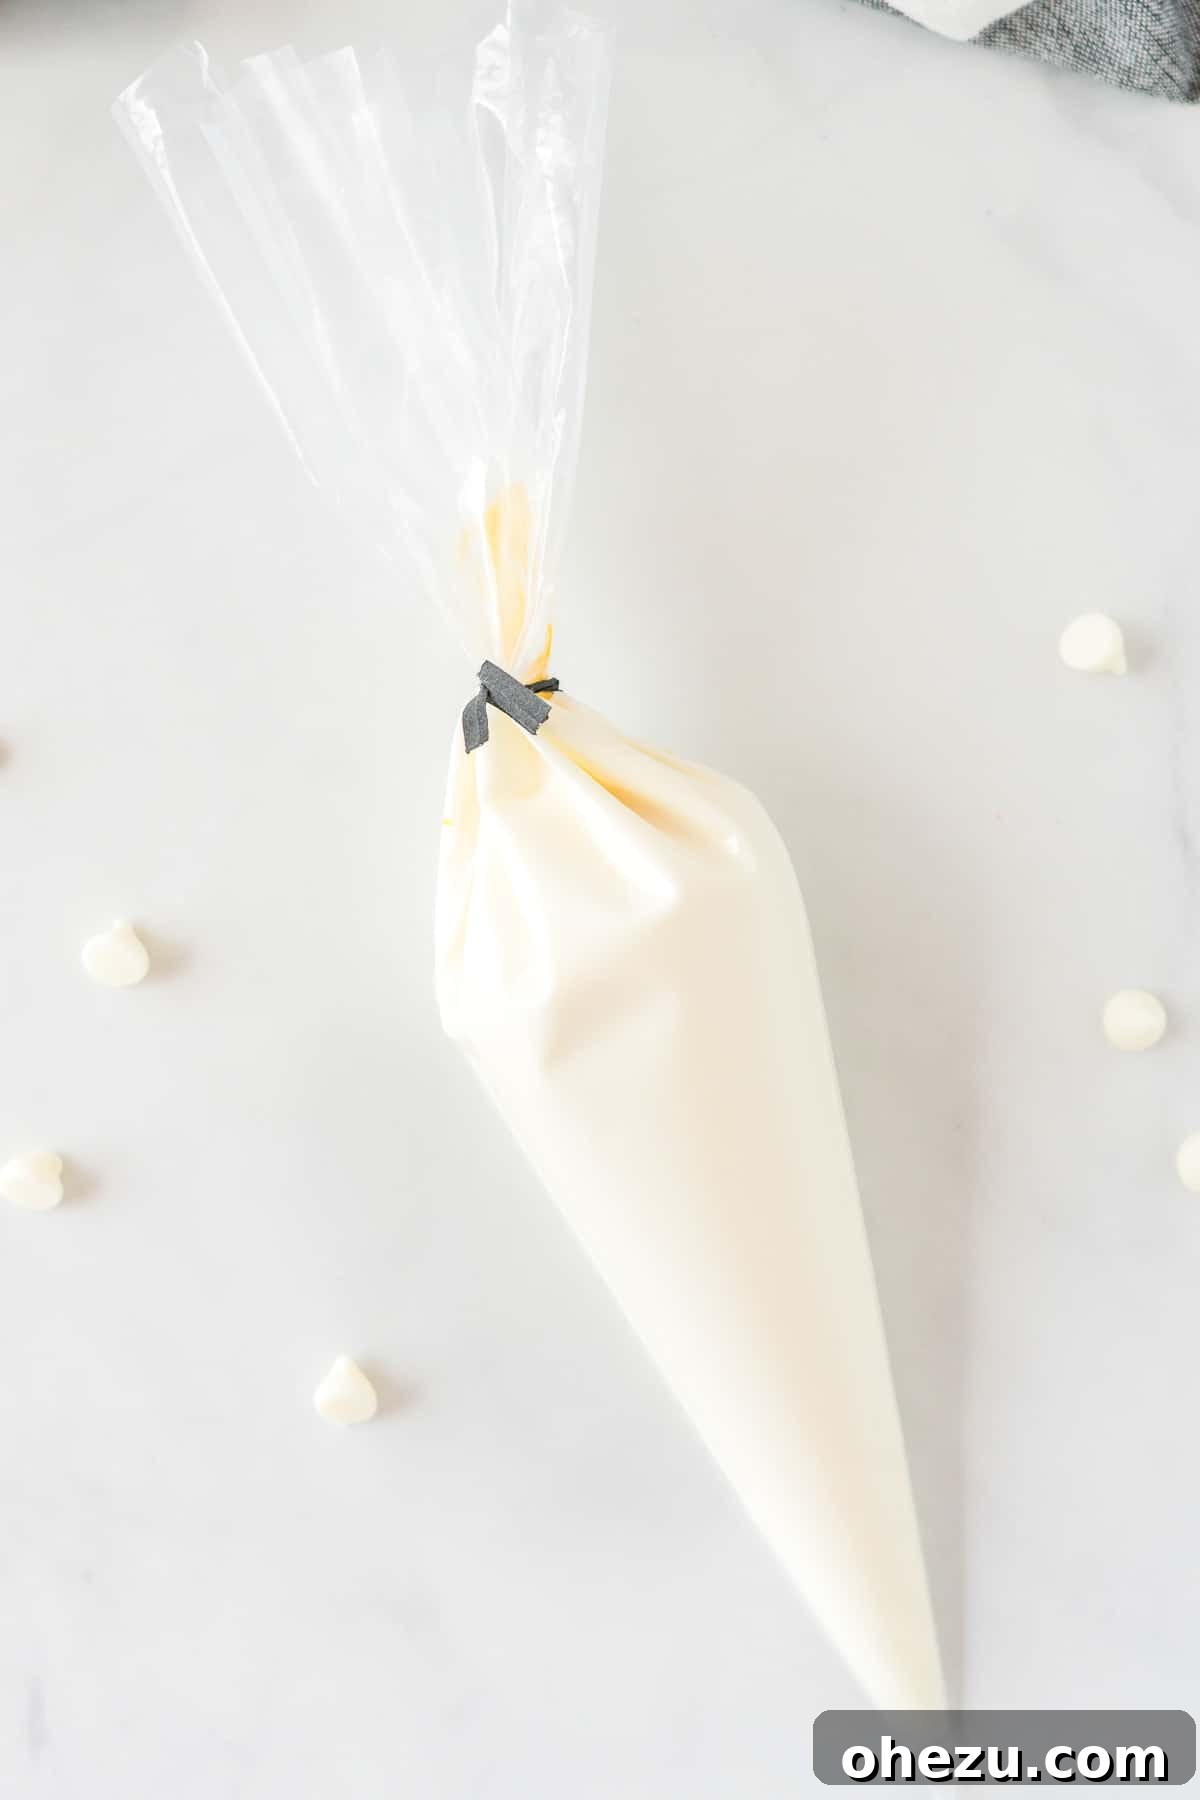
While your chocolate bark is chilling, it’s time to prepare the white chocolate for your pretzel mummies. Melt the white chocolate chips using the same method you used for the semi-sweet chocolate, ensuring it’s smooth and lump-free. Once melted, carefully spoon the white chocolate into a small ziploc bag. Snip off a tiny tip from one corner of the bag – the smaller the cut, the finer your drizzle will be, allowing for more intricate mummy wraps. Retrieve your partially hardened bark from the fridge. Drizzle the melted white chocolate haphazardly over each whole pretzel on the bark, creating a bandage-like effect reminiscent of a mummy. Immediately, while the white chocolate is still wet, press a candy eyeball or two onto each “mummy” pretzel. This step truly brings your spooky characters to life!
Step 5: Final Chill, Break, and Serve!
Once all your pretzel mummies are complete and adorned with their candy eyes, return the baking sheet with the bark to the refrigerator for a final chill. Allow it to harden completely, which could take another 20-30 minutes, or even longer for a very thick bark. A well-chilled bark will break cleanly. Once fully hardened, remove the bark from the parchment paper. You can then gently break it into irregular pieces of various sizes. Arrange the pieces on a festive Halloween platter or package them up for party favors. Serve this delightfully spooky treat and watch it disappear!
How to Store Your Spooky Halloween Bark to Keep it Fresh
Proper storage is key to maintaining the delicious crunch and freshness of your Halloween candy bark. Because of its chocolate and candy components, this treat holds up best in cooler temperatures.
For optimal freshness, I highly recommend storing your Halloween bark in an airtight container or a heavy-duty ziploc bag. You can keep it in the refrigerator for up to two weeks. The cold environment will keep the chocolate firm and prevent it from melting or becoming sticky.
If you want to prepare your bark well in advance or keep it fresh for an extended period, the freezer is your best friend. Stored in a freezer-safe airtight bag or container, the Halloween bark can last for up to two months. When you’re ready to enjoy it, simply remove it from the freezer and let it sit at room temperature for a few minutes before serving. The pretzels may lose a tiny bit of their crispness compared to freshly made, but the flavor will remain fantastic. Avoid storing at room temperature for too long, especially in warmer climates, as the chocolate can soften and the candy might become tacky.
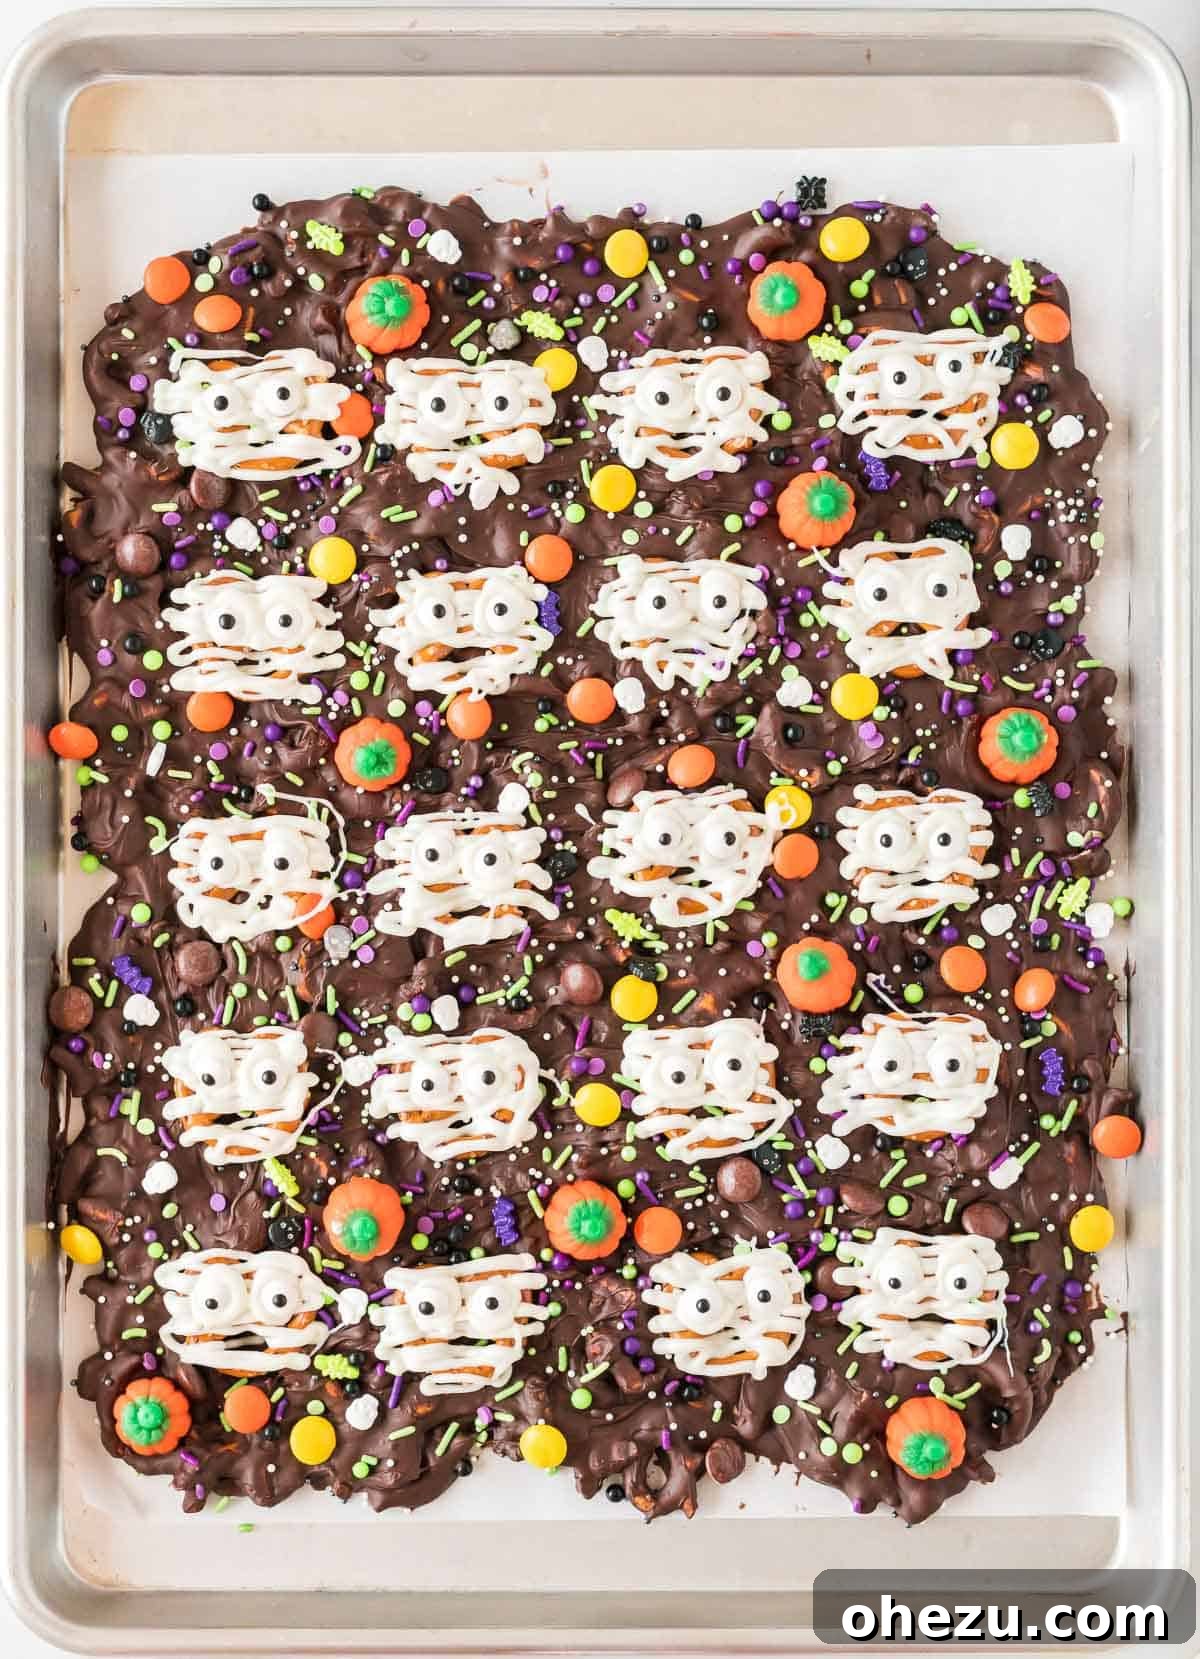
There’s something truly magical about the interplay of salty sweetness that pretzels and chocolate bring together. And can we talk about how adorably spooky those pretzel mummies are? Each piece of bark is a little work of art, bursting with flavor and visual appeal.
This is such a fantastically fun Halloween treat that goes beyond just taste. It’s an experience! Kids will absolutely adore making this for a Halloween party, creating edible gifts for friends, or simply packing a piece in their lunchbox for a special school treat. It’s a memory-making activity disguised as a delicious dessert.
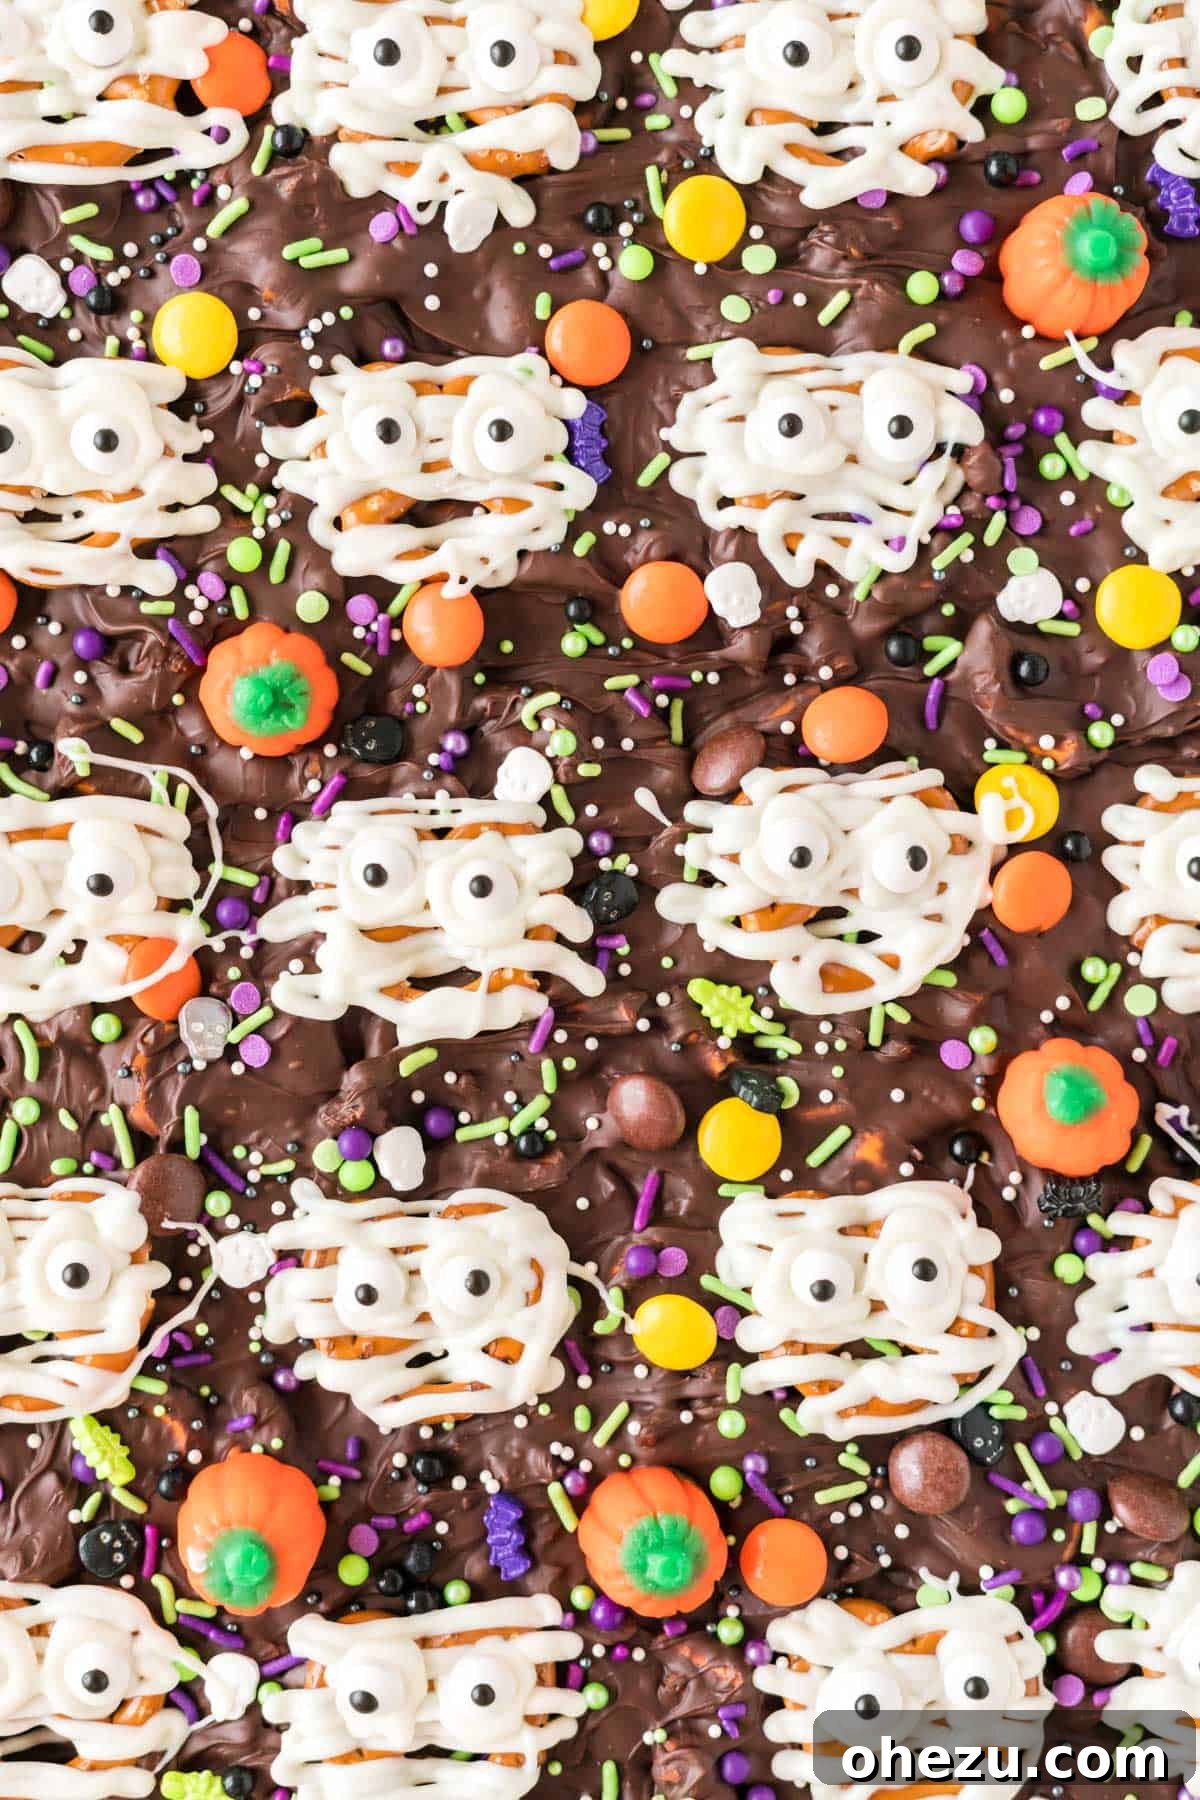
This recipe is a wonderfully creative way to dress up classic pretzel bark, transforming it into a festive masterpiece specifically for the spooky season. If you’re a big fan of the pretzel-chocolate combination, be sure to also check out these delightful chocolate caramel pretzel bars for another irresistible treat!
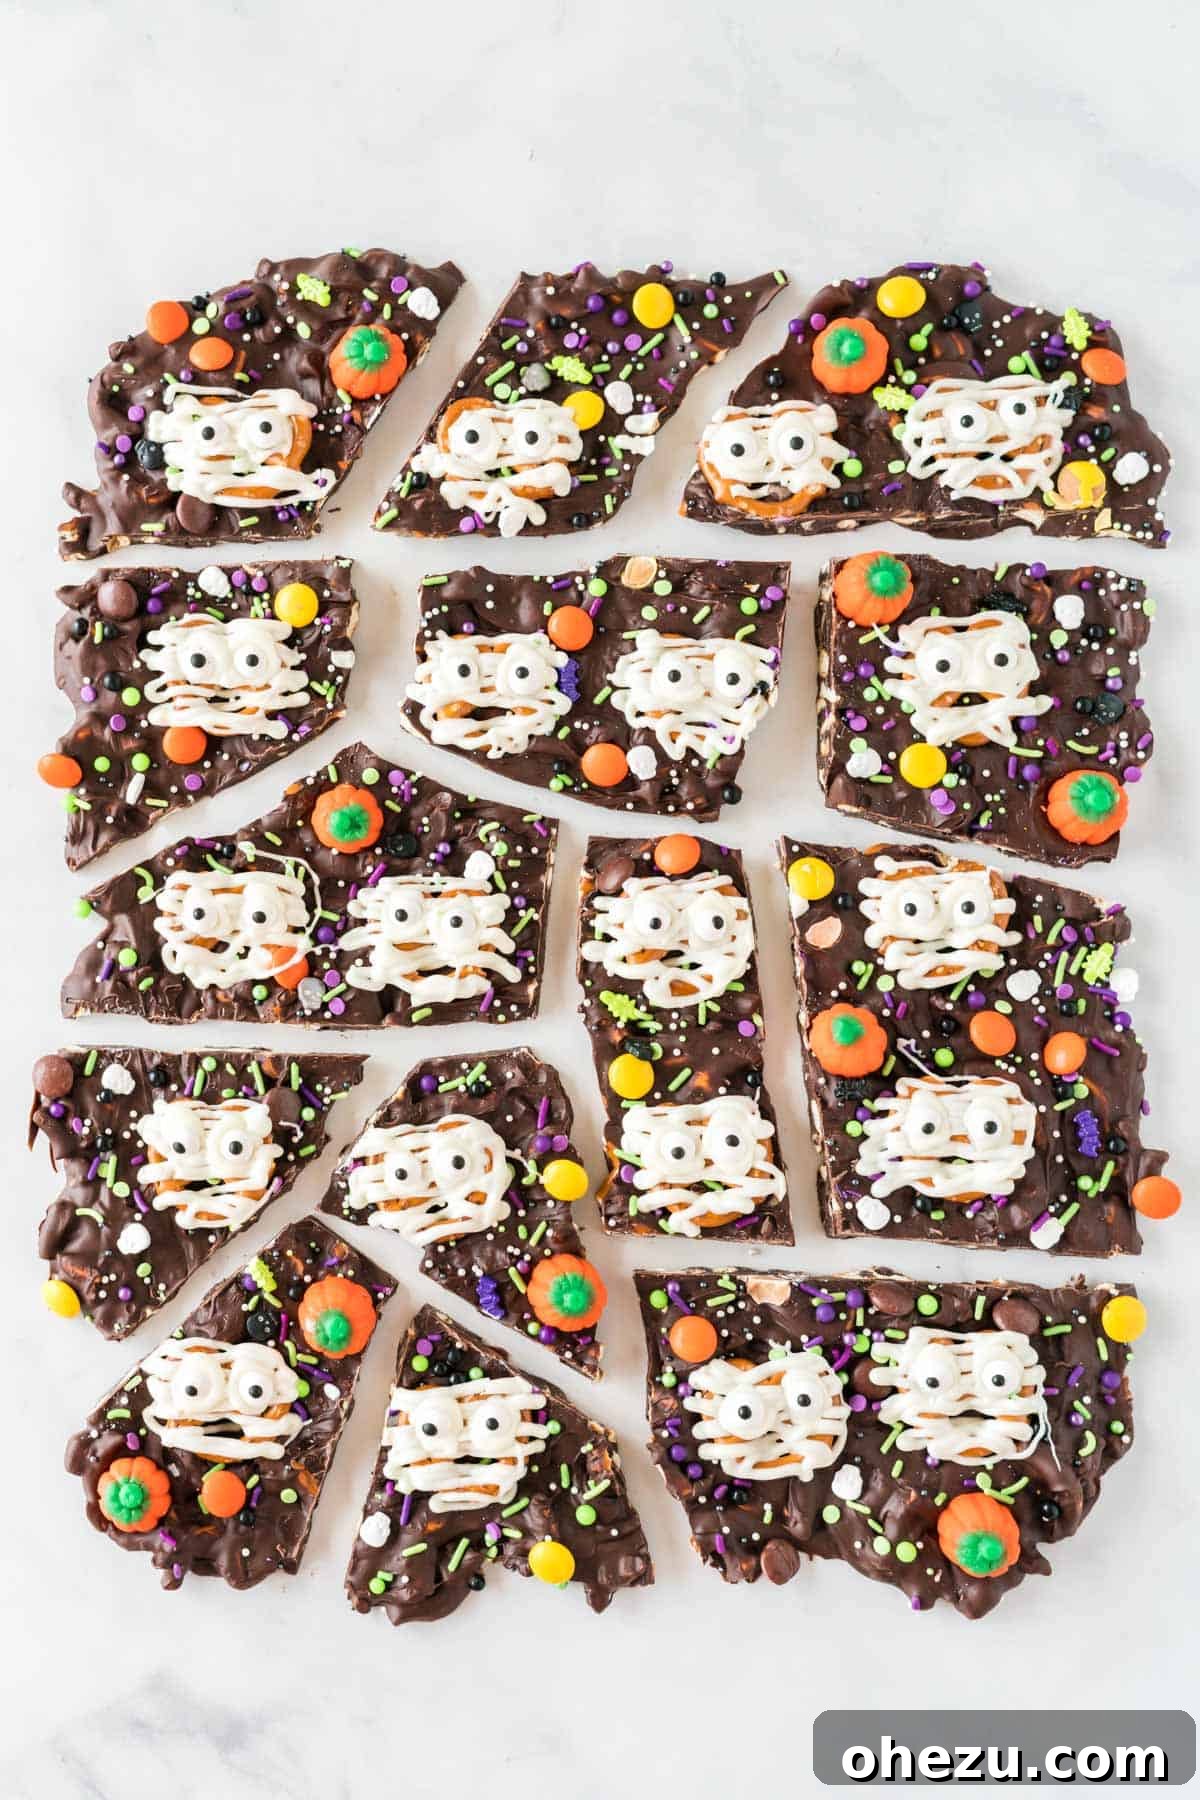
I genuinely can’t wait to make this again for Halloween celebrations this year. It’s a guaranteed crowd-pleaser and brings so much joy to the holiday!
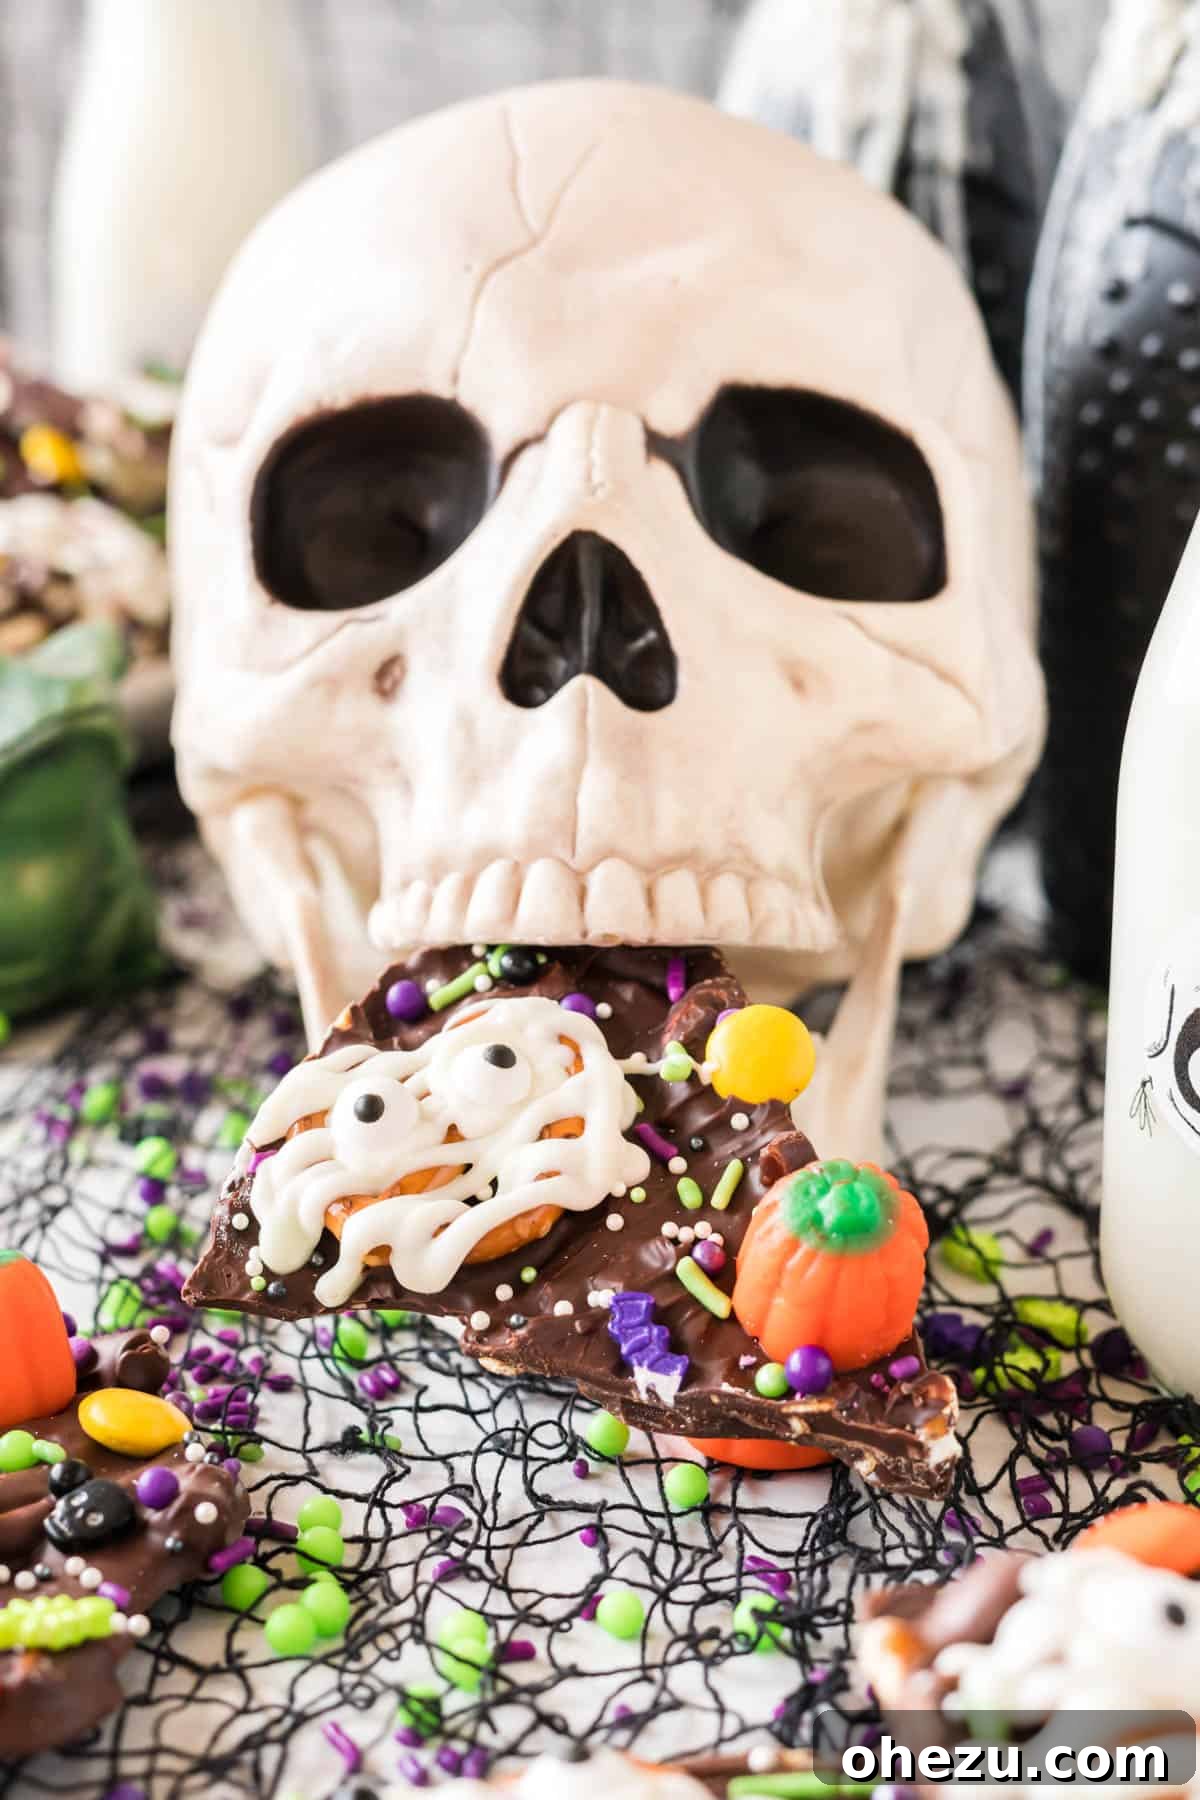
Tips for Success with Halloween Bark
- Don’t Overheat Your Chocolate: Whether using the microwave or double boiler, melt chocolate slowly and stir frequently. Overheated chocolate can seize or become grainy, making it difficult to work with.
- Work Quickly with Toppings: Have all your decorations ready to go before you spread the chocolate. Once the chocolate is on the parchment paper, it will start to set, especially if your kitchen is cool.
- Chill Thoroughly: Patience is a virtue when making bark. Ensure the bark is completely hardened before breaking it. This results in cleaner breaks and less mess. If it’s too soft, the pieces will be messy and difficult to handle.
- Piping Bag Alternative: If you don’t have a ziploc bag for drizzling white chocolate, a small spoon can work, though it might be less precise. You could also make a makeshift piping bag out of parchment paper.
- Customize to Your Heart’s Content: Don’t feel limited by the suggested toppings. Use whatever candies or edible decorations you love or have on hand. Mini marshmallows, sprinkles of different colors, or even edible glitter can add extra flair.
- Consider Thickness: For easier breaking and a satisfying crunch, aim for a bark thickness of about 1/4 to 1/2 inch. Thicker bark will be harder to break and might feel too dense.
Frequently Asked Questions (FAQ) About Halloween Bark
Got questions about making the perfect Halloween bark? We’ve got answers!
Can I use different types of chocolate for the base?
Absolutely! While semi-sweet is recommended for a balanced flavor, you can easily substitute milk chocolate for a sweeter bark or dark chocolate for a more intense, slightly bitter contrast. You can even use colored candy melts (orange, green, purple) to create a vibrant base layer, or swirl multiple colors together for a tie-dye effect.
How thick should I spread the bark?
For the best texture and ease of breaking, aim for a thickness between 1/4 to 1/2 inch. If it’s too thin, it might be overly brittle; too thick, and it can be hard to break and chew.
How long does Halloween bark last, and what’s the best way to store it?
When stored in an airtight container in the refrigerator, Halloween bark can last for up to 2 weeks. For longer storage, you can freeze it in an airtight bag or container for up to 2 months. Make sure it’s completely cooled and hardened before storing to prevent condensation.
Can I make this recipe dairy-free or gluten-free?
Yes, with a few substitutions! For dairy-free, use dairy-free chocolate chips and ensure your chosen candies are also dairy-free. For gluten-free, simply use certified gluten-free pretzels. Many brands offer excellent gluten-free pretzel options that work perfectly in this recipe.
What kind of pretzels are best for the mummy pretzels?
Mini twist pretzels work best for the mummy design, as their shape is ideal for drizzling white chocolate to create the “bandages.” You can also use small pretzel sticks or even mini pretzel bites for variety, adapting the mummy design as needed.
Can kids really help make this recipe?
This recipe is incredibly kid-friendly! Children can help with crushing pretzels (in a bag with a rolling pin), stirring the melted chocolate (with adult supervision), and, most excitingly, decorating the bark with all the fun candies and sprinkles. Drizzling the white chocolate for the mummies can also be a fun task for older children.
Explore More Spooky Halloween Treats
If you’re looking for more fun and festive ideas to make your Halloween celebration extra special, check out these other delightful recipes:
- Halloween Oreo Balls
- Oreo Spiders
- Strawberry Ghosts
- Halloween Crack
Halloween Bark Recipe
By: Joy Shull
This easy Halloween bark with white chocolate pretzel mummies is so fun to make! A spooky dessert to make this October.
Prep Time: 15 mins
Additional Time: 1 hr
Total Time: 1 hr 15 mins
Servings: 15
Ingredients
For the Bark Base
- 1 cup chopped up mini pretzels
- 20 oz semi-sweet chocolate chips
- 1 cup white chocolate chips (for mummies)
For Topping and Decoration
- Mini pretzels (whole)
- Reese’s pieces
- Halloween sprinkles
- Candy pumpkins
- Candy eyeballs
Instructions
- Melt the semi-sweet chocolate chips until smooth.
- Stir one cup of chopped up mini pretzels into the melted chocolate.
- Line a baking sheet with parchment paper.
- Spread the chocolate pretzel mixture out into a rectangular shape on the parchment paper using a rubber spatula.
- Decorate the Halloween bark with whole mini pretzels, Halloween sprinkles, mini pumpkins, and Reese’s pieces.
- Place the Halloween bark in the fridge to harden.
- Melt the white chocolate until smooth, then place in a ziploc bag and cut off a tiny tip on one end.
- Drizzle white chocolate over the whole pretzels on top of the bark to look like a mummy. Top each white chocolate drizzled pretzel mummy with candy eyeballs immediately.
- Place the chocolate bark in the fridge again until completely hardened.
- Break into pieces and serve. Store any leftovers in an airtight ziploc bag in the freezer for best freshness.
Nutrition
Calories: 366kcal, Carbohydrates: 42g, Protein: 4g, Fat: 20g, Saturated Fat: 12g, Polyunsaturated Fat: 1g, Monounsaturated Fat: 6g, Trans Fat: 0.04g, Cholesterol: 5mg, Sodium: 140mg, Potassium: 279mg, Fiber: 4g, Sugar: 29g, Vitamin A: 29IU, Vitamin C: 0.3mg, Calcium: 55mg, Iron: 3mg