
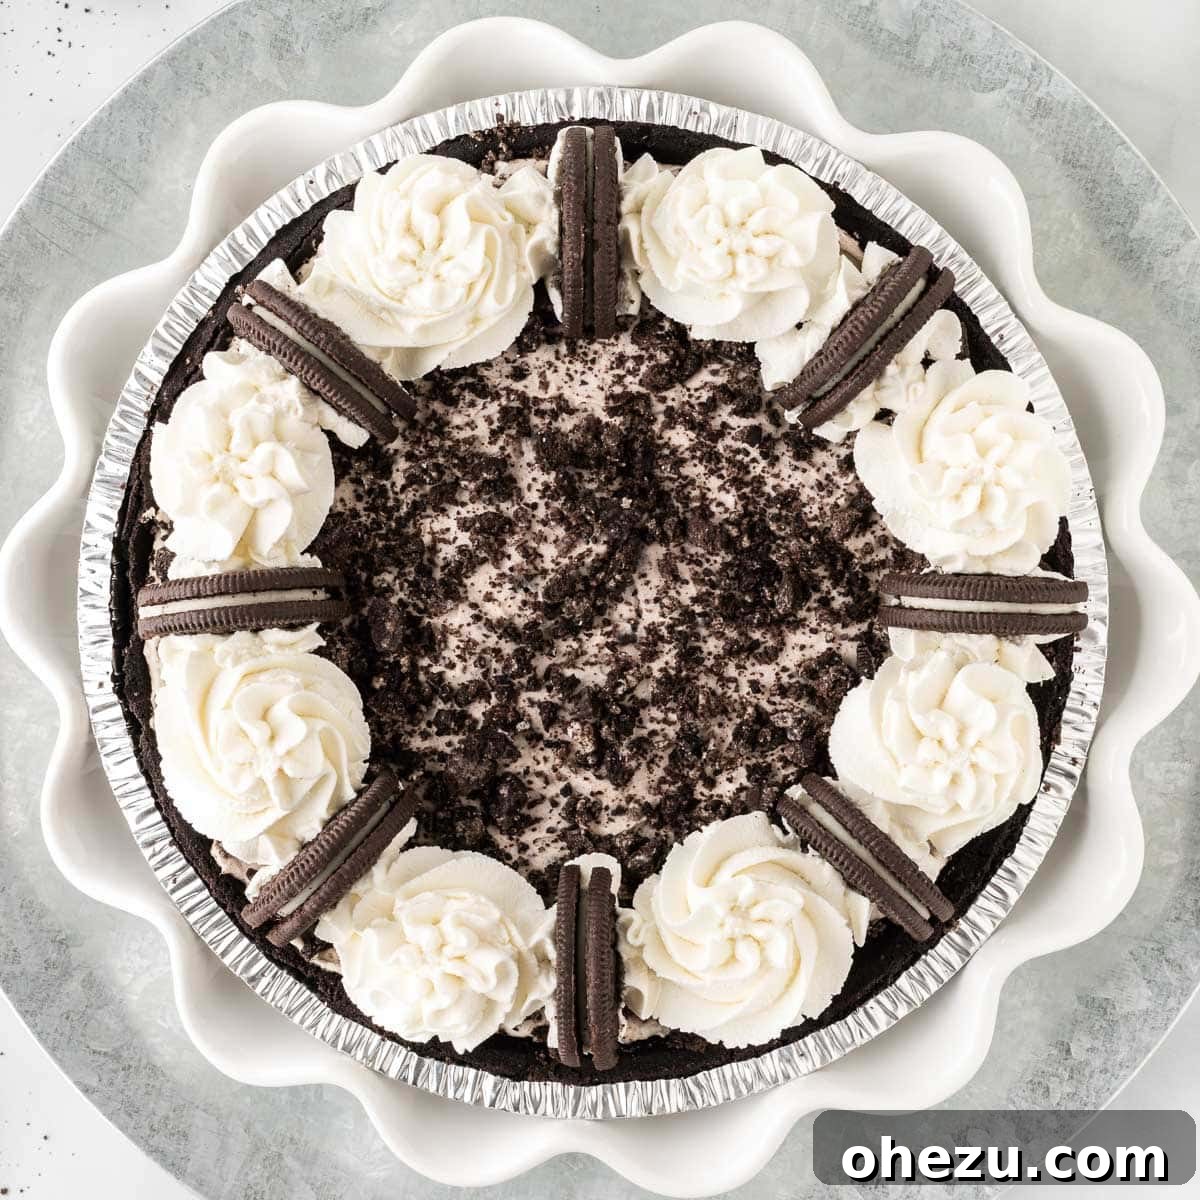
This No-Bake Oreo Pie is the ultimate easy dessert, a beloved family classic that promises creamy, chocolatey bliss in every bite. Get ready to impress with minimal effort!
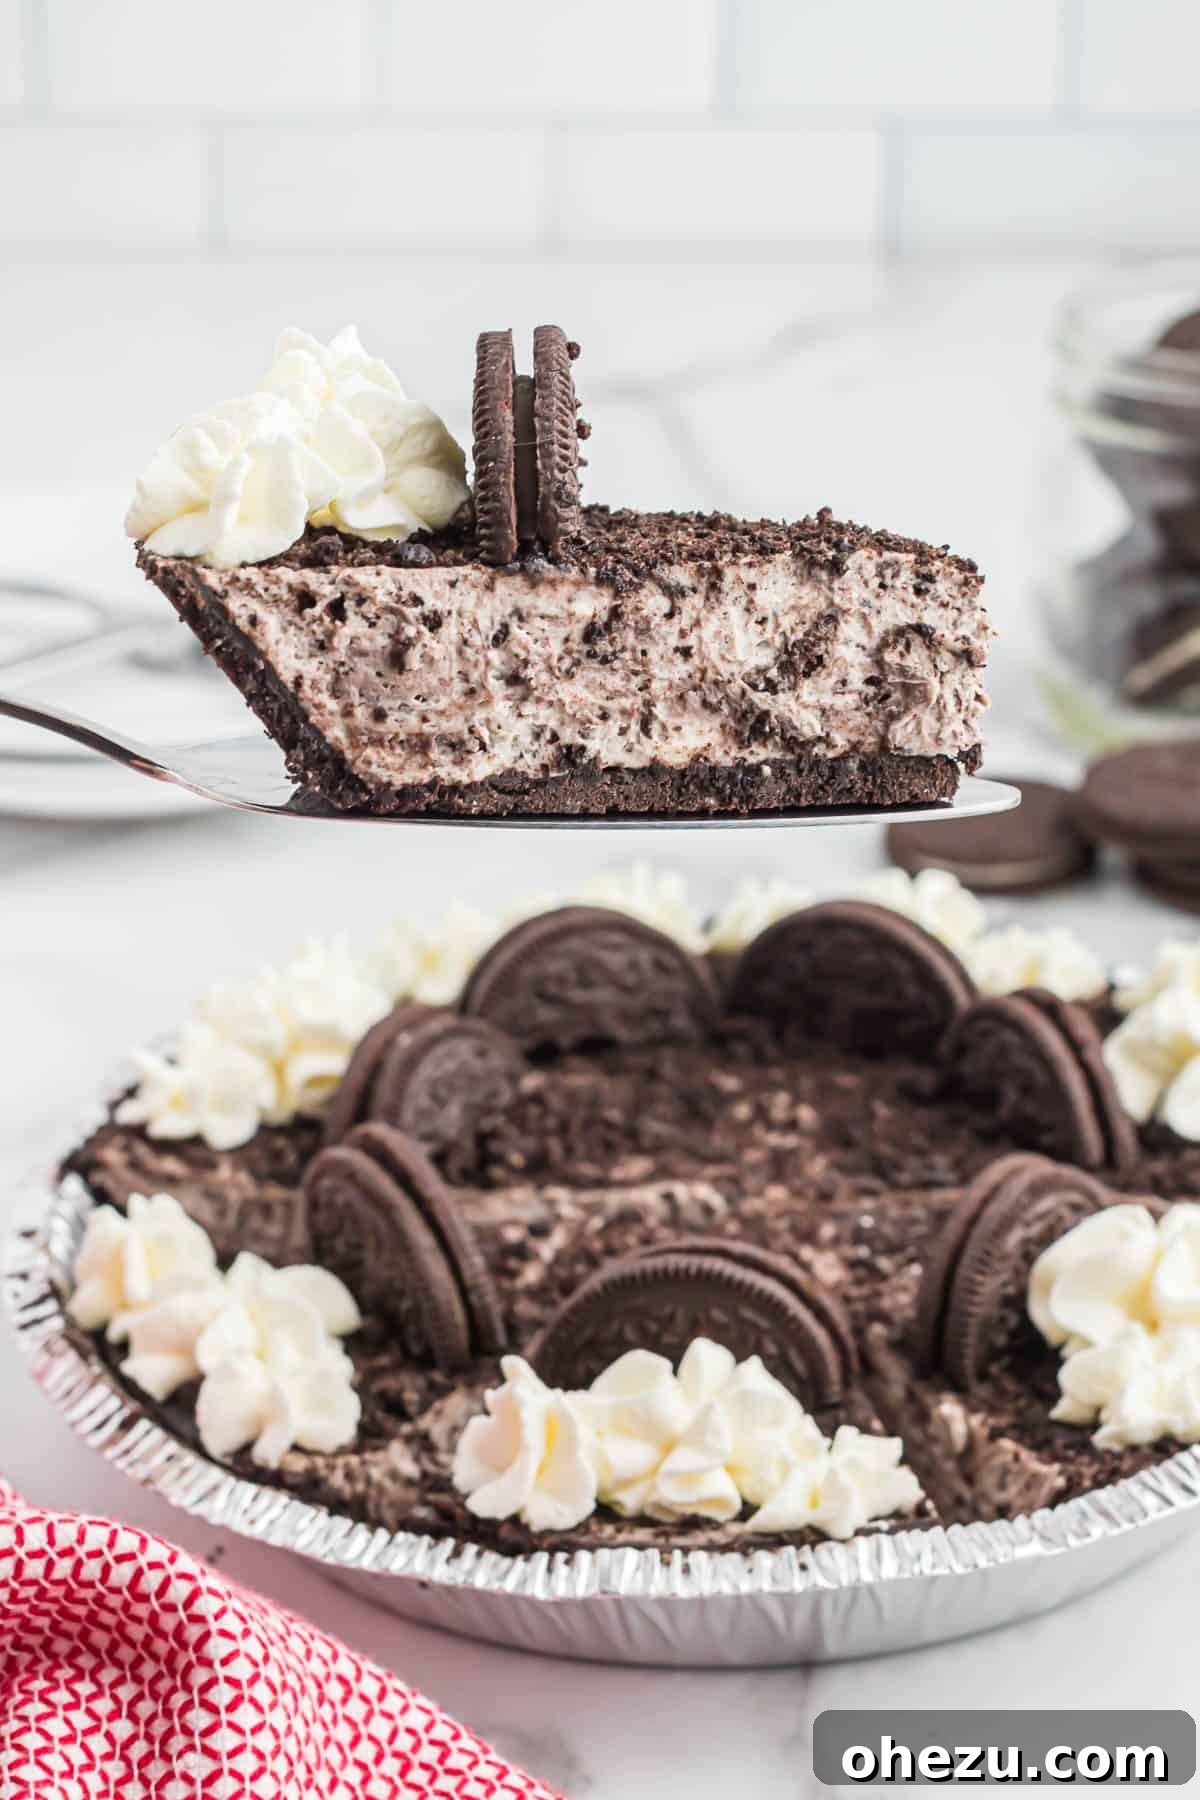
The Best No-Bake Oreo Pie: A Decadent & Easy Dessert!
If you’re searching for a dessert that’s incredibly simple to prepare yet utterly decadent, look no further than this fantastic No-Bake Oreo Pie. It’s an ideal “icebox” pie, perfect for whipping together ahead of time and chilling in the refrigerator until you’re ready to serve. This recipe takes convenience and deliciousness to a whole new level, making it a staple in any dessert lover’s repertoire.
Our rendition features a luscious, homemade whipped cream and cream cheese filling, generously studded with finely crushed Oreo cookies. The combination creates an irresistible cookies and cream experience that’s both light and rich. Whether you choose to elaborate with fancy decorations or prefer its simple, understated charm, this pie is guaranteed to be a hit!
The beauty of this dessert lies in its simplicity: combine a few key ingredients, pour the mixture into a ready-made Oreo pie crust, allow it to chill for a few hours, and voilà – you have a magnificent, crowd-pleasing dessert. It’s perfect for busy hosts, impromptu gatherings, or simply satisfying that sudden sweet craving without turning on the oven.
Why You’ll Love This No-Bake Oreo Pie
- Effortless Preparation: No baking required means less time in the kitchen and more time enjoying! It’s perfect for summer when you want to avoid heating up your home.
- Rich & Creamy Texture: The filling is a dream – light from the whipped cream, tangy from the cream cheese, and irresistibly smooth.
- Iconic Flavor: Who can resist the classic cookies and cream combination? This pie delivers that beloved taste in a sophisticated yet fun package.
- Crowd-Pleaser: From kids to adults, everyone adores this dessert. It’s a universal favorite for parties, potlucks, and family dinners.
- Make-Ahead Marvel: This pie needs time to chill, making it an excellent choice for preparing a day in advance, reducing stress on the day of your event.
- Versatile & Customizable: Easily adapt it for different holidays or personal preferences with various Oreo flavors or toppings.
Key Ingredients for Your Ultimate Oreo Pie
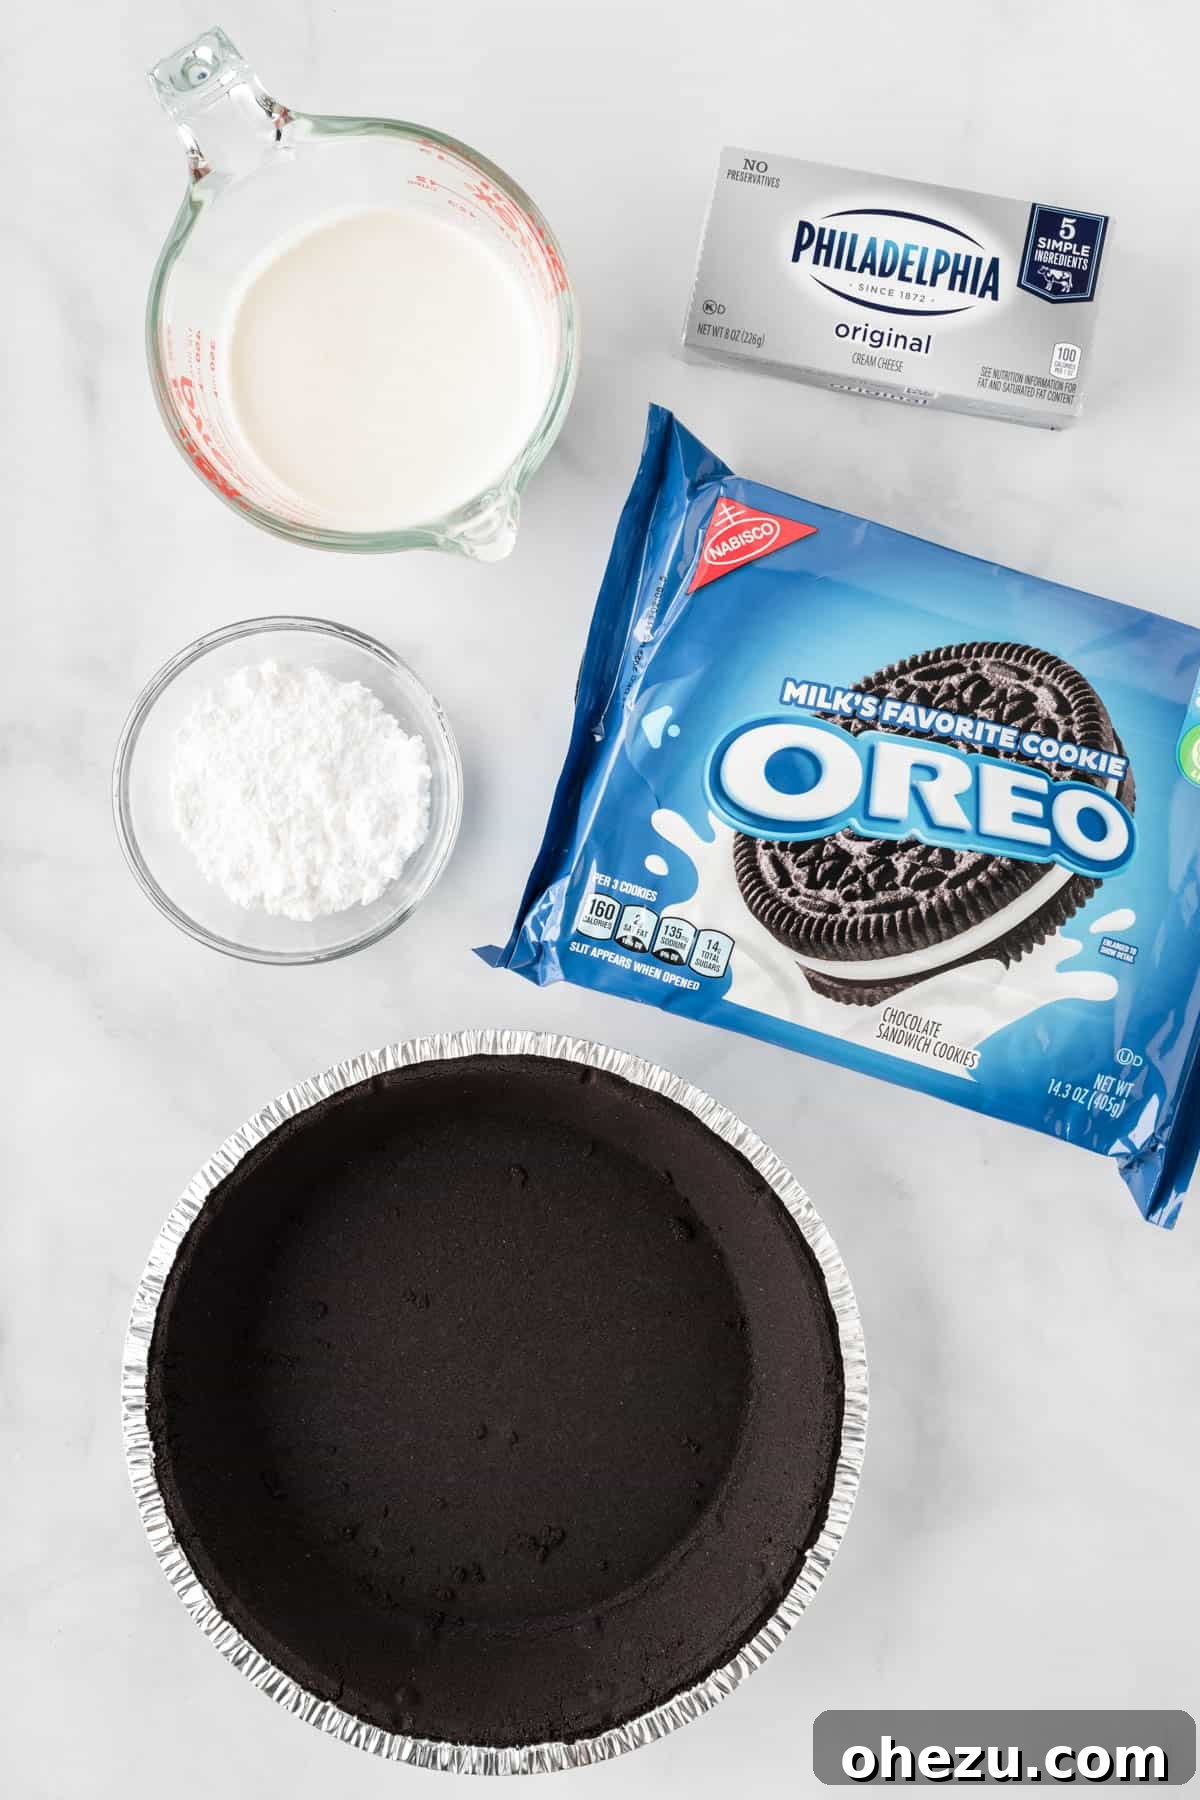
This delightful dessert requires just a handful of common ingredients, most of which you probably already have in your pantry or can easily find at any grocery store. The quality of these ingredients contributes to the pie’s incredible flavor and texture, so choose wisely!
- Heavy Cream: This is the base for our homemade whipped cream, which gives the pie its wonderfully light and airy texture. For best results, ensure your heavy cream is very cold before whipping.
- Powdered Sugar (Confectioners’ Sugar): Used to sweeten the whipped cream and the cream cheese mixture, powdered sugar dissolves easily, ensuring a smooth filling. You can adjust the amount to suit your desired sweetness level.
- Cream Cheese: Softened cream cheese adds a delightful tang and helps stabilize the filling, giving it a rich, cheesecake-like consistency. Make sure it’s at room temperature for easy whipping and a lump-free filling.
- Oreo Cookies: The star of the show! You’ll need these for crushing and incorporating into the filling, as well as for a garnish. Regular Oreos are classic, but feel free to experiment with different flavors like Golden Oreos or Mint Oreos for a twist.
- Oreo Pie Crust: A pre-made Oreo cookie crust saves a significant amount of time and effort. Its chocolatey crunch perfectly complements the creamy filling. If you’re feeling ambitious, you can also make your own crust from crushed Oreos and melted butter.
- Vanilla Extract (Optional, but Recommended): A splash of good quality vanilla extract enhances all the flavors in the pie, adding a subtle warmth and complexity to the creamy filling.
(You can find the precise measurements and detailed instructions in the full recipe card at the bottom of this post.)
How to Make a No-Bake Oreo Pie: Step-by-Step Guide
Creating this stunning Oreo pie is surprisingly straightforward. Follow these simple steps for a dessert that tastes like it took hours, but only requires minutes of active prep!
Step 1: Prepare the Homemade Whipped Cream
In a large, chilled mixing bowl, combine the very cold heavy cream and powdered sugar. Using an electric mixer (handheld or stand mixer), beat the mixture on medium-high speed until stiff peaks form. This means when you lift the beaters, the cream holds its shape firmly. Be careful not to overmix, or it will turn into butter!
Step 2: Whip the Cream Cheese Base
In a separate clean bowl, add the softened cream cheese and vanilla extract (if using). Whip with an electric mixer until it’s light, fluffy, and completely smooth, with no lumps remaining. Ensure your cream cheese is at room temperature to achieve this silky consistency easily.
Step 3: Combine the Creamy Fillings
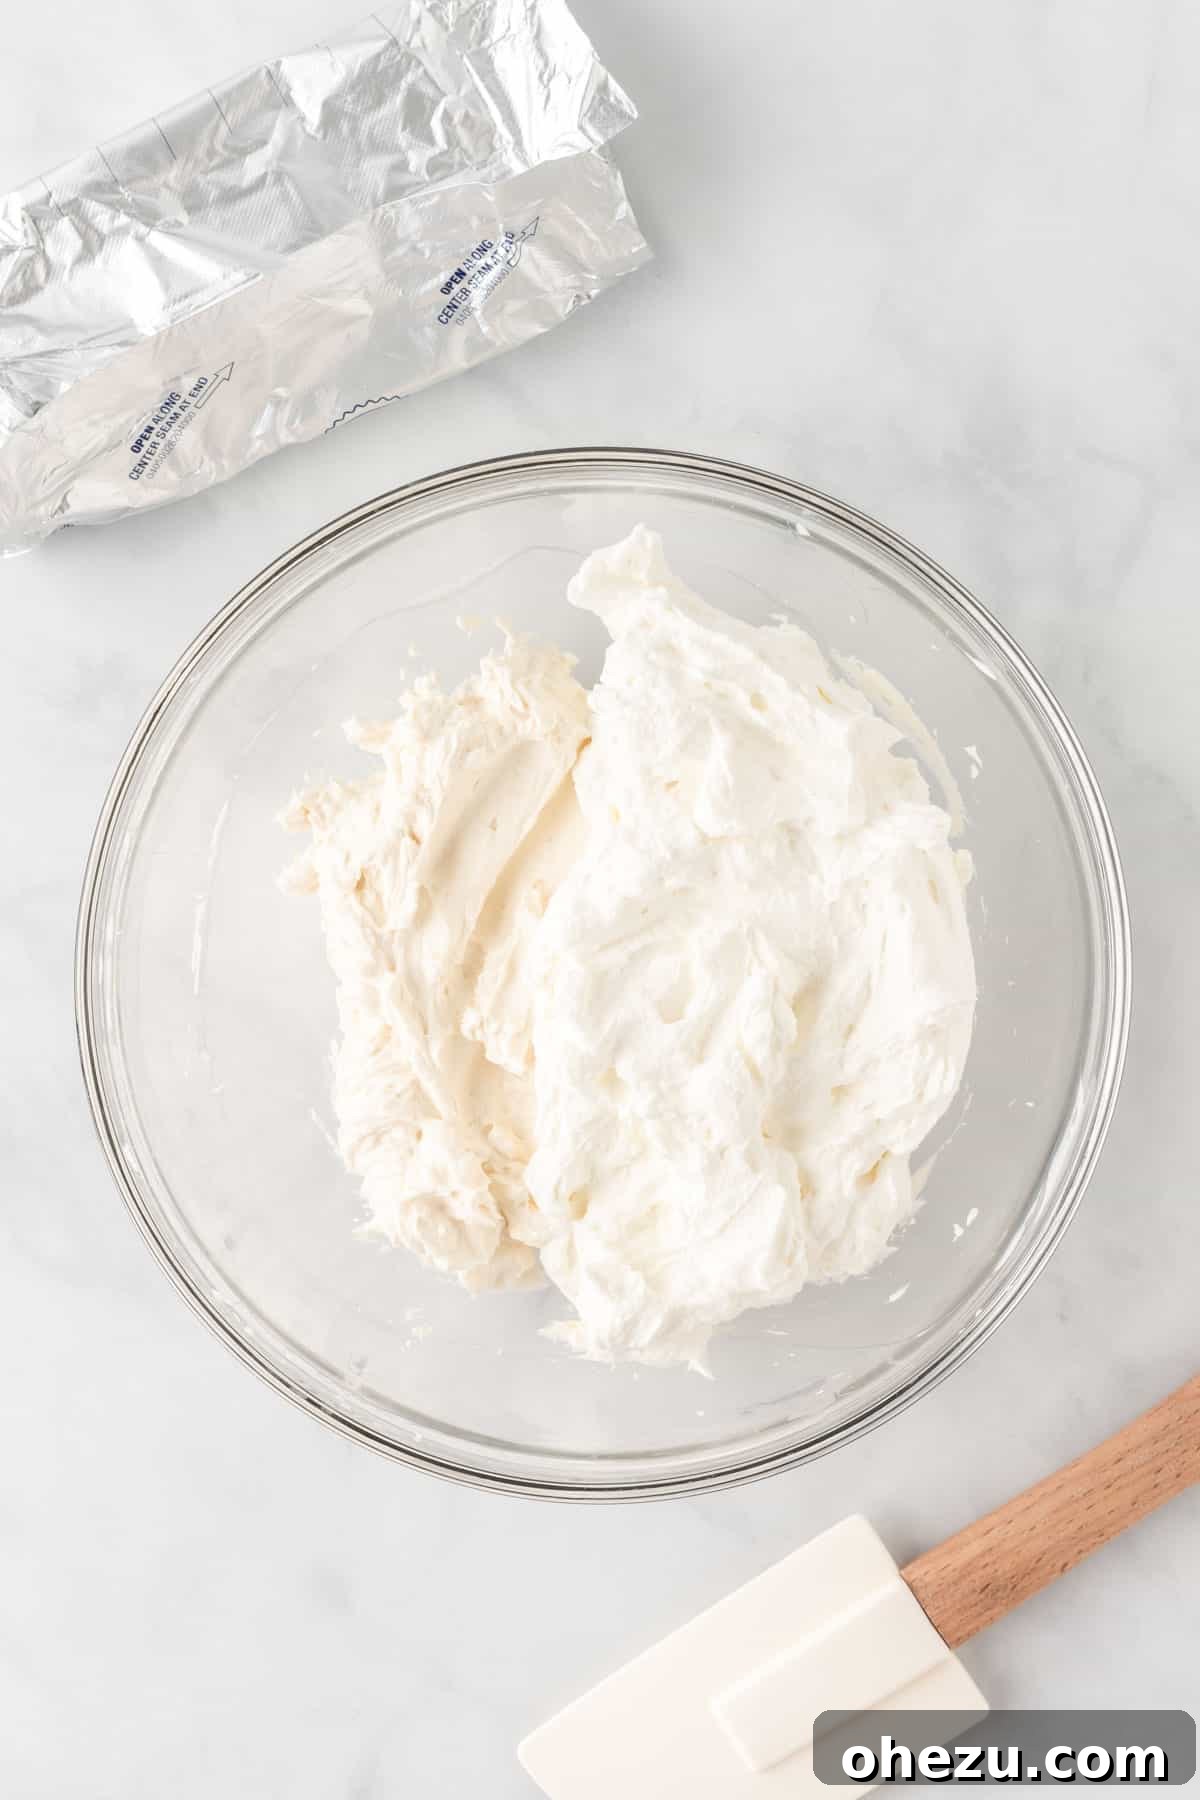
Gently fold the prepared whipped cream into the whipped cream cheese mixture. Use a rubber spatula and a delicate hand, incorporating the two until just combined. The goal is to maintain the airy volume of the whipped cream, so avoid overmixing.
Step 4: Incorporate the Crushed Oreos
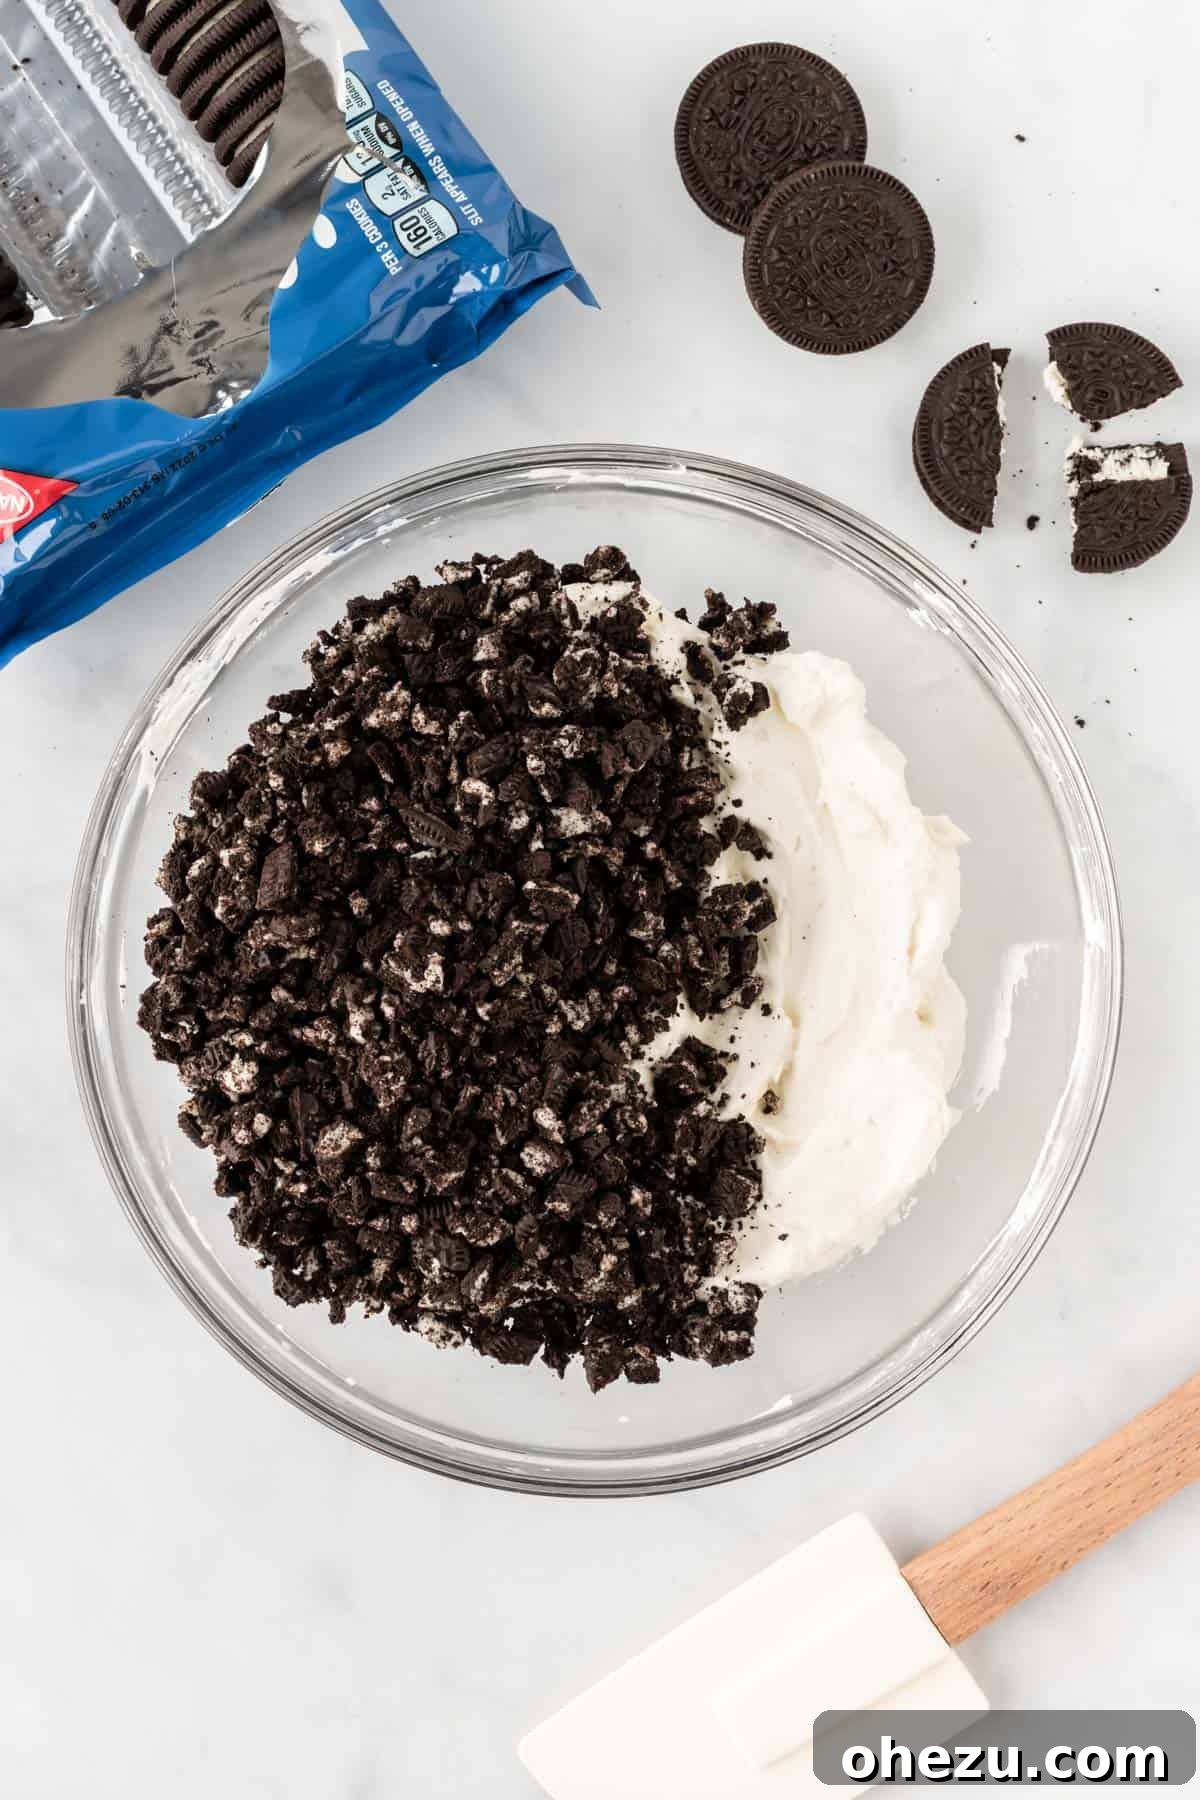
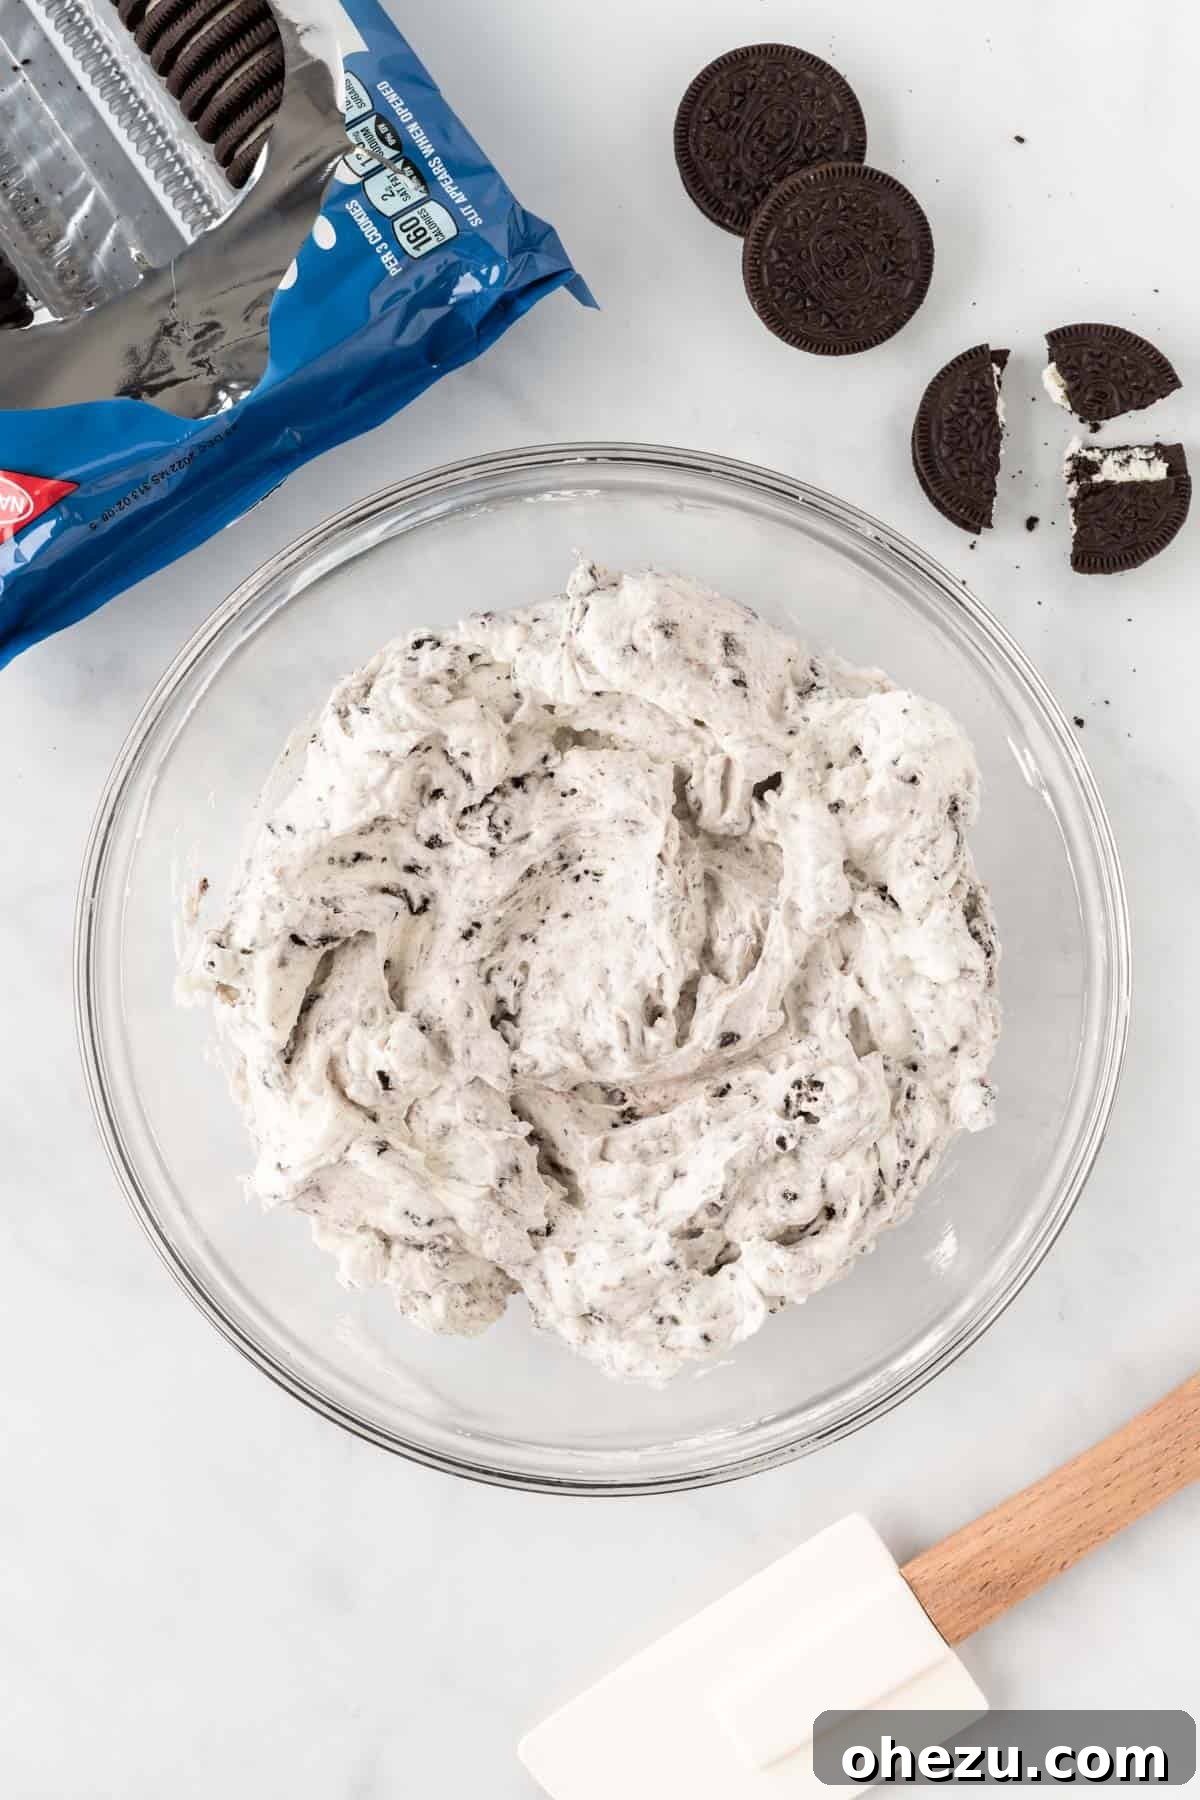
Take your finely crushed Oreo cookies and fold them into the creamy pie filling. Reserve about 2-3 tablespoons of crushed Oreos for topping the finished pie. The crushed cookies add texture and intensify the chocolatey flavor throughout the filling.
Step 5: Fill the Pie Crust
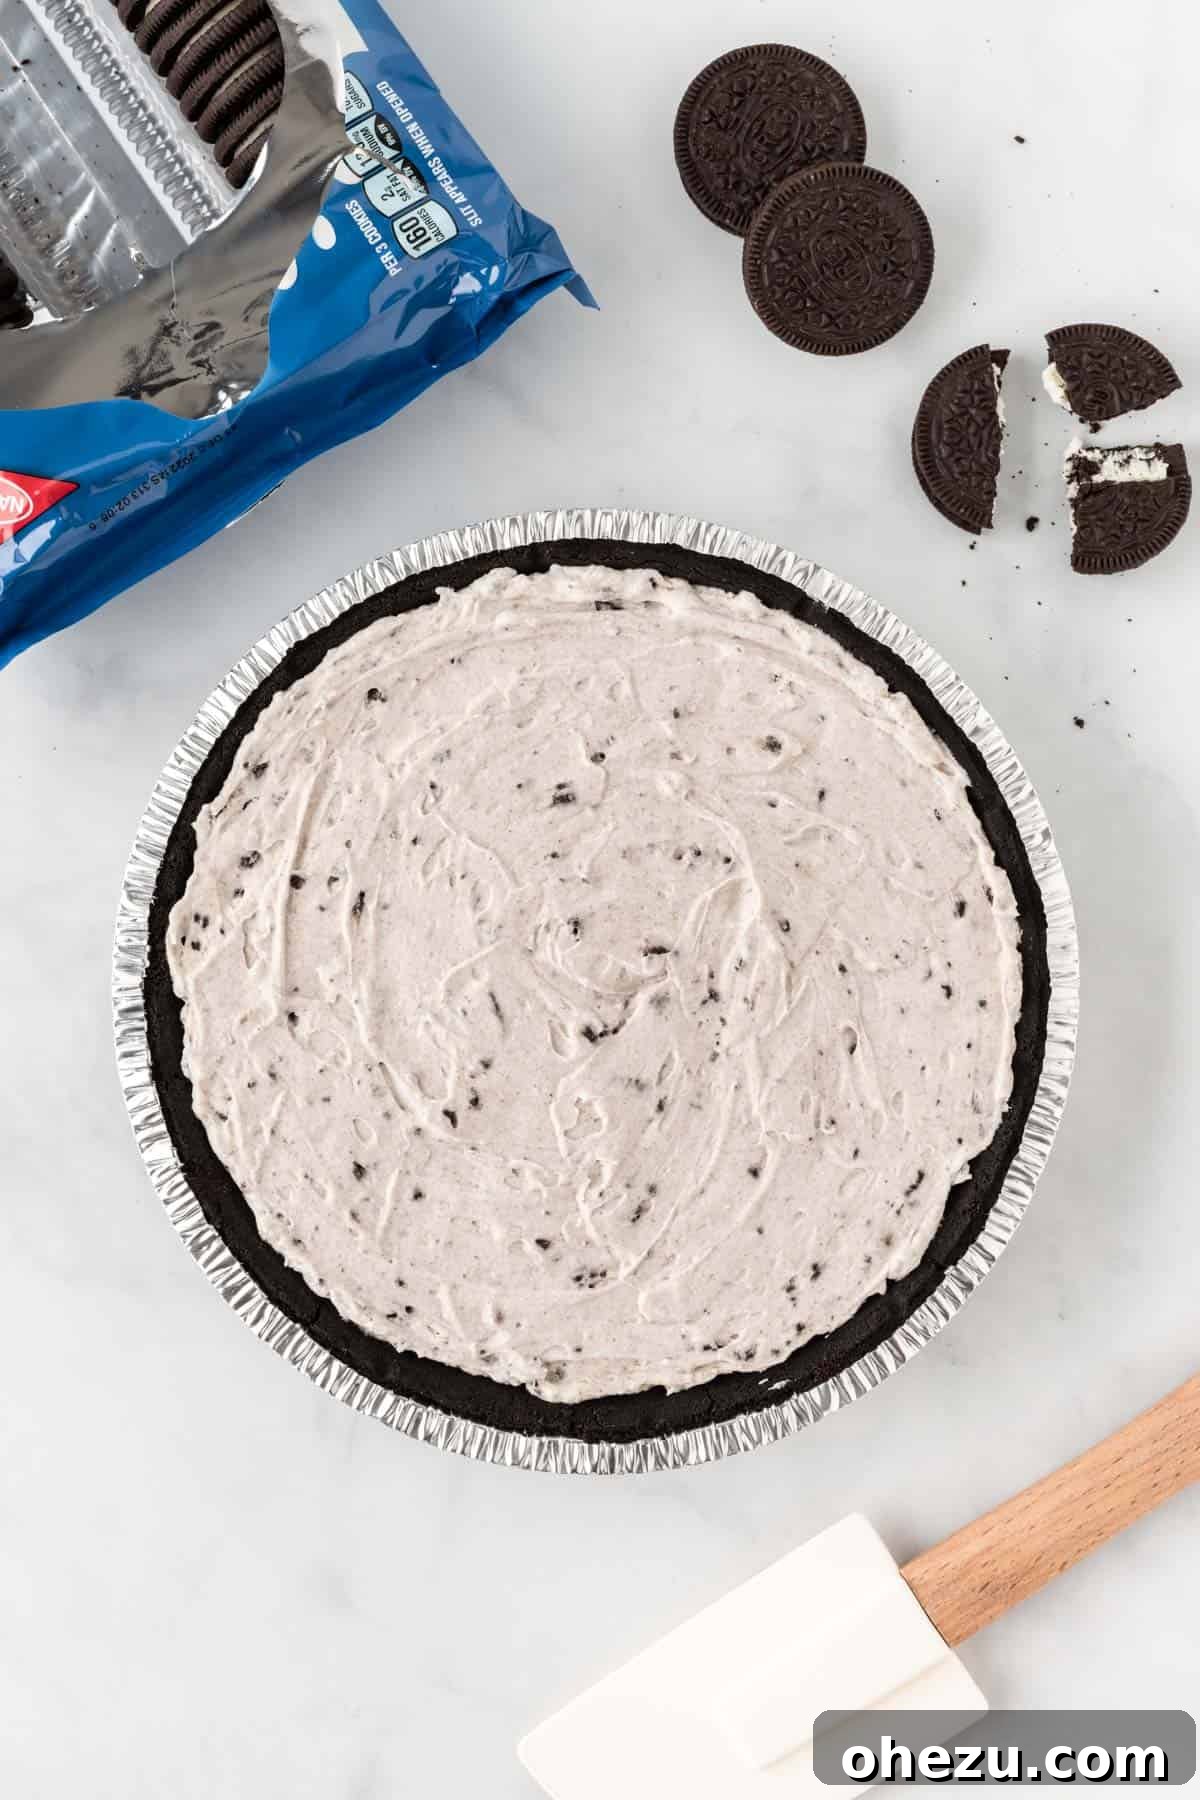
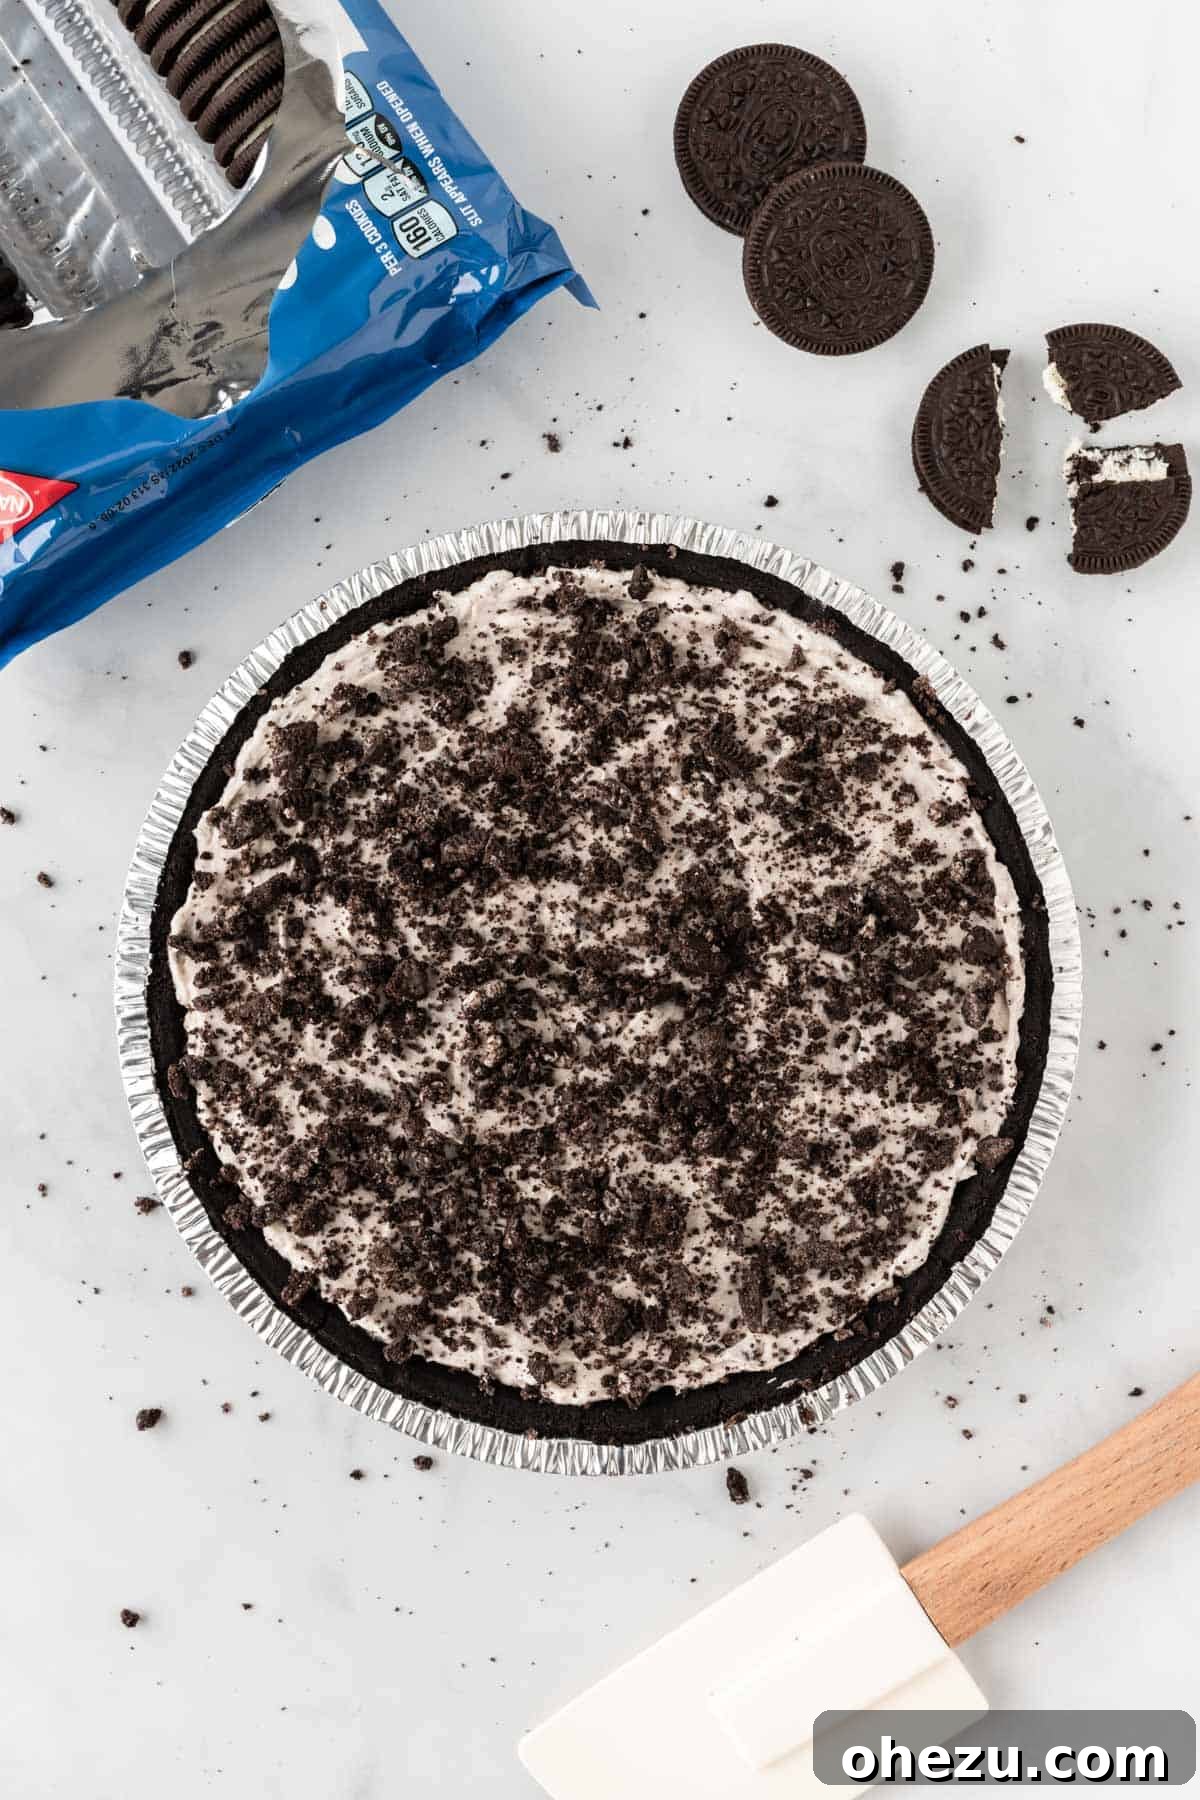
Carefully spoon the entire Oreo pie filling into your pre-made Oreo pie crust. Use your rubber spatula to gently spread and smooth the filling evenly across the crust, ensuring it reaches all edges.
Step 6: Chill to Perfection
Cover the pie loosely with plastic wrap or aluminum foil. Refrigerate the pie for at least 4-5 hours, but for the absolute best results and a perfectly firm, easy-to-slice pie, chilling it overnight is highly recommended.
Joy’s Tip: The Importance of Chilling
This pie truly shines when given ample time to chill in the refrigerator. I strongly suggest making it the day before you plan to serve it! The longer it sets, the firmer the pie will become, making it much easier to cut into clean, beautiful slices. Patience is key for the perfect texture!
Garnish and Serve Your Oreo Pie
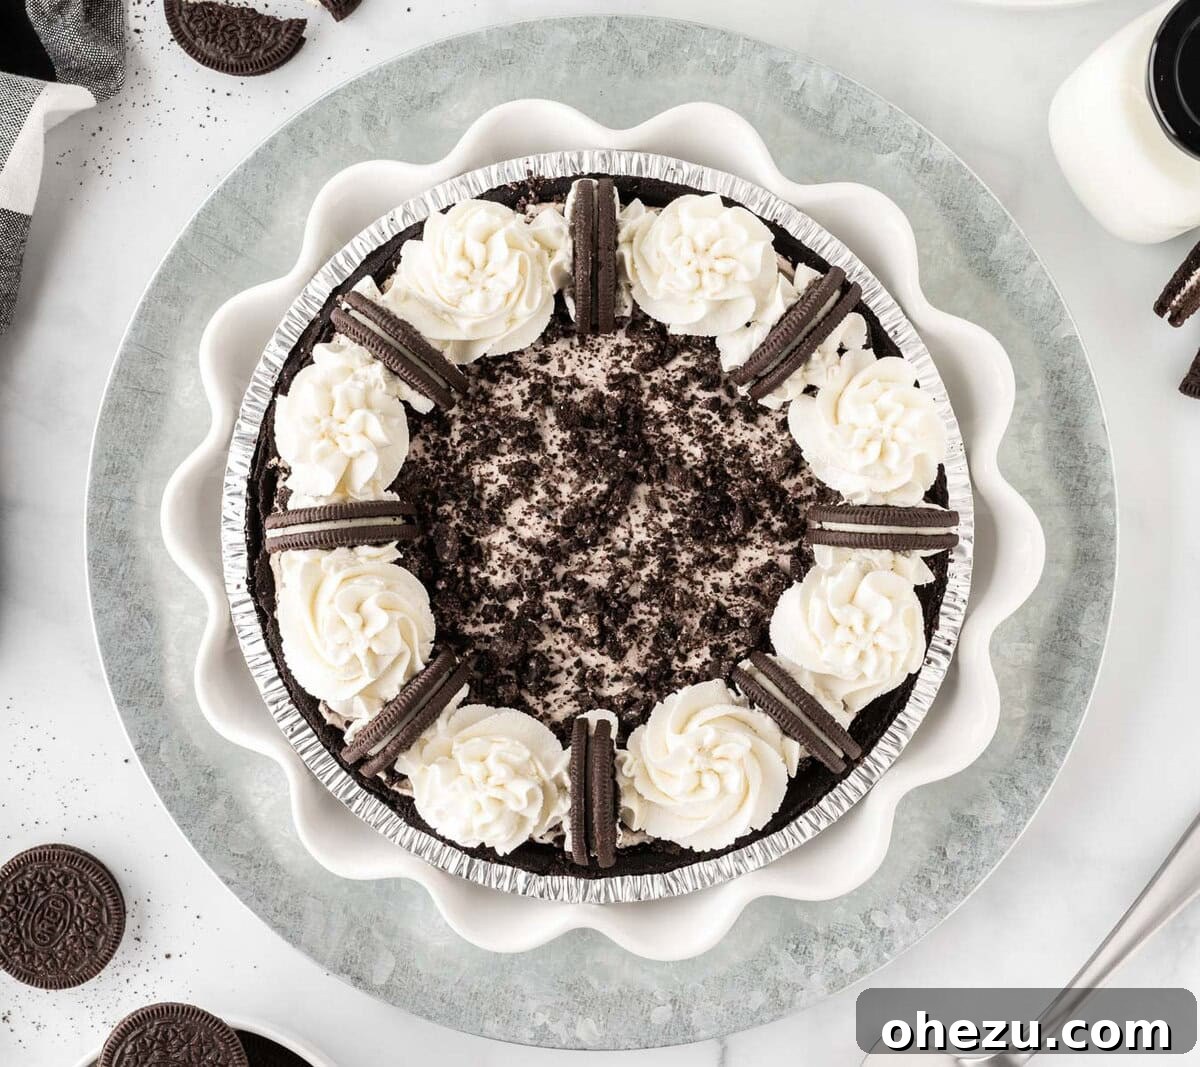
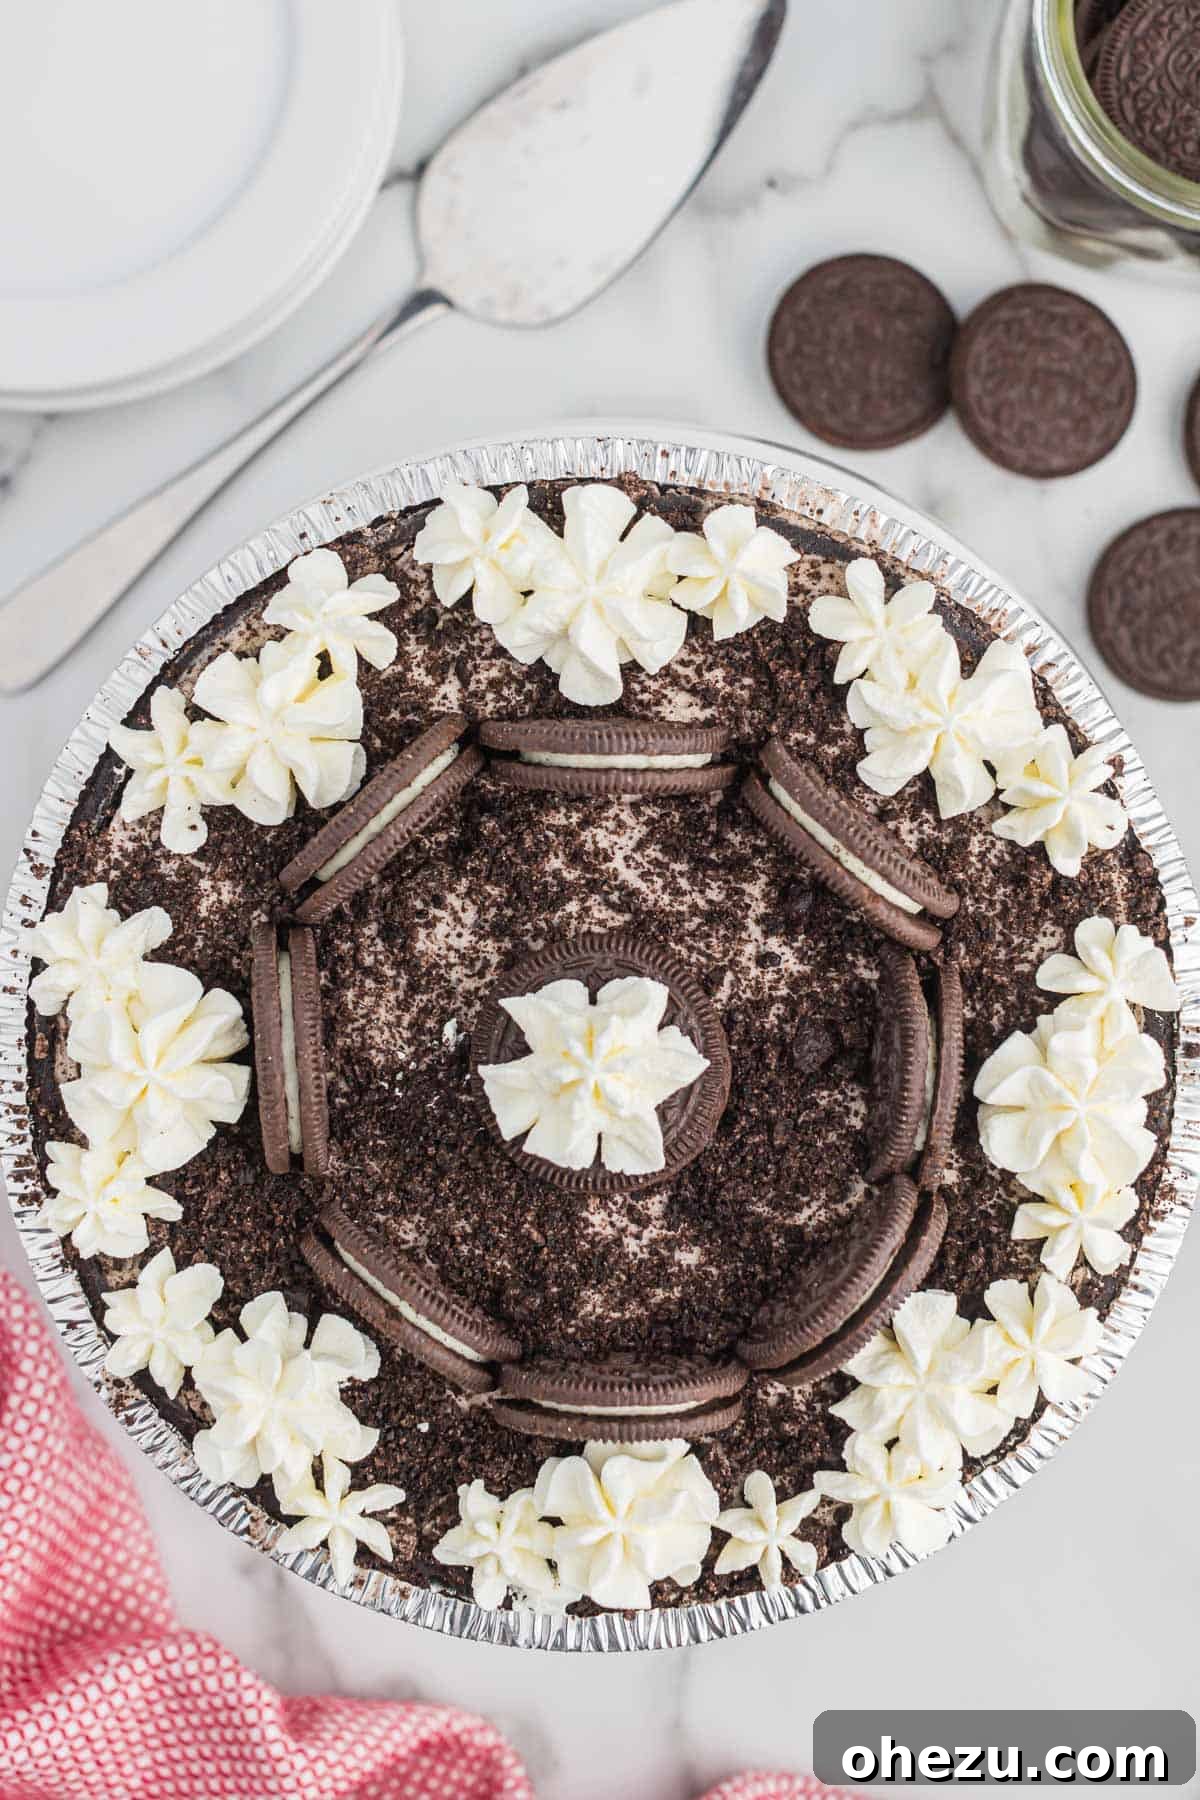
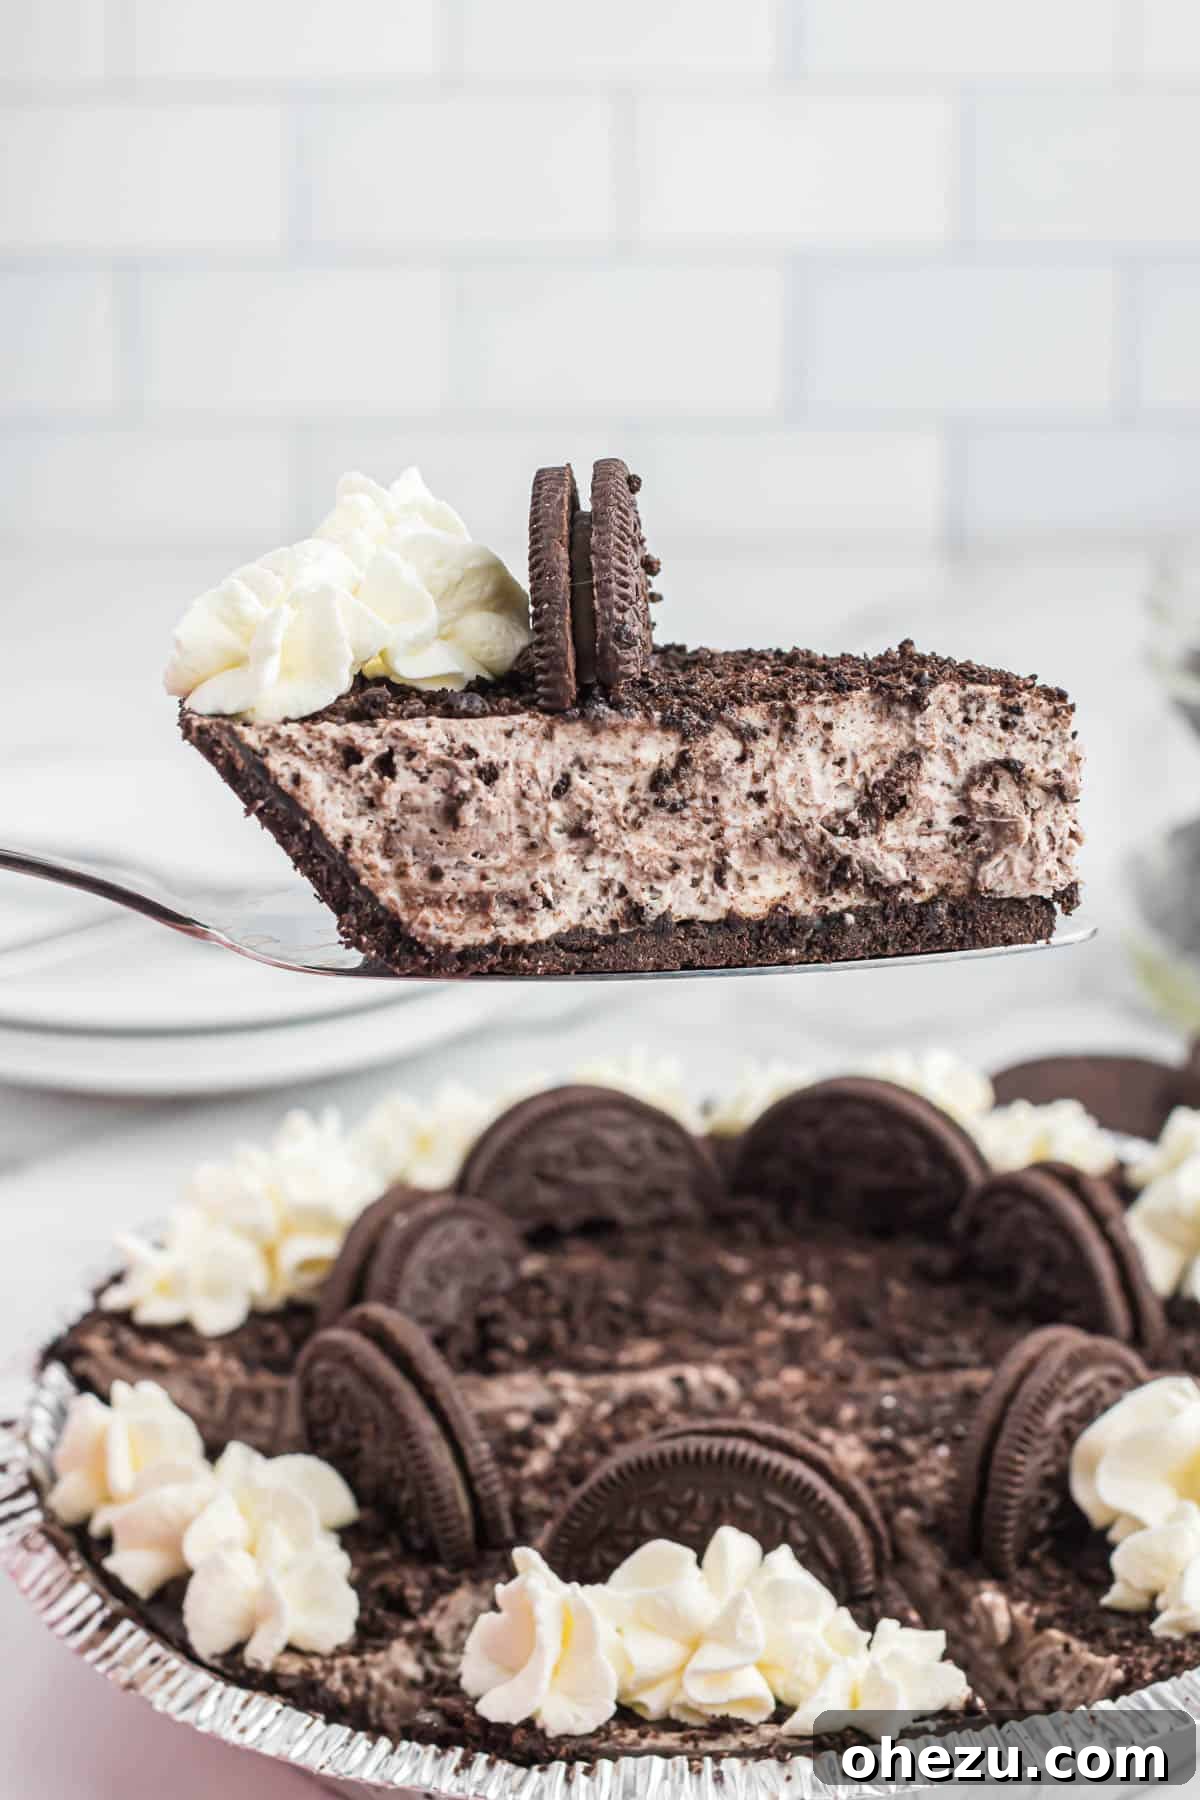
Once your No-Bake Oreo Pie has thoroughly chilled, it’s ready for its grand debut! Before serving, retrieve the pie from the refrigerator. If you love to decorate, consider topping this pie with a dollop of extra homemade whipped cream, a drizzle of chocolate syrup, or even a few whole Oreo cookies for a truly impressive presentation that looks like it came straight from a gourmet bakery or a fancy restaurant.
Regardless of how you choose to adorn it, this pie will undoubtedly be a delicious centerpiece and a guaranteed hit at any gathering or holiday party. Its rich flavor and delightful texture make it a standout dessert that will have everyone asking for the recipe!
Perfect for Any Occasion
Oreo pie is a wonderfully versatile dessert suitable for any time of year. Its no-bake nature makes it especially popular during warmer months like Memorial Day or the 4th of July when you want to avoid heating up your kitchen. Yet, its comforting, creamy flavor also makes it perfect for holiday tables like Thanksgiving, Christmas, or even a romantic Valentine’s Day treat.
If you’re someone who prefers pie over cake for birthdays, this No-Bake Oreo Pie is an absolute dream come true for any Oreo lover. It’s festive, fun, and appeals to nearly every palate, ensuring your celebration is extra sweet.
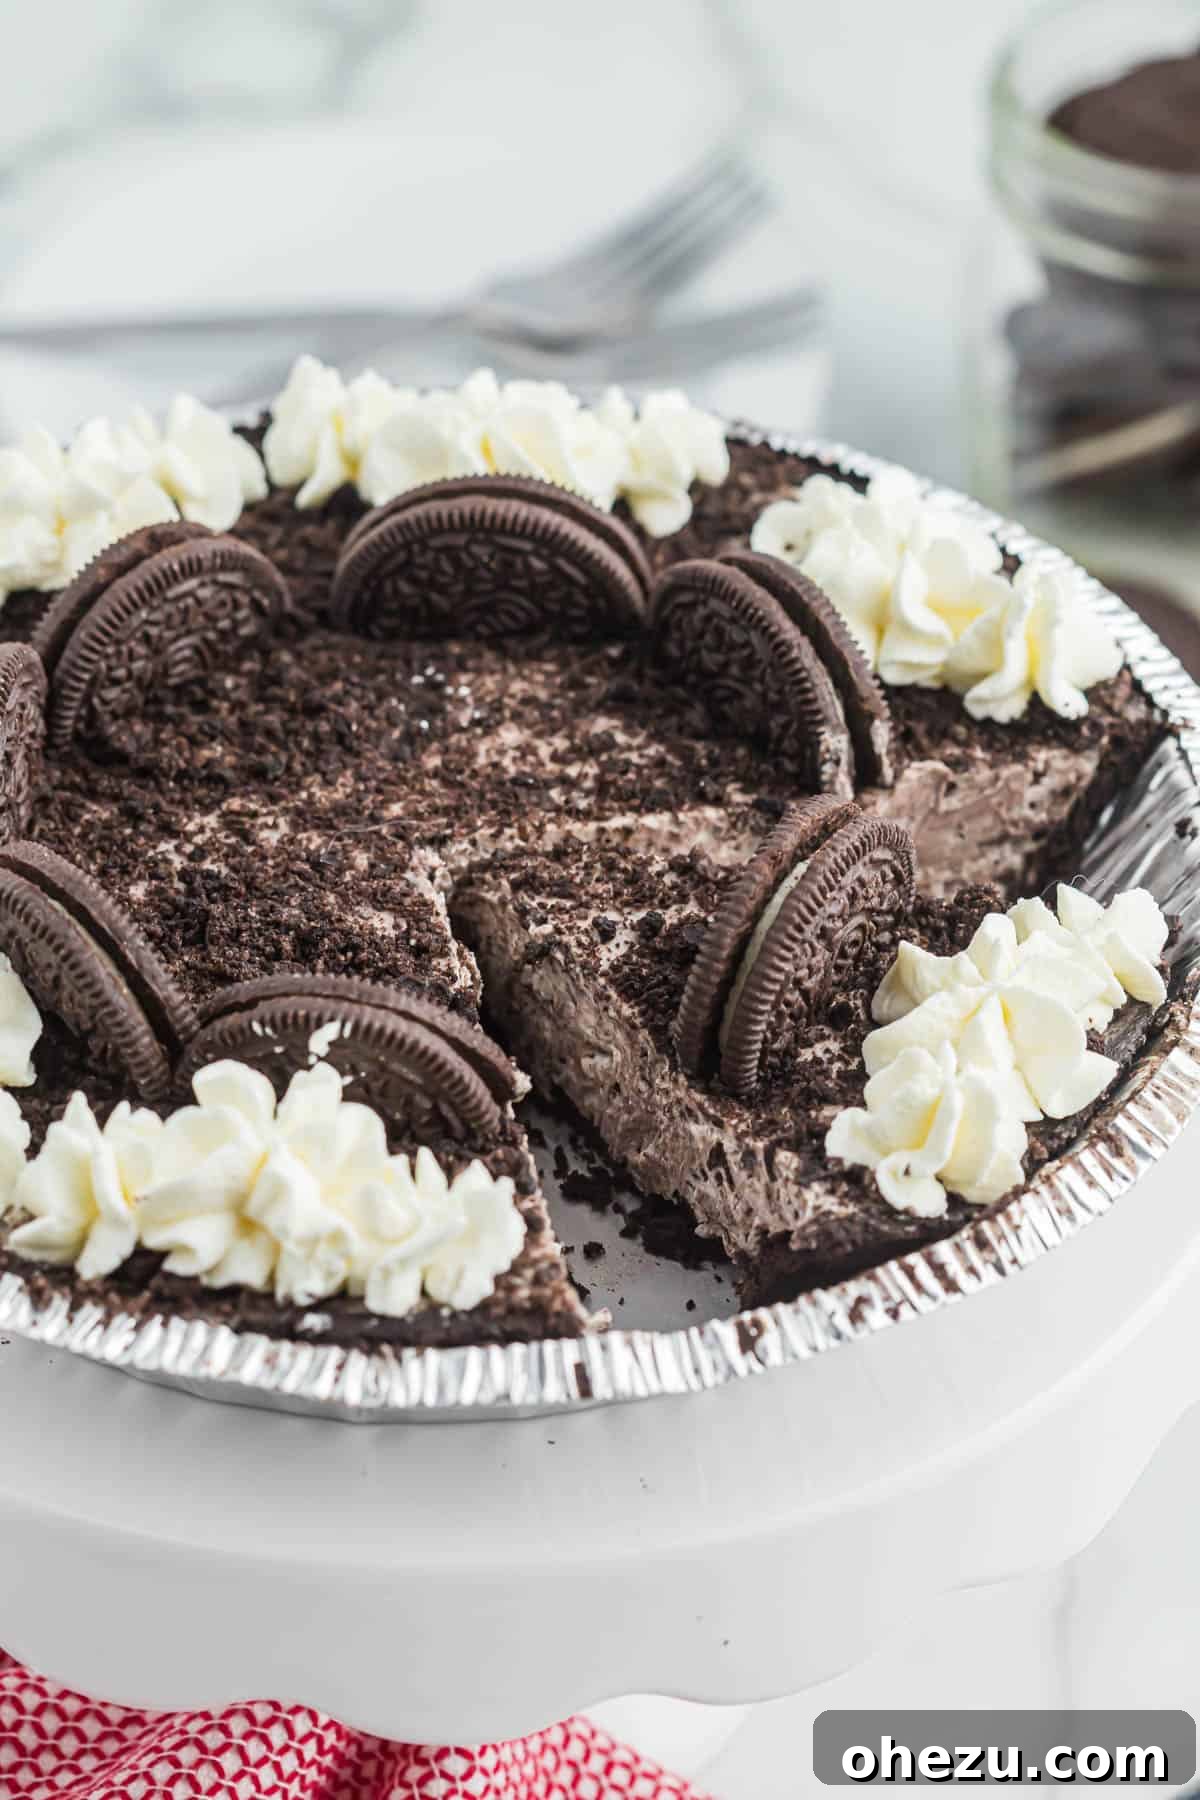
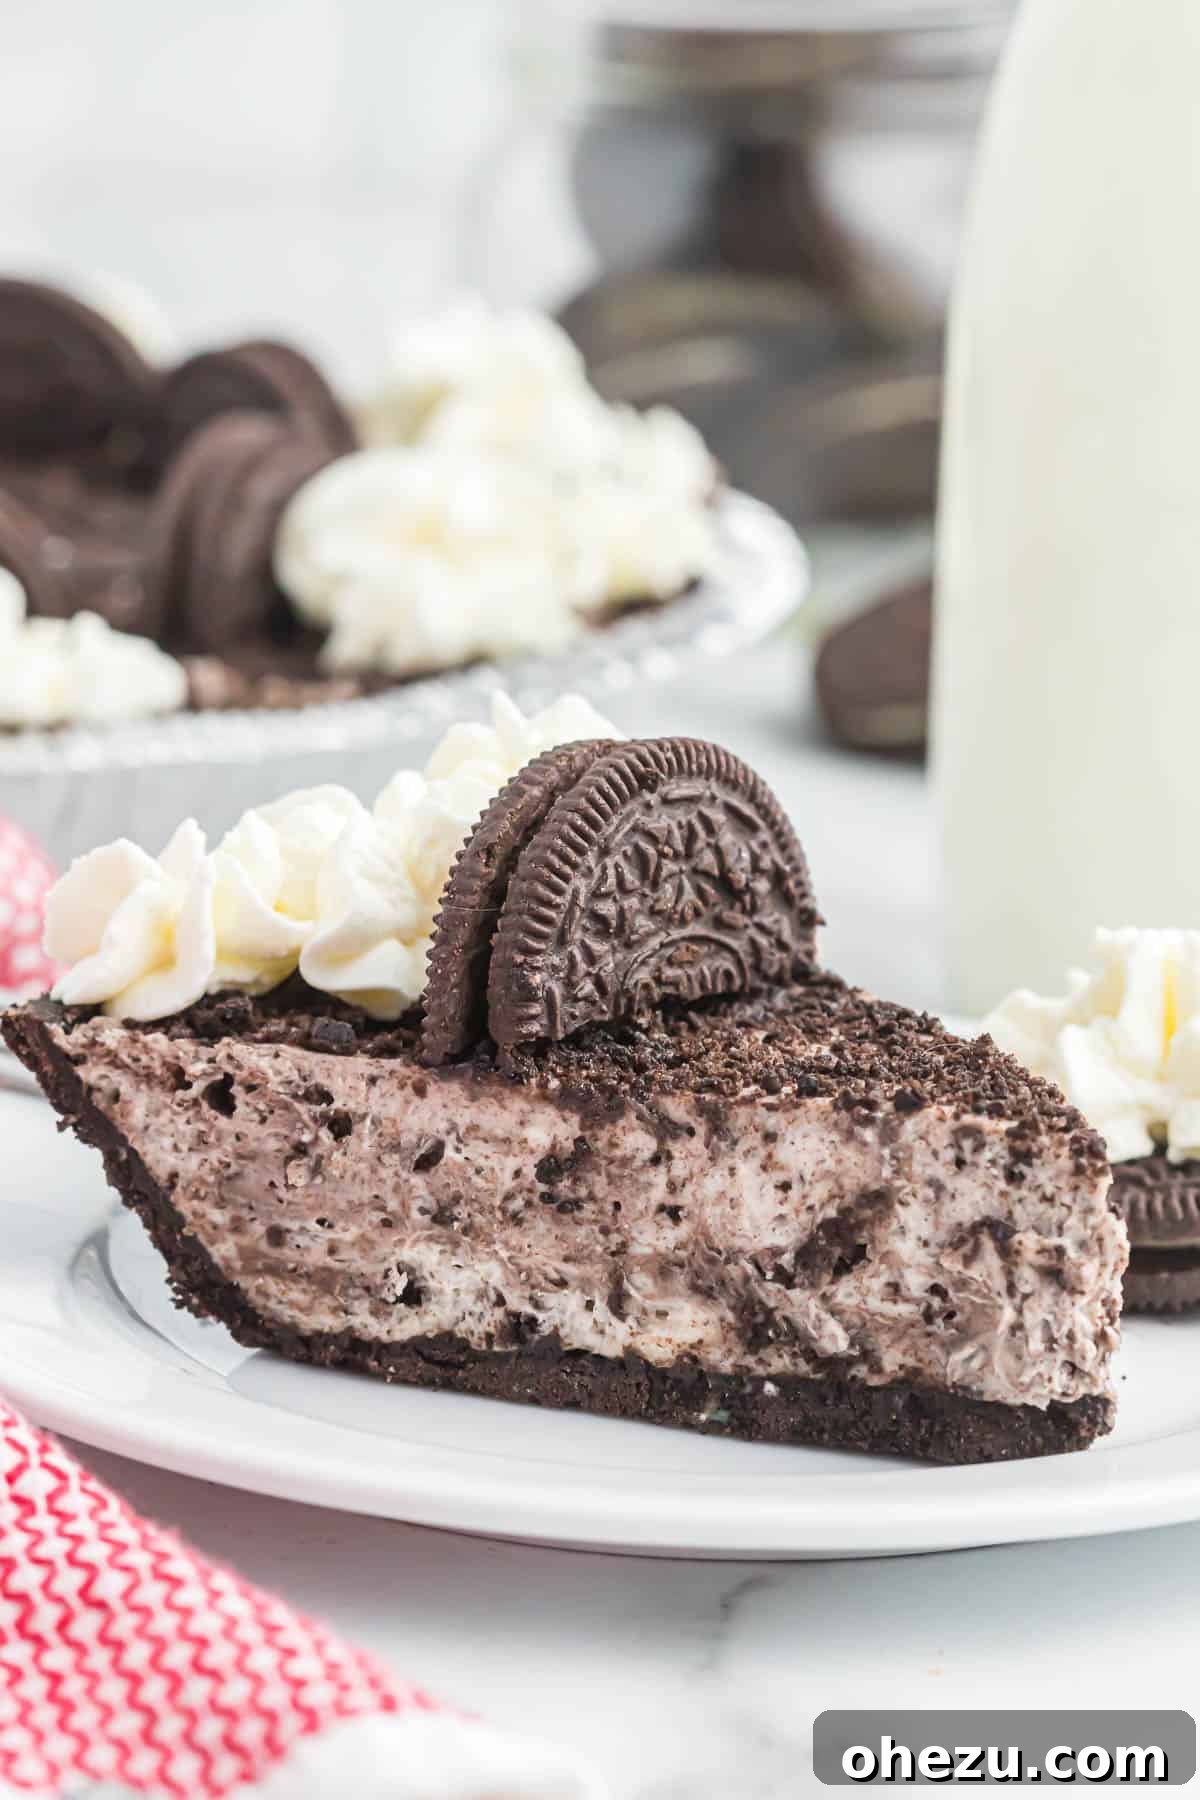
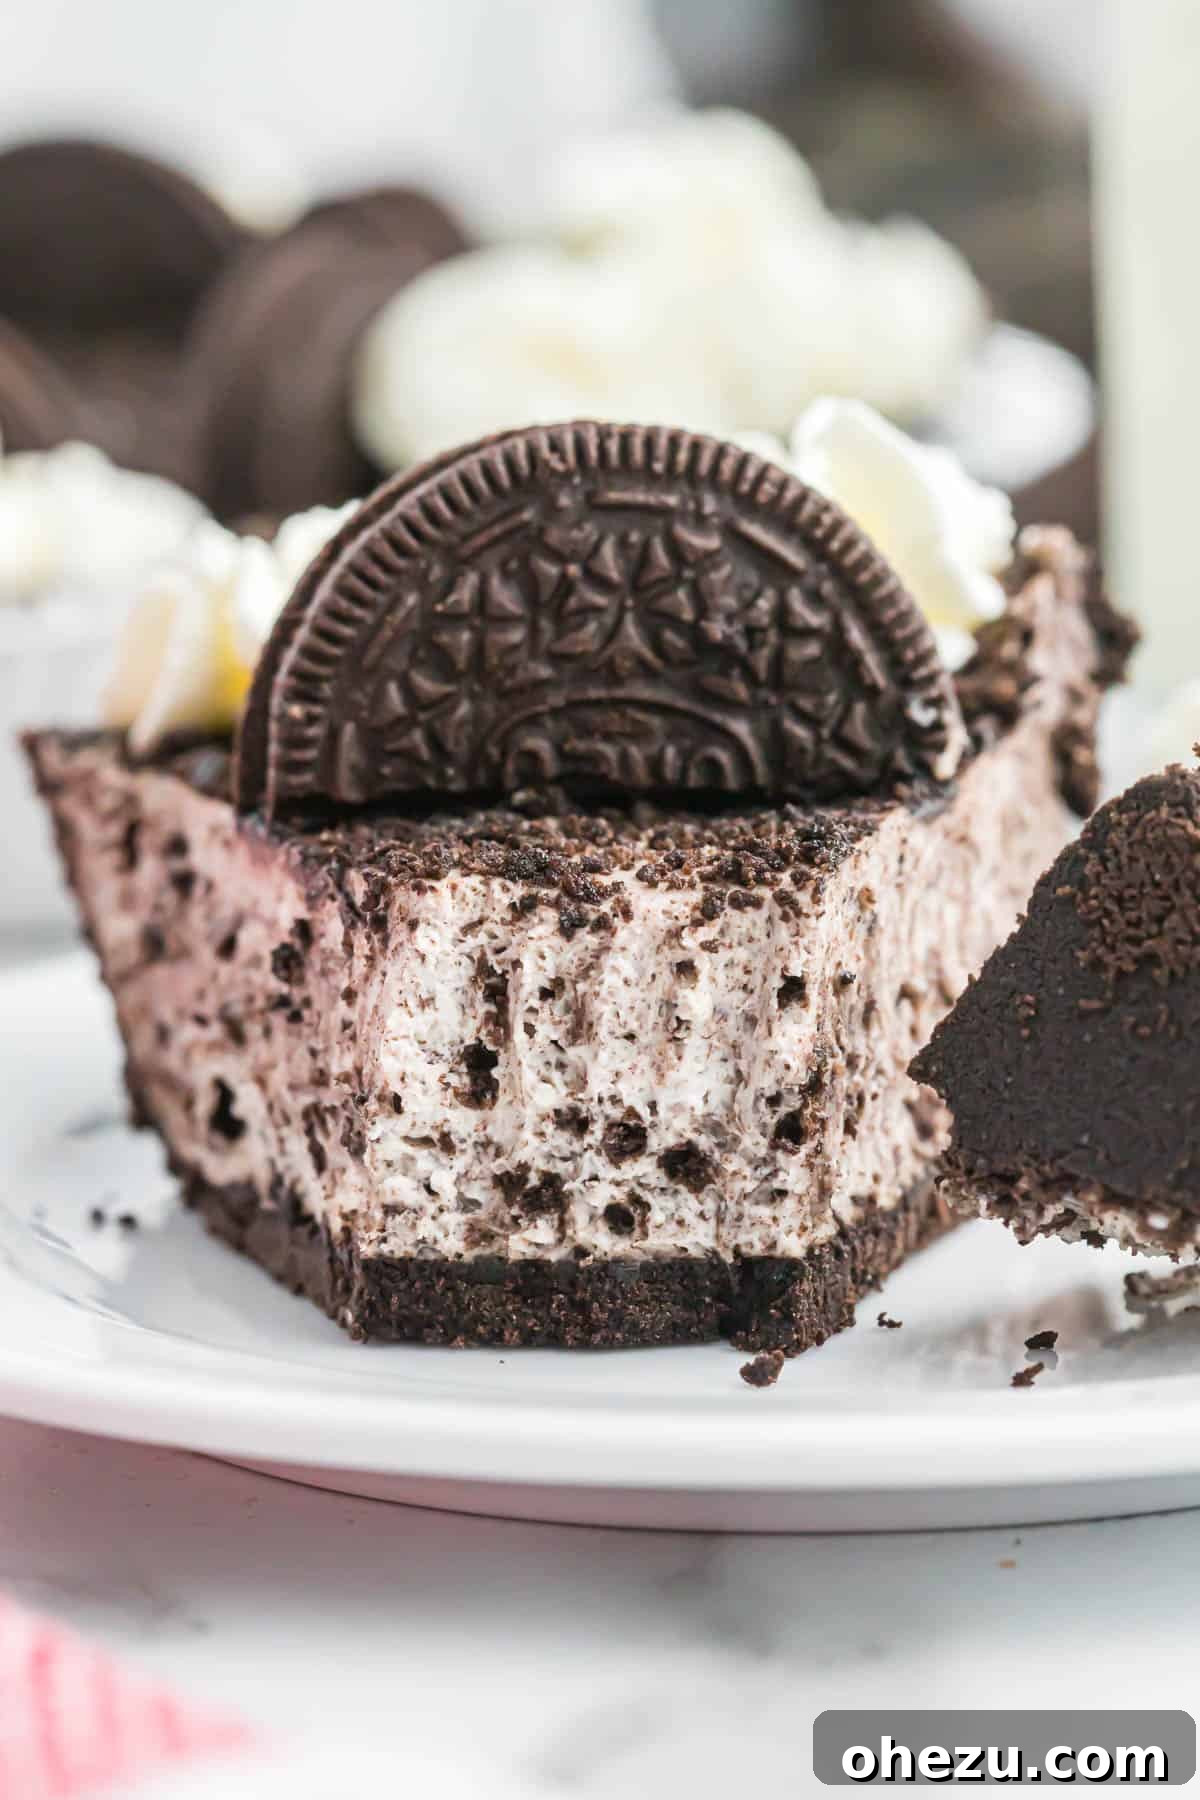
The velvety smooth, sweet filling bursting with cookies and cream goodness pairs perfectly with the crunchy, chocolatey pie crust. This textural contrast is what makes each bite so incredibly satisfying and truly the best sweet complement you could ask for!
How To Store Your No-Bake Oreo Pie
Proper storage ensures your delicious Oreo pie stays fresh and enjoyable for days. Leftover Oreo pie can be stored in an airtight container in the refrigerator for up to 5 days. For best results, cover individual slices or the entire pie tightly with plastic wrap before placing it in the container. This prevents it from absorbing odors from other foods and keeps the crust from getting soggy.
Can You Freeze Oreo Pie?
Yes, you can! This no-bake Oreo pie freezes beautifully. To freeze, place the uncovered pie in the freezer for about 1-2 hours until firm. Once firm, wrap it tightly in several layers of plastic wrap, then a layer of aluminum foil. Label with the date and freeze for up to 1-2 months. To serve, thaw the pie in the refrigerator overnight or for several hours until soft enough to slice. Freezing is a great option for making ahead for future events or enjoying a slice whenever a craving strikes!
Creative Variations & Pro Tips for Your Oreo Pie
Variations:
- Mint Oreo Pie: Use mint-flavored Oreos for a refreshing twist, perfect around the holidays or for mint chocolate lovers.
- Peanut Butter Swirl: Swirl a few tablespoons of melted creamy peanut butter into the cream cheese mixture for a delightful peanut butter cup flavor.
- Chocolate Drizzle: Melt some chocolate chips or use store-bought chocolate syrup to drizzle over the top of the chilled pie for an extra layer of chocolatey goodness.
- Add-ins: Fold in mini chocolate chips, chopped nuts, or even a different type of crushed cookie (like Nutter Butters or Biscoff) into the filling for varied textures and flavors.
- Individual Servings: Instead of a full pie, make mini Oreo pies in cupcake liners using crushed Oreo crusts for easy, single-serving treats.
Pro Tips:
- Chill Your Bowl & Whisk: For the best whipped cream, chill your mixing bowl and whisk attachment in the freezer for 10-15 minutes before whipping the heavy cream. This helps the cream whip faster and achieve stiffer peaks.
- Room Temperature Cream Cheese: Always ensure your cream cheese is completely softened to room temperature. This prevents lumps and ensures a smooth, uniform filling. If you’re short on time, you can microwave it in 10-second intervals, stirring in between, until just soft.
- Don’t Overmix: When folding the whipped cream into the cream cheese mixture and then adding the Oreos, mix just until combined. Overmixing can deflate the whipped cream, leading to a denser pie.
- Crush Oreos Evenly: For the filling, aim for a fine crush on your Oreos. For the topping, you can have a slightly coarser crush for visual appeal and textural contrast. A food processor makes quick work of this, but a Ziploc bag and a rolling pin work just as well.
More Easy Desserts You’ll Love
If you’re a fan of simple, delicious desserts, be sure to explore some of our other favorite easy recipes:
- Classic Pecan Cream Pie
- Irresistible No-Bake Peanut Butter Pie
- Festive Christmas Oreo Balls
- Creamy Pumpkin Cream Pie
- Decadent Chocolate Covered Oreos
- Easy Oreo Truffles
- Fun Oreo Dip
- Spooky Oreo Spiders (Great for Halloween!)
Oreo Pie
Pin Recipe
Print Recipe
Ingredients
- 1 1/4 cups heavy cream
- 1/4 cup powdered sugar (confectioners’ sugar)**
- 6 oz Oreo pie crust (pre-made)
- 12 Oreos, finely chopped/crushed
- 8 oz cream cheese, softened
- 1 teaspoon vanilla extract (optional, but recommended)
Instructions
- Beat the heavy cream and powdered sugar in a large, chilled bowl until stiff peaks form.
- In a separate bowl, whip the softened cream cheese and vanilla extract (if using) using an electric mixer until smooth and fluffy.
- Gently fold the whipped cream into the cream cheese mixture until just combined, being careful not to overmix.
- Fold in the crushed Oreos into the pie filling, reserving a few tablespoons for topping.
- Pour the Oreo pie filling into the Oreo pie crust and smooth it out evenly using a rubber spatula.
- Top with the remaining crushed Oreos for garnish.
- Cover the pie and refrigerate for at least 4-5 hours, preferably overnight, for best results.
- Once chilled and firm, cut the Oreo pie into slices and serve immediately.
Notes
**This pie is designed to be sweet without being overly so. If you prefer a sweeter pie, you can taste the filling after combining all ingredients and add an additional tablespoon or two of powdered sugar, if desired, before pouring into the crust. Always chill for the recommended time to ensure a firm, sliceable pie.
Nutrition
Carbohydrates: 34g
Protein: 5g
Fat: 31g
Saturated Fat: 16g
Polyunsaturated Fat: 2g
Monounsaturated Fat: 9g
Trans Fat: 2g
Cholesterol: 71mg
Sodium: 277mg
Potassium: 141mg
Fiber: 1g
Sugar: 19g
Vitamin A: 928IU
Vitamin C: 0.2mg
Calcium: 56mg
Iron: 3mg
Love this recipe? Rate and comment below!