
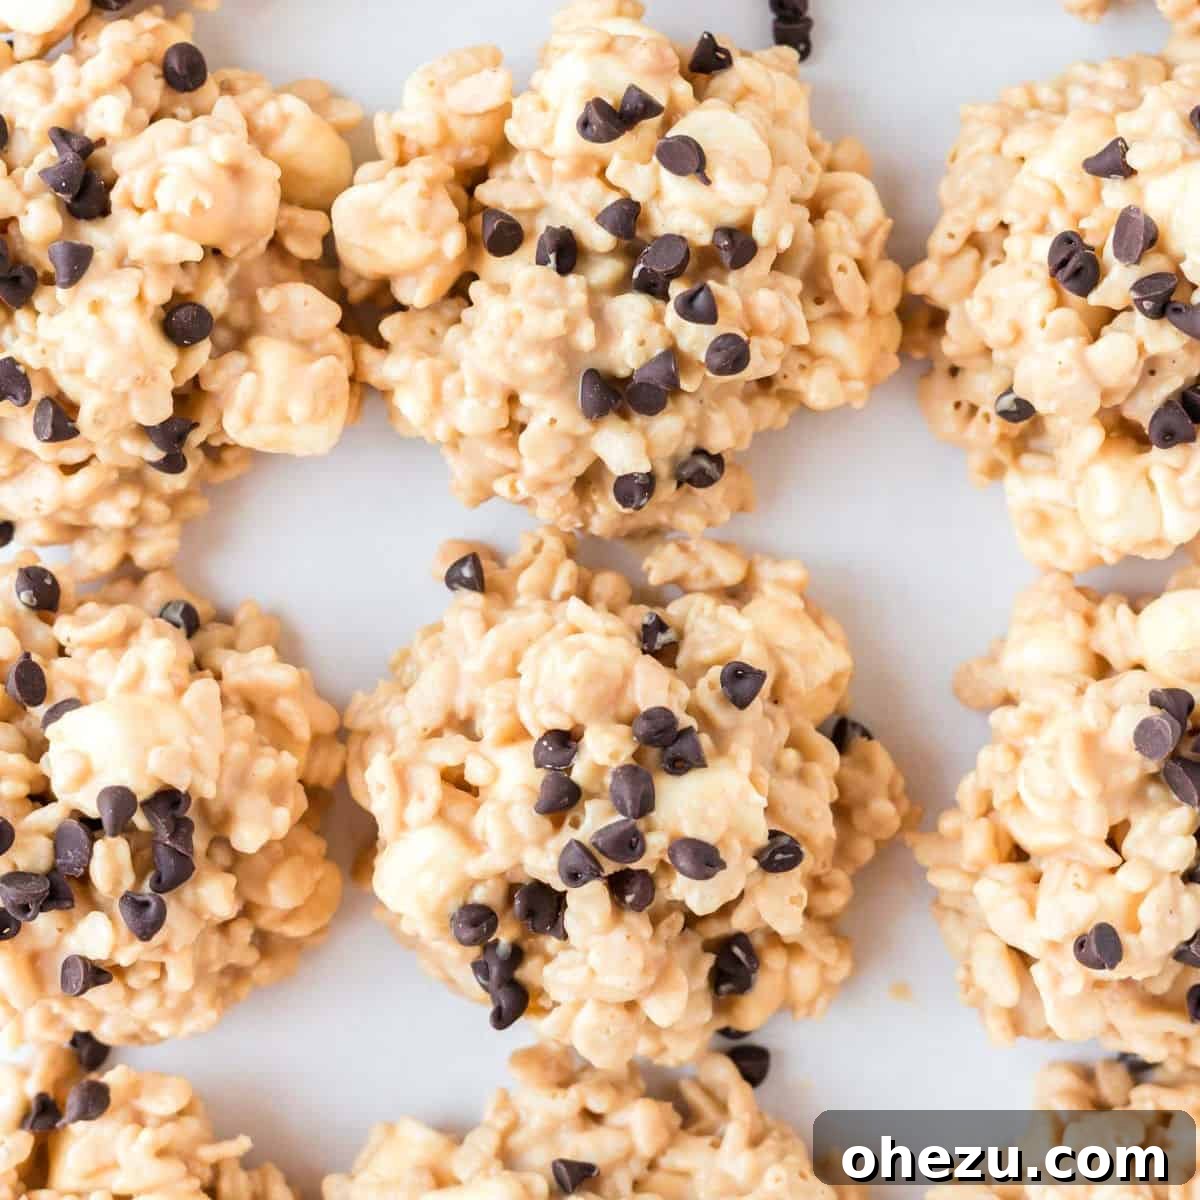
Easy No Bake Avalanche Cookies: Your Go-To Recipe for Effortless Sweet Treats
Indulge in the delightful simplicity of Easy No Bake Avalanche Cookies, the perfect dessert requiring only 5 minimal ingredients! This recipe offers a quick, fuss-free, and irresistibly delicious way to create memorable sweet treats for your family and guests, making it a staple for holiday gatherings or any spur-of-the-moment craving.
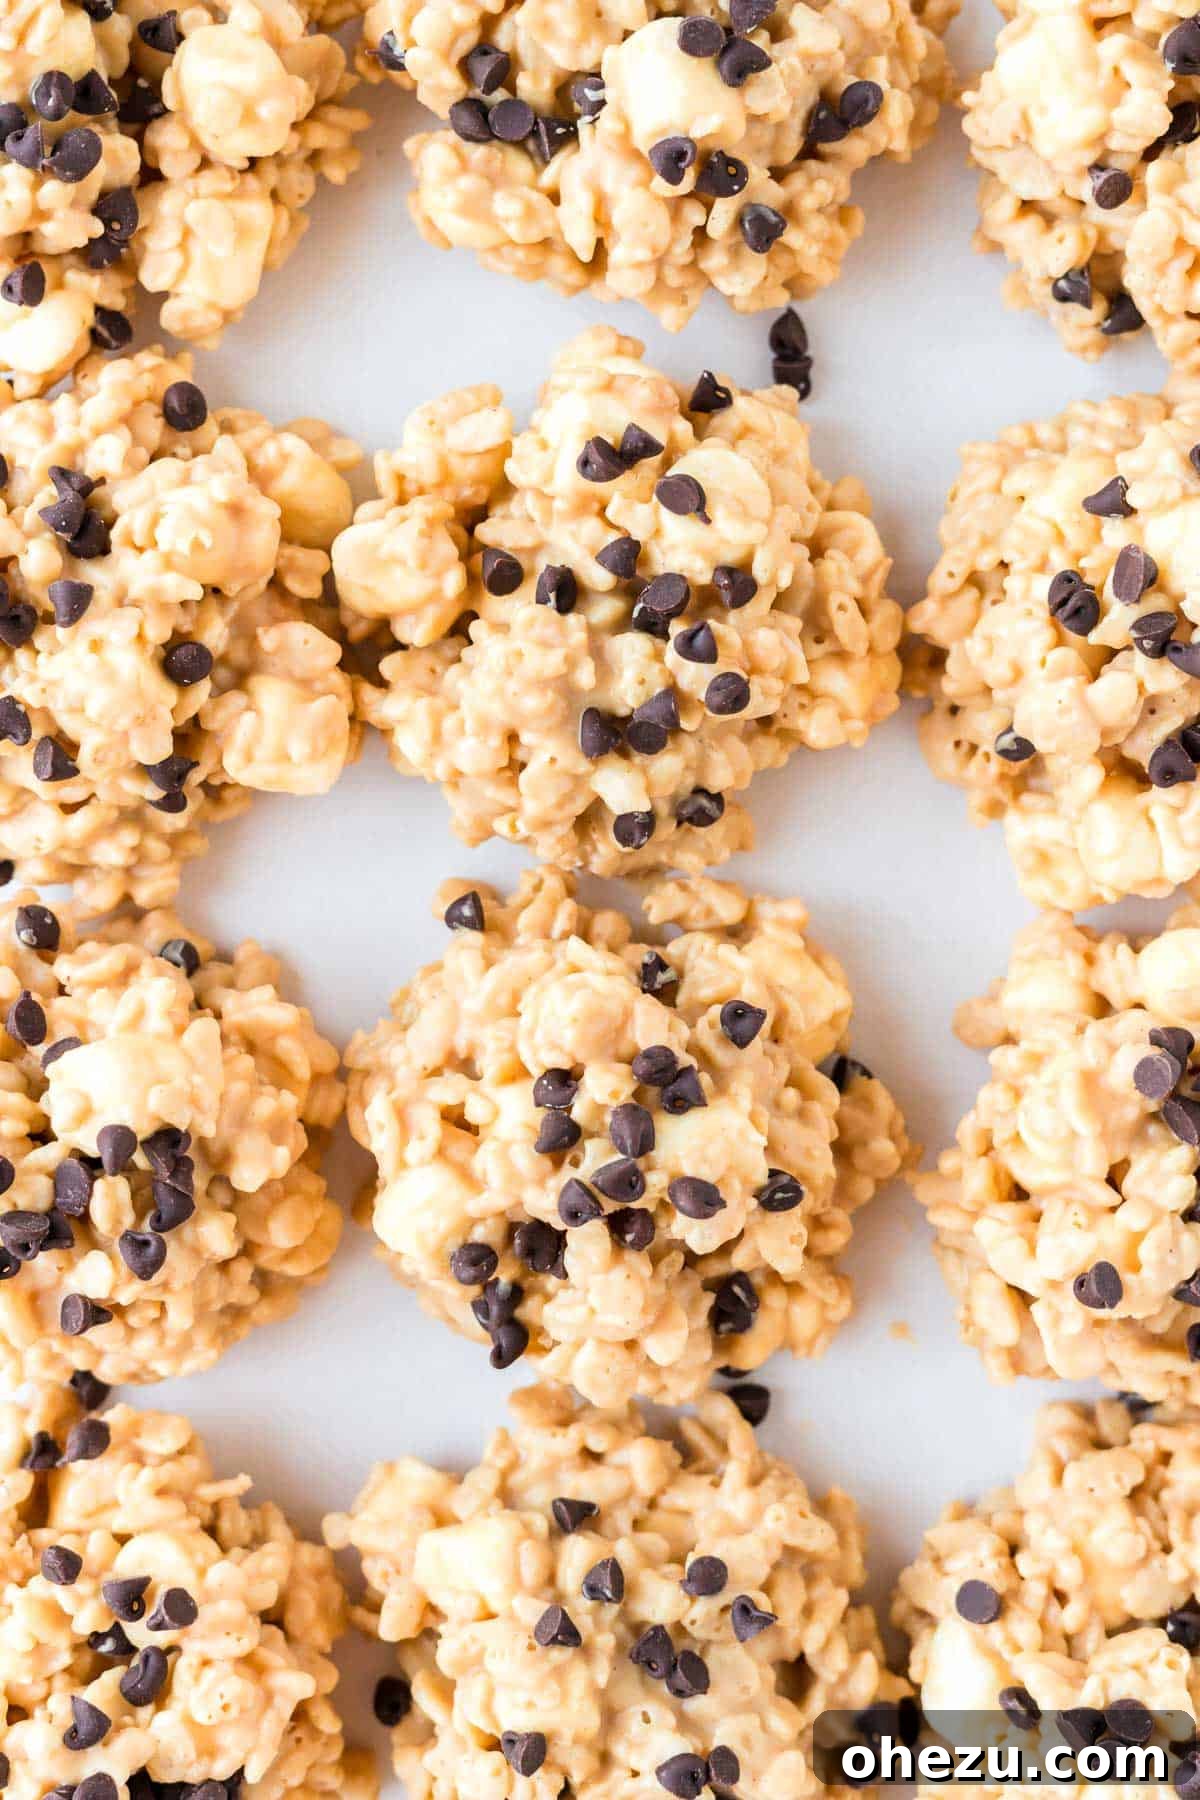
Why These Avalanche Cookies Are the Best No-Bake Dessert
There’s something truly magical about a dessert that delivers incredible flavor without the stress of complicated baking or the need to even turn on your oven. Our Avalanche Cookies stand out as the ultimate no-bake treat, combining the rich, creamy goodness of melted white chocolate and peanut butter with the delightful chewiness of miniature marshmallows and the satisfying, airy crunch of crisp rice cereal. It’s a symphony of textures and tastes that creates an utterly irresistible experience in every single bite.
Each cookie offers a harmonious blend of sweet, subtly salty, and wonderfully chewy elements, making them a universal crowd-pleaser for all ages. Topped with a generous sprinkle of mini semi-sweet chocolate chips, these cookies aren’t just remarkably easy to make; they’re a decadent indulgence that feels gourmet, yet requires minimal effort and culinary skill. Whether you’re a seasoned dessert enthusiast or a complete novice in the kitchen, this recipe is foolproof and guaranteed to impress even the most discerning palates.
During special occasions, particularly around the bustling Christmastime and other festive holidays, my absolute favorite tradition is filling a beautifully decorated tin with an assortment of homemade no-bake cookies. These Avalanche Cookies consistently secure their spot at the top of that list, bringing immense joy and a touch of effortless holiday cheer to any gathering or celebration. Their sheer ease of preparation allows you to spend more precious time enjoying the festivities with loved ones, rather than being confined to the kitchen fussing over intricate desserts. They are perfect for potlucks, cookie exchanges, or simply as a comforting treat on a cozy evening.
Essential Ingredients for Your Avalanche Cookies
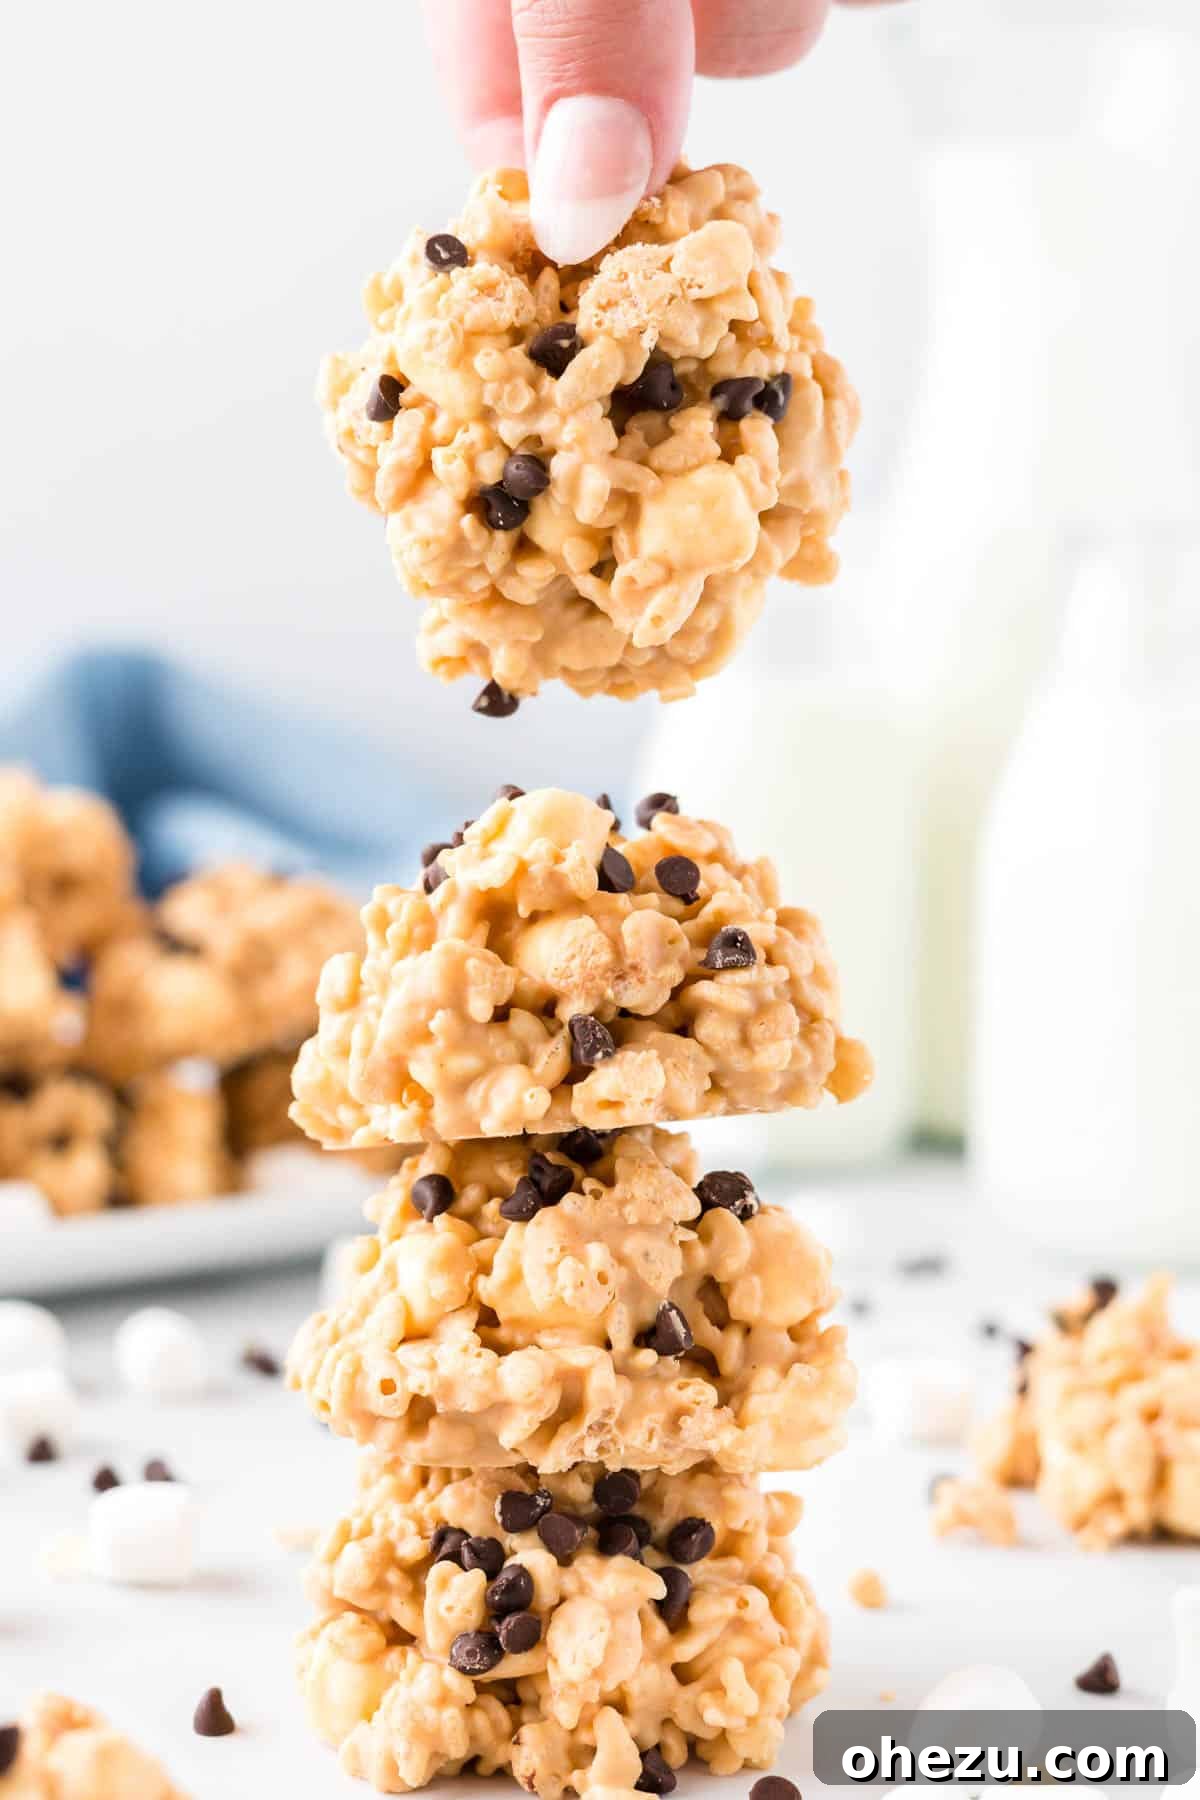
One of the many beauties of this incredibly simple recipe lies in its minimalist approach. You only need five core ingredients, each playing a crucial and distinct role in creating the iconic Avalanche Cookie experience. Opting for quality ingredients will undoubtedly elevate the final taste and texture, so choose wisely to ensure the best possible outcome!
- Crisp Rice Cereal (e.g., Rice Krispies): This cereal forms the crunchy backbone of the cookie, providing that essential satisfying snap and airy texture that perfectly contrasts with the softer elements. Any brand of crisp rice cereal will work wonderfully, ensuring your cookies have that delightful structural integrity and fun factor.
- Mini Marshmallows: These miniature delights are absolutely key to achieving the signature “ooey-gooey” and delightfully chewy texture that makes Avalanche Cookies so incredibly addictive. Their small size ensures that every single bite is generously infused with their soft, sweet, and slightly melted goodness, contributing significantly to the overall mouthfeel.
- White Chocolate Chips: For the best flavor and a smooth, consistent melting process, we highly recommend opting for high-quality white chocolate chips. Brands like Ghirardelli are often celebrated for their superior melt and rich, creamy taste, which will profoundly impact the overall profile and luxurious feel of your finished cookies.
- Mini Chocolate Chips (Semi-Sweet or Dark): While primarily used for topping, these tiny chocolate gems add a wonderful visual appeal and introduce a complementary chocolate note that beautifully cuts through and balances the sweetness of the white chocolate and peanut butter base. Both semi-sweet and dark chocolate mini chips work exceptionally well, offering a slight bitterness that provides a perfect counterpoint to the sweetness.
- Creamy No-Stir Peanut Butter: The “no-stir” variety of creamy peanut butter is critically important here as it ensures a perfectly smooth, consistent texture in your cookie base without any undesirable oil separation. Creamy peanut butter provides the essential rich, nutty flavor and contributes significantly to the cookies’ fudgy, pliable consistency. We strongly advise against using natural peanut butters that tend to separate, as their oil content can adversely affect the final texture and setting of the cookies.
Gathering these simple yet powerful ingredients is the crucial first step towards creating a truly memorable and effortlessly delicious no-bake dessert that everyone, without exception, will adore.
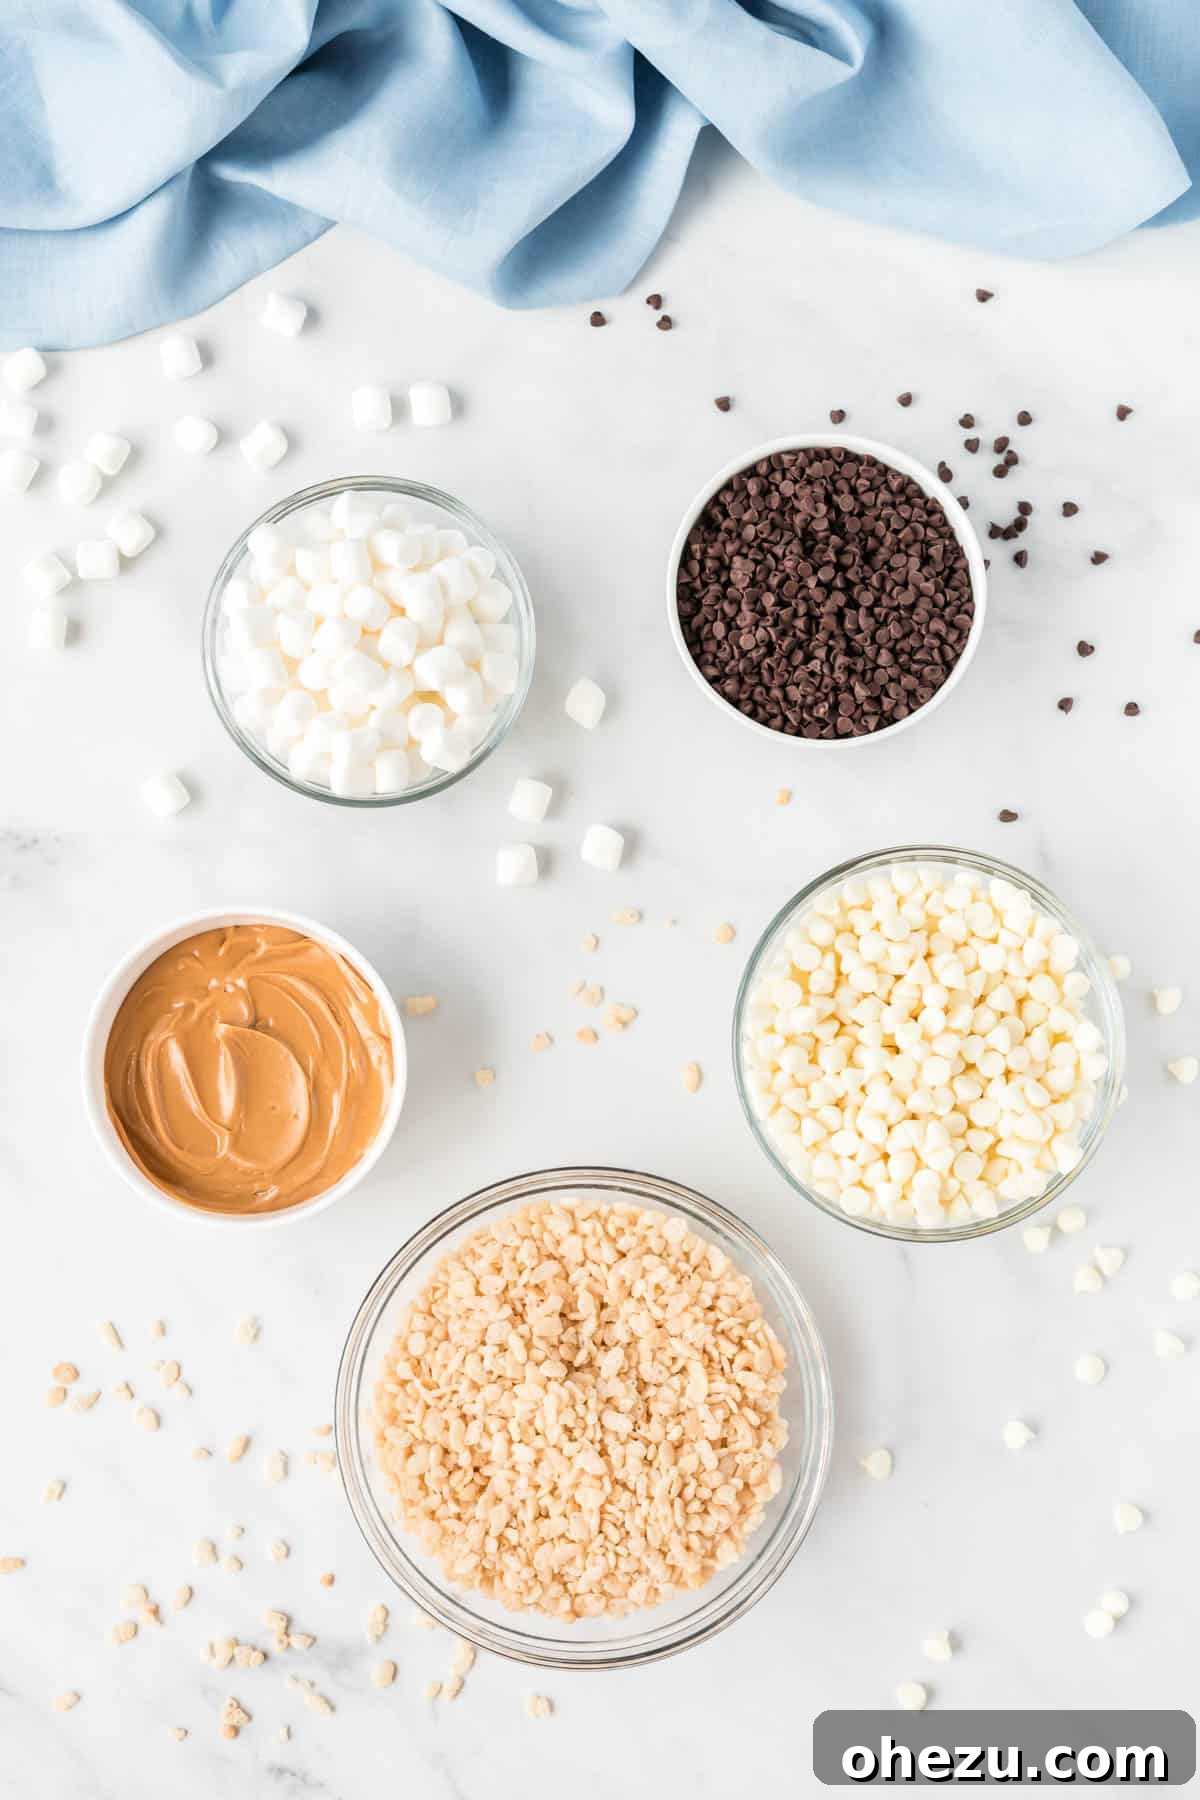
How to Craft Irresistible Avalanche Cookies: A Simple Step-by-Step Guide
Creating these delectable No Bake Avalanche Cookies is remarkably straightforward and requires minimal effort, making them an ideal project for even the busiest of days. Follow these detailed steps precisely to ensure you achieve a perfect batch every single time. Remember, the key to success with most no-bake treats often lies in thorough preparation and patient chilling.
-
Step 1: Prepare Your Baking Surface
Before you even begin mixing, it’s crucial to prepare your workspace. Line two standard-sized baking sheets with either wax paper or parchment paper. This non-stick surface is absolutely essential for the easy removal of your finished cookies once they’ve set, and it guarantees a quick and hassle-free cleanup. Having your sheets ready and accessible beforehand will significantly streamline the entire preparation process.
-
Step 2: Combine the Dry Ingredients
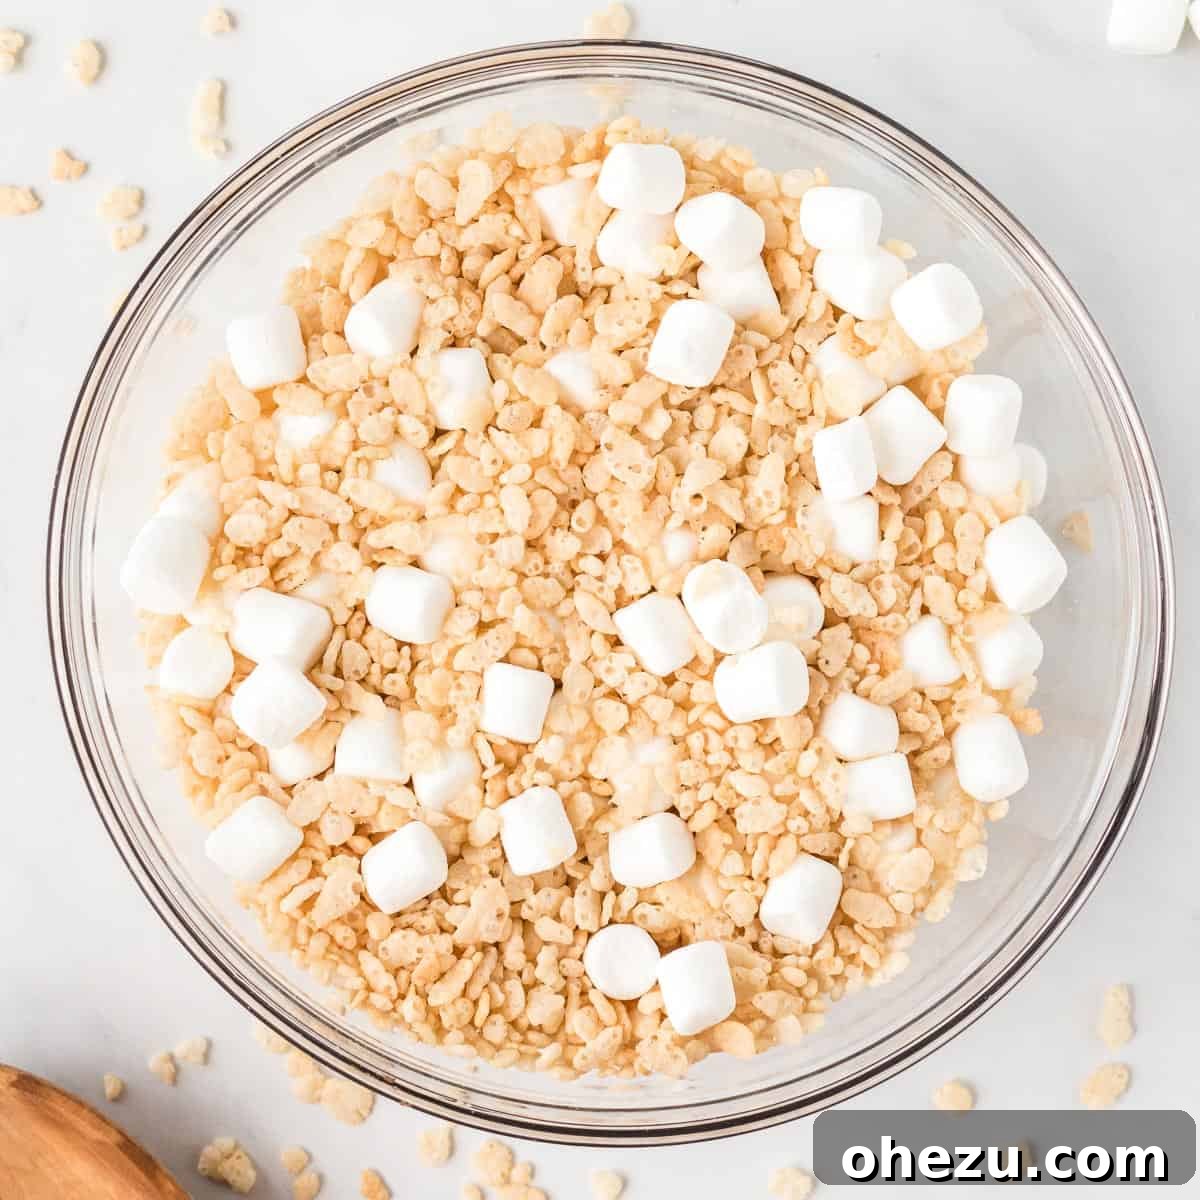
In a large mixing bowl, gently combine the crisp rice cereal and the mini marshmallows. Use a spoon or a rubber spatula to mix them thoroughly. The goal here is to ensure they are evenly distributed, as this will result in a consistent texture throughout your cookies. Once mixed, set this bowl aside for a moment while you prepare the wet ingredients.

The crisp rice cereal and mini marshmallows waiting patiently to be coated in deliciousness. -
Step 3: Melt the White Chocolate and Peanut Butter Base
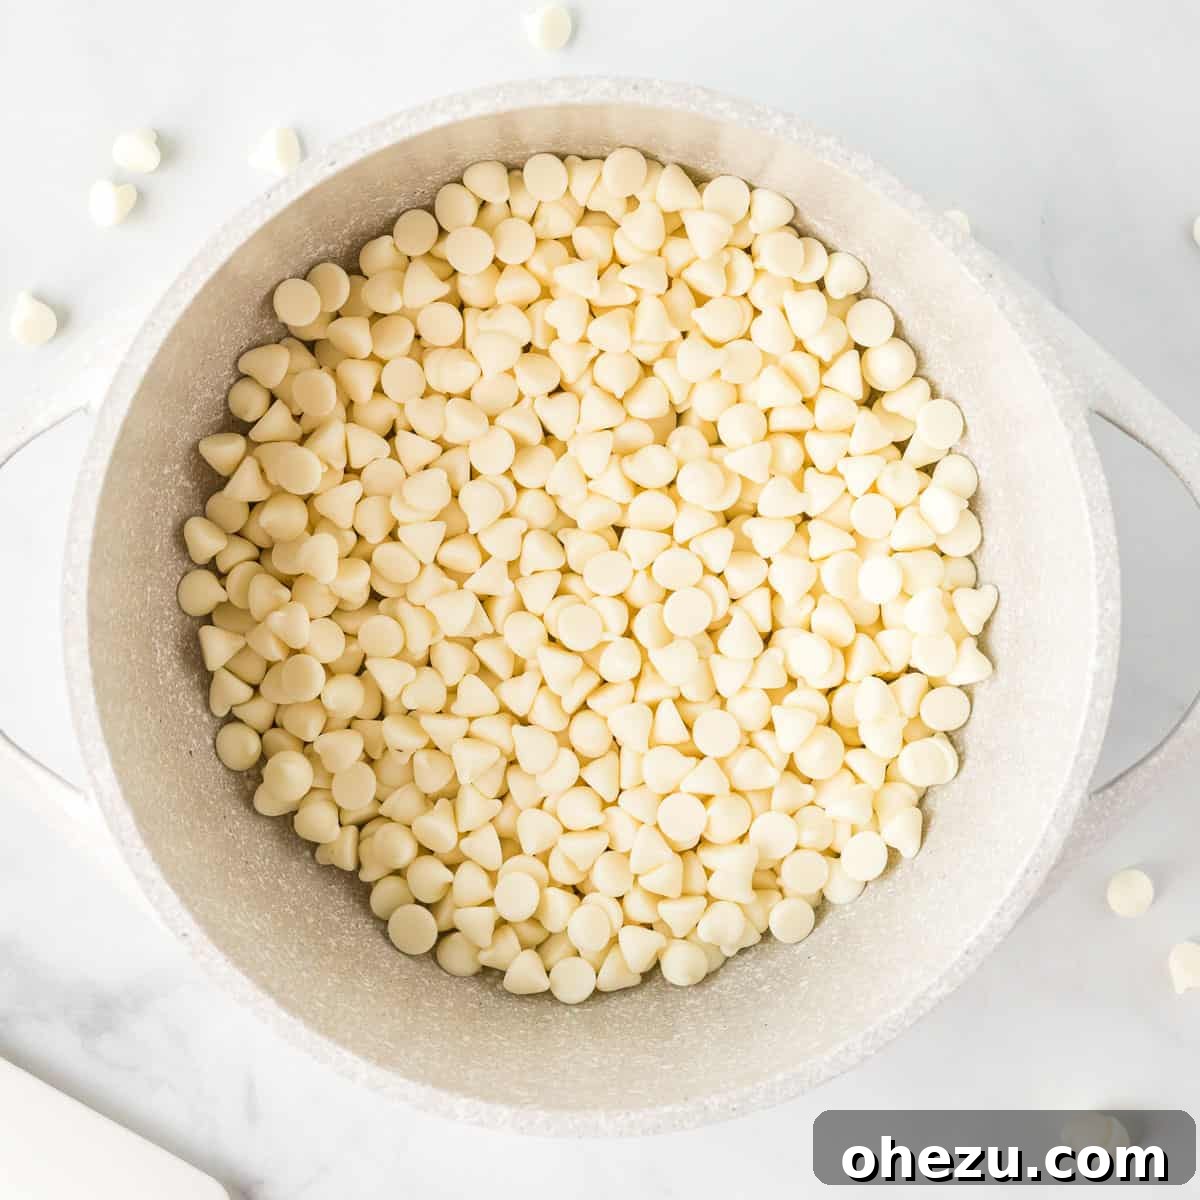
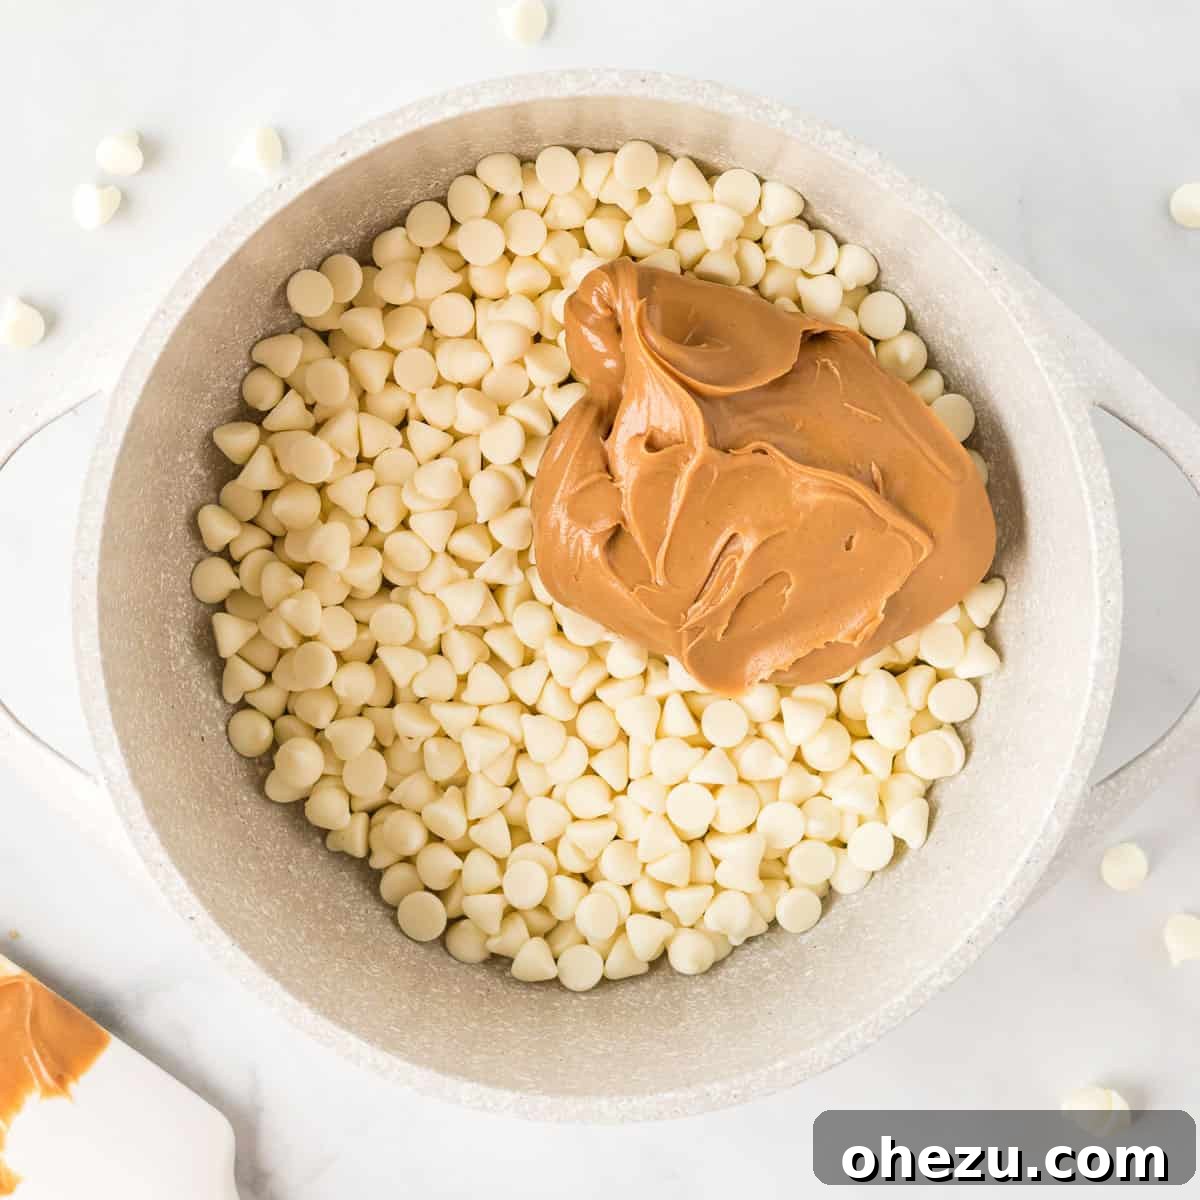
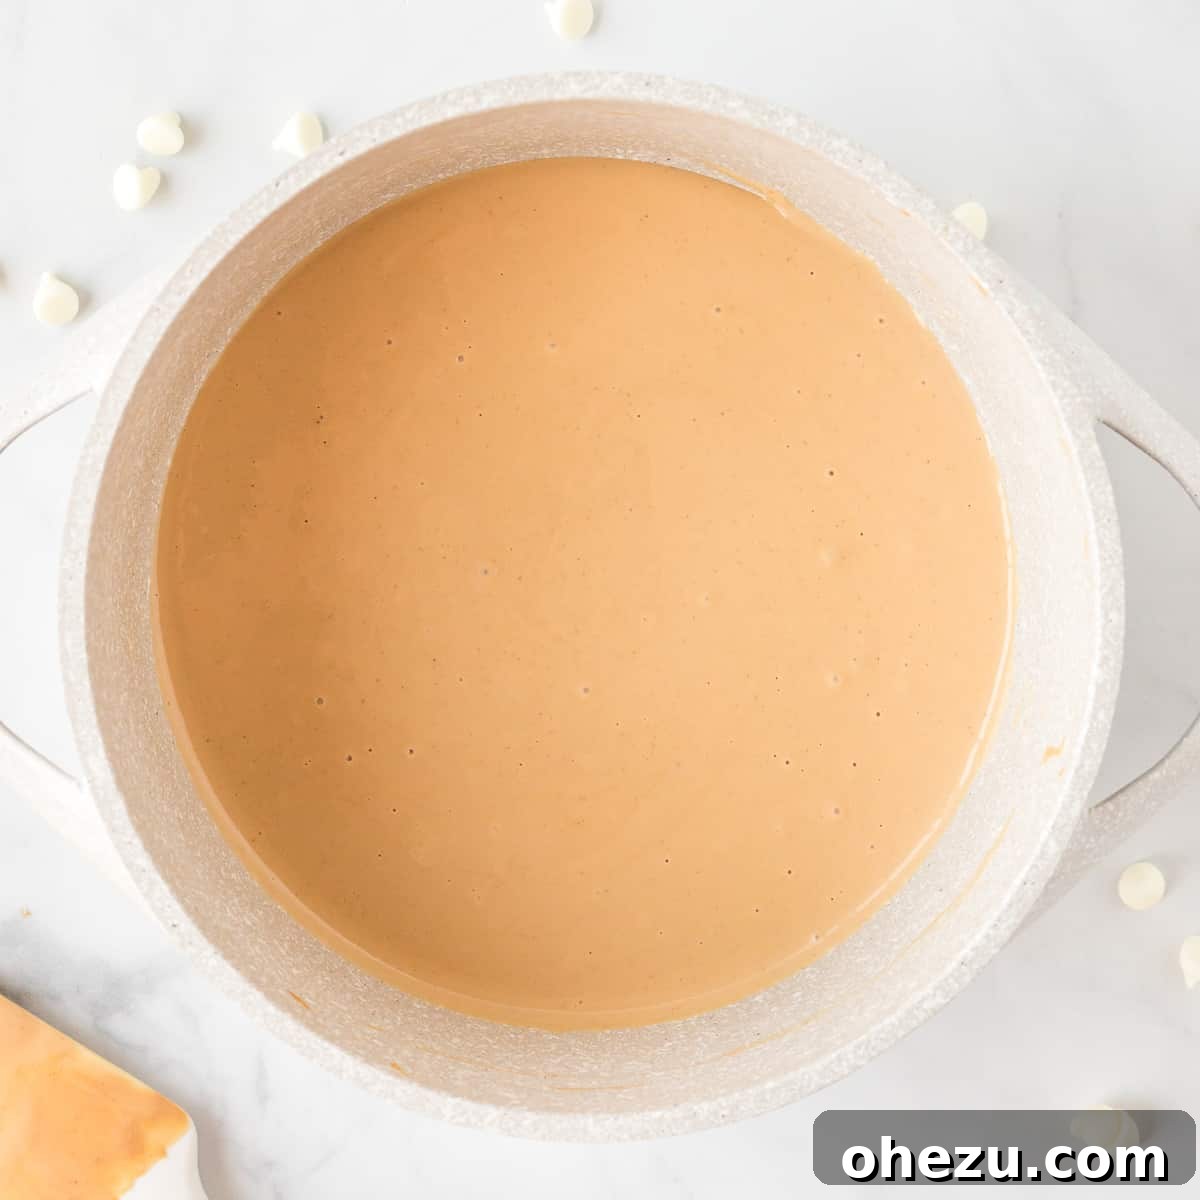
In a medium-sized saucepan, combine the white chocolate chips and the creamy no-stir peanut butter. Place the saucepan over very low heat. This step demands your full and undivided attention: continuously stir the mixture using a rubber spatula or a sturdy wooden spoon. Continue stirring constantly until both the white chocolate and peanut butter have melted completely and are beautifully smooth and uniformly combined. The resulting consistency should be fluid, glossy, and free of any lumps.
White chocolate chips getting ready for their transformation. The perfect blend of creamy peanut butter and sweet white chocolate. Pro Tip: Mastering White Chocolate Melting
Exercise extreme caution during this melting step, as white chocolate is notoriously sensitive to high heat and can seize or burn very quickly if it gets too hot or is left unattended. Always prioritize using very low heat and stir continuously and patiently. This diligence ensures you achieve a silky-smooth, perfectly melted mixture without any gritty texture or burnt bits, which is absolutely crucial for the cookies’ ultimate texture and delightful flavor.
The luscious, perfectly melted white chocolate and peanut butter base, a key component for these irresistible cookies. -
Step 4: Gently Combine All Ingredients
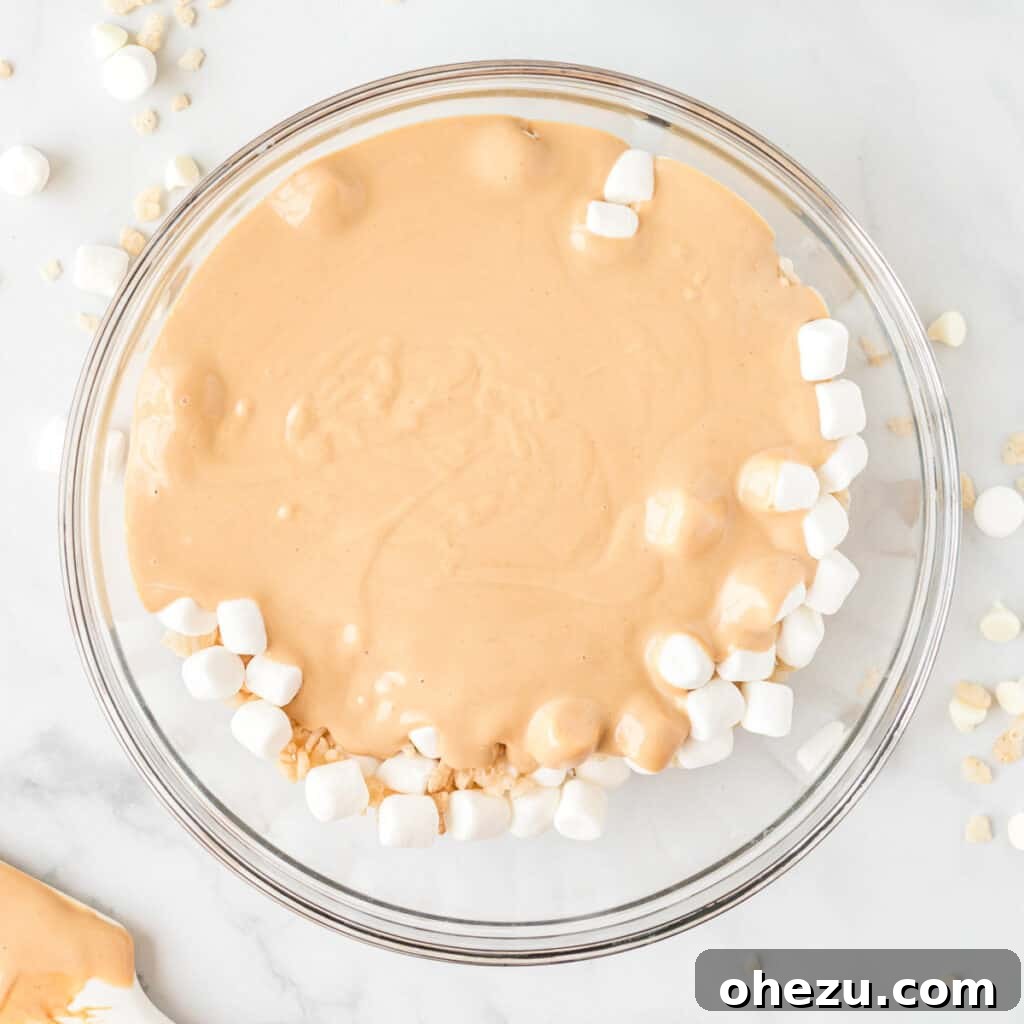
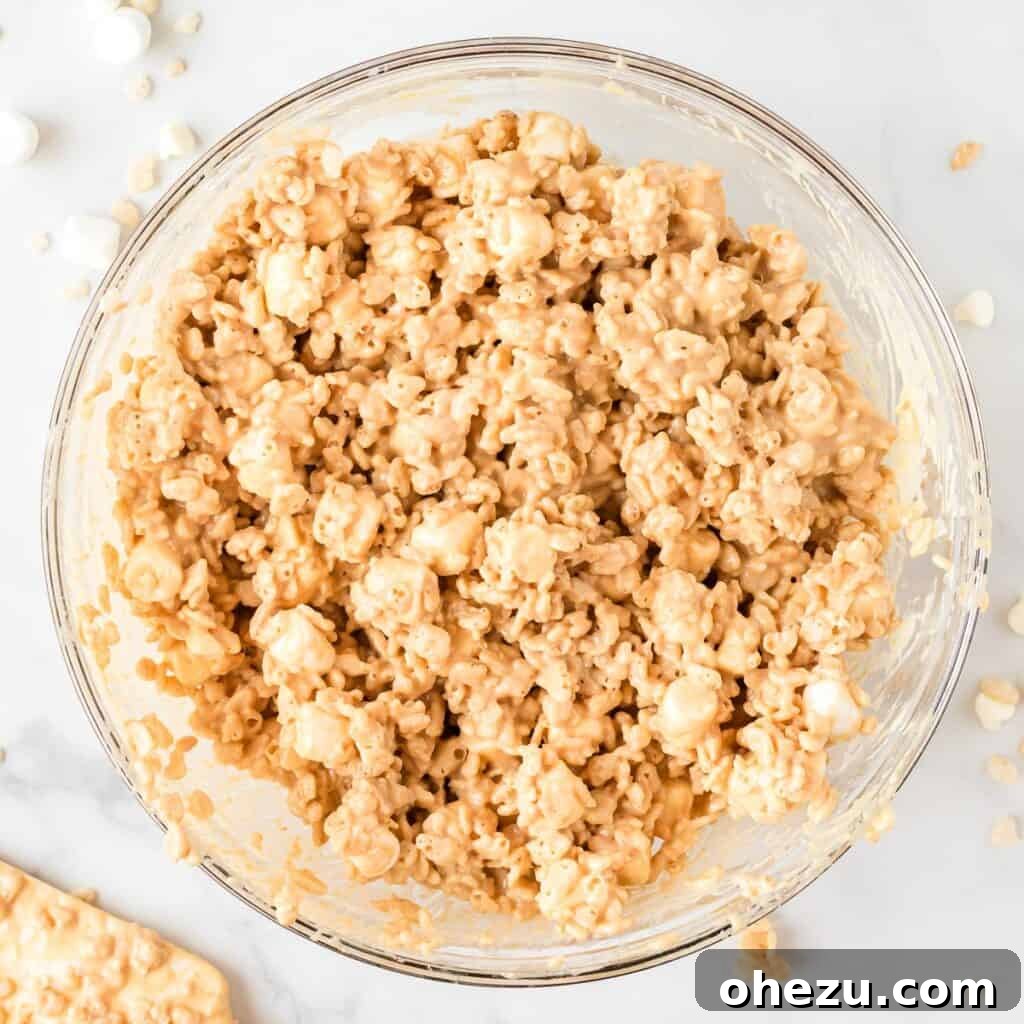
Carefully pour the warm, freshly melted white chocolate and peanut butter mixture over the crisp rice cereal and mini marshmallows in the large bowl you prepared earlier. Using a sturdy rubber spatula is highly recommended for this particular part, as it allows for efficient and gentle mixing. Stir all the ingredients together deliberately yet gently, until the cereal and marshmallows are thoroughly and evenly coated in the sticky, utterly delicious chocolate-peanut butter mixture. Work quickly but carefully to ensure everything is well combined without excessively crushing the delicate cereal.
The moment of magic: pouring the creamy mixture over the dry ingredients. A perfectly coated and combined mixture, ready for scooping. -
Step 5: Portion and Shape Your Cookies
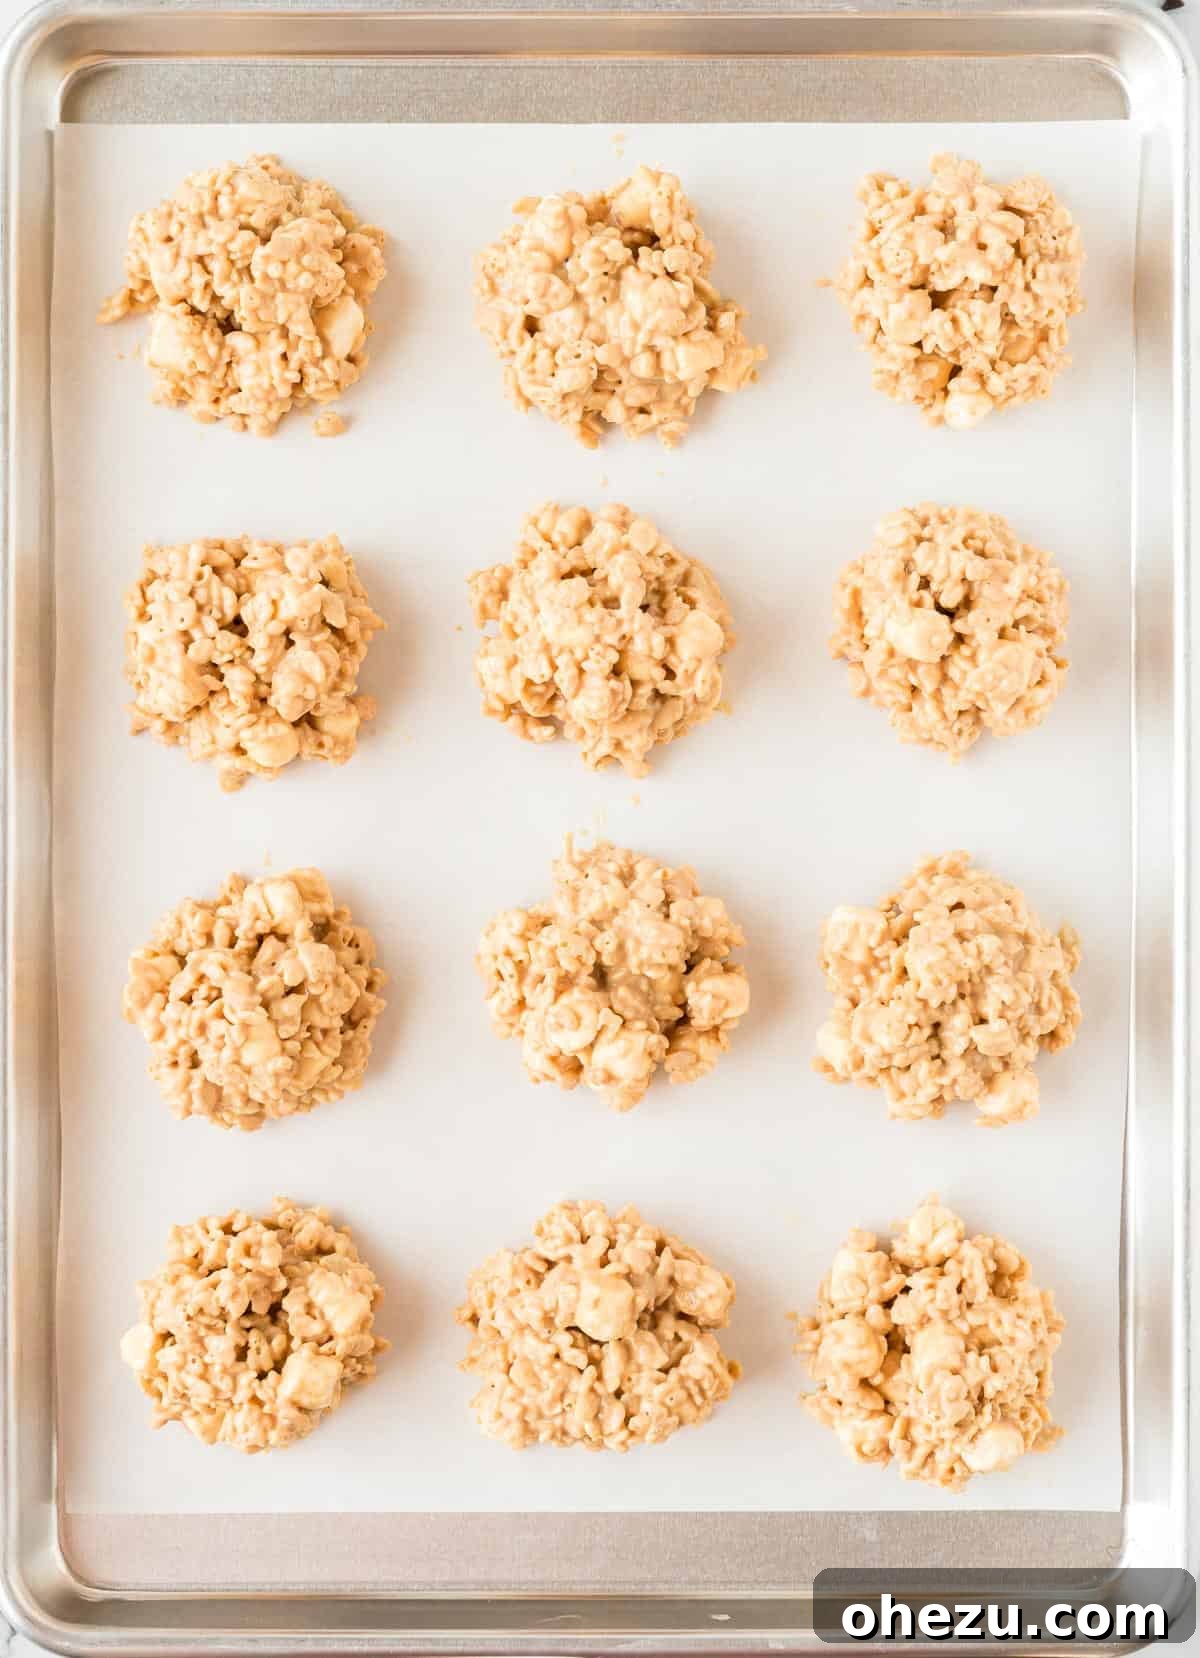
Now comes the fun part: forming your cookies! Use a mini cookie scoop (ideally about 1.5 to 2 tablespoons in size) to portion the sticky no-bake batter onto the prepared baking sheets. If you don’t possess a cookie scoop, two spoons can certainly work as an alternative, though a scoop ensures more consistent sizing, which is excellent for both even chilling and a professional-looking presentation. Remember to leave a little space between each cookie to prevent them from merging as they settle.
Freshly scooped and perfectly portioned cookies, awaiting their delightful topping. -
Step 6: Add the Iconic Finishing Touch
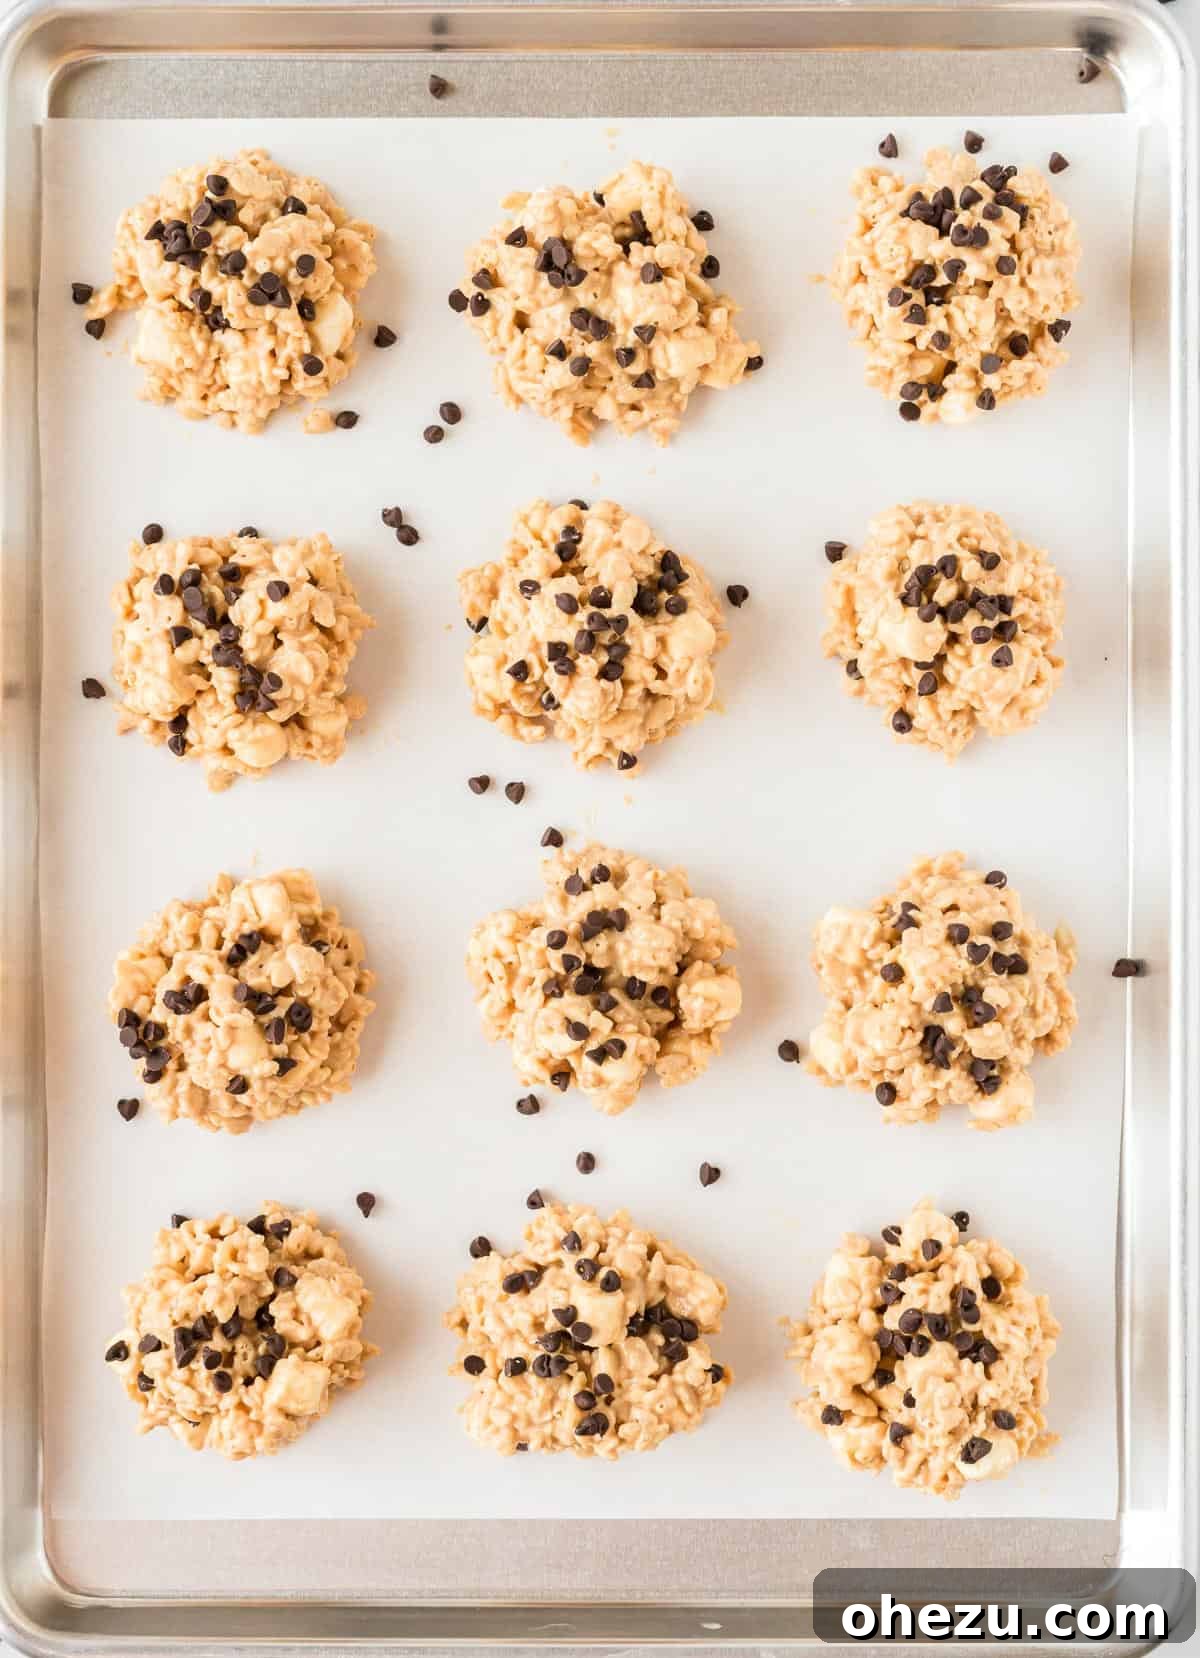
Immediately after scooping, generously sprinkle the tops of each no-bake cookie with the mini semi-sweet chocolate chips. This step is time-sensitive and needs to be done quickly, while the white chocolate base is still warm and tacky. If you delay too long, the white chocolate will begin to harden, and the chocolate chips won’t adhere properly. Don’t hesitate to gently press them down if necessary to ensure they firmly stick to the surface of the cookies.
-
Step 7: Chill to Perfect Firmness
Once all your cookies are scooped and topped, transfer the baking sheets to the refrigerator. Chill them for a minimum of 30 minutes, or until they are completely firm and set to the touch. This chilling time is absolutely essential for the cookies to set properly, allowing the white chocolate and peanut butter mixture to solidify and bind all the delightful ingredients into a perfectly stable, yet still delightfully chewy, cookie. This step transforms them from a sticky mix to a portable, ready-to-eat treat.
The cookies, beautifully adorned with mini chocolate chips, now await their chilling period to reach perfect firmness.
Storage and Shelf Life for Your Avalanche Cookies
One of the most appealing features of these delicious No Bake Avalanche Cookies is their excellent storage capability, making them a fantastic make-ahead dessert for upcoming parties, unexpected guests, or simply to have on hand for those inevitable sweet cravings. Proper storage is key to ensuring they retain their delightful texture and irresistible flavor for as long as possible.
- In the Refrigerator: For optimal short-term storage, place any leftover cookies in an airtight container. They will maintain their freshness and deliciousness beautifully in the refrigerator for up to one week. Storing them chilled also significantly helps in maintaining their firm yet wonderfully chewy texture, which is a hallmark of this cookie.
- In the Freezer: For extended enjoyment, these cookies are exceptionally freezer-friendly! To freeze, arrange them in a single layer in an airtight, freezer-safe container. If you need to stack layers, be sure to separate each layer with a sheet of parchment paper to prevent them from sticking together. They can be safely stored in the freezer for an impressive 2 to 3 months without compromising quality. When you’re ready to indulge, simply allow the frozen cookies to thaw at room temperature for a few minutes before eating. This makes them absolutely perfect for preparing a large batch well in advance for future events, holiday cookie trays, or simply to ensure you always have a delightful treat readily available.
Always ensure your cookies are stored in a truly airtight container to prevent them from absorbing any unwanted odors from other foods in your fridge or freezer, and to keep them from drying out, preserving their perfect moisture and chewiness.
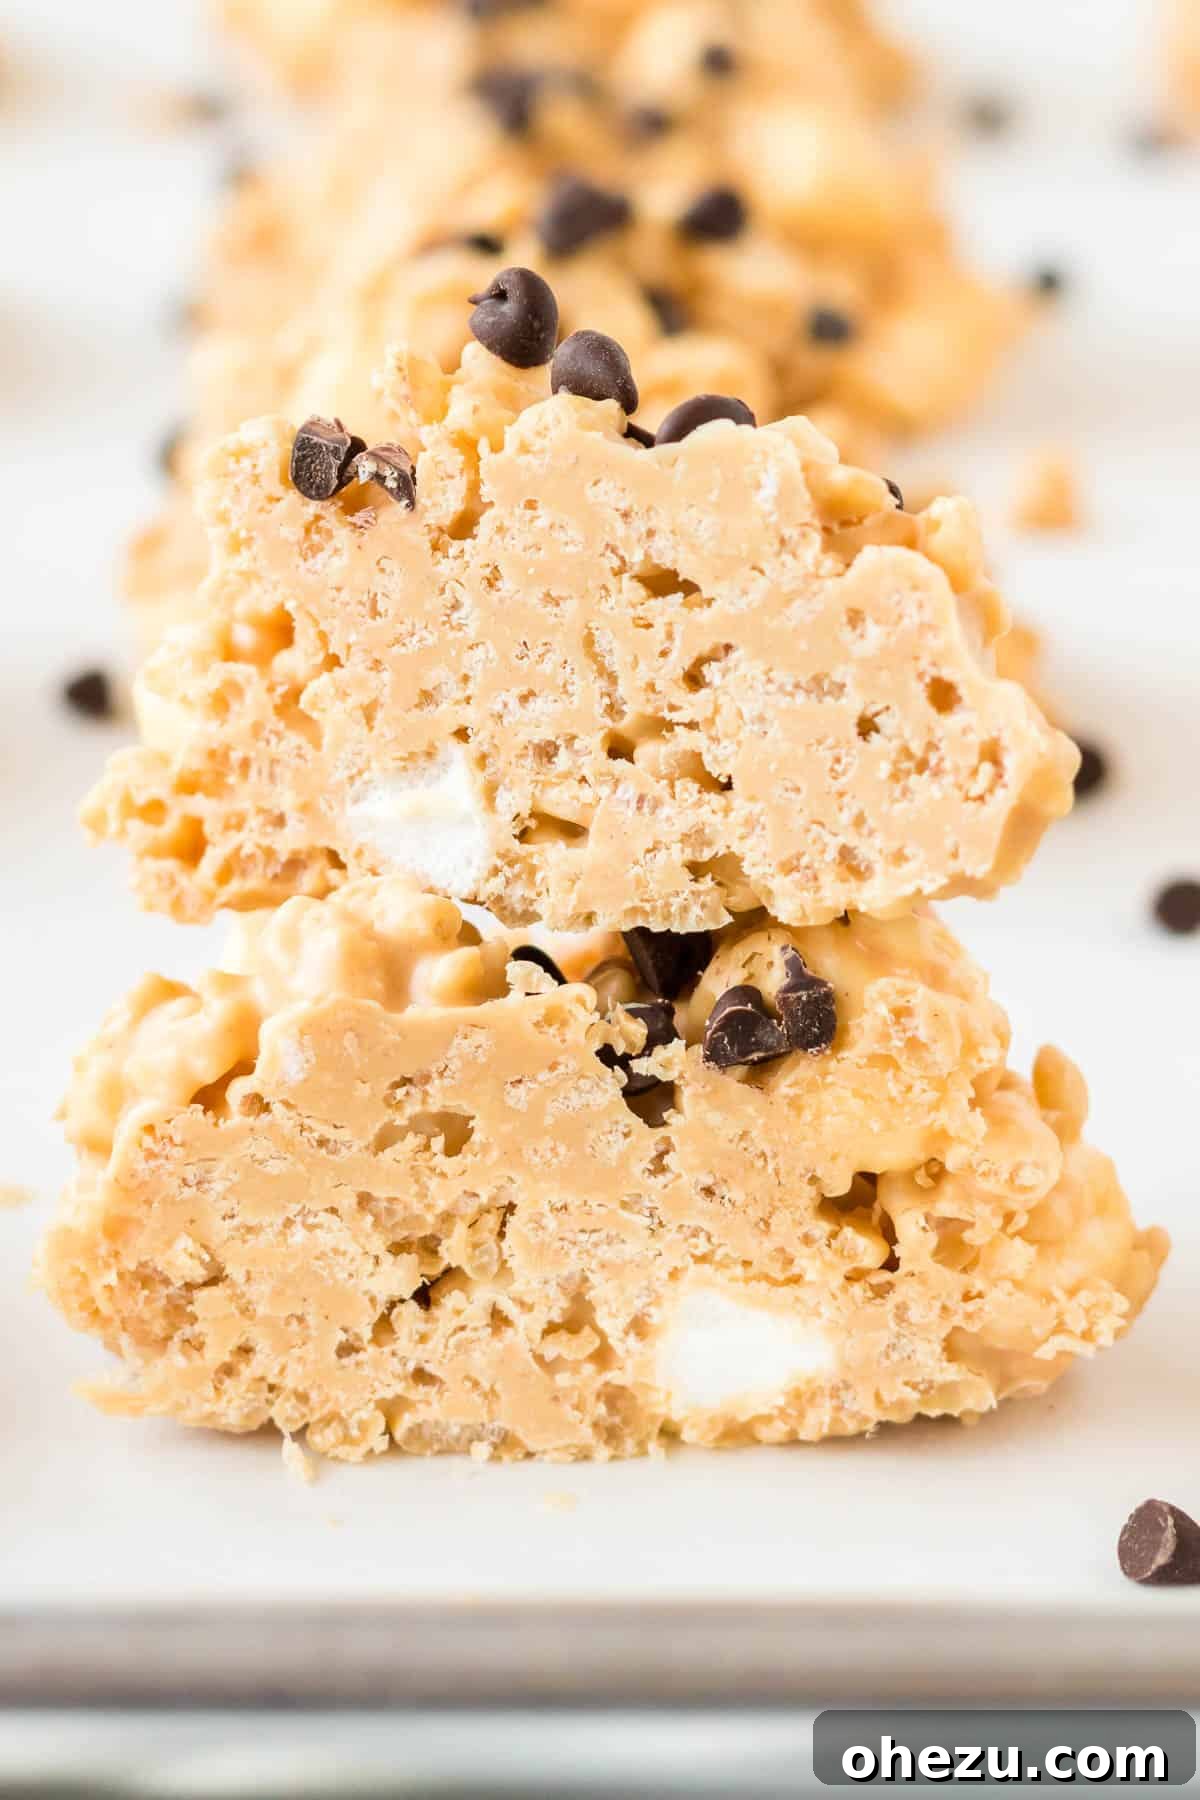
The Irresistible Charm of Easy No Bake Avalanche Cookies
These delightful little no-bake cookies truly pack an unforgettable punch of flavor and texture, proving that simplicity can lead to extraordinary results. They are generously loaded with the sweet, creamy notes of premium white chocolate, the rich, nutty depth of smooth peanut butter, and the delightful, airy chew of miniature marshmallows, all perfectly balanced with the satisfying crunch of crisp rice cereal. The absolute best part? They are incredibly simple and quick to make, serving as undeniable proof that you don’t need complicated baking techniques, fancy equipment, or even a hot oven to create a truly show-stopping and universally loved dessert.
Whether you’re hosting a casual get-together, meticulously preparing for an elaborate holiday feast, planning a fun movie night, or simply looking for a quick pick-me-up to brighten your day, these Avalanche Cookies are an absolutely fantastic choice. You’ll undoubtedly impress your guests with their charming homemade appearance and their utterly addictive taste. This truly great and simple dessert can be enjoyed any time of year, offering a moment of pure bliss and indulgence with every single bite. Their homemade charm, combined with their effortless preparation, makes them a cherished and frequently requested recipe in any dessert repertoire, guaranteed to bring smiles all around.
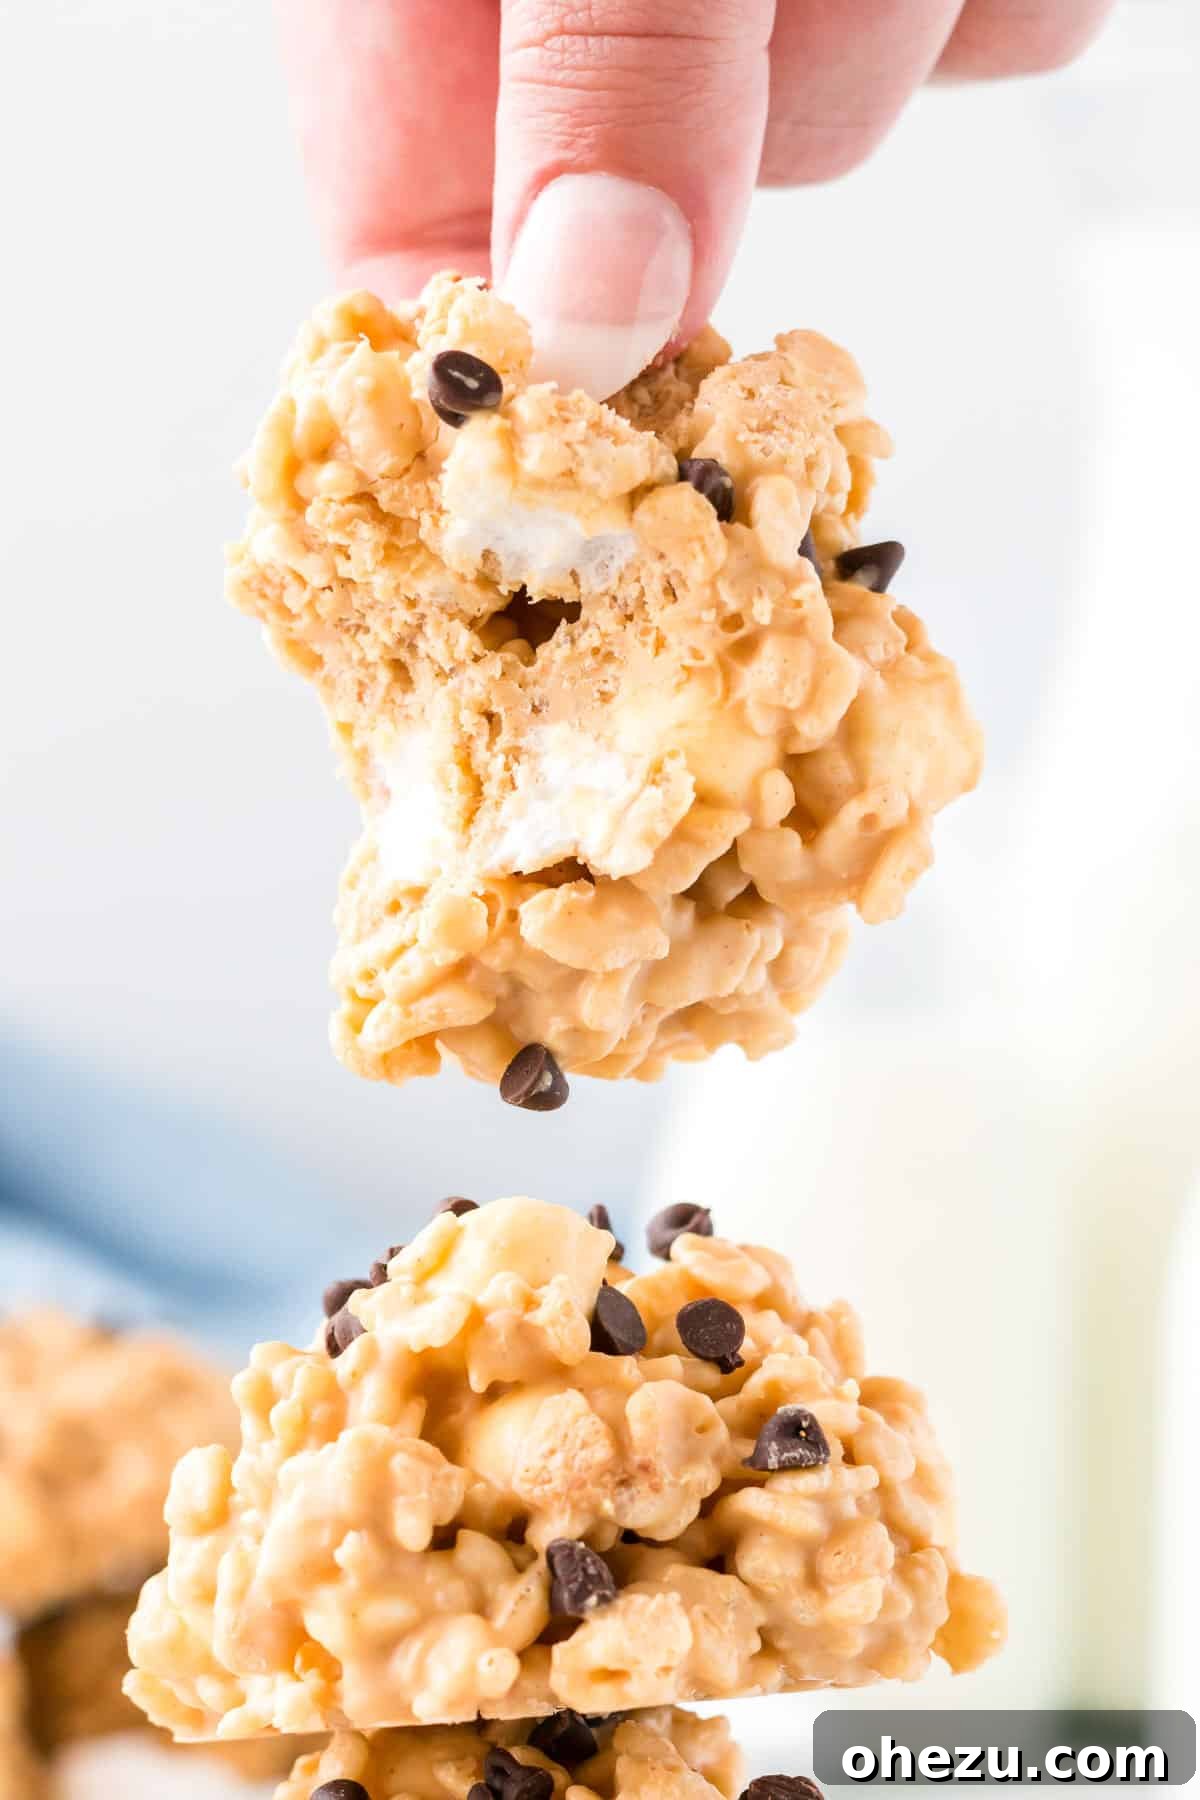
Explore More Delicious Holiday Sweets & Easy Recipes
If you’ve thoroughly enjoyed the delightful simplicity and irresistible deliciousness of these Avalanche Cookies, then you are absolutely in for a treat! Here are even more fantastic recipes, many of which are perfect for the festive holiday season or any time you’re craving something sweet, special, and effortlessly prepared. A significant number of these options are also no-bake or require minimal baking effort, ensuring your kitchen stays cool and your spirits remain high, allowing you more time to relax and enjoy.
- • No Rise Cinnamon Rolls
- • Christmas Crack (Saltine Toffee)
- • Graham Cracker Toffee
- • Hot Chocolate Dip
- • Cookies and Cream Muddy Buddies
- • No Bake Peanut Butter Pie
- • Chocolate Caramel Pretzel Bars
- • Ritz Cracker Toffee
- • White Chocolate Peanut Butter Balls
Expand your repertoire of easy-to-make, consistently crowd-pleasing desserts with these delightful and inspiring options!
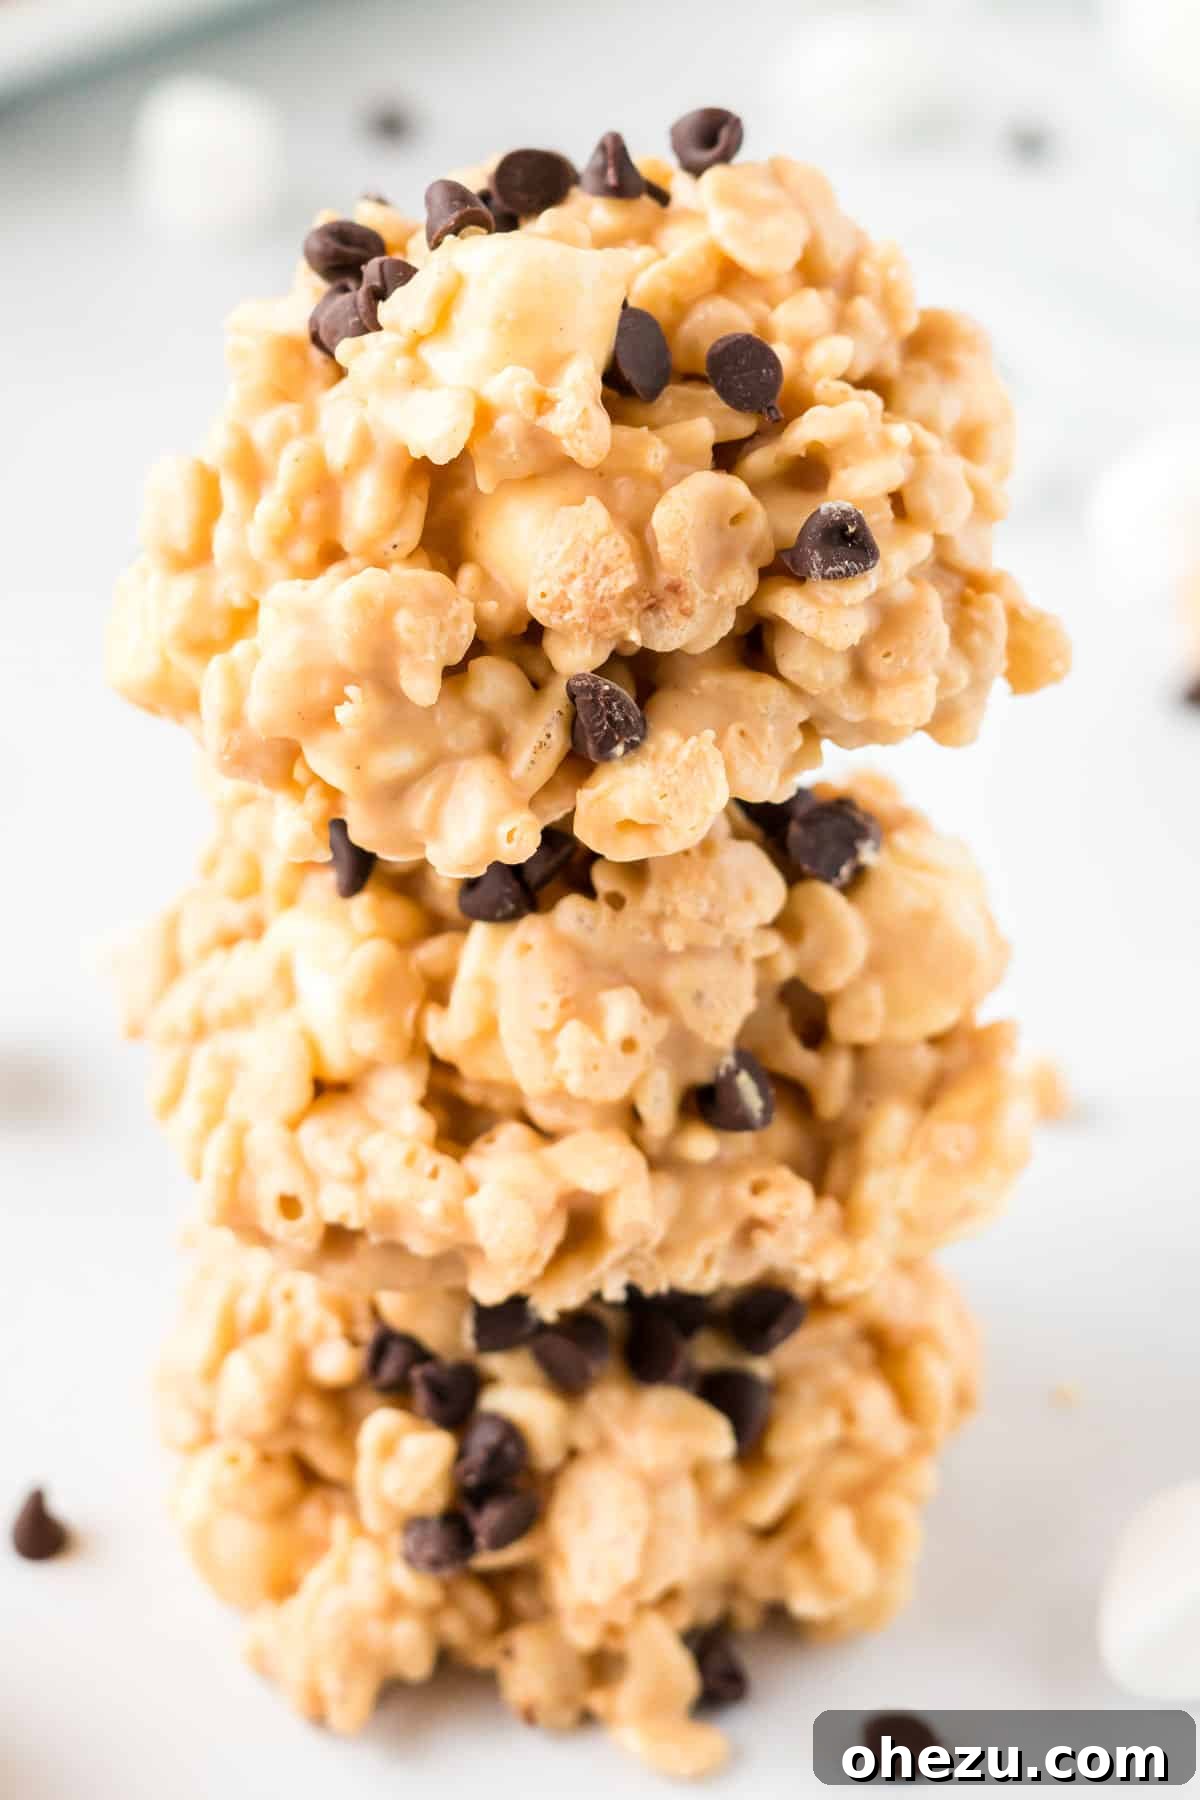

No Bake Avalanche Cookies Recipe
By: Joy Shull
These no-bake avalanche cookies are the quintessential simple dessert, crafted with a delightful combination of crisp rice cereal, creamy peanut butter, perfectly melted white chocolate, and soft mini marshmallows.
Average Rating: 4.62 from 13 votes
Prep Time: 15 mins
Additional Time (Chilling): 30 mins
Total Time: 45 mins
Yields: Approximately 25 cookies
Rate & Comment
Print Recipe
Ingredients
Instructions
- Line two large baking sheets with either wax paper or parchment paper to ensure easy removal and quick cleanup.
- In a spacious mixing bowl, combine the crisp rice cereal and the mini marshmallows, stirring gently until they are thoroughly mixed.
- In a medium saucepan, combine the white chocolate chips and creamy peanut butter. Melt this mixture over very low heat, stirring continuously with a rubber spatula until it becomes completely smooth and free of any lumps. Exercise caution to avoid scorching the white chocolate.
- Carefully pour the warm, melted white chocolate and peanut butter mixture over the cereal and marshmallows in the large bowl. Stir gently but thoroughly with a rubber spatula until all ingredients are evenly coated.
- Using a mini cookie scoop (approximately 1.5 to 2 tablespoons in size), drop uniform portions of the no-bake batter onto the prepared baking sheets.
- Immediately and generously sprinkle the tops of each formed cookie with the mini semi-sweet chocolate chips before the mixture begins to set and harden.
- Transfer the baking sheets to the refrigerator and chill the cookies for at least 30 minutes, or until they are completely firm to the touch. Once set, store the cookies in an airtight container either in the refrigerator or freezer for extended freshness.
Nutrition Information (per cookie, approximate values)
- Calories: 157 kcal
- Carbohydrates: 15g
- Protein: 3g
- Fat: 10g
- Saturated Fat: 4g
- Polyunsaturated Fat: 1g
- Monounsaturated Fat: 4g
- Trans Fat: 0.004g
- Cholesterol: 3mg
- Sodium: 60mg
- Potassium: 109mg
- Fiber: 1g
- Sugar: 11g
- Vitamin A: 174 IU
- Vitamin C: 2mg
- Calcium: 32mg
- Iron: 1mg
Like this recipe? We’d love to hear from you!
Share your thoughts, tips, and experiences, and don’t forget to rate the recipe below!